Every Witcher 3 side quest and how to complete them
A complete guide to all of the Witcher 3 side quests
No Place Like Home
Suggested Level: N/A | Prerequisites: Defeat the shaelmaar during “The Beast of Toussaint.”
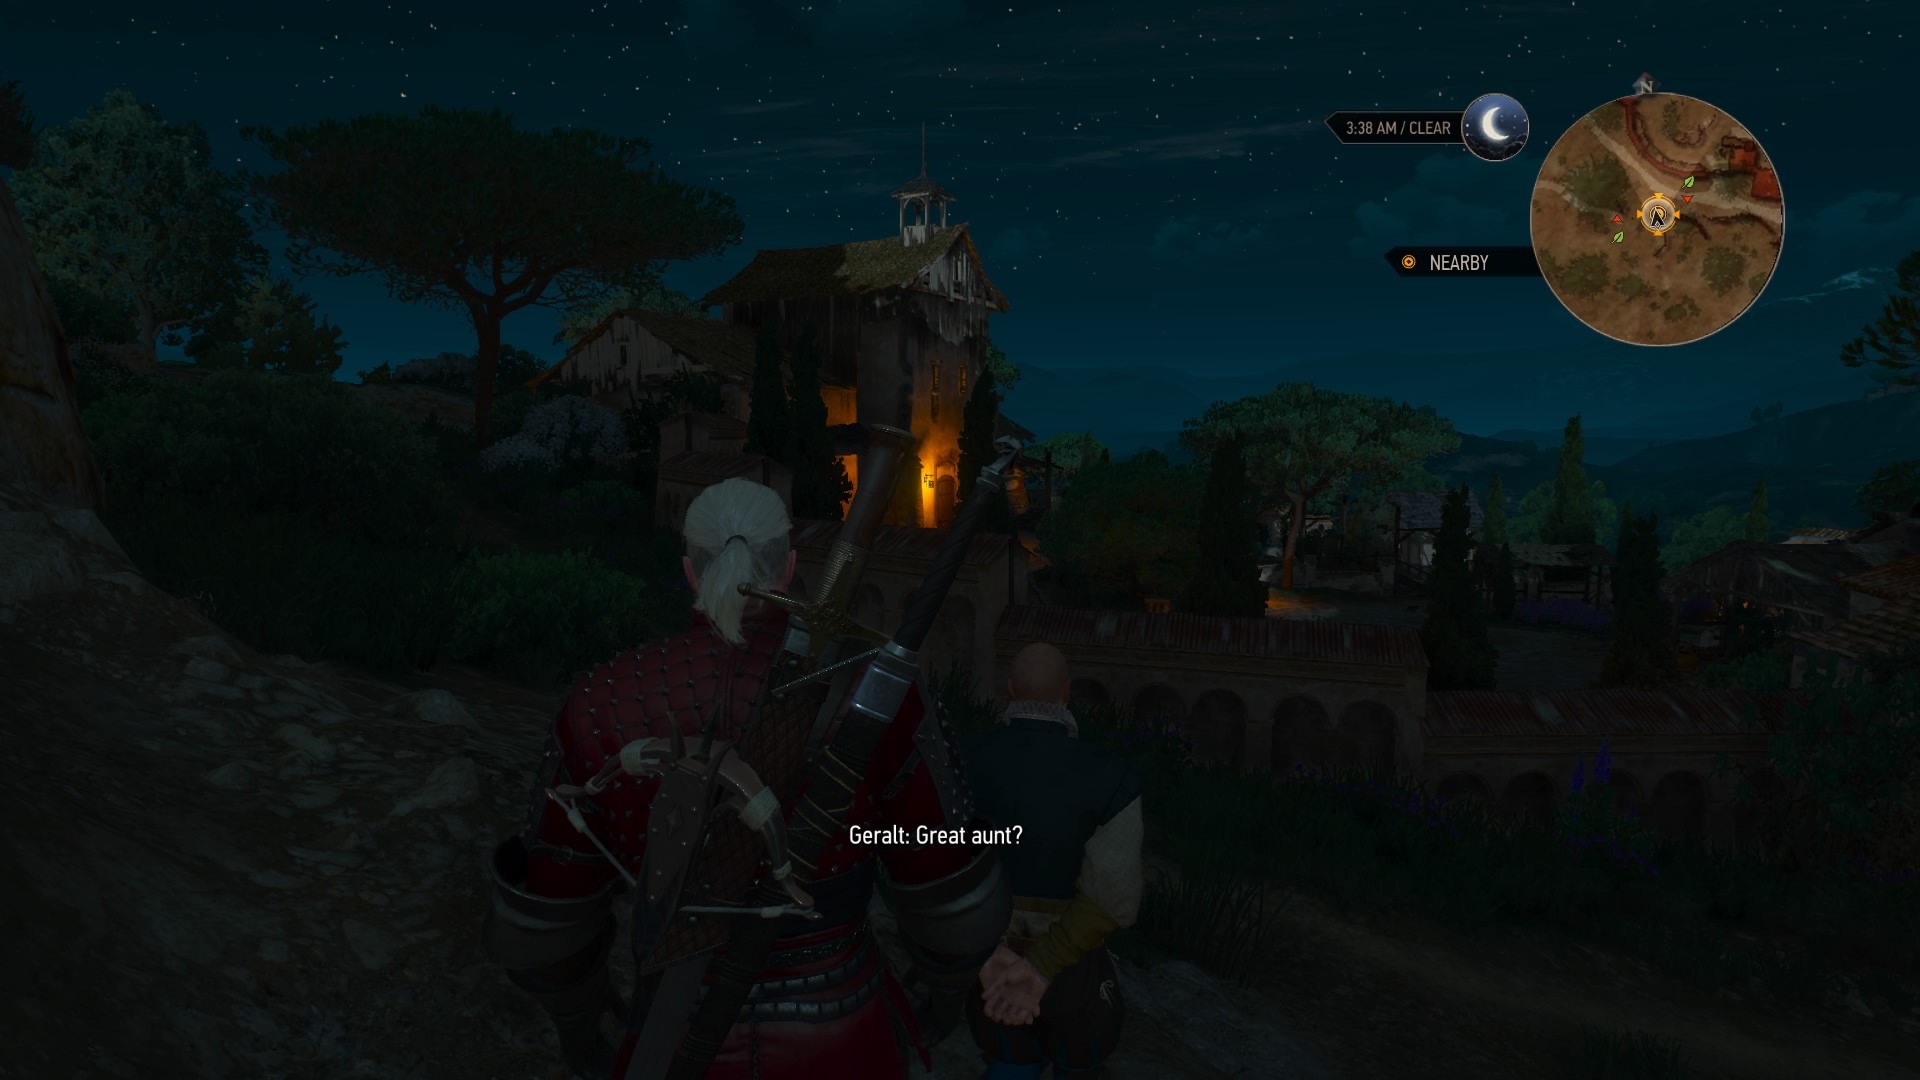
After the tourney, duchess Henrietta will award you an unoccupied vineyard. Head back to Corvo Bianco – now free of corpses – and meet your new majordomo. Take a tour with him to get a lay of the land. The next step is to spruce up the place. You’ll need to improve the house with general refurbishment, and improve the grounds with an armorer’s table and grindstone. It’ll cost a few thousand crowns to do this, but once you shell out the coin and wait around for a few days, the renovations will be complete.
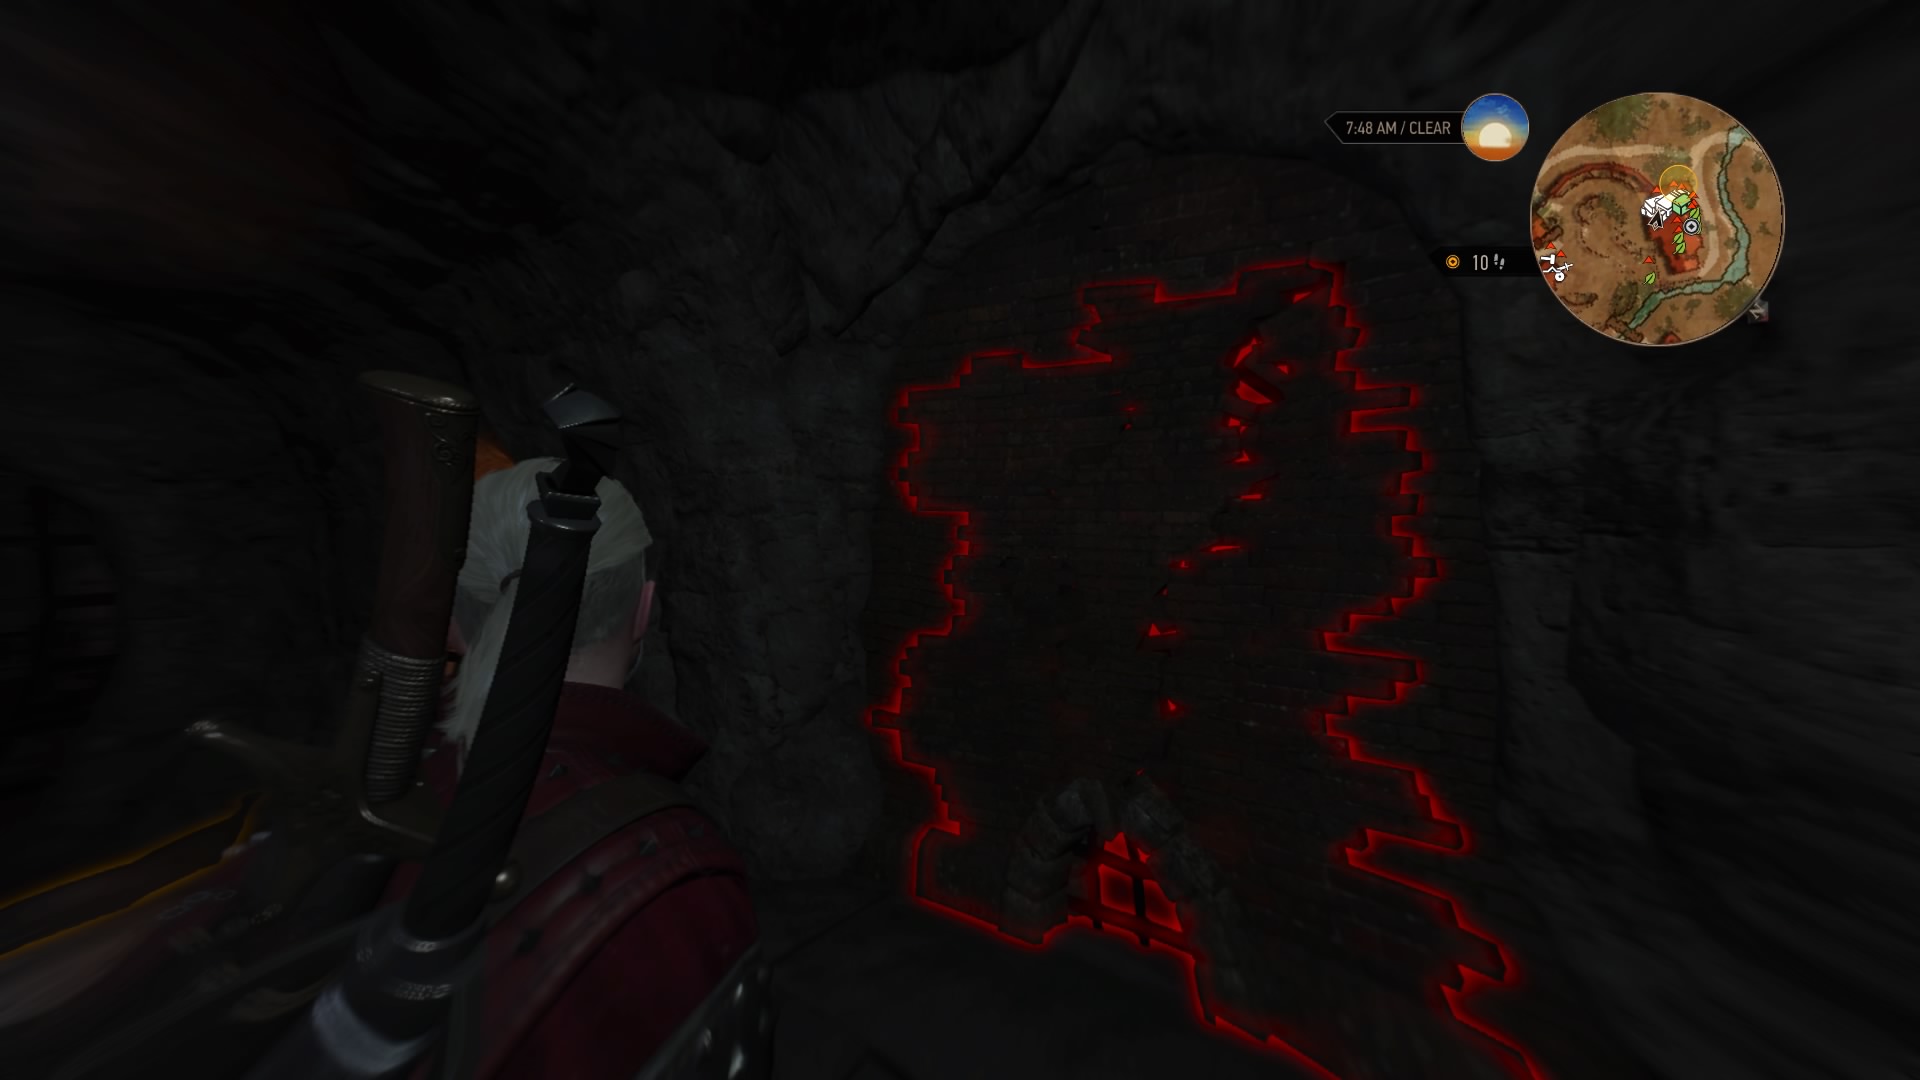
Visit the majordomo to learn of a discovery during the renovations. Head to the cellar to find a crumbling wall you can blow through with Aard. On the other side is a special alchemy table you can use to craft mutagens. Return to the majordomo, and you’ll have more renovations to choose from.
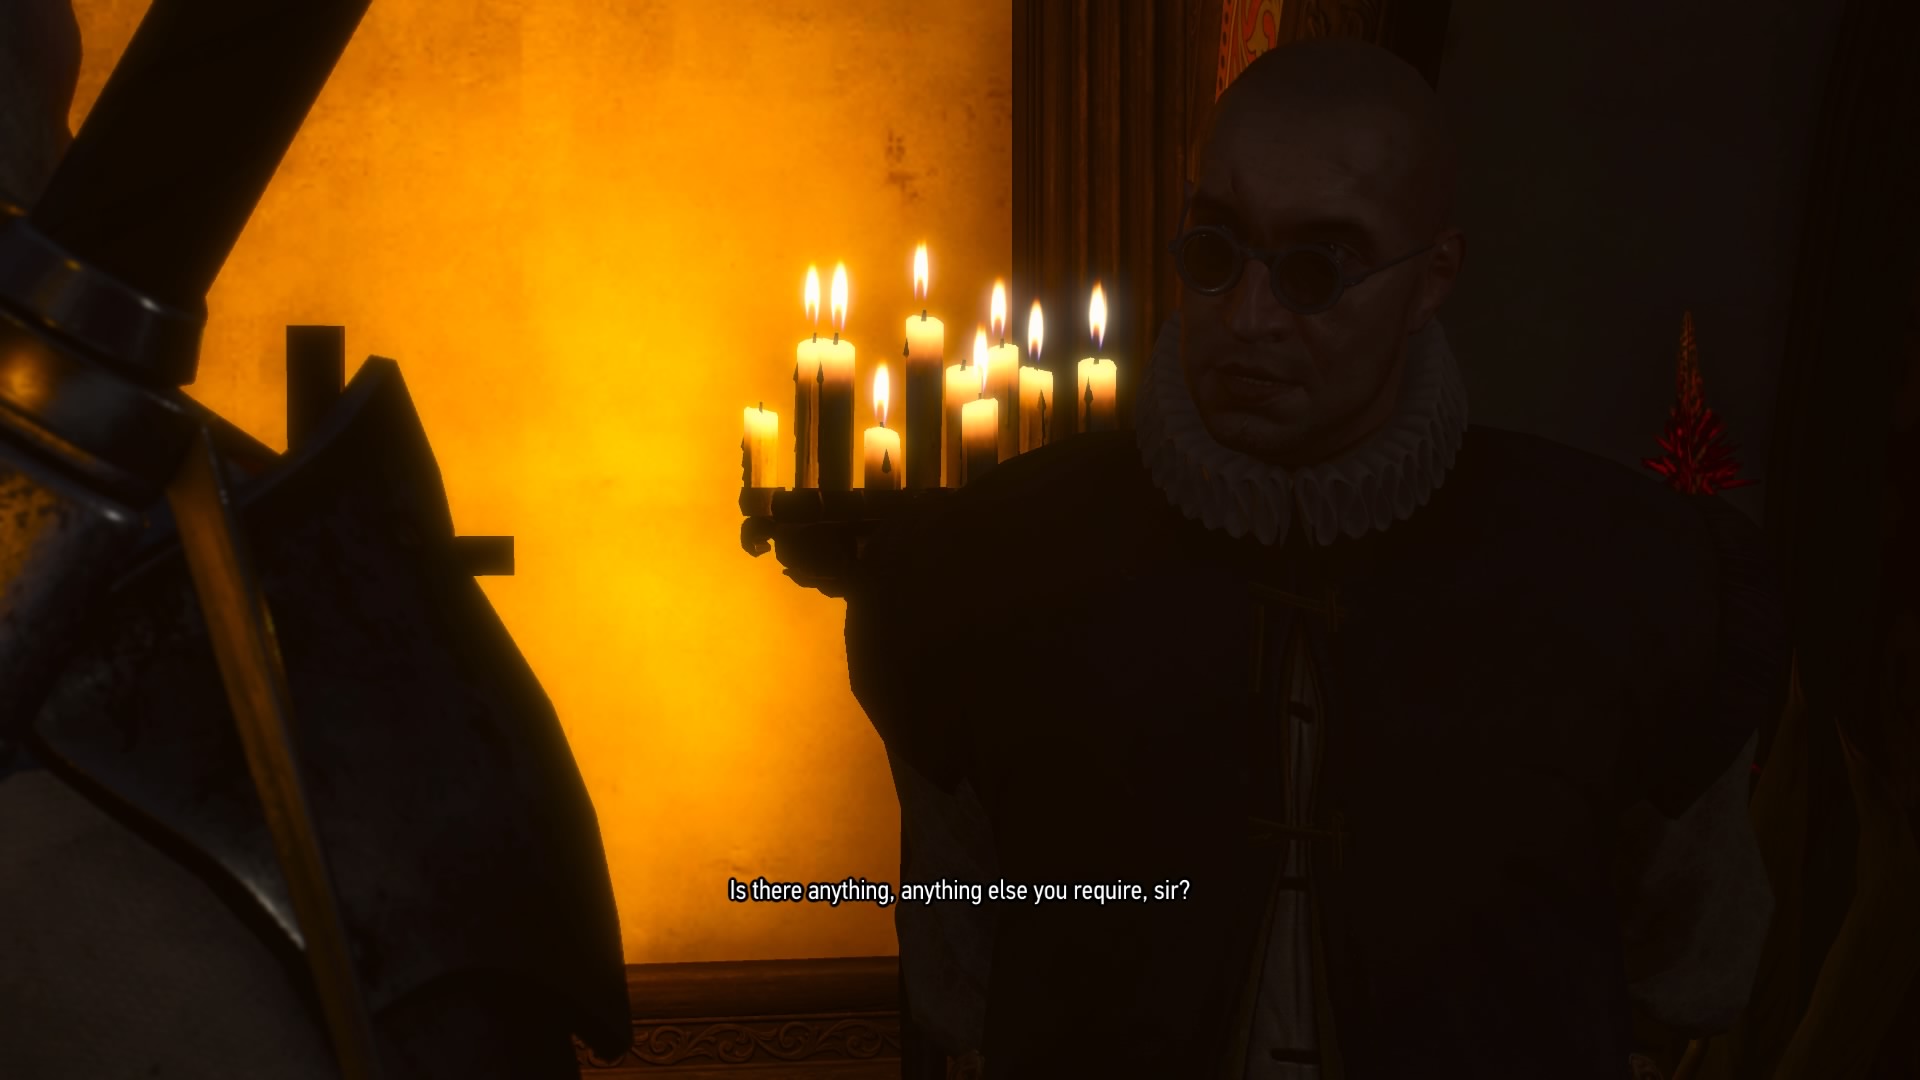
This time around, you can order a new bed, weapon rack, and armor stand for your part of the house, refurbish the guest room, and get a new stable and herb garden for the grounds. Pay for all of these – it’s an expensive quest, eh? – and Corvo Bianco will be fully restored. Celebrate with the majordomo if you want, but that’s the end of the quest.
The Warble of a Smitten Knight
Suggested Level: 35 | Prerequisites: Defeat the shaelmaar during “The Beast of Toussaint.”
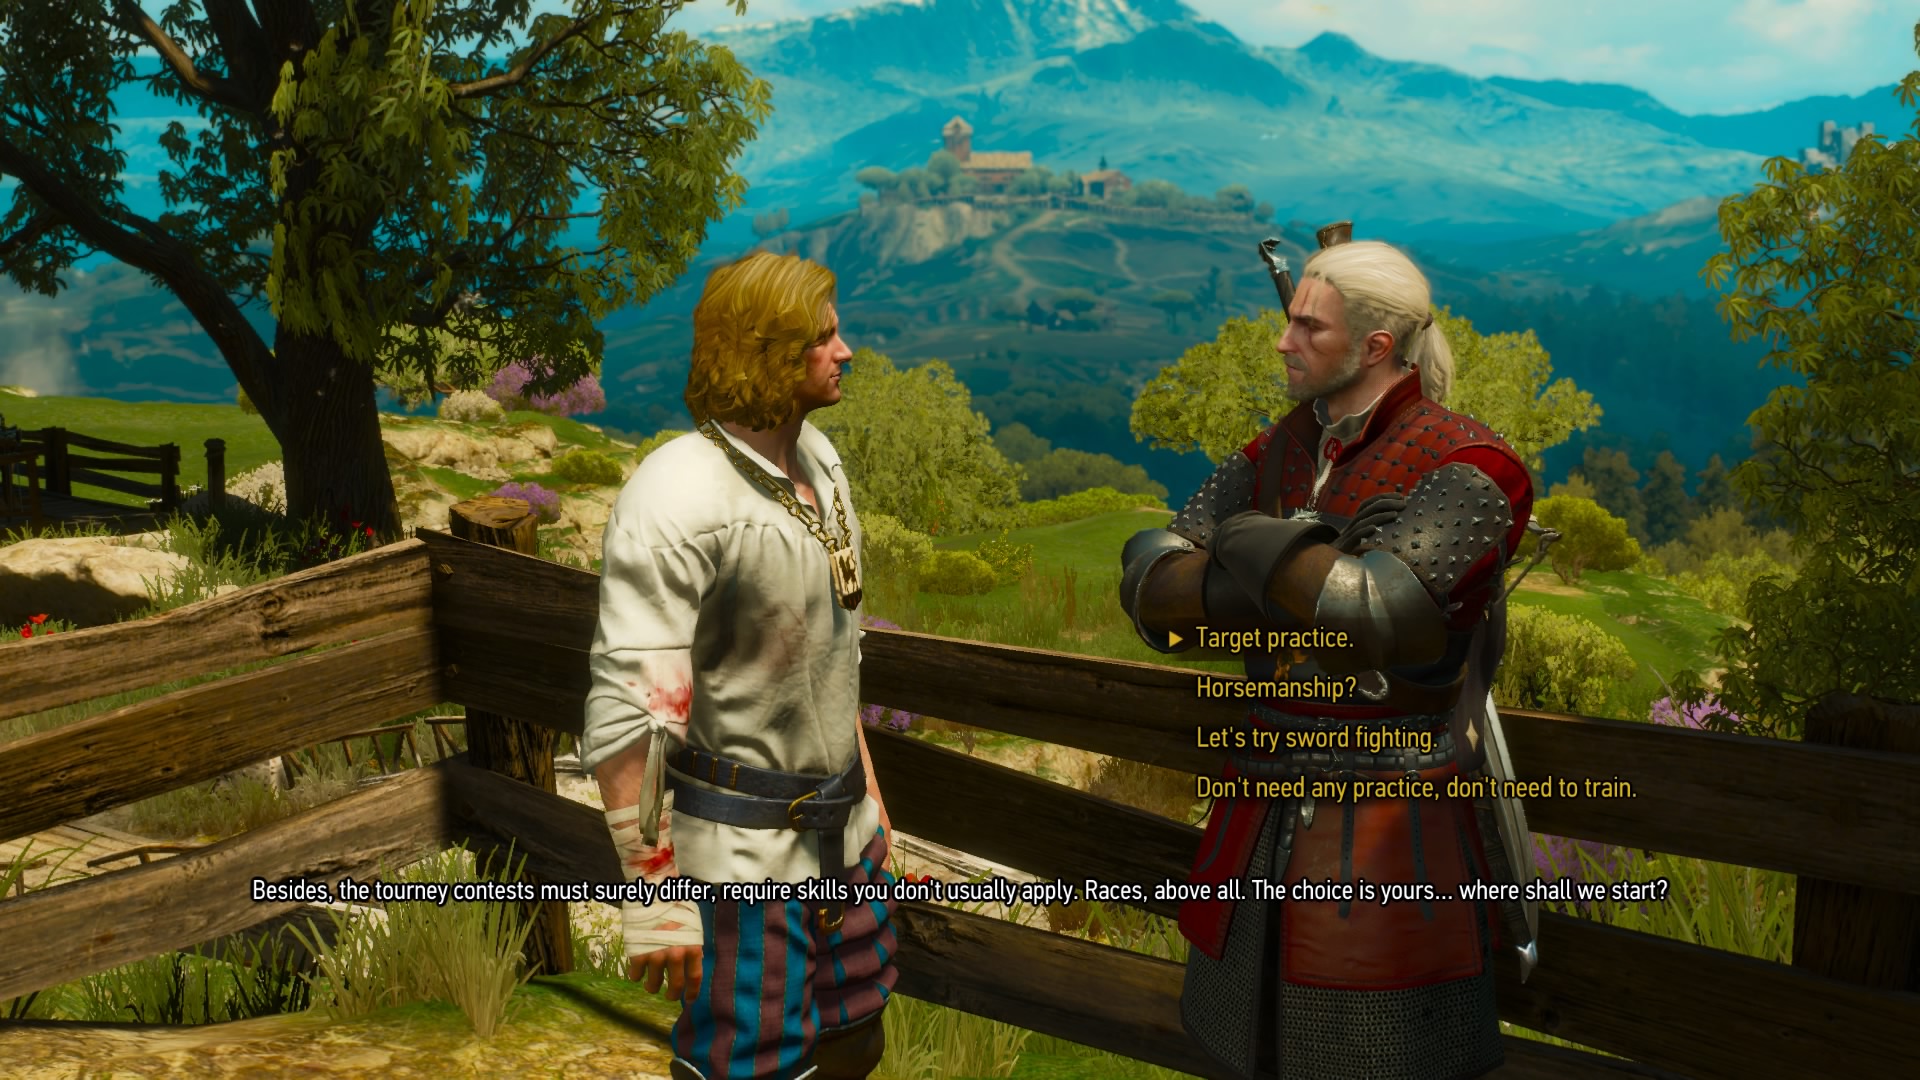
Remember Guillaume, the other knight who fought the shaelmaar with you? Visit him after the battle to learn that something’s wrong with his lady friend Vivienne. To get an audience with her, he’ll have to win another tourney, but his injuries prevent that. Agree to enter in his place.
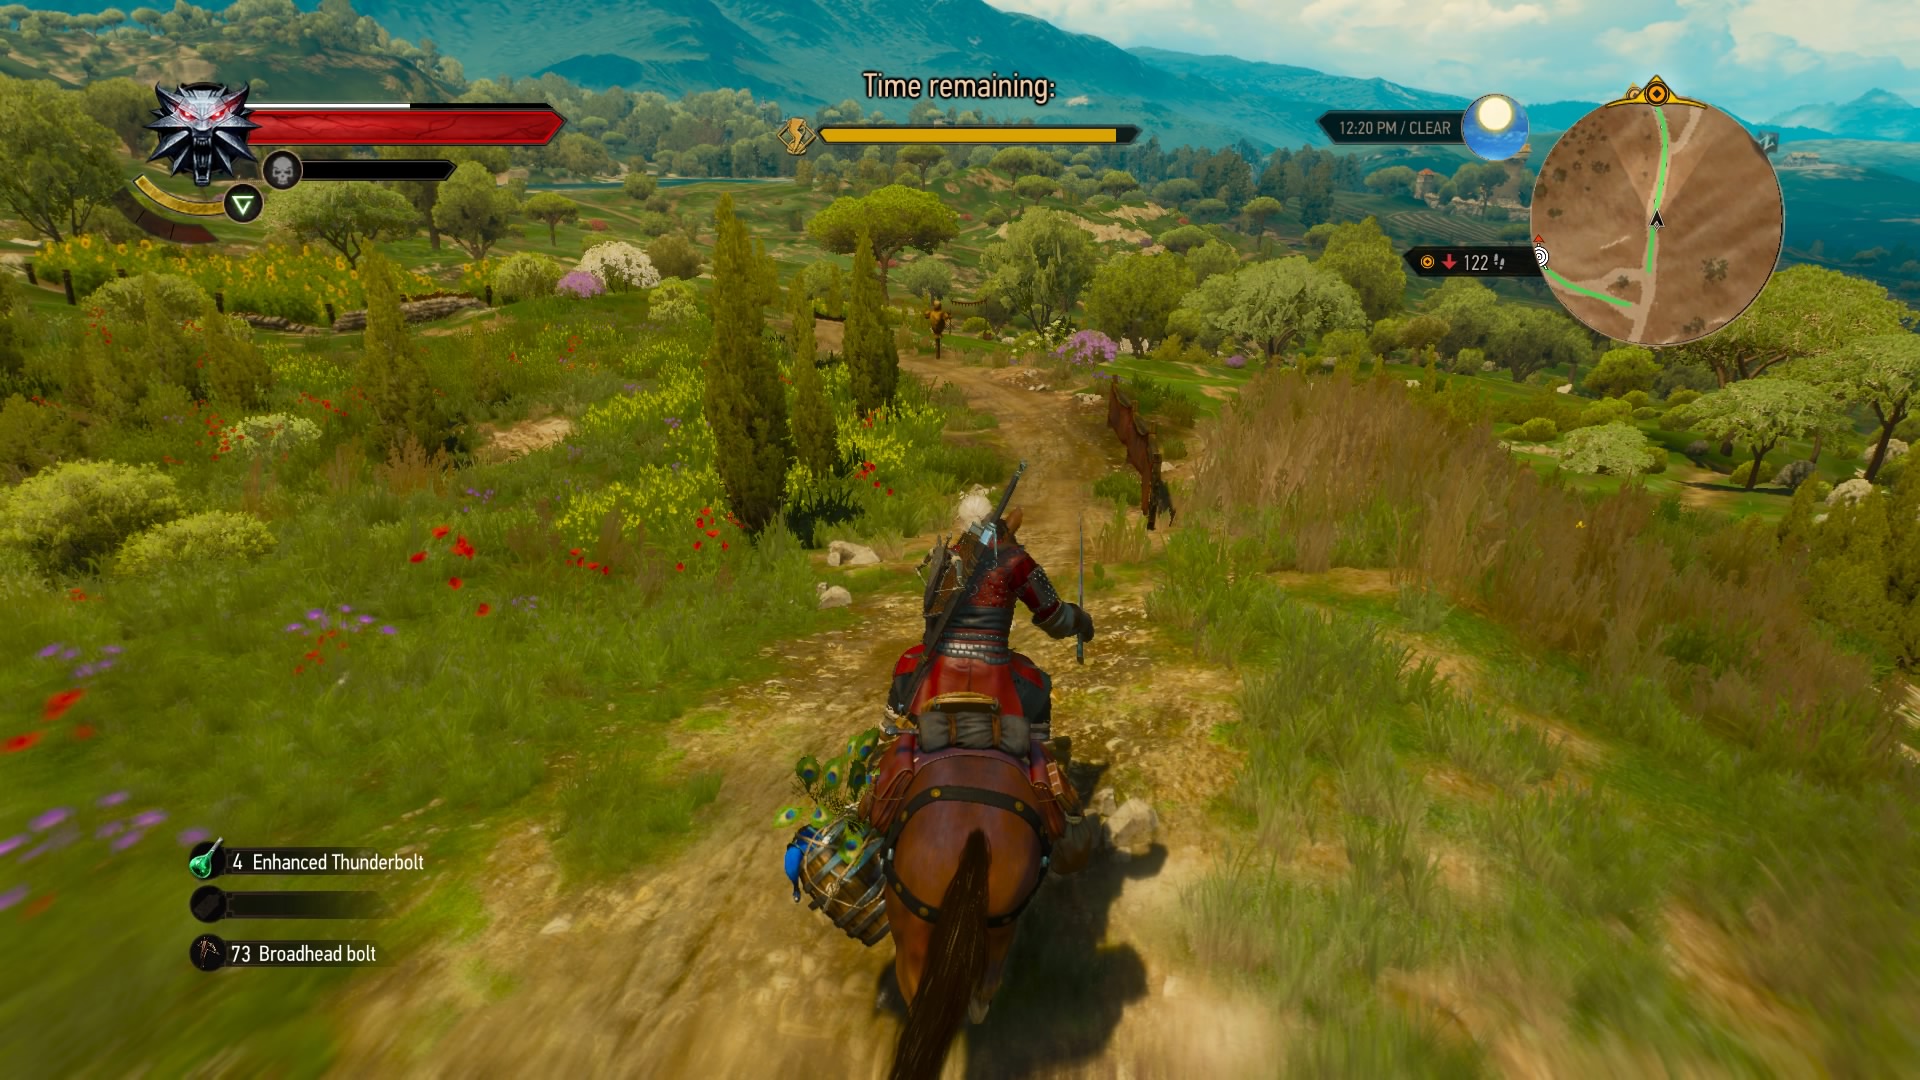
It’s best to get in some training first. For target practice, you’ll have a limited time to hit all the red targets with your crossbow. For race training, you’ll have to not only get through the course in a limited time, but you can extend that limit by slashing dummies and shooting targets. Fight training is pretty straightforward, so the practice round is just a simple duel.
Weekly digests, tales from the communities you love, and more
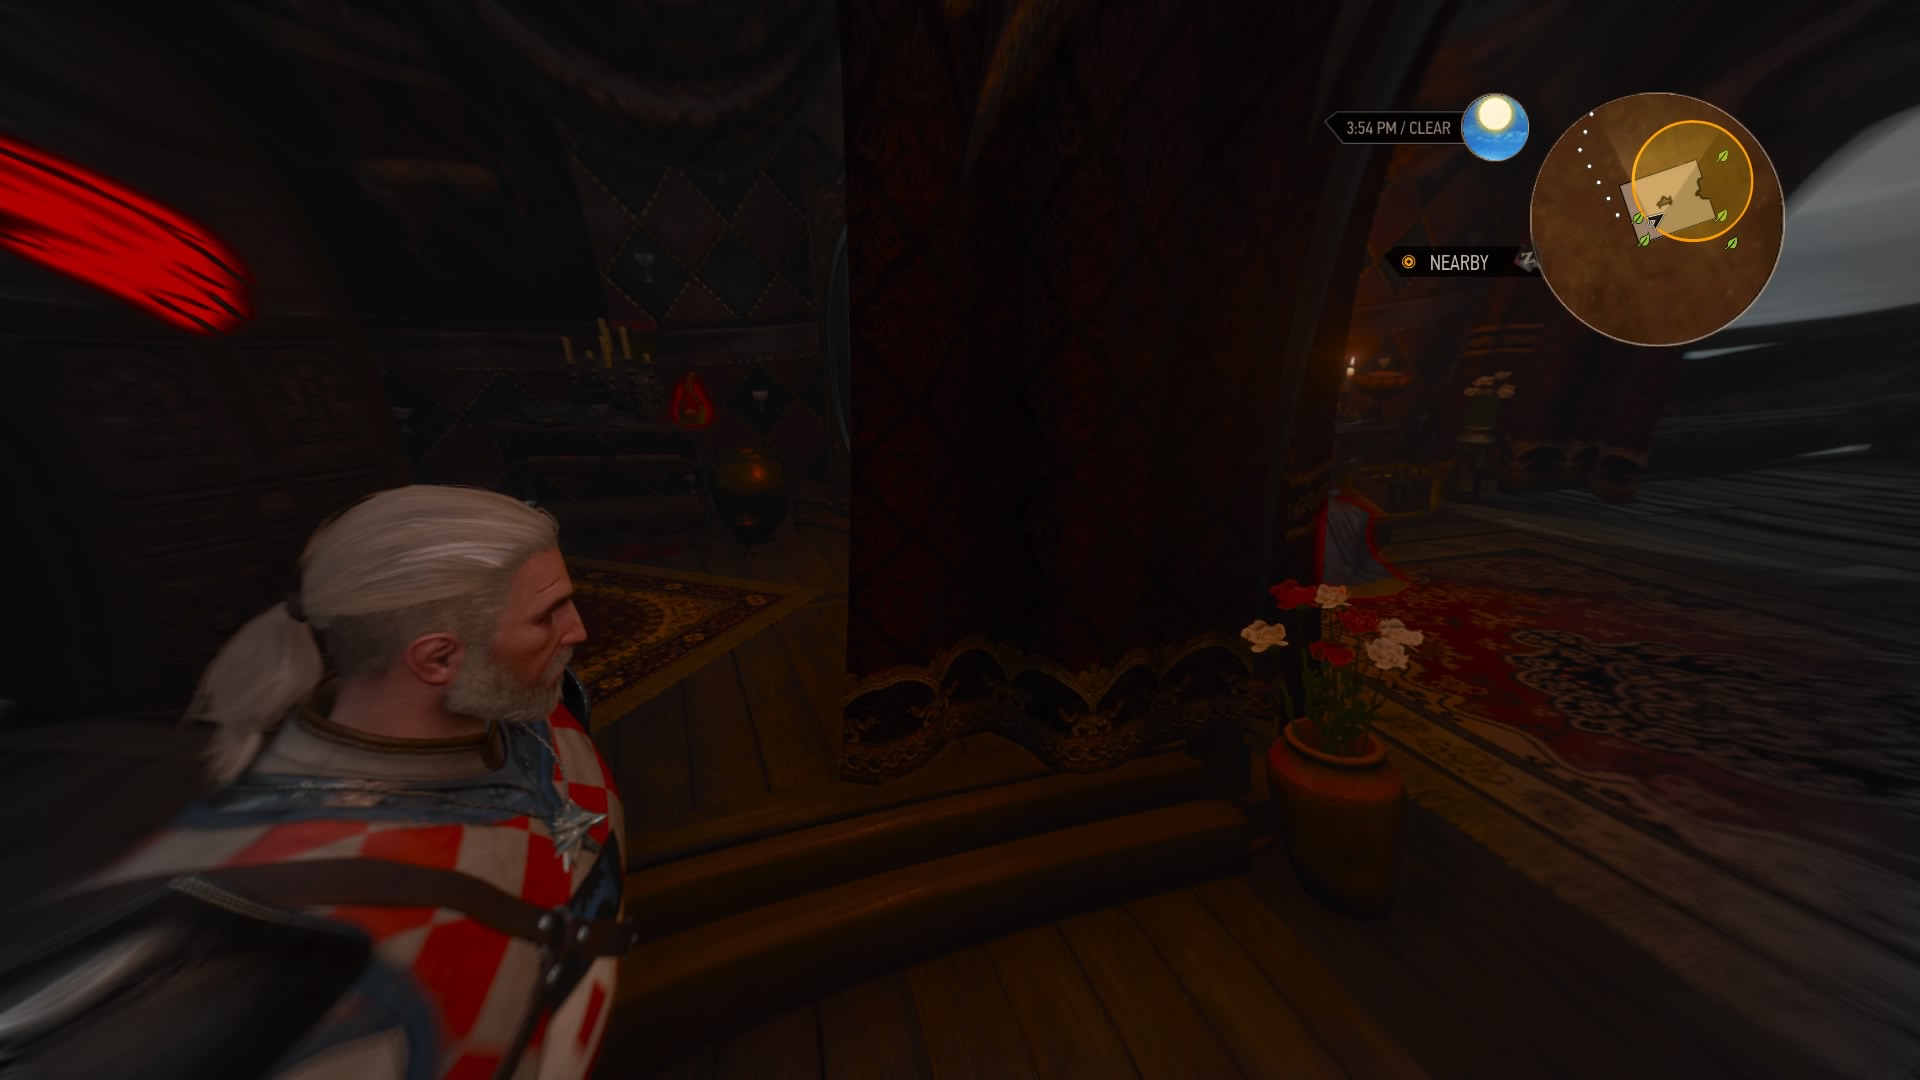
With training done, register at the marked tent to get all set for the tourney itself (you can have an optional Gwent duel with a friend before the festivities begin). In round one, you’ll have to snipe all the red targets before your opponent nails the blue ones. After this, you’ll get a chance to search Vivienne’s tent. Do so and gather as many clues as you can before you’re forced back to the tourney grounds.
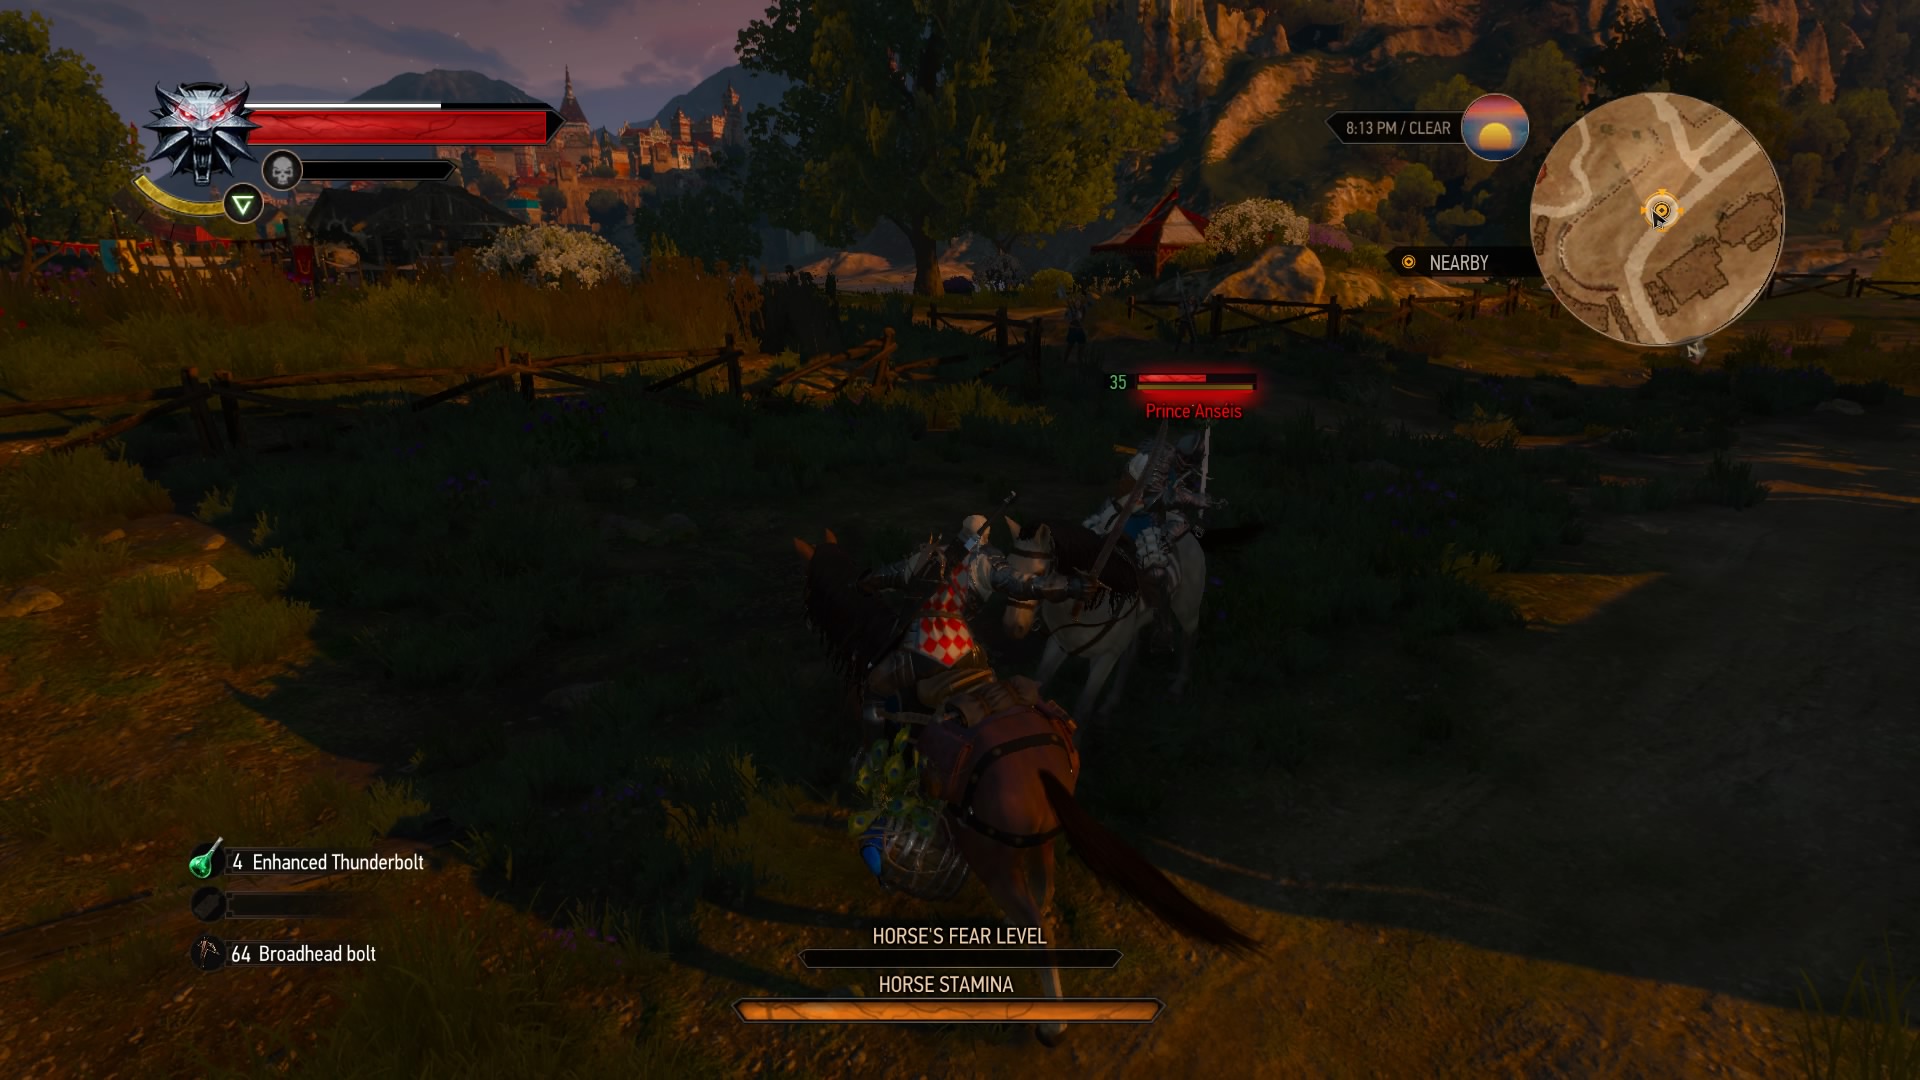
In round two, you’ll have to get around the track before time expires. You’ll have a chance to take a little wine break after, during which you may be challenged by another knight if you’re wearing the Rivia armor. Take him down, and you’ll get another chance to figure out what’s wrong with Vivienne.
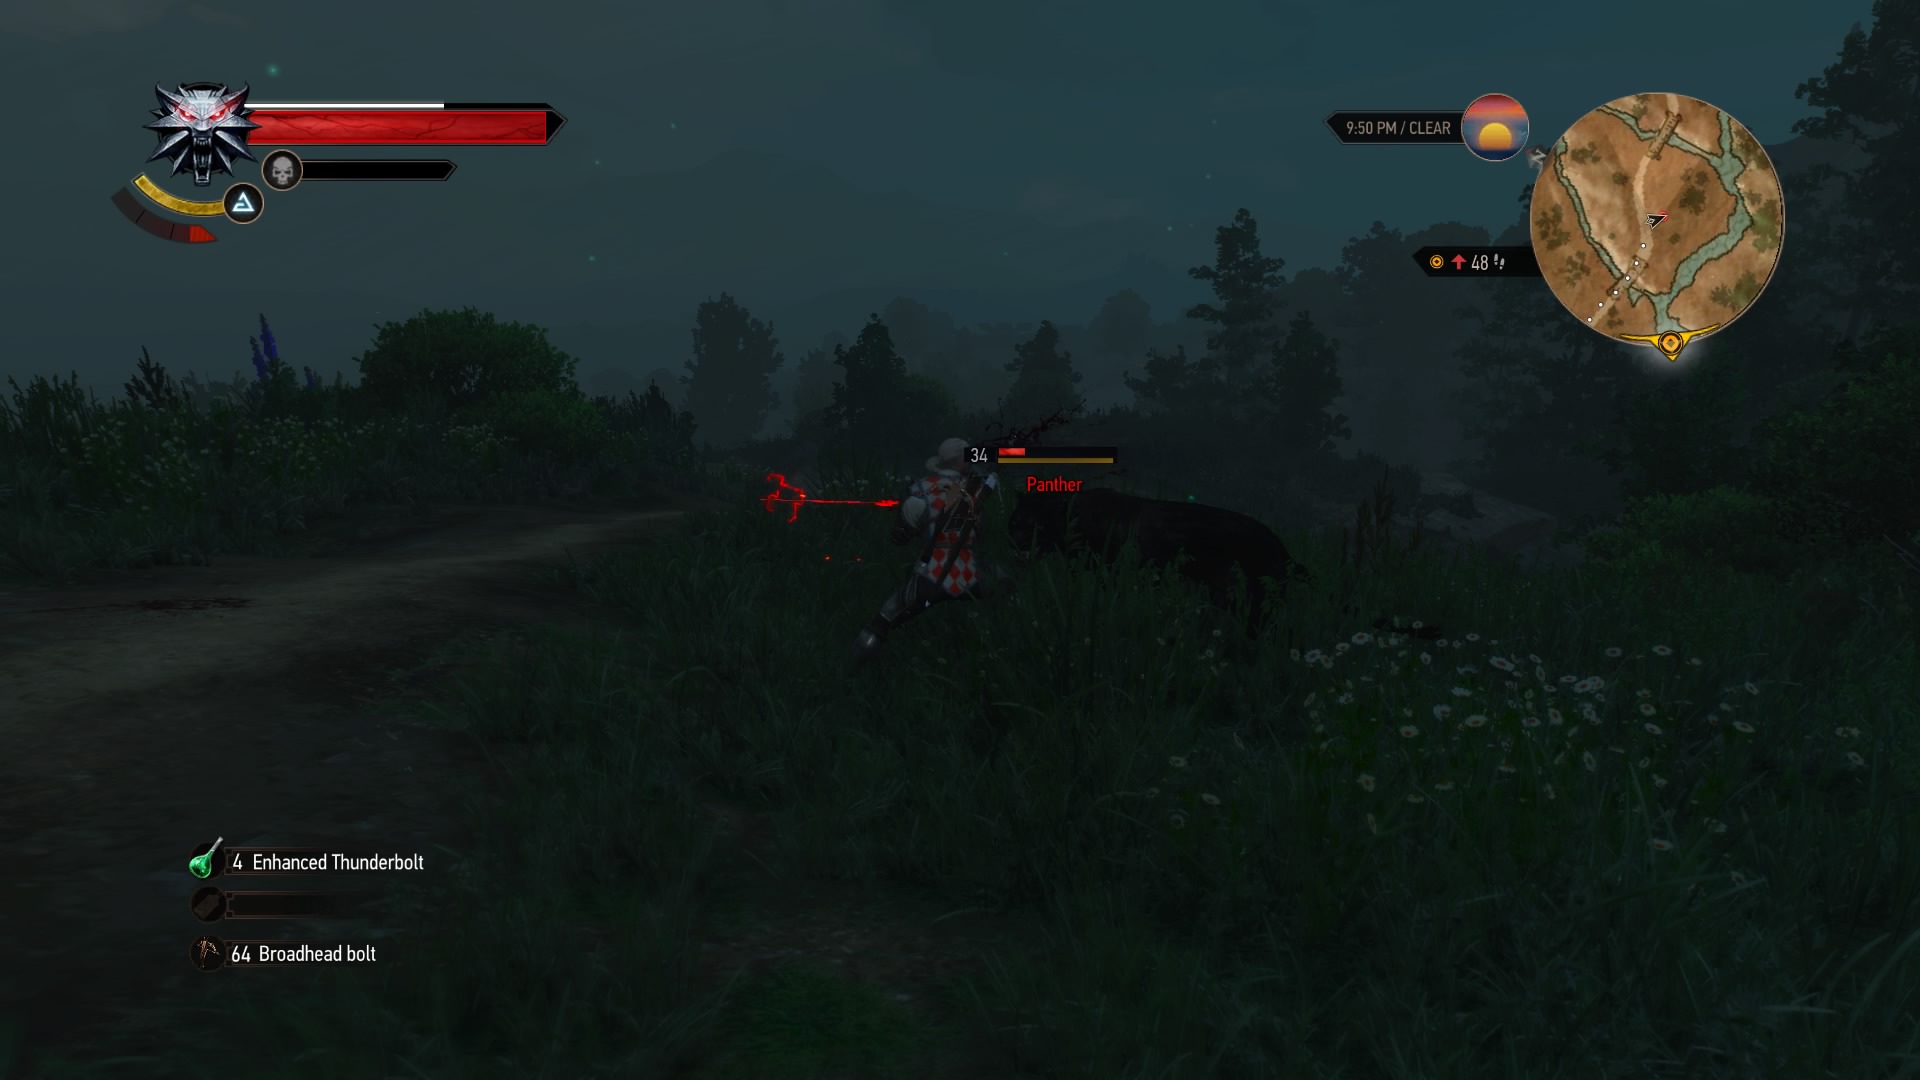
Head to her tent, and use your Witcher senses to spot a small bird. Follow it across the map, taking out the panthers that attack you along the path. This will eventually lead you through a cave and to a clearing – where you’ll find Vivienne in her half-bird form. After agreeing to help lift her curse, you’ll return for the final round of the tourney.
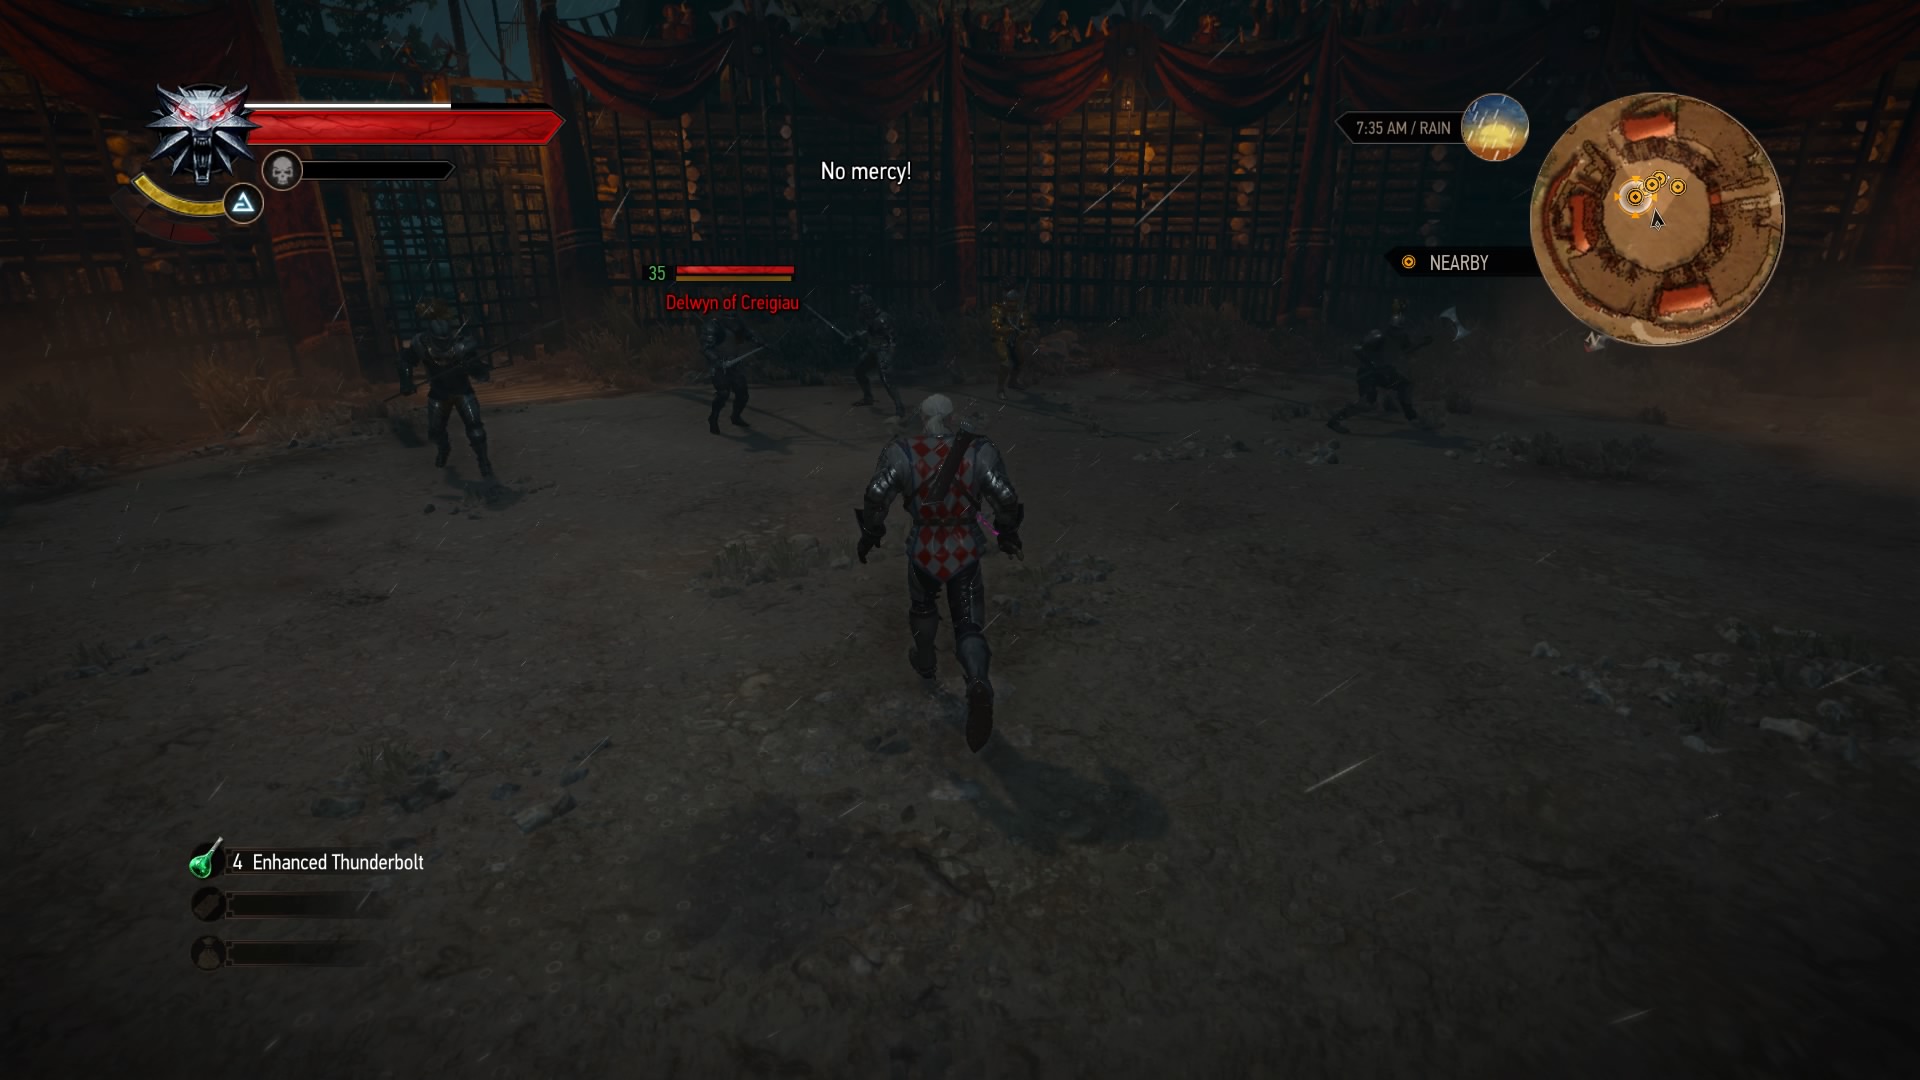
Before it starts, you’ll have a chance to speak with Guillaume. You can lift Vivienne’s curse with an egg and shorten her lifespan, or transfer the curse to Guillaume via water. Your call. Then it’s time for the final skirmish. Get through the tilt, then win your one-on-one duel with Gregoire to finish the tourney. After that, you can take care of Vivienne’s curse with whichever method you prefer (you’ll have to fight one more panther in the clearing though). And that’s a wrap on this very long side quest!
Turn and Face the Strange
Suggested Level: 35 | Prerequisites: Complete “Blood Hunt.”
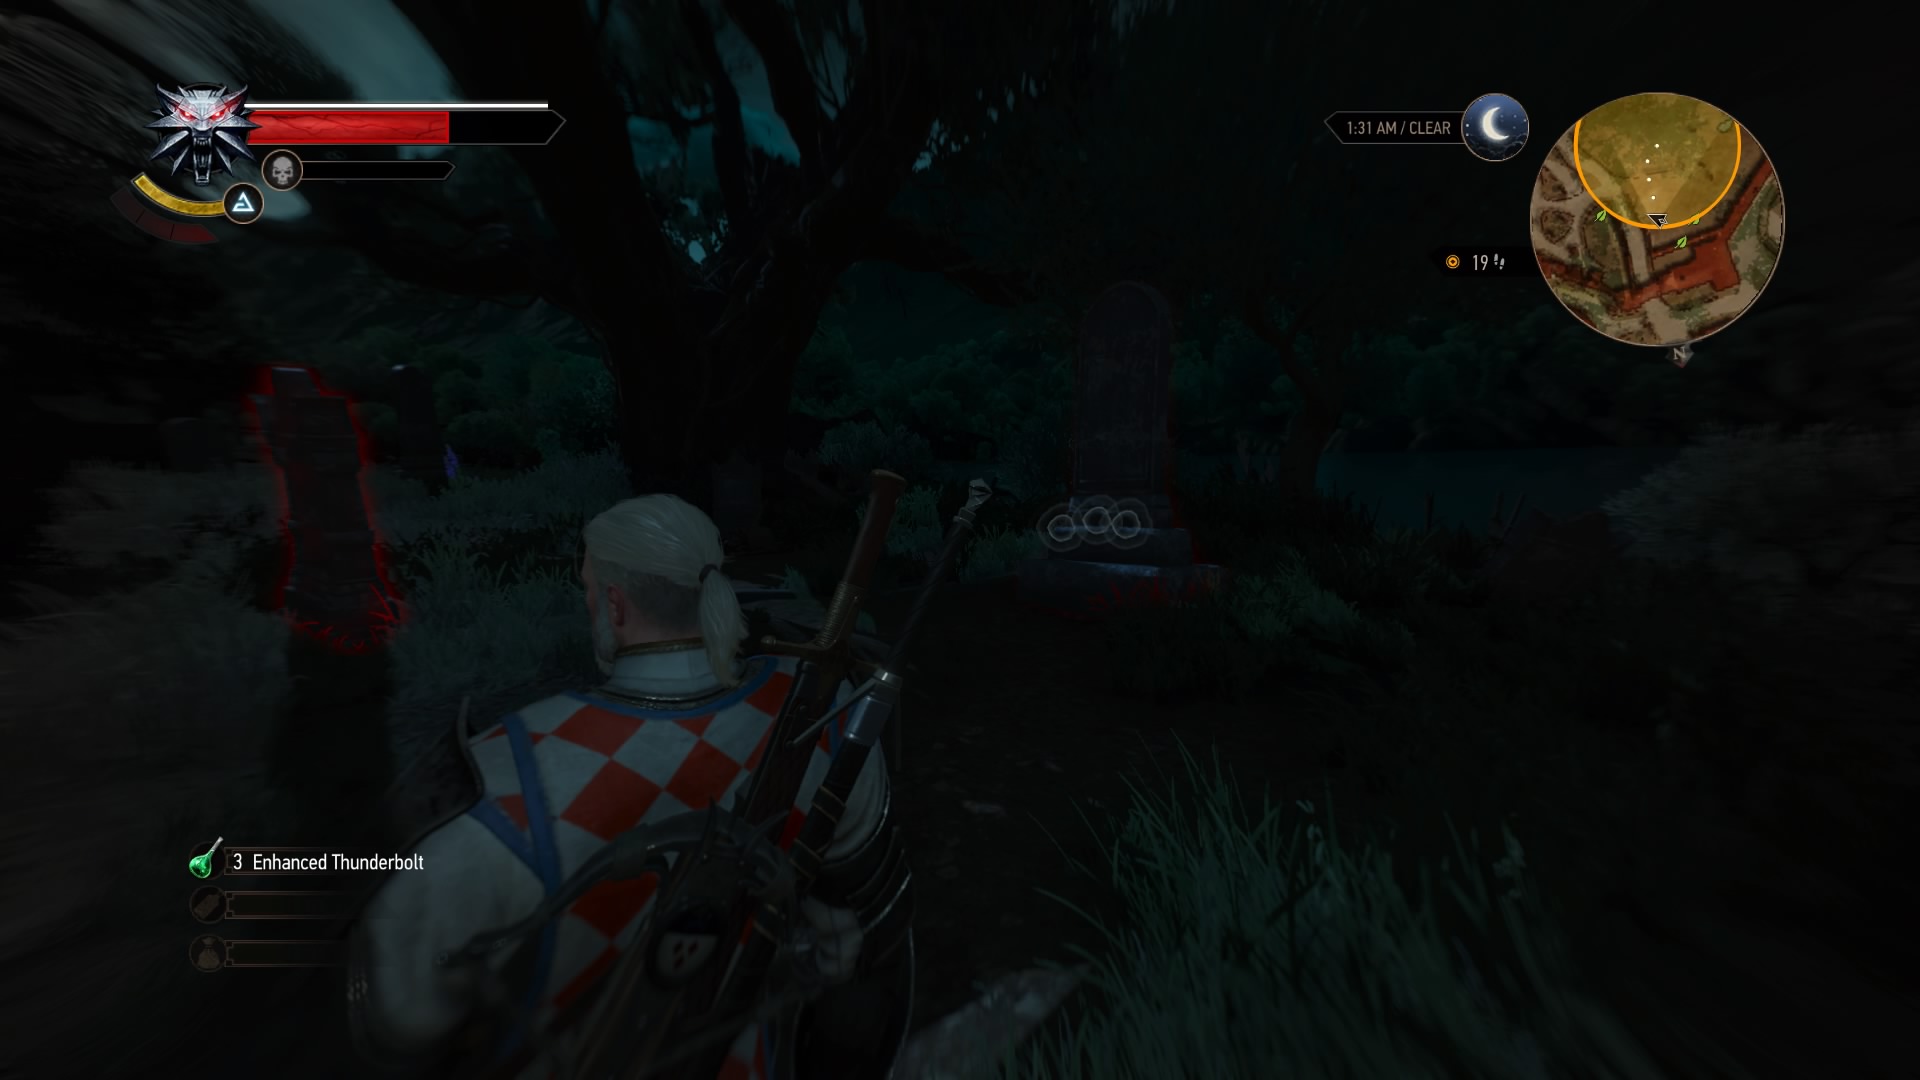
After completing “Blood Hunt,” exit the home and make a left. In the square beyond, a messenger boy will hand you a letter from Yennefer. This initiates a quest to learn about Professor Tomas Moreau’s Witcher mutations. Start by heading to the cemetery at the edge of the city and using your senses to locate his tombstone.
His dug-up grave won’t be of much use, and the footprints nearby don’t go very far. Check the map Yen sent you to get a new marker. Head there, swim out into the bay, and dive down to find a strange portal underwater. This takes you to Moreau’s tomb.
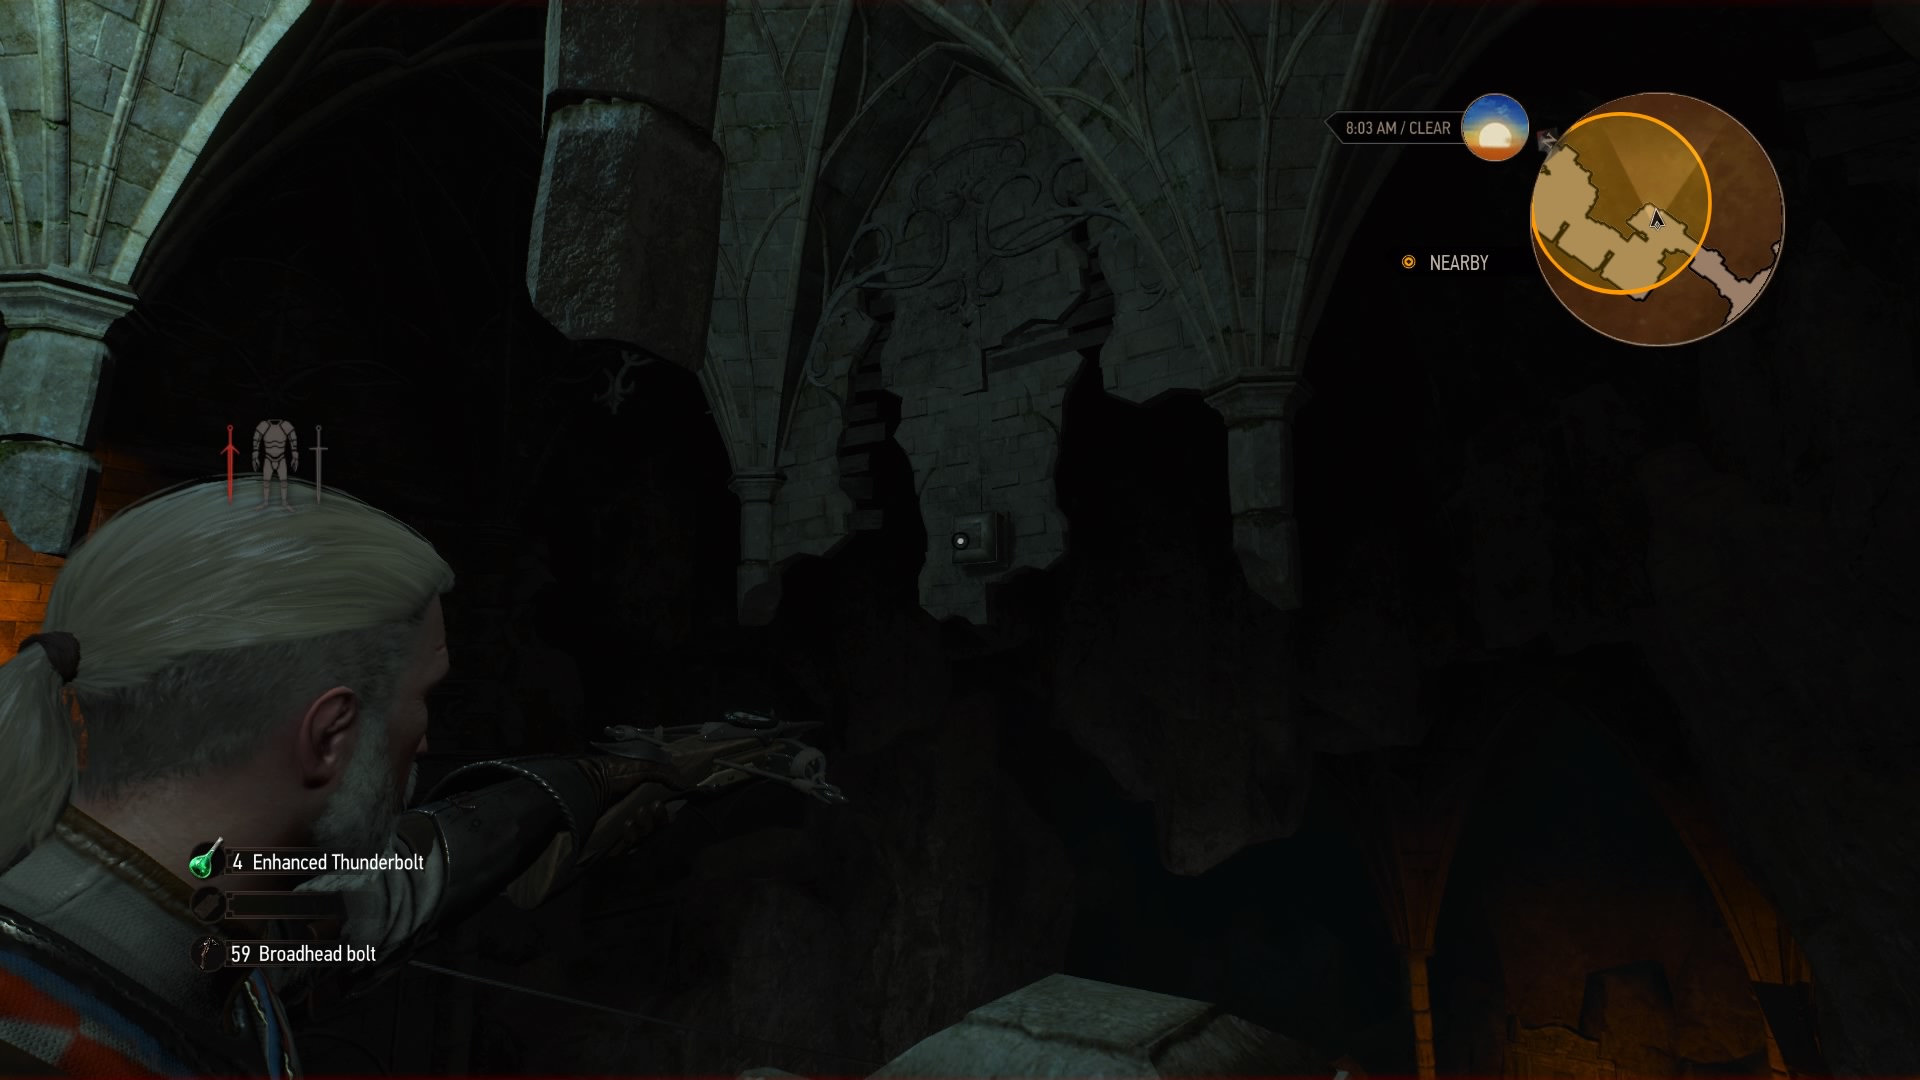
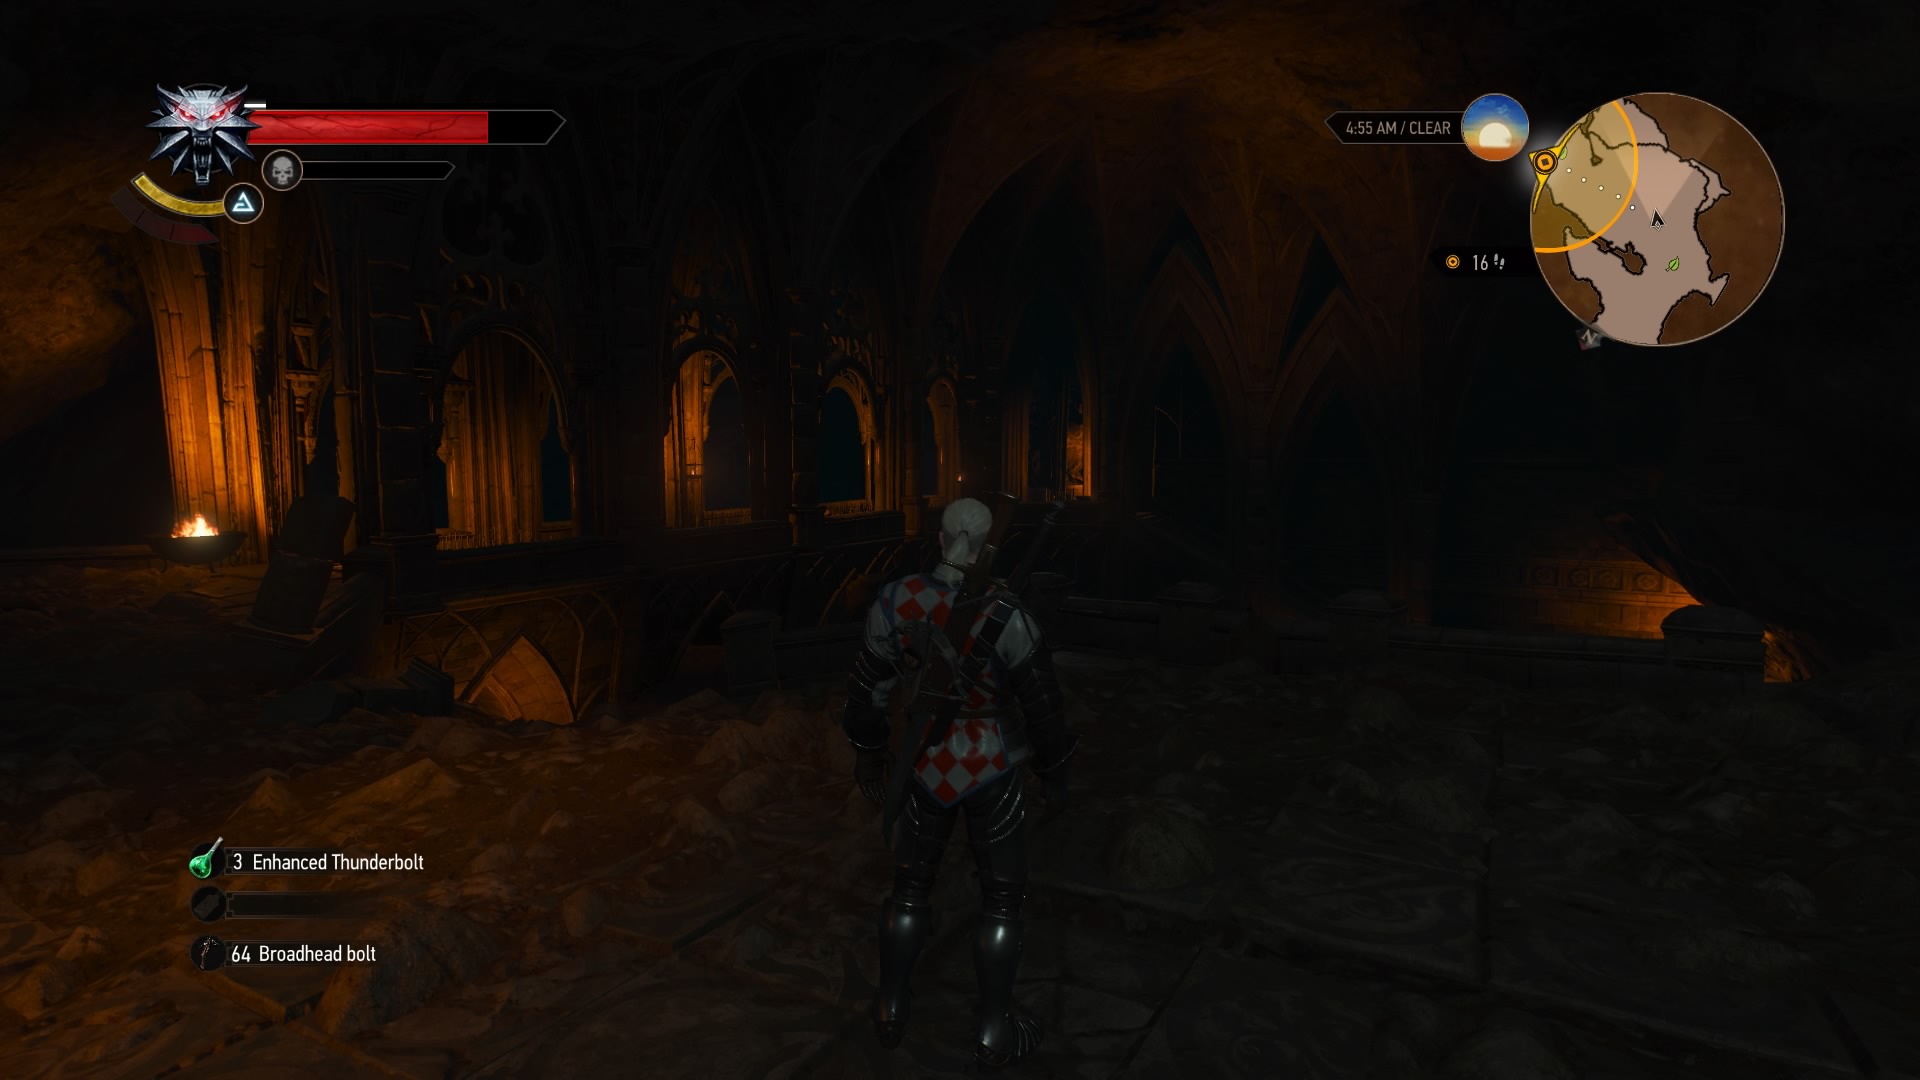
Make your way through the tomb, taking out the spirit panthers that appear. Eventually, you’ll find a locked door near a chasm. To open it, shoot the four switches around the room (a new one pops up once you’ve shot the previous switch), then head into the large chamber beyond. Searching and looting the area will activate a gargoyle; take it out then loot the gargoyle claw from the pedestal if you haven’t already.
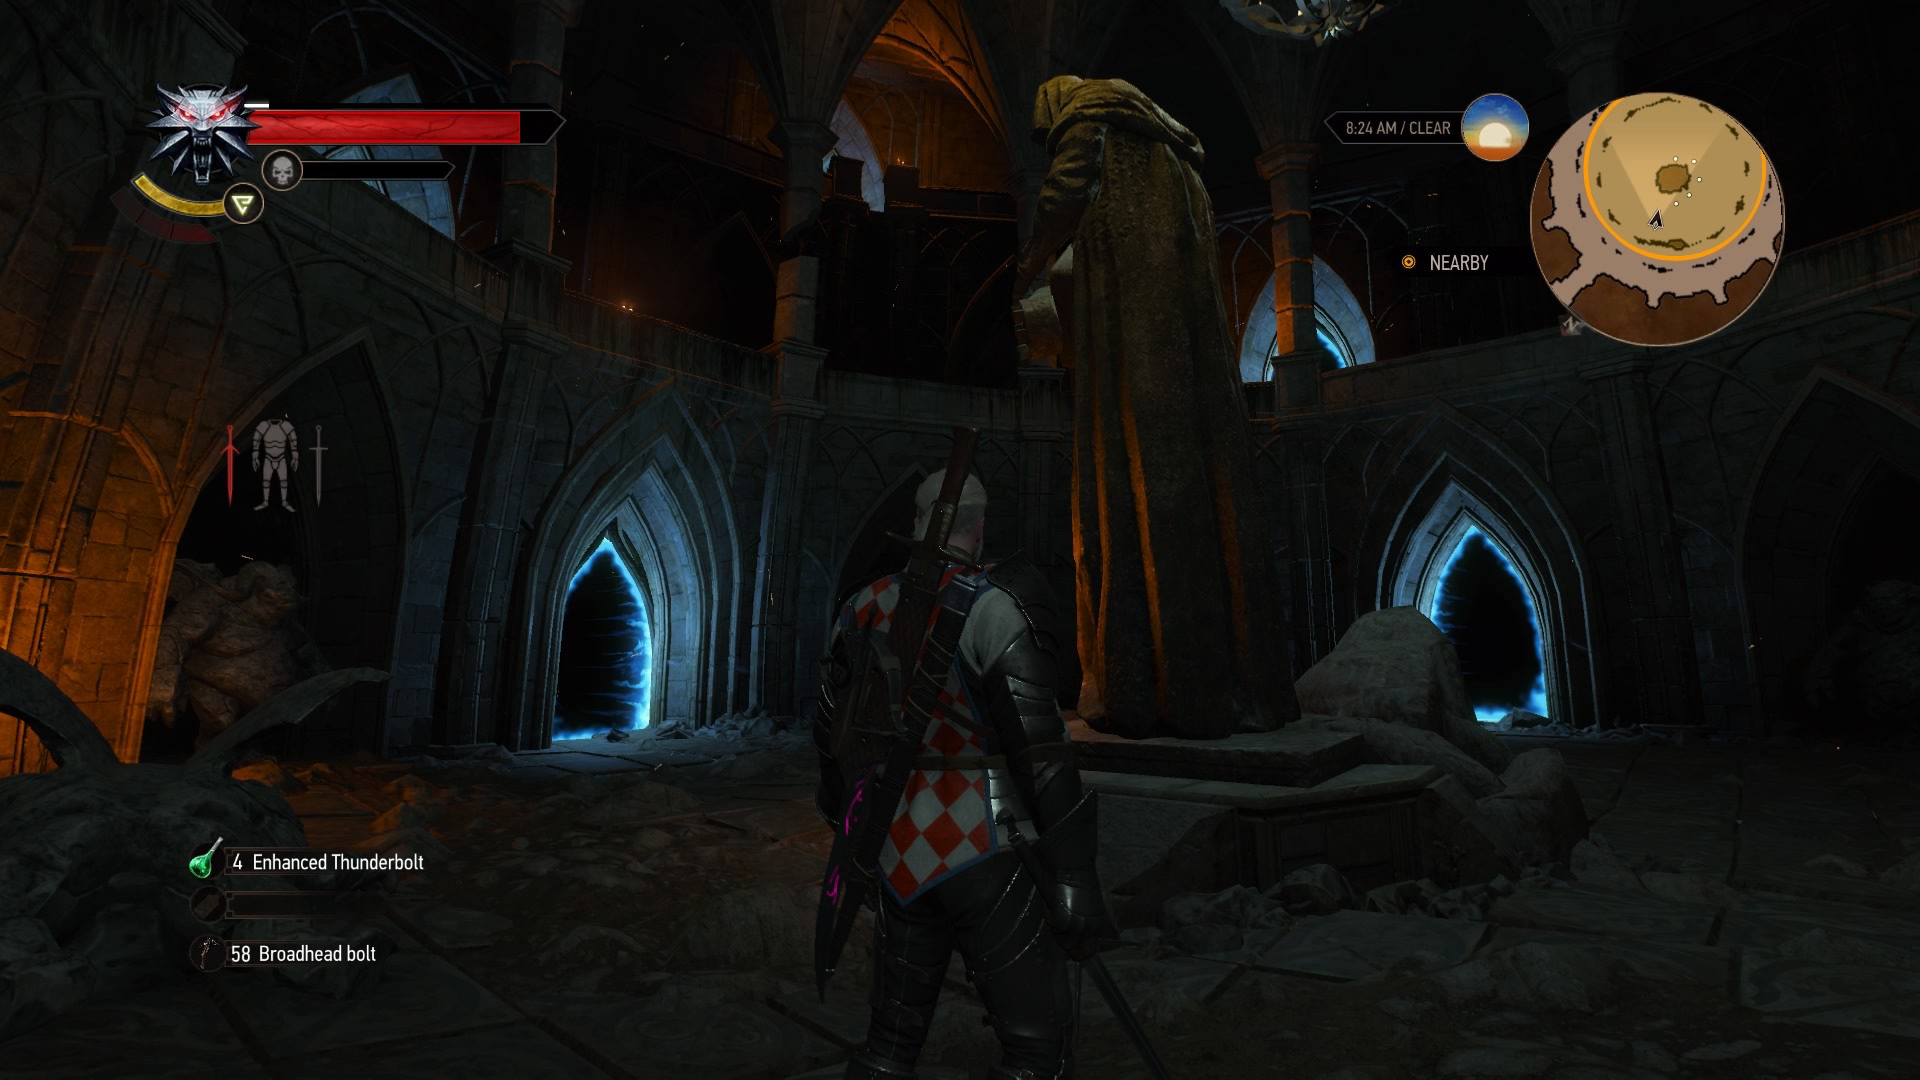
This will activate portals in the room. From the entrance, take the first portal on the left. When you emerge, drop from the ledge then climb up to the portal on the opposite side of the room. In the third room, follow the balcony around the whole room – you’ll have to jump a gap – and enter the final portal to reach Moreau’s lab.
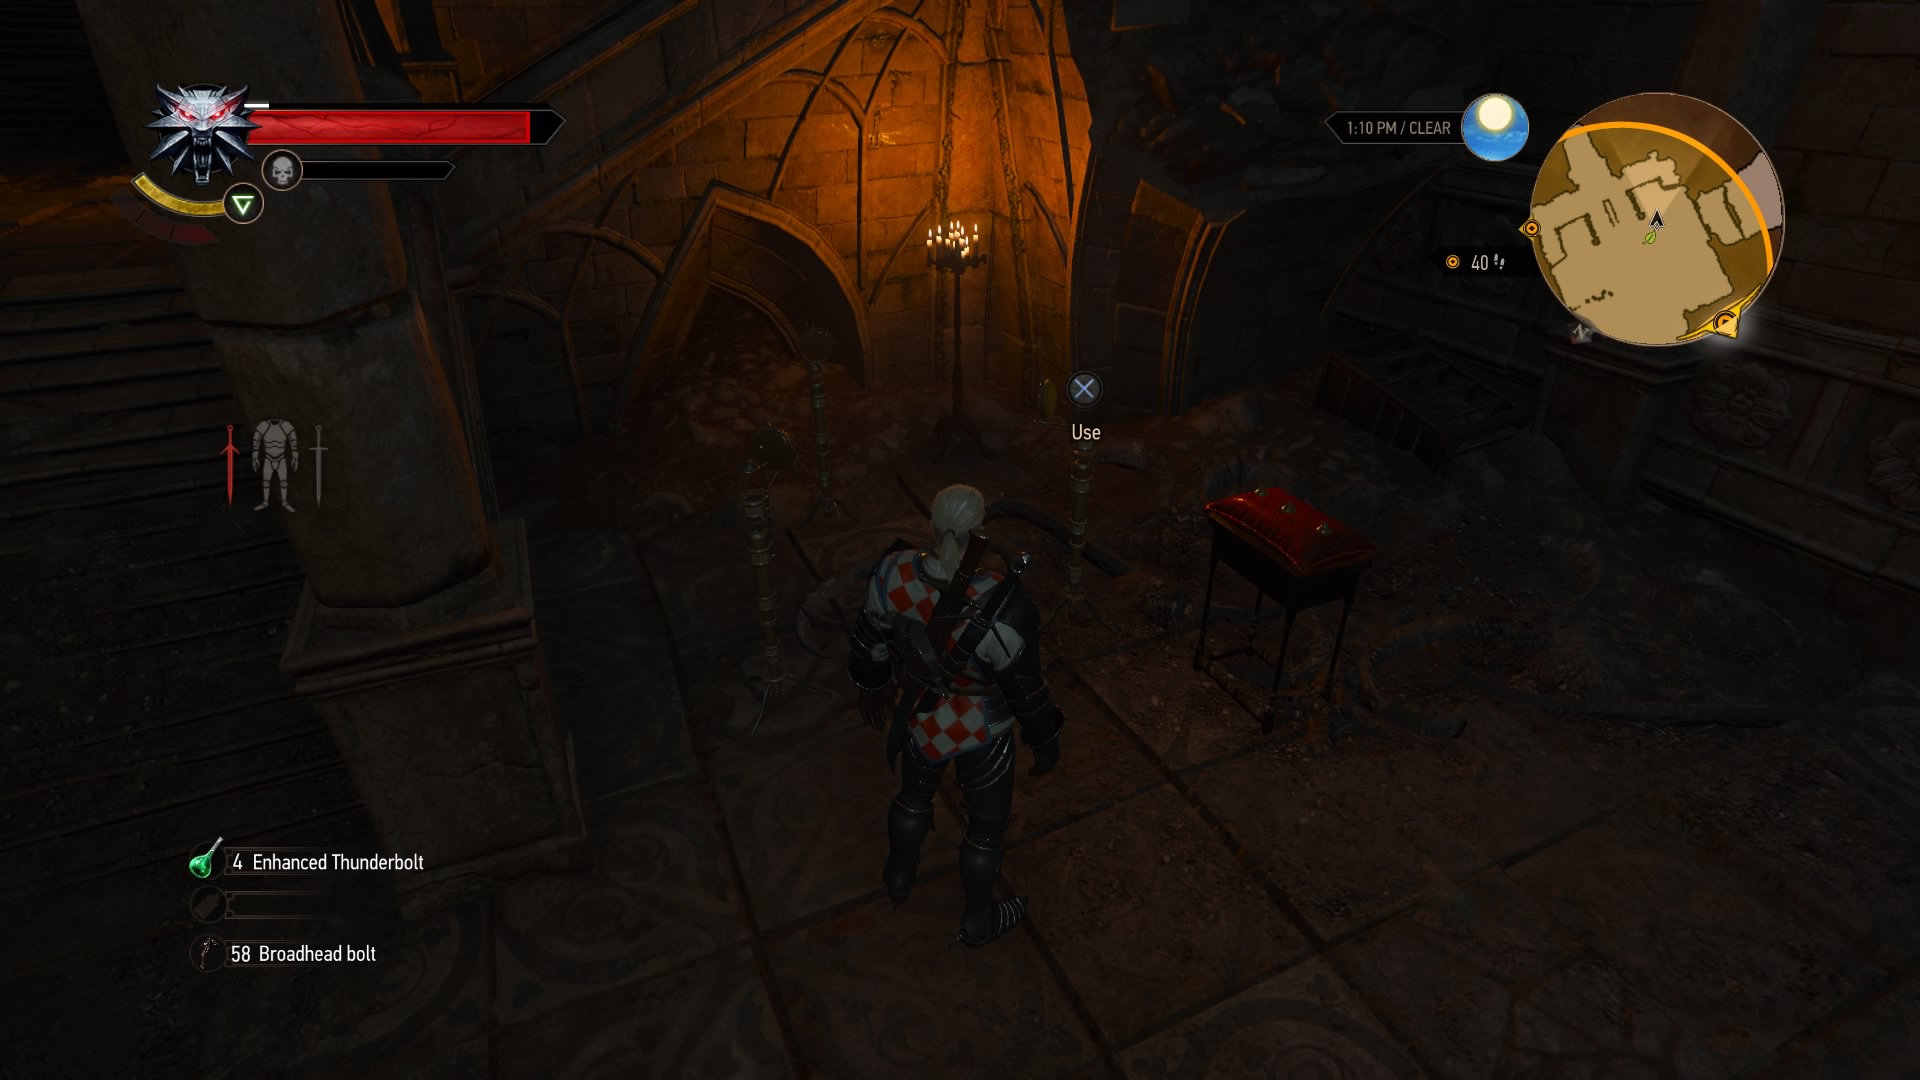
The first thing you should do is check the megascope and find out what the professor was doing down here. After watching the entries, it’s time to explore. You can find two more crystals to watch the rest of the megascope entries, but what you really need to do is enter the cave in the back of the lab, take out the centipedes, and steal their eggs. Return to the lab to fire up the weird contraption with said eggs, drop all your gear, then step inside. When you emerge, you’ll have an all new skill tree at your disposal. Exit the lab – you’ll need to charge a crystal with Aard – to finish the quest.
Spoontaneous Profits!
Suggested Level: 42 | Prerequisites: Find the Spoon Key during “La Cage au Fou.”
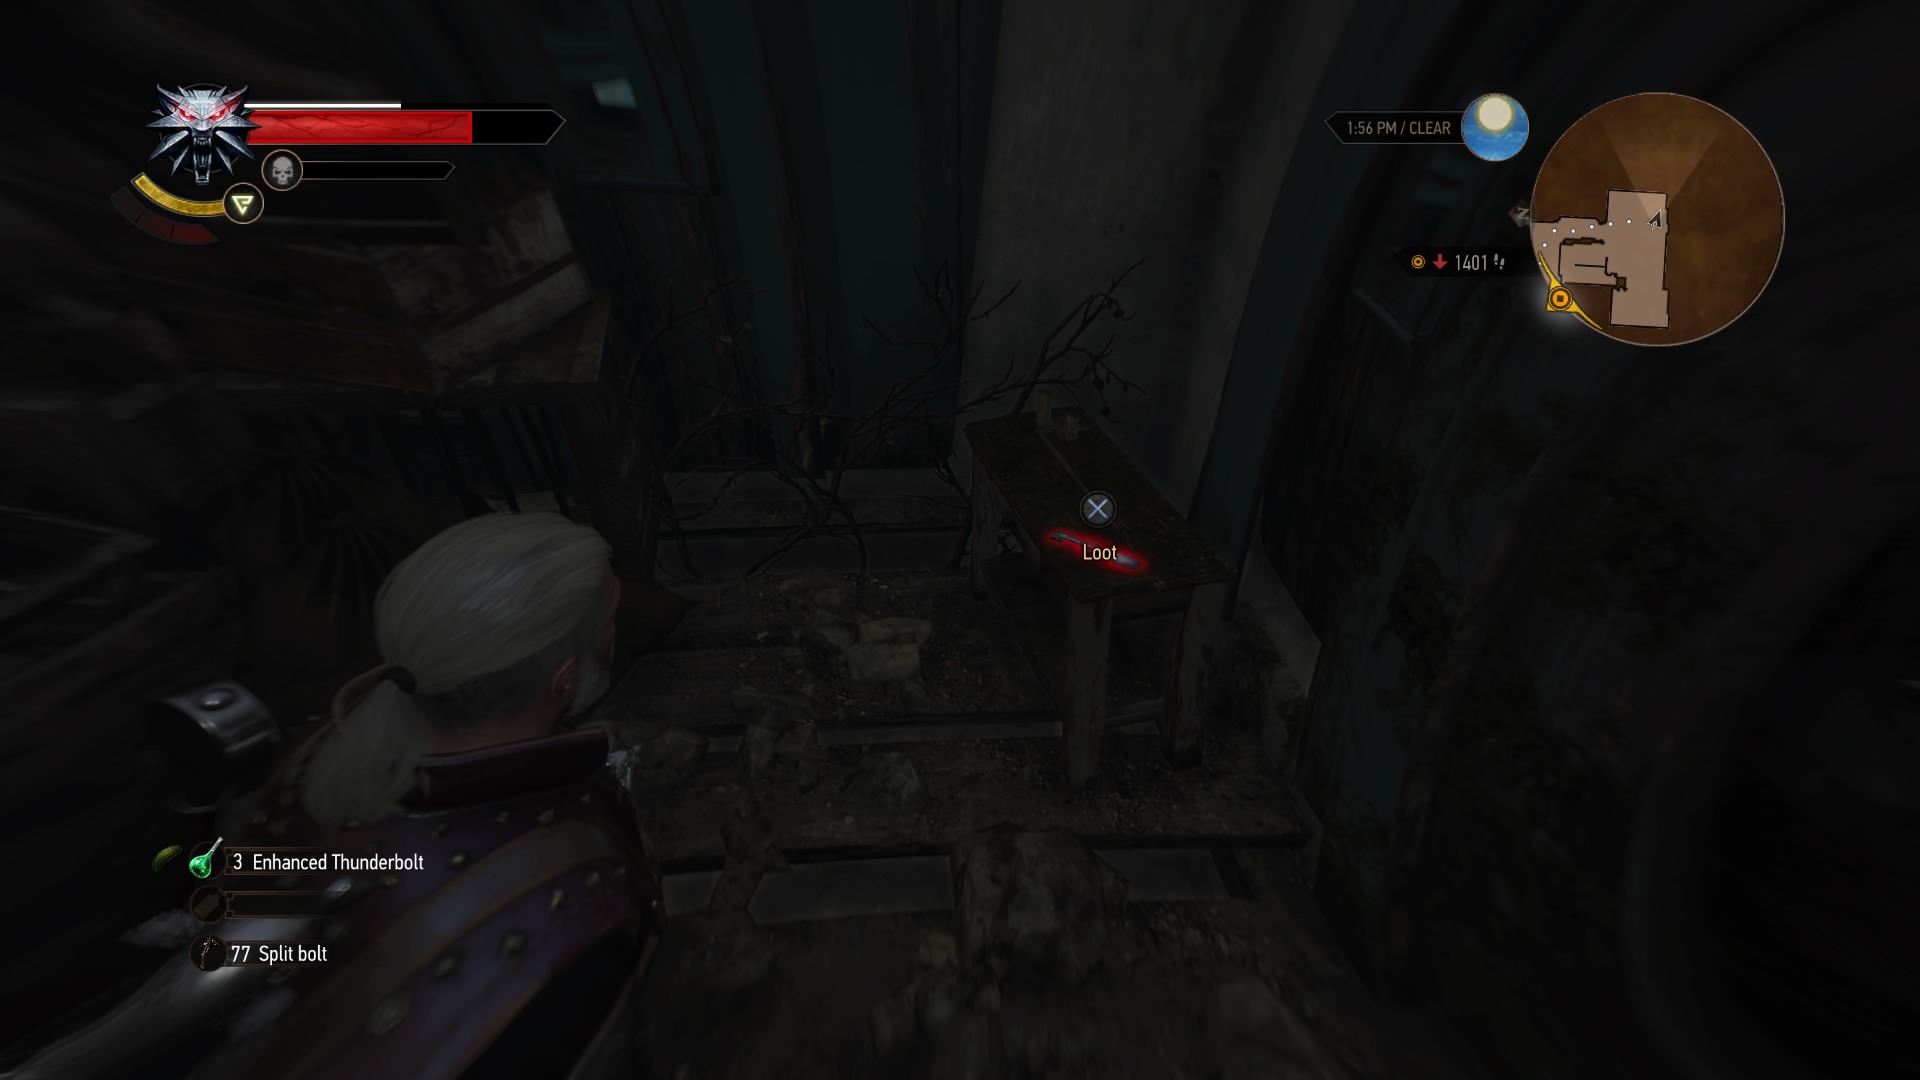
During La Cage au Fou, you’ll hunt a wight at an abandoned mansion. While searching the estate, check in the southeast corner of the house to find the Spoon Key on a table. Loot it and read the note to begin. Head to The Pheasantry in Beauclair and show the key to the innkeep. She’ll let you search the cellar to its matching lock.
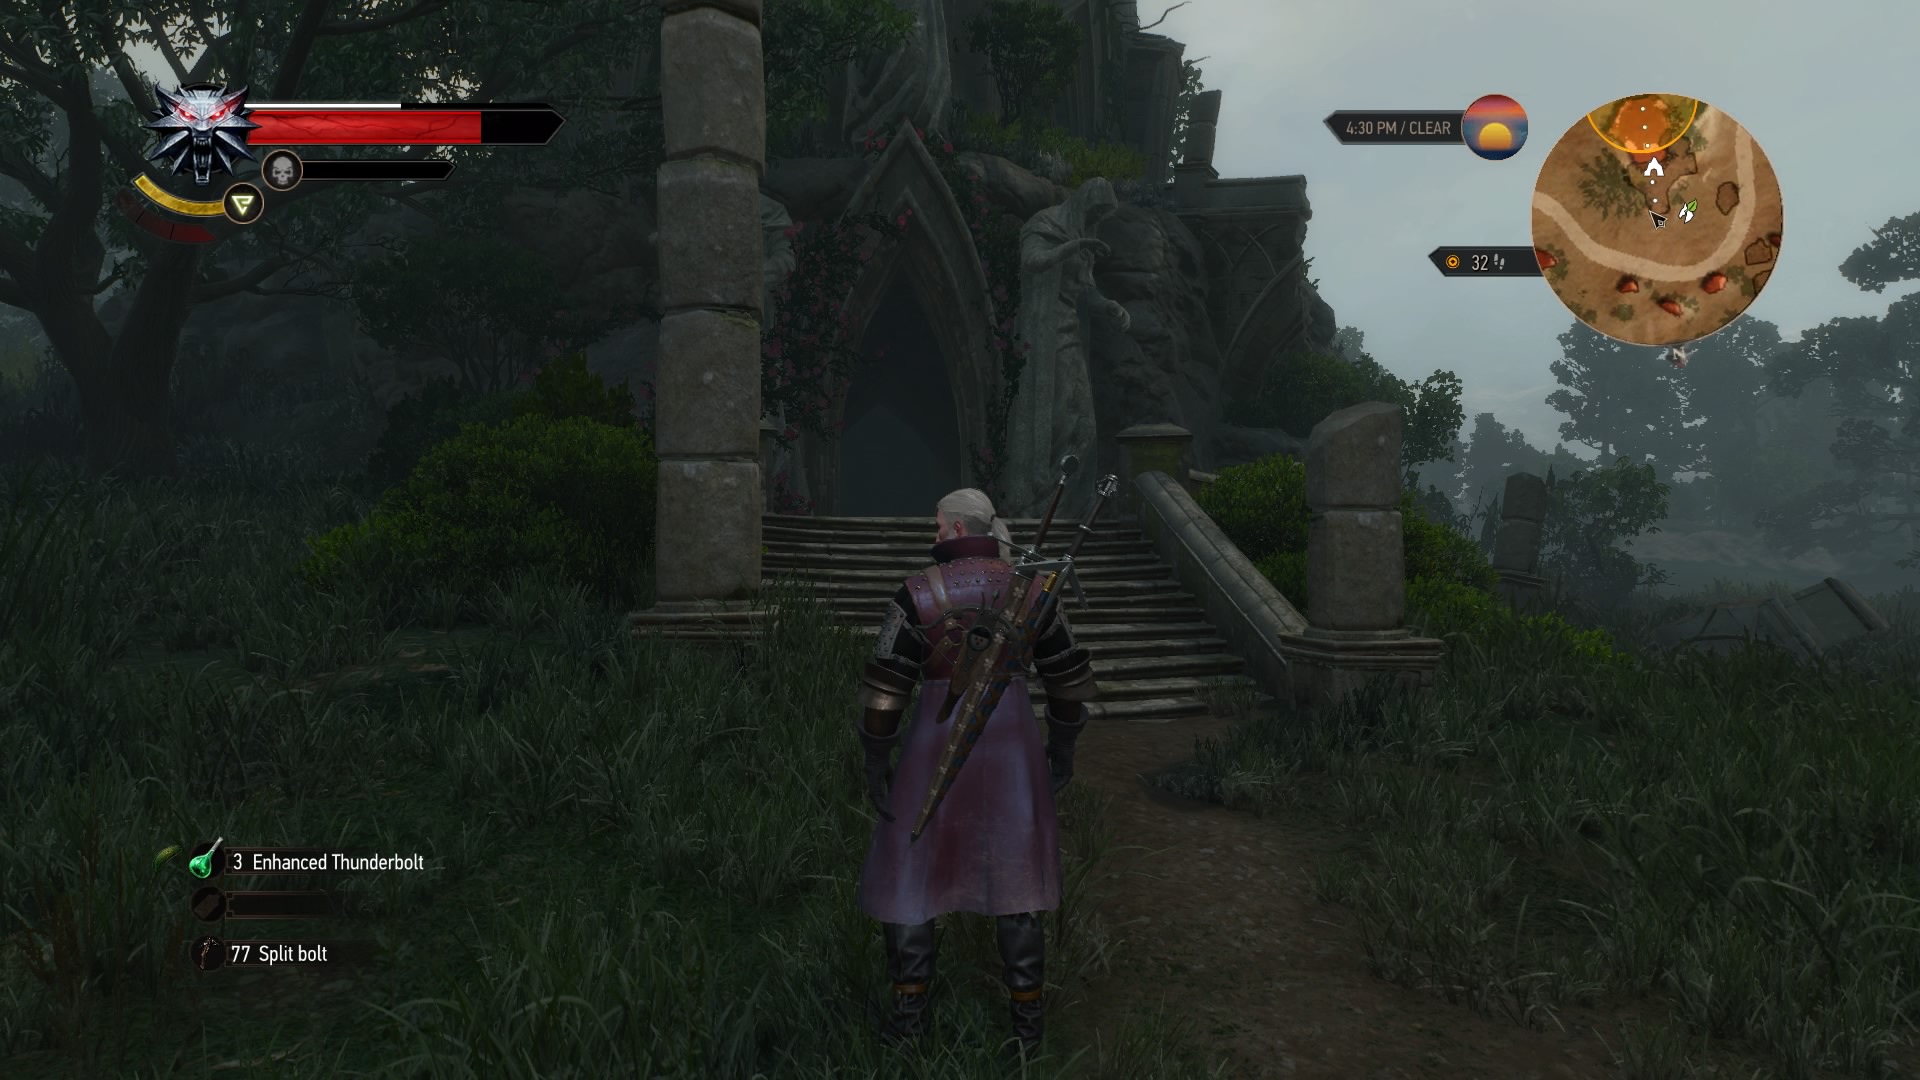
Go behind the counter and check out the cellar. Use your Witcher senses to locate the right cupboard, and you’ll find a cookbook inside. Read this to get a new marker far northeast of here. Go to that spot – it’s a ruined temple – and head down into the structure. Use your Witcher senses to find a trunk full of recipes, and that’ll be that. Be aware that a wraith may attack you on your way out.
The Hunger Game
Suggested Level: 42 | Prerequisites: Let the wight live during “La Cage au Fou.”
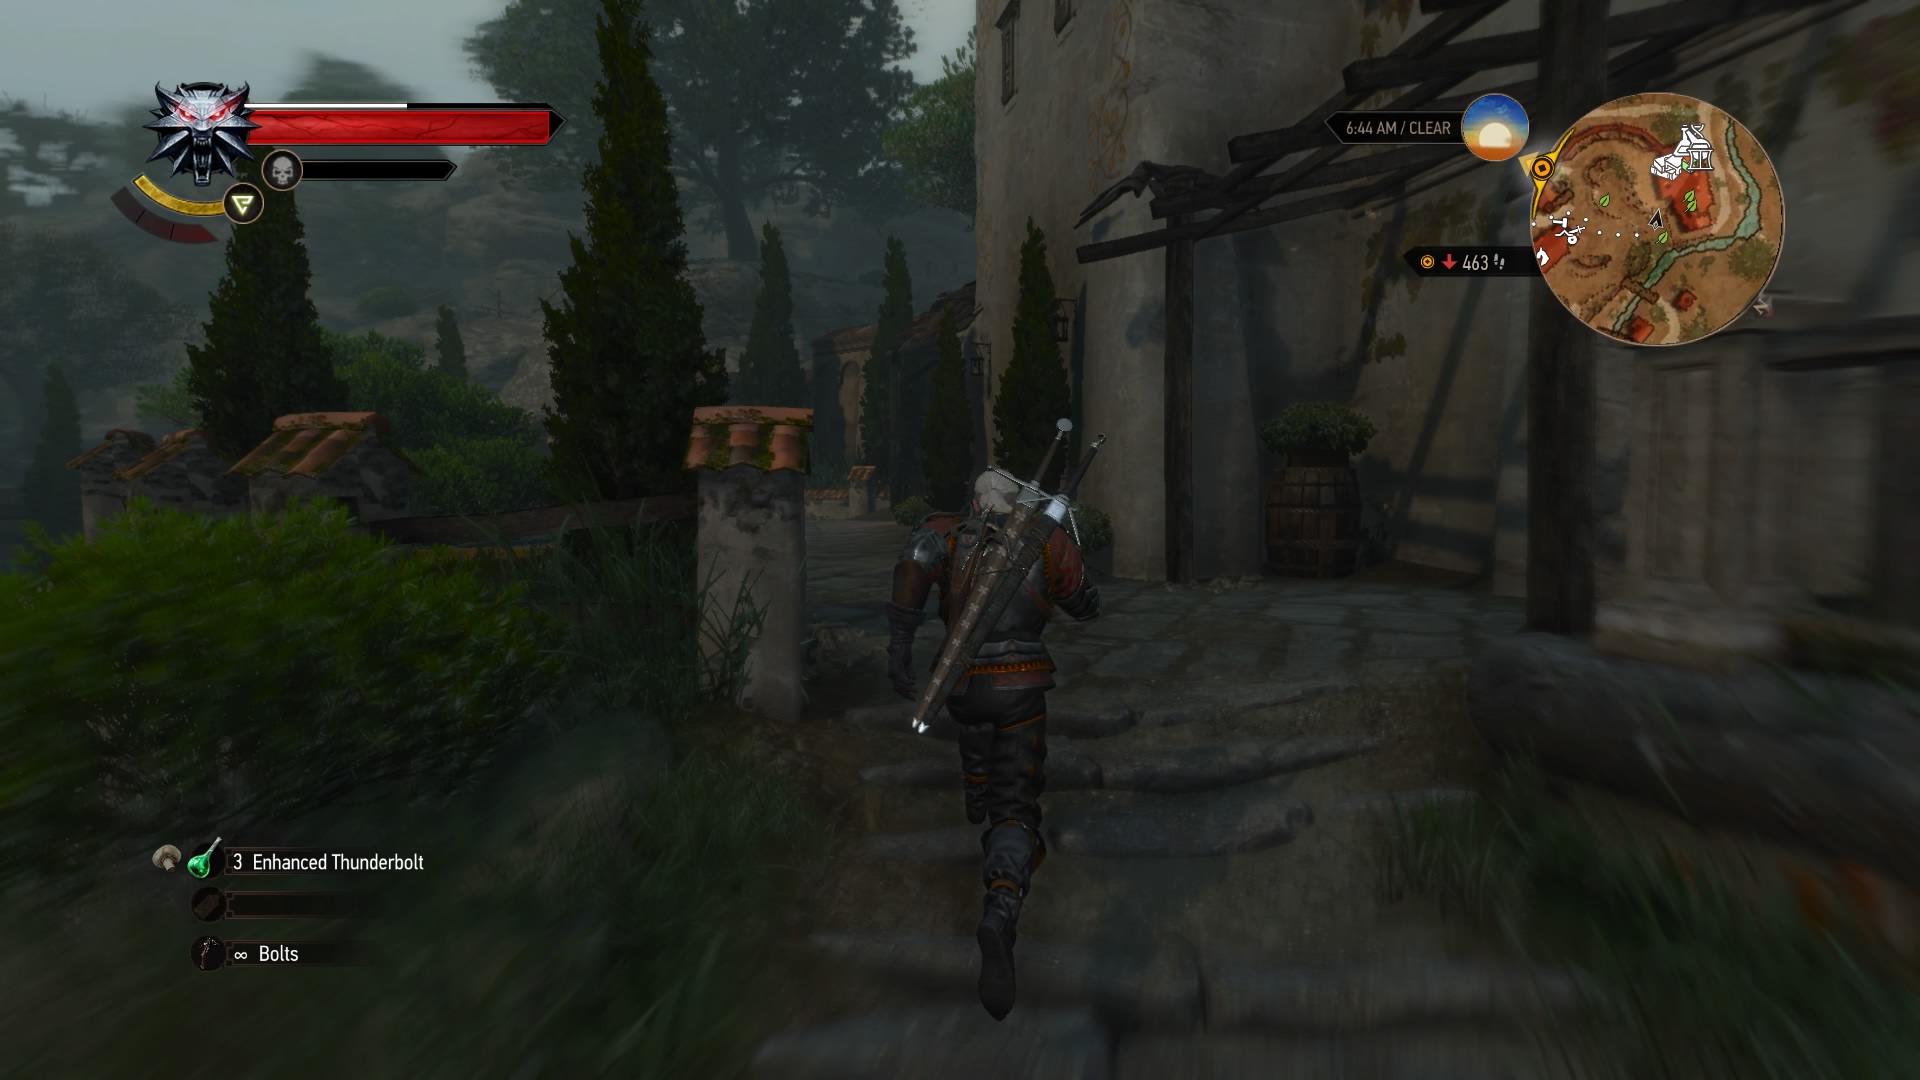
This one is also tied to the wight, and you can initiate it when hiding in the cupboard. If you let her live – attempt to lift the curse, then eat without spoons – she’ll take up residence at Corvo Bianco. After a few days, this quest will automatically pop up. Return to the vineyard and speak to Marlene; you can let her stay here or suggest she start a new life in town. Either choice ends this quick quest.
Gwent: To Everything – Turn, Turn, Tournament!
Suggested Level: 38 | Prerequisites: N/A
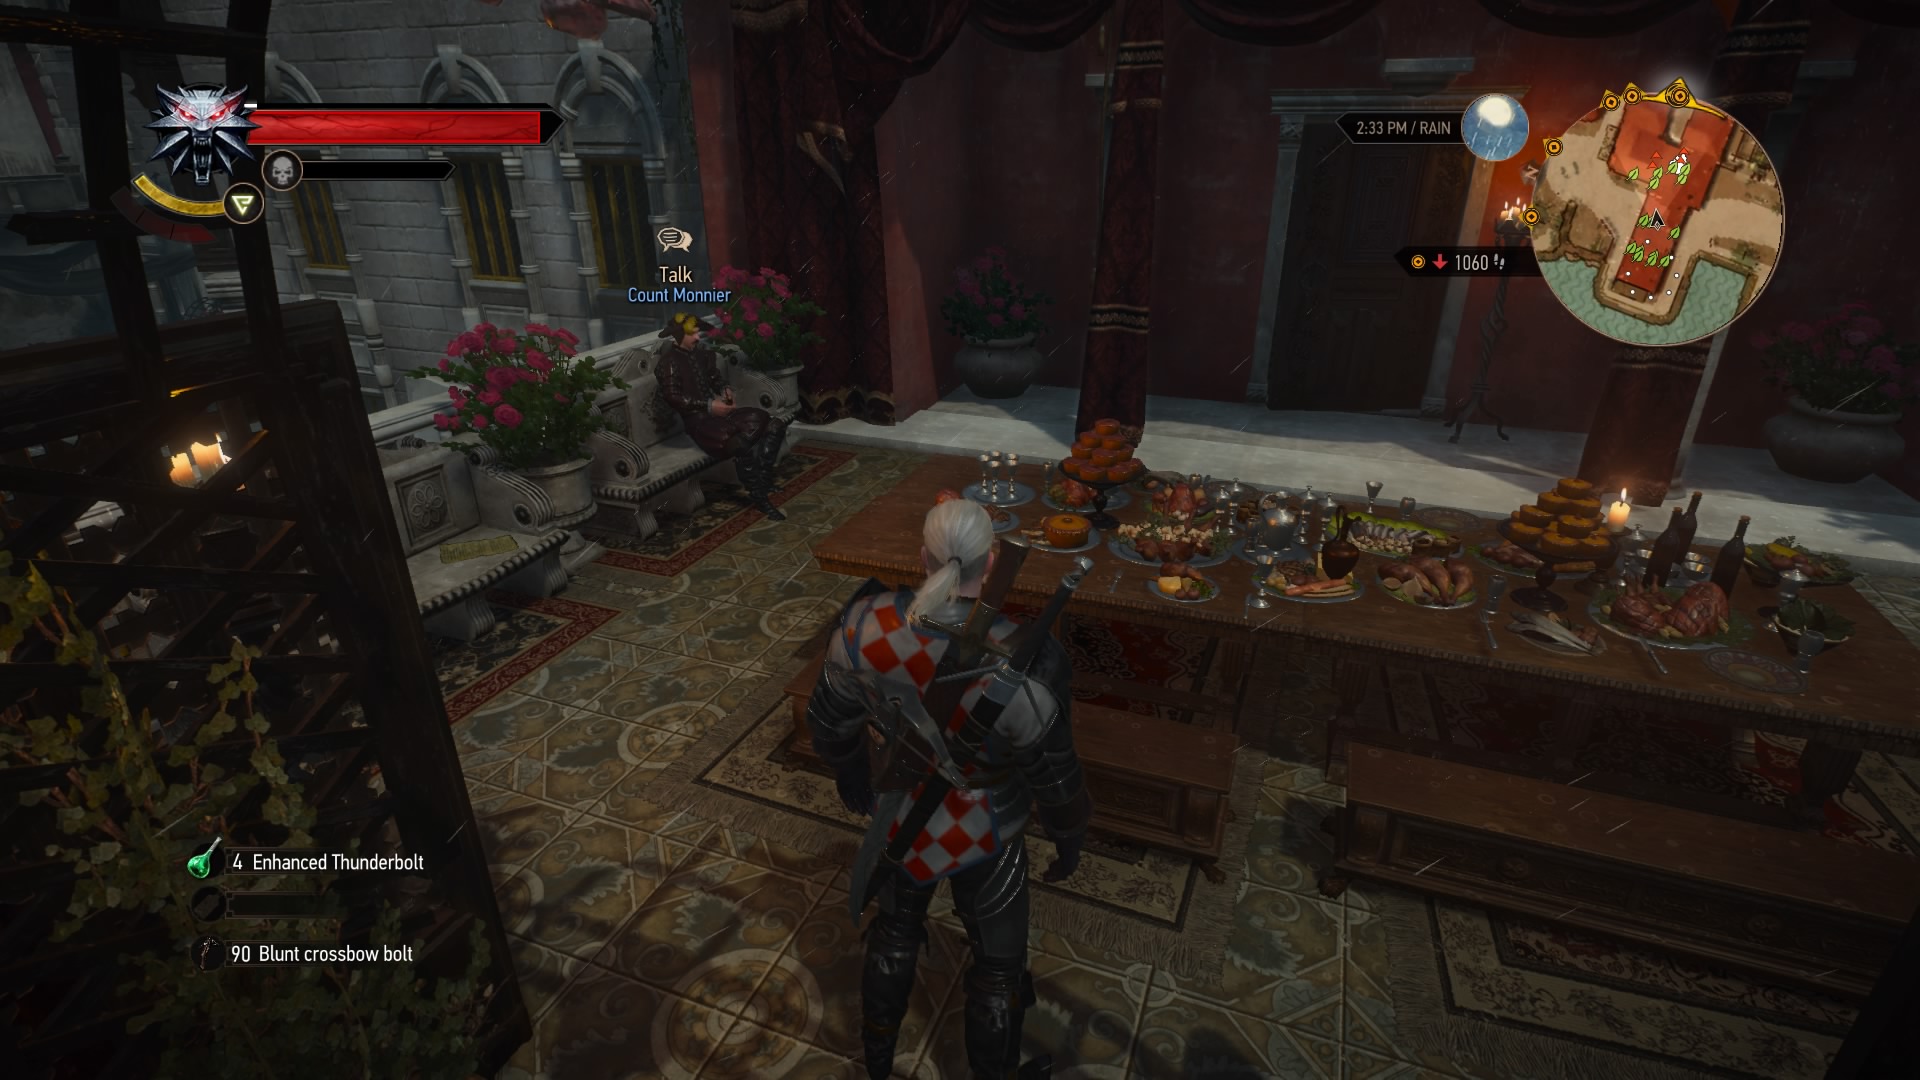
Check the notice board at the Cockatrice Inn to initiate this quest, then head to the Pheasantry in Beauclair to enter the Gwent tournament there. The catch here is that you’ll need to win the tournament using Blood and Wine’s new Skellige deck. You’ll have to complete “Gwent: Never Fear, Skellige’s Here” before starting the tournament matches, and once you do that, you’ll have to go up against four opponents. Beat them all, and you’ll win a nice trophy and a bunch of crowns.
Gwent: Never Fear, Skellige’s Here
Suggested Level: N/A | Prerequisites: Begin “Gwent: To Everything – Turn, Turn, Tournament!”
This is a pure collection quest: there are 19 Gwent matches you need to win across Toussaint. Once you’ve won these matches and acquired the missing Skellige cards, return to the Pheasantry to complete the quest and enter the tournament.
Mutual of Beauclair’s Wild Kingdom
Suggested Level: 46 | Prerequisites: N/A
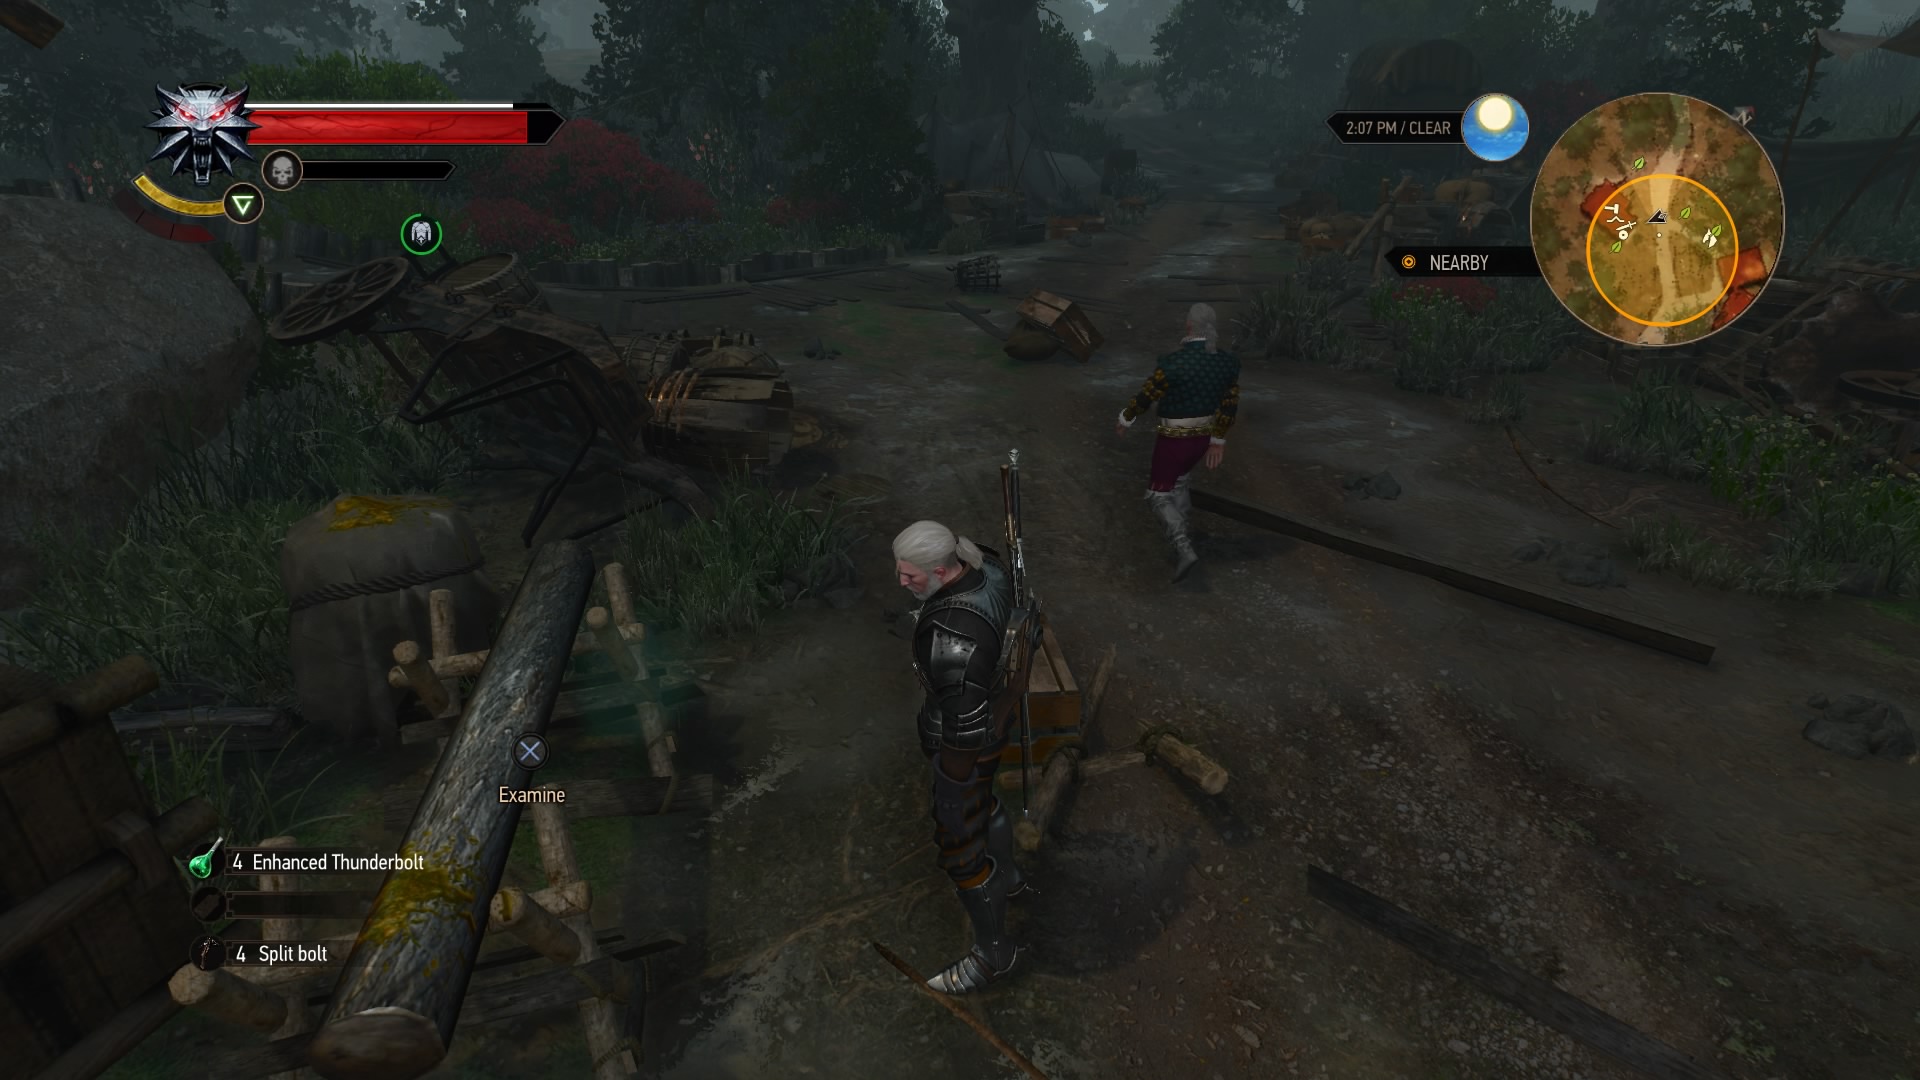
Check the notice board at the Cockatrice Inn to initiate this quest, then head to the Trading Post up north. Some monster tore this place up, and it’s up to you to find it. Use your Witcher senses to locate the clues around the camp and trigger a cut scene; looks like the basilisk that tore the place up is actually someone’s pet.
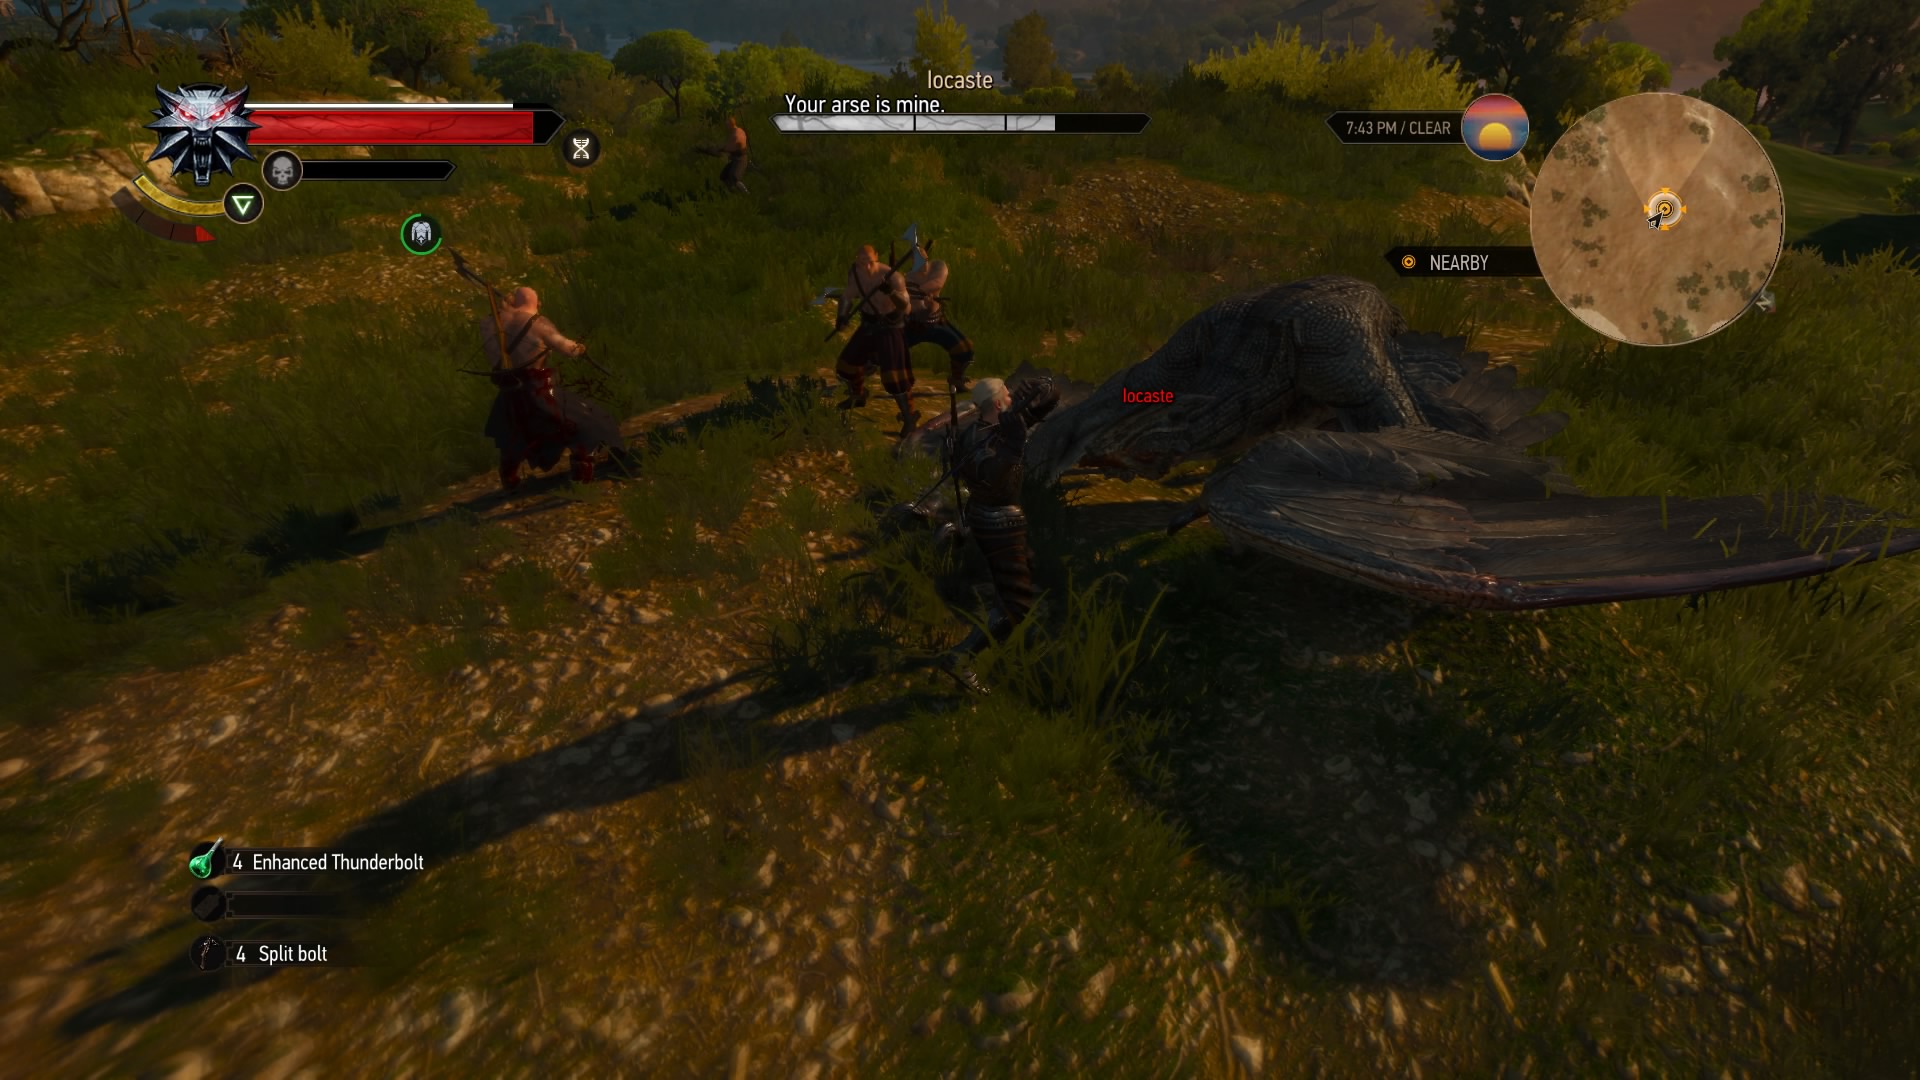
Search for a few more clues, and you’ll get a scent. Follow that trail to reach a band of Reavers. You’ll then have a choice to hunt the basilisk with them, or let the beast live. Let it live, and the quest ends there, with some XP and gold for you. Fight the beast, and you’ll get a different amount of XP, gold, and loot. Your call.
Knight for Hire
Suggested Level: N/A | Prerequisites: N/A
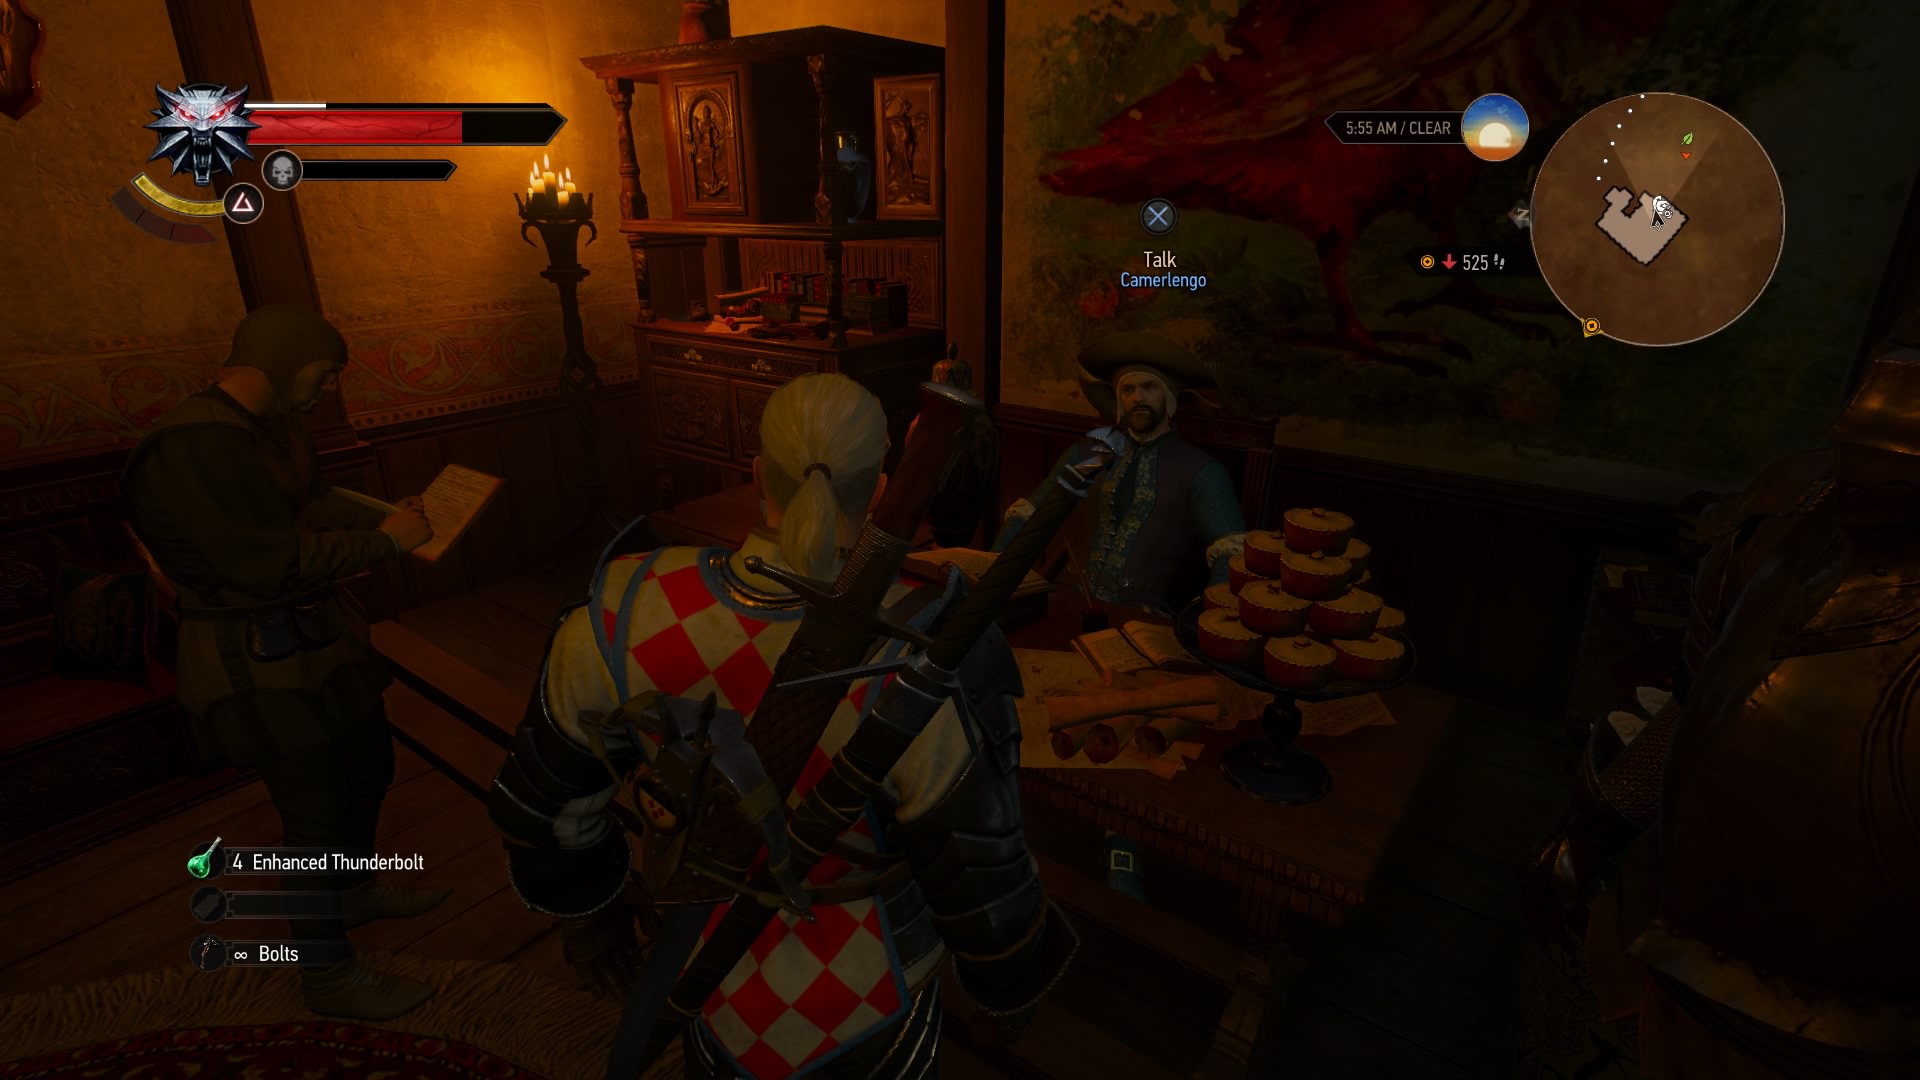
Check the notice board at the Cockatrice Inn to initiate this quest, then head to the camerlengo in Beauclair. He’ll pay you for completing miscellaneous objectives like rescuing Persons in Distress, clearing out Hanse Camps, and restoring Abandoned Sites. Complete the 15 marked all across the map and return to the camerlengo for a big reward and another completed quest.
Wine Wars: Belgaard (A)
Suggested Level: 37 | Prerequisites: N/A
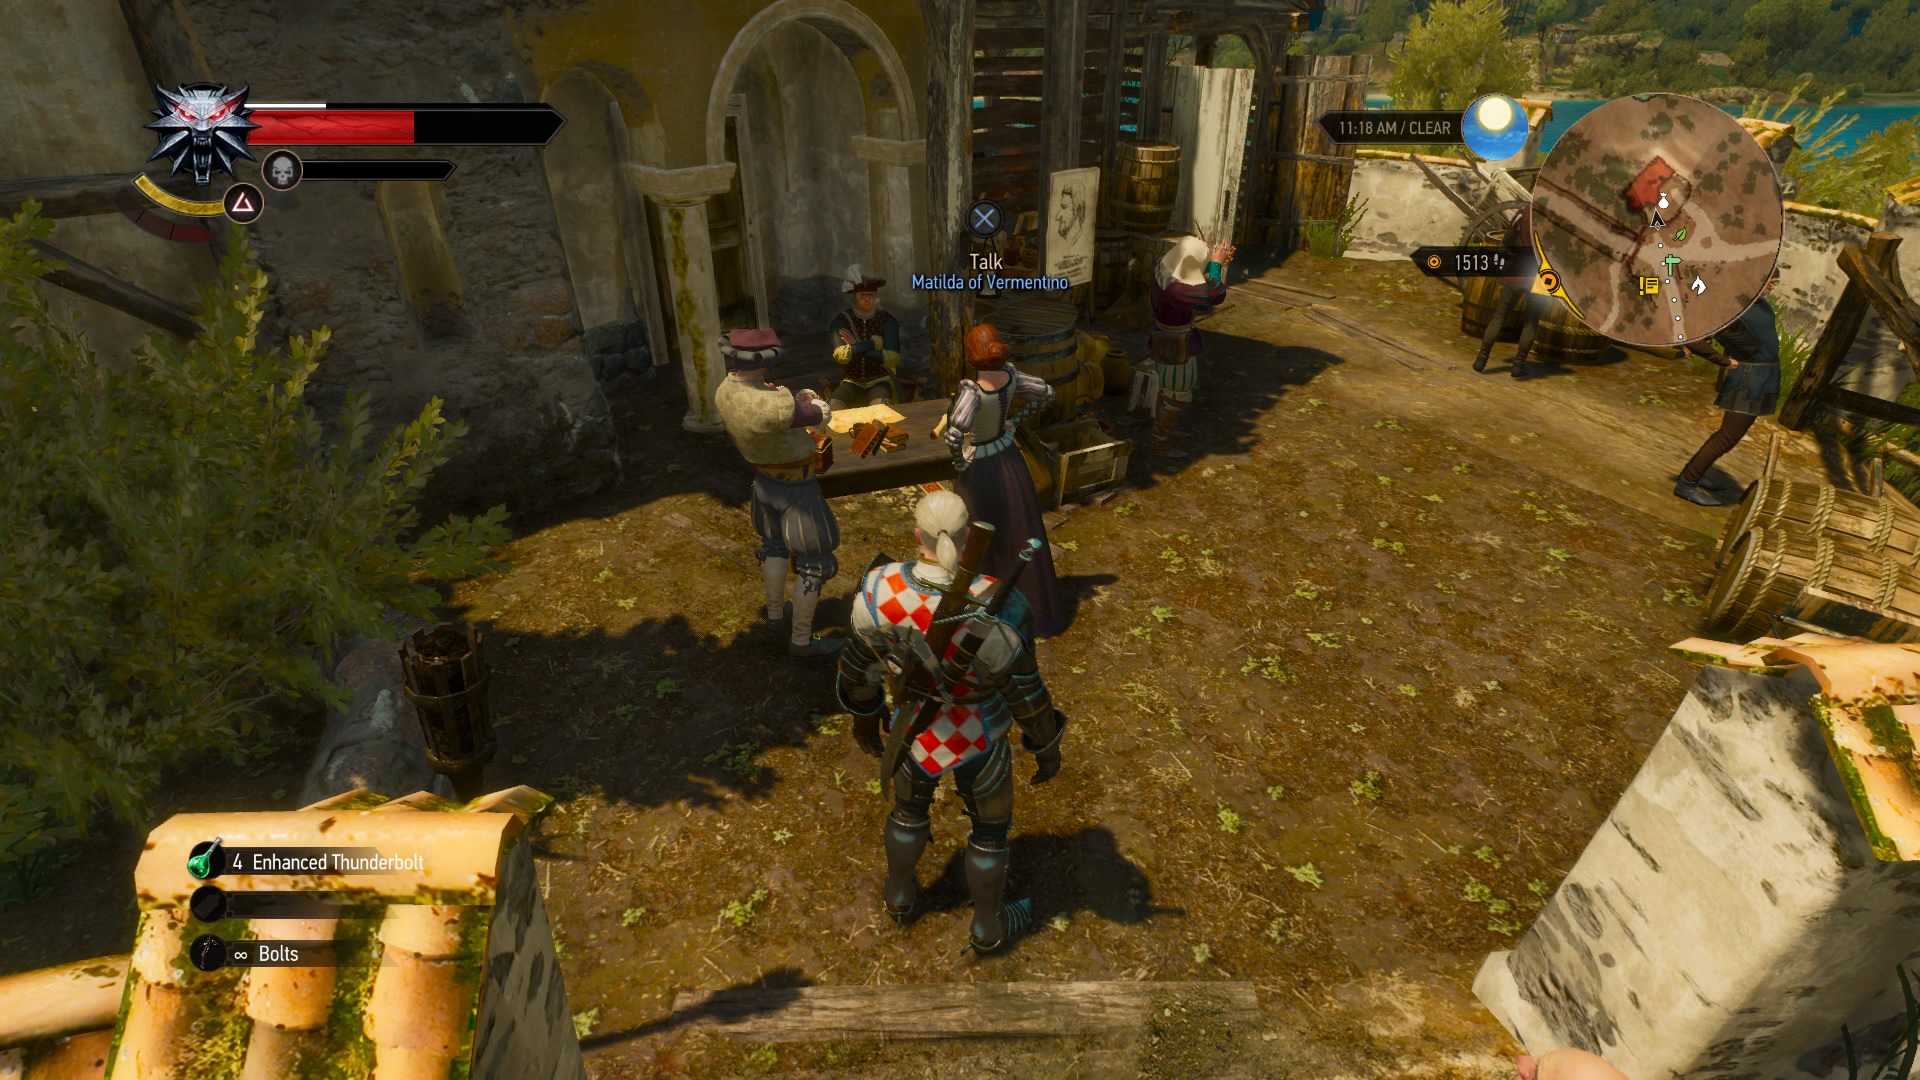
Check the notice board at the Cockatrice Inn to initiate this quest, then head to Plegmund’s Bridge to find two people, Liam and Matilda, quarreling over the sale of a vineyard. During the cut scene, you can choose to help one or both of them with their troubles. The quest will also end after the scene, starting one or two more, depending on your choices.
Wine Wars: Vermentino
Suggested Level: 37 | Prerequisites: Complete “Wine Wars: Belgaard.”
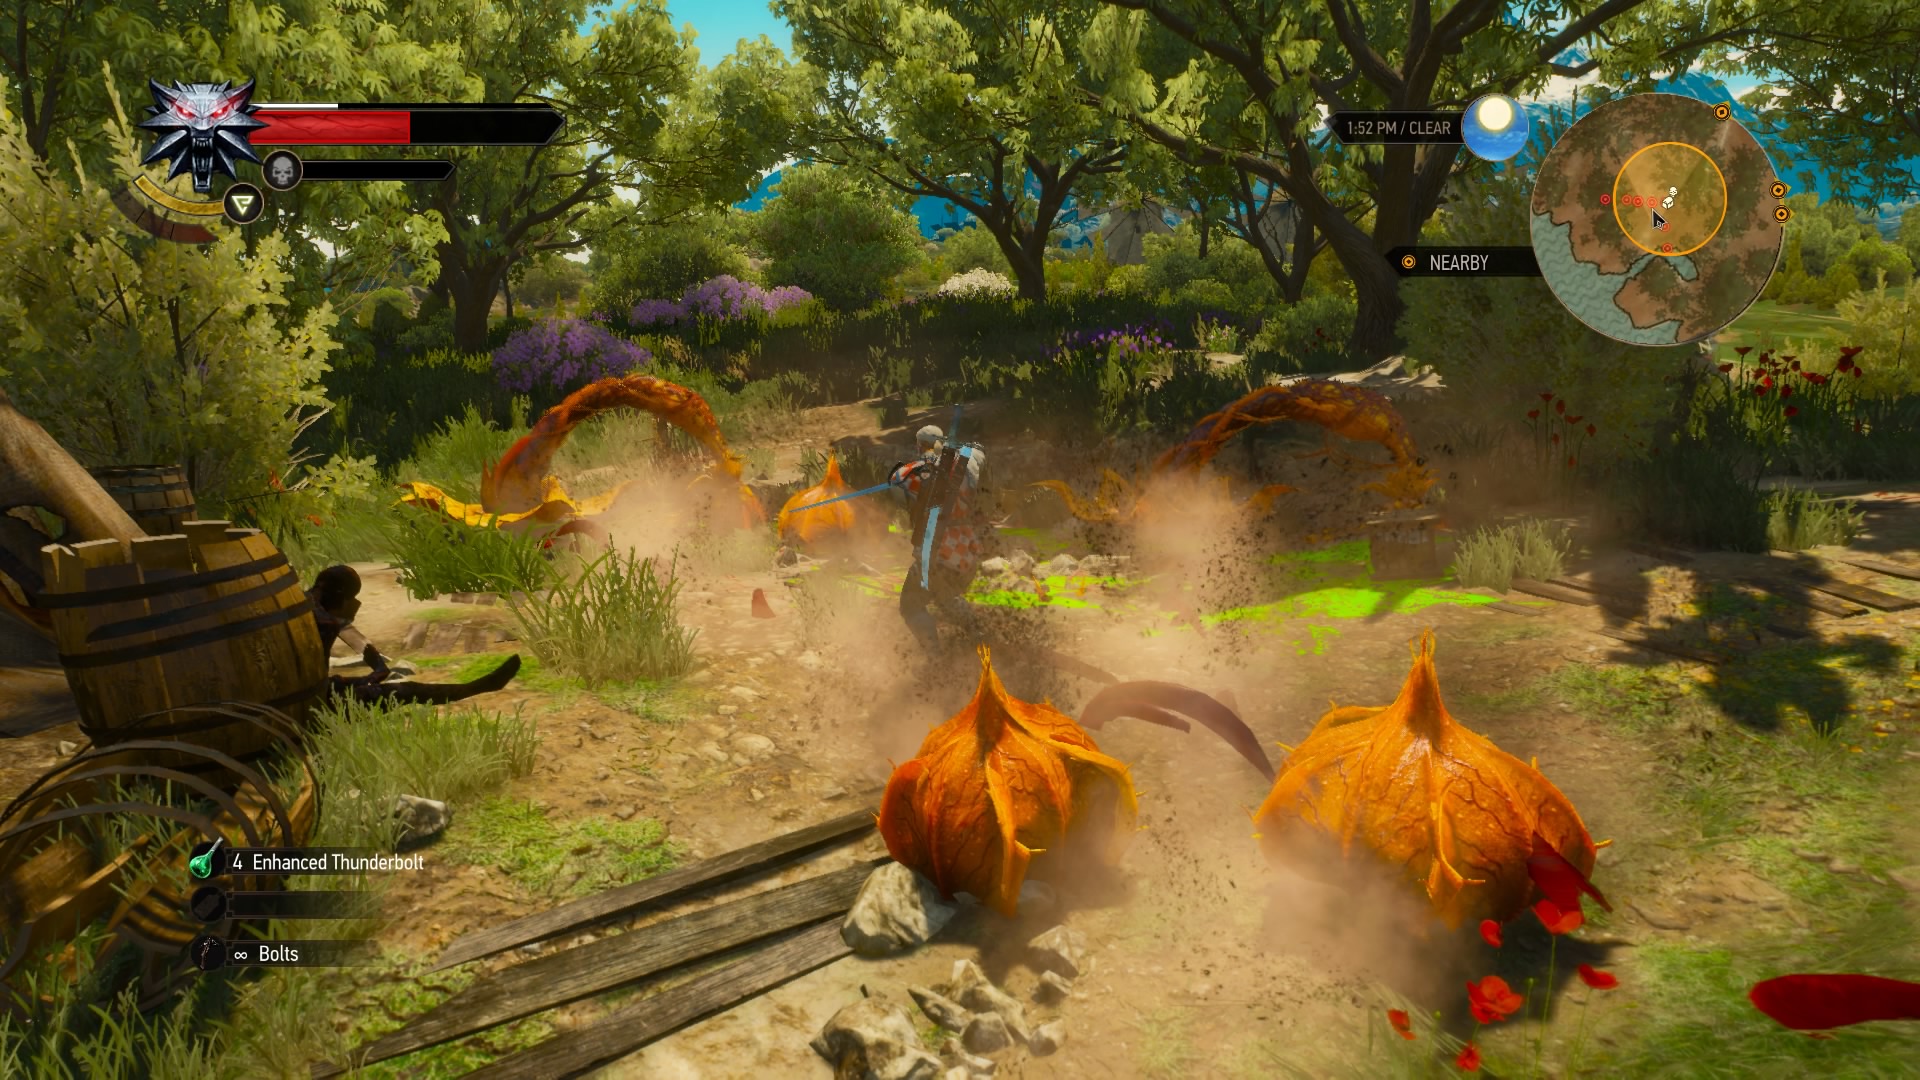
Choosing to help Matilda will send you to her vineyard, Vermentino, to take care of some problems. One of the markers initiates its own quest, so you’ll find that listed here. As for the other markers, one is a Guarded Treasure protected by archespores. Take them out and search the corpse here for more information on the feud between the vineyards. At this point, you can choose to investigate Liam’s vineyard, but that’s up to you.
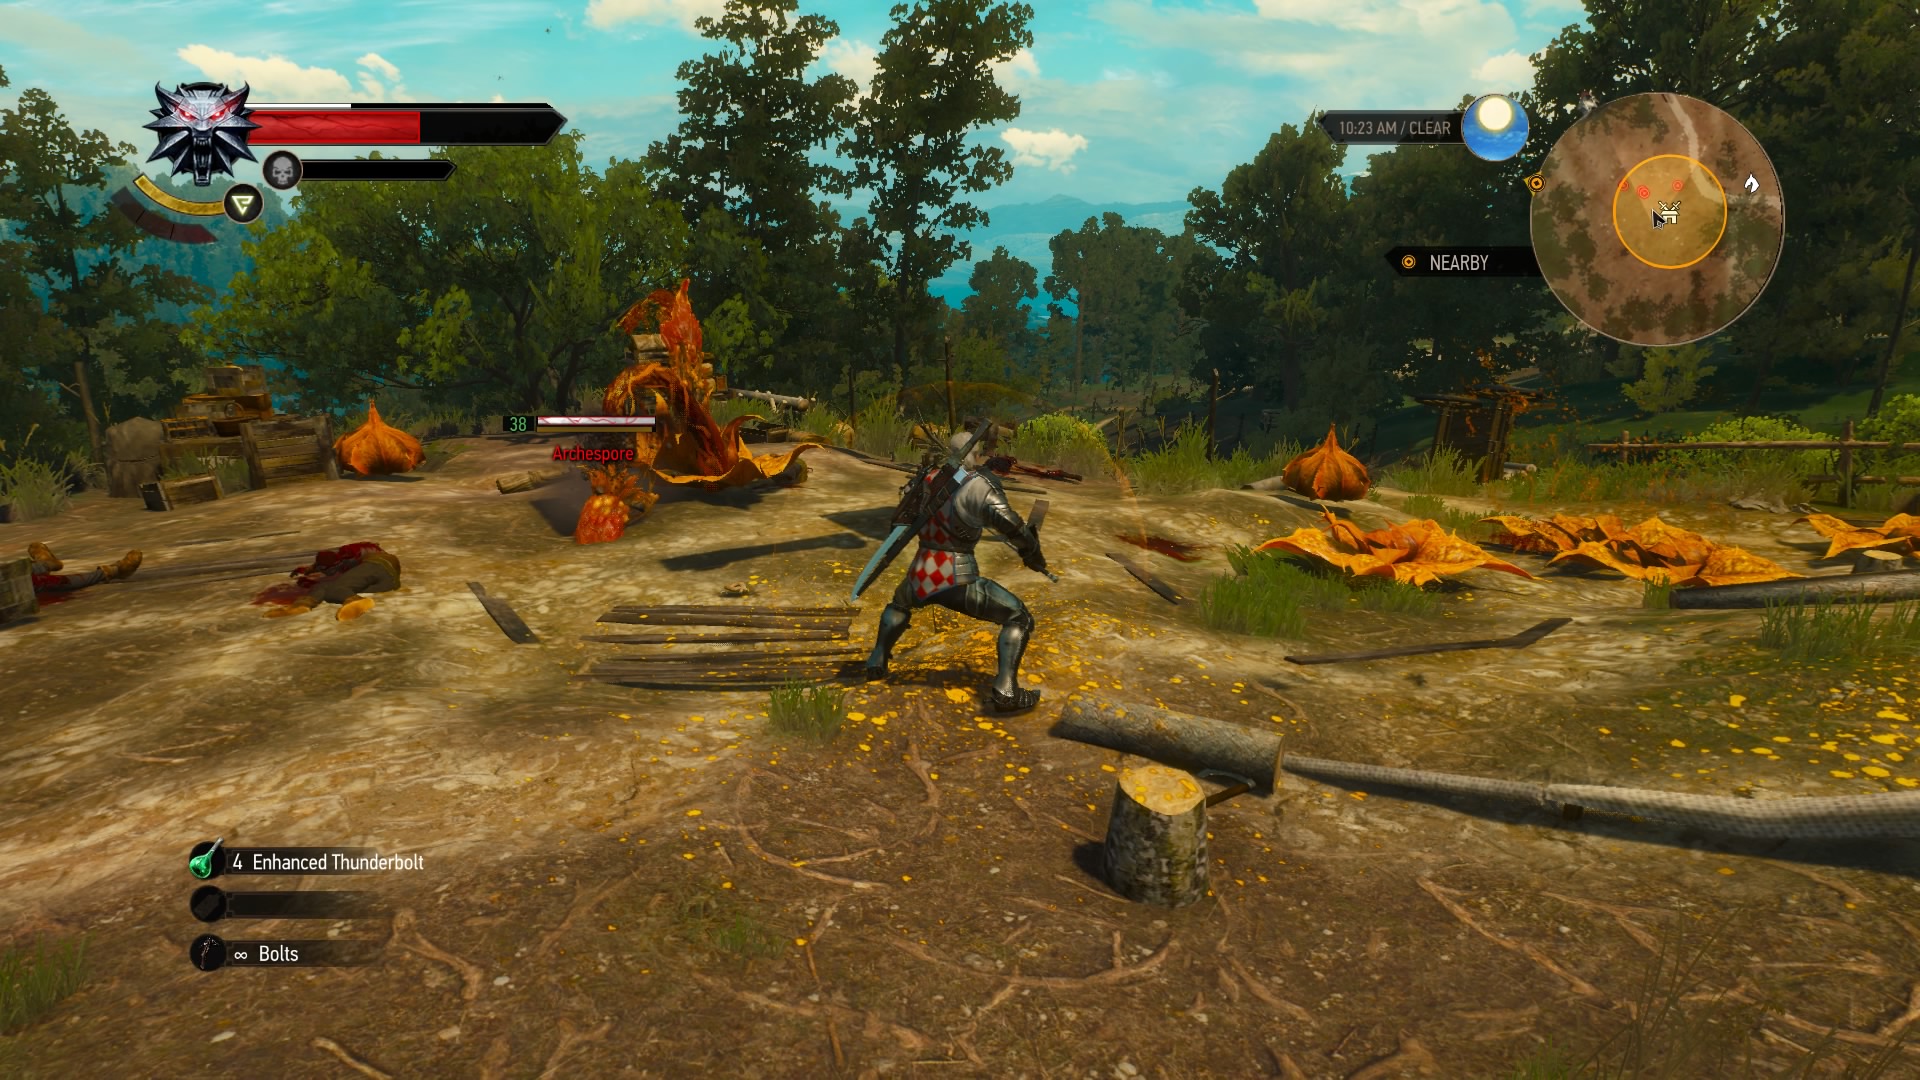
Two of the markers are Abandoned Sites guarded by more archespores. Take them out to bring peasants safely back into the area. The final marker is a Person in Distress; take out the bandits holding him hostage to rescue him. Once you’ve dealt with all the objectives, you can return to Matilda to wrap things up (I’d recommend investigating both vineyards, however).
Don’t Take Candy from a Stranger
Suggested Level: 37 | Prerequisites: Begin “Wine Wars: Vermentino.”
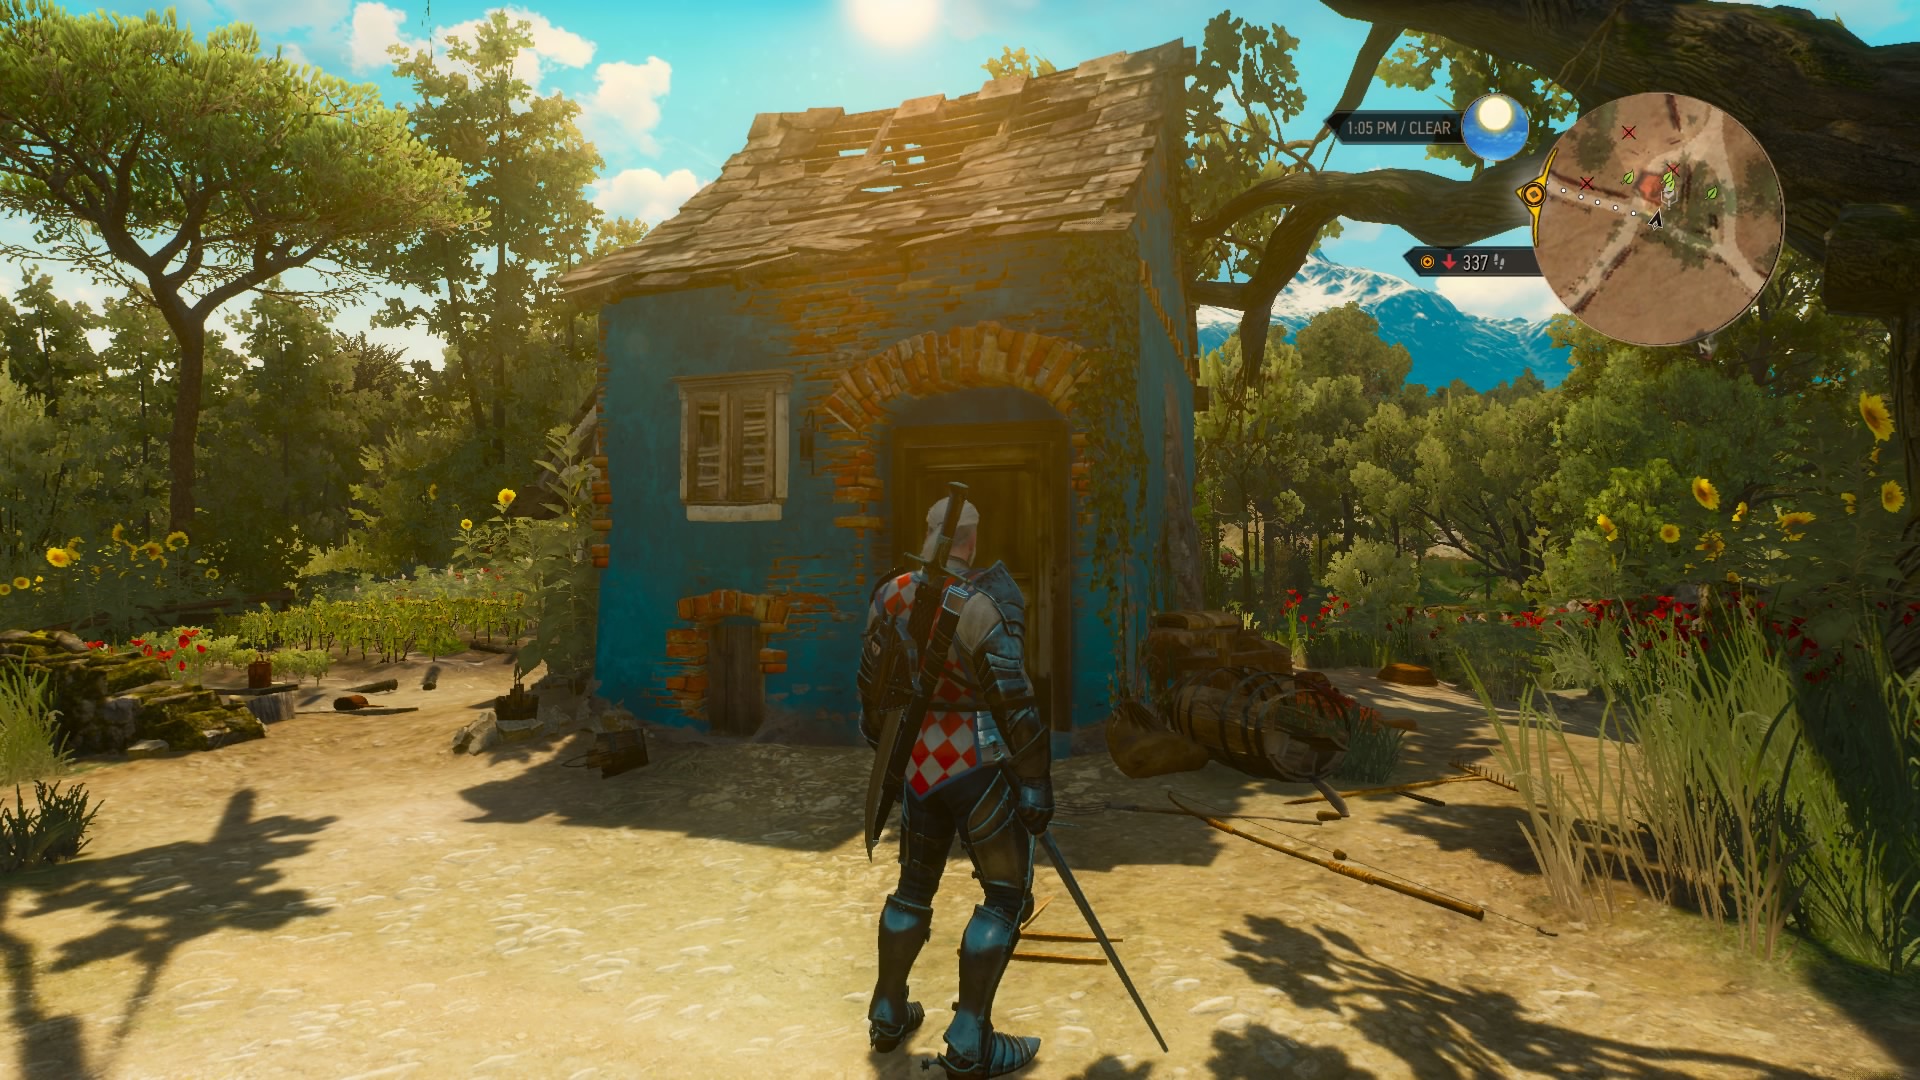
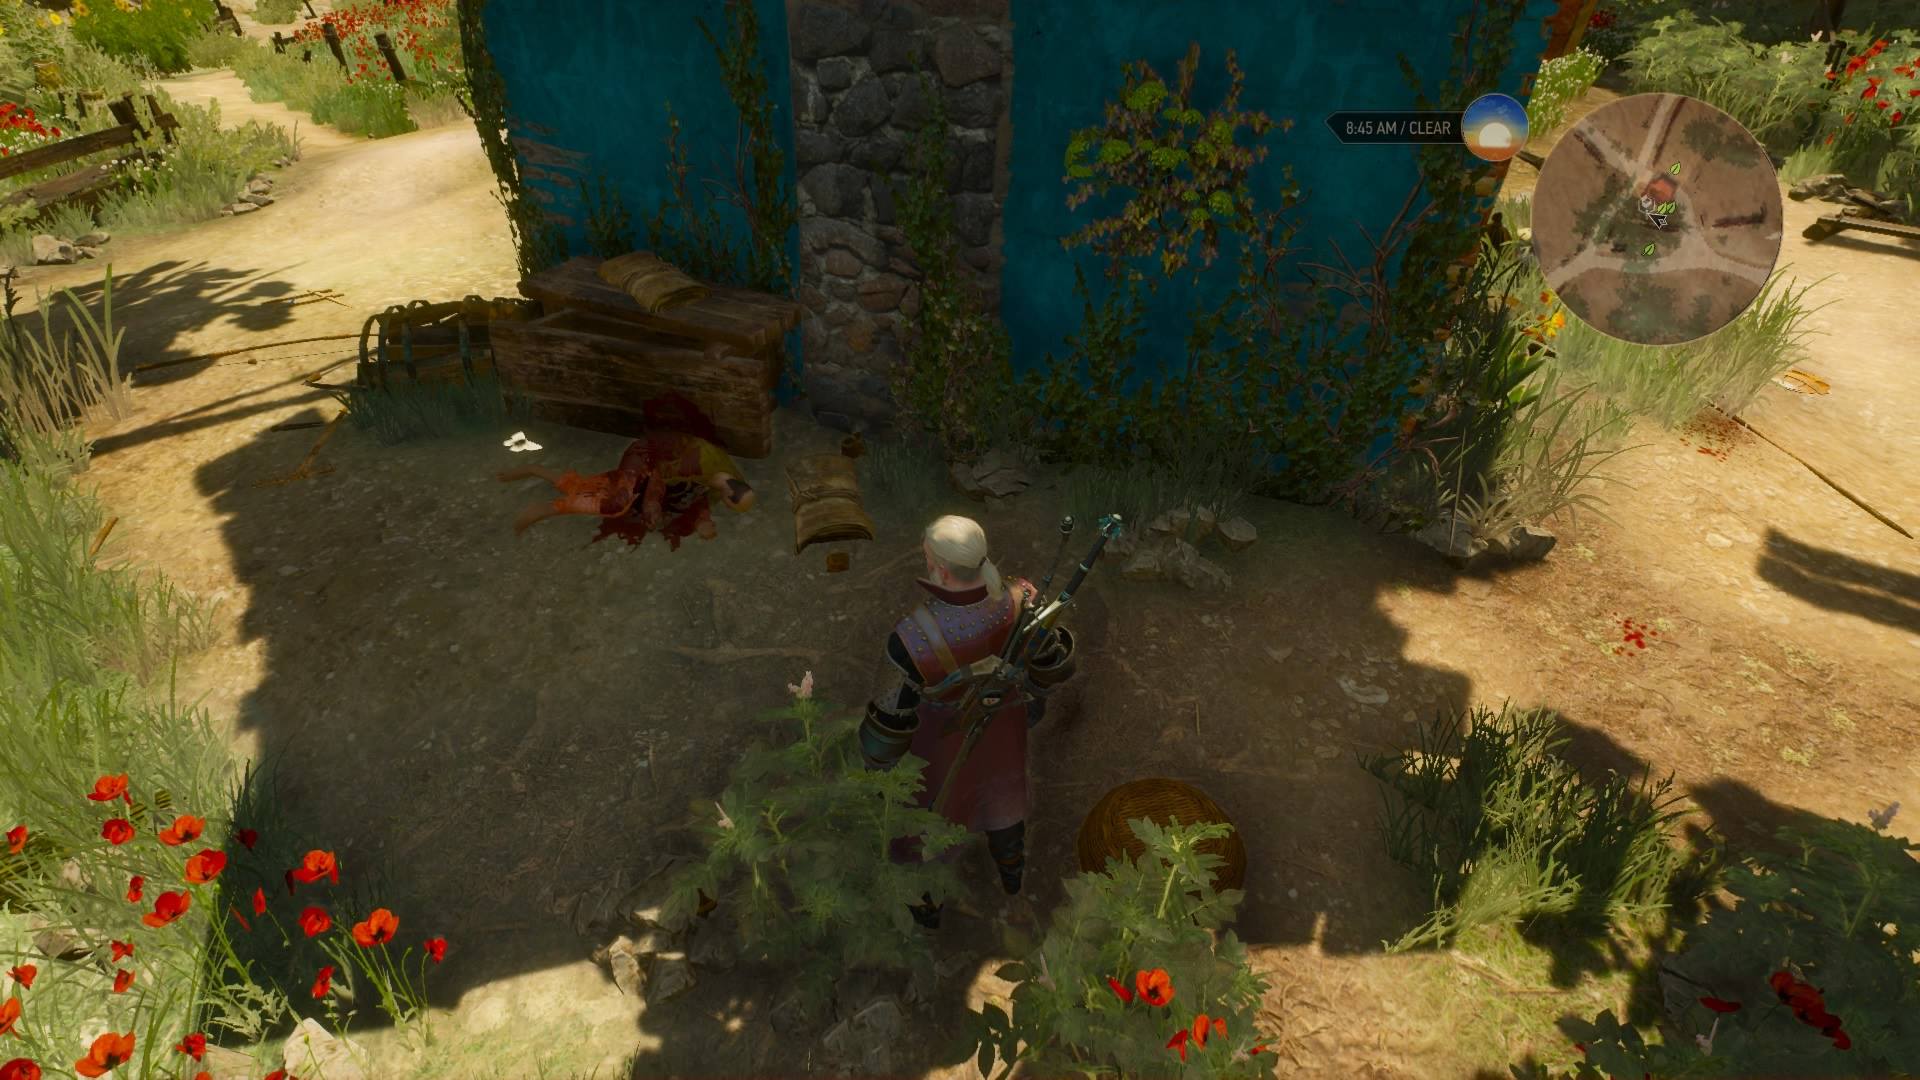
The Vermentino sub-quest takes you to this blue house, where some rotfiends are hanging around a corpse. Take them out and loot the corpse to find a key and a note about some treasure. Read it to get a new marker in a nearby sunflower field. Head there and locate the hidden chest to finish this one.
Wine Wars: Coronata
Suggested Level: 37 | Prerequisites: Complete “Wine Wars: Belgaard.”
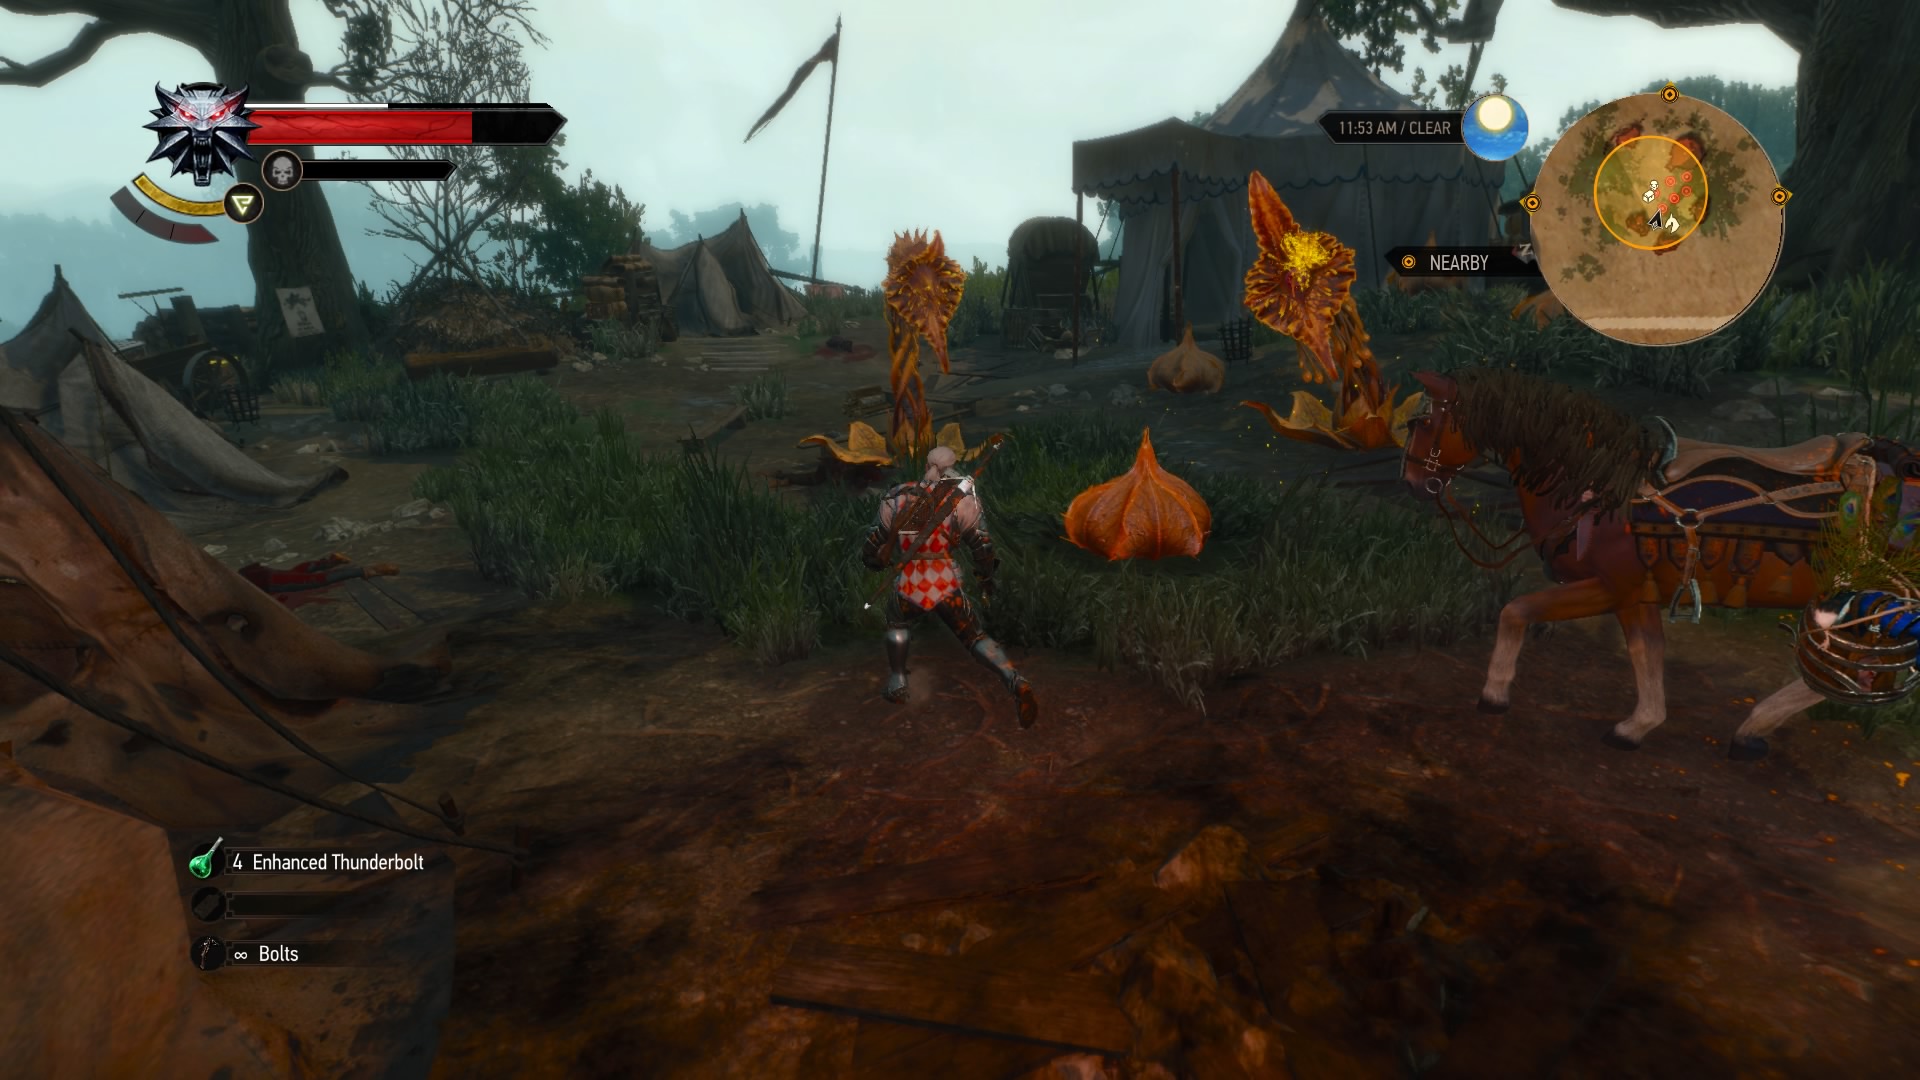
Choosing to help Liam will send you to his vineyard, Coronata, to take care of a different set of problems. The first marker is – you guessed it – an infestation of archespores; drop a bomb into the nest and take them out. The second is a Guarded Treasure belonging to even more of those annoying plant monsters. Take them out and check the corpse they were guarding to find another note about sabotage. Looks like a third party has been causing all these problems, but you can investigate that later.
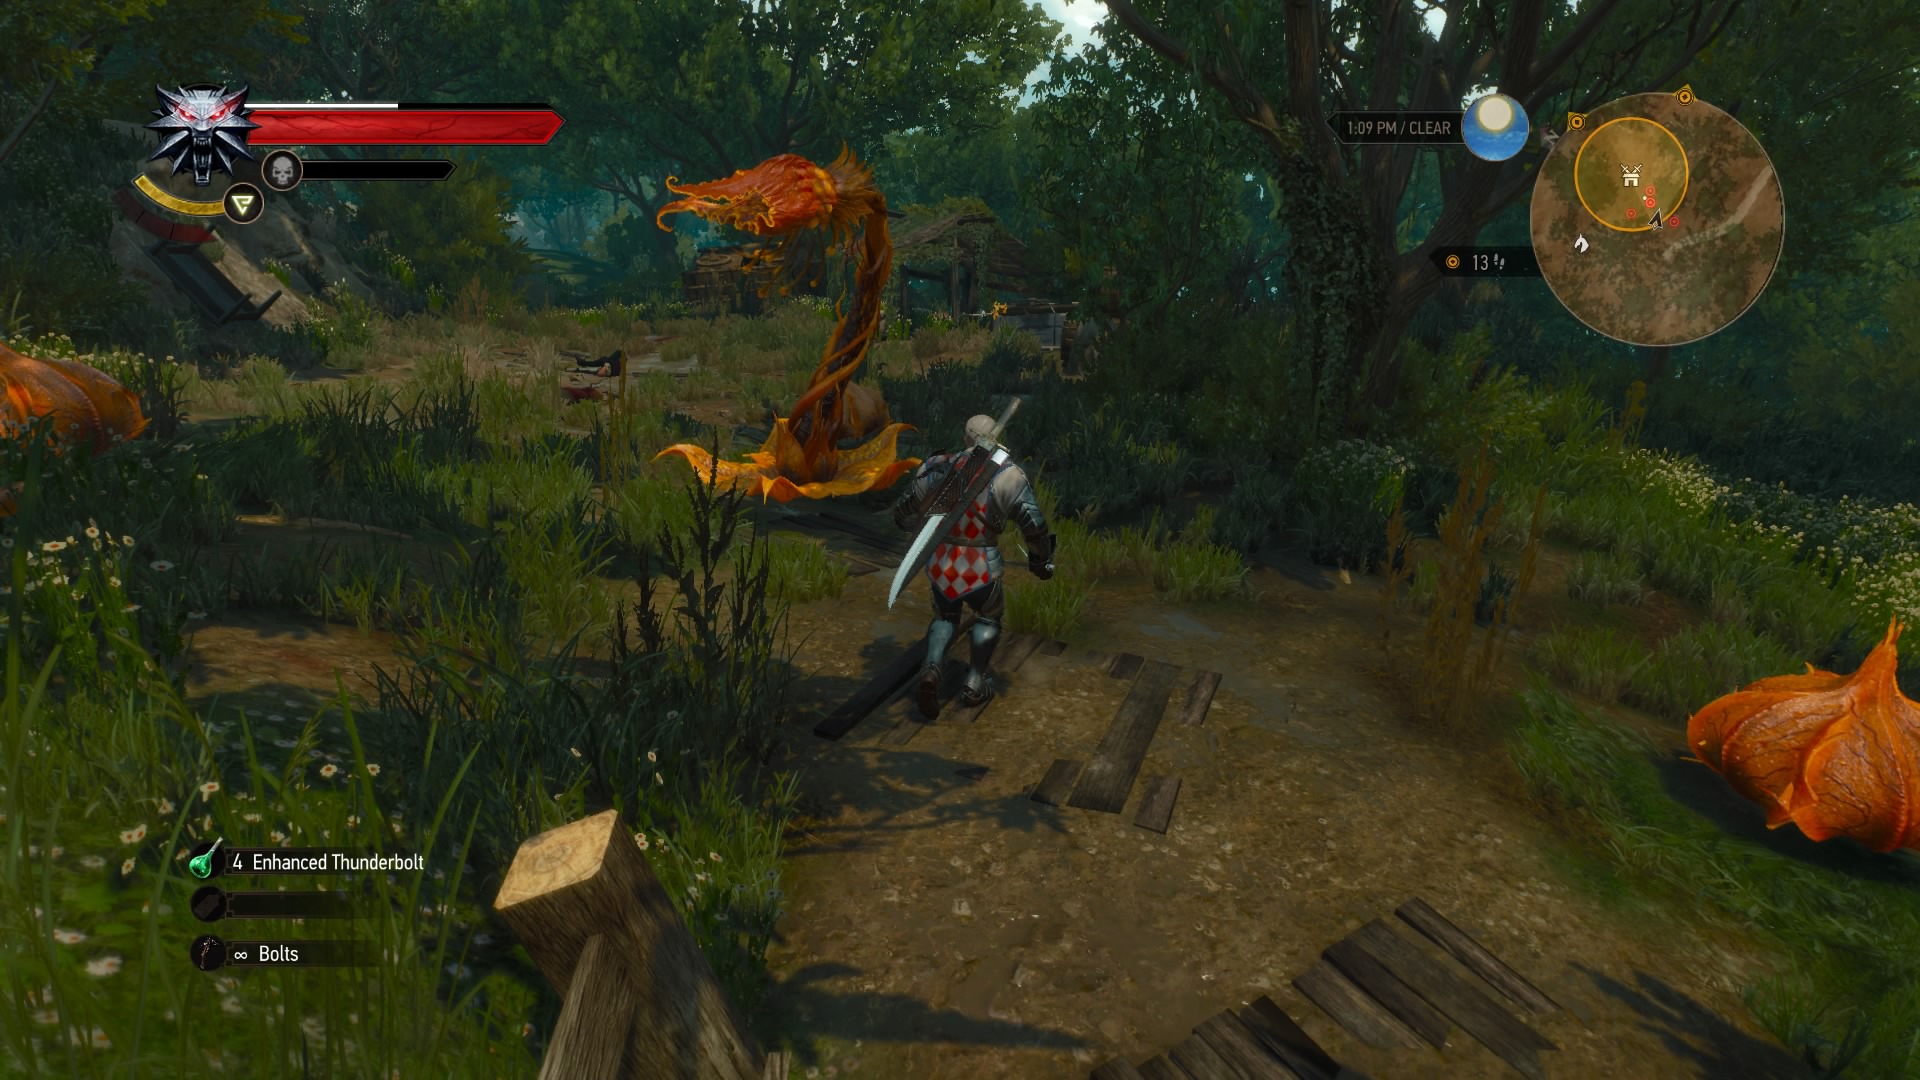
The third and fourth markers are an Abandoned Site with more archespores (tired of those guys, yet?) and a Person in Distress in a cave, so take care of those. Like with Vermentino, the final marker, a Hidden Treasure, is also its own quest. Once you’ve dealt with everything, you can return to Liam to wrap things up (but you should investigate the other vineyard/the mysterious third party if you haven’t already).
Coin Doesn’t Stink
Suggested Level: 37 | Prerequisites: Begin “Wine Wars: Coronata.”
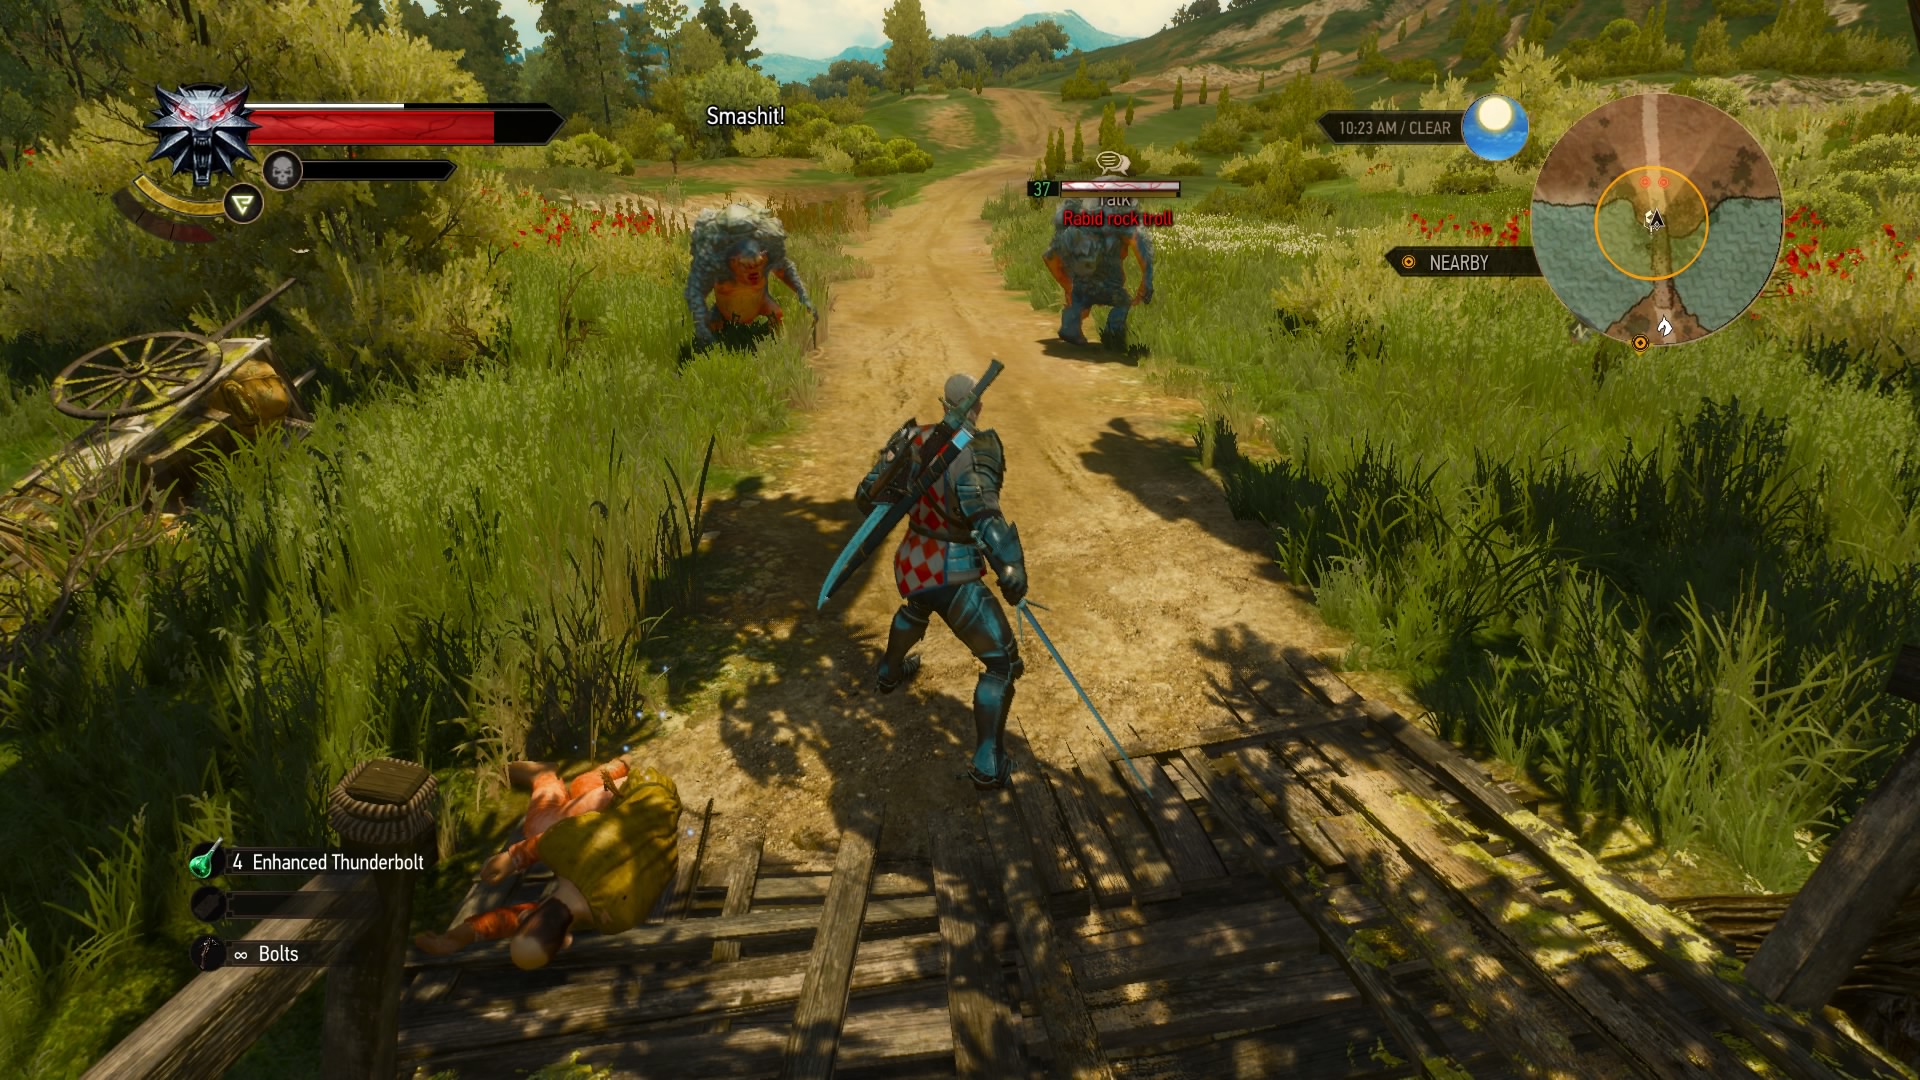
The Coronata sub-quest starts at the Hidden Treasure by this bridge, guarded by tough rock trolls. Take them out and search the corpse for a letter about a loot stash in a manure pile. Ride to the spot in question to find the treasure with your Witcher senses.
Wine Wars: The Deus in the Machina
Suggested Level: 42 | Prerequisites: Find the sabotage notes in “Wine Wars: Vermentino” and “Wine Wars: Coronata.”
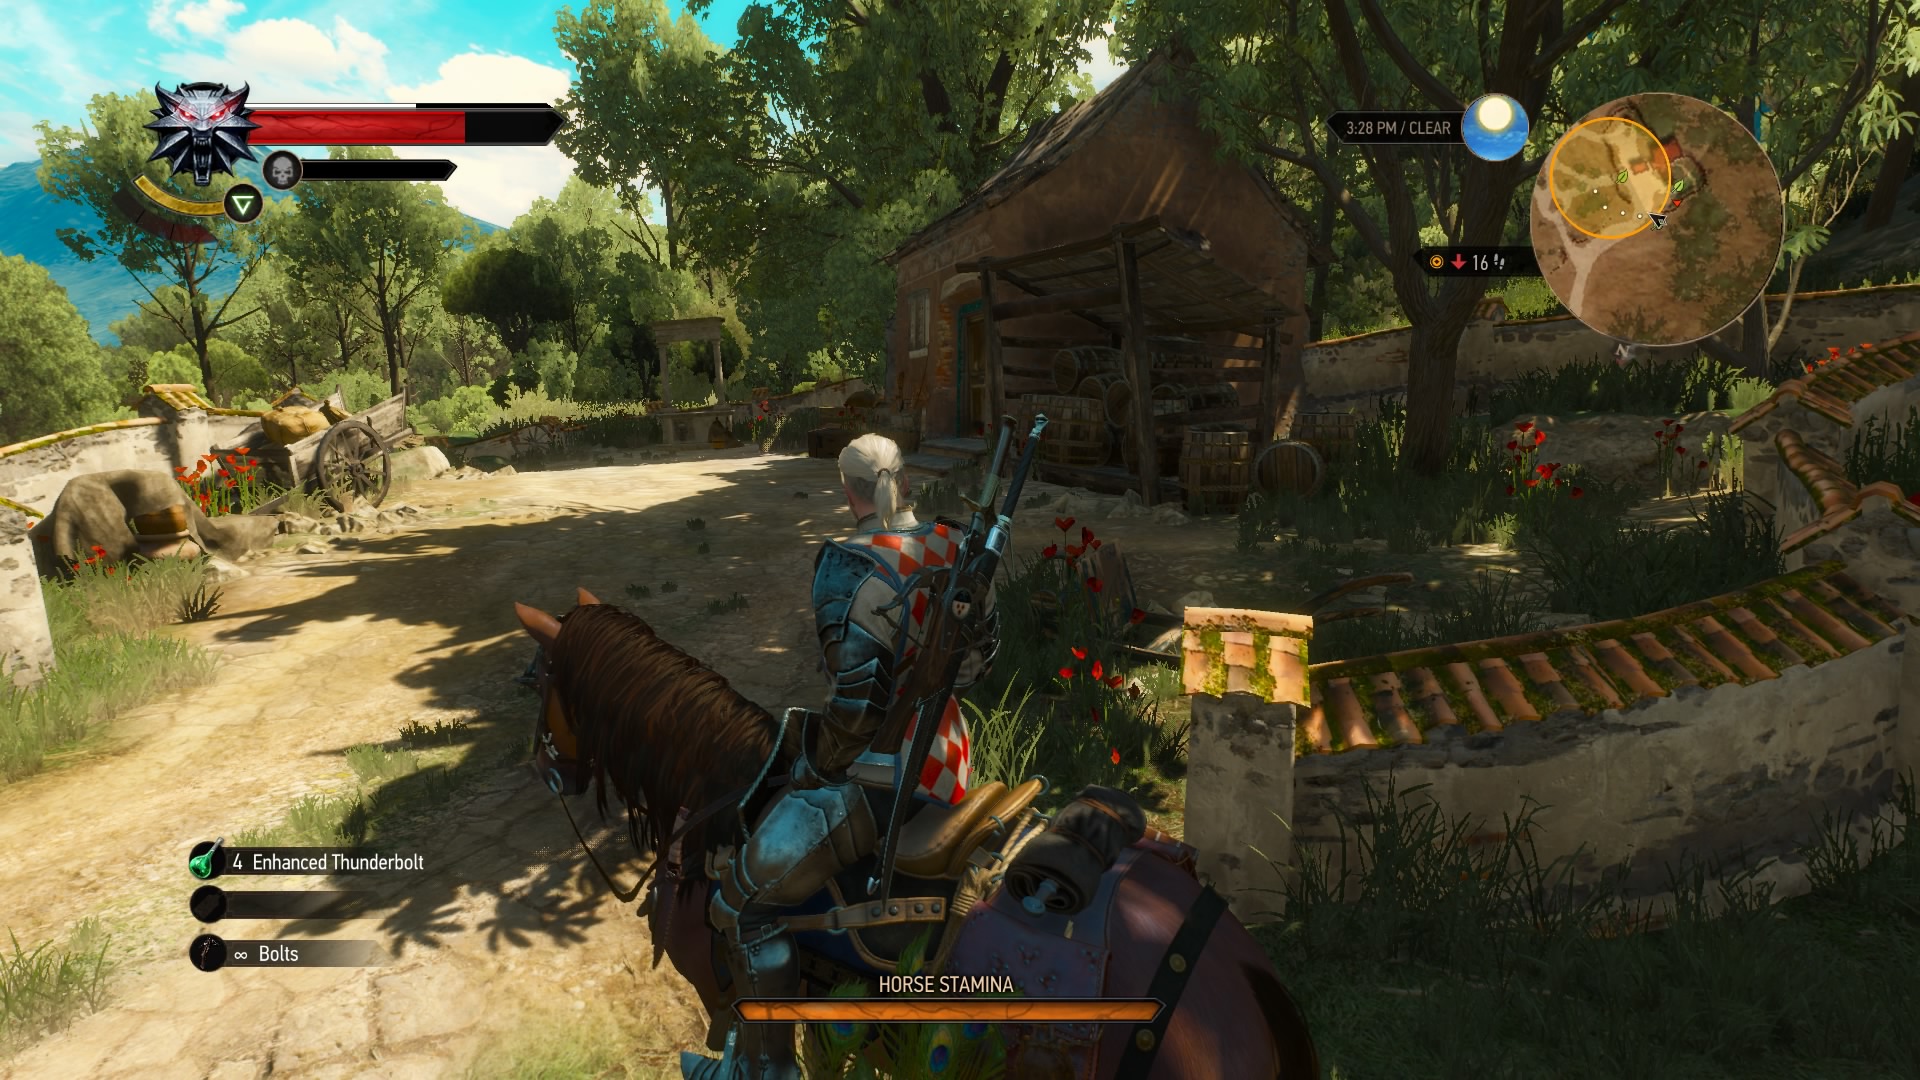
If you complete all the objectives of the “Wine Wars” quests, you’ll discover that some third party is behind the sabotage at the vineyards. Head to your new marker near the southern edge of the map to find a storehouse, then head inside. You’ll have to battle another archespore (no surprise there), but you’ll also find some seedlings and a stocktaking note. Burn the spores, then read the note to discover the true culprit behind all this: Count Crespi. With this information, you can return to Liam and Matilda and wrap up all the “Wine Wars” in the best possible way.
Wine Wars: Belgaard (B)
Suggested Level: 42 | Prerequisites: Complete “Wine Wars: The Deus in the Machina.”
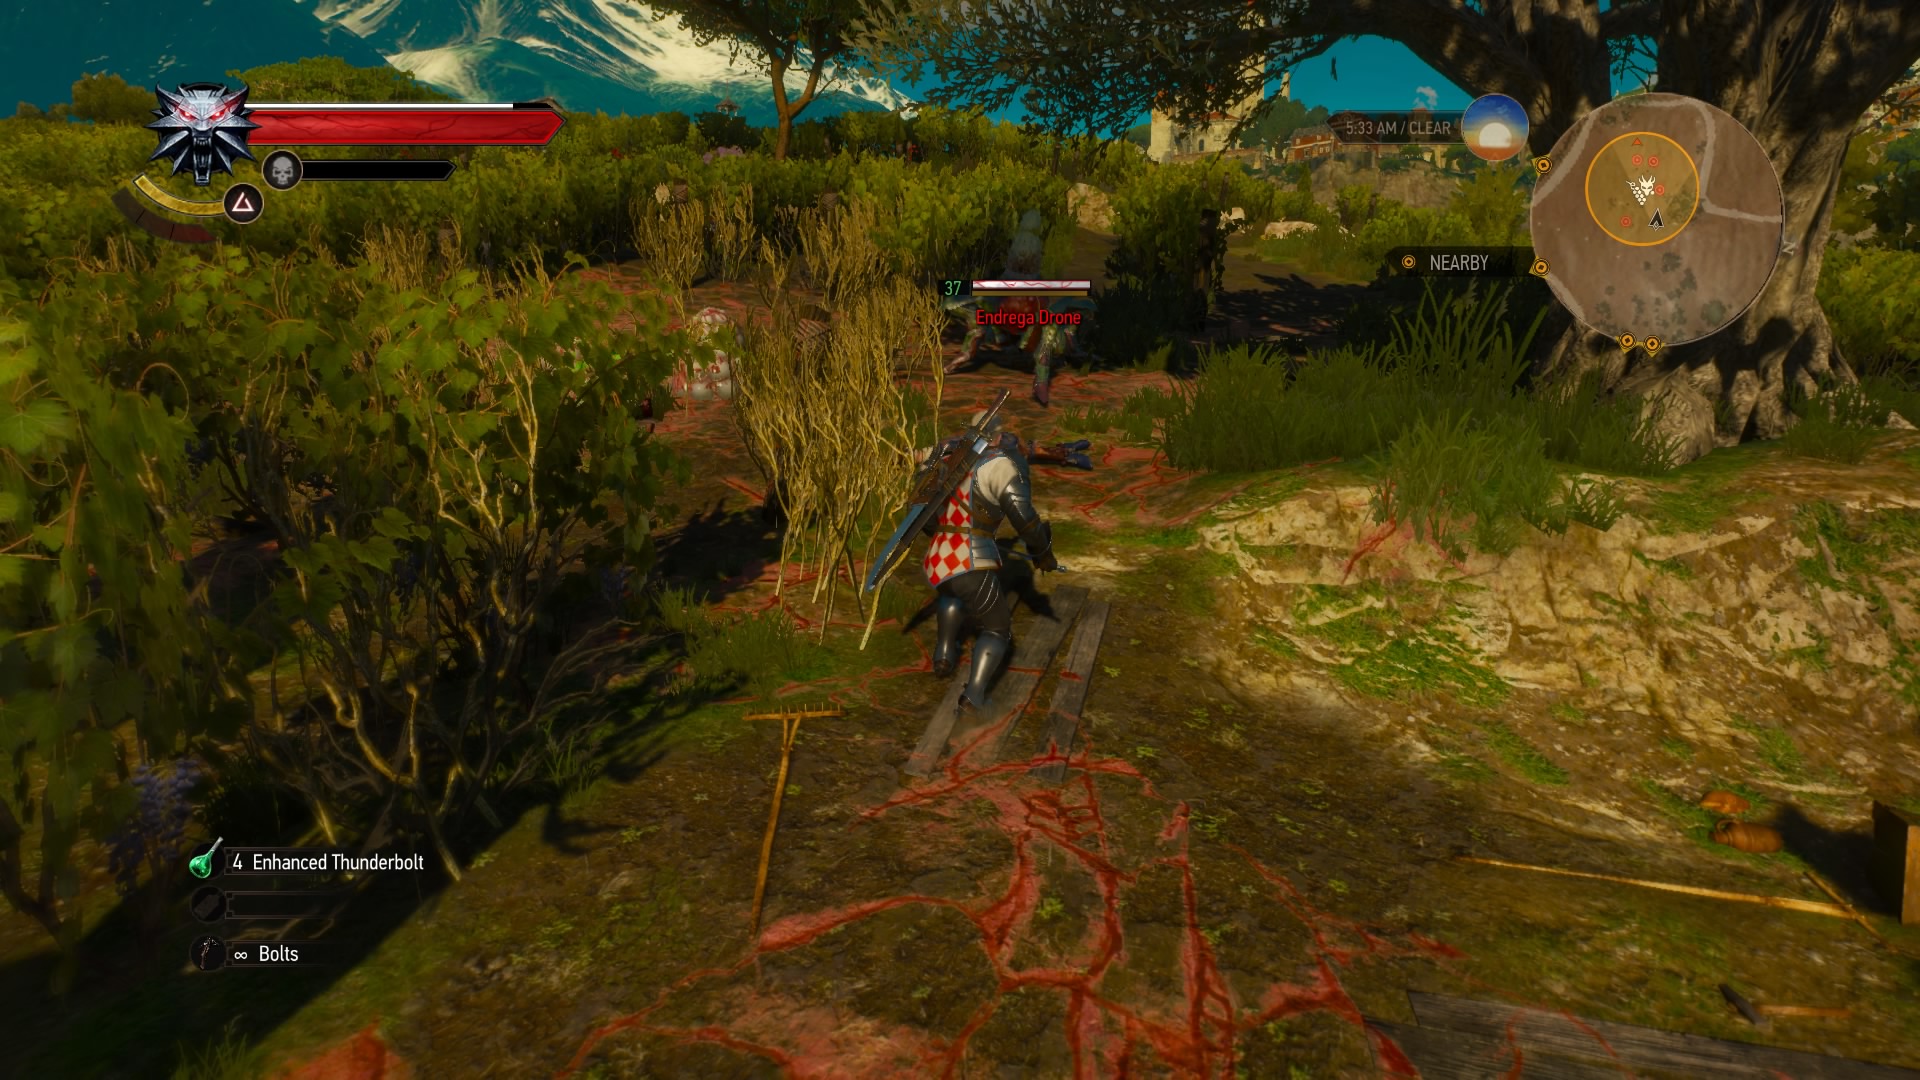
Completing the quest listed above gets you best possible ending for the various “Wine Wars” quests, and opens up a new one on the grounds of Belgaard. As with the other vineyards, your objective here is to take care of 5 problems in the area. Two of them are Monster Nests, one guarded by endregas and the other by centipedes. Take out the creatures and blow the nests to finish these errands.
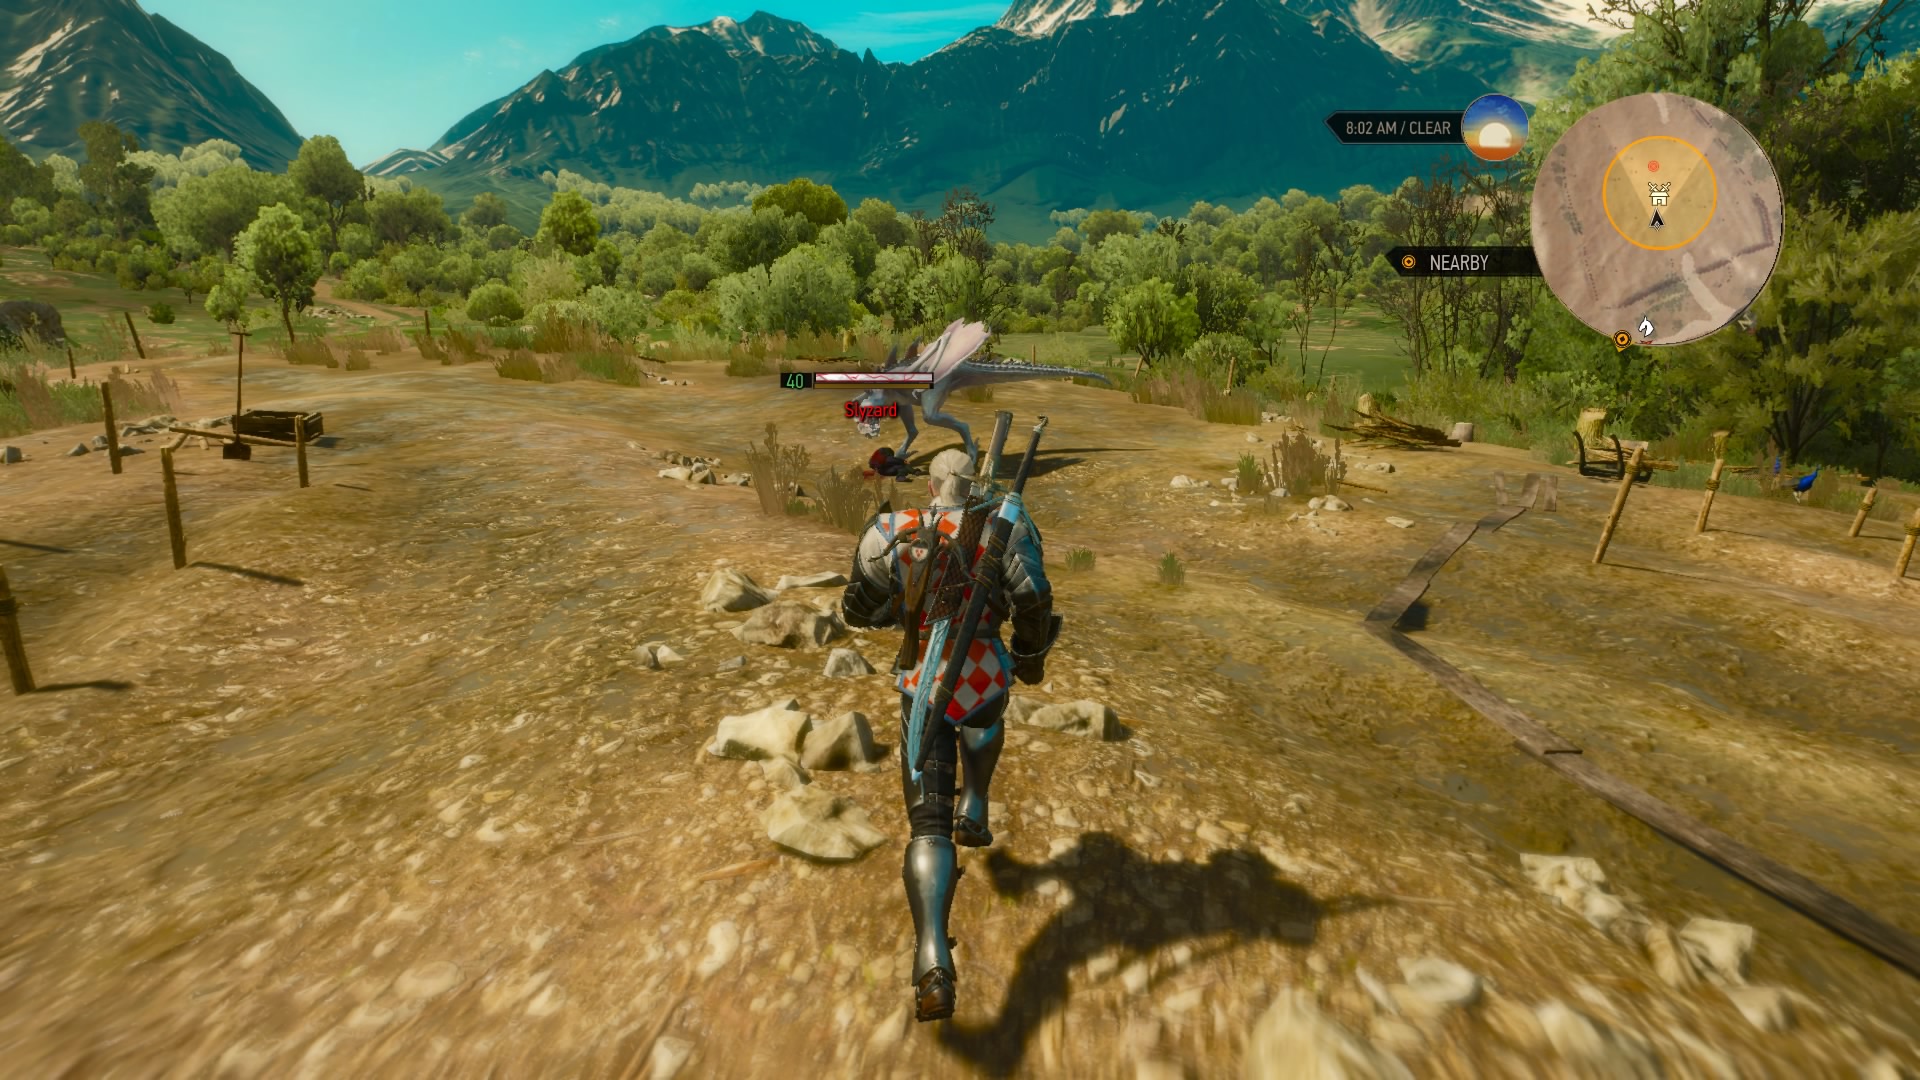
Another marker is a Guarded Treasure protected by more centipedes. Kill the bugs and loot the corpse to find a note. The fourth marker is an Abandoned Site lorded over by a slyzard; slay it to restore peasants to their turf. Finally, you’ll find a Person in Distress on the distant eastern shore. Rescue him to complete all the Belgaard tasks, then return to Liam and Matilda for a reward. Return to them after three days to truly complete the quest and receive a special surprise.
The Black Widow
Suggested Level: 37 | Prerequisites: N/A
There’s a Hidden Treasure location west of Flovive, along the riverbank. Check the corpse there for a letter and a key, then read the letter to learn of sunken treasure in the water. Dive in and search the sunken ship to find some nice loot.
Applied Escapology
Suggested Level: 37 | Prerequisites: N/A
There’s a Hidden Treasure on Crane Isle too. Head around back to find the escapologist’s journal. Read it, and you’ll get a new flooded cave marker on your map. You’ll need to loot the body found inside to finish the quest, so be prepared to get in and out of there before you run out of air. Once you’ve grabbed the key, swim to your new marker to find another underwater cave. Search inside to find a chest you can pop with the key you just looted.
Goodness, Gracious, Great Balls of Granite!
Suggested Level: 36 | Prerequisites: N/A
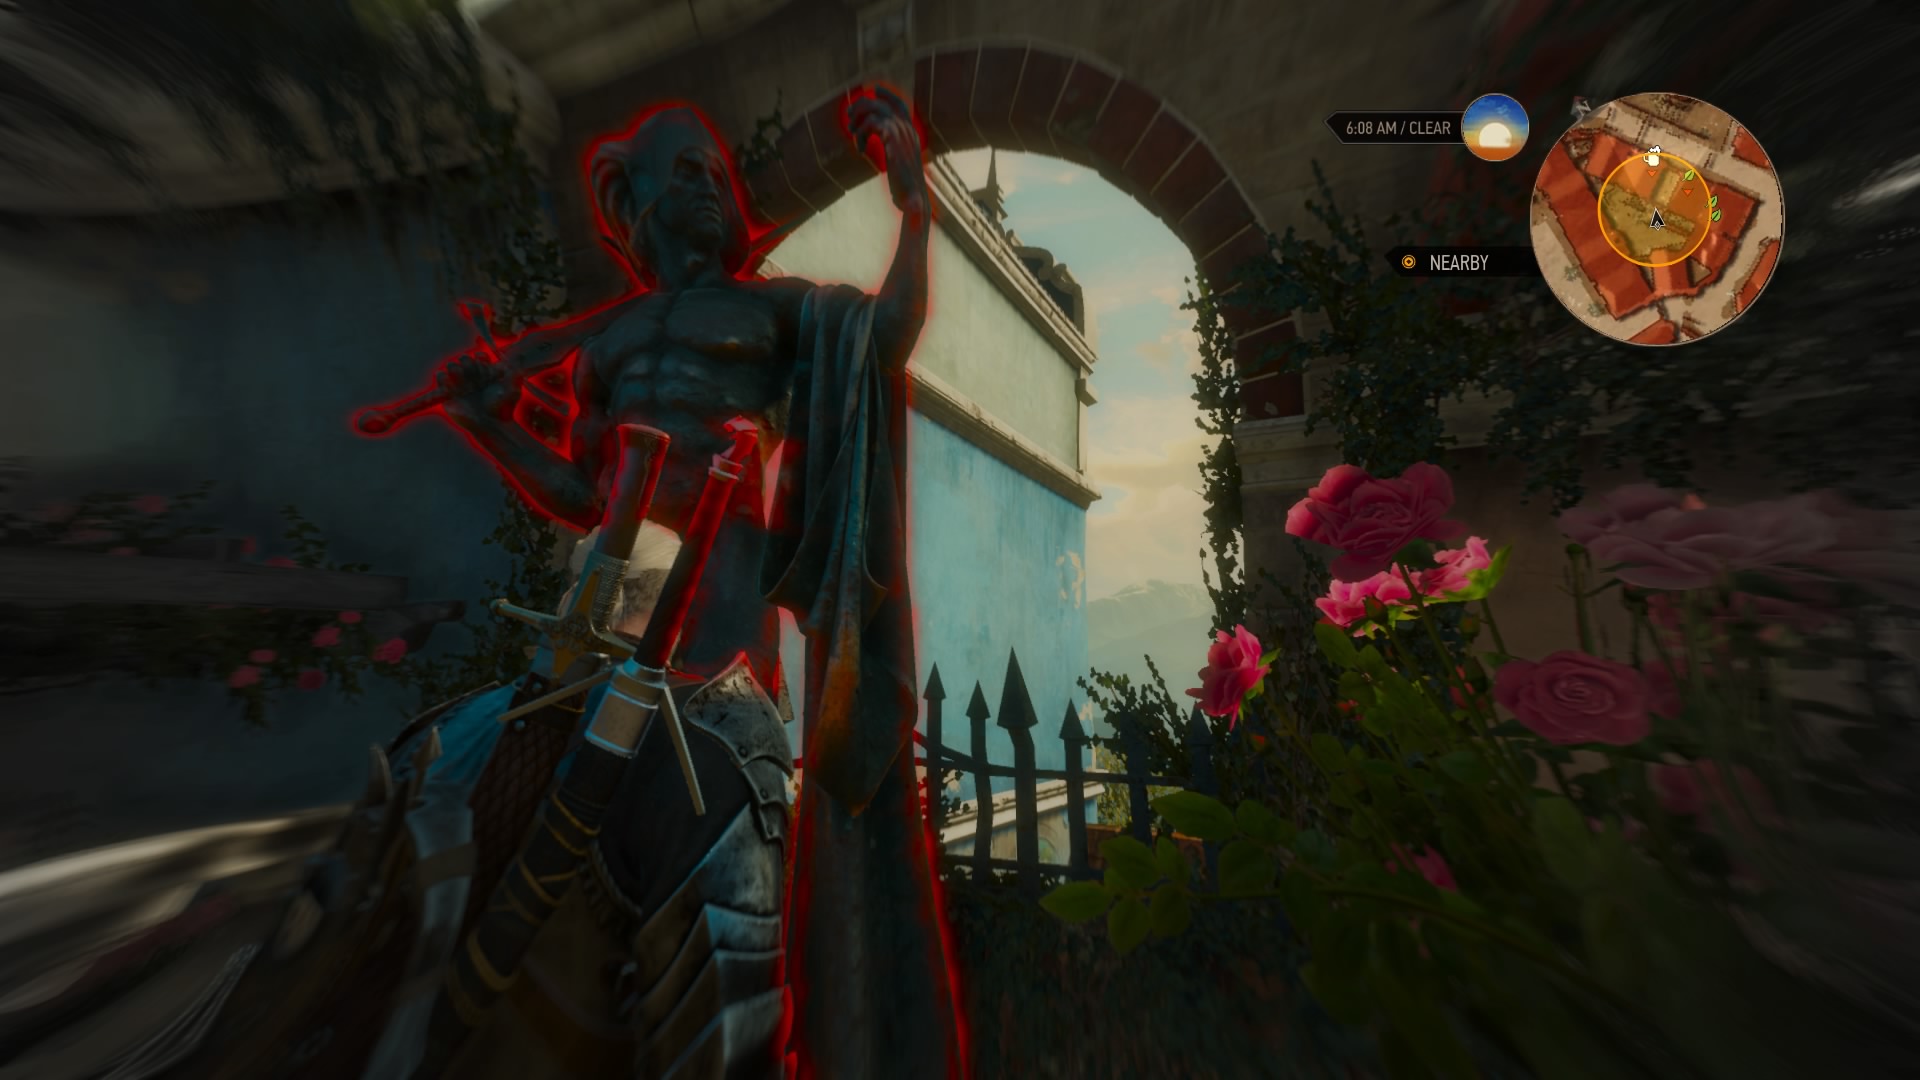
You can get this quest from the notice board in Beauclair, at the Gran’place. Talk to the art curator to learn that his granite statue’s *ahem* testicles have been stolen. Use your Witcher senses to find some clues, and you’ll discover a scent trail. Follow it to find the man who stole the statue’s jewels in a rather compromising position. From this point, you have a couple of choices in dealing with the thief, his mistress, and her husband. Return what was stolen to the curator (or let the thief keep it and let the curator know) to finish the quest.
Master Master Master Master!
Suggested Level: 40 | Prerequisites: N/A
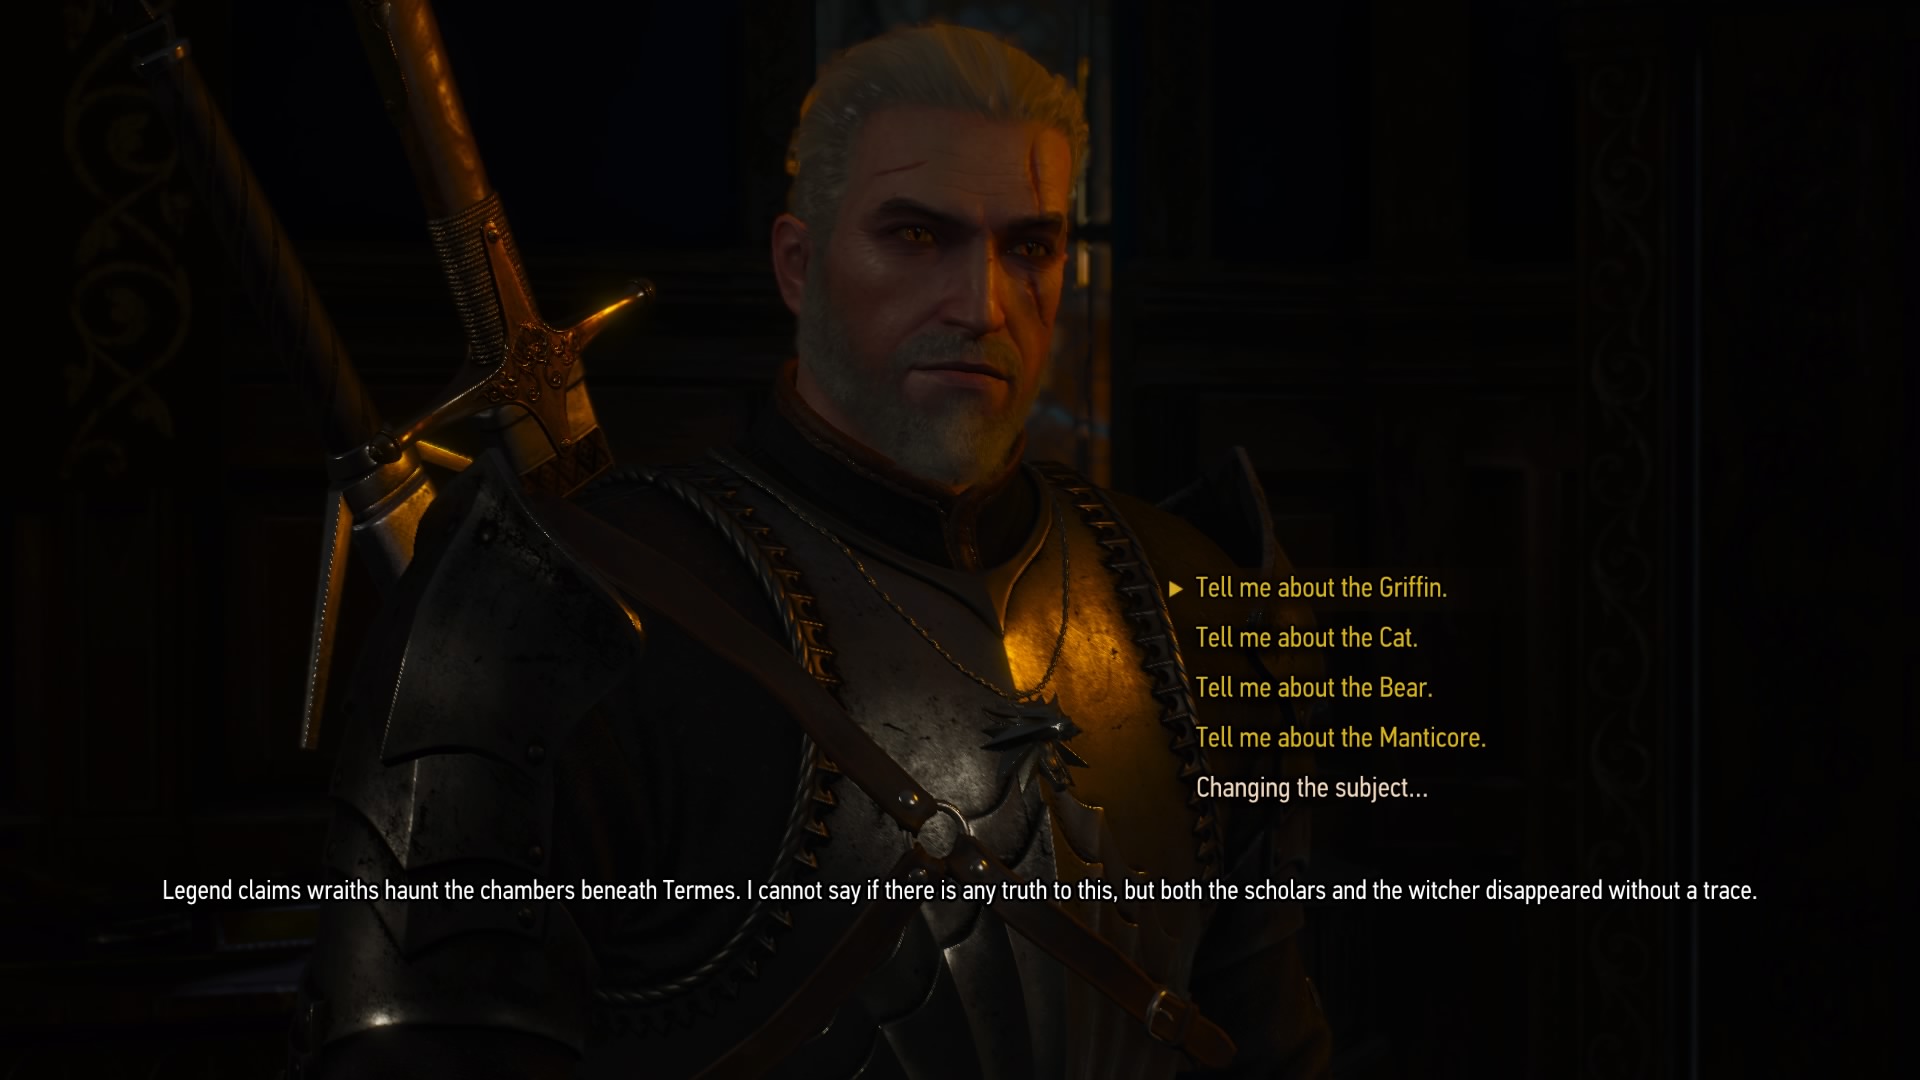
You can get this quest from the notice board in Beauclair, at the Gran’place. Speak to the armorer to learn that there are several master diagrams scattered across Toussaint: the Wolf, the Griffin, the Cat, the Bear, and the Manticore. You’ll need to track all 5 of these down, so learn all you can from the armorer. This will initiate 5 additional Scavenger Hunt quests. Once you’ve completed all of these, return to the armorer to finish the quest.
Scavenger Hunt: Grand Master Wolven Gear
Suggested Level: 40 | Prerequisites: Begin “Master Master Master Master!”
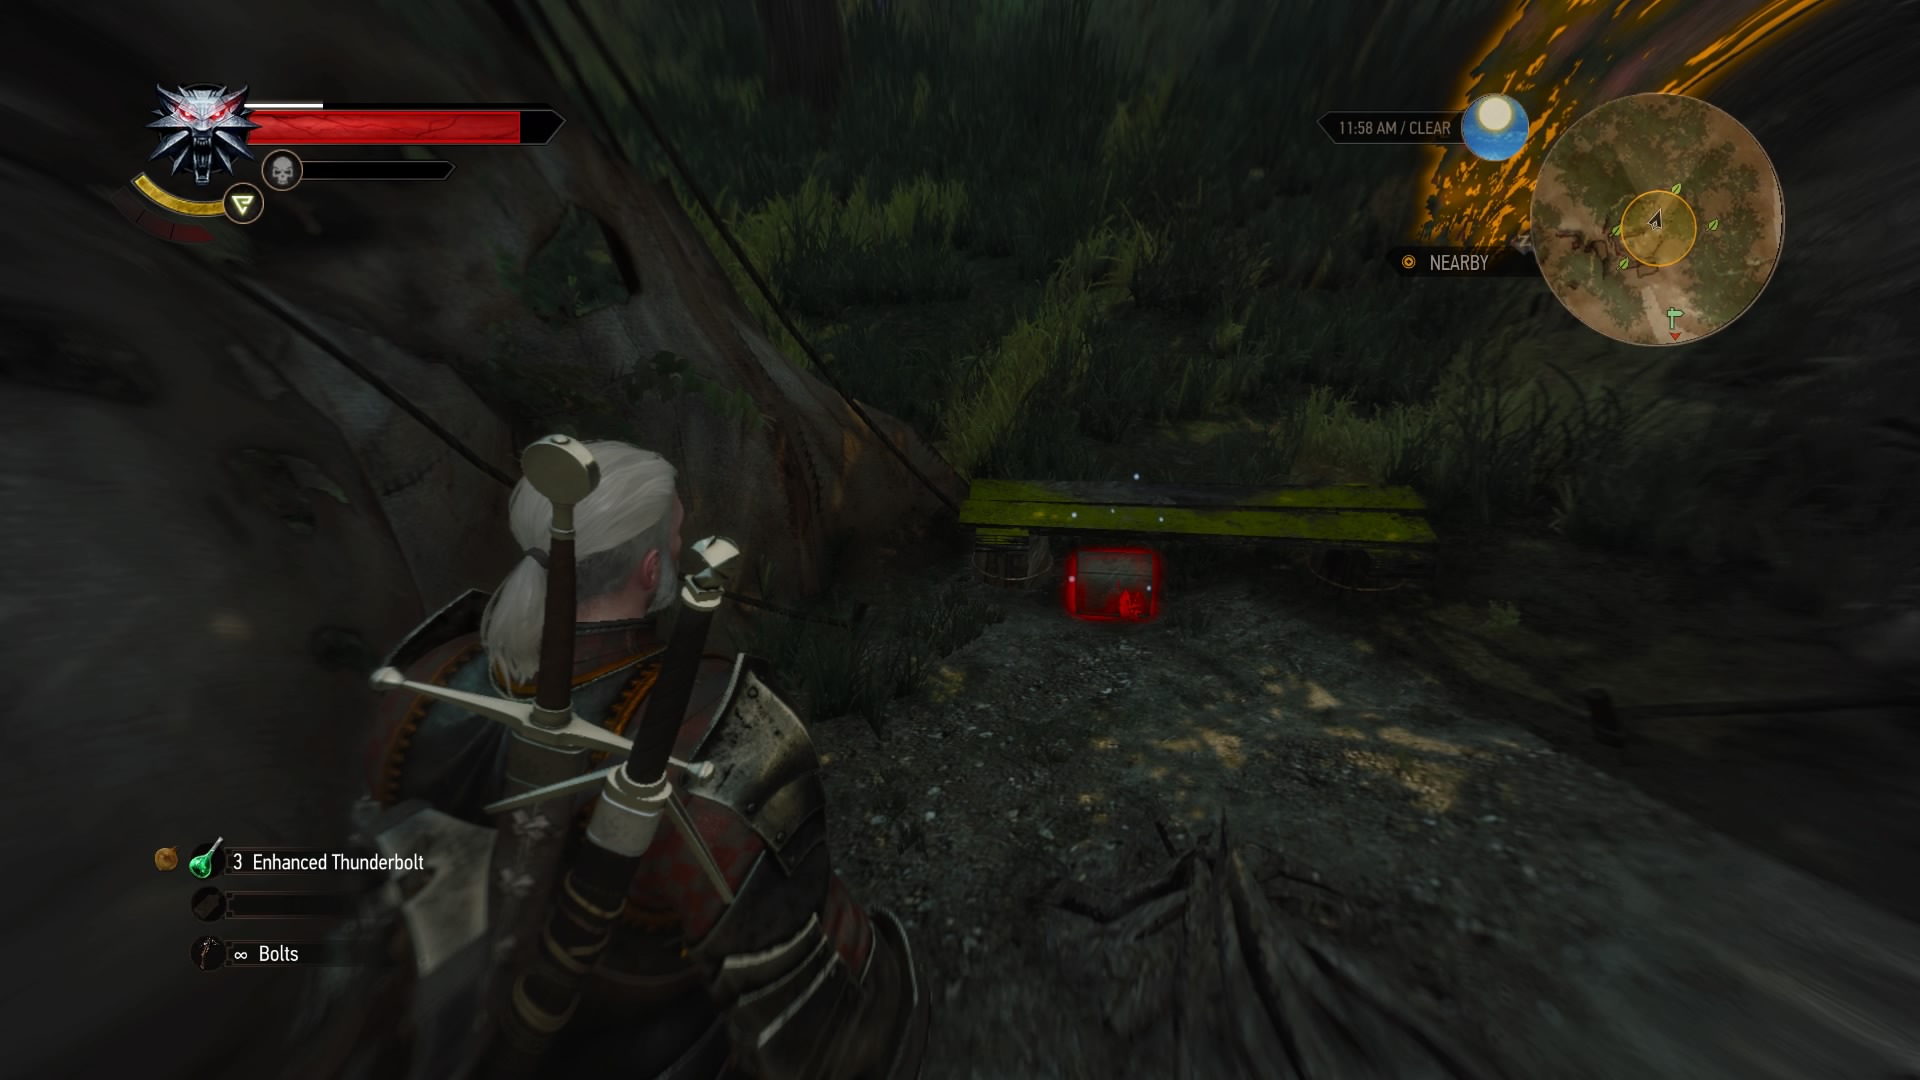
This is the first of the 5 gears sets the armorer wants you to track down. Start by traveling to your marker at the Termes Palace Ruins, then use your Witcher senses to find a chest with a letter inside. Read this to gain a new marker nearby, and head there to find a magic barrier. Check nearby to find a corpse and a ruby, then use the ruby to clear the barrier.
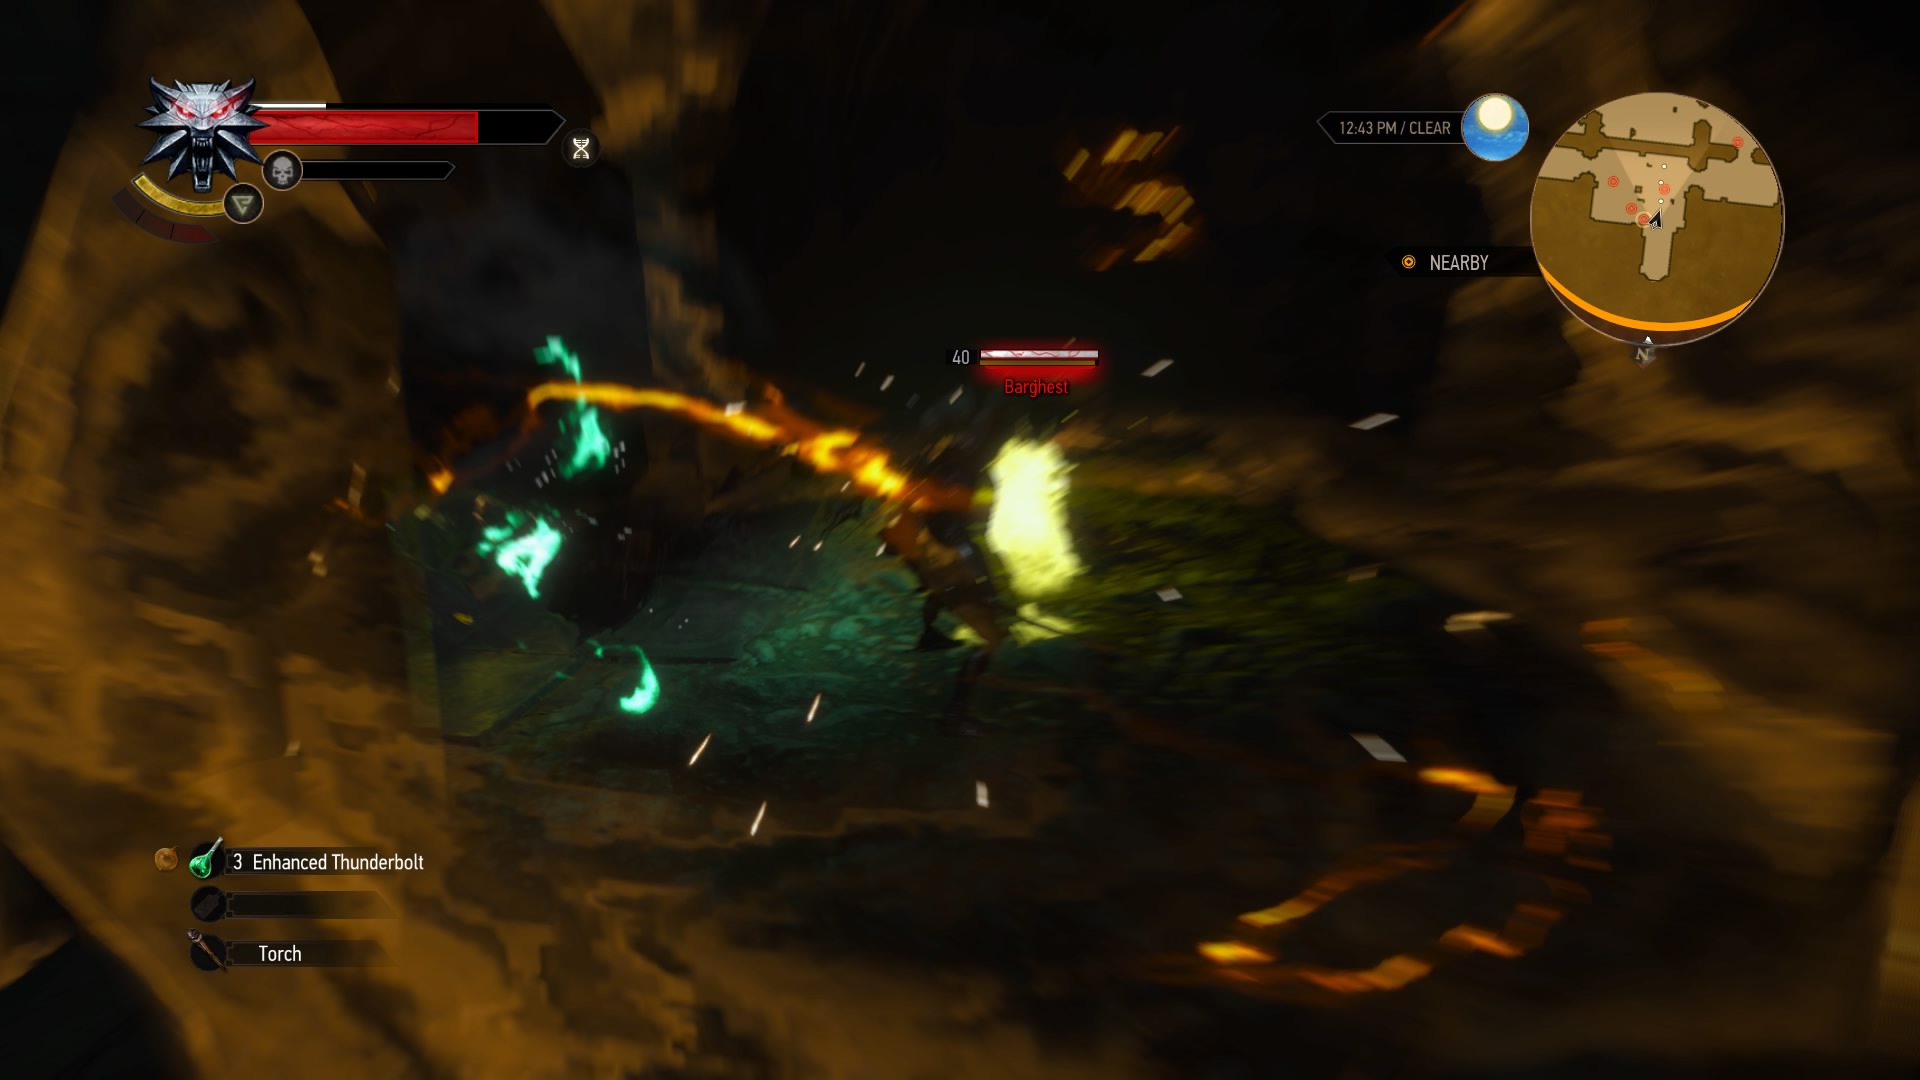
Inside the ruins, you’ll find several bodies and several enemies. Fight your way through, using your Witcher senses to find two small satchels, each containing half the diagrams you need. Take all 6 Wolf School diagrams back to the armorer to wrap this up.
Scavenger Hunt: Grand Master Griffin Gear
Suggested Level: 40 | Prerequisites: Begin “Master Master Master Master!”
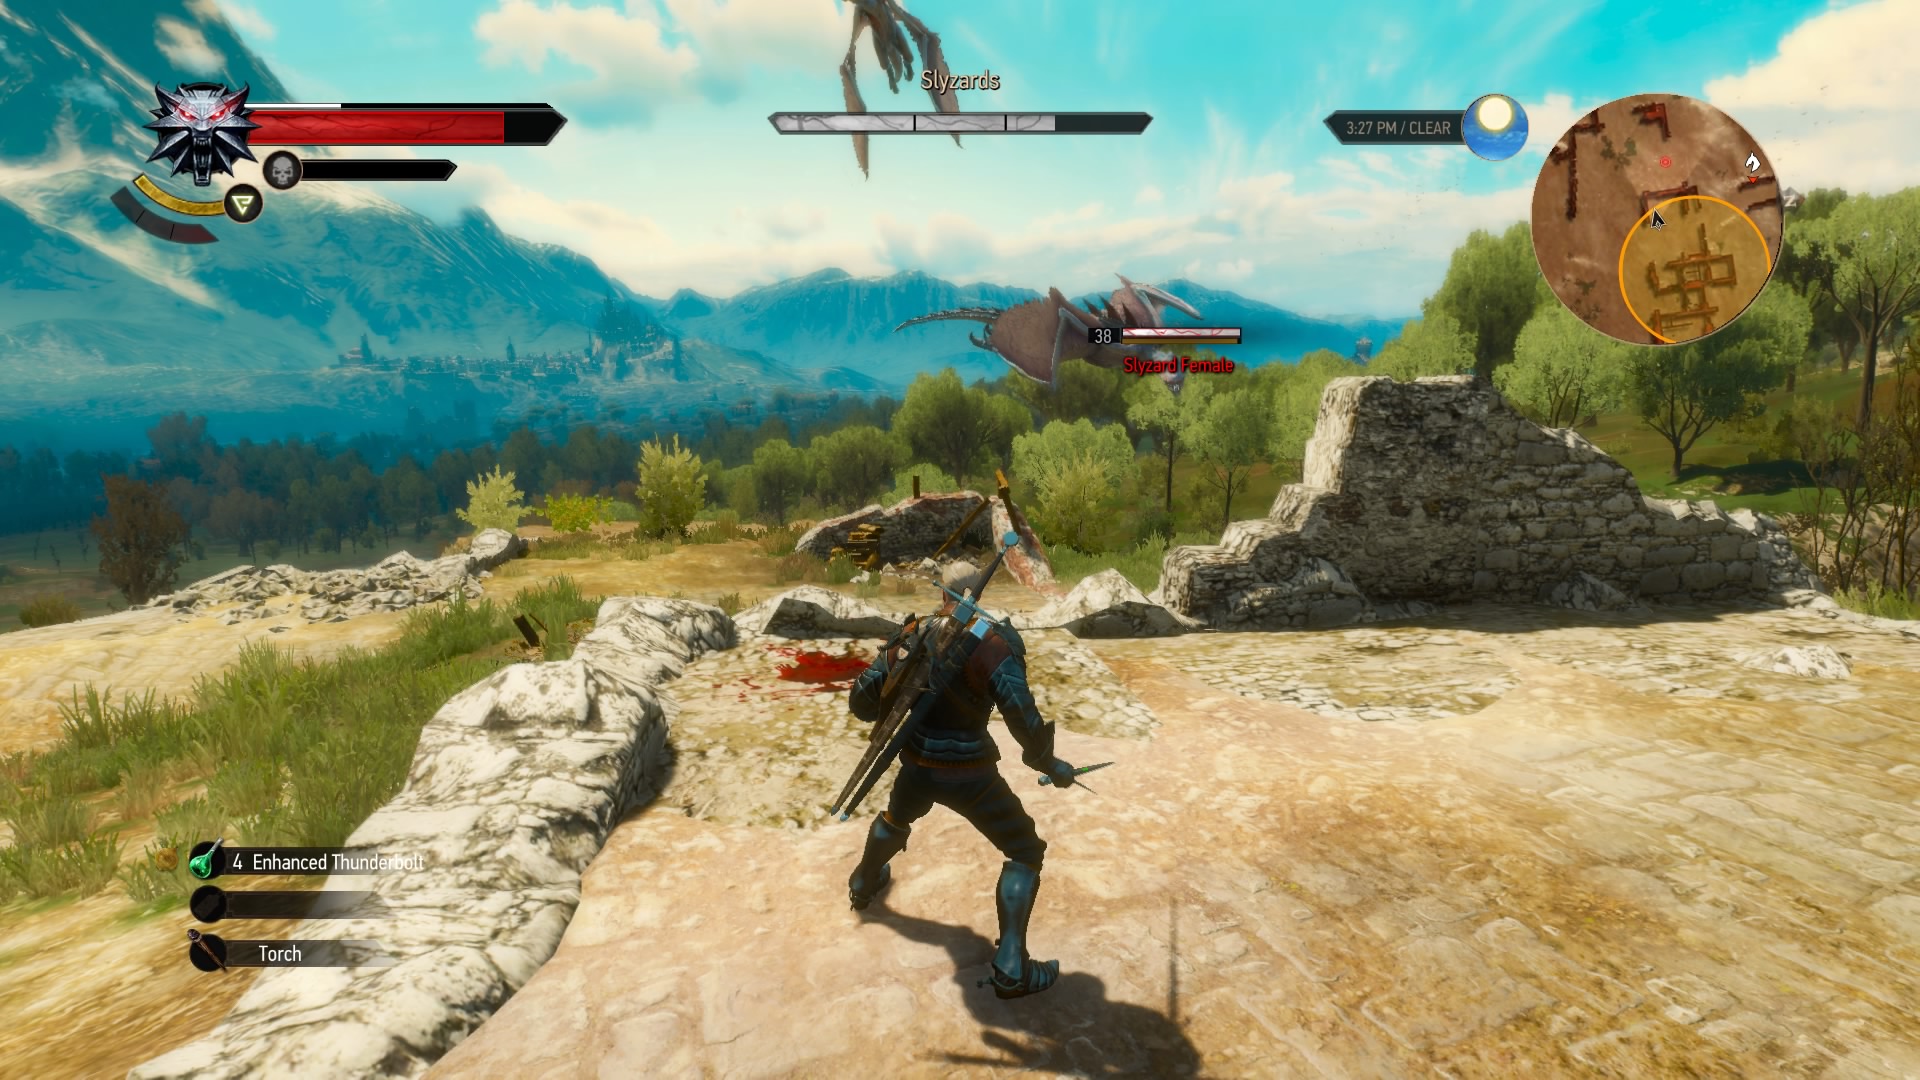
This is the second of the 5 gears sets the armorer wants you to track down. Head to your marker at Fort Ussar in the northeast pocket of the map. There are some slyzards guarding the place, so take them out first. Head inside the ruins and use your Witcher senses to find a chest containing half the diagrams and a letter. Read that to get a new marker just north at Mont Crane.
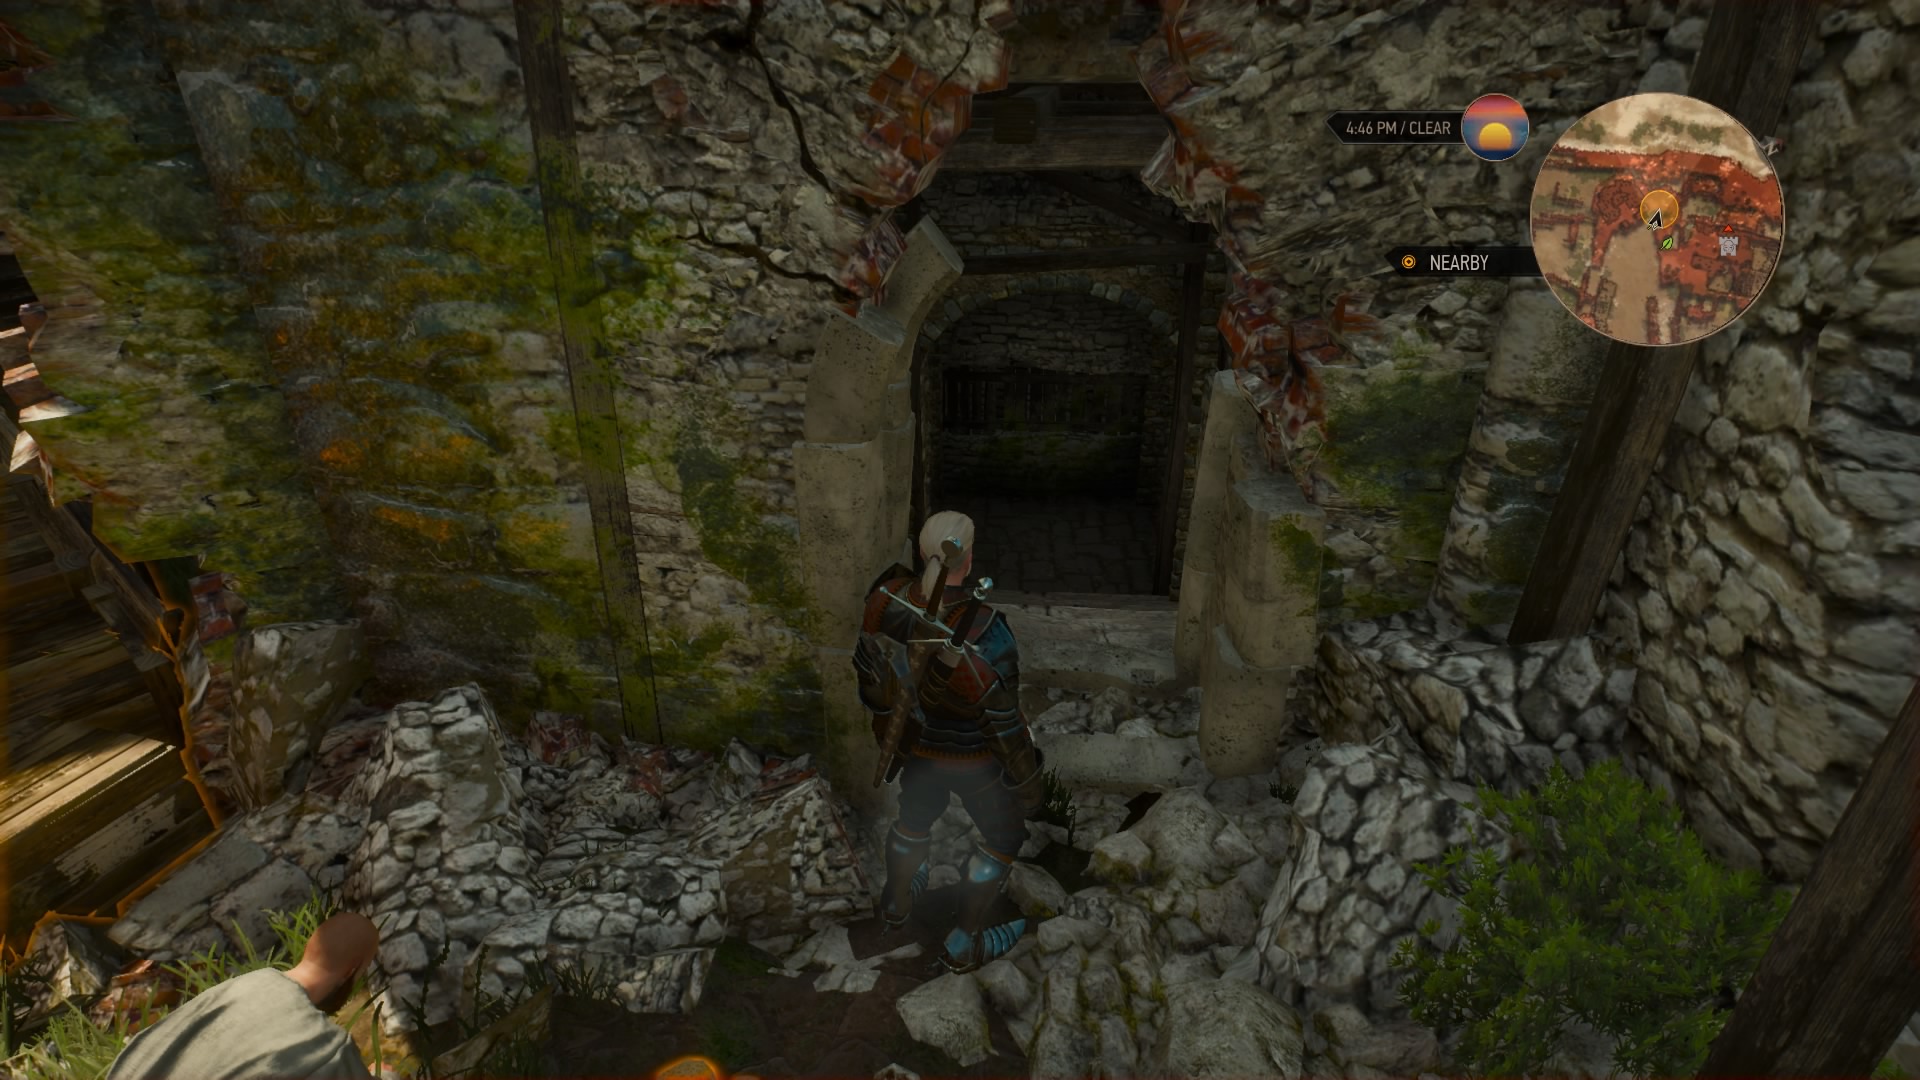
If you haven’t been to the castle before, prepare to clear it out – it’s originally a Hanse Camp. Once it’s clear, you can use your Witcher senses to find a fake wall and use the Eye of Nehaleni to clear it. Down in the passage, you can find a crystal and another fake wall moved by a switch. Get the crystal and head back there to find a chest containing another letter. Read it, place the crystal on the stand, and hit it with Aard to activate a portal. On the other side is a cave guarded by a golem. Take it out and scour the cave to find the other 3 diagrams. Take all 6 back to the armorer to finish the quest.
Scavenger Hunt: Grand Master Feline Gear
Suggested Level: 40 | Prerequisites: Begin “Master Master Master Master!”
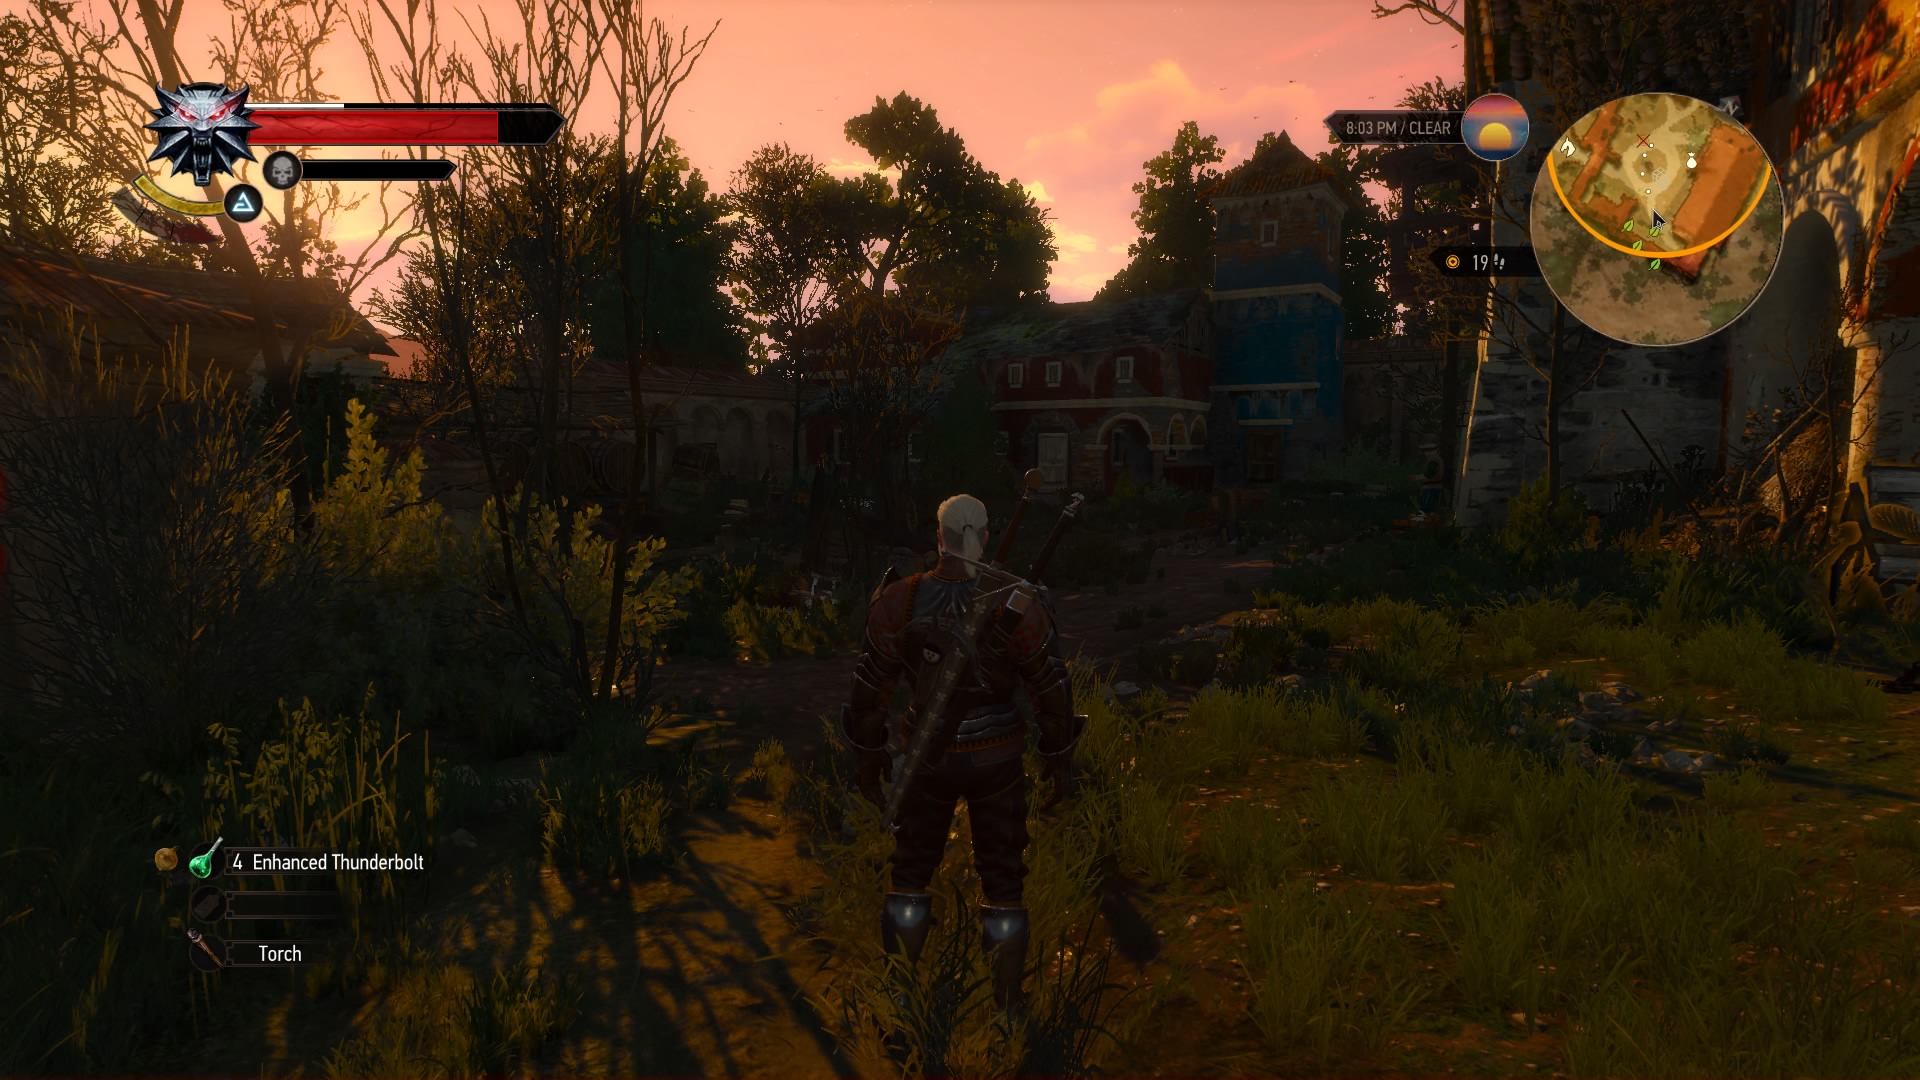
This is the third of the 5 gears sets the armorer wants you to track down. Start by heading to the marker at the estate along the northern edge of the map (you’ll have to climb over the eastern wall to get inside). Initially, there’s a Person in Distress here, so take care of that before searching the grounds. Check the quarters along the western wall to find the first diagram and a letter hanging on the wall inside.
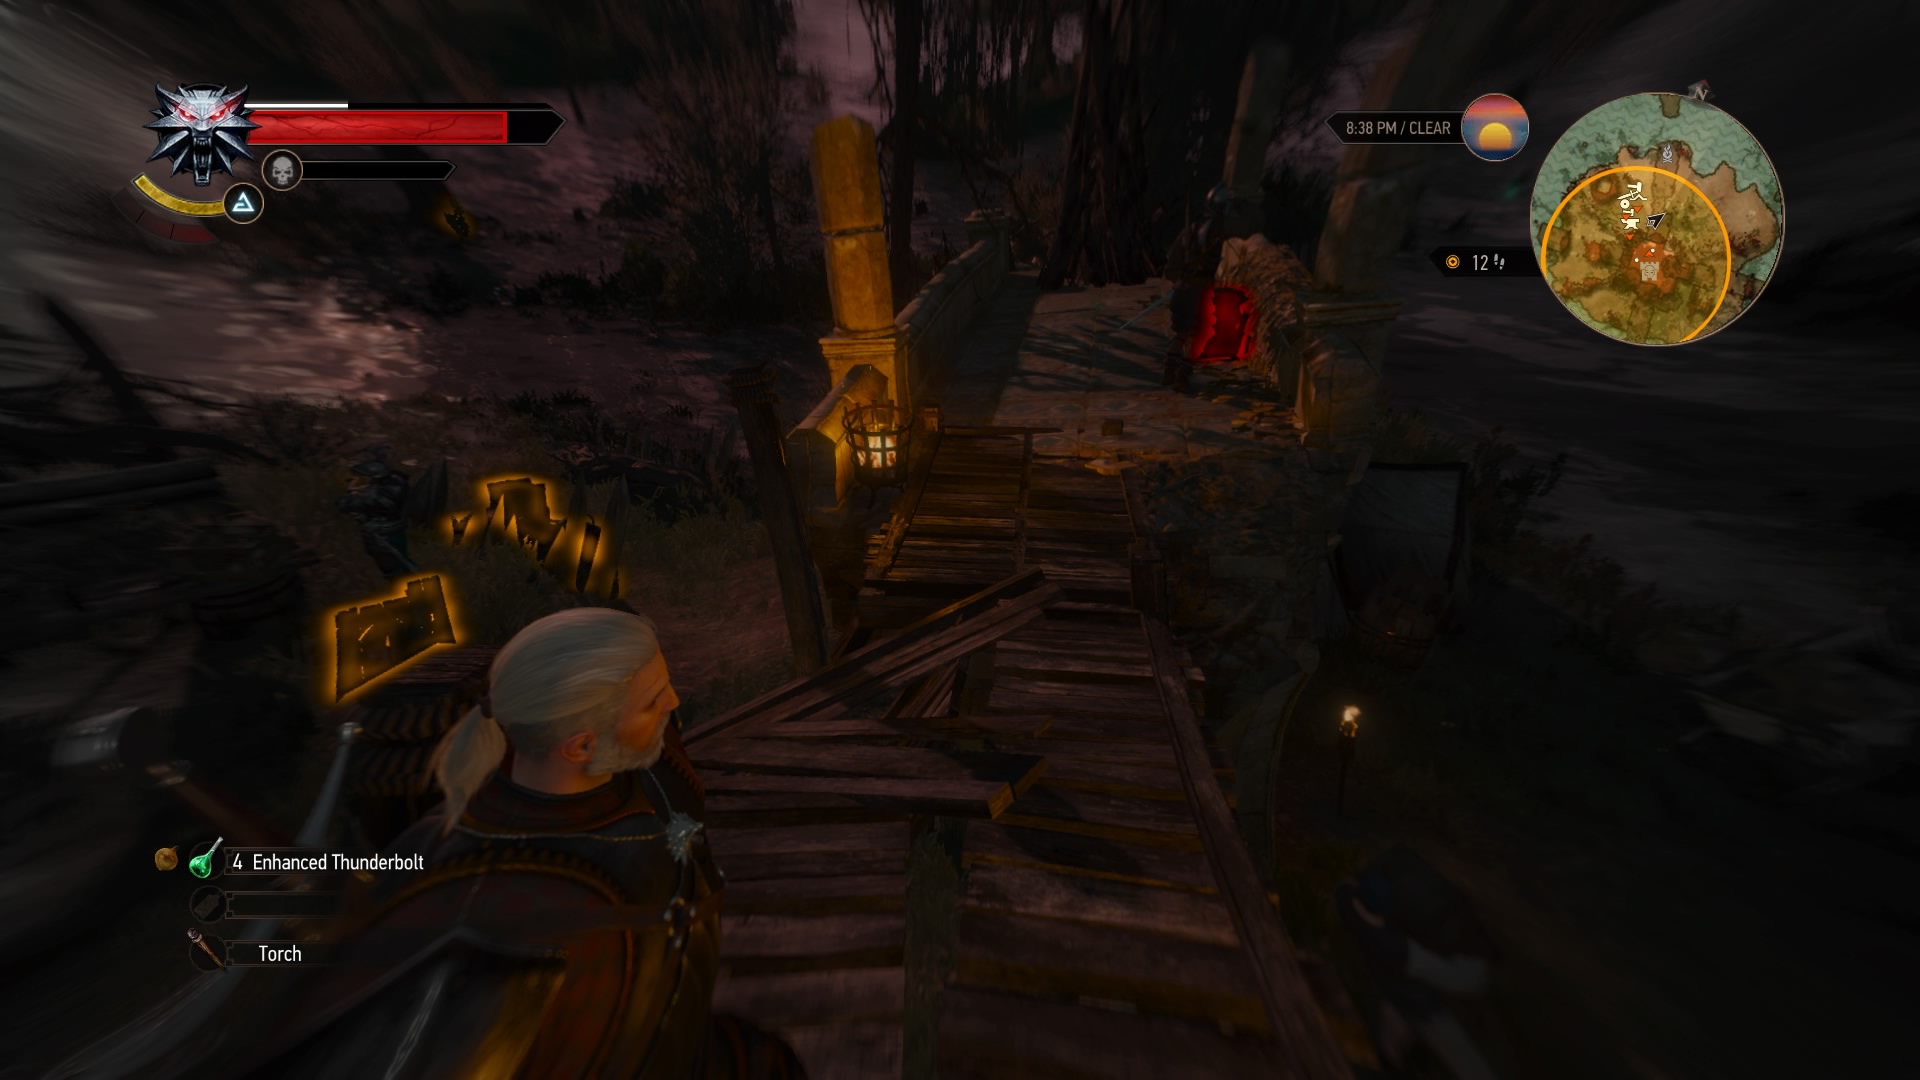
Read the letter to get a new marker at Arthach Palace. As with the Griffin set, this location is initially a Hanse Camp, so be prepared to fight if you haven’t cleared it out already. Use your Witcher senses to find a chest containing two more diagrams and another letter. Read that letter and head to the final marker at a Monster Den to the south. Head inside and take out the archespores, and you’ll find the last 3 diagrams in a chest in the back. Take all 6 back to the armourer to finish the quest.
Scavenger Hunt: Grand Master Ursine Gear
Suggested Level: 40 | Prerequisites: Begin “Master Master Master Master!”
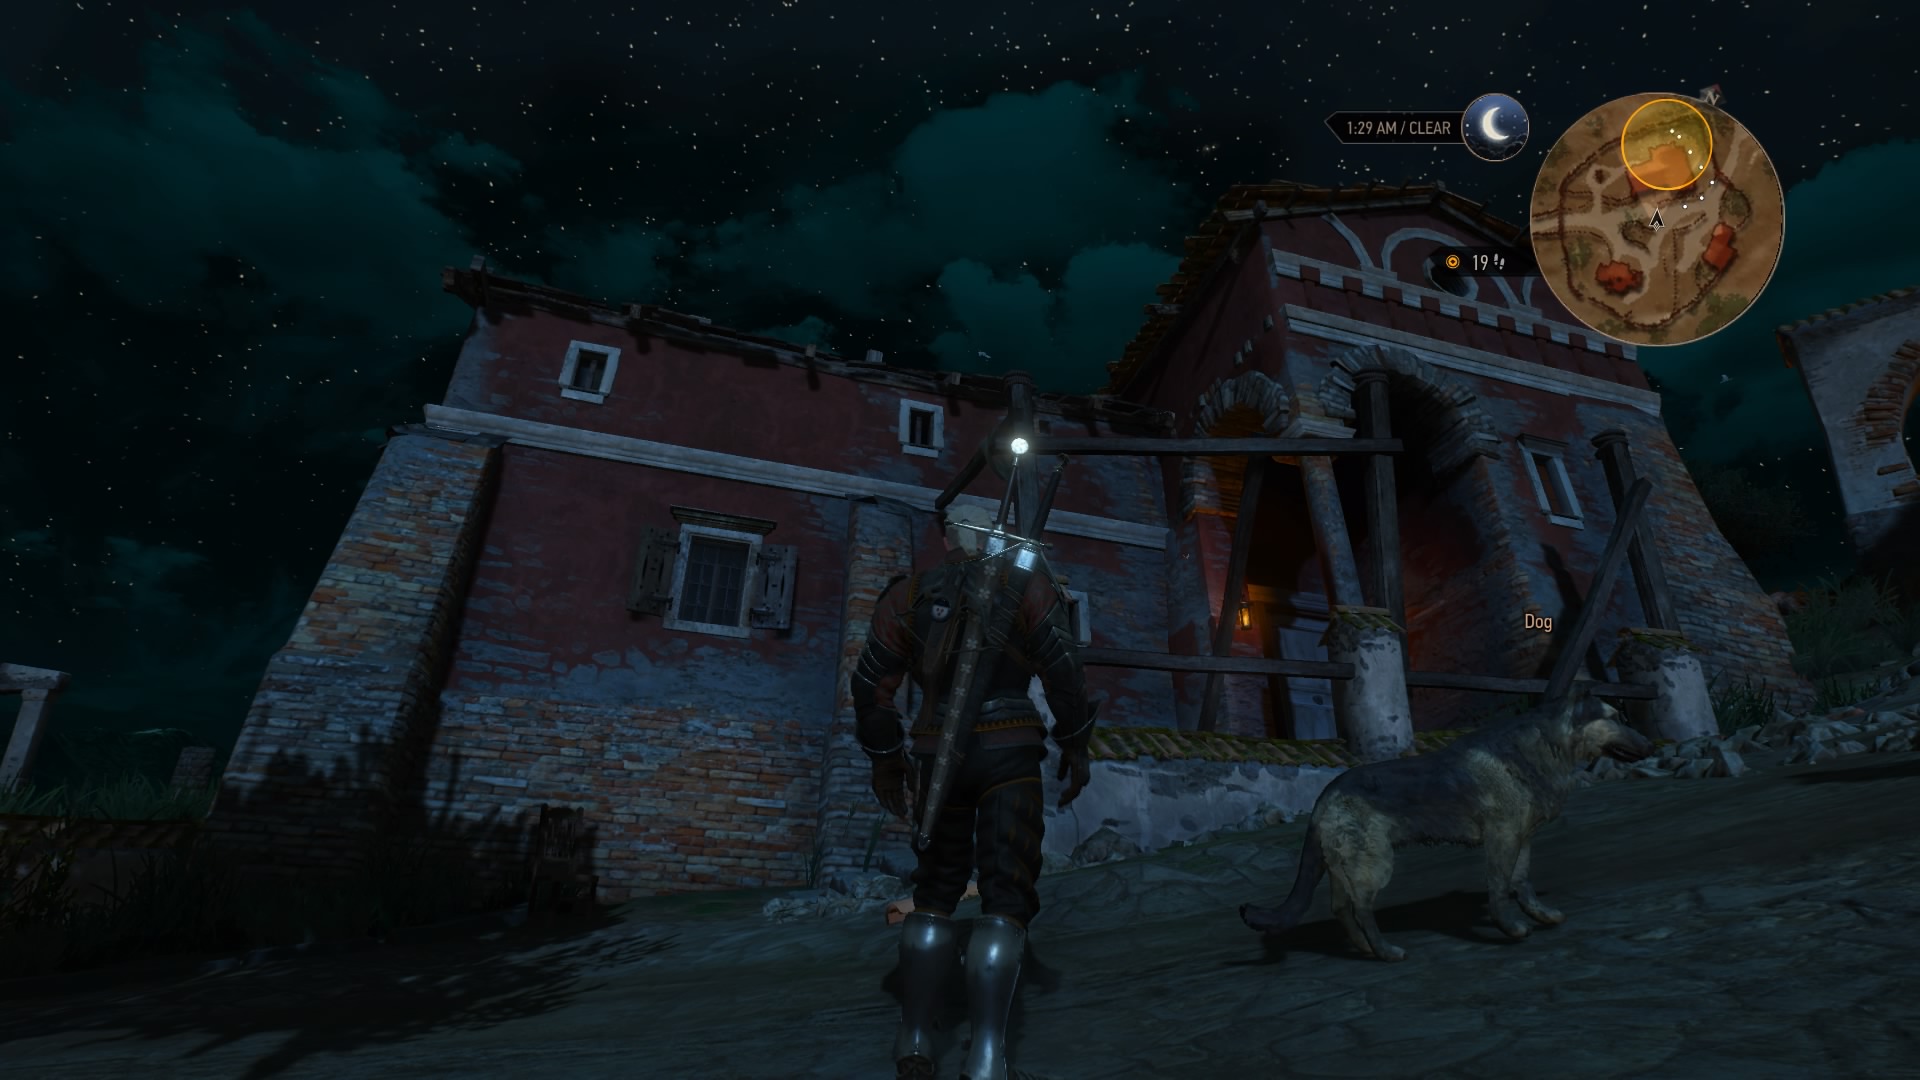
This is the fourth of the 5 gears sets the armorer wants you to track down, and you can start your search in Flovive. Check behind the crumbling house to find a cellar blocked by debris. Clear it with Aard then head inside to find half the diagrams in a chest to the right. You’ll also find a letter; read it to get a new marker.
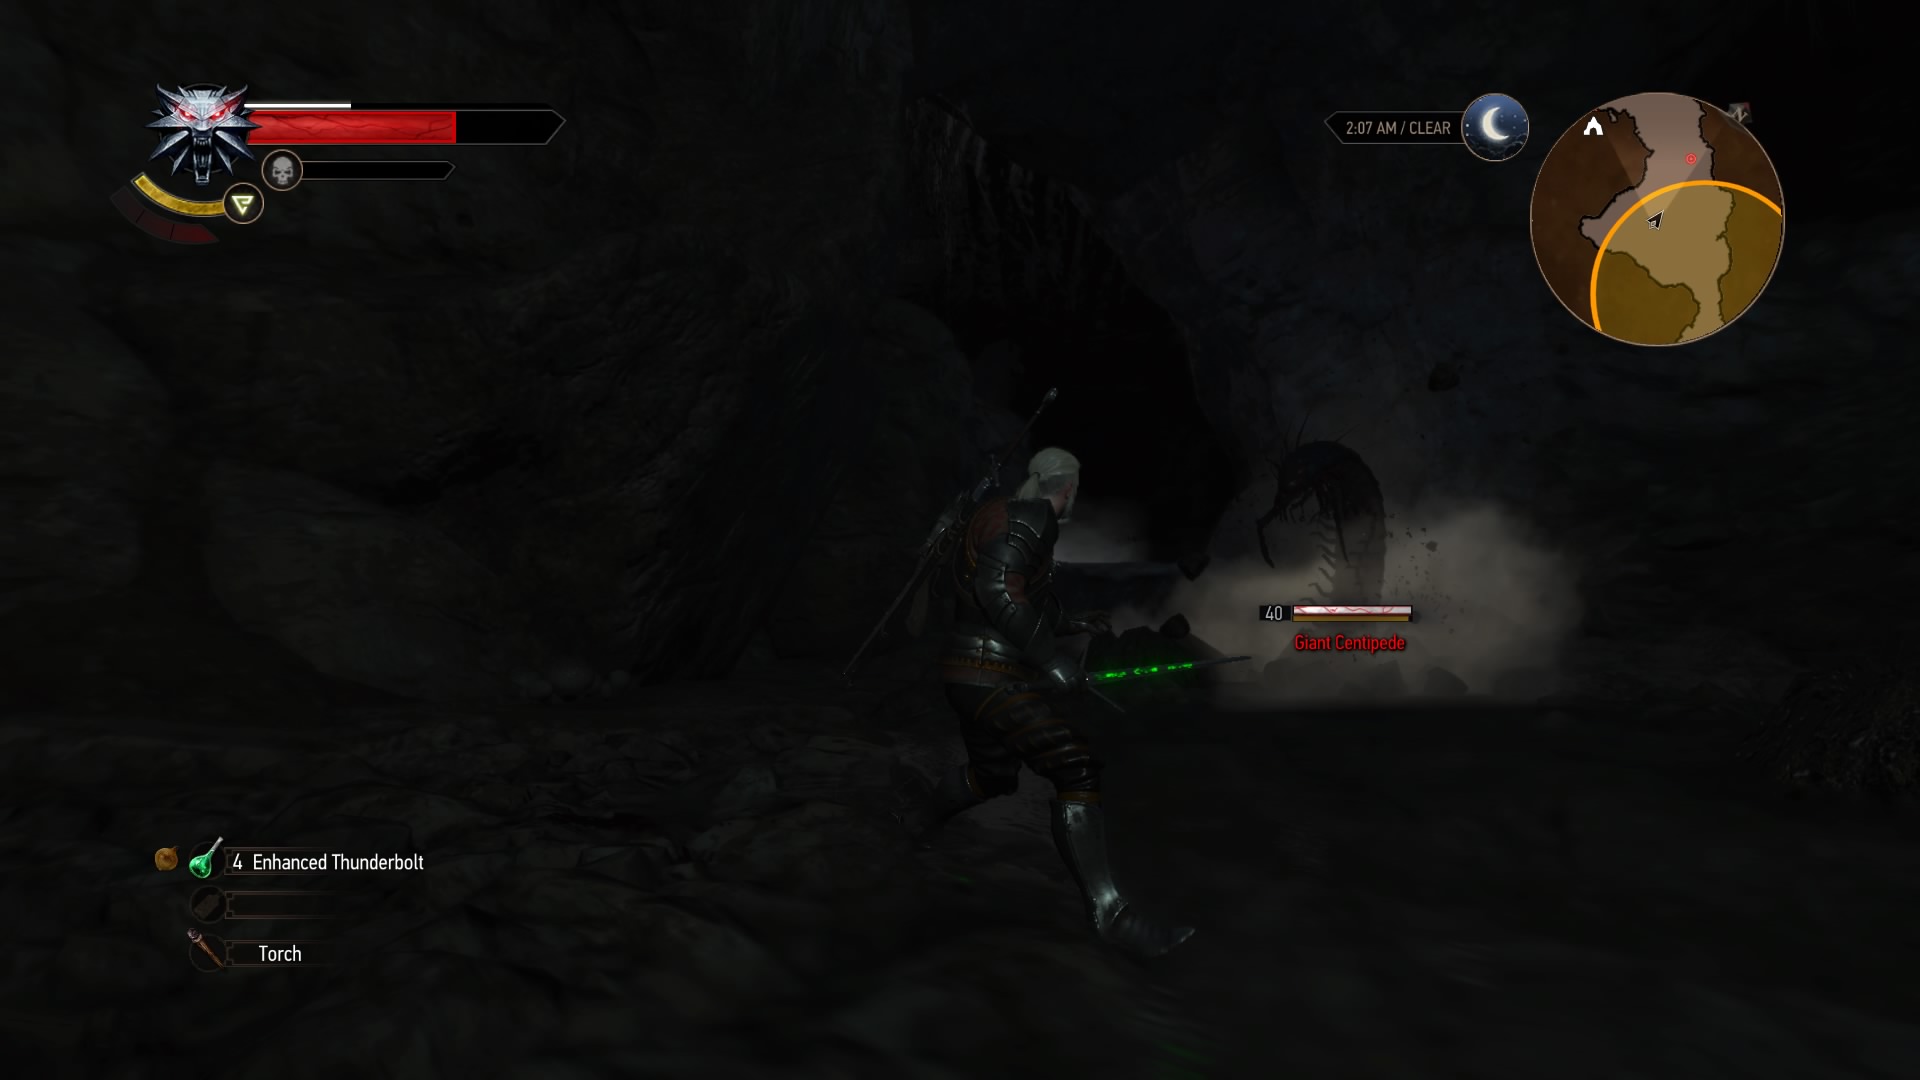
Head to the marsh to the northwest to find a cave entrance near the marker. Inside, you can clear out some rocks to find a note about symbols on the cave walls. Continue through the passage, using the symbols to choose the right path (you’ll fight a few centipedes too). You’ll find a corpse holding the rest of the diagrams at the end. You can then take all 6 back to the armorer to finish the quest.
Scavenger Hunt: Grand Master Manticore Gear
Suggested Level: 40 | Prerequisites: Begin “Master Master Master Master!”
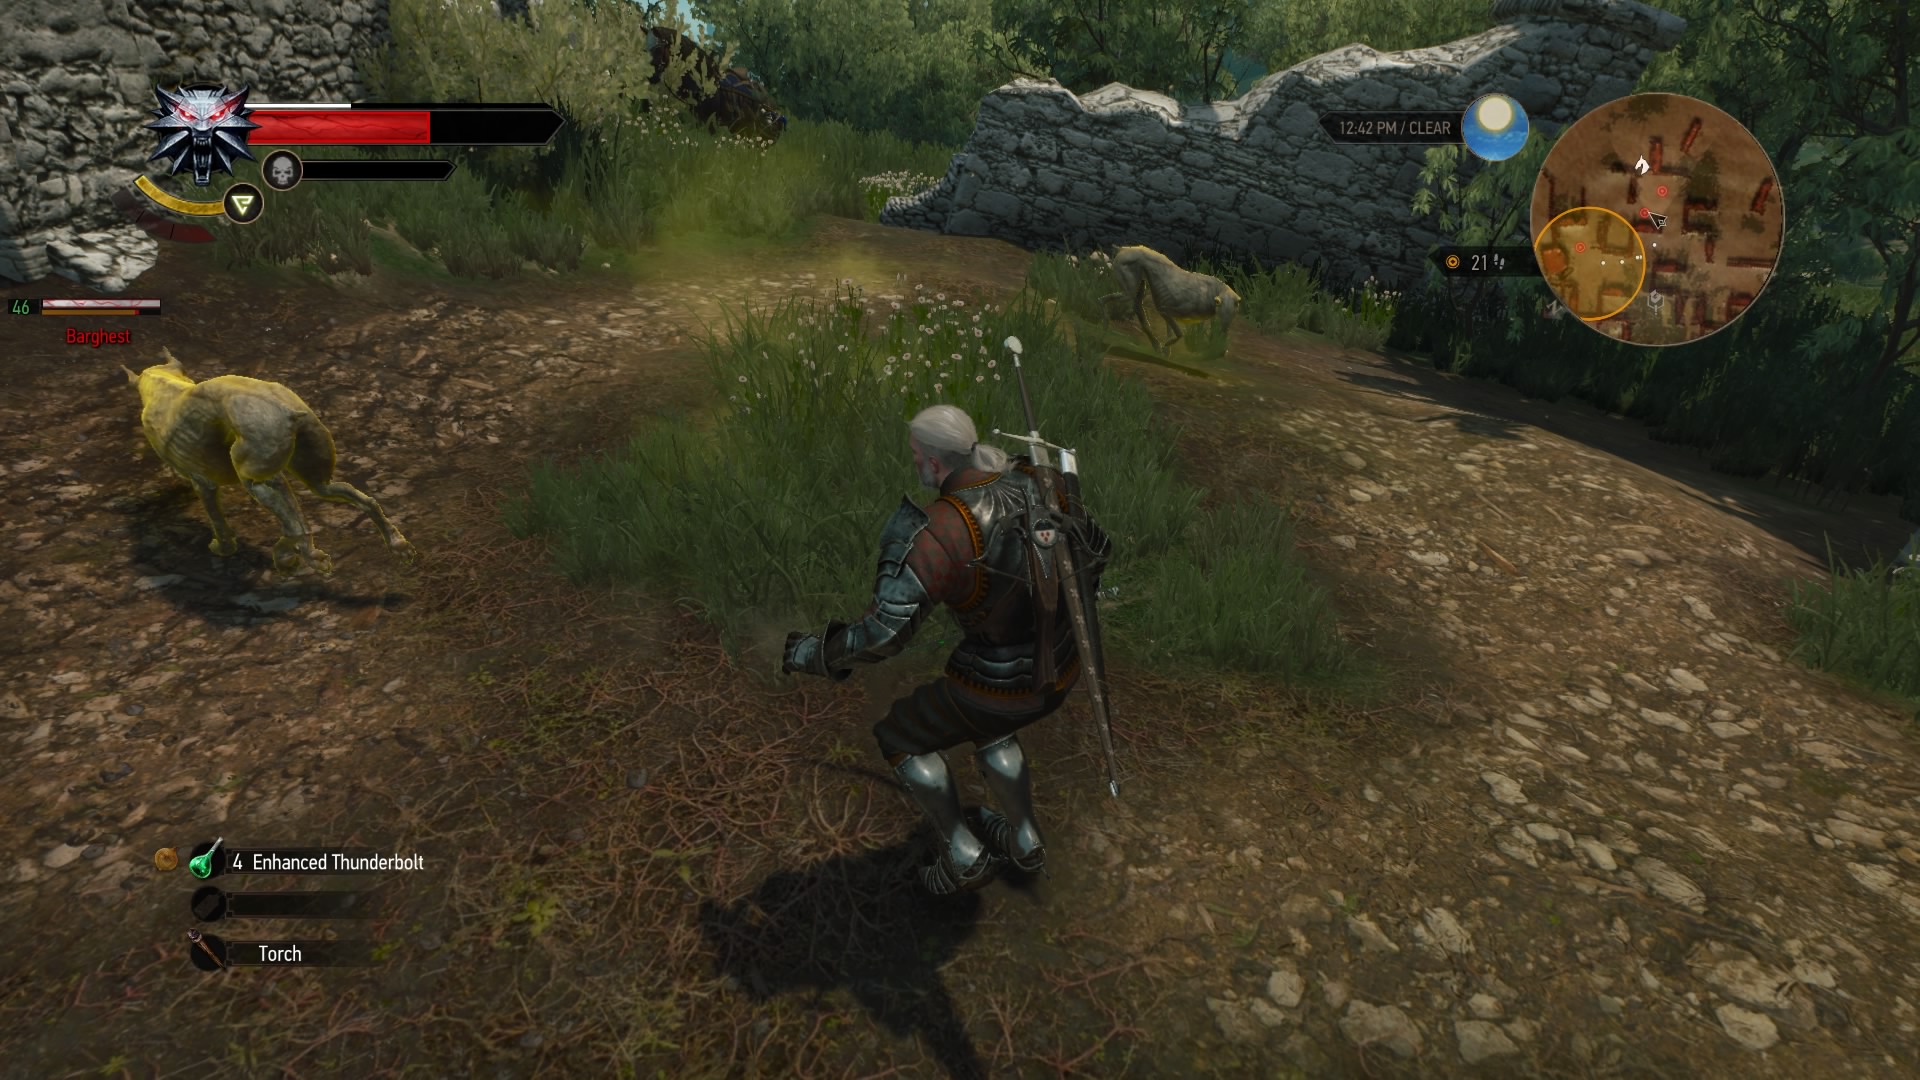
This is last of the 5 gears sets the armorer wants you to track down. Head to the marker to find some ruins guarded by some barghests. Take them out, then climb up into the tower to find the first diagram and a journal. Read it to get a new marker in the southeastern pocket of the map.
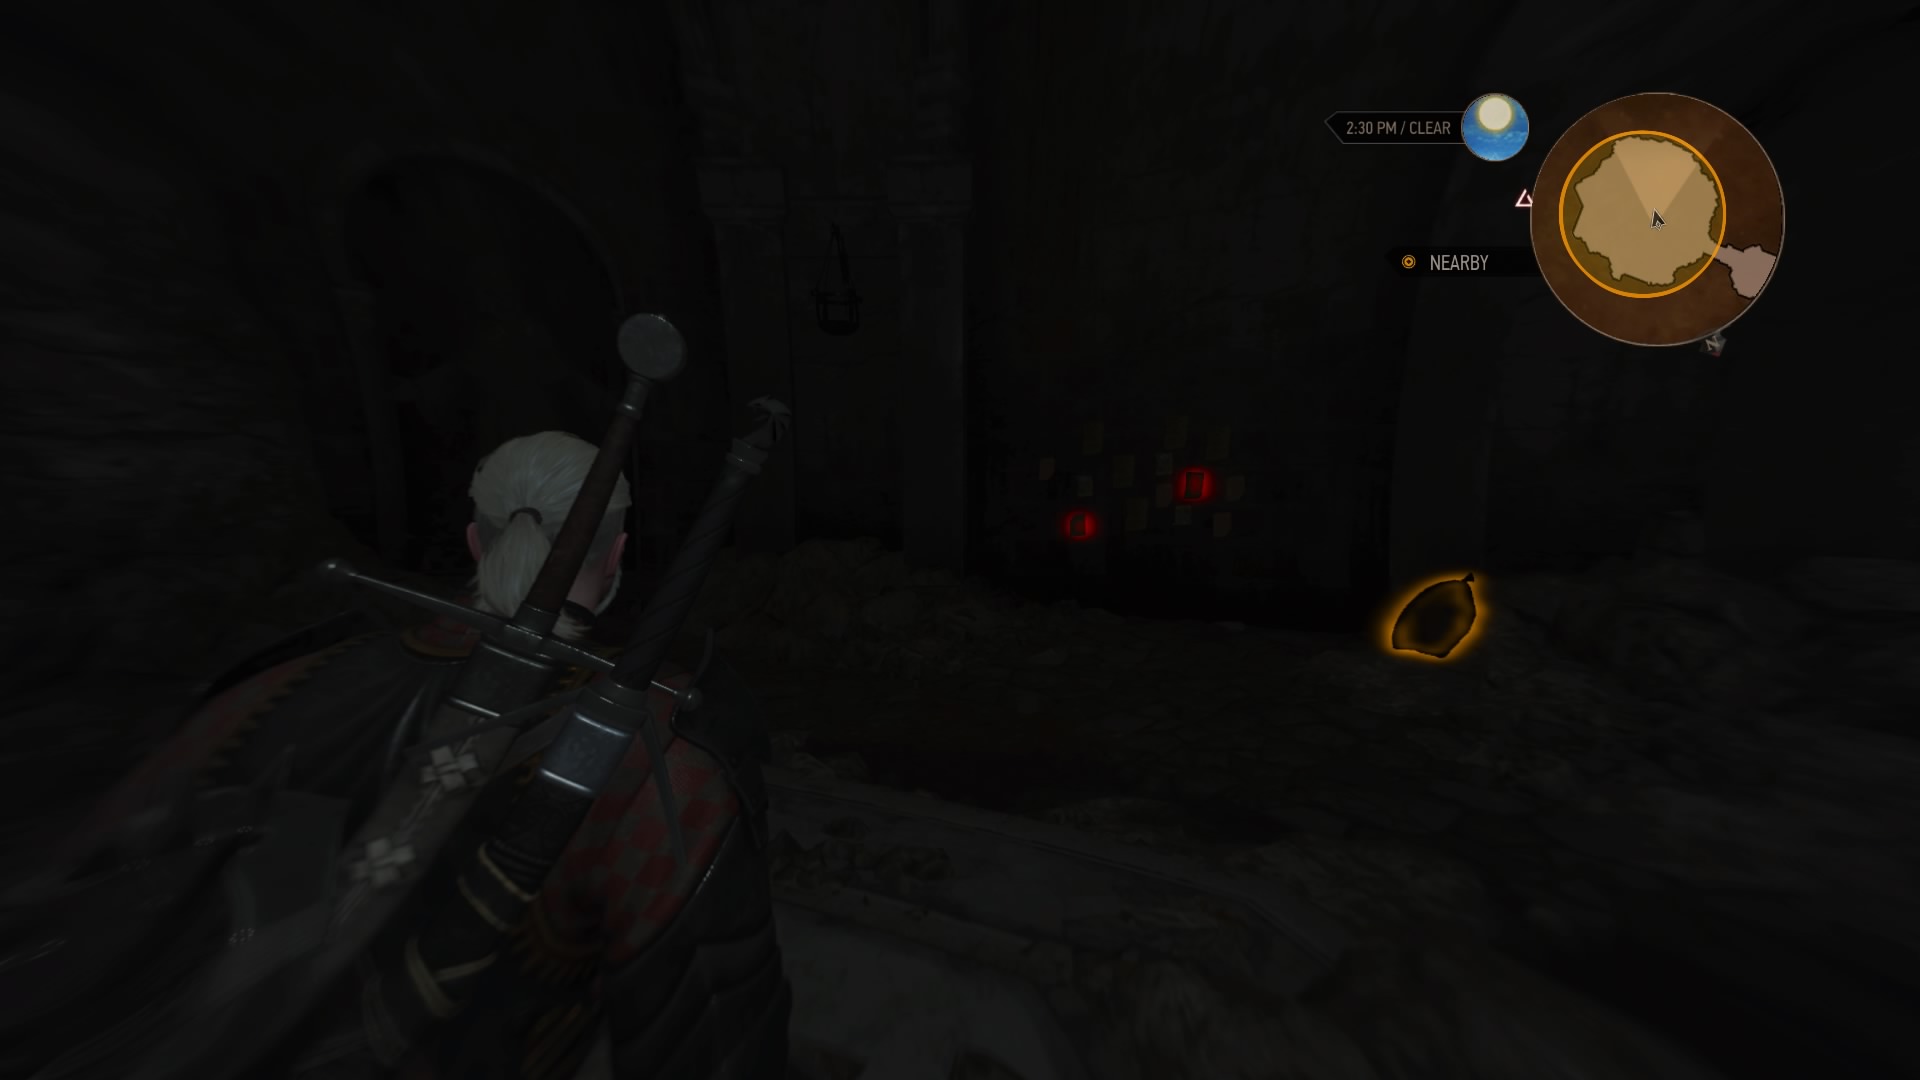
There’s a cave full of ruins at the marker. Head inside to find several prayer notes stuck to the walls. Once you find the right one, read it to receive the second diagram and place another marker on your map, far to the northwest at a monument. Go there and enter the temple beneath the monument. You’ll find a specter inside, so kill it then use your Witcher senses to find a chest containing two more diagrams and a note.
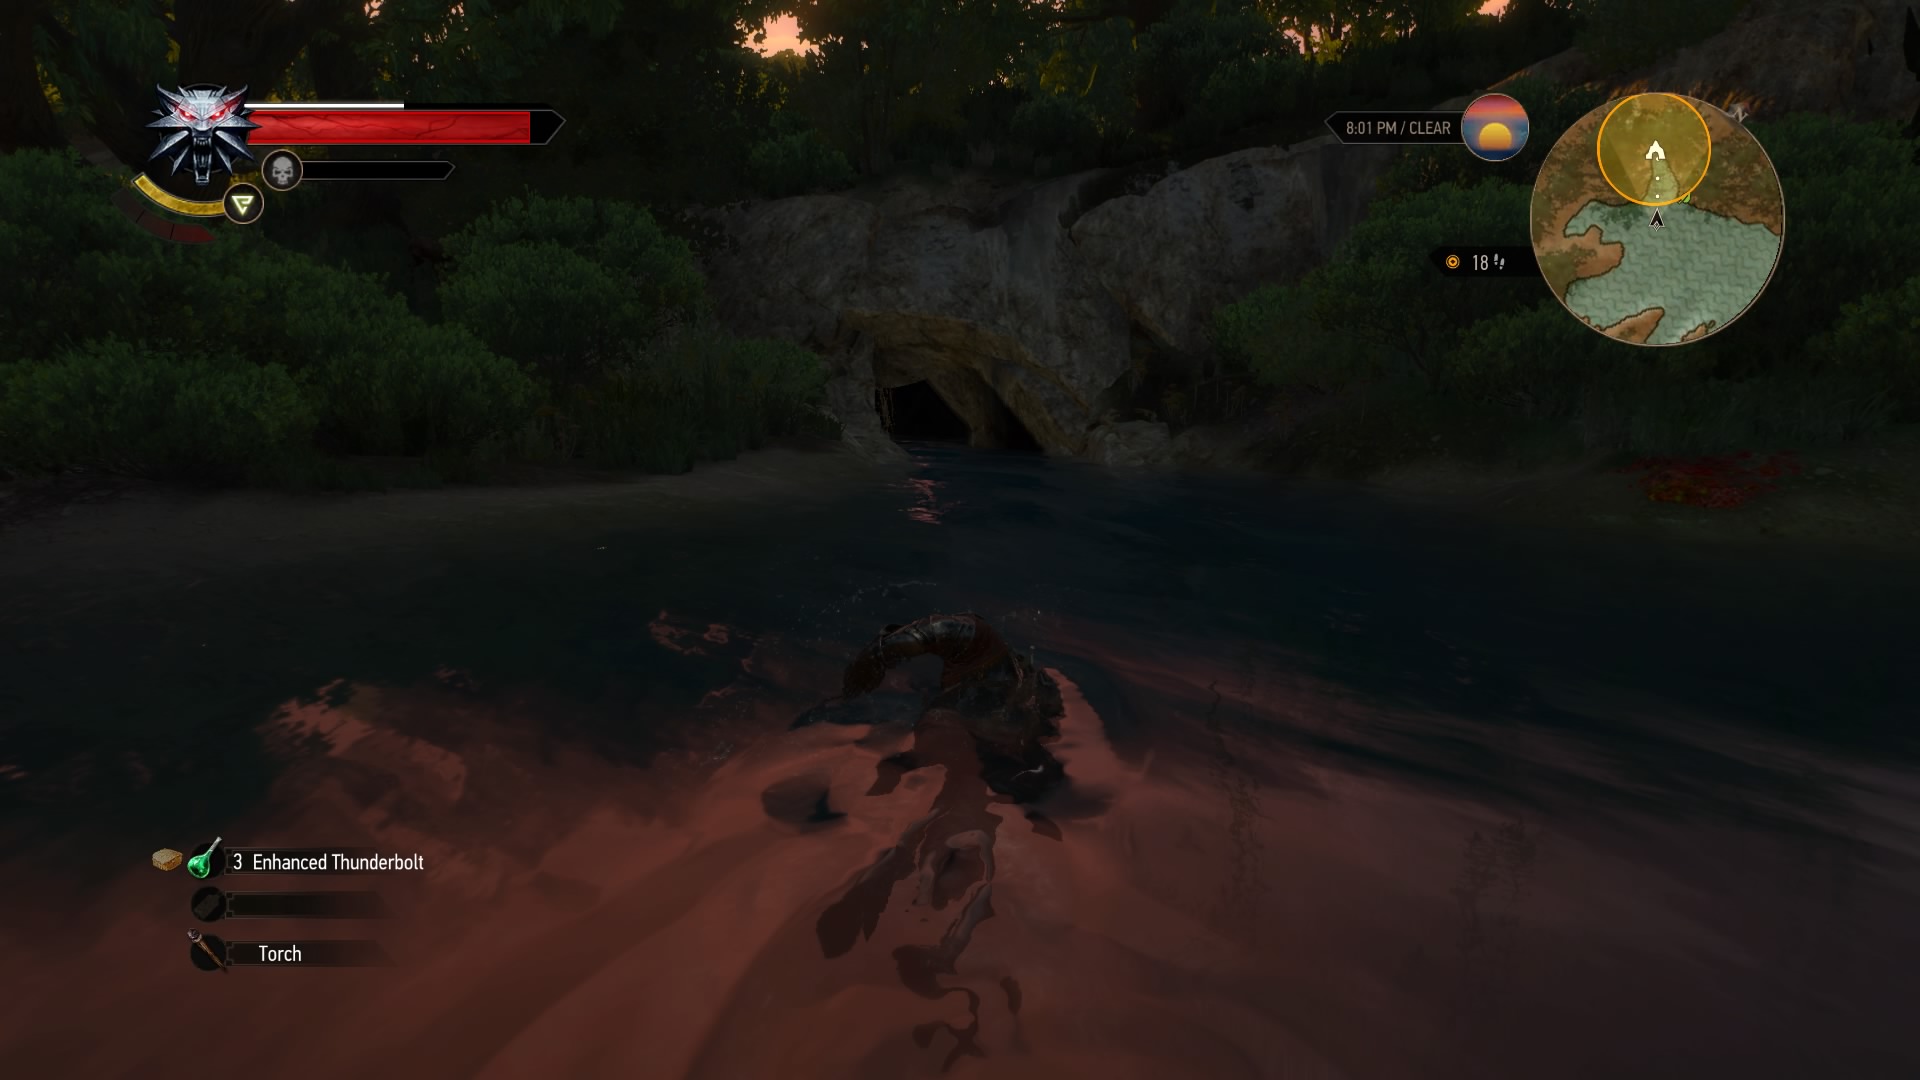
Read the note, and you’ll get yet another marker on your map. There’s a hard-to-spot cave entrance in the water there. Inside is some strange pink gas, but keep pressing forward. You’ll have to fight two bruxae, and the following chamber will have a few beggars sitting around. Give them alms, then keep going. In the following chamber, you’ll have to fight a few kikimores. Look for some rocks you can Aard through to reach the final chamber. Loot the spot in front of the hallucination to find a diagram and one last note.
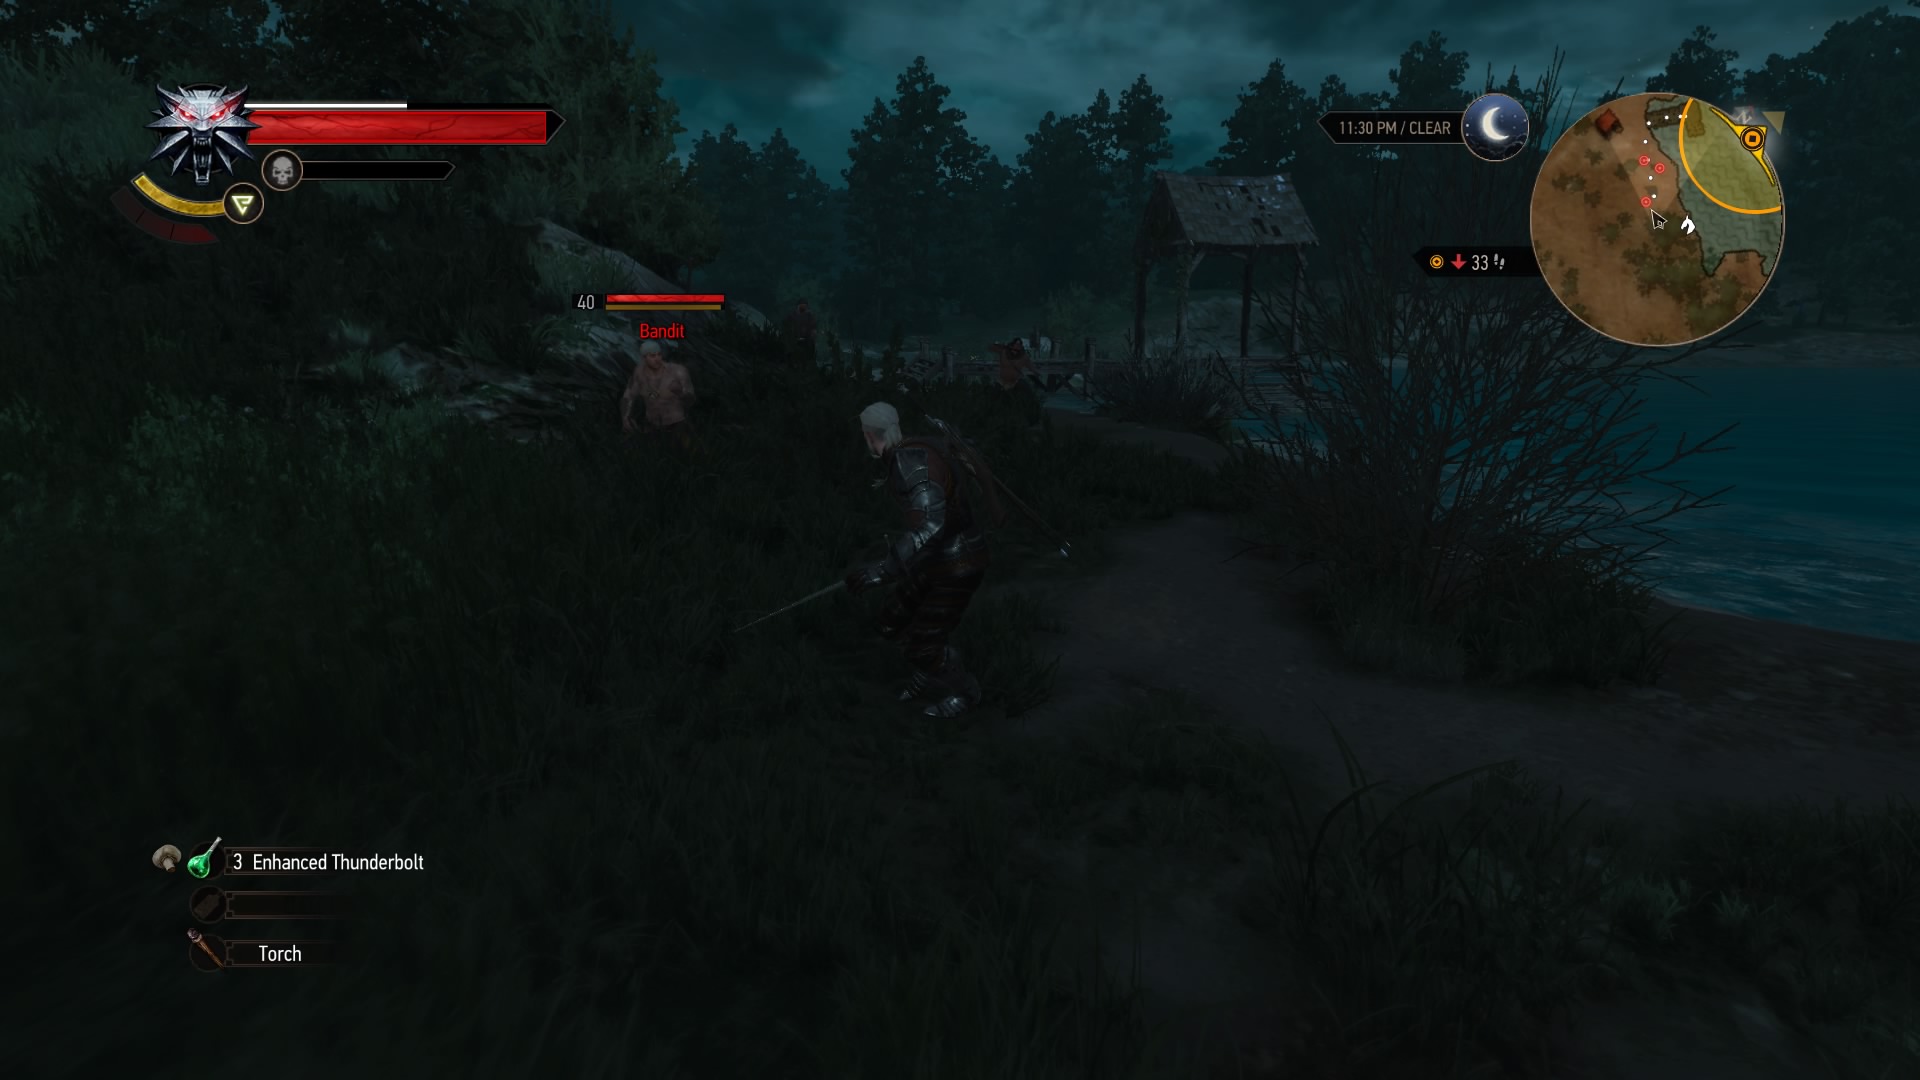
Reading this note drops one final marker on your map, in the northeastern pocket of Toussaint. Head there to find a few bandits around a lake. Take them out, then dive into the water and use your Witcher senses to find the last diagram below. Take all 6 back to the armorer to wrap up this (rather long) scavenger hunt.
Father Knows Worst
Suggested Level: 37 | Prerequisites: N/A
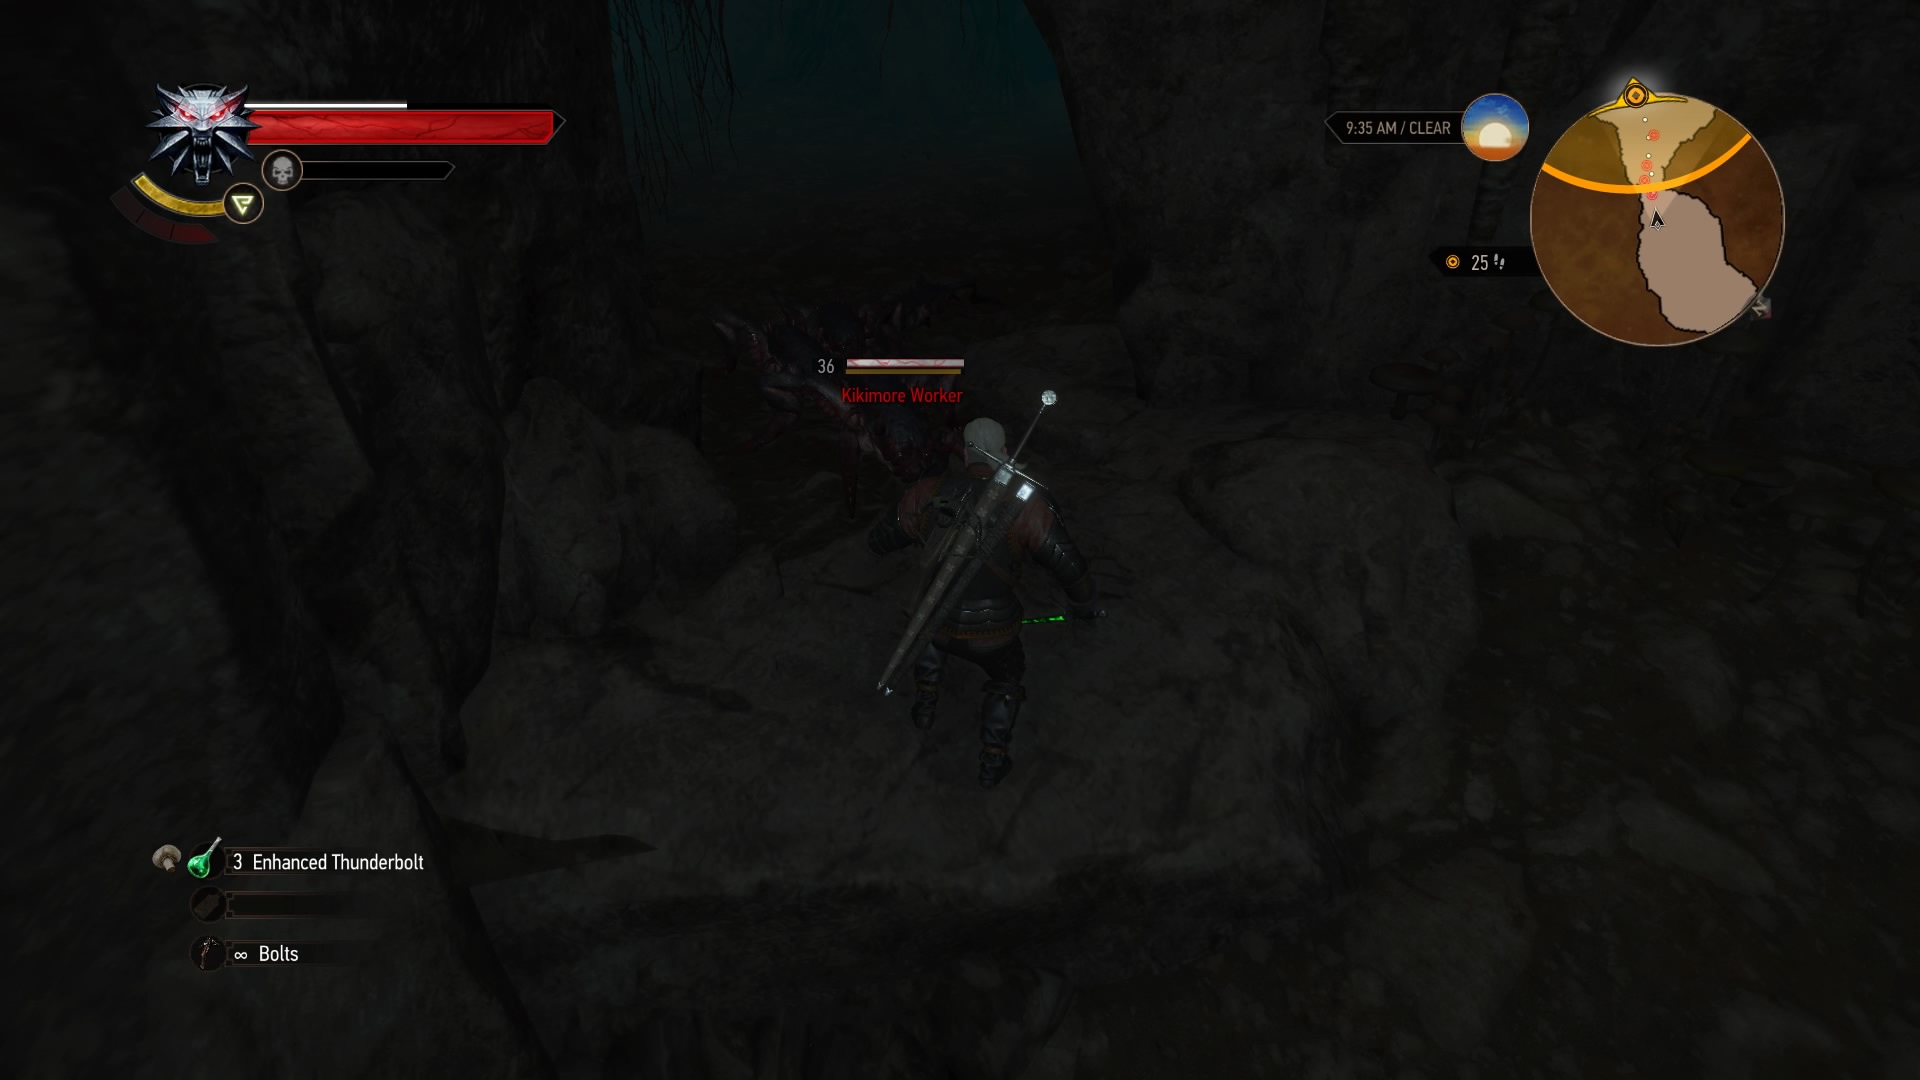
You can get this quest from the notice board in Beauclair, at the Gran’place. Head to the marker to find some folks in trouble inside a Monster Den. Two of them will escape, but their brother Hugo is still inside. Head in there and take out the group of kikimores, then use your Witcher senses to track a blood trail. Follow this to find Hugo; looks like there’s a lot more going on here.
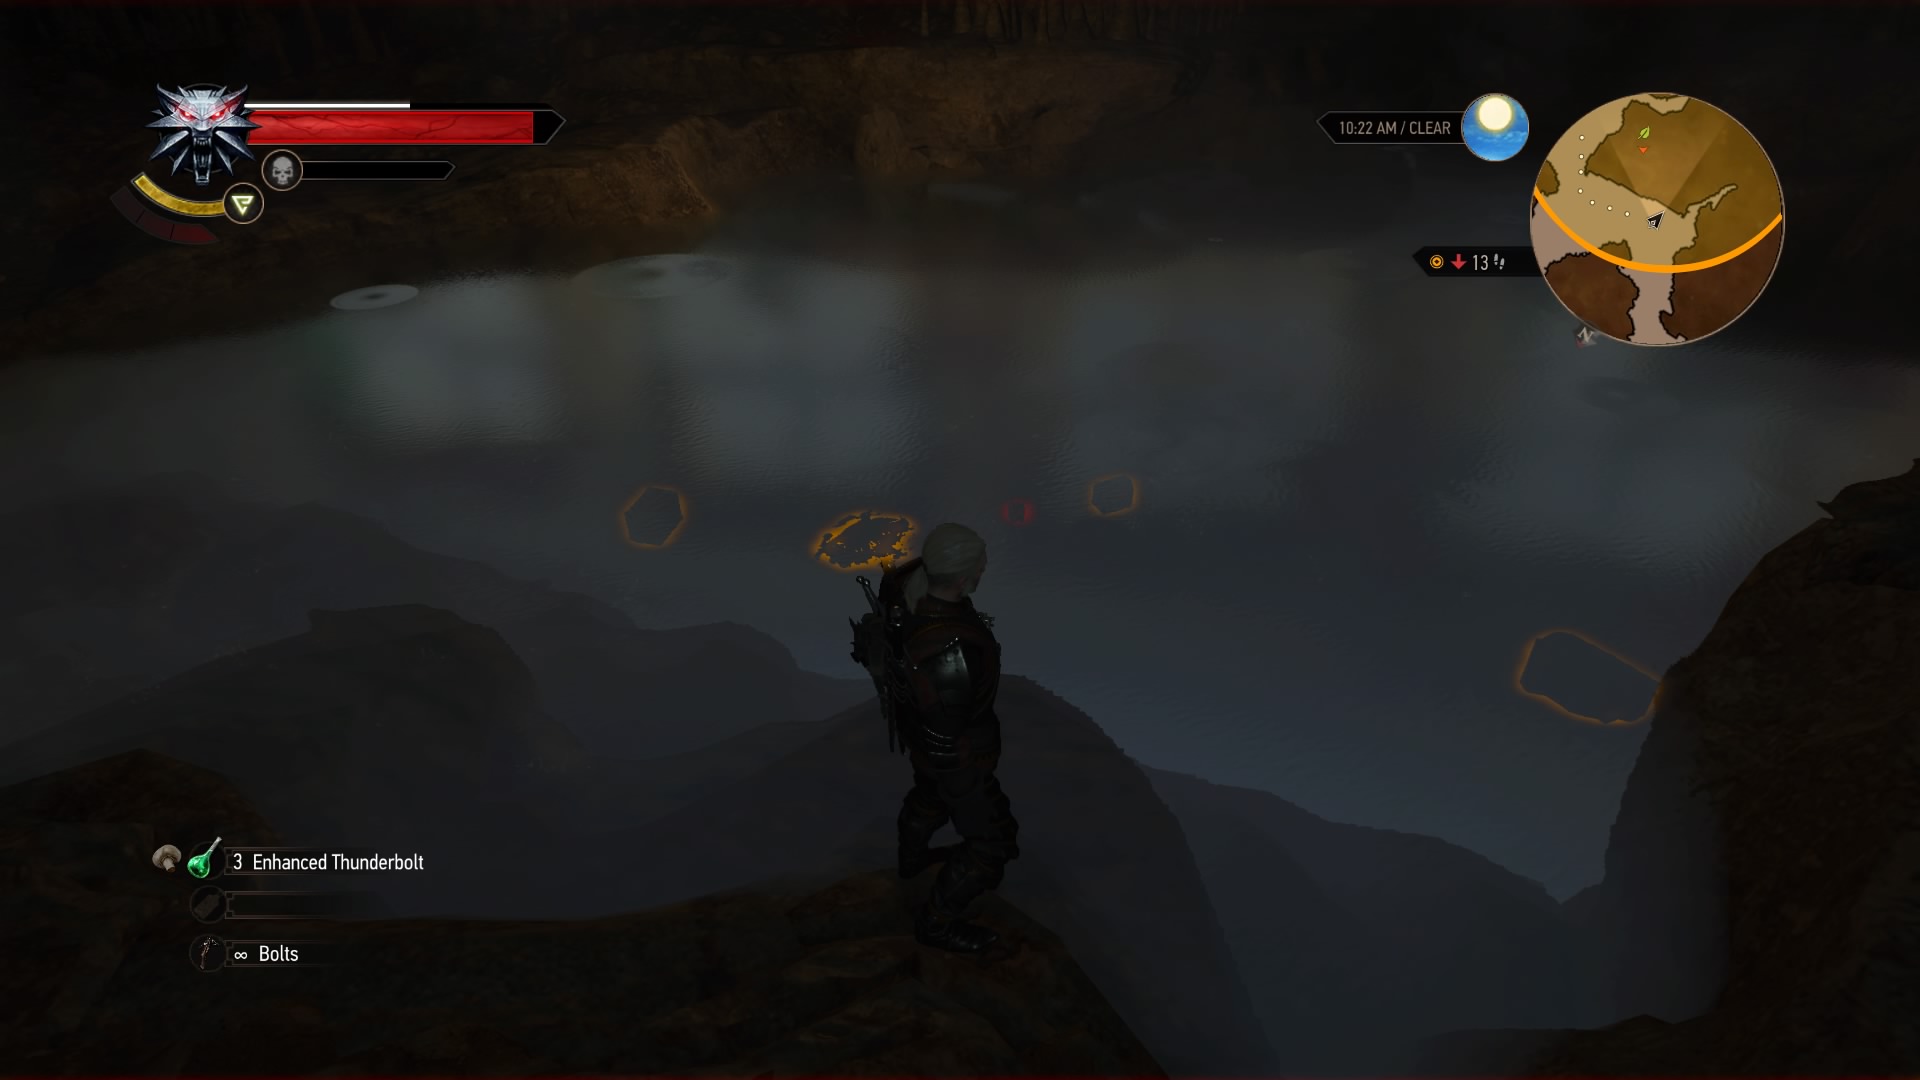
Agree to help Hugo find his part of the distiller, then backtrack to the steaming pool you passed on the trail. Use Quen to dive in without getting burned, retrieve the part, and return to Hugo to escort him out of the cave. You’ll encounter his brothers (and a new band of thugs) outside. You can handle things diplomatically or teach them a lesson, but either method will finish the quest.
Fists of Fury: Toussaint
Suggested Level: 36 | Prerequisites: N/A
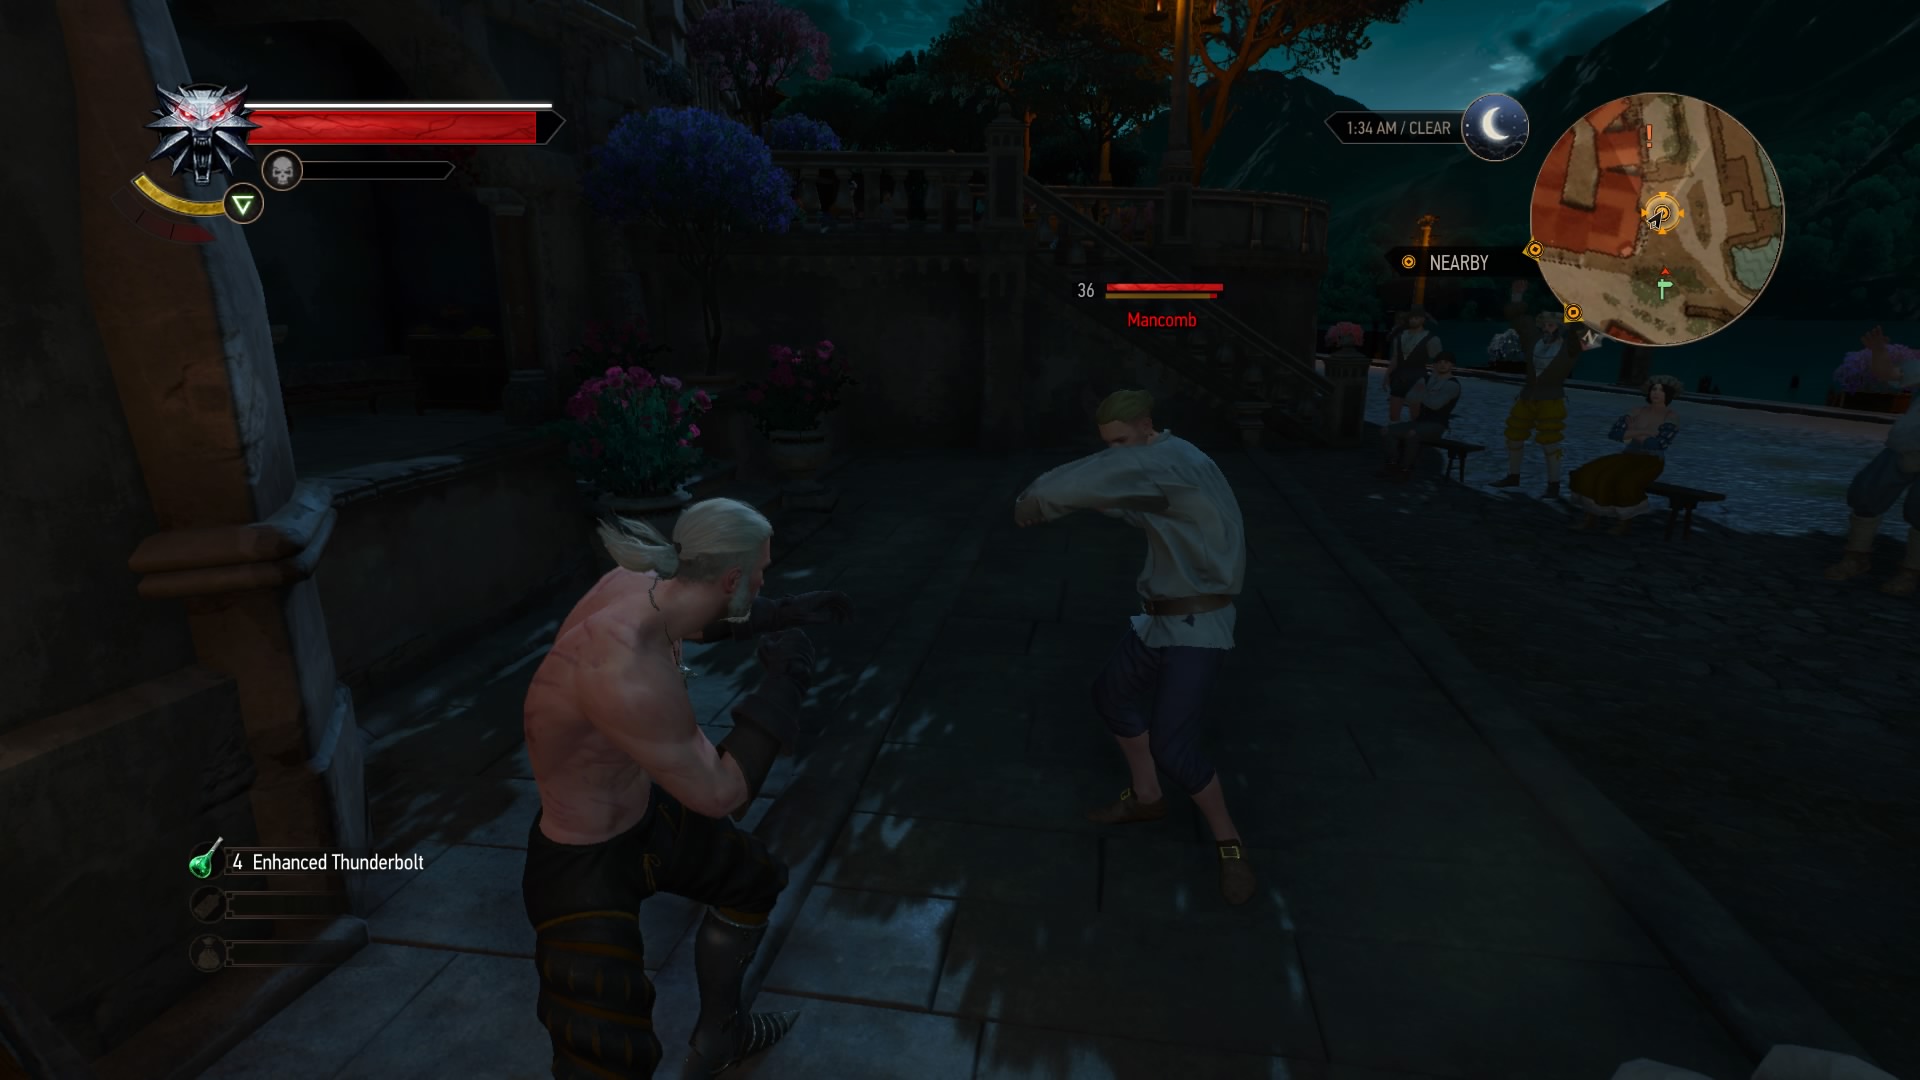
You can get this quest from the notice board in Beauclair, at the Gran’place. It’s quite a simple one: just head to the spots around Beauclair and beat Mancomb, Still Waters, and Colossus in fistfights (you can do an alternative challenge in the last one). Win all the fights to make some crowns and unlock a second fisticuffs quest.
Raging Wolf
Suggested Level: 40 | Prerequisites: Complete “Fists of Fury: Toussaint.”
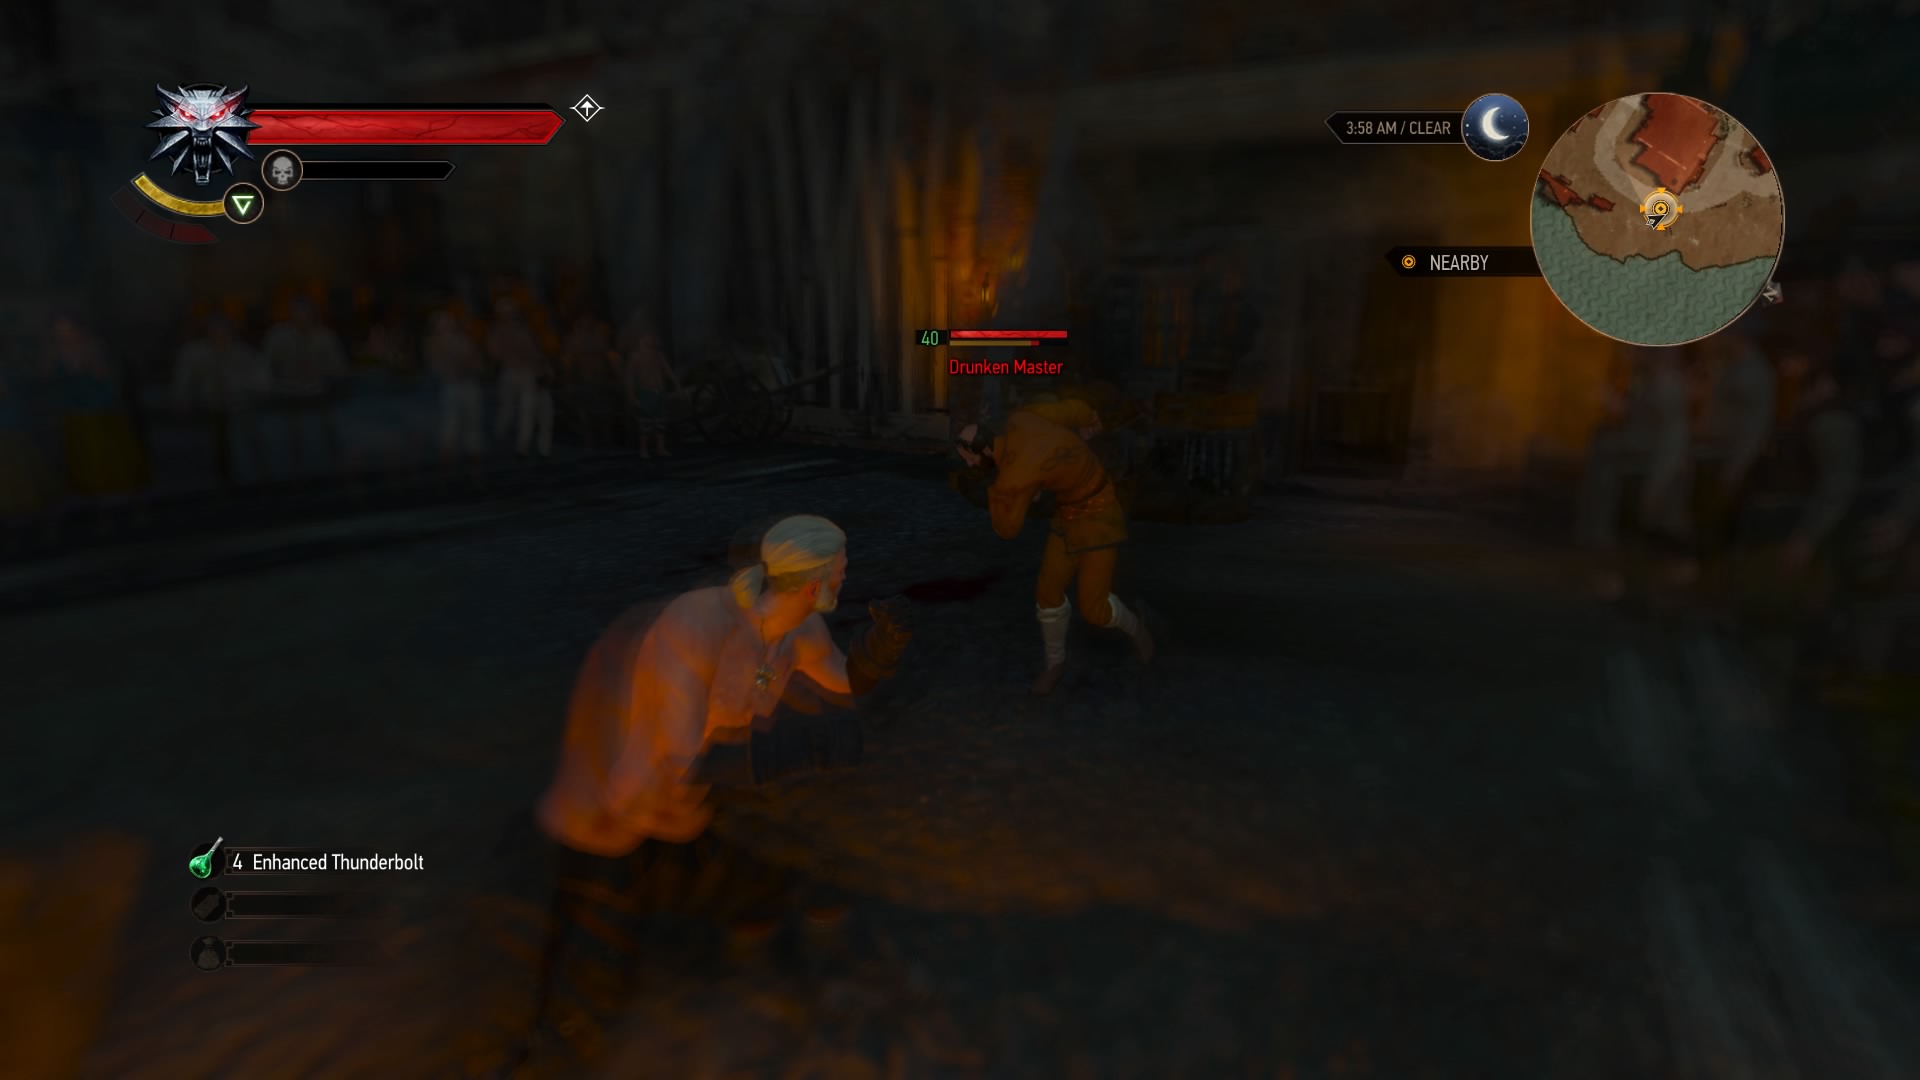
After beating Beauclair’s fisticuffs champions, you’ll have opportunity to challenge the Maestro; head to the port to challenge him. Take him down, and that’ll be another quest in the bag – the catch is that you have to do it drunk.
Till Death Do You Part
Suggested Level: 36 | Prerequisites: N/A
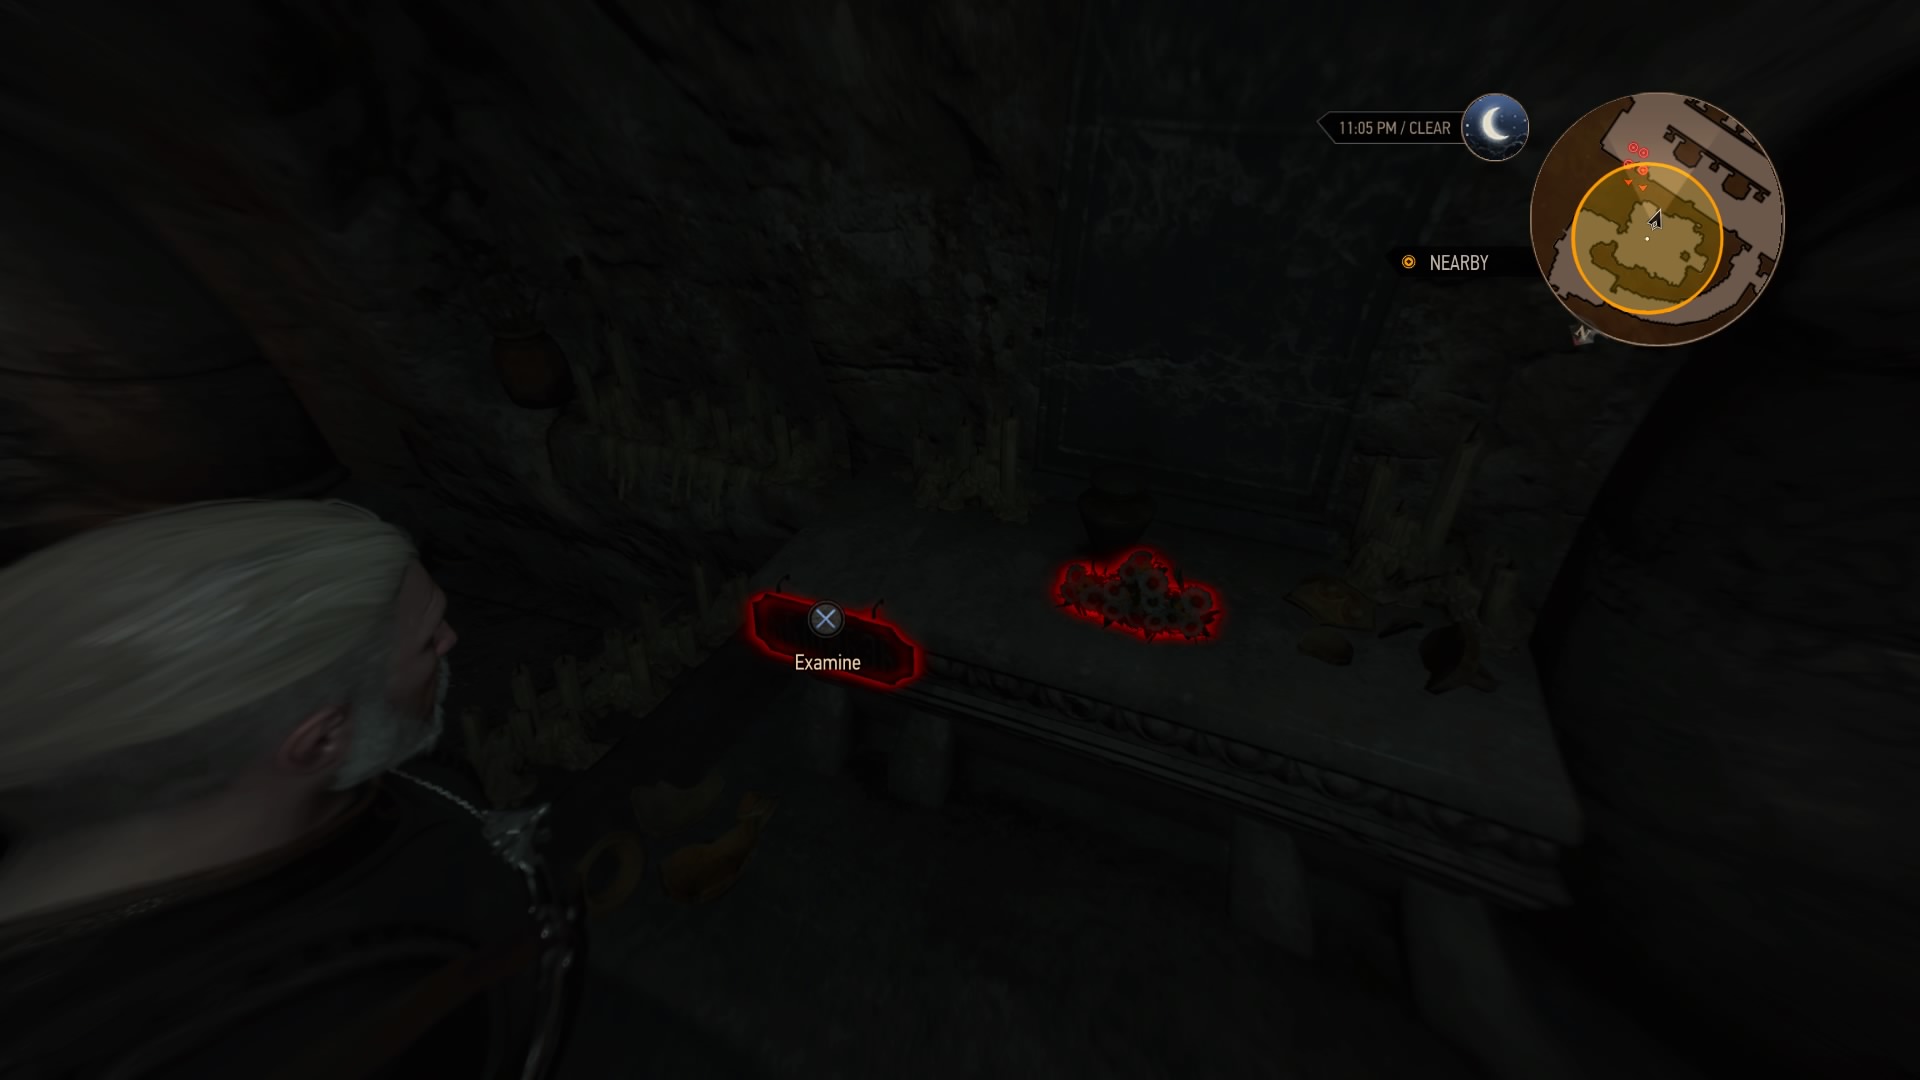
You can get this quest from the notice board in Beauclair, at the Gran’place. Head to the Clever Clogs at the southern end of the city and speak to Charles upstairs. He’s been hearing noises in the cemetery, and you can help him. Head to the cemetery across the street and use your Witcher senses to track the sound to the catacombs beneath you, and you’ll find a bunch of clues.
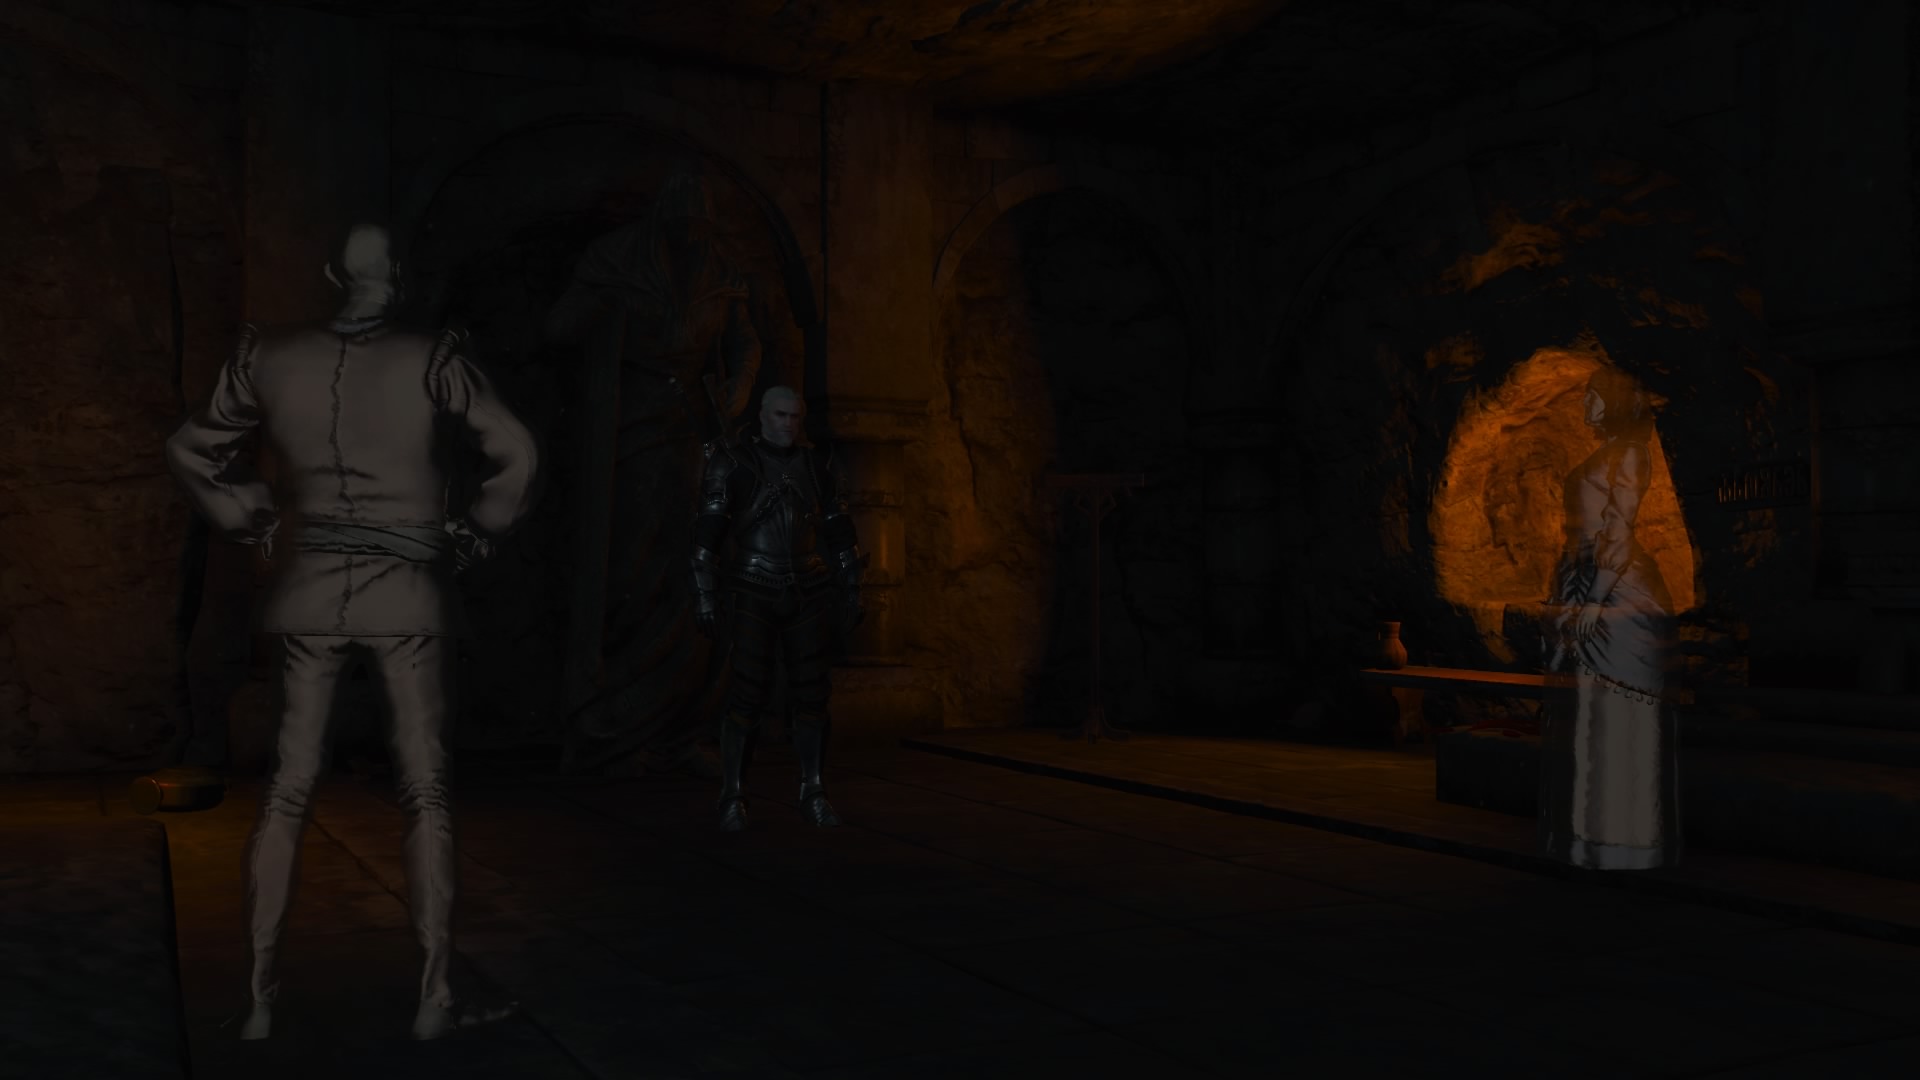
Search the catacombs more to find some grave robbers. Take them out and read the note they were carrying to unlock an additional quest. For now, head back to the chamber you just searched. The noises there have stopped again, so hide behind the statue to wait this out. Apparently two ghosts have been arguing down here, and you need to remove one of them from this crypt. Choose an urn to take, then take that ghost to where they want their urn placed (don’t forget to stop by Charles for a small reward). Return to the ghost you didn’t remove for the last phase of the quest.
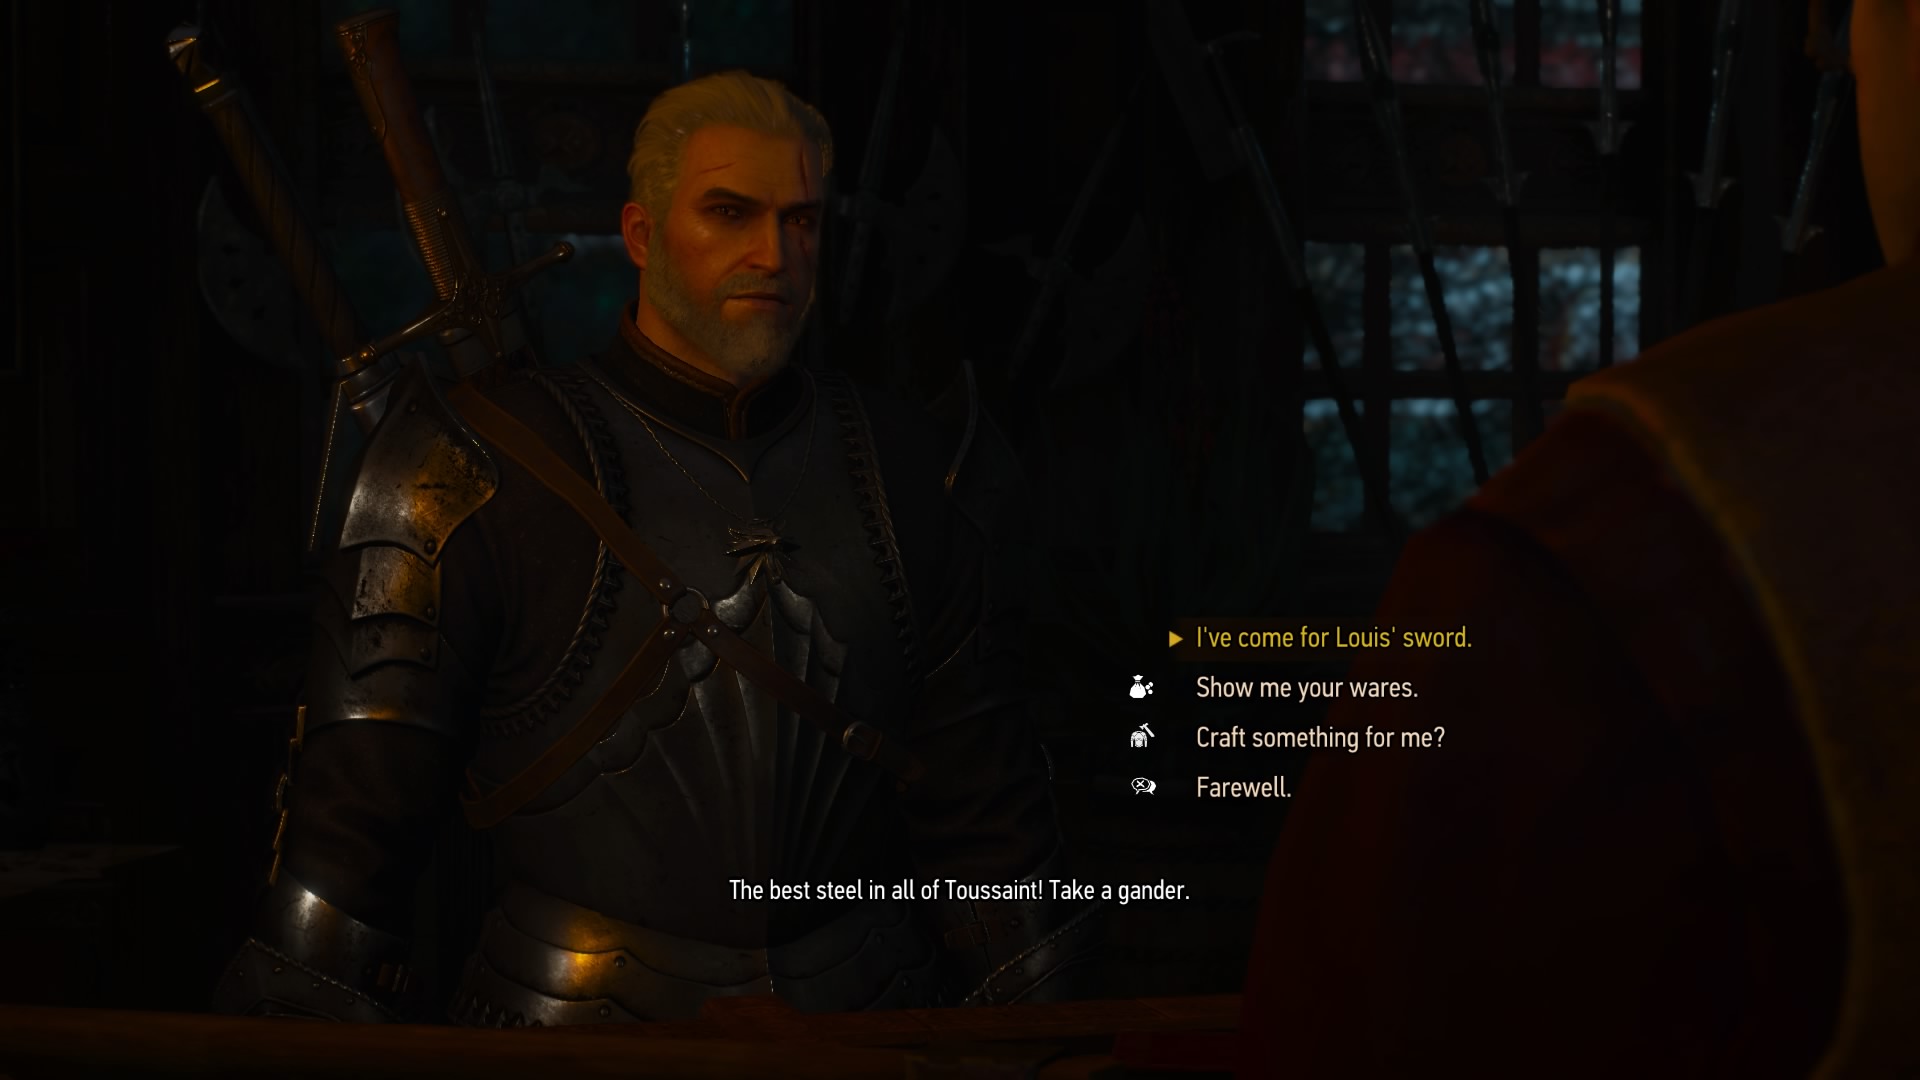
If you removed Margot, then Louis will point you toward a rare sword. Head to the blacksmith he mentions to retrieve it (and play a quick game of Gwent). If you removed Louis, then Margot will point you toward some Gwent cards. Head to the indicated building to find the cards and some foes. Either path resolves the quest.
The Last Exploits of Selina’s Gang
Suggested Level: 37 | Prerequisites: Find the letter during “Till Death Do You Part.”
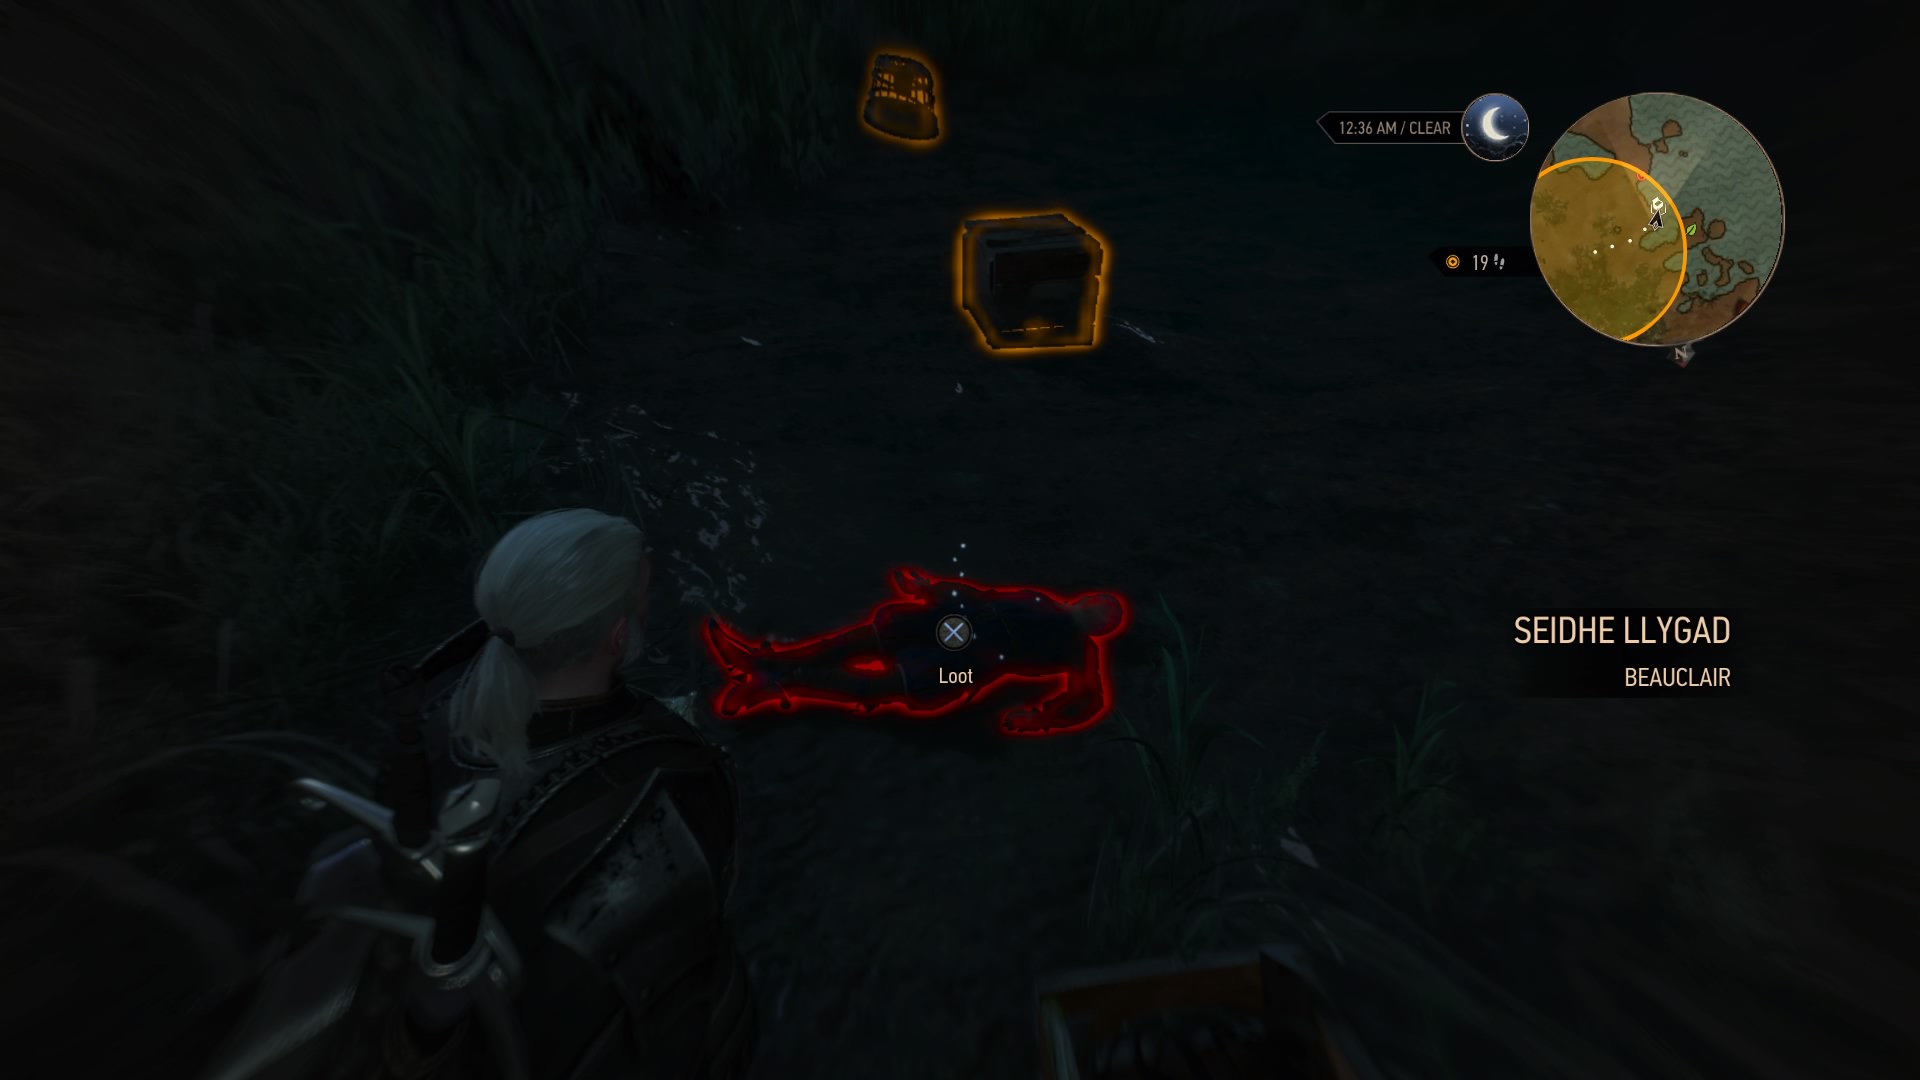
If you loot the letter from the grave robbers during the quest mentioned above, you’ll learn of treasure near the cemetery. Head there to find a corpse, then loot it for a letter and a key. Return to the catacombs to find a small chest you can now open. Treasure hunt complete!
There Can Be Only One
Suggested Level: N/A | Prerequisites: N/A
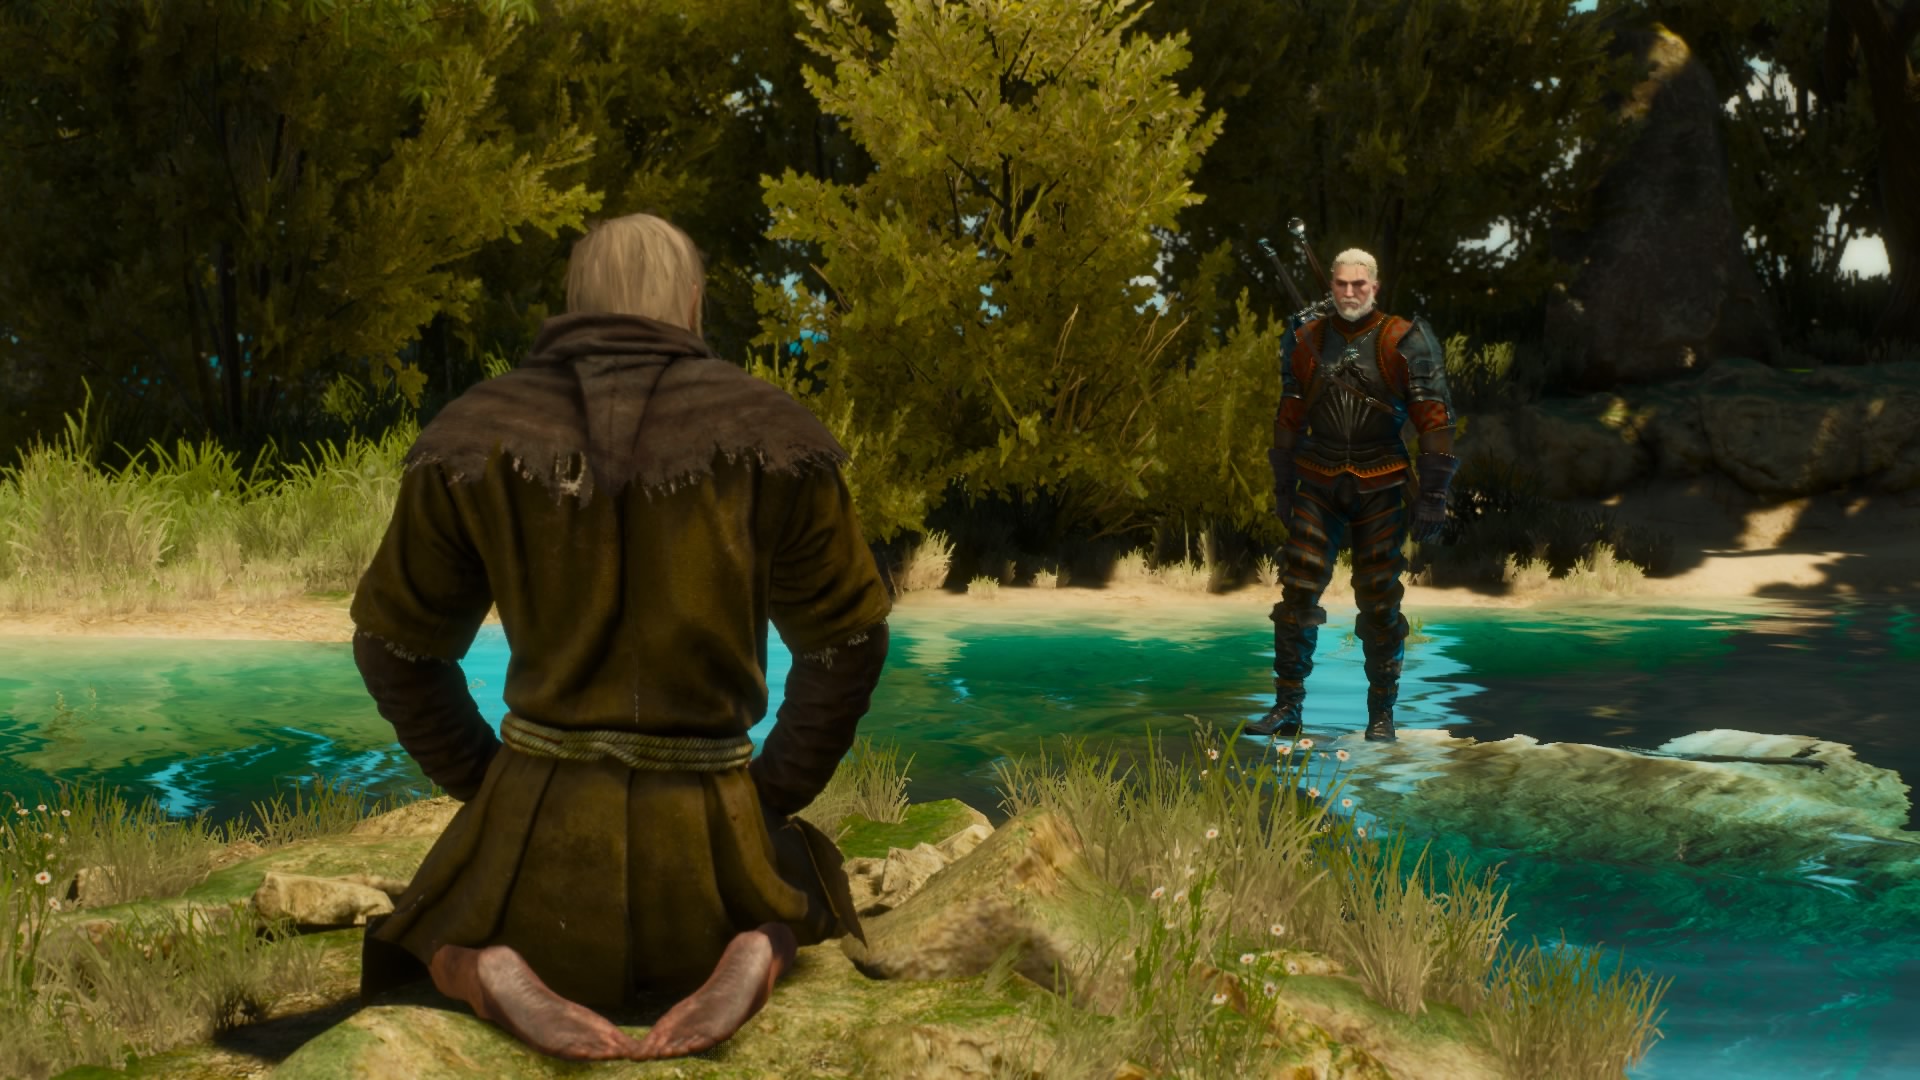
You should start this quest as soon as possible, and you can get it from the notice board in Beauclair, at the Gran’place. This will send you to an island in the middle of Lac Célavy, in the northwestern part of Toussaint. Get onto the island to find a hermit meditating at a small pond – where Geralt will be able to actually walk on water. The hermit here is willing to give you a special sword if you demonstrate each of the chivalric values. The checklist is as follows.
- Generosity: After completing “Blood Run,” a messenger boy will deliver you a letter. Give him a tip.
- Valor: Win the whole tourney during “The Warble of a Smitten Knight.” Alternatively, send Francois back with Grottore’s head during “Feet as Cold as Ice.”
- Compassion: Spare the shaelmaar during “The Beast of Toussaint” or help the injured man during “Capture the Castle.” Alternatively, visit Count Beledal at the picnic during “Big Game Hunter.”
- Honor: During “Till Death Do You Part,” tell Charles that the noises are just a marital spat. Alternatively, win the duel after the horse race during “The Warble of a Smitten Knight.”
- Wisdom: During “Father Knows Worst,” don’t start a fight after escorting Hugo out of the cave. Alternatively, lift the wight’s curse during “La Cage au Fou.”
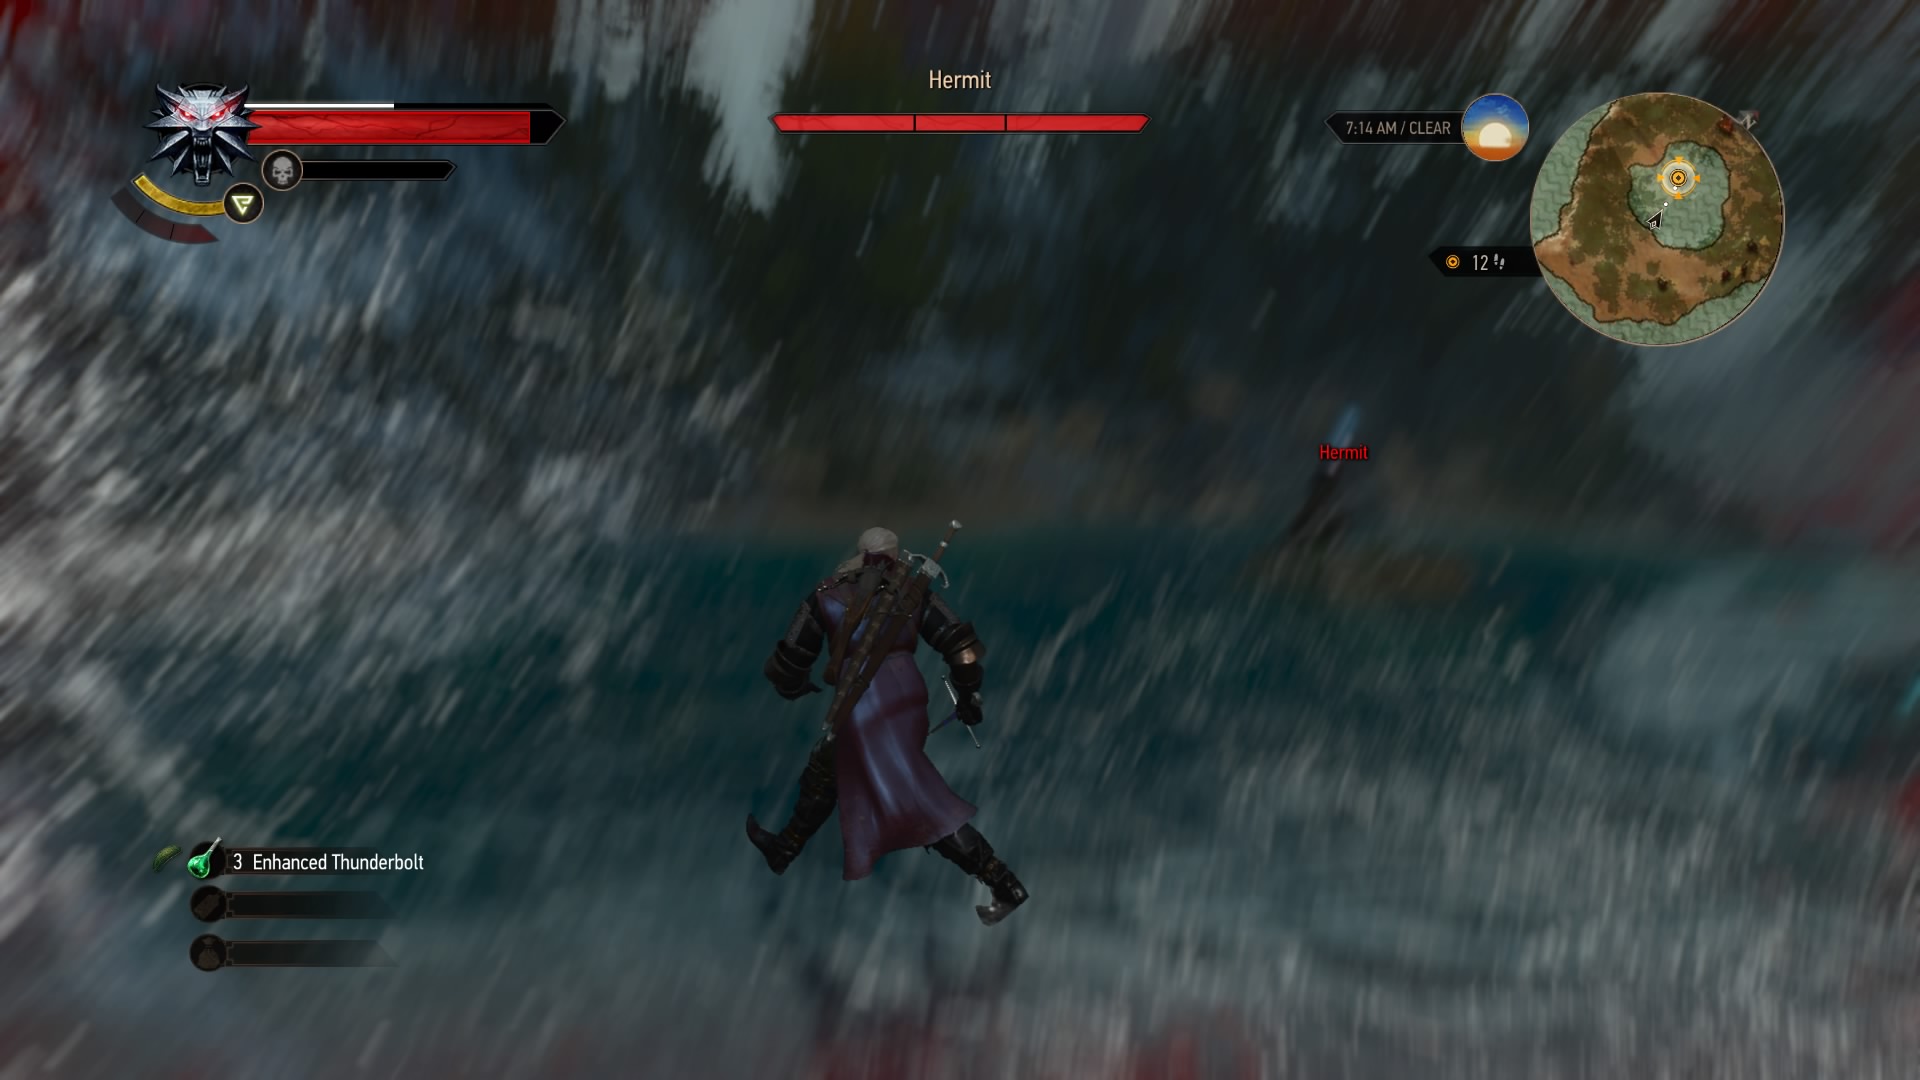
Once you’ve met all the criteria, speak to the hermit to initiate one last test, a battle against him. He’s not too tough; just watch out for his spells. After the fight, the Lady of the Lake will hand over the ultra-powerful sword Aerondight. Pick it up to finish the quest.
Of Sheers and a Witcher I Sing
Suggested Level: 43 | Prerequisites: N/A
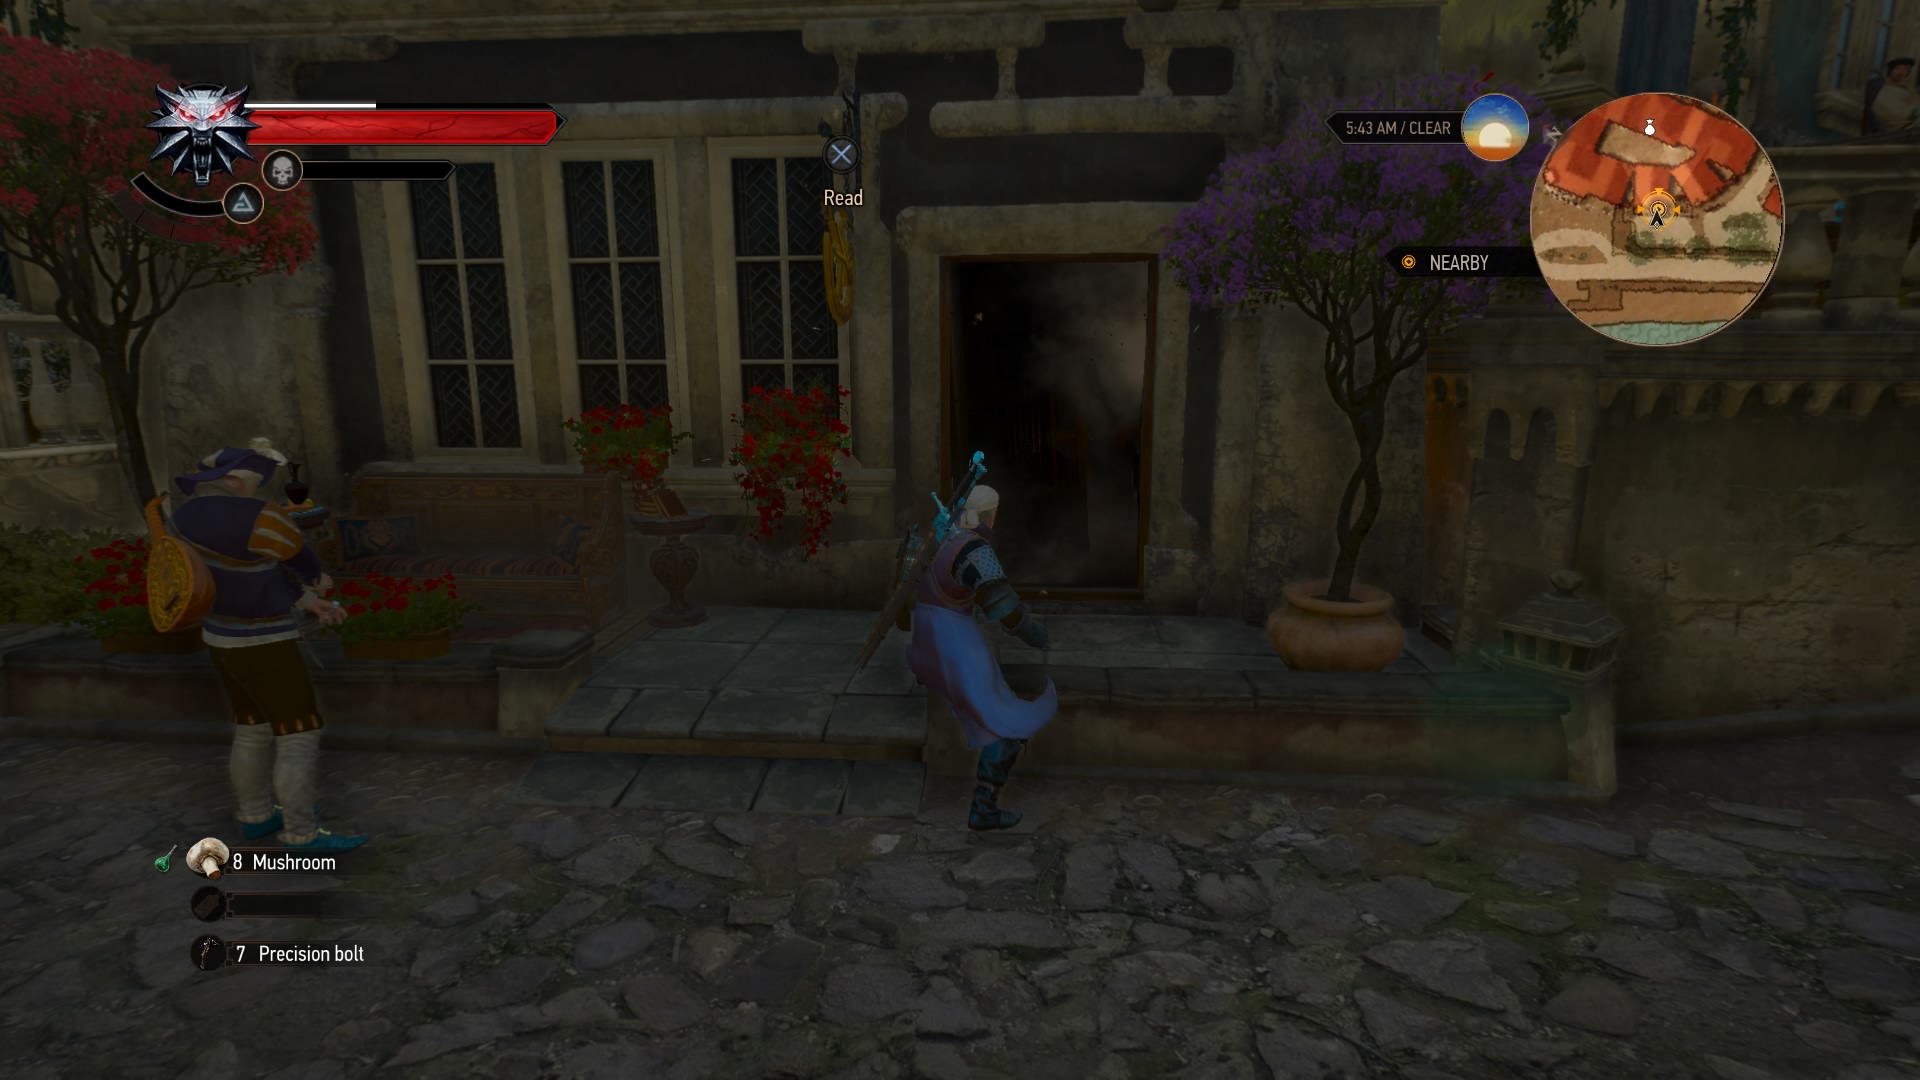
Your old pal Le Papillon can be found in Beauclair, marked by a “!” near the Nilfgaardian Embassy. Head there to learn that his hairdresser has gone missing. Start your search by blowing open the locked salon door with Aard, then use your Witcher senses to pick up several clues inside. Once you’ve analyzed everything, you’ll come to a simple conclusion: the hairdresser is out getting ingredients for his pomade.
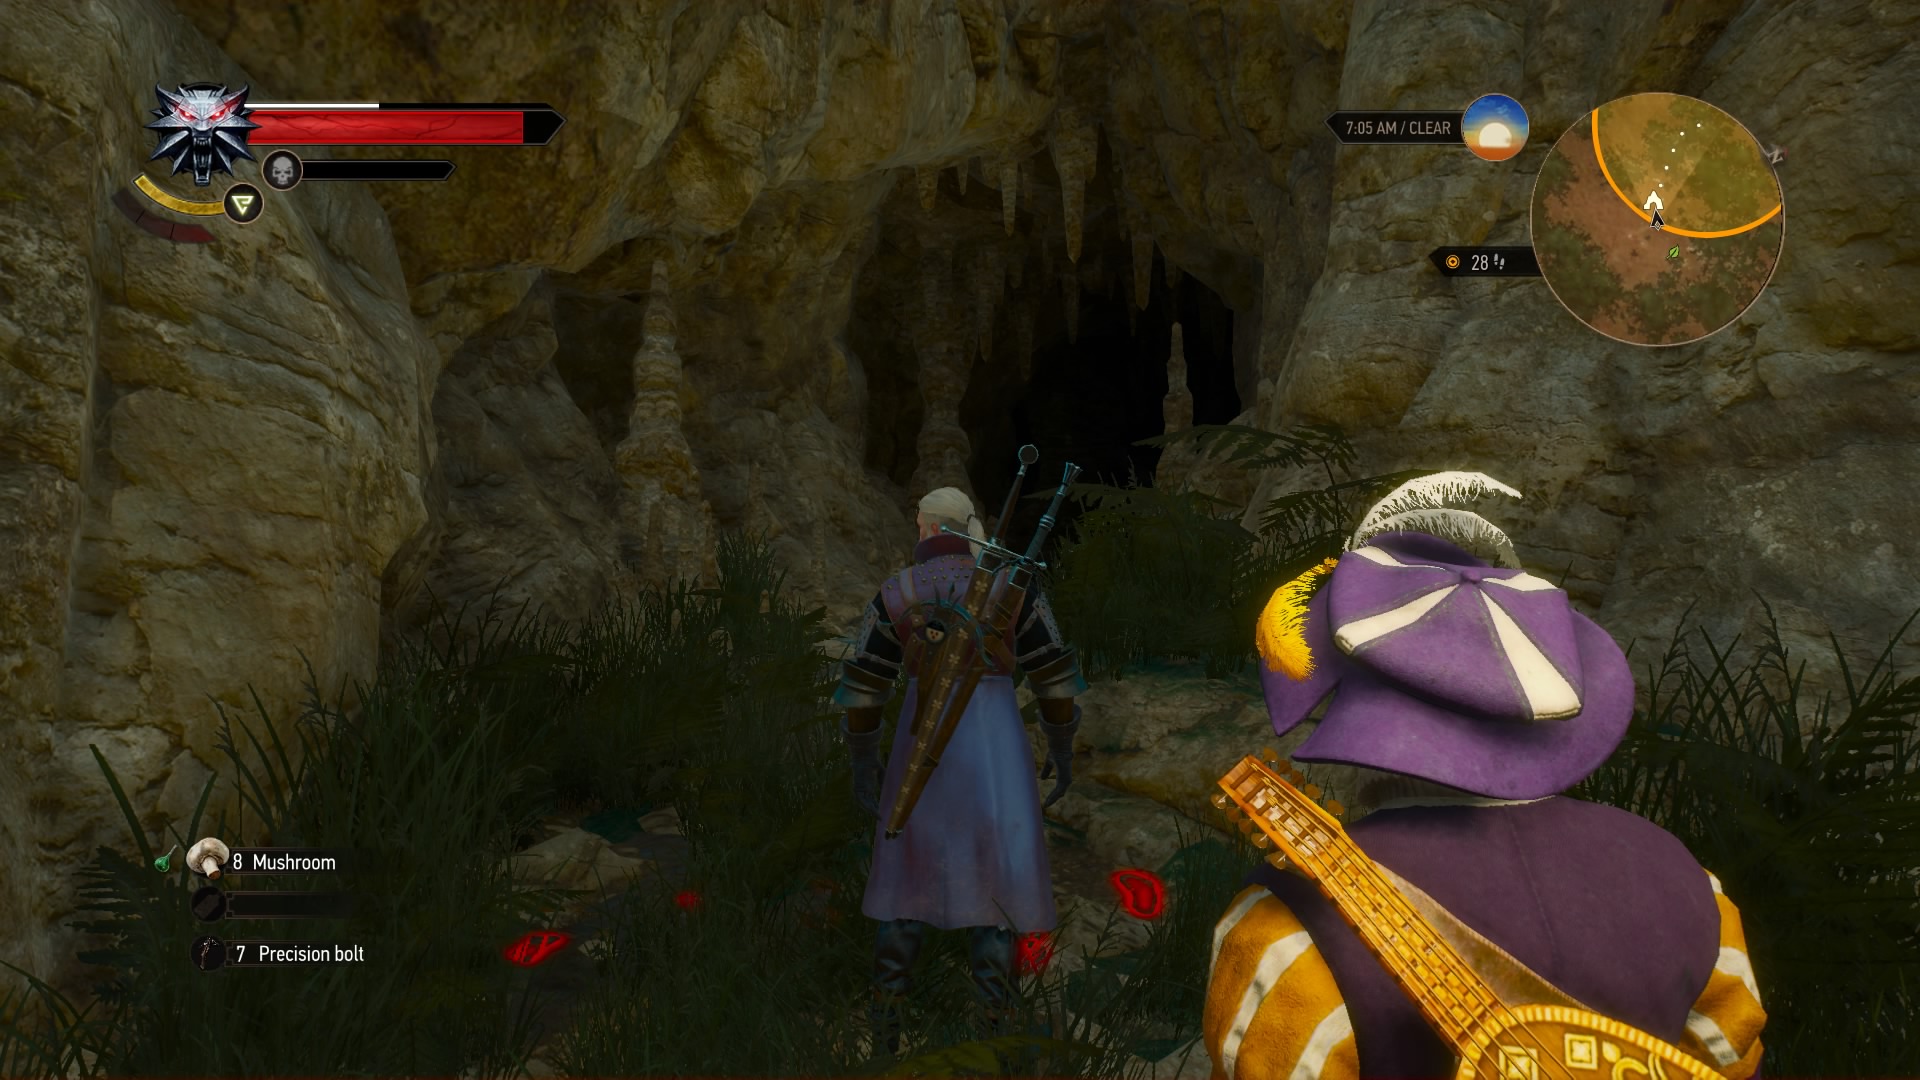
Follow Le Papillon to the spot where his friend might be, and you’ll encounter a archespore. Kill it, then keep following your buddy to find a dropped basket and some footprints. Follow these to reach a cave; Papillon’s hairdresser is inside, being roughed up by a knight and his cohorts. Beat him to free the hairdresser and finish the quest.
Feet as Cold as Ice
Suggested Level: 45 | Prerequisites: N/A
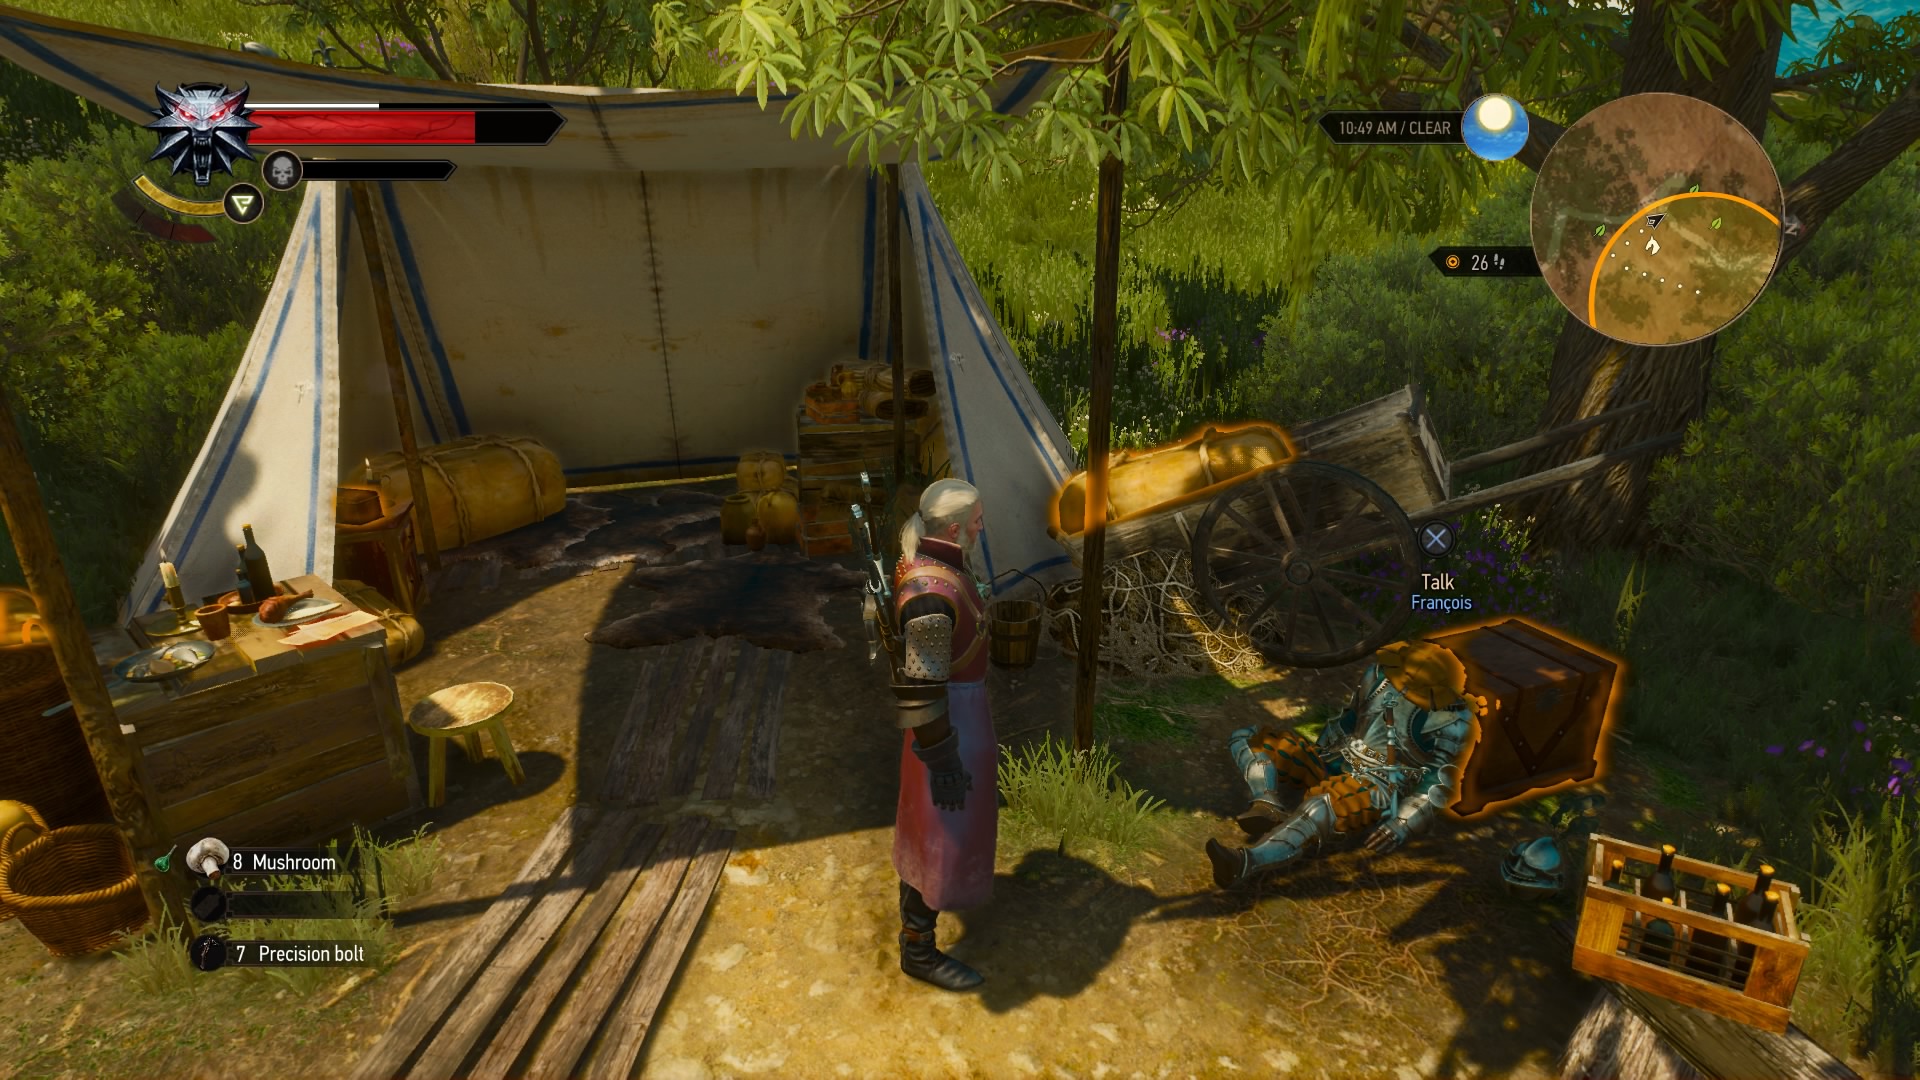
There’s a woman in Beauclair named Jacquette, and she has a quest for you; you can find her hanging around the Nilfgaardian Embassy fast travel point. Her fiancé Francois has gone missing, and only Geralt can find him. Head to your marker to the northwest to find the man at a campsite. Speak to him to learn that he needs help slaying a beast; he can’t face his wife-to-be otherwise.
Follow Francois into the cave nearby, and you’ll come to an empty grotto. Use your Witcher sense to figure out what lives here – it’s Grottore, a spriggan. Burn all the flowers to summon him, then defeat him. You want Francois to survive this battle, so fight well (Igni helps a lot). Afterwards, you can send him back to Jacquette with Grottore’s head, or let him hunt another beast. Return to his better half back in Beauclair to make one more dialogue choice and finish the quest.
Paperchase
Suggested Level: 36 | Prerequisites: N/A
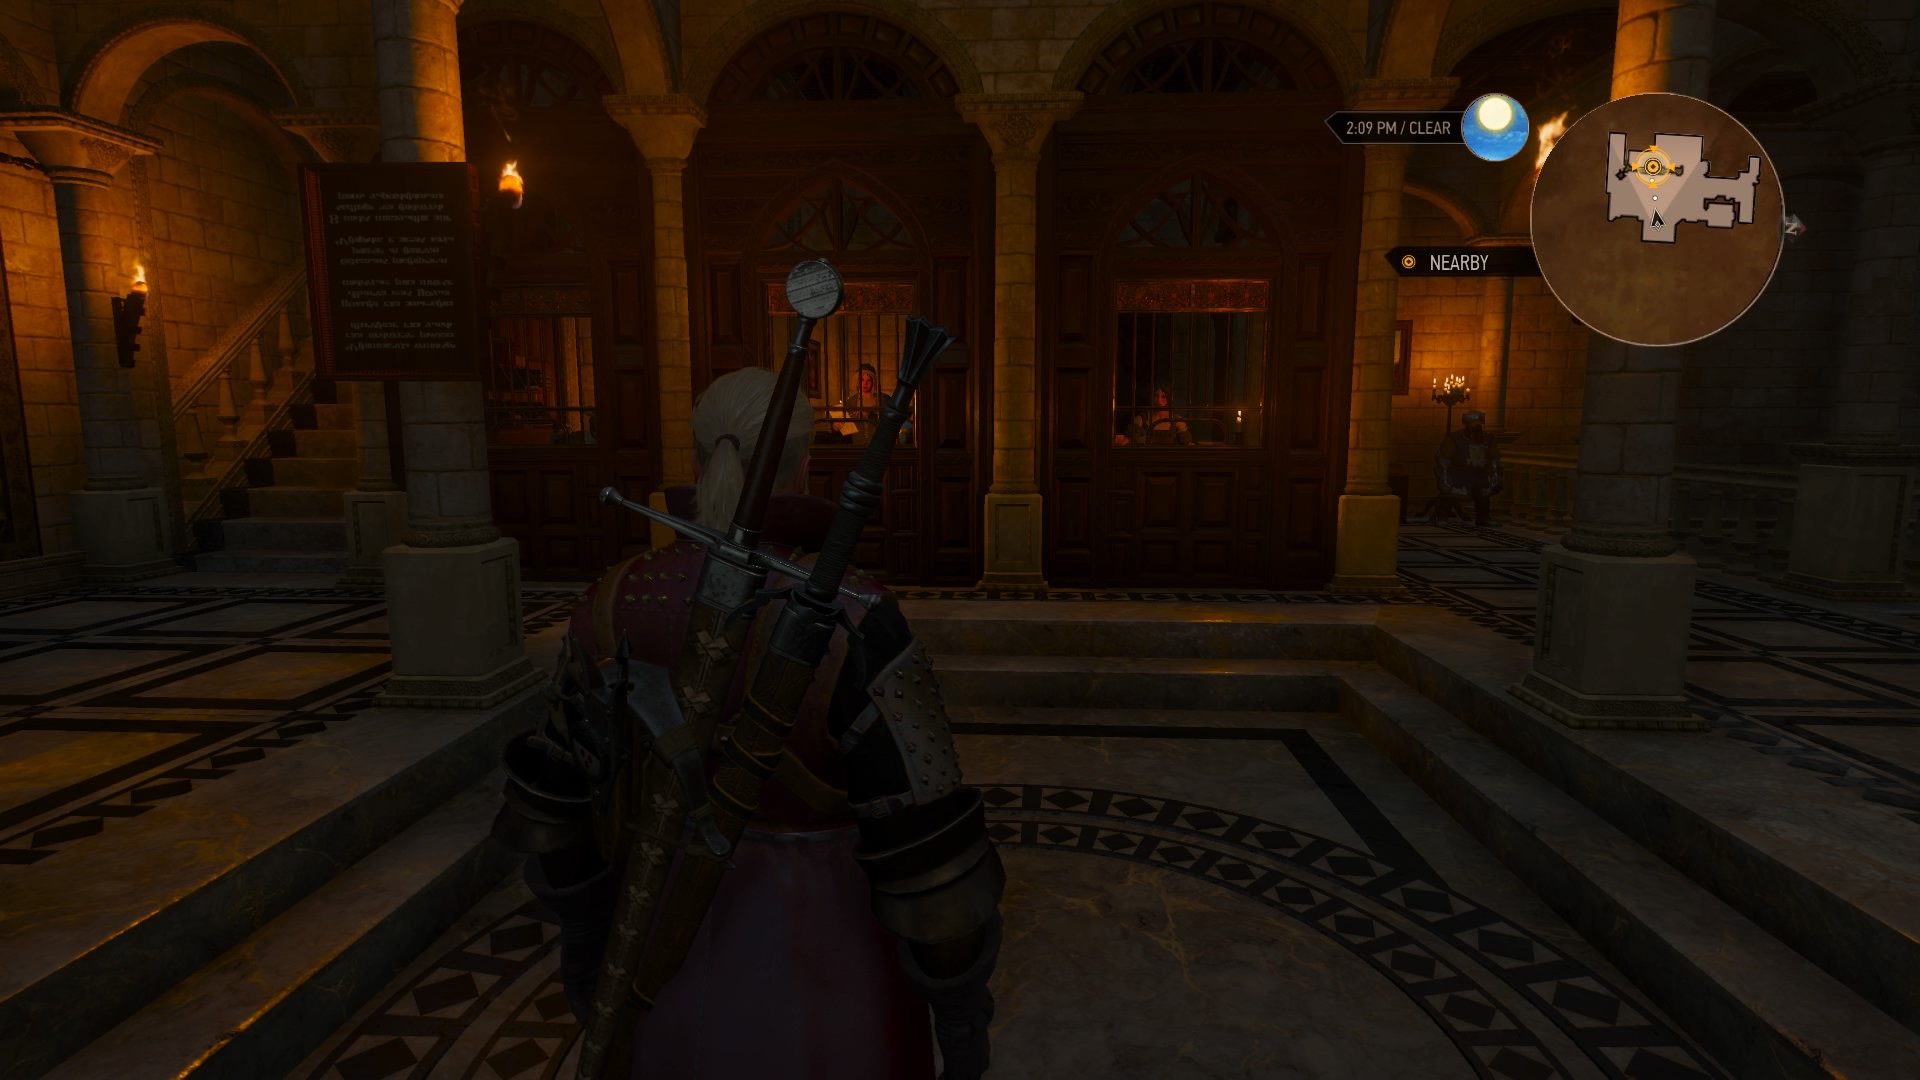
There’s a man in south-central Beauclair, between The Gran’place and the Nilfgaardian Embassy with a quest for you. Talk to him, and he’ll claim that you once helped him in the past, and that there’s a reward waiting for you at the bank. Check in to find the account holder – which should be you – is marked “dead.” Head to the other counter to try get this fixed. No luck. Speak to the clerk upstairs. Looks like you need another form. Upon exiting, you may end up in an argument, and then a fight, with another bank patron.
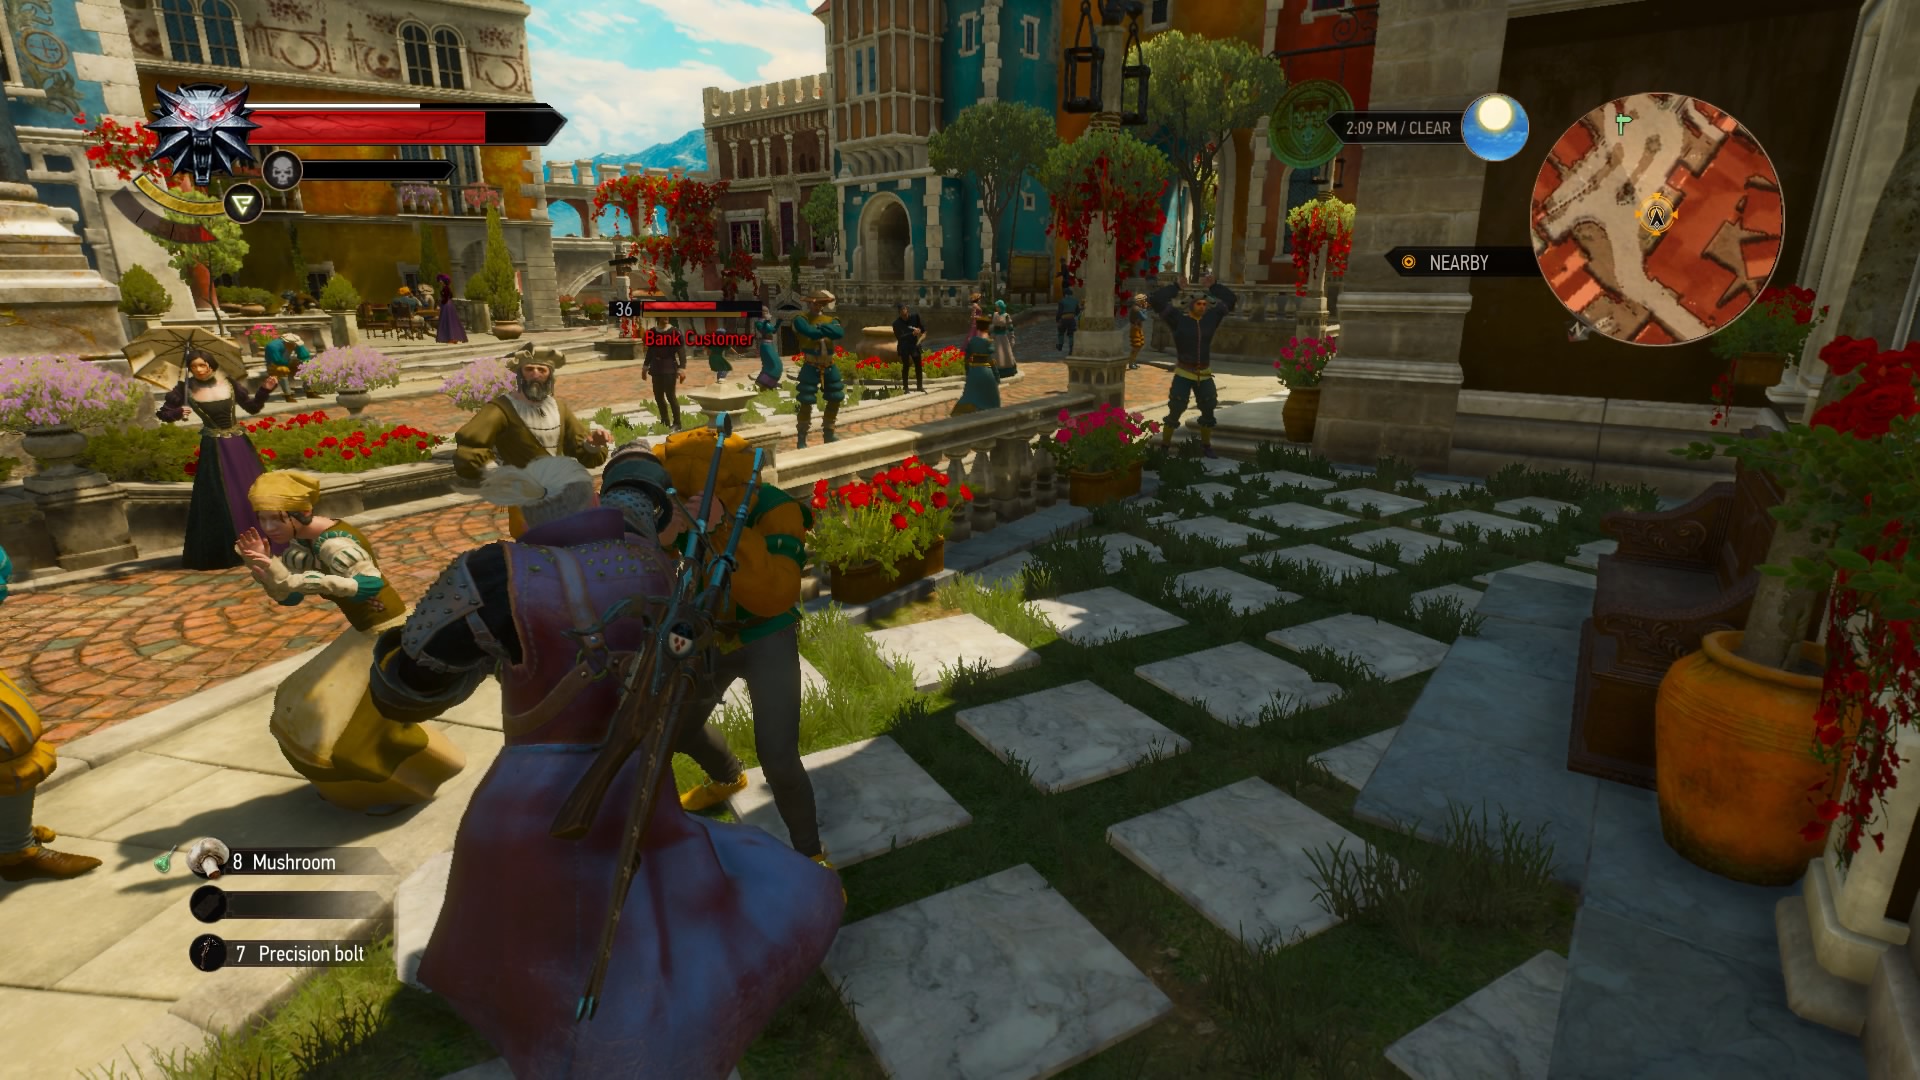
Make short work of this jerk, then head back to the second counter inside the bank. The teller will be missing, so use Witcher senses to track her scent back to the main counter. The ladies inside are on break, so sit and wait on the bench for a while. The man there will have some words of wisdom for you (and a game of Gwent if you so choose).
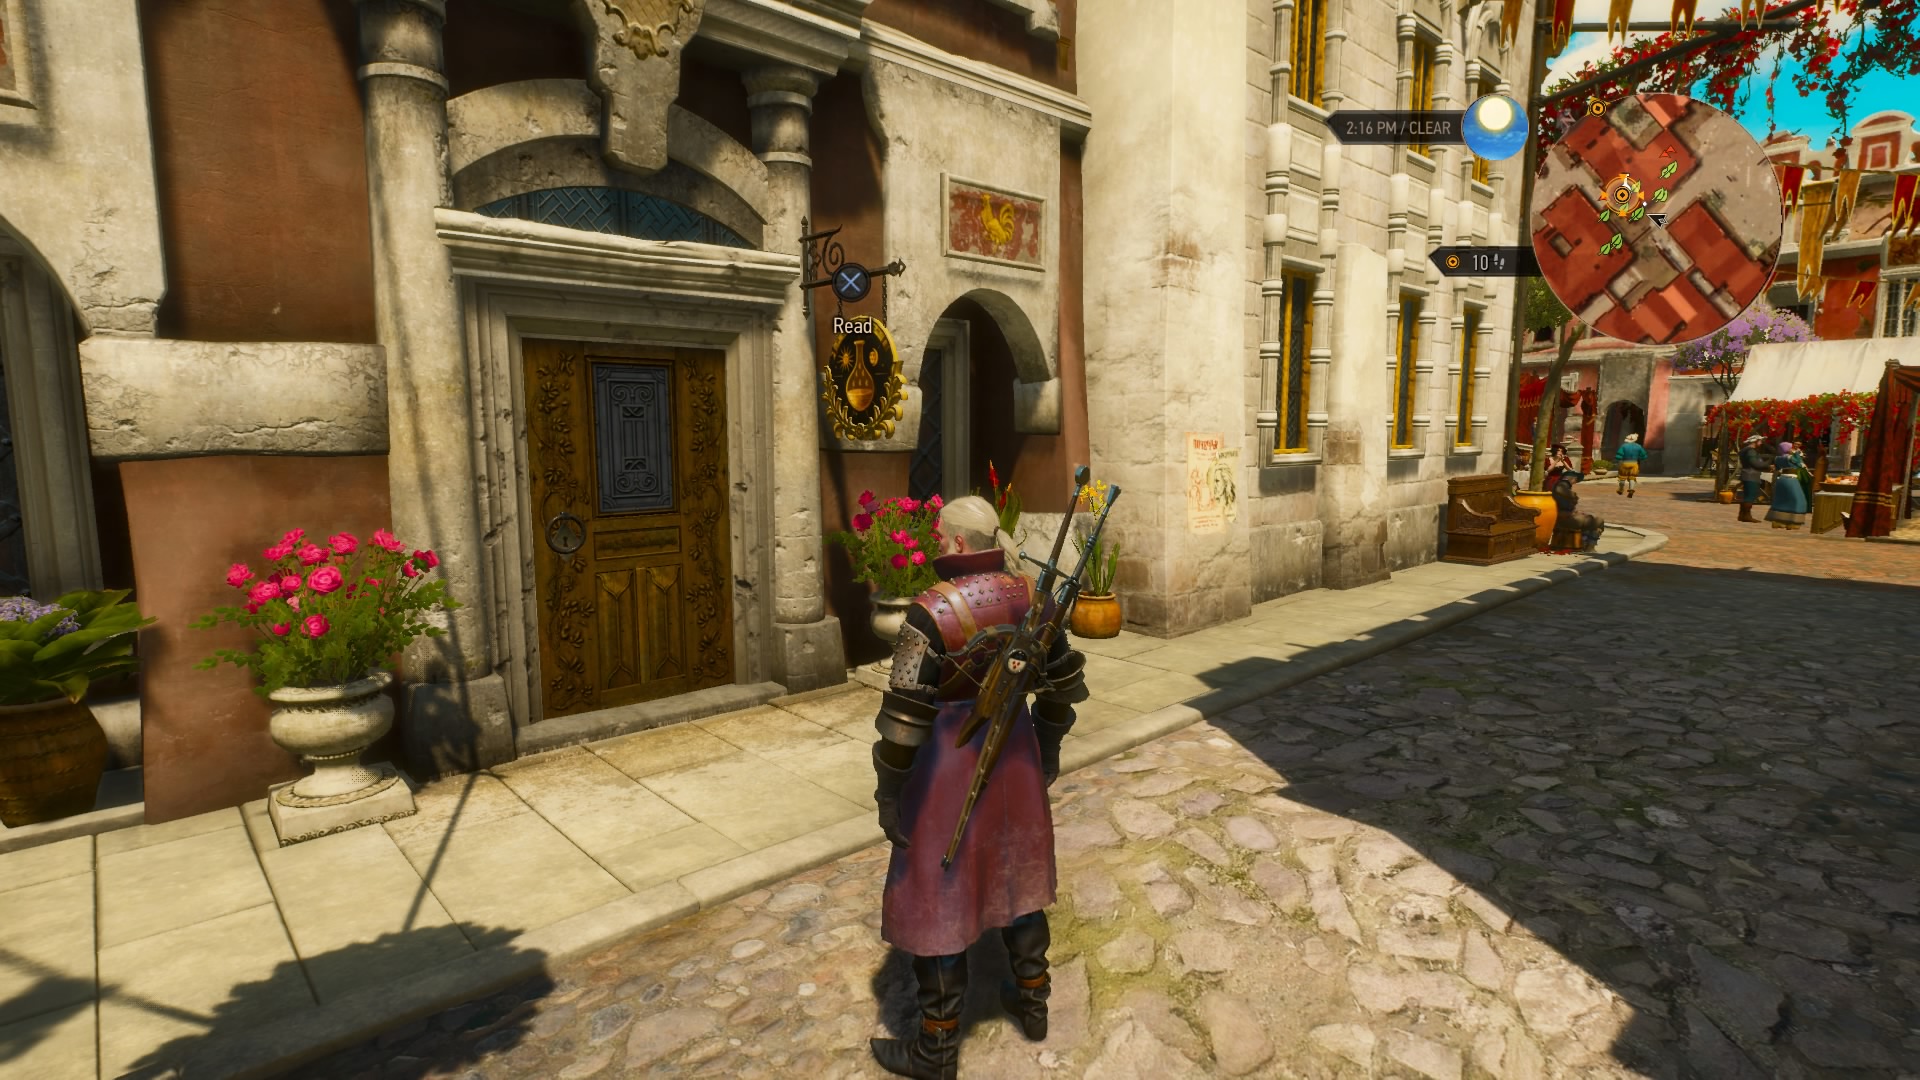
Time for a new plan. Head to the nearby perfumery and purchase a bottle of perfume. Talk to the lady at the side counter again, and give her the perfume when the opportunity arises. After a cut scene, you can accompany the bank’s owner down to the vault; you won’t find your money, however. Rough him up, or give him a week to rustle up the coin and return. Either of this will end the quest.
A Portrait of the Witcher as an Old Man
Suggested Level: 43 | Prerequisites: N/A
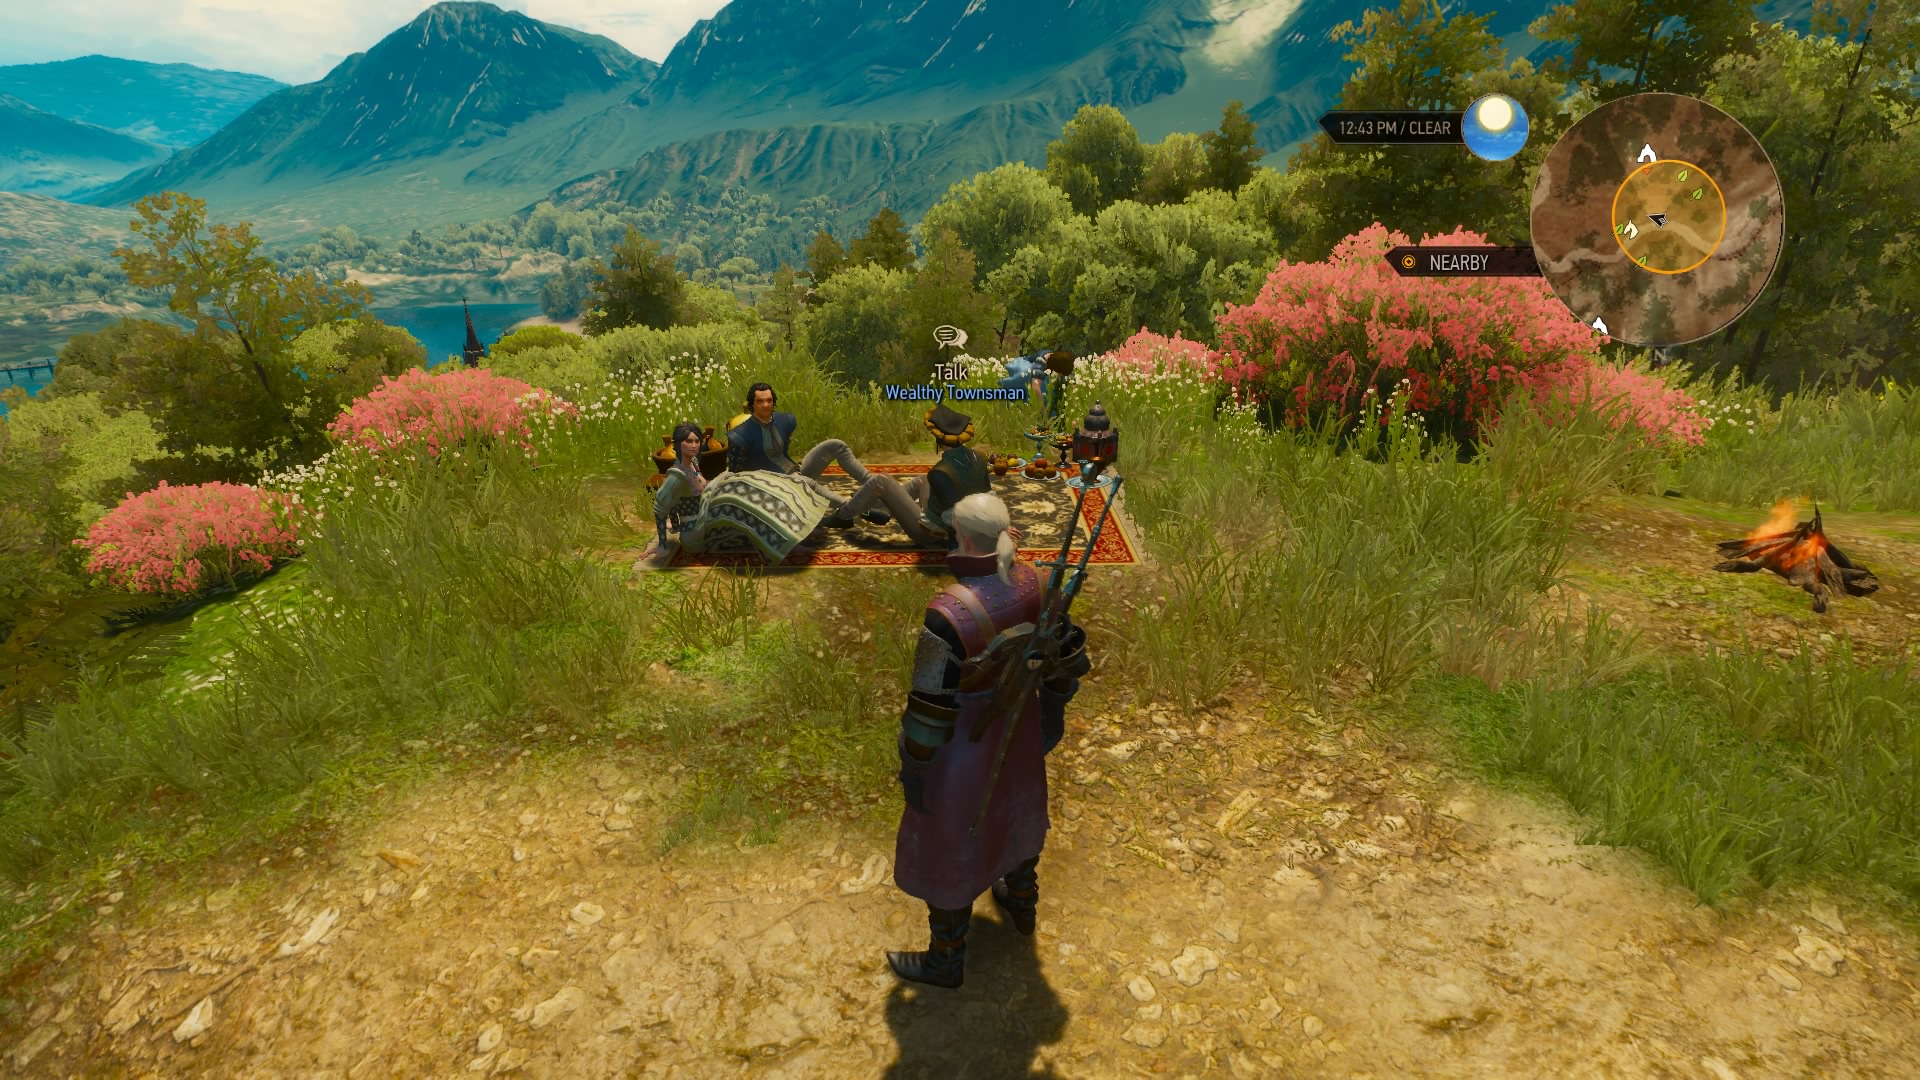
There’s a painter in the plaza immediately south of The Gran’place in Beauclair. He wants to paint a portrait you. Agree, then meet him at noon by the palace. Ride with him to the spot he’s picked out, and you’ll find some snobs have started a picnic in the same spot – plus, the painter’s supplies are missing.
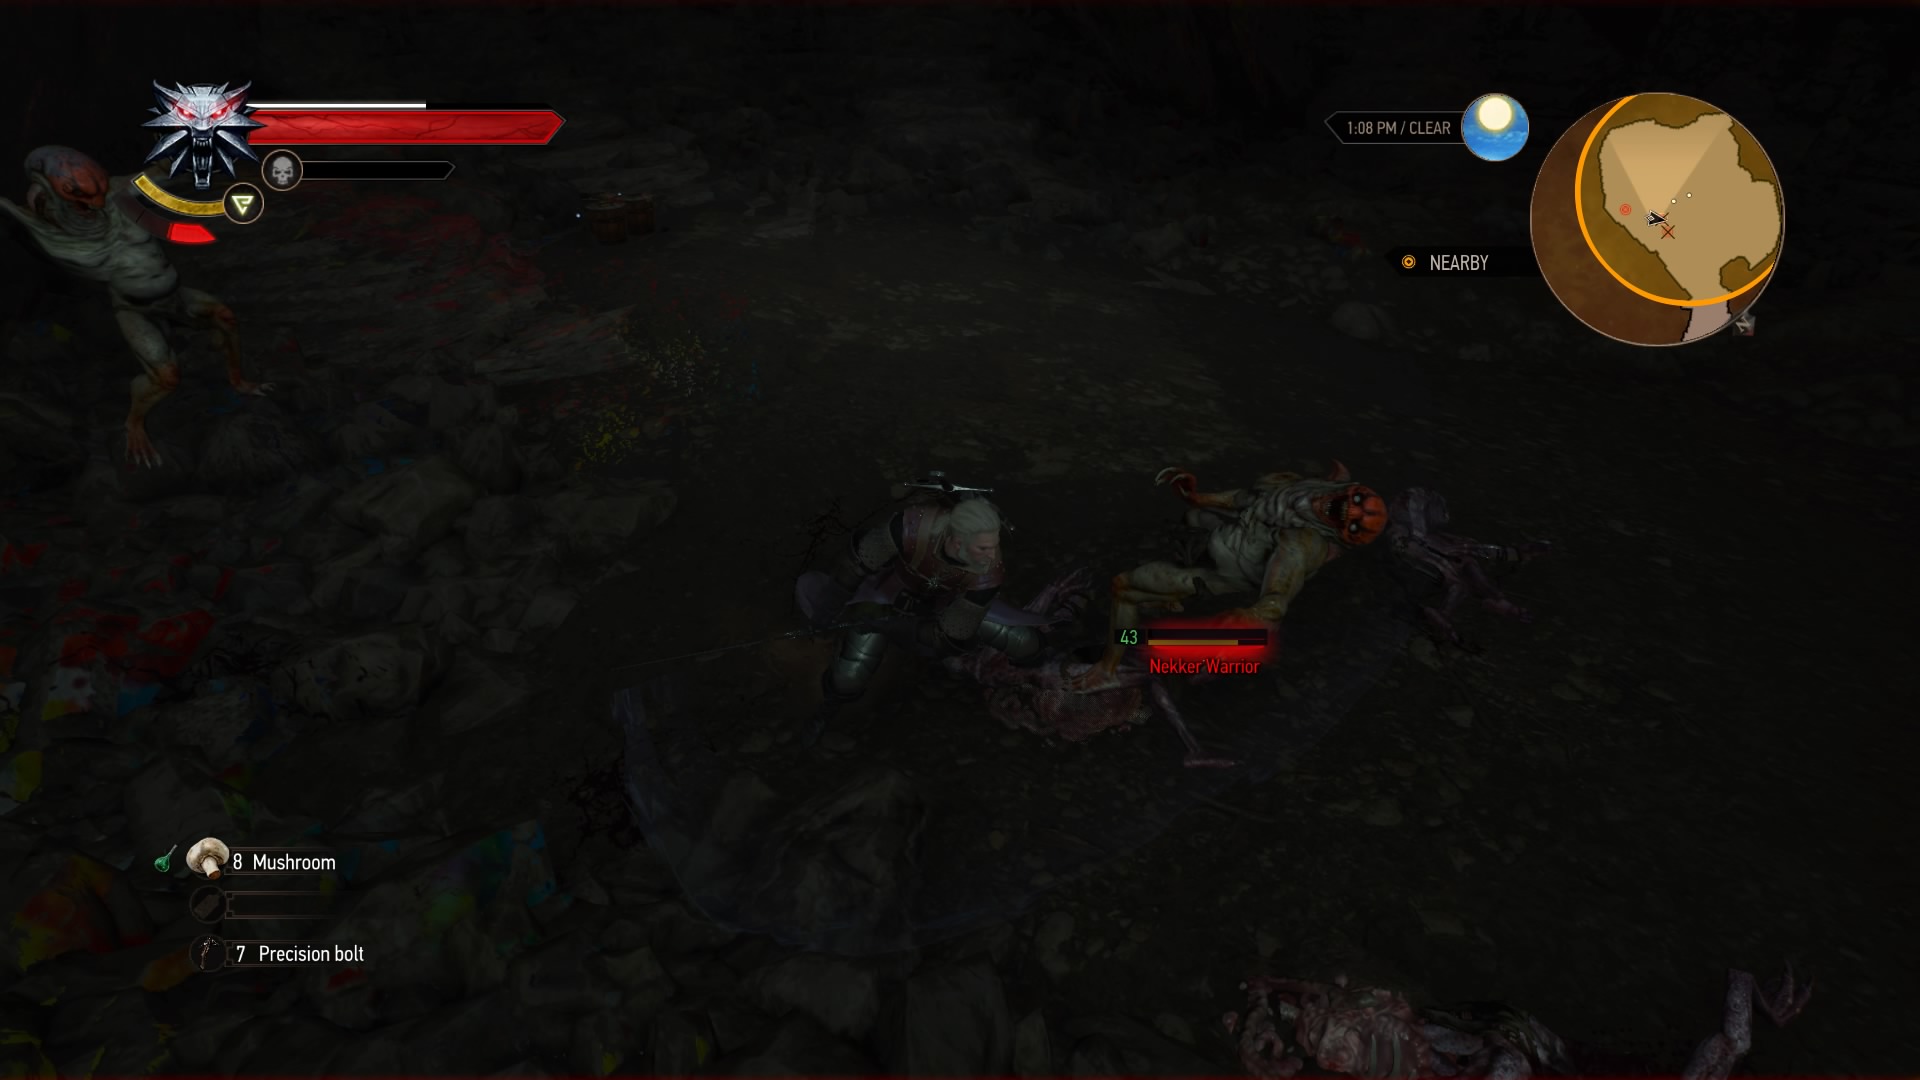
Search the area to find a paint spill and a scent trail. Follow this to enter a cave down the hill a ways, where you’ll find a few nekkers. Take them out and search the cave for the missing paints, then return them to the painter. Accompany him to another ridge to get your portrait painted; you’ll even get to choose your pose! But it’s not quite over yet – a griffin will fly onto the hill. Slay it, and you’ll have the option to add it to the painting as well. Wait a day and return to the painter to receive the finished work (if you want it) and end the quest.
The Toussaint Prison Experiment
Suggested Level: N/A | Prerequisites: N/A
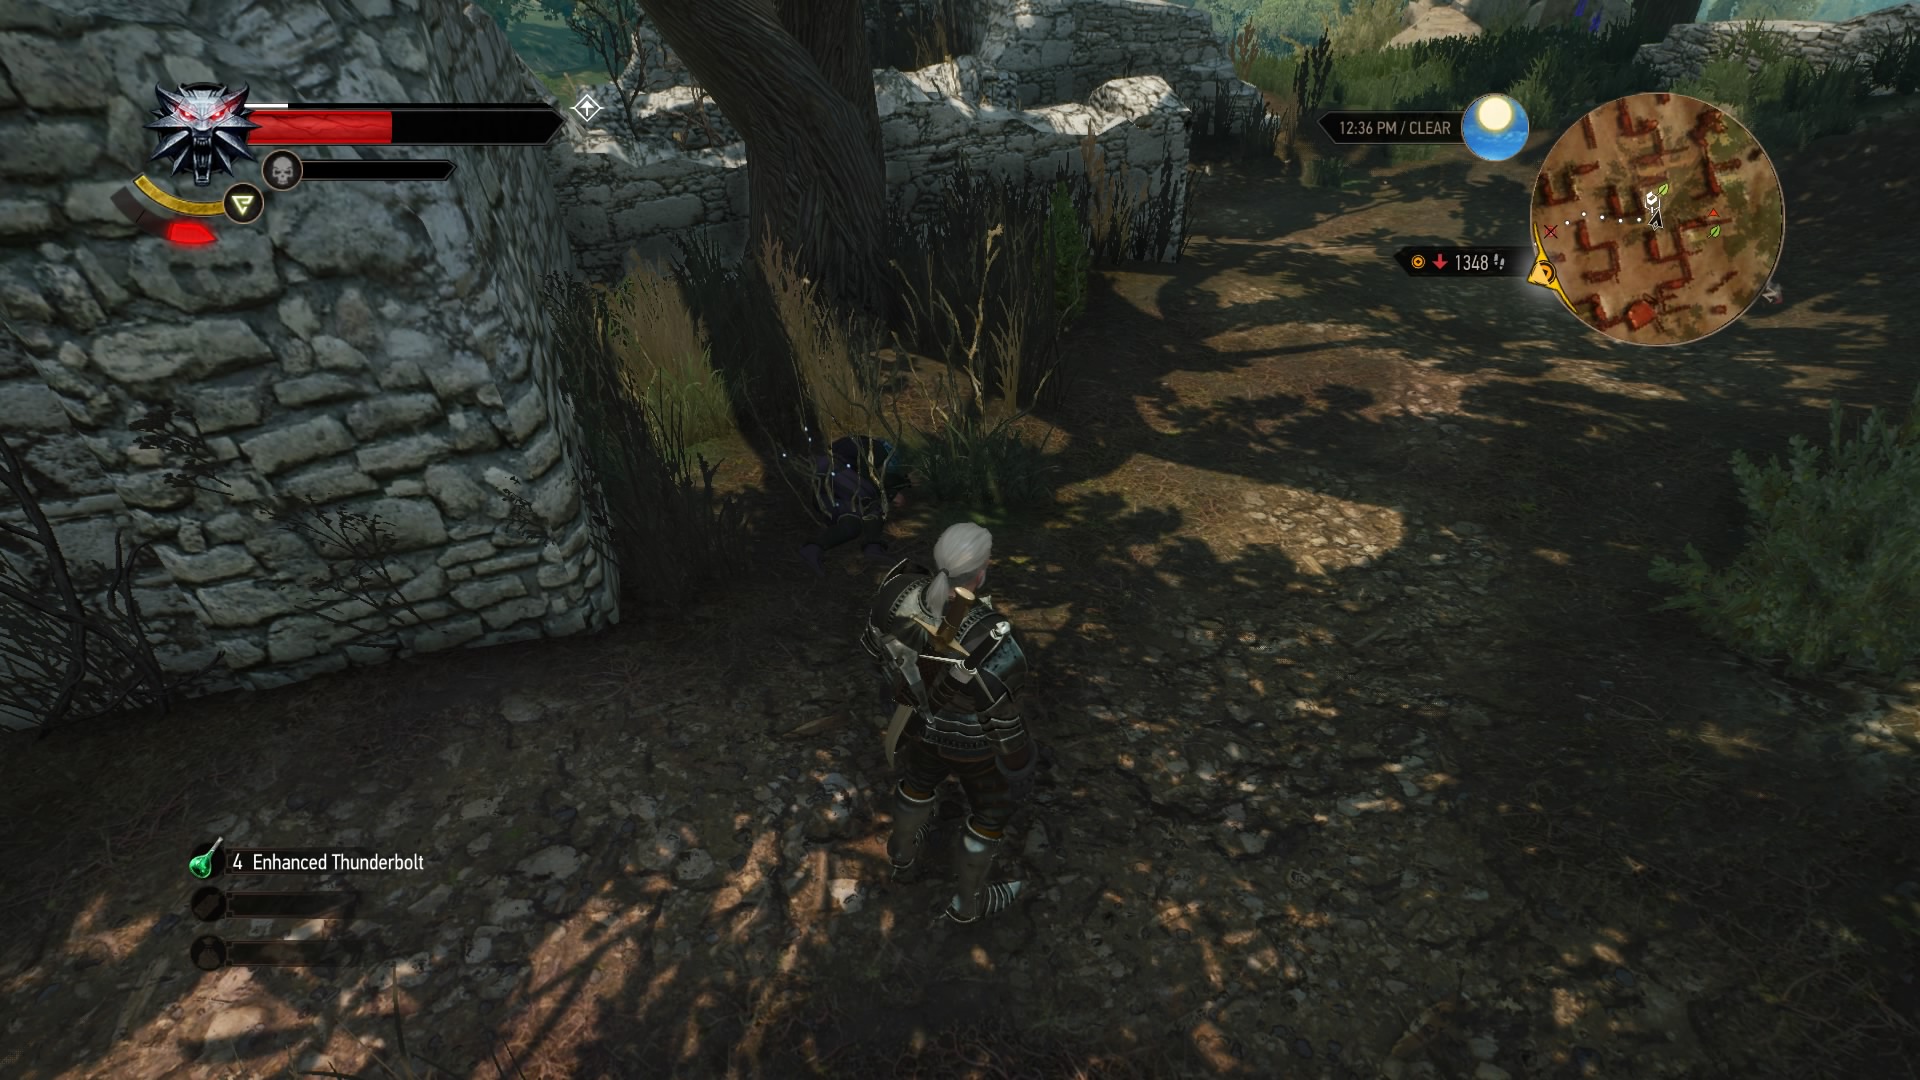
There’s a Hidden Location, a Hidden Treasure, in a ruined prison northwest of Beauclair Palace, in the Gorgon Foothills. Watch out, because there’s a corpse guarded by an alp. Defeat her, then loot the corpse for a letter and a key. Read the letter to learn of treasure in the vicinity, then use your Witcher senses to find the loot.
But Other Than That, How Did You Enjoy the Play?
Suggested Level: 43 | Prerequisites: N/A
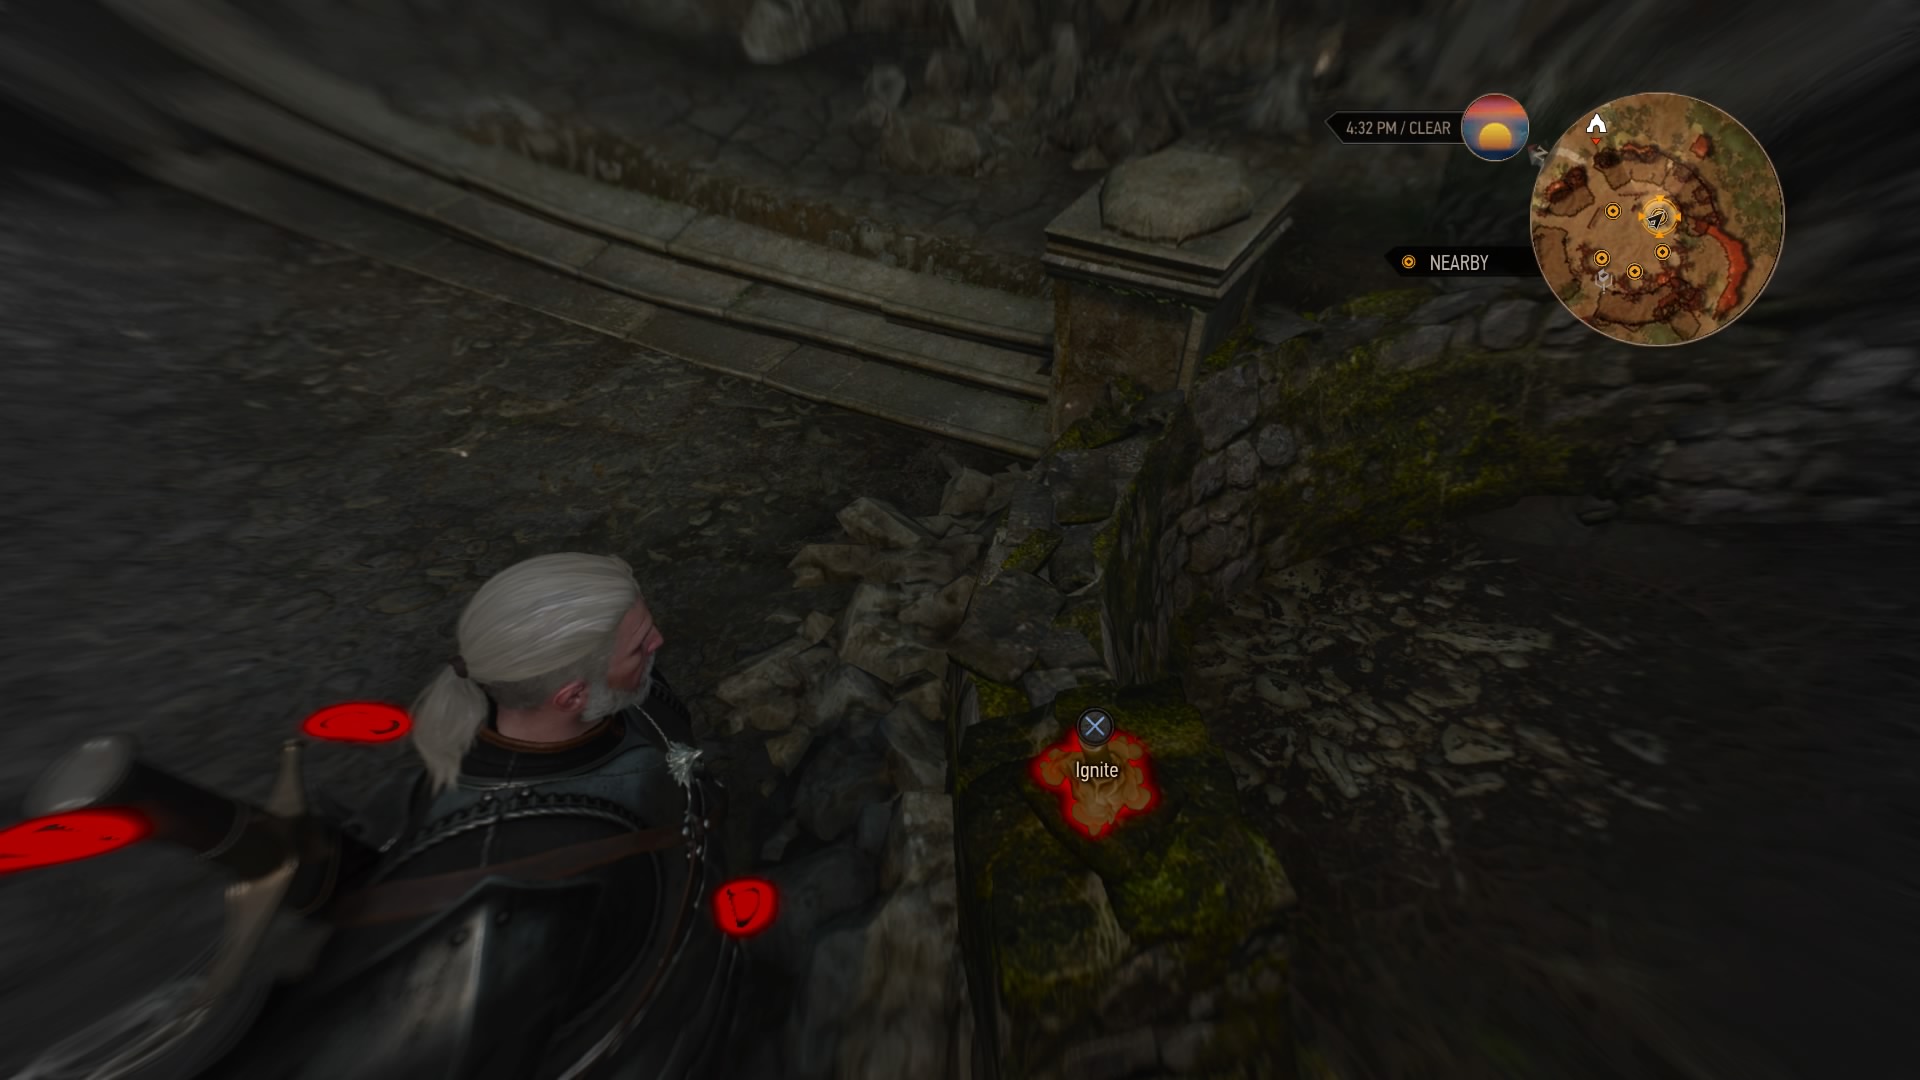
There’s another Hidden Treasure at the amphitheater, southwest across the bay from Beauclair. Head there and loot the corpse to find a journal and a special bottle of wine. What happened here? Let’s recreate the events to find out. Use your Witcher senses to trace the dead girl’s footsteps, lighting each candle in the order she did.
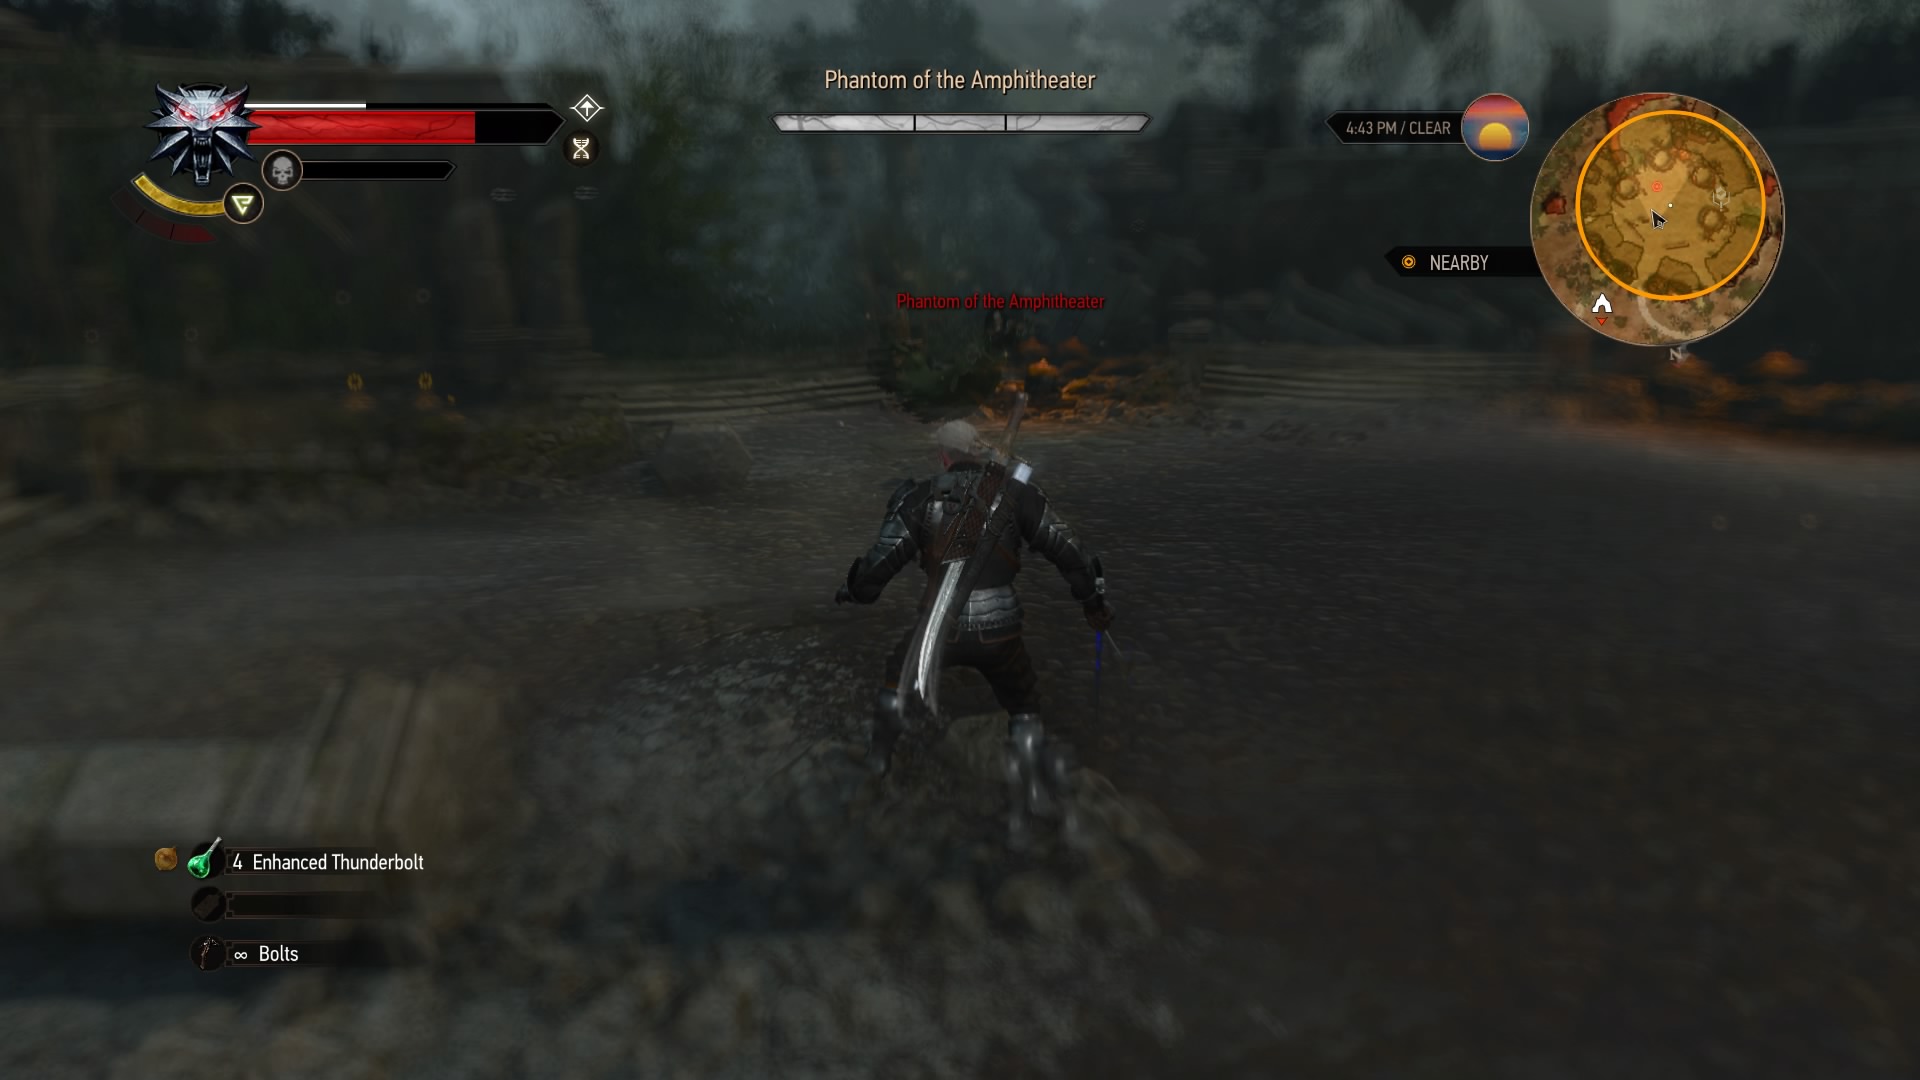
After lighting the candles, drink the wine you found. Your vision will blur, and the Phantom of the Amphitheater will appear. Fight it like you would any other wraith (Yrden will help), and it’ll drop a special necklace. After that, use your Witcher senses to find an iron bar down some stairs; there’s loot beyond it.
A Knight’s Tales
Suggested Level: 40 | Prerequisites: N/A
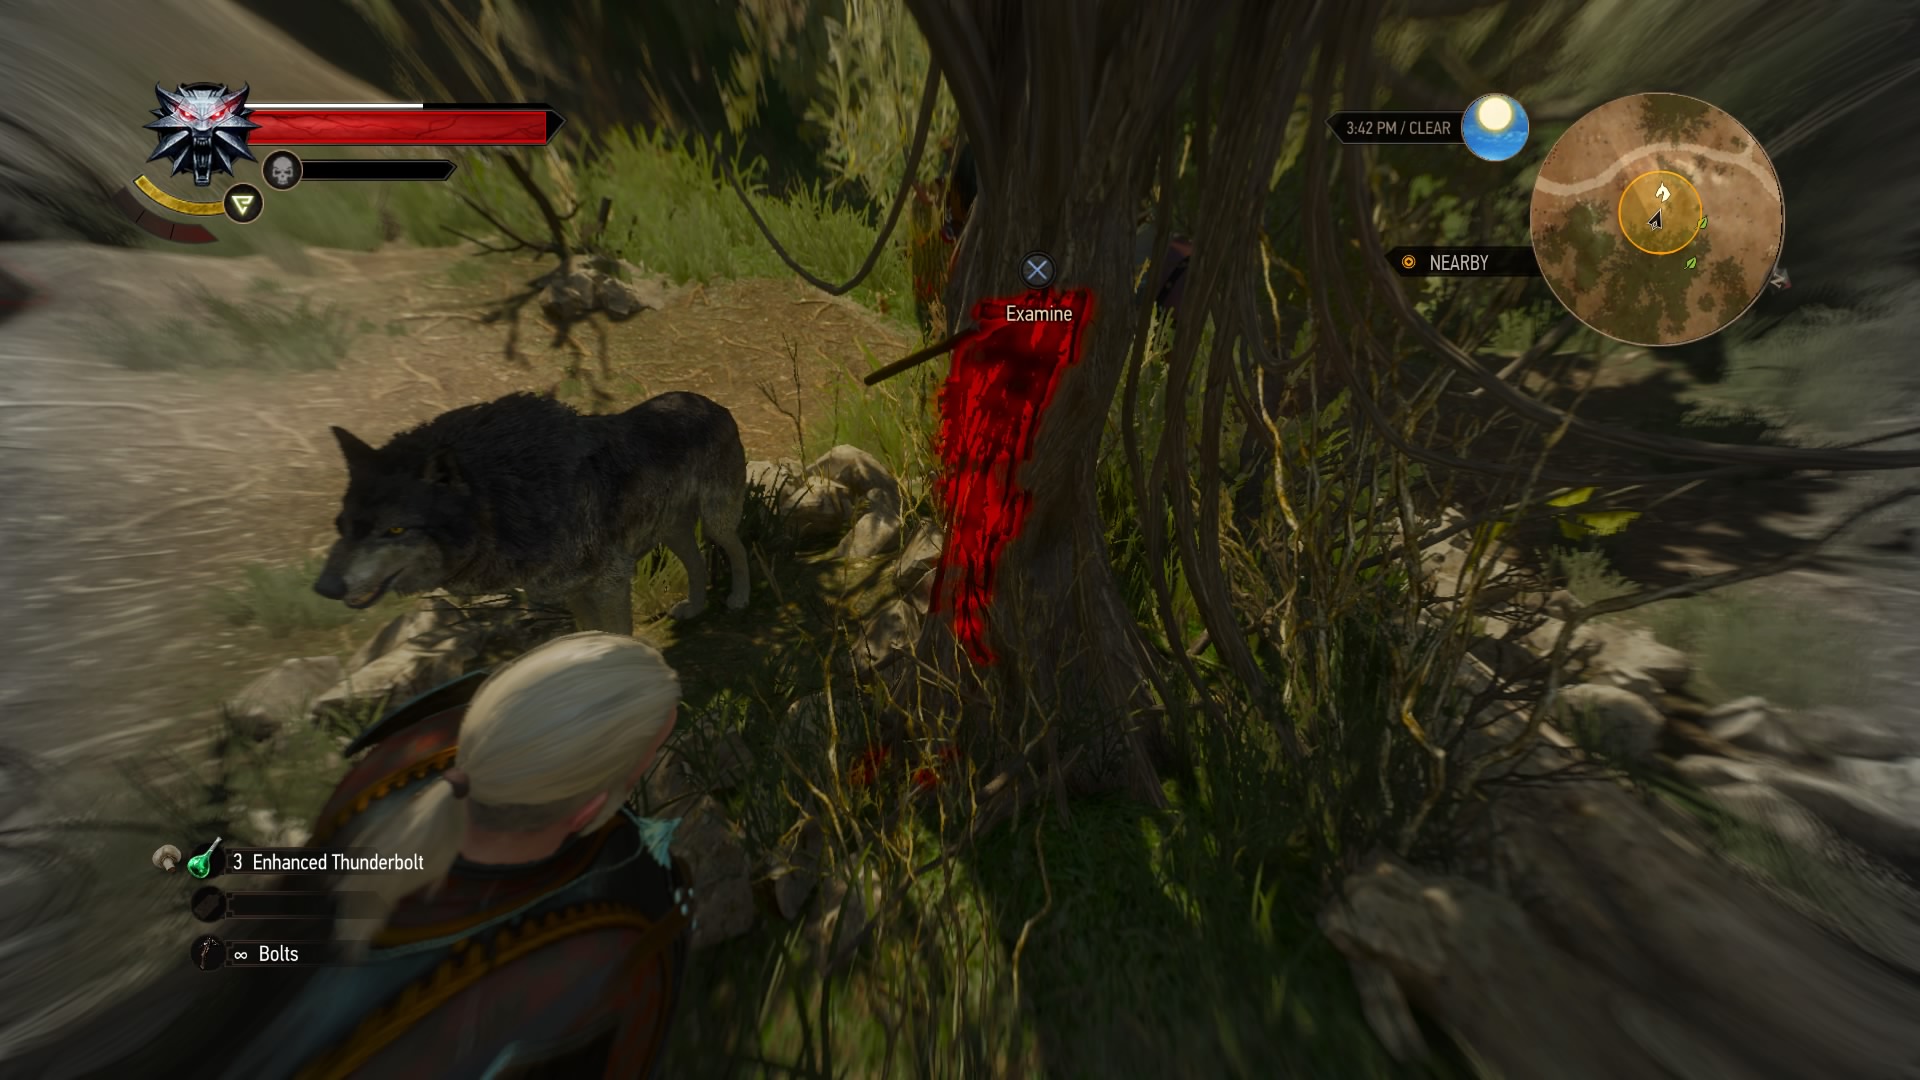
You can get this quest from the notice board at the Castel Ravello Vineyard. Talk the to woodcutter to learn that the tree near him is actually a cursed woman. Use your Witcher senses to check the area for a handful of clues. Looks like the woodcutter is right about this whole situation.
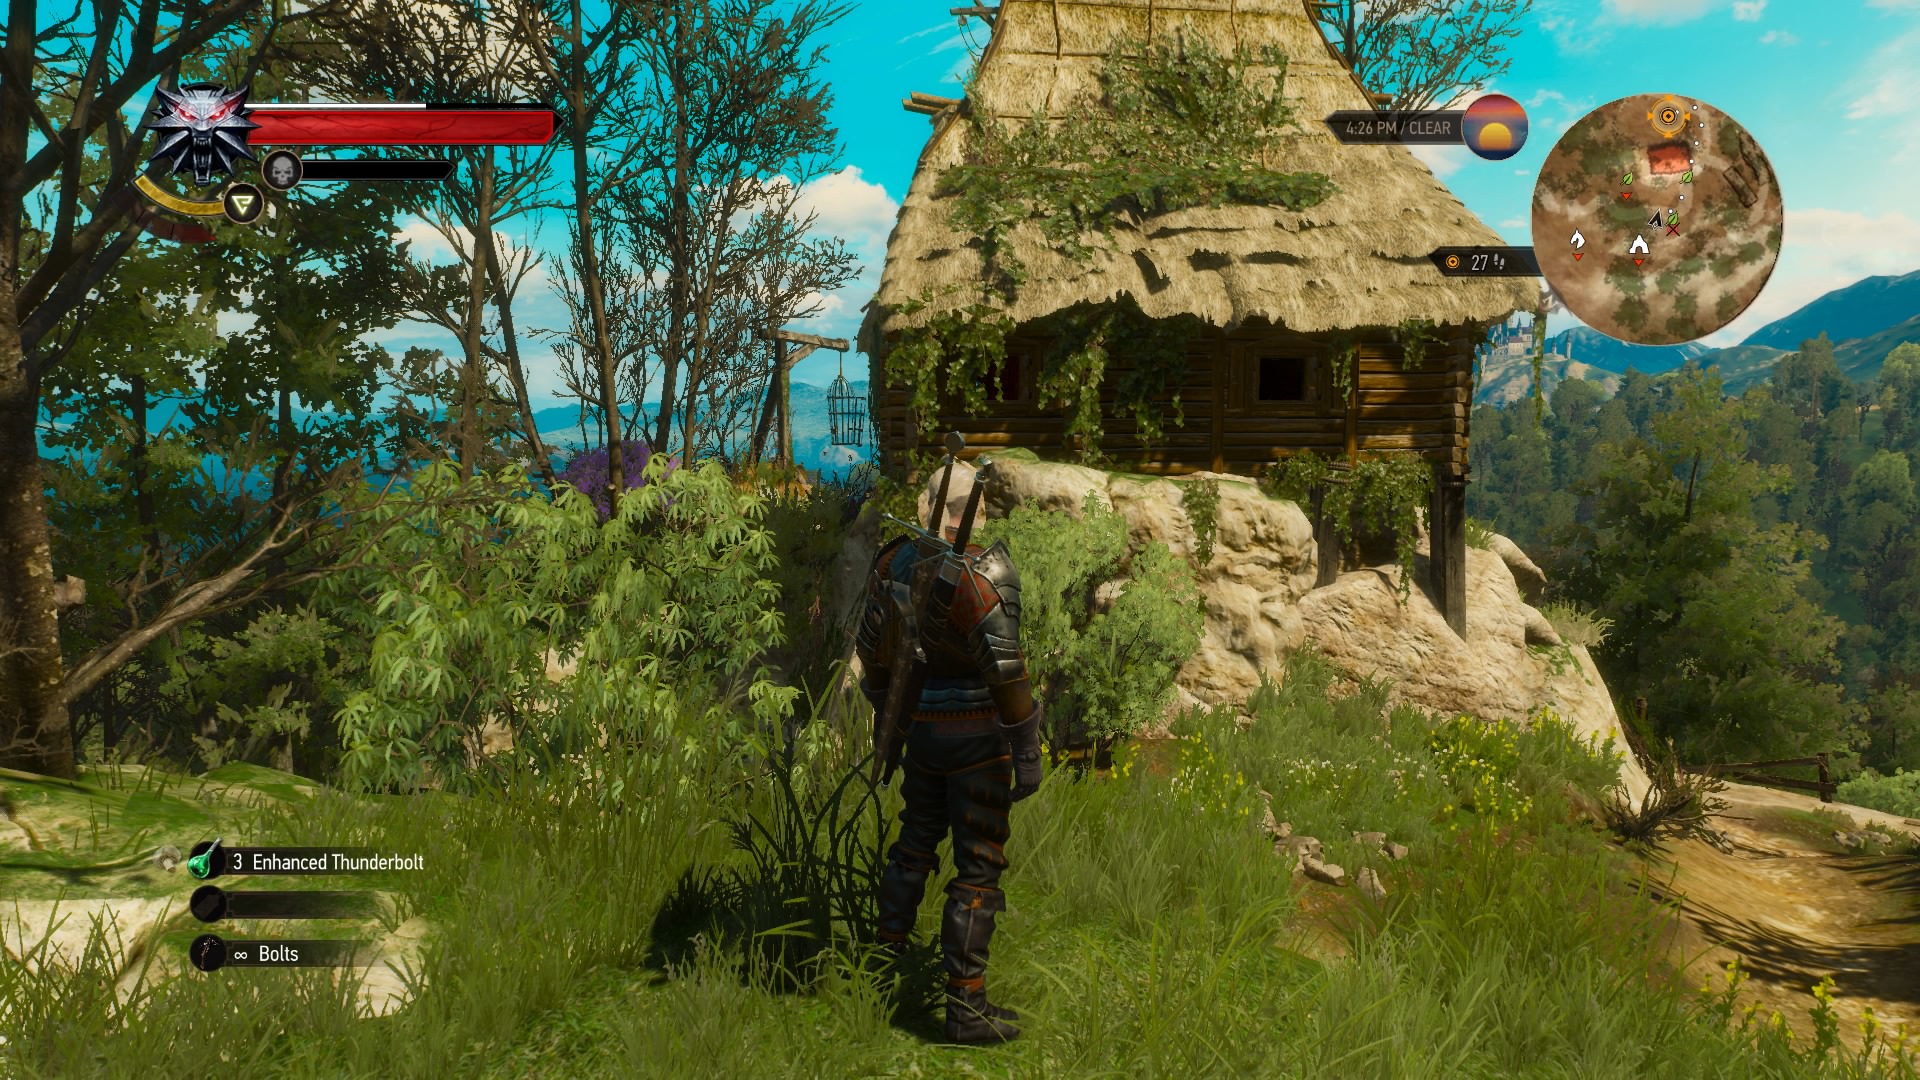
The next step is to scale Lynx Crag to the north. Head there and climb the hill to find an isolated hut. Look inside to find several clues, plus a few trophies anchored to a witchcraft symbol. Take the kerchief, and a witch will appear; you can ask her for help in lifting the tree curse, or just do it yourself.
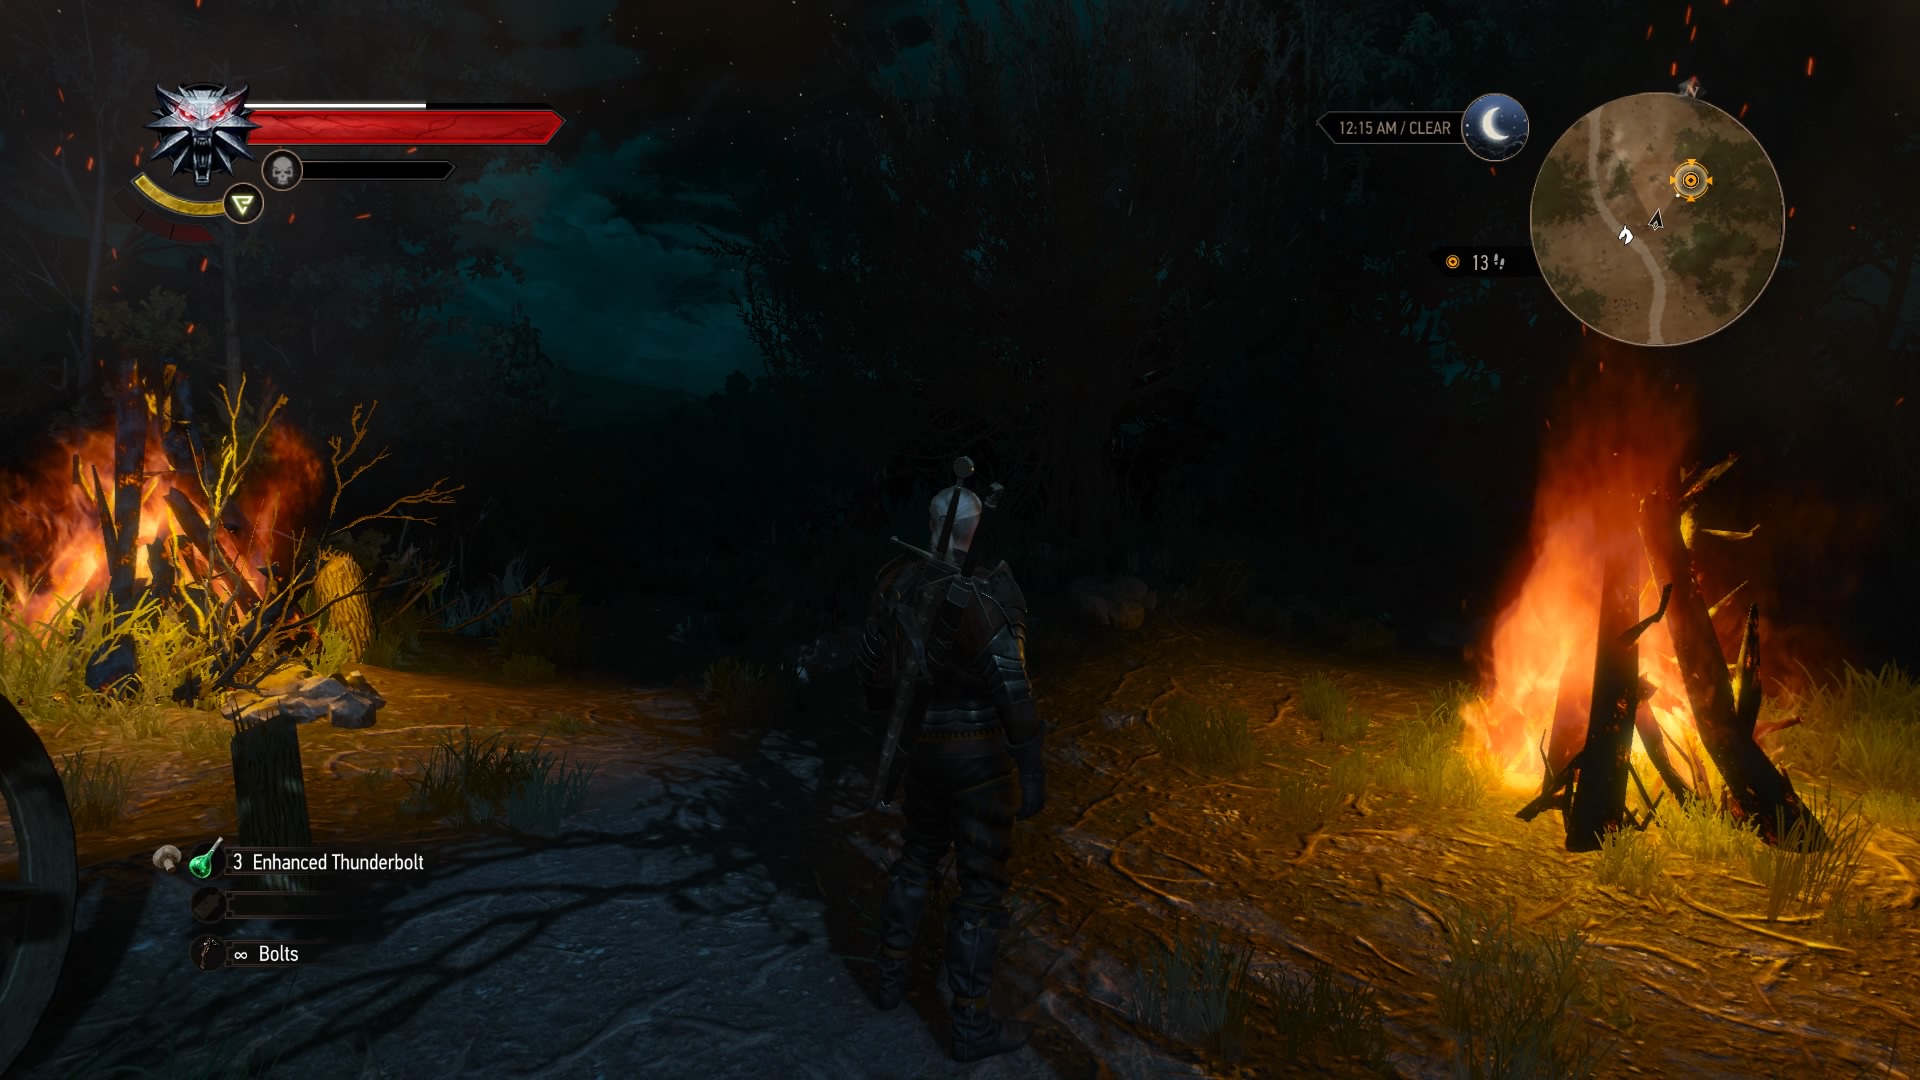
If you get her help, you’ll have to give up a lock of your hair. Do so, then check the cave below her hut to find a bone needed for the ritual on a corpse there. If you decide to go it alone, you’ll skip this step and just return to the woodcutter. If you end up fighting the witch, you’ll find a blood trail leading to his now-dead body; kill the possessed dog (thanks, witch), and that’ll be that. If you return with the materials needed for the ritual, you’ll have a much happier quest ending; if you’re missing one of them, it’ll end with a battle against a wraith.
Around the World in... Eight Days
Suggested Level: 40 | Prerequisites: N/A
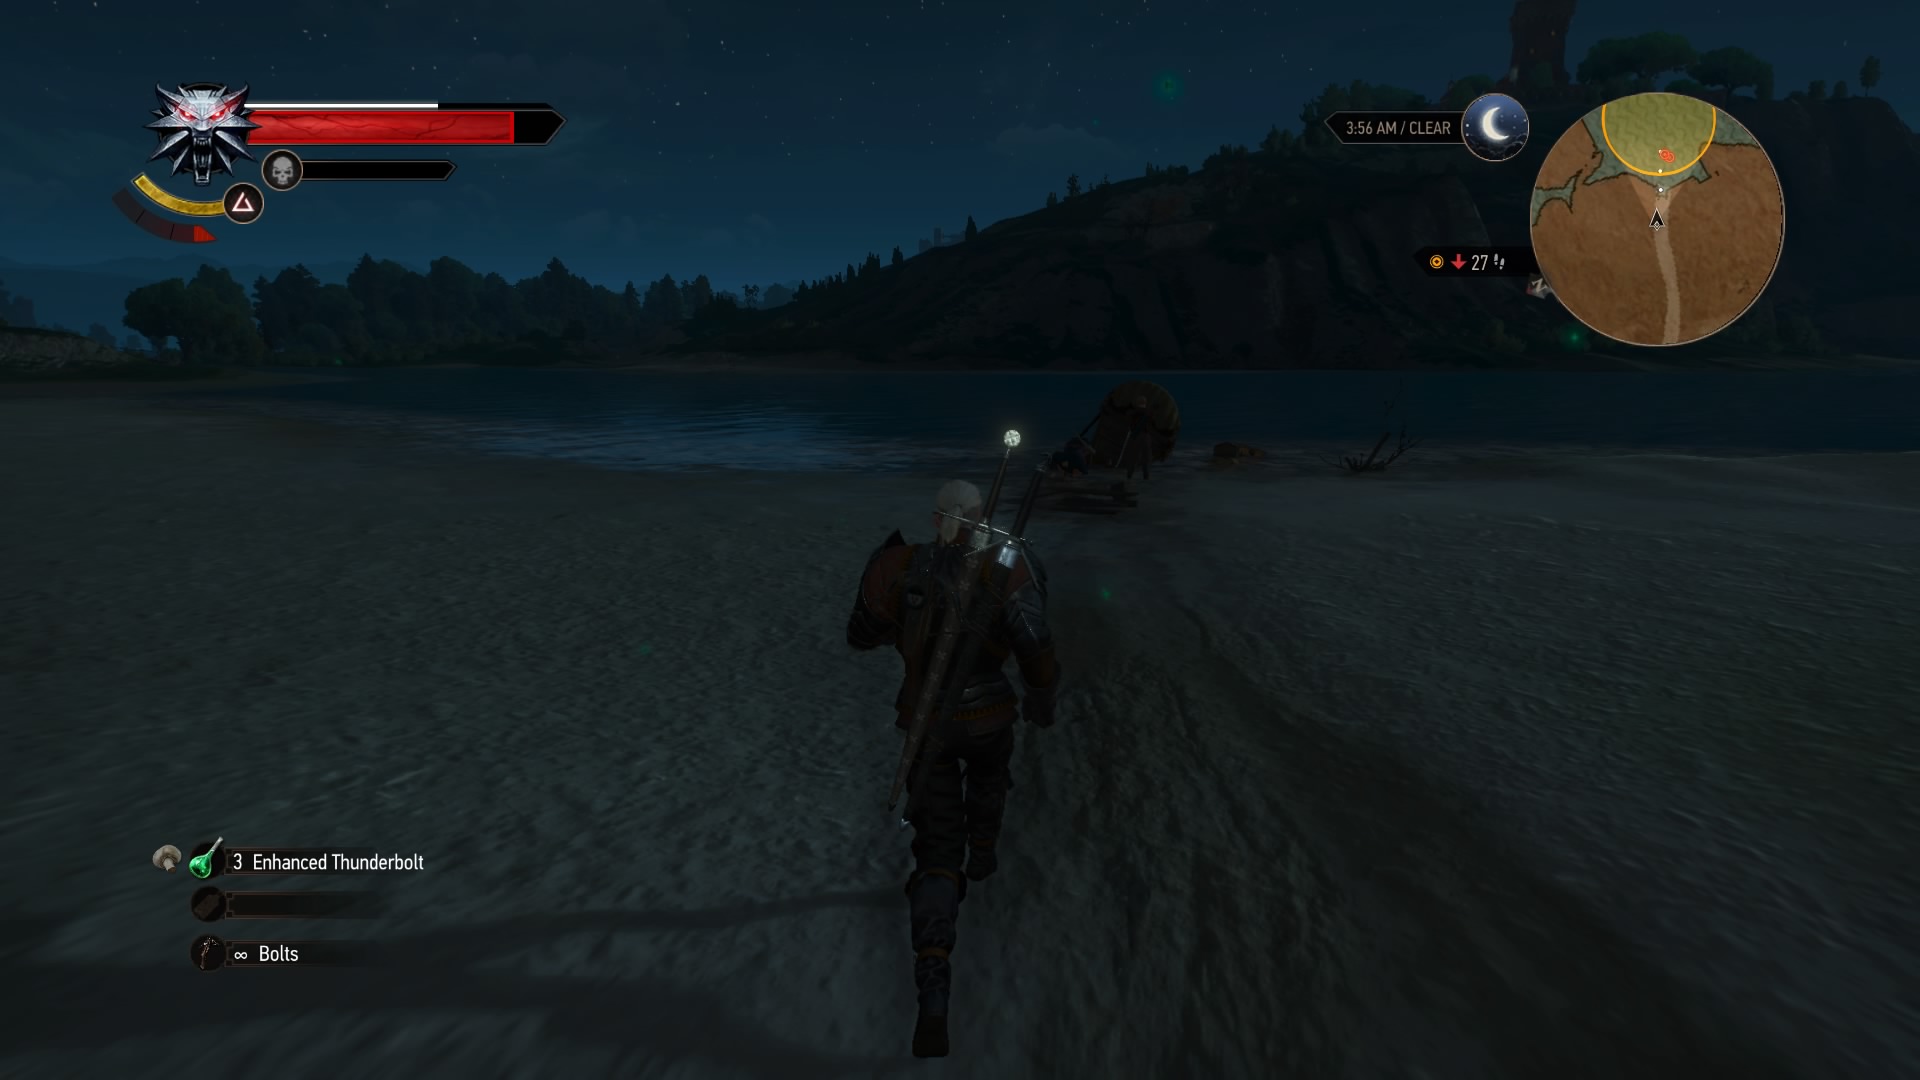
There’s an Undiscovered Location, a Hidden Treasure, almost directly south of the Trading Post. Kill the bandits there and loot the chest to find a letter and a key. Read the letter to get a new marker by the water, then head down to the shore. Take out the additional bandits and loot the chest in the shallows to find some loot.
What Was This About Again?
Suggested Level: 43 | Prerequisites: N/A
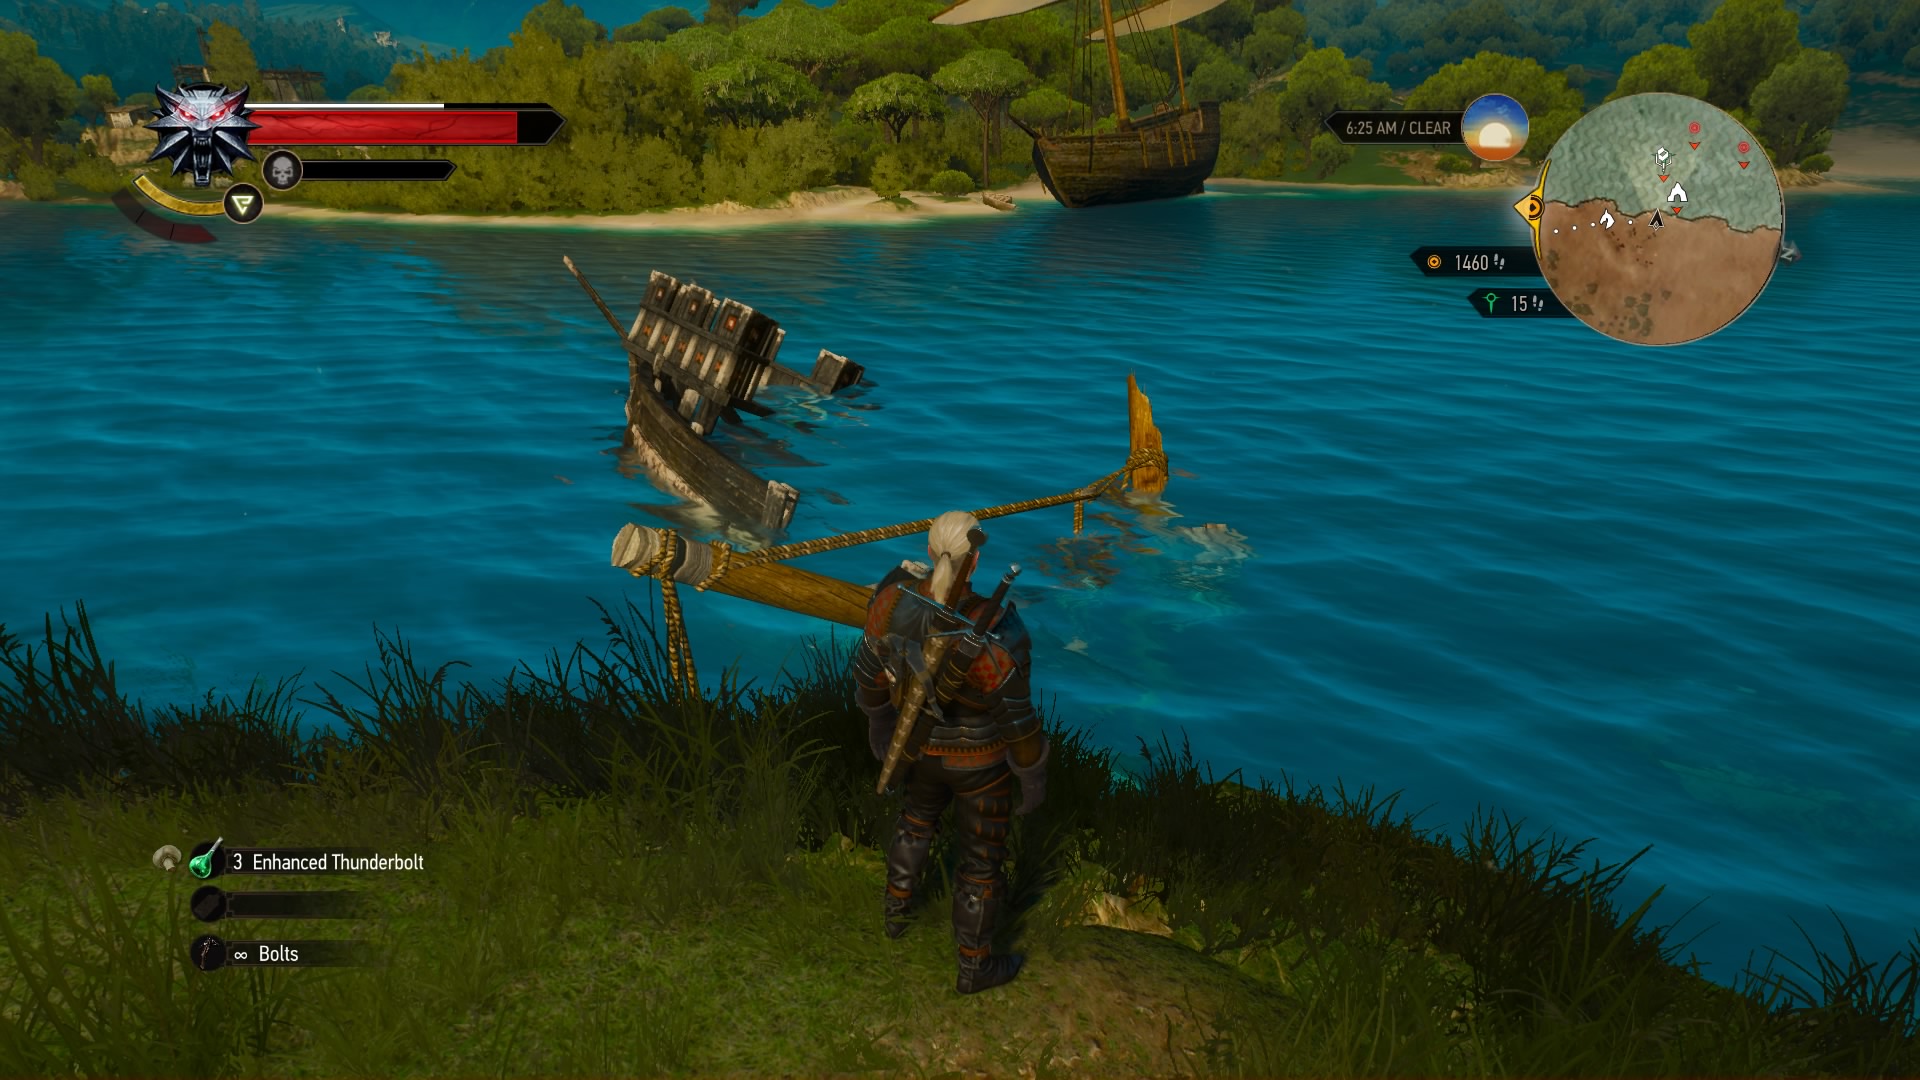
There’s another Hidden Treasure in the water on the shore south of the Silver Salamander Inn. Dive in and find the chest to acquire a key and a letter. Read the letter to mark a cave underwater, then dive in and swim through the chamber. Inside, you’ll have to battle a shaelmaar, but you’ll find a loot-filled chest on a ledge when you do.
The Suffering of Young Francois
Suggested Level: 47 | Prerequisites: N/A
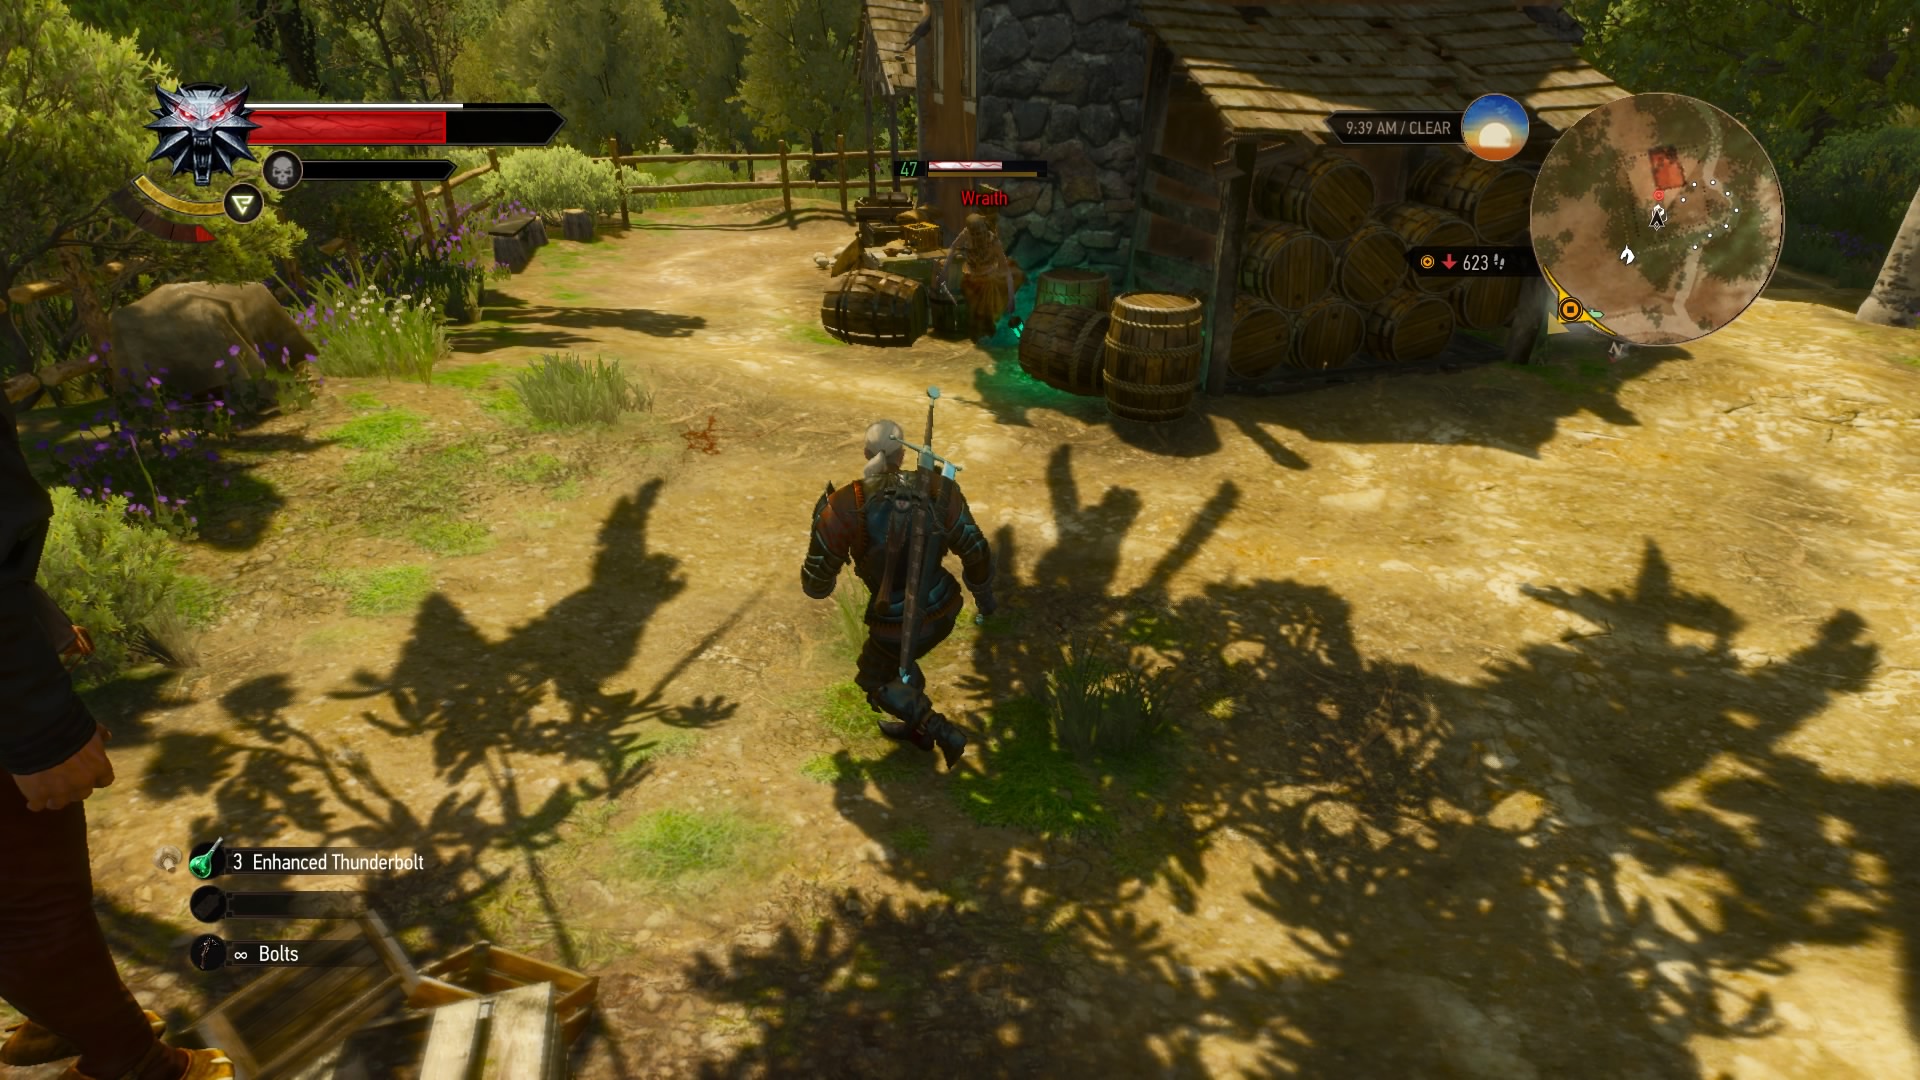
Immediately south of the Fort Astre Ruins is a Hidden Treasure, a corpse hanging from a tree. Kill the wraith in the area, then loot the corpse to find a note. Read it, and you’ll get a new marker on your map. Head to the nearby vineyard and use your Witcher senses to find the jewels and finish this quick quest.
The Curse of Carnarvon
Suggested Level: 46 | Prerequisites: N/A
Just northwest of Castel Ravello Vineyard is another corpse marked as a Hidden Treasure. Loot the body for a journal and a key, then read the journal to drop a new marker on your map. Head there to find a campsite guarded by two archespores. Take them out and search the camp to find a chest full of loot.
Filibert Always Pays His Debts
Suggested Level: 48 | Prerequisites: N/A
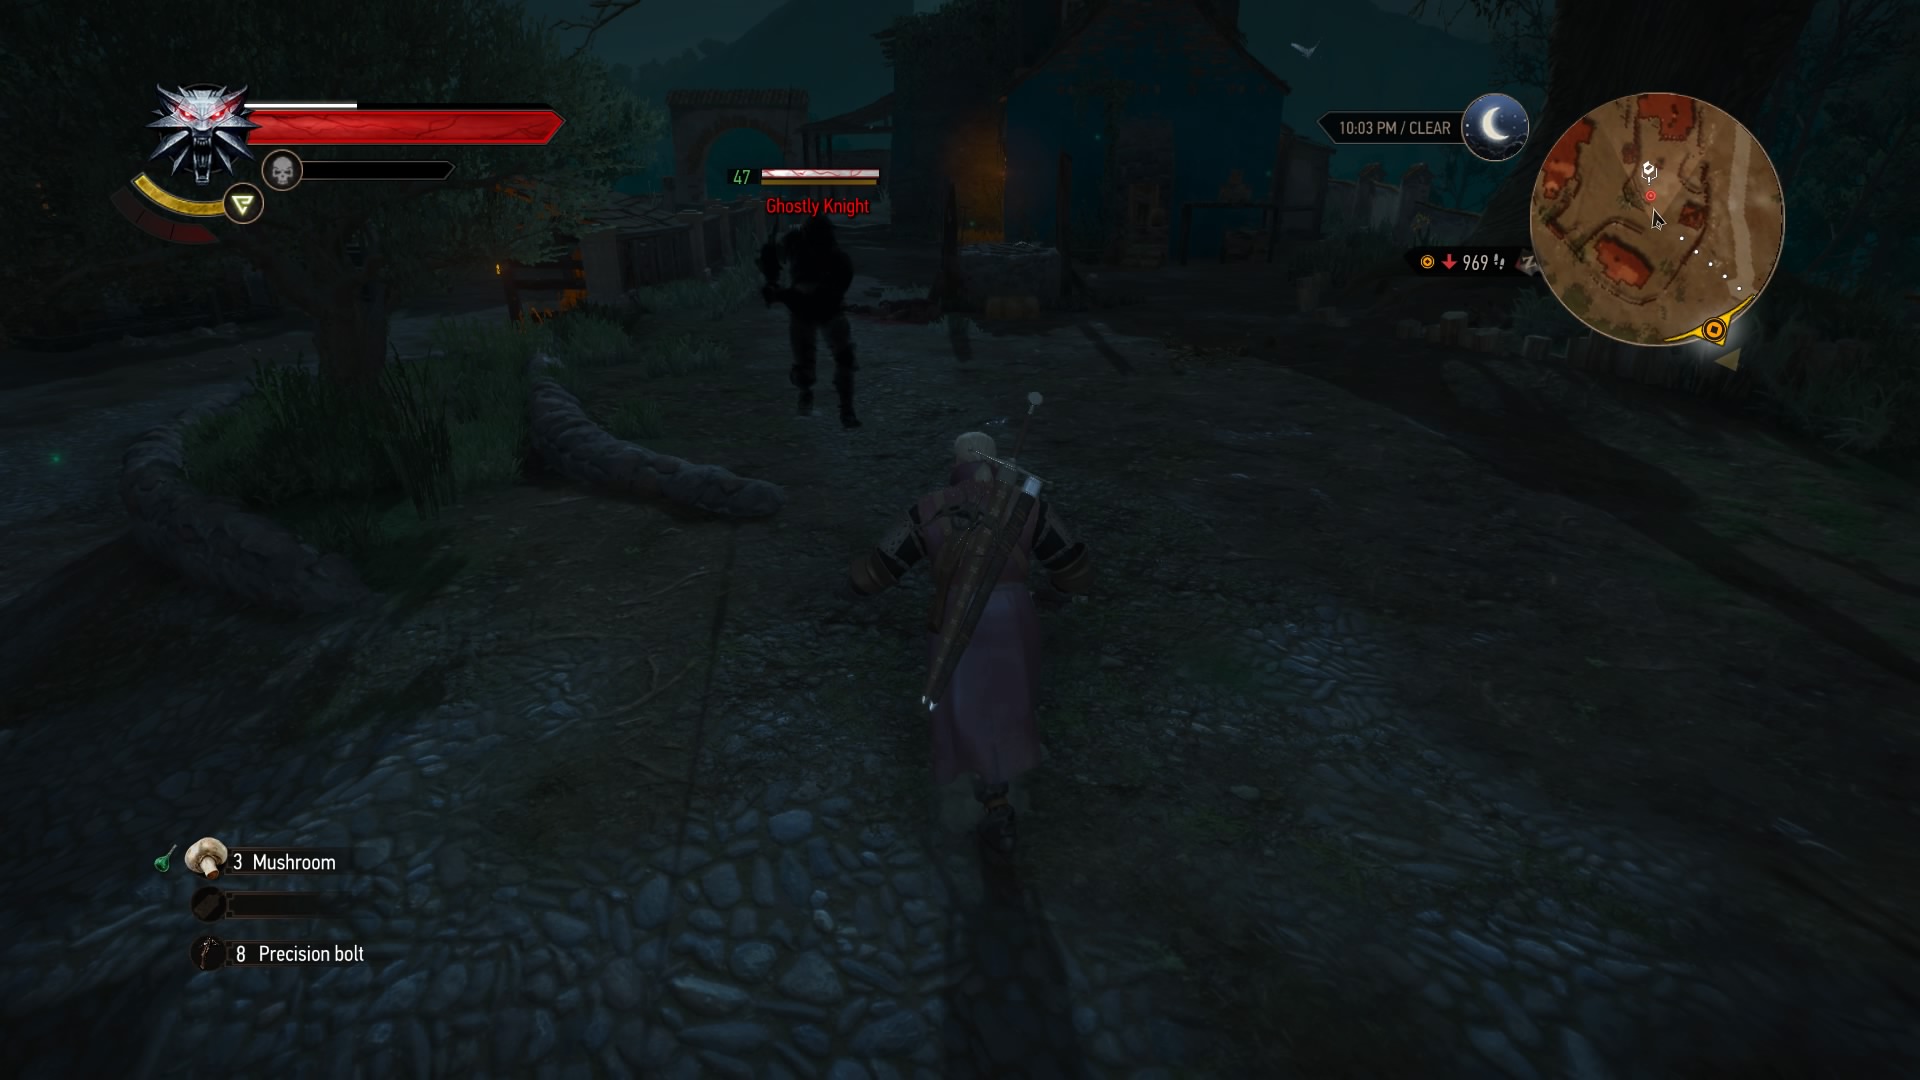
There’s an Undiscovered Location, a Hidden Treasure, east of Flovive at the Casteldaccia Abandoned Estate. Head there and search near the well for a corpse. Take out the ghostly knight that guards it, then search the body to find a note. Read it to learn of a stash hidden in the house. Go inside and climb into the attic, then look for a candle-switch on the wall you can pull. This will move the bookshelf, revealing the treasure.
Waiting for Goe and Doh
Suggested Level: 40 | Prerequisites: N/A
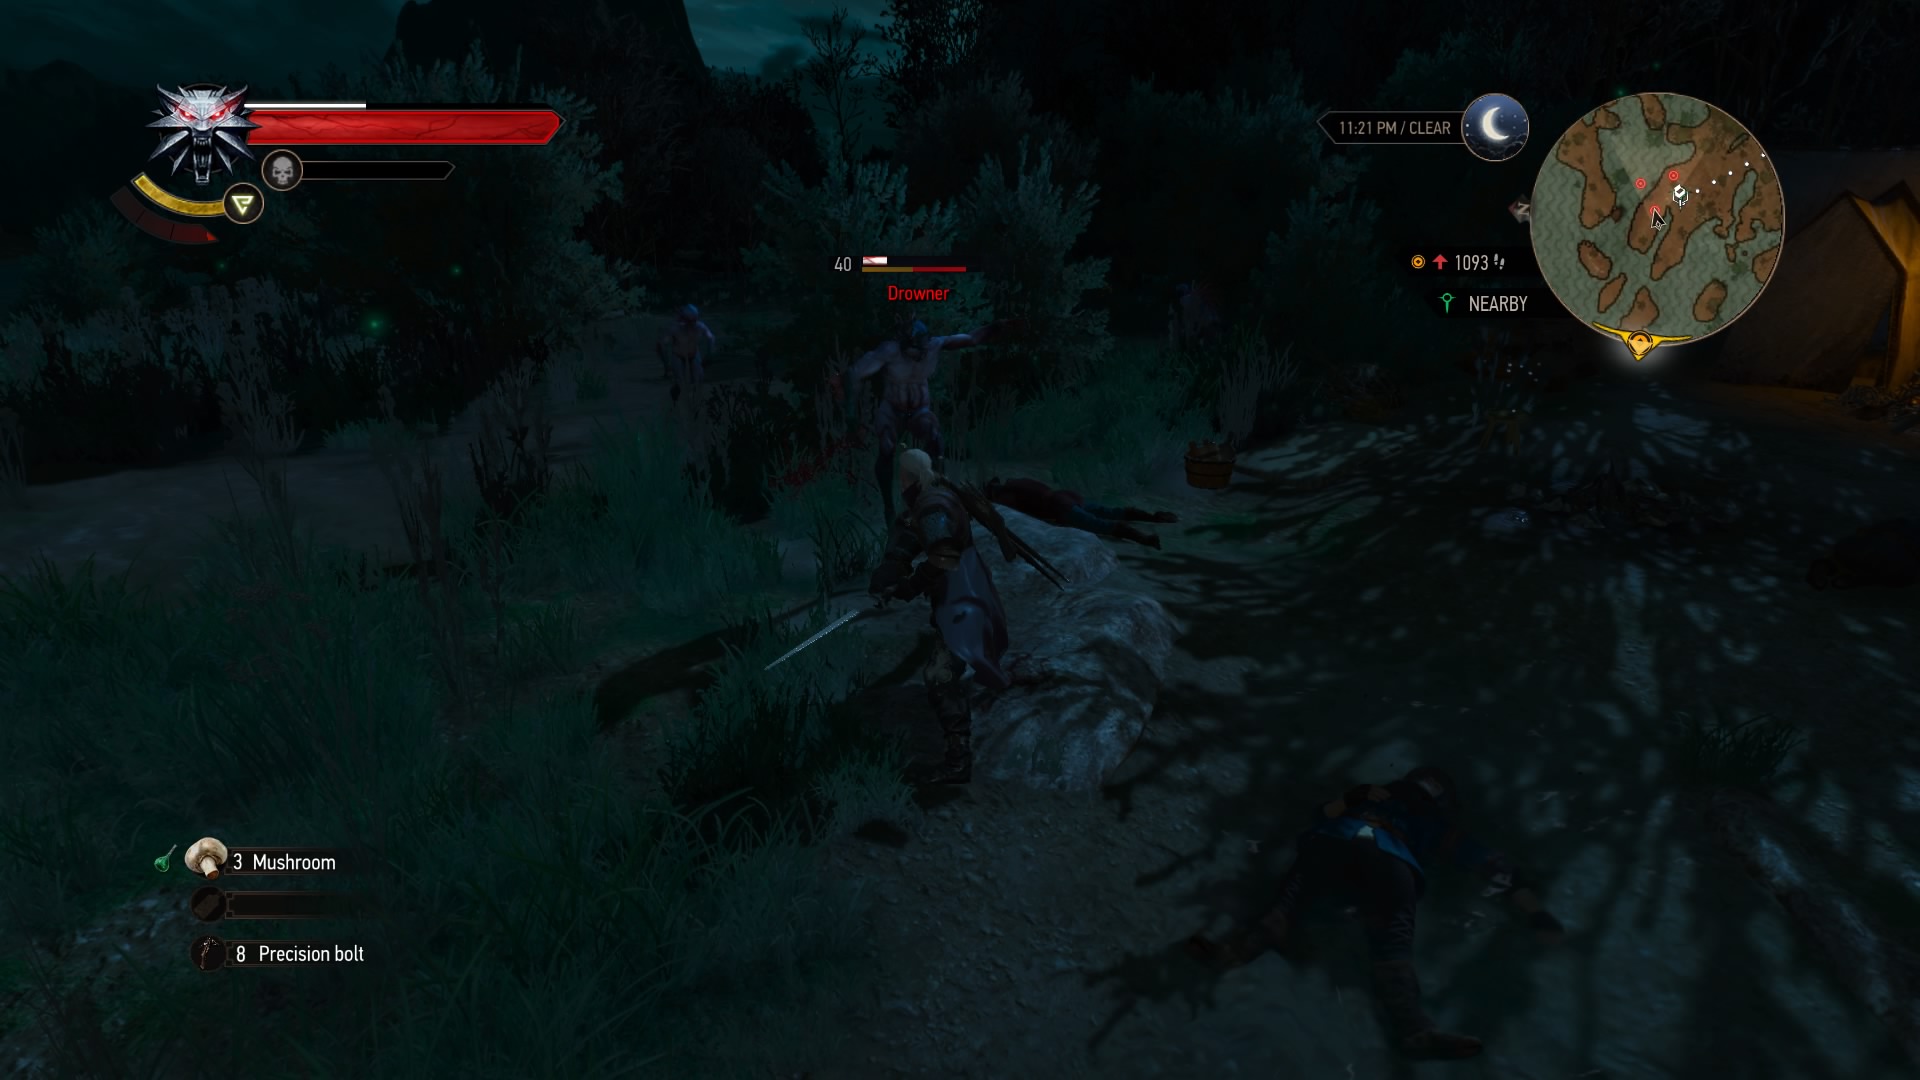
There’s another Hidden Treasure on the peninsula southeast of the Casteldaccia Abandoned Estate. Head there to fight a few drowners and find a corpse. Loot it for a letter, then read the letter to learn of treasure in the water inlet to the west. Dive in and use your Witcher senses to locate the good stuff beside a wrecked boat.
The Inconstant Gardner
Suggested Level: 37 | Prerequisites: N/A
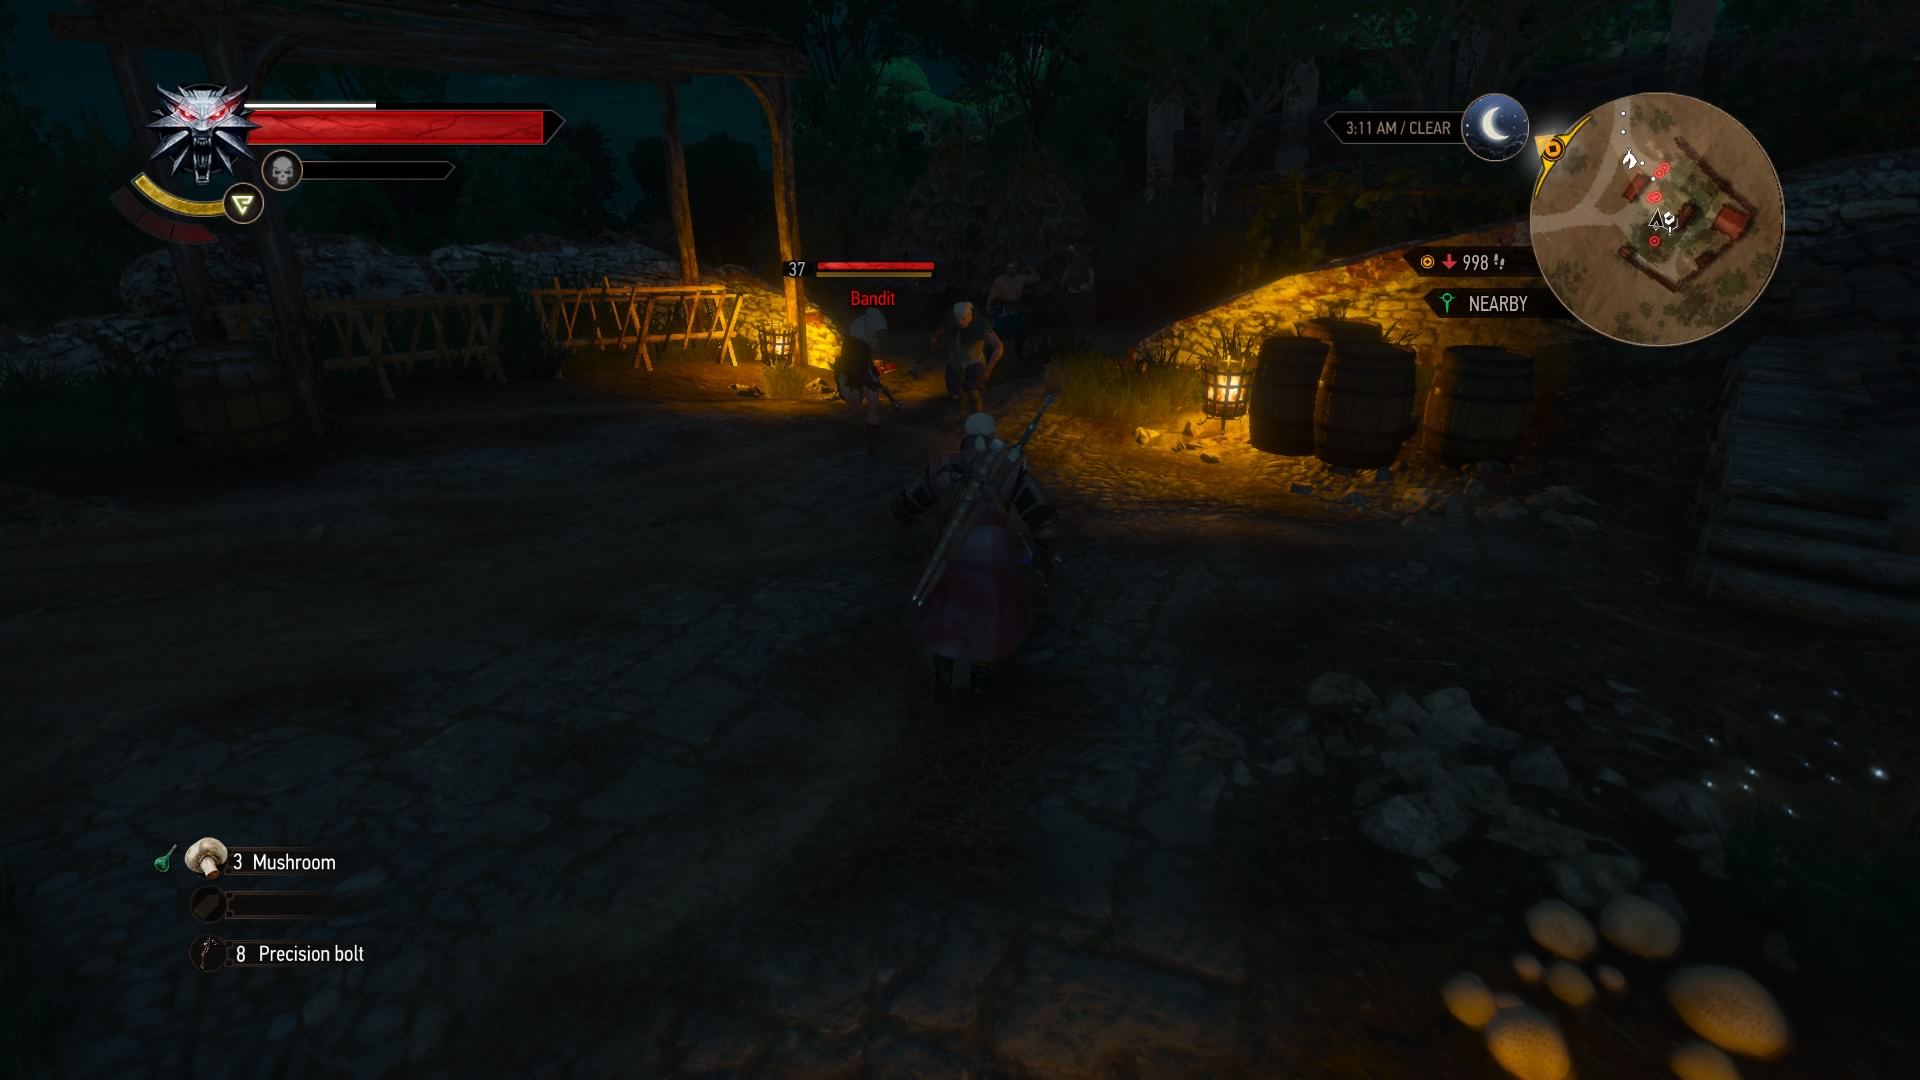
At the southern edge of the map, just southwest of Tesham Mutna Ruins, is one more Hidden Treasure. Take out the bandits and loot the corpse to find a note. Read it to learn of treasure in the vicinity, then check behind the nearby group of barrels to find it.
Equine Phantoms
Suggested Level: 44 | Prerequisites: N/A
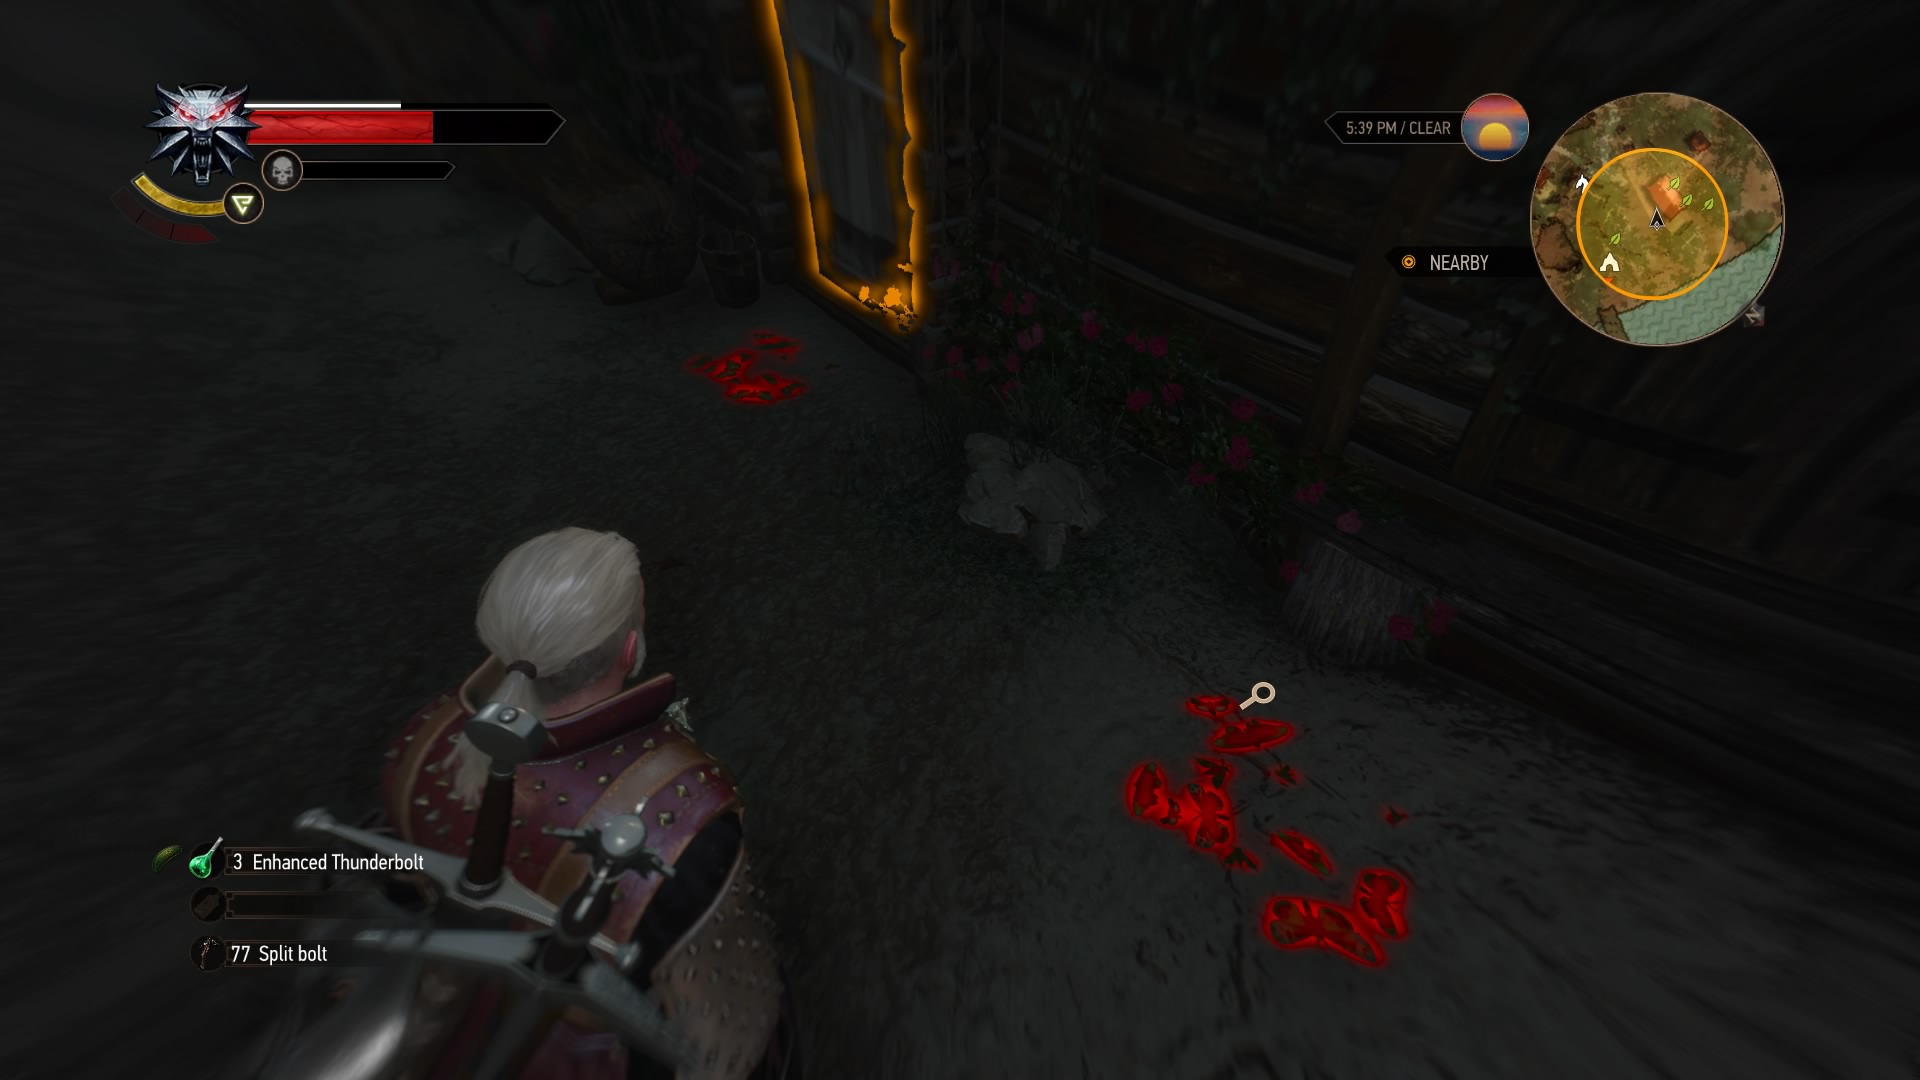
This quest appears as a “!” on your map, just northeast of the Dun Tynne Crossroads marker at Pinastri’s Hermitage. Speak to Pinastri to learn that some spirit has been tormenting her. Use your Witcher senses to find clues around and inside her hut; looks like a wraith is causing the trouble.
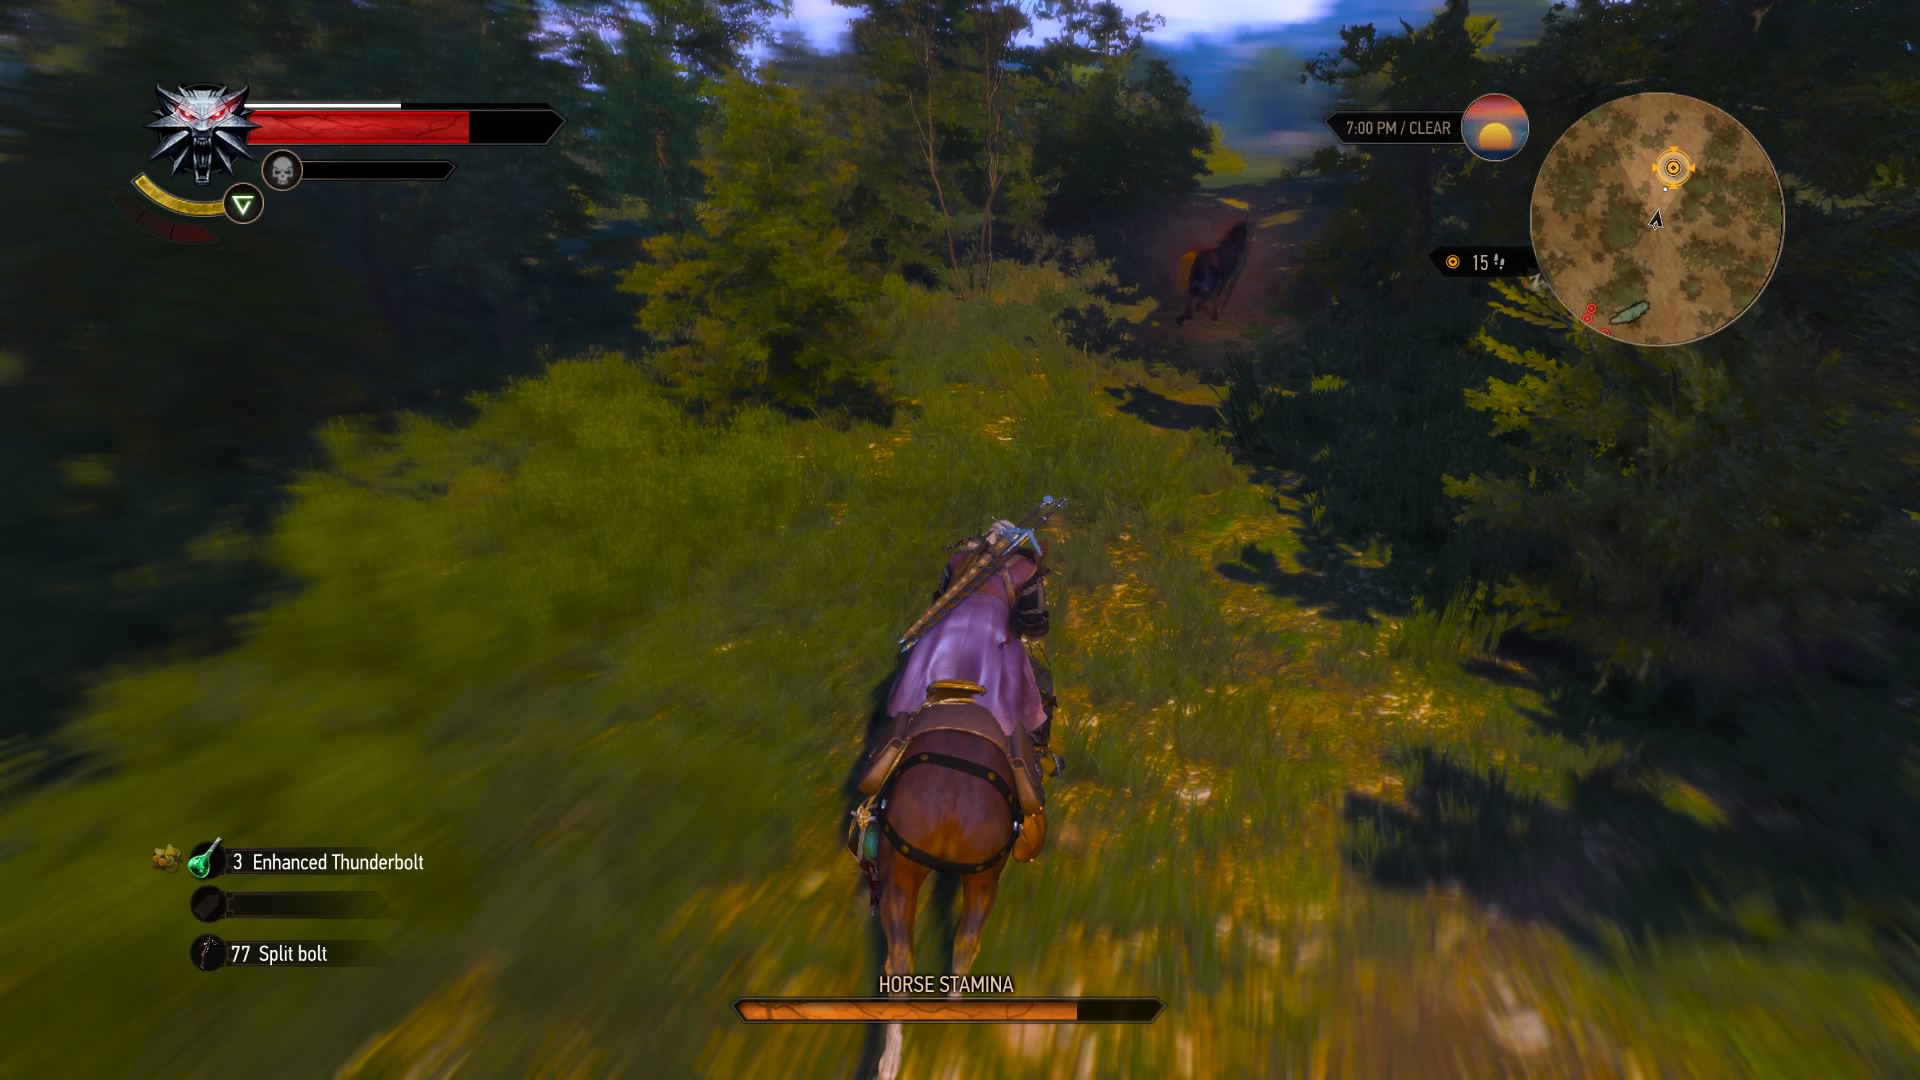
The second part of the quest involves Geralt downing the same strange brew that Pinastri drinks. Then… things get weird. After talking with Roach (yes, really), walk around with him for a bit while he looks for clues. When the wraith shows up – it’s an umbra in the form of a horse – hop in the saddle and start chasing. Ride until you reach the cemetery, and you’ll face a group of ethereal panthers that share a boss health bar.
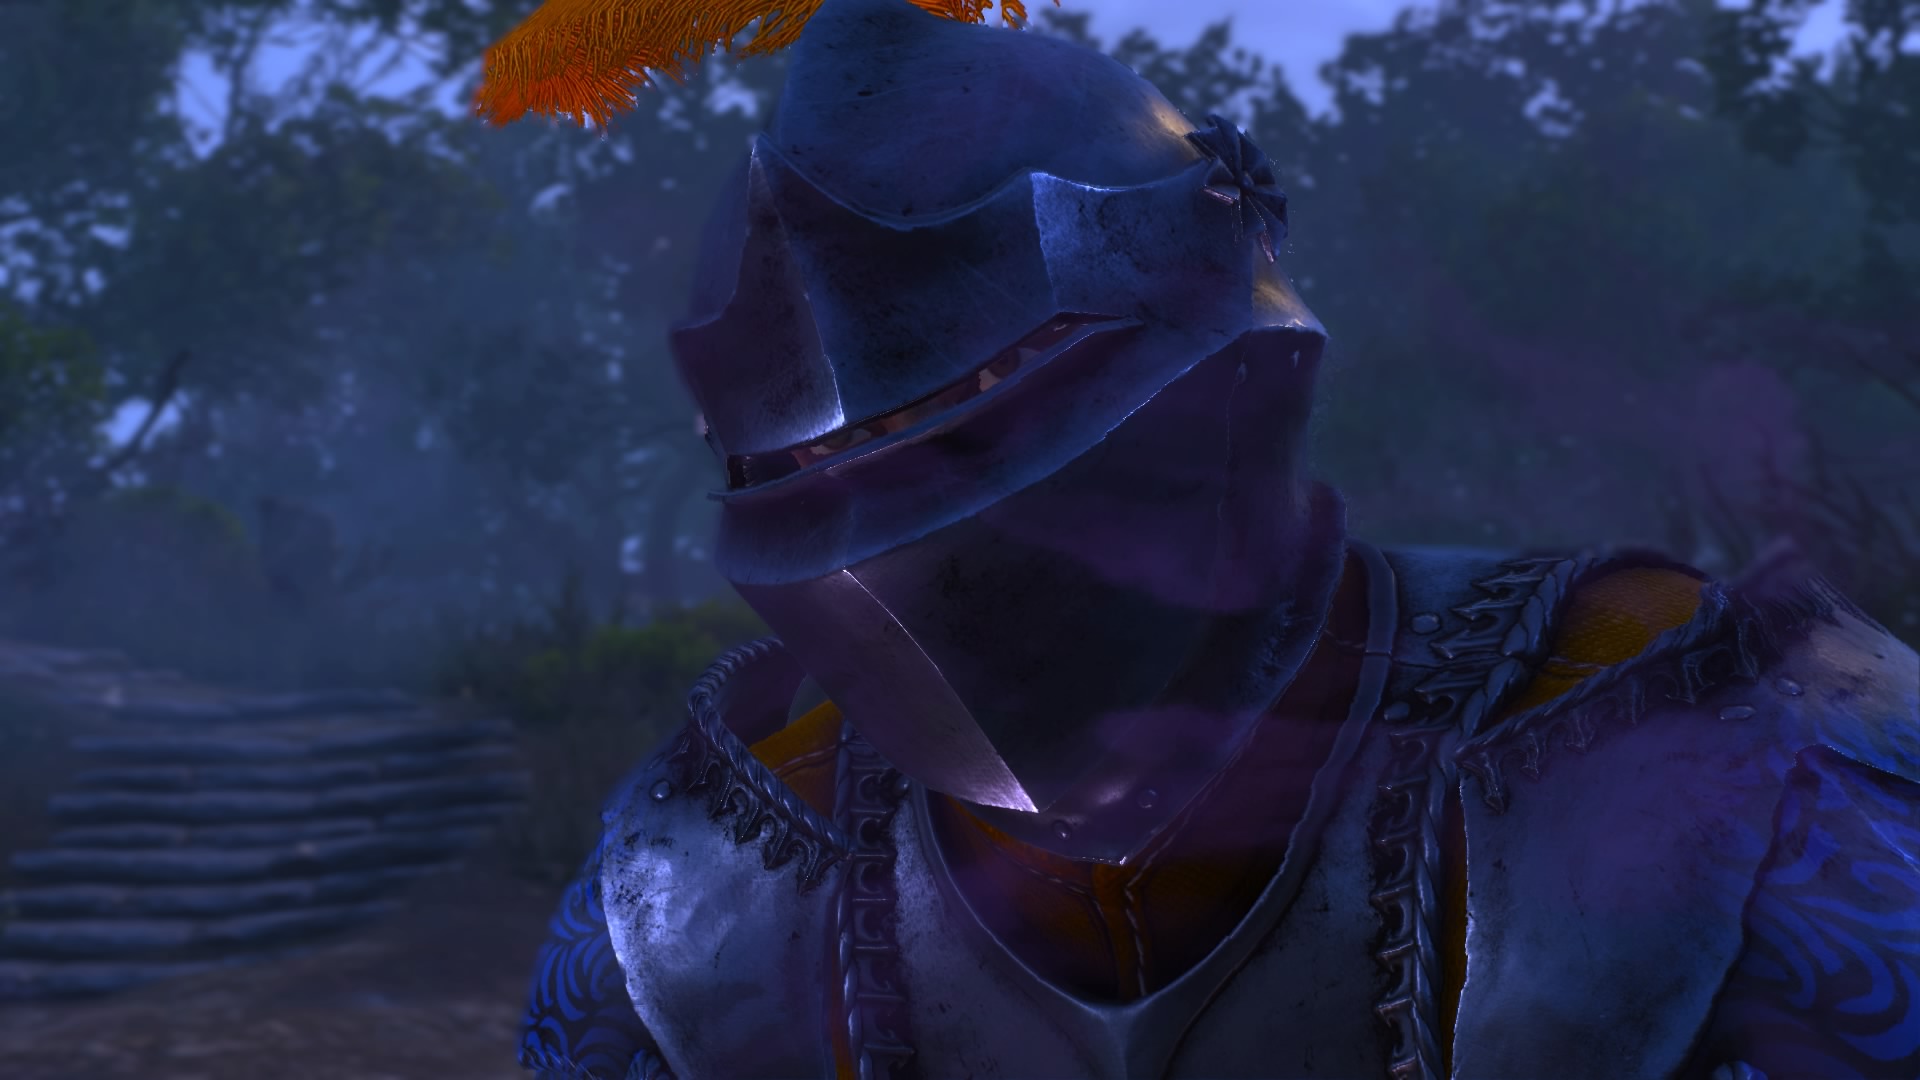
Take them out and examine the main tombstone to summon the true phantom. Turns out the ghost just wants forgiveness for what he did to his horse. You can show him that forgiveness, or take a more ruthless path. Return to Pinastri to complete the contract.
Extreme Cosplay
Suggested Level: 40 | Prerequisites: N/A
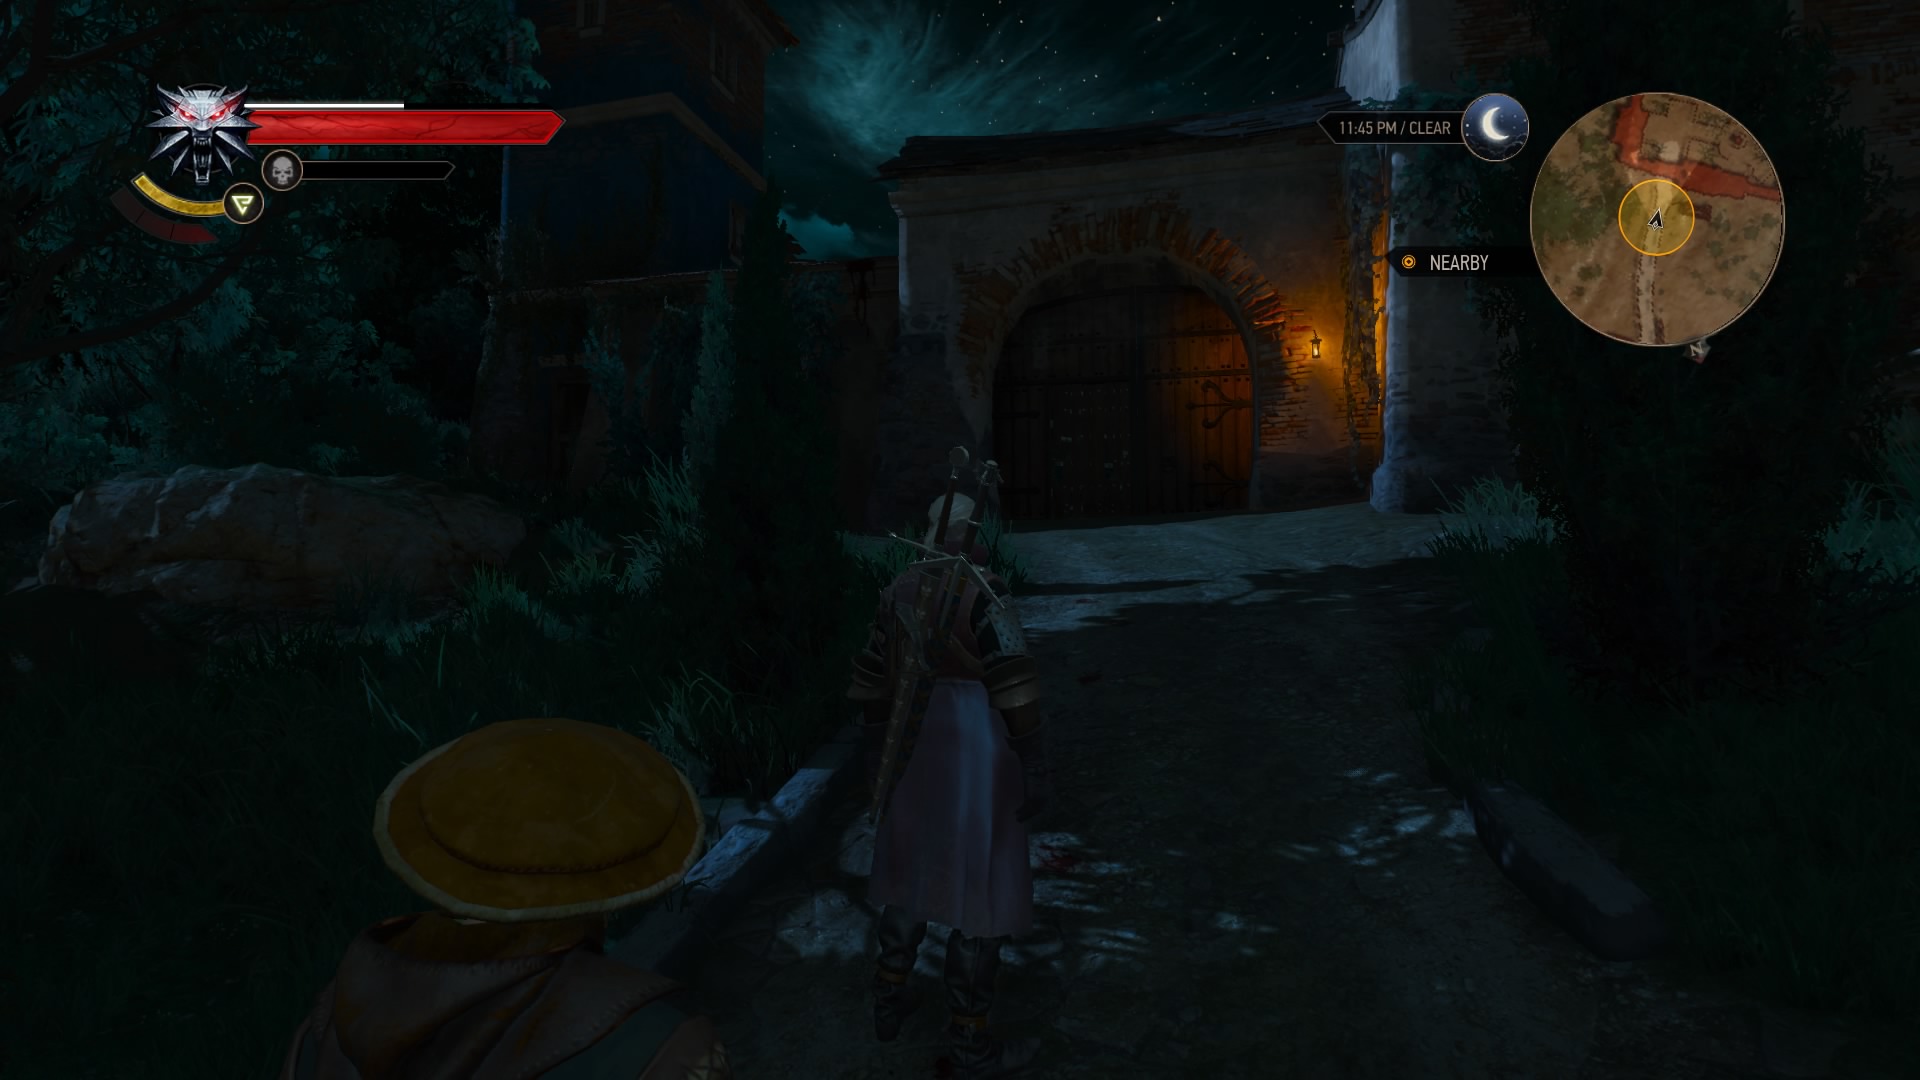
This quest also appears as a random “!” on the map, and it’s found northeast of Francollarts, outside the Doren Alma Estate. You’ll find a man tending another injured person. Speak to him, then agree to find out what happened here. Blow open the door at the gate, then head inside to find more dead bodies. Use your Witcher senses to analyze the many clues in the courtyard, and you’ll eventually find a scent trail.
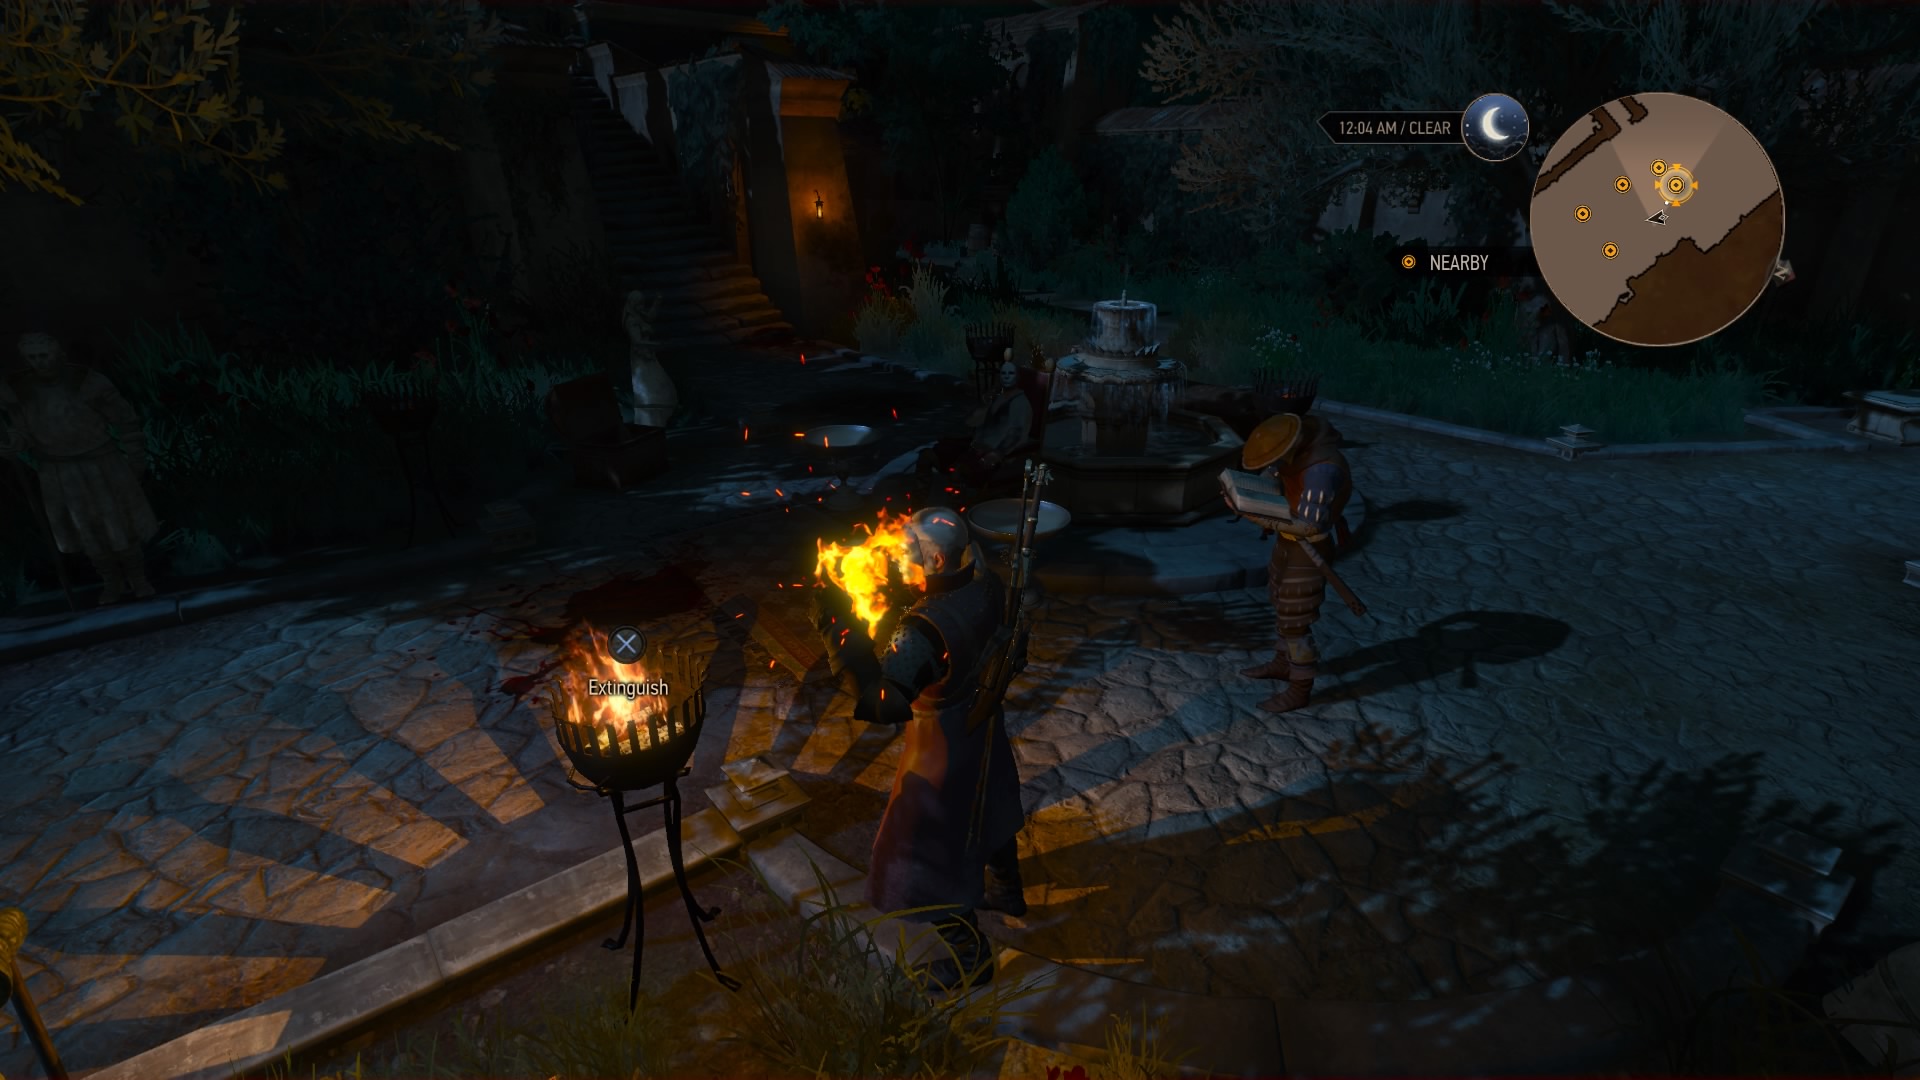
Follow the trail to reach a closed door. Knock, and a man covered in ashes will emerge. Turns out something bad was summoned when this guy and his friends were reenacting an old ritual. Time to do it again – you’ll need the guy who was tending the body outside if he’s not already accompanying you. Start by lighting the six braziers. Next, pick up the bread and wine from the nearby chest, and place them into the offering basins. Lastly, pick up the elven sword and shield. Equip them (the shield is a standard item), then kneel on the mat.
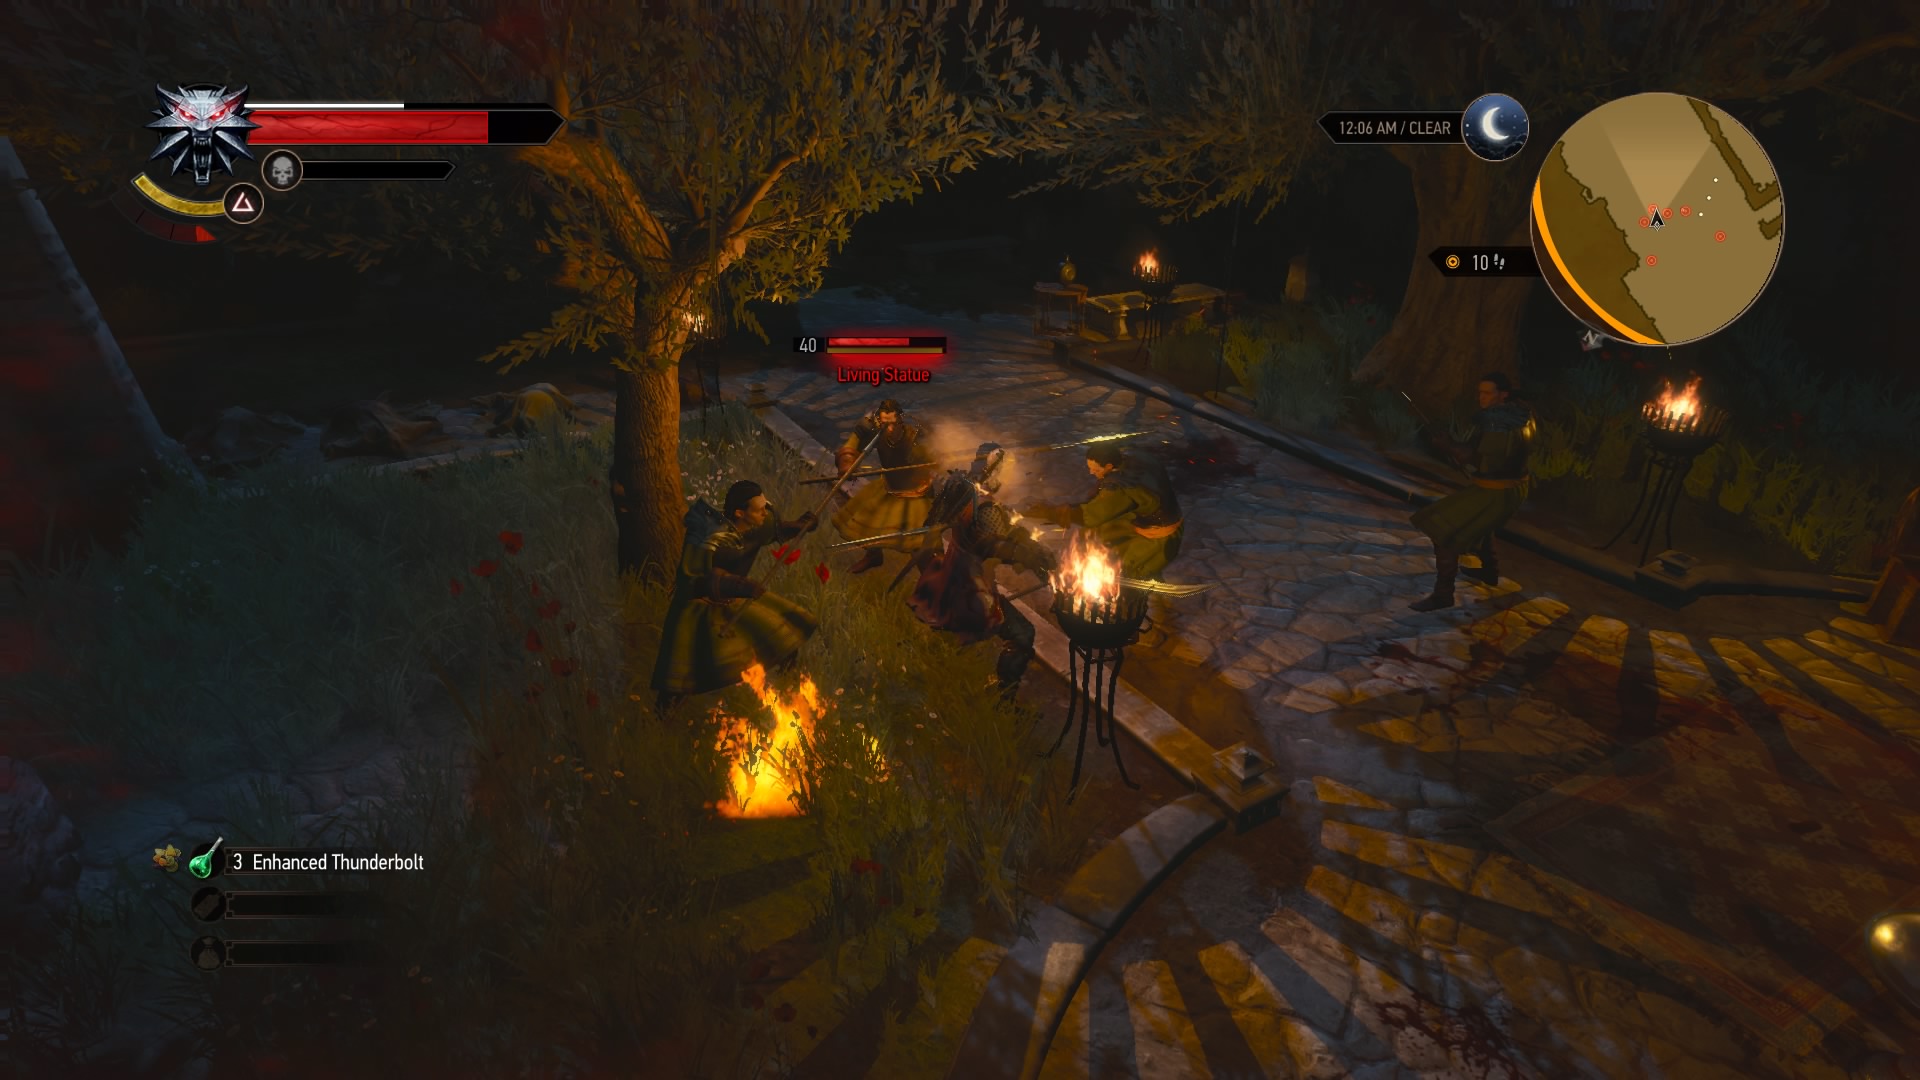
This ritual brings the statues in the courtyard to life. It’s time for a fight. Watch out, as two of the statues are heavy damage-dealing mages; you should probably take them out first. Once you’ve killed the whole gang, you’ll get a nice reward and finish the quest.
Big Feet to Fill: The First Group
Suggested Level: 46 | Prerequisites: N/A
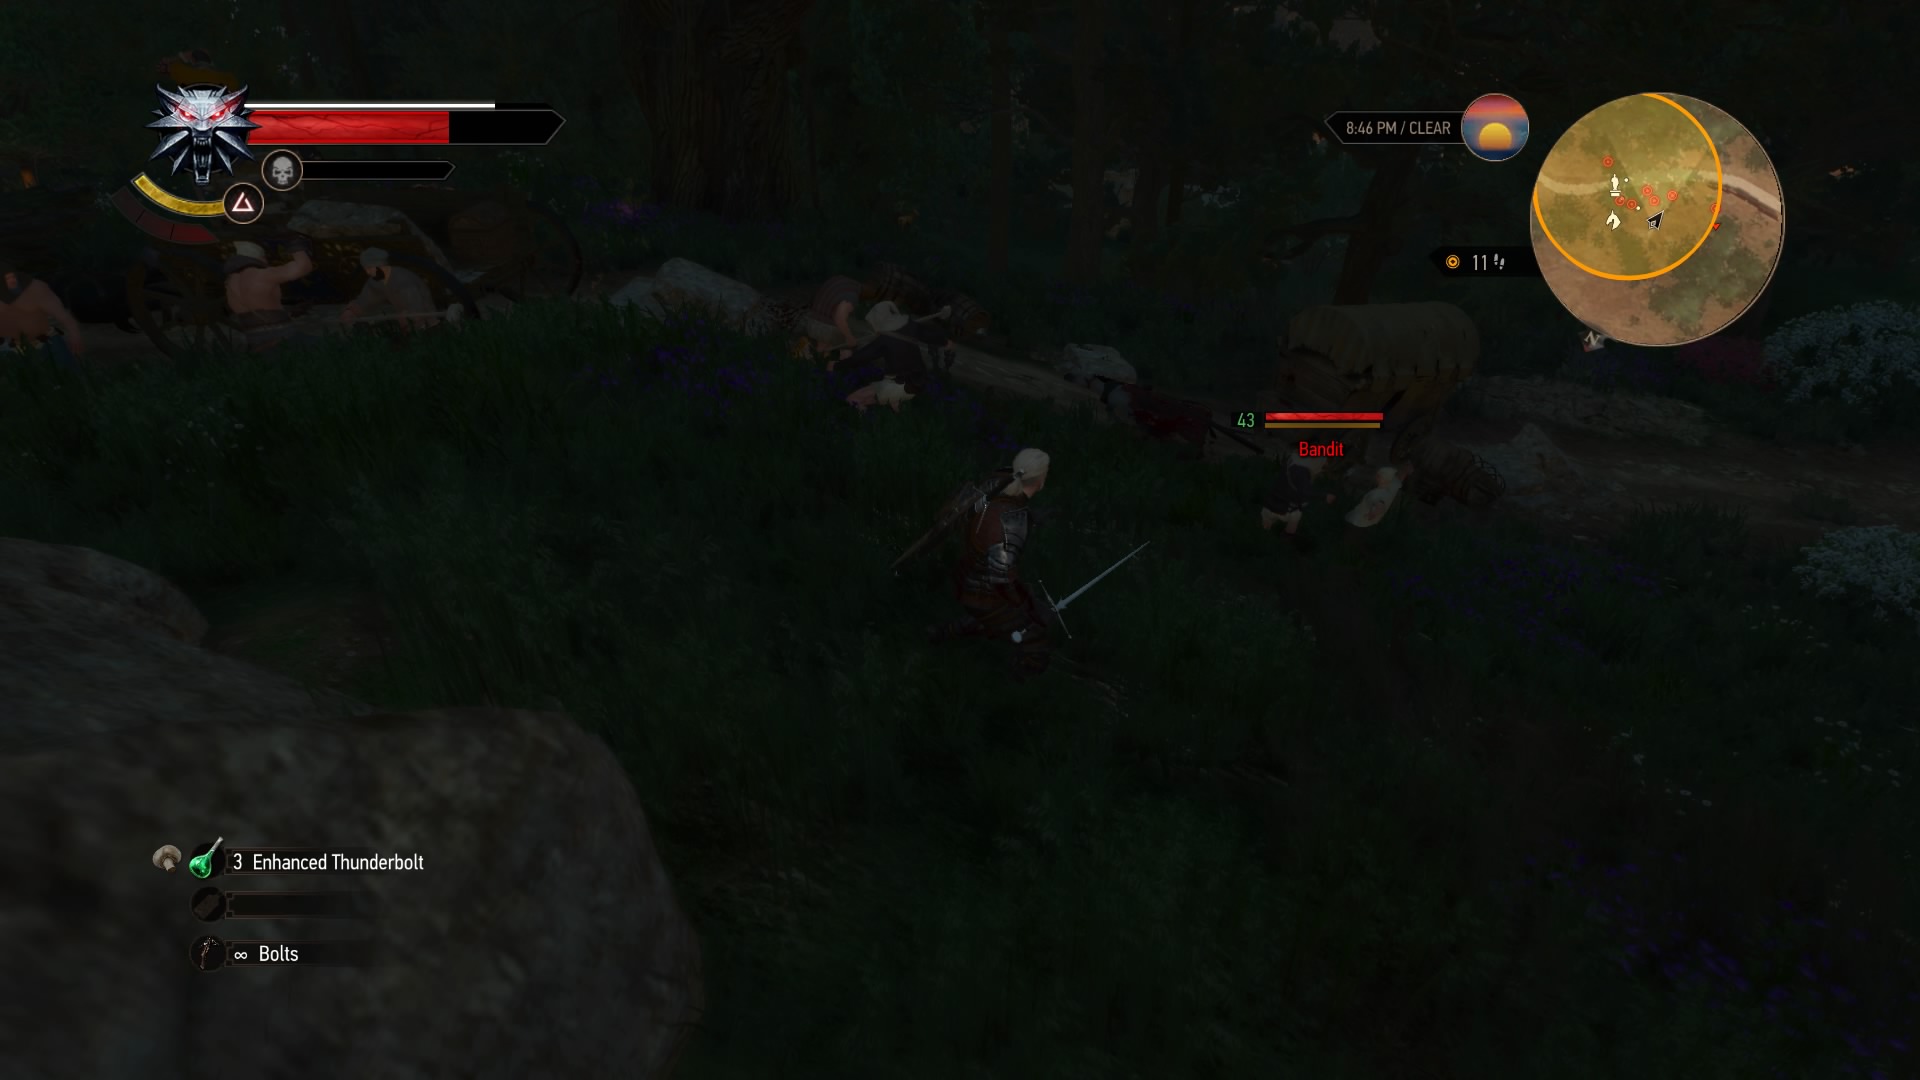
Scattered around the map are various spots labeled “The Prophet Lebioda’s Footsteps” – they’re initially marked as Undiscovered Locations. Each spot initiates a different quest involving the workers there. You’ll find the first one along the road northeast of Fox Hollow, where the build crew is beset by bandits. Fight them off to check this quest off your list.
Big Feet to Fill: The Second Group
Suggested Level: 46 | Prerequisites: N/A
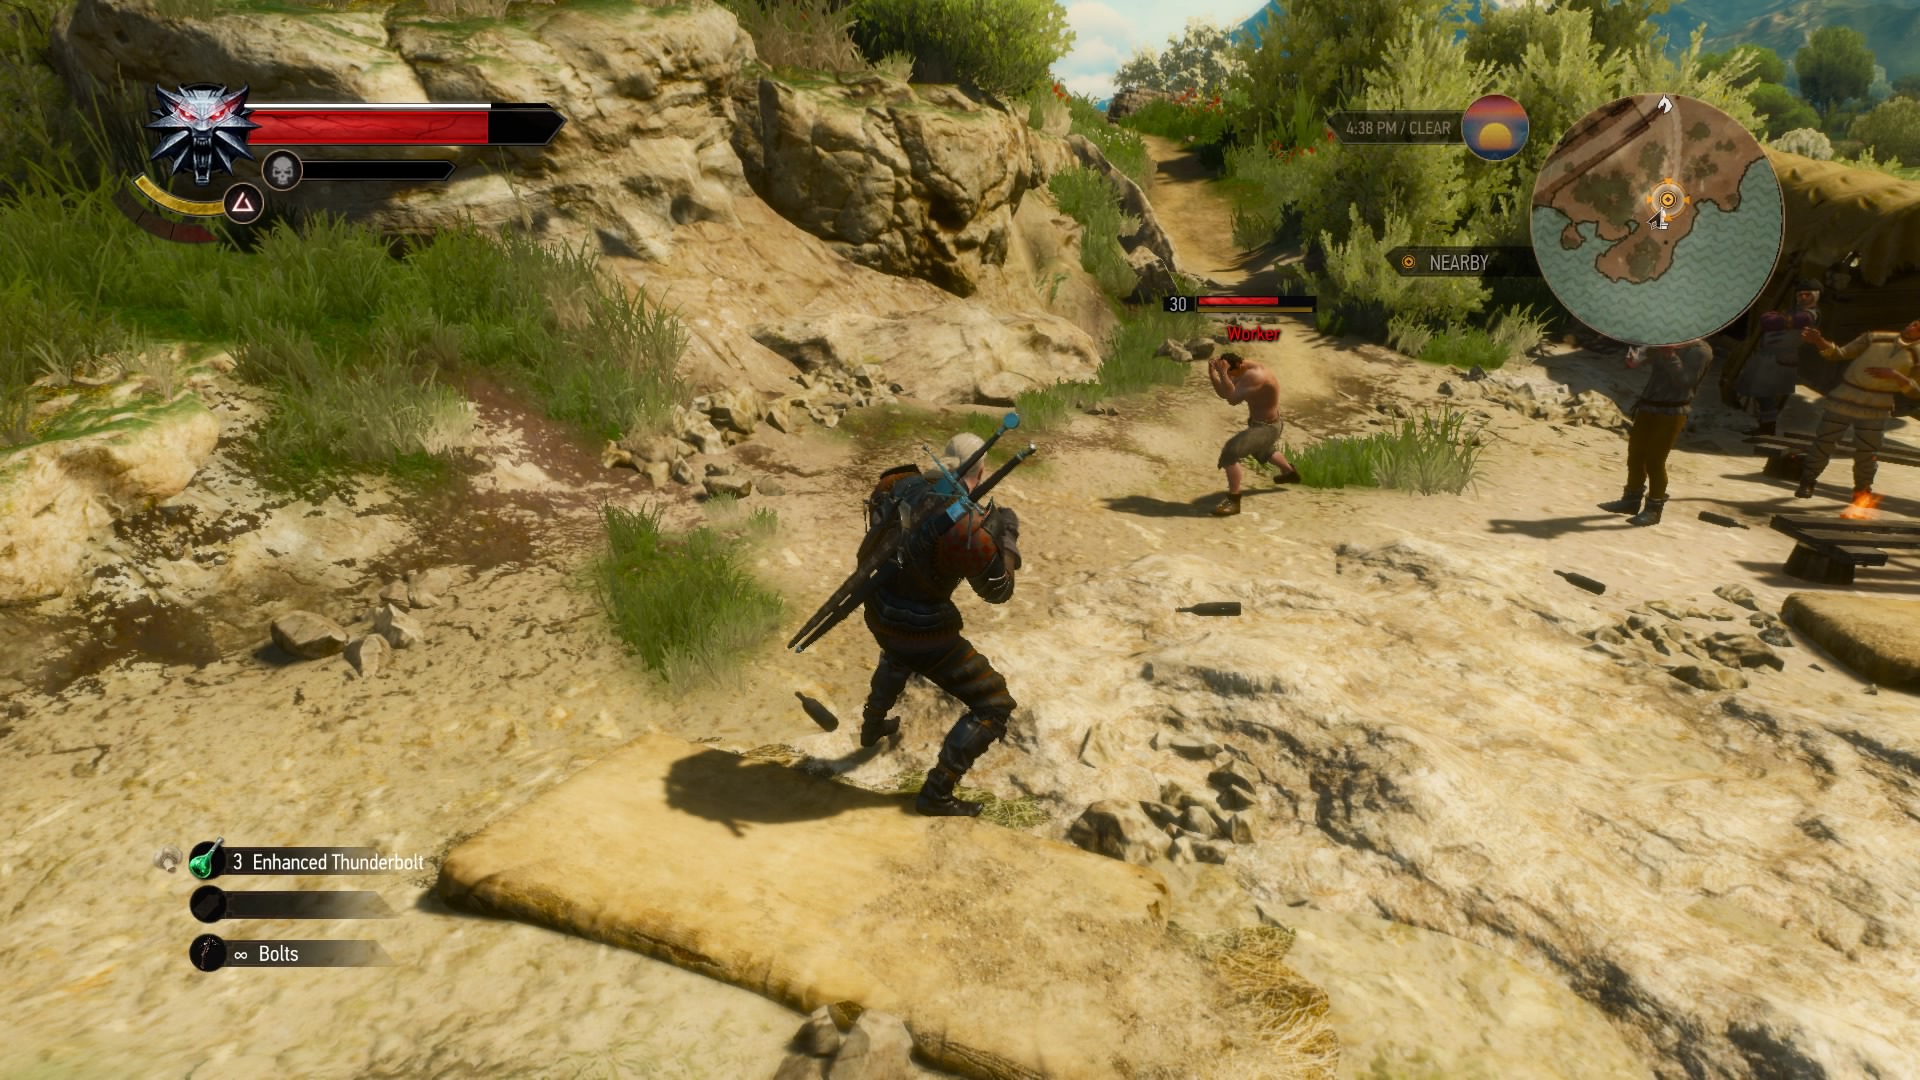
The second Prophet Lebioda spot is directly across Plegmund’s Bridge from the fast travel marker. Talk to the workers there, and a drunk one will leap up to fight you. Take him out, then beat down the second one that stands up. That’ll wrap up this quick quest.
Big Feet to Fill: The Third Group
Suggested Level: 46 | Prerequisites: N/A
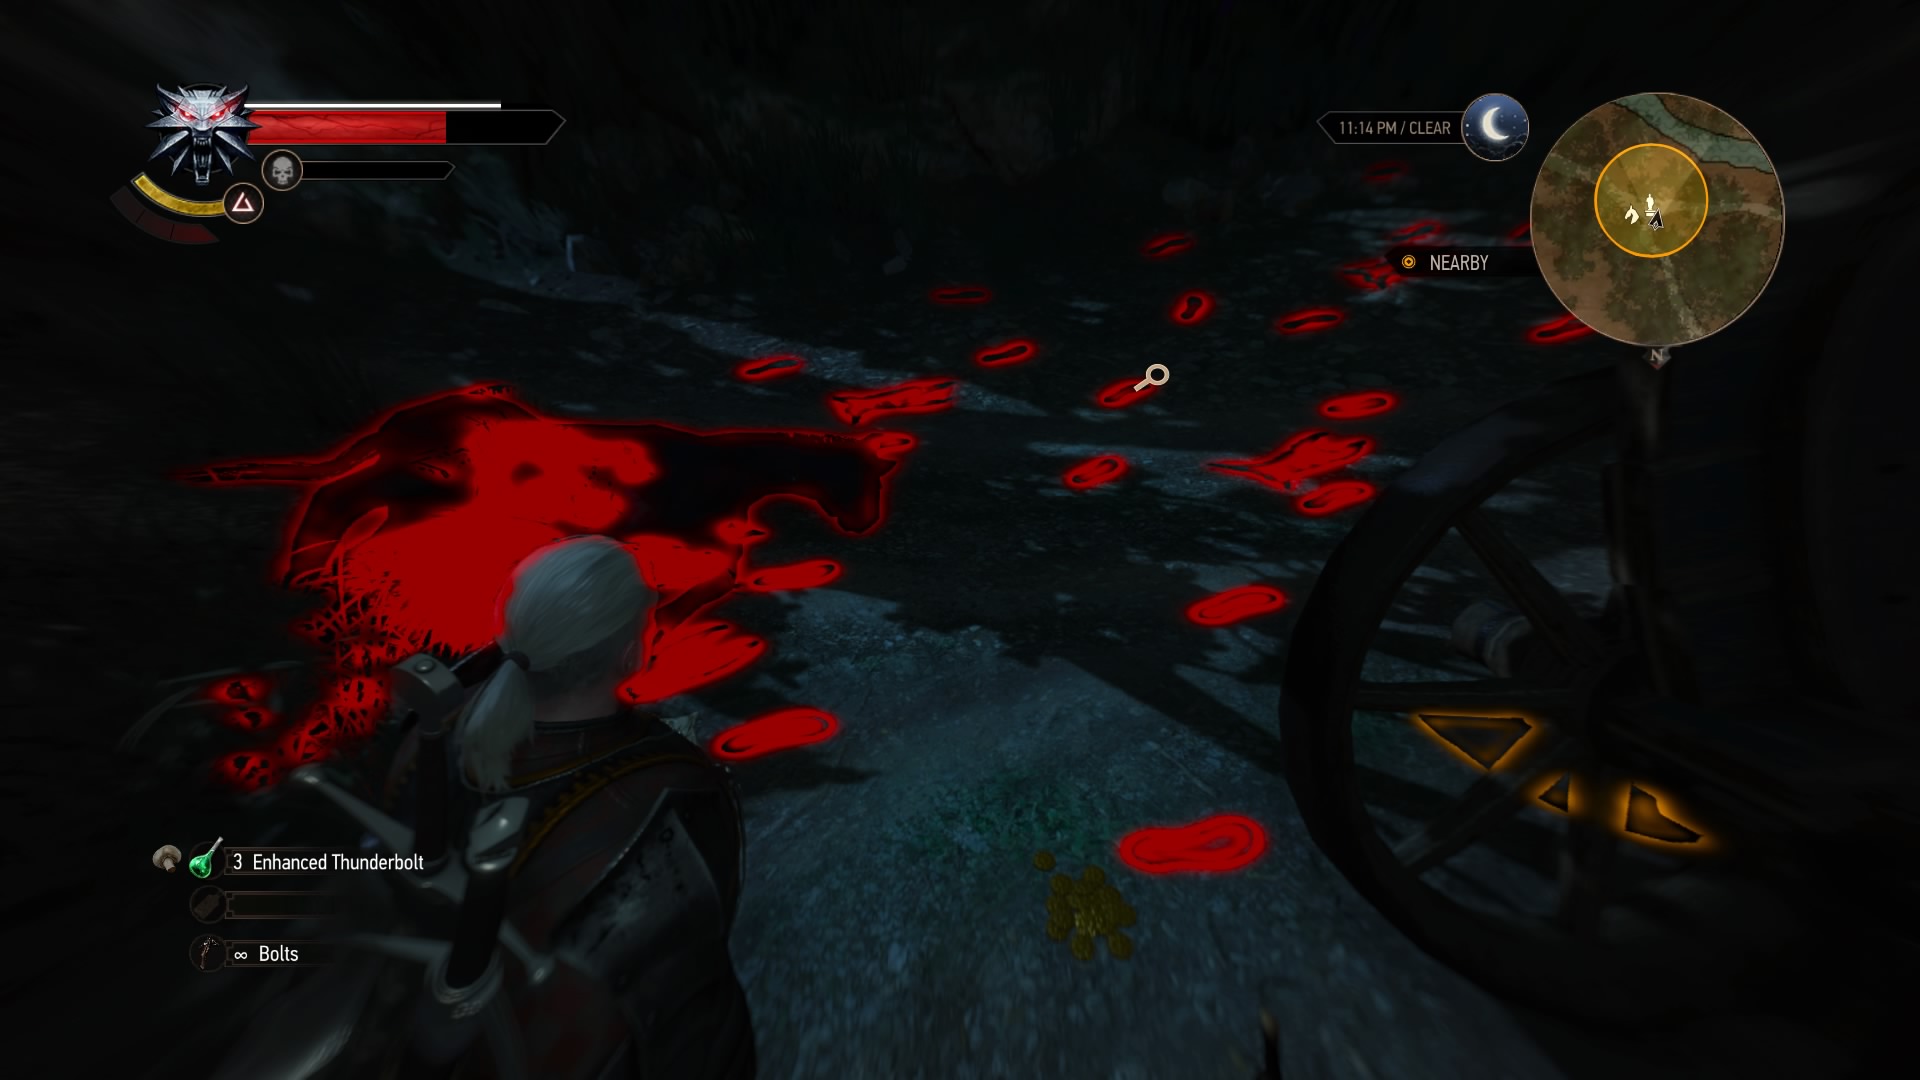
The third Prophet Lebioda spot is on the peninsula immediately north of the Castel Ravello Vineyard. Head there to find abandoned carts and a bunch of footprints; use your Witcher senses to track them. You’ll encounter a spriggan at the end of the trail. Take it down, then examine the nearby den to find the workers who fled.
Big Feet to Fill: The Fourth Group
Suggested Level: 46 | Prerequisites: N/A
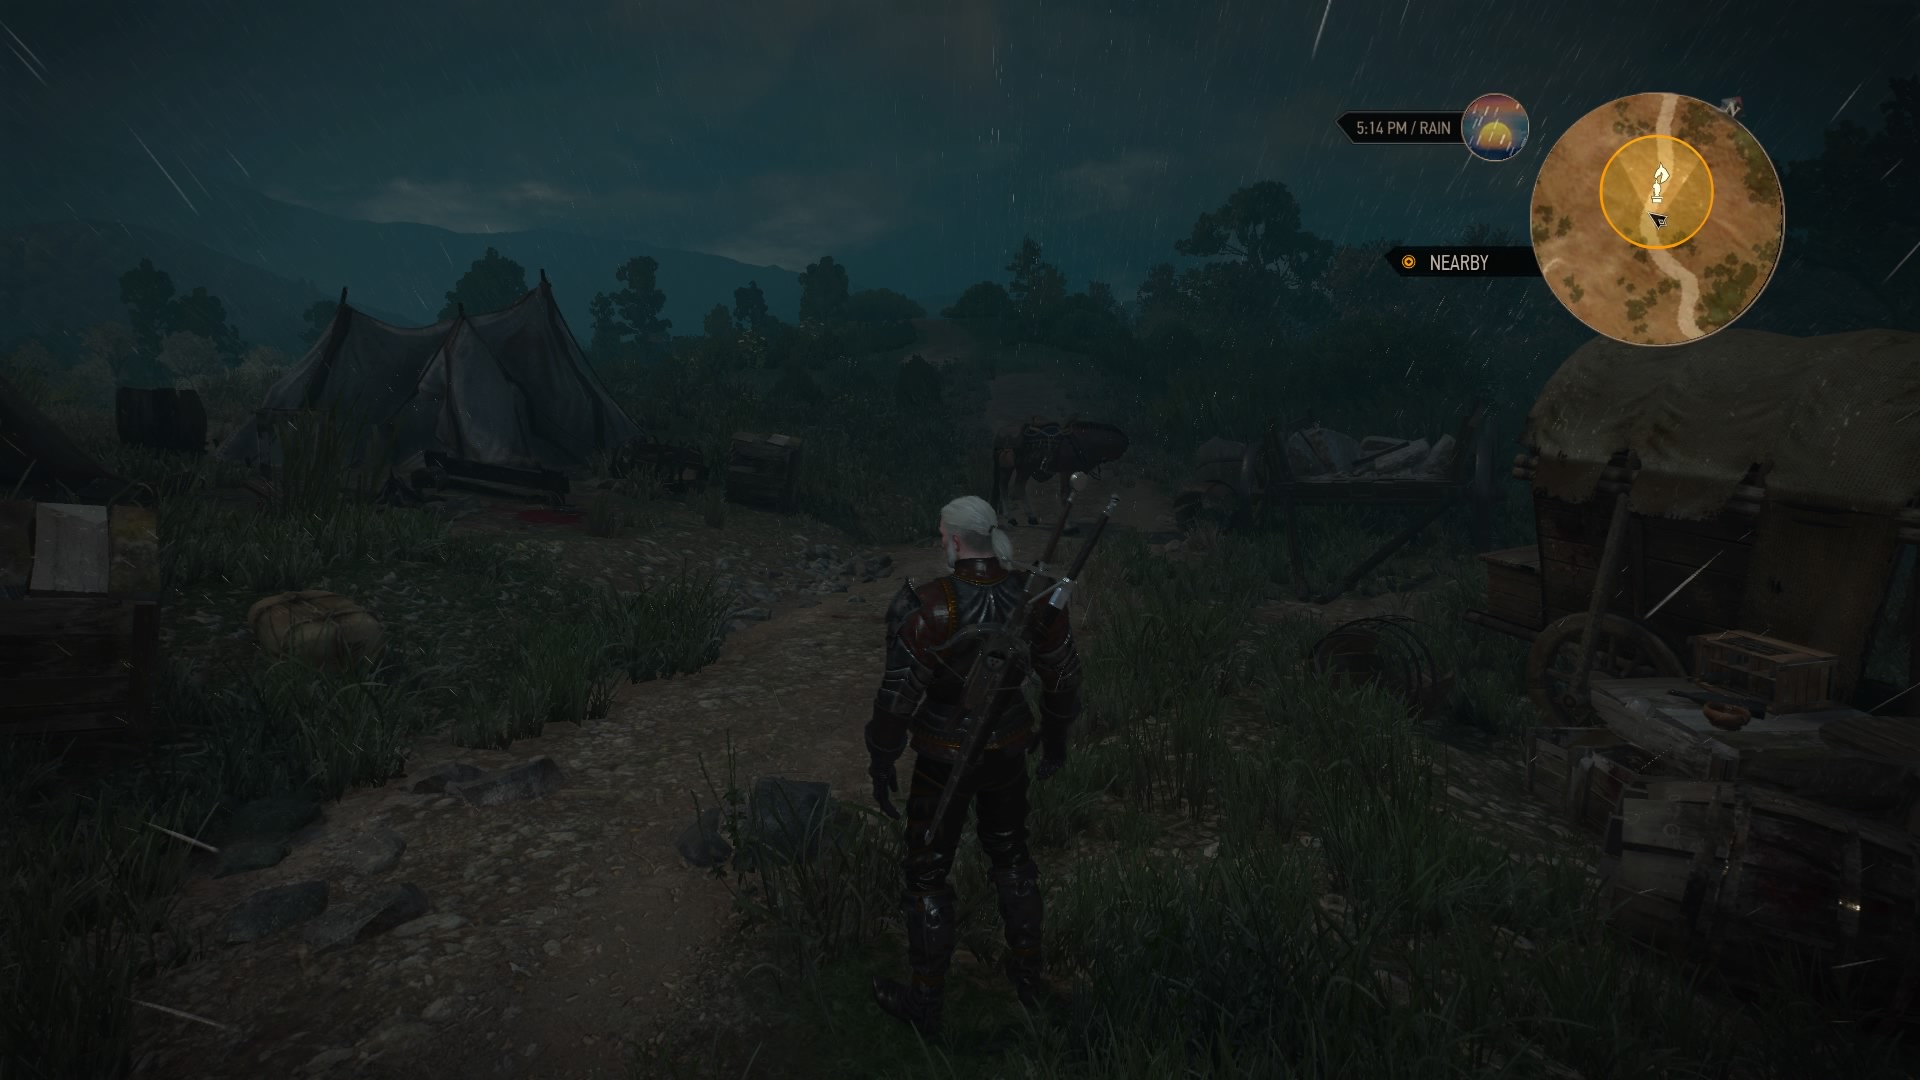
The fourth Prophet Lebioda spot is on the road southeast from the Silver Salamander Inn. Search the abandoned camp to find a bloodstain and some tracks. Follow those down to the marsh, and you’ll encounter some kikimores. Take them out, then turn to their batch of eggs. Use Igni to burn these away, and you’ll find the bodies of the workers under them. Not a happy ending to this one.
Big Feet to Fill: The Fifth Group
Suggested Level: 46 | Prerequisites: N/A
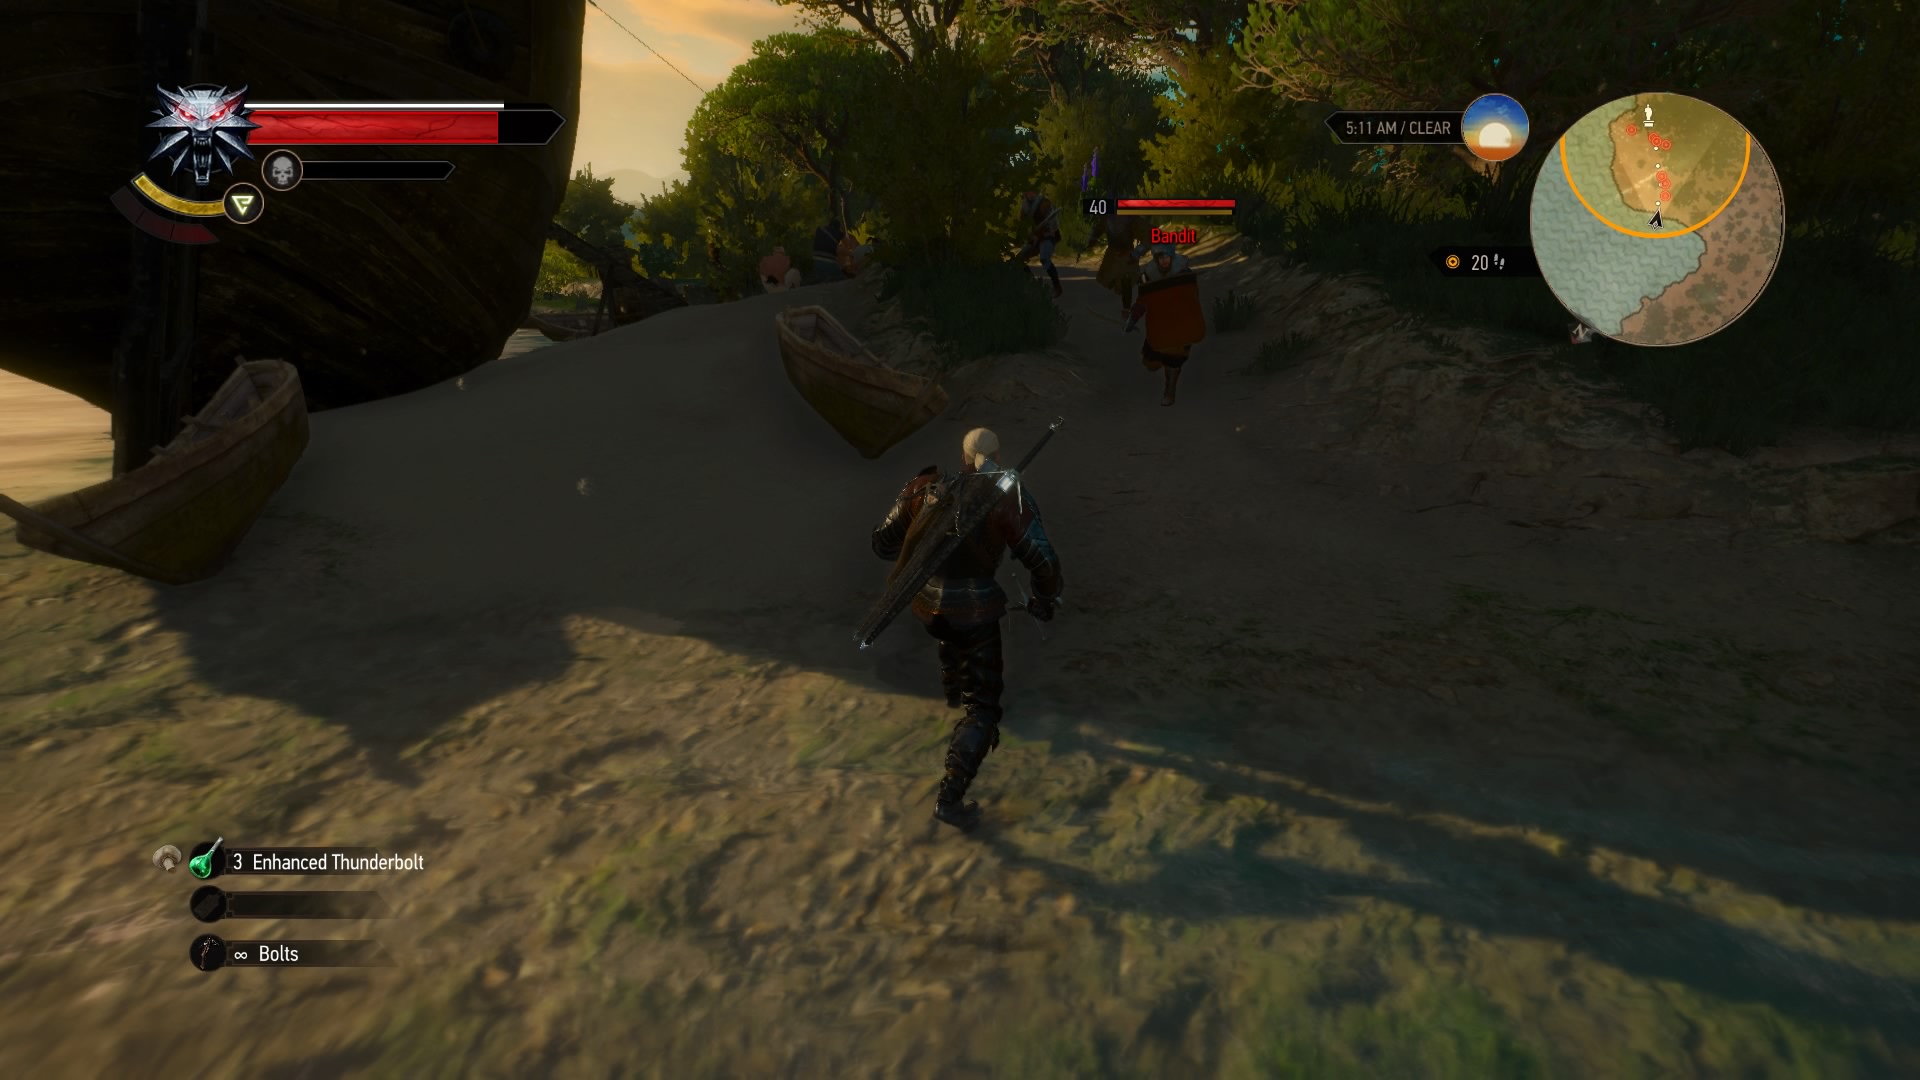
The second-to-last Prophet Lebioda spot is across the bay south of the Silver Salamander Inn. The group of workers here is being held hostage by bandits. Take out the thugs and free the workers to wrap this one up.
The Words of the Prophets Are Written on the Sarcophagi
Suggested Level: 40 | Prerequisites: N/A
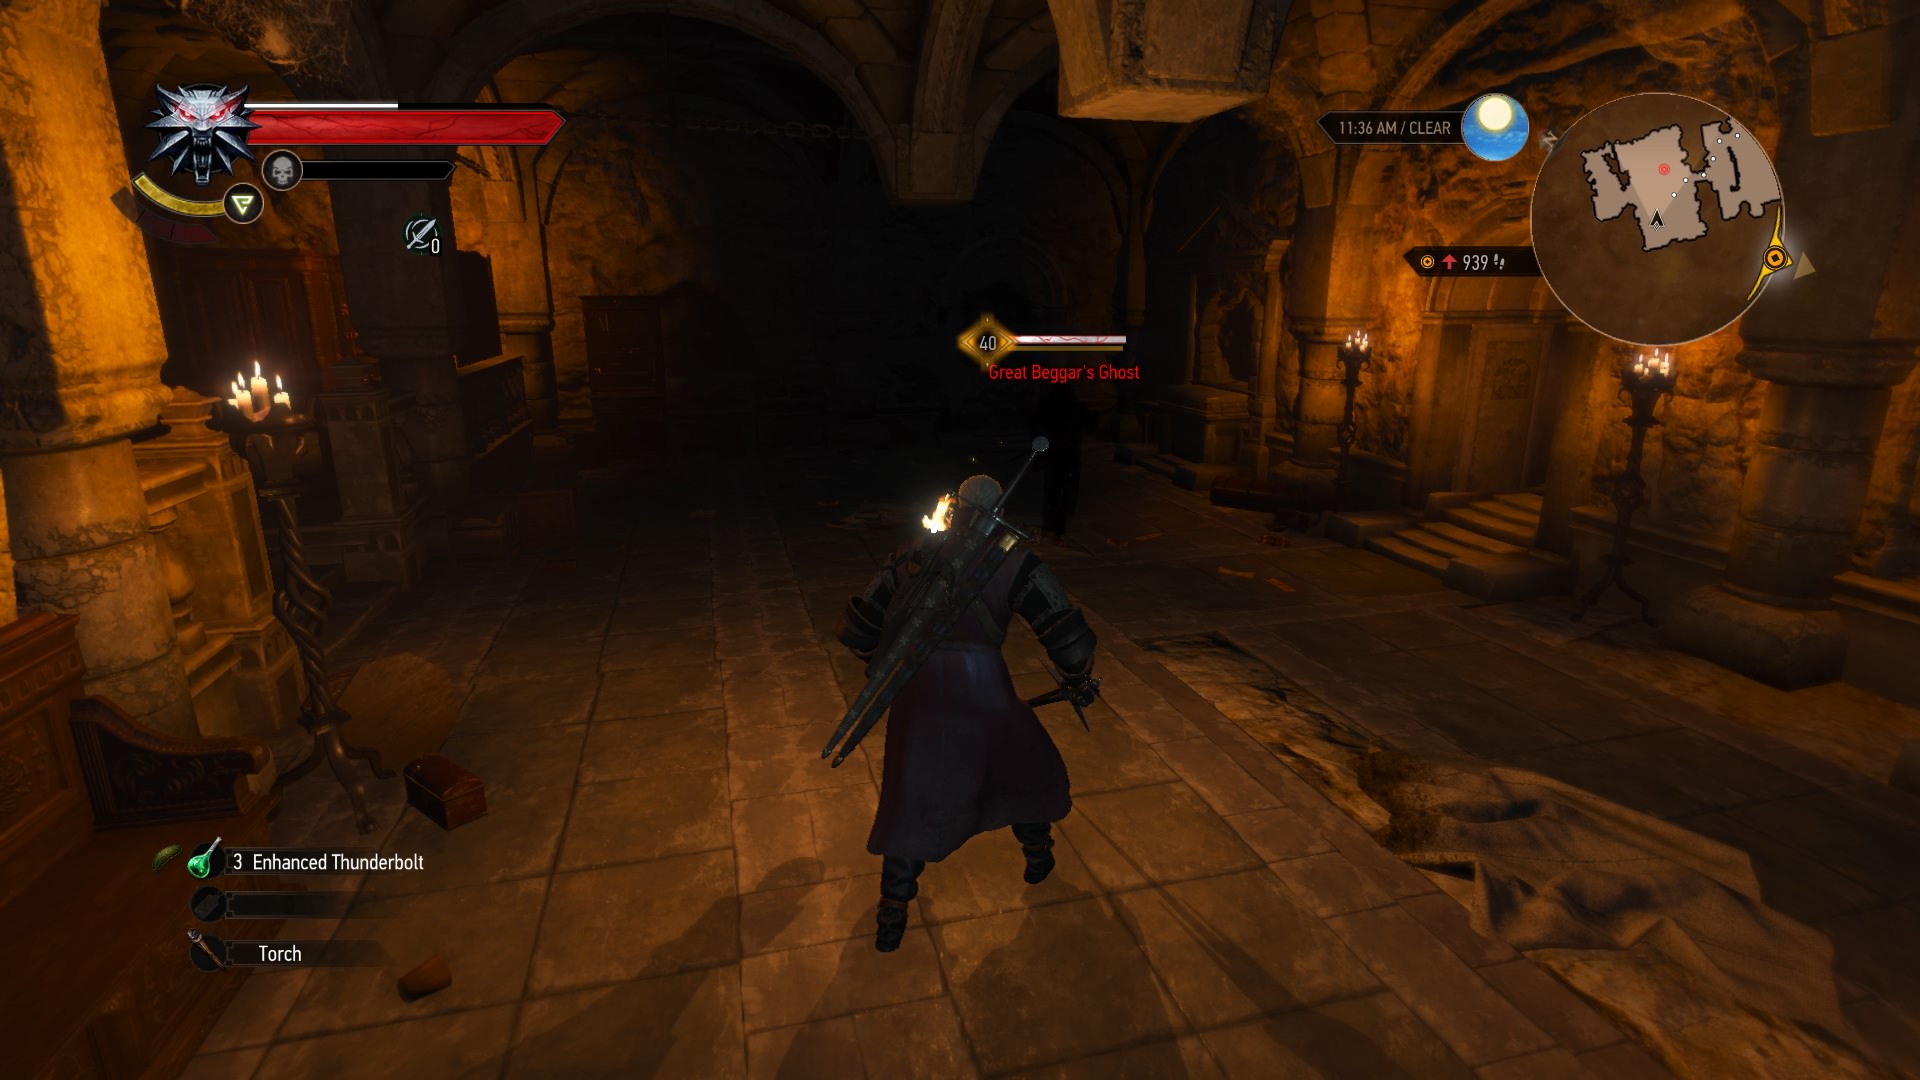
Head to the abandoned monument just west of the Prophet Lebioda statue. Inside, there’s a wall you can blow away with Aard, and behind it, you’ll find a special ghost. This will respawn each time you revisit the monument unless you do this quest. Kill the ghost and check the skeleton next to him for some bones, then place these in the sarcophagus in the previous chamber. That’s it.
Current page: Witcher 3 Blood and Wine side quests
Prev Page Witcher 3 Hearts of Stone side quests
Tony lives in Maryland, where he writes about those good old-fashioned video games for GamesRadar+. His words have also appeared on GameSpot and G4, but he currently works for Framework Video, and runs Dungeons and Dragons streams.

 Join The Community


