The Legend of Zelda: A Link Between Worlds complete walkthrough
To Skull Woods

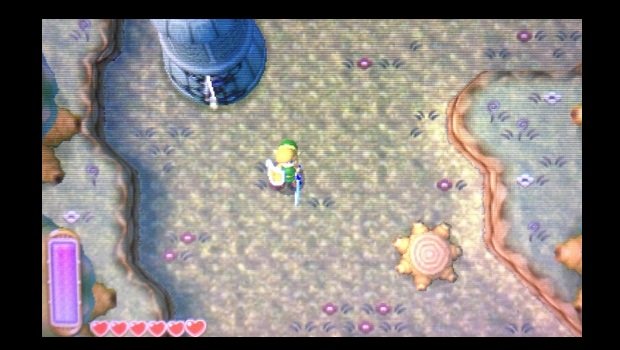
Back in Hyrule, reenter the woods in the northwest section of the map via the leftmost entrance north of Kakariko Village. Head north to find another column with a rift on its side; move through it to return to Lorule.
Back in Lorule, head directly south. Once out of the woods, move east as far as you can, then head north under the sign. Up here is another woods entrance which leads directly to the dungeon.
For the Skull Woods walkthrough, see our dungeon guide.
To Thieves' Hideout

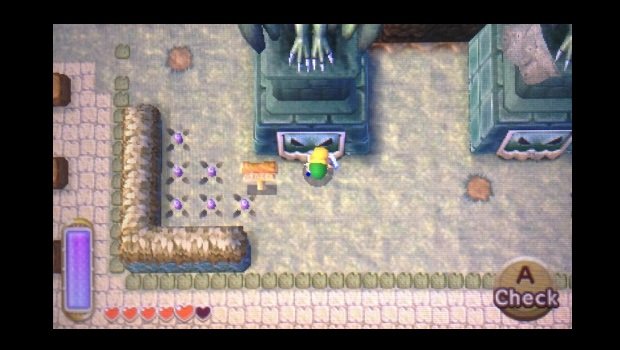
We've been in and out of Thieves' Town, and now it's time to enter the dungeon there. At the northern end of the town is a statue by a sign. Examining the door here will get you quizzed by a thief inside. To gain entrance, you'll have to provide the lyrics to the thieves' song.
You can speak to the thieves inside the various houses in town to learn the lyrics, but otherwise, the correct choices are:
- "a narrow path."
- "really despair."
- "to thievin'!"
Feed the door guard the right lines, and the dungeon entrance will open.
For the Thieves' Hideout walkthrough, see our dungeon guide.
To the Desert Palace
After completing Thieves' Hideout, you'll be able to rent the Sand Rod from Ravio's Shop. Rent it, then head south to the area where the Swamp Palace is found in Lorule. From here, head west into the winding cliffs near the blocked-off desert. You'll find a rift after a few turns. Merge through it to return to Lorule.

Follow the path south to reach Misery Mire. Head north and drop off the ledge, then merge through the first rift you see.
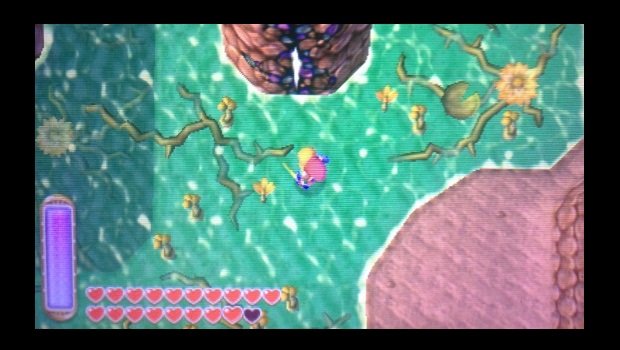
And now you've in the desert, one of the toughest places in Hyrule to reach. Head south and move up the two sets of staircases to the small pond. Turn west and use the Sand Rod to create a bridge to the column across the gap. Create another bridge to the cliff to the west, then cross over. From here, merge along the southern cliff face to reach a high rift that returns you to Misery Mire.

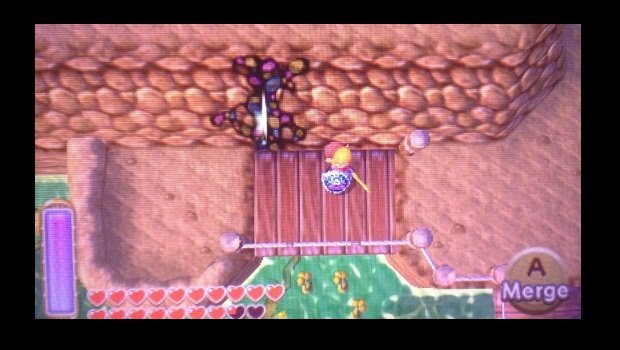
From here, take the bridges south, then west. Merge into the next rift to return to a cliff in Hyrule's desert. Use the Sand Rod to make bridges across the columns north, east, then north again. This will take you right up against the cliff face. Merge and move left to reach the cliff where the Desert Palace sits.
For the Desert Palace walkthrough, see our dungeon guide.
Weekly digests, tales from the communities you love, and more
Tony lives in Maryland, where he writes about those good old-fashioned video games for GamesRadar+. His words have also appeared on GameSpot and G4, but he currently works for Framework Video, and runs Dungeons and Dragons streams.


