The Legend of Zelda: A Link Between Worlds complete walkthrough
To the Dark Palace
Note: From here on out, this walkthrough follows the "classic" dungeon progression. If you choose to explore the dungeons in a different order, feel free to jump to that section of the guide.
You'll emerge in a study very similar to the one you just left. Follow the path outside, and head north at the fork. After a cut scene with Yuga (and another major villain), you'll find yourself in the Blacksmith's House.
Step outside and save at the weathervane - these are used for fast travel in Lorule as well. The thing is, Lorule is divided up into several sections, and the only way to get to certain areas is by travelling between Lorule and Hyrule using rifts.
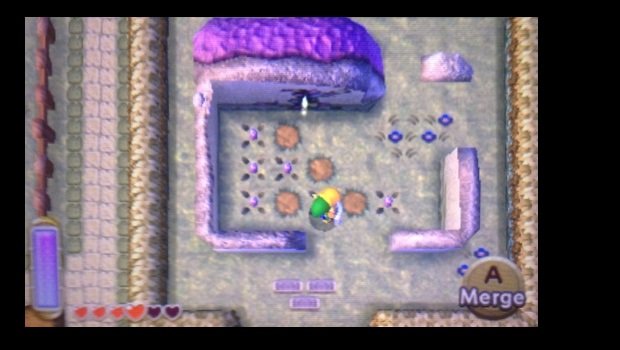
First, head west into Thieves' Town (where Kakariko Village would be in Hyrule). In the northwest section of the town is a destroyed house with a rift along its wall. Head through to return to Hyrule.
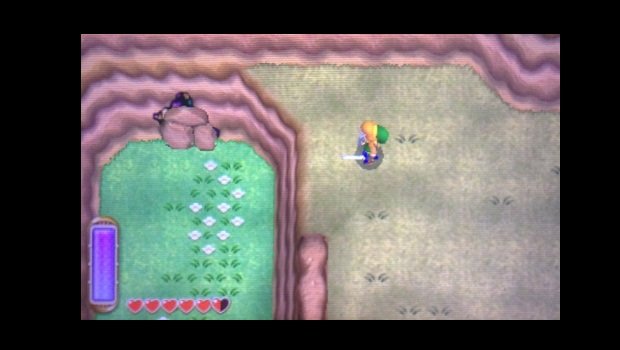
First, stop by Ravio's Shop and rent Bombs, then make your way to the Eastern Palace. From the weathervane, head south until you reach a large, dead end area. There are some cracked rocks blocking a rift here; use Bombs to break them up, then slip through to return to Lorule.
You're now just south of the Dark Palace. Head north to enter the dark woods surrounding the dungeon. In this area are several soldiers hellbent on stopping any intruders - yes, it's the token stealth section.
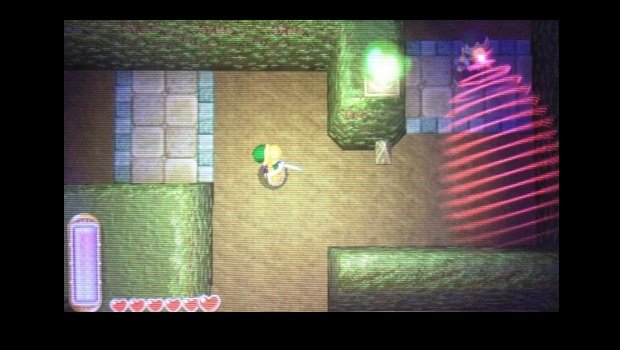
Start by heading west (you'll pass the cell they toss you into if you get caught). To pass the first guard, simply merge into the wall and pass by. You'll then have to get around two guards. Merge into the hedge and move around so that you're facing them. When they turn their backs to each other and move apart, run forward between them to safety.
Weekly digests, tales from the communities you love, and more
Move west, then turn north at the fork. Here is another pair of guards. Once again, you'll have to merge and slip between them (move along the right wall). After slipping to the left side, merge and follow this wall around the corner to safety.
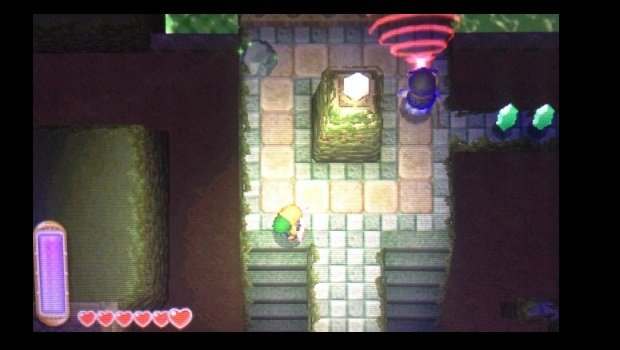
Now you're at a checkpoint. You'll be thrown into a different cell if you're caught from here on out. Head up the stairs and follow the soldier around the column - he won't see you if you're behind him. Move along the narrow ledge to the south and merge around the column that blocks your way. Follow behind the next guard, then head down the stairs to the right. Bust up the skulls and continue south.
The next guard couldn’t be easier to pass. Simply merge into the right wall and follow it to avoid this line of sight.
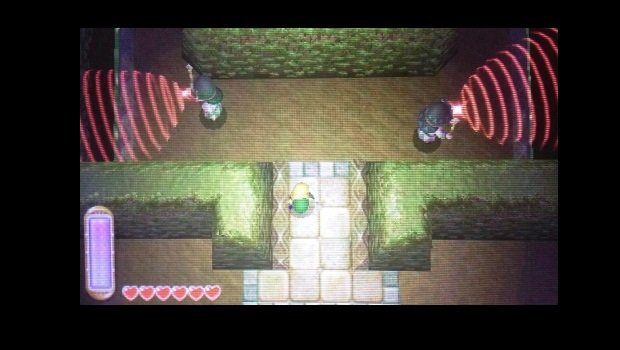
The next set of guards is a bit trickier to pass. When they're facing away from each other, move past them and merge into the central hedge. From there, move around the hedge and watch the third guard. When he centers his vision, move across the way and merge into the opposite wall, then slip around him.
The final guard is only a challenge if you want to grab the nearby Rupees. Otherwise, simply merge into the wall to slip past him. Save at the weathervane beyond, then use a Bomb to open the entrance to the Dark Palace.
For the Dark Palace walkthrough, see our dungeon guide.
To the Swamp Palace
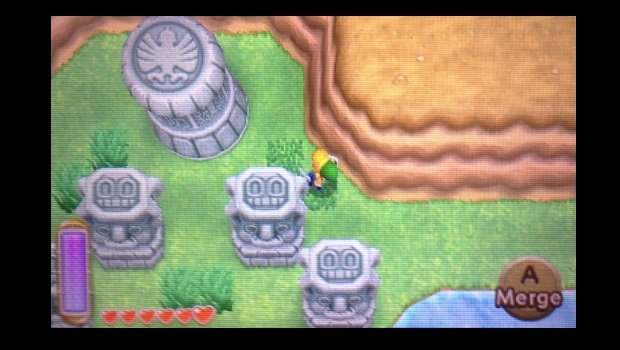
Rent the Hookshot at Ravio's Shop in Hyrule, head directly south. In the very next area, make a left to reach this column. Slip through the rift on its north side to return to Lorule.
Back in Lorule, head southeast to the marked spot on the map. You'll also notice a large boulder near the dungeon entrance. We'll have to destroy it to actually get inside the dungeon proper.
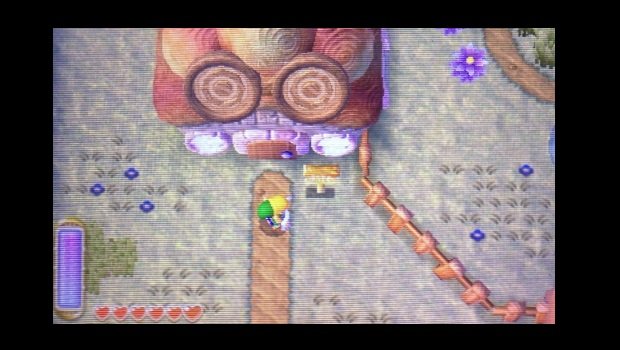
Return to Thieves' Town, then head south to reach the Bomb Flower Shop. Talk to the man inside, and he'll offer to let you bower his Bomb Flower outside. Pay the 200 Rupee fee, then head out there.
Lead the Bomb Flower to the boulder blocking the garden. Slash the Bomb Flower to detonate it, destroying the boulder and giving you access to the Bomb Flower whenever.
Now you have to lead the Bomb Flower back to the boulder at the dungeon entrance. Be careful: an enemy's attack can also detonate the bomb. Take it all the way back to the boulder, then use its massive explosion to destroy it, draining the water from around the dungeon entrance. Use the Hookshot to cross the new gap, then head inside.
For the Swamp Palace walkthrough, see our dungeon guide.

Tony lives in Maryland, where he writes about those good old-fashioned video games for GamesRadar+. His words have also appeared on GameSpot and G4, but he currently works for Framework Video, and runs Dungeons and Dragons streams.

 Join The Community


