L.A. Noire five-star walkthrough and newspaper guide
Everything you need to ace every interrogation, find every paper and become Shamus to the Stars
Homicide Case 3: The Silk Stocking Murder
Investigation: Crime scene•Investigation: Antonia's room•Interrogation: Barbara Lapenti•Interrogation:Diego Aguilar•Investigation: El Dorado Bar•Investigation: Maldonado residence•Interrogation: Angel Maldonado•Interrogation: Clem Feeney•Investigation: Just Picked Fruit Market
Investigation: Crime scene
Start by examining the body. Check her right hand for half of a library card.
Next, check her left hand for evidence of another violent ring removal.
Check her torso, and Cole will note the new lipstick markings.
Finally, tilt her head to reveal signs of strangulation.
After inspecting the corpse, head over into the shady area nearby to find a discarded silk stocking.
Examine it, and Cole will add it tohis clues.
Next, inspect the bloodstains some distance away from the body for a new clue.
You'll be shown that they form a trail. Follow it to the shadowy door below.
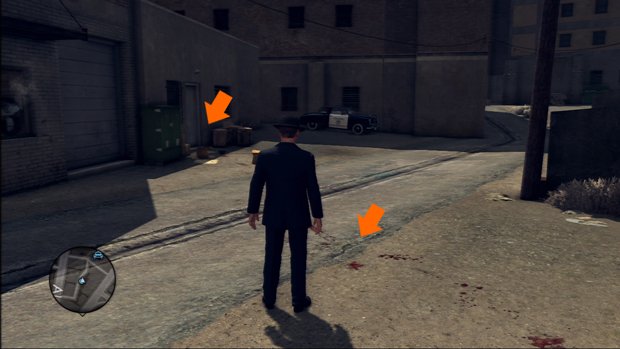
Once there, you'll see a bloody hat laying inside the shadows. Pick it up and examine it.
Continue following the blood trail, this time to a nearby trash can.
Investigate the can and examine the shoe you find inside.
A short distance to the south, Rusty will be examining another bloodstain. Do the same, and you'll be shown where to go next.
Walk over to the valve and examine it.
You'll find a key. Tilt it until Cole's sight zooms in on the apartment number.
You're not done yet by a long shot. Look northeast, and you'll find your next clue lying on the concrete.
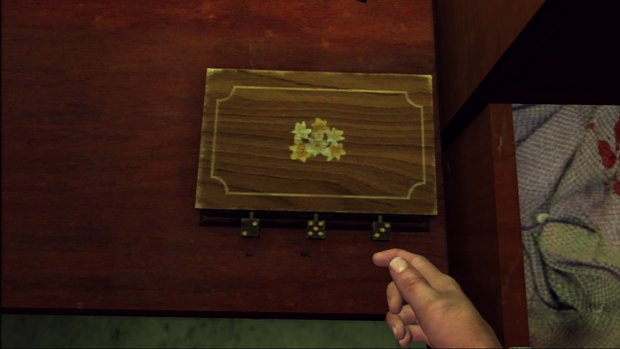
It's a trio of markings like you'd find on six-sided dice. Remember them, as they'll come up again soon.
Turn around and look southeast, and Rusty will draw your attention to a blood smear next to a fire-escape ladder. Time to climb.
On the roof, investigate the pigeon coop for your next clue.
It's an envelope with the name of the victim, but it's empty. Examine it closely anyway.
Next, hop down to the lower rooftop to find another clue.
This time, it's a gold compact. Give it a good once-over, and then move on.
You'll see another smear of blood next to a pipe. Guess what you get to do now?
On the next rooftop, you'll see a glint dangling from the ventilation system; go up and investigate it to find the victim's bloody ring.
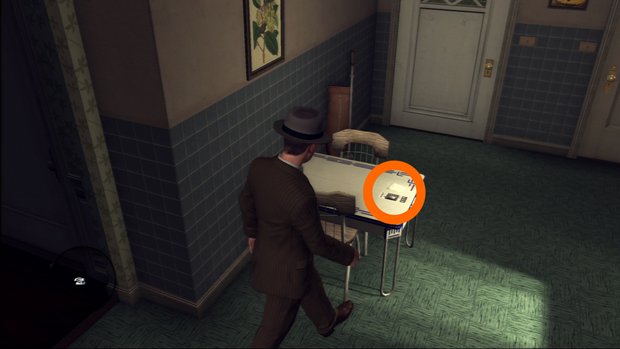
Your journey's almost over. Walk over to the bloodstained wall and hop up to the next rooftop.
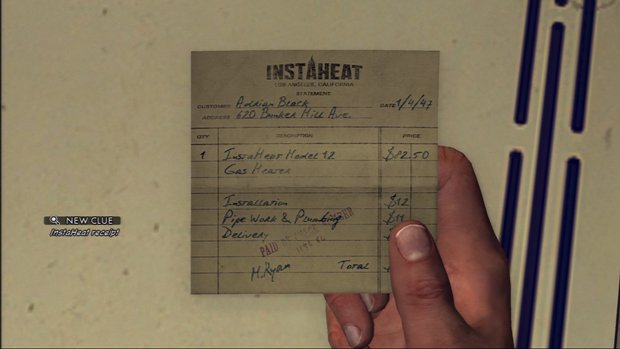
Here, there are two clues you should examine: the brush next to the bucket of blood, and the handbag in the corner.
In said handbag, you'll find the other half of the library card. Now your victim has a name.
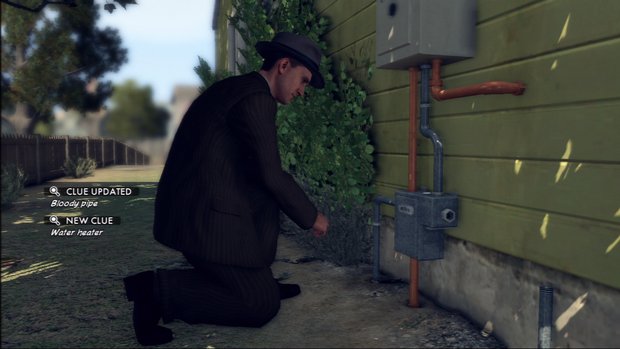
Investigation: Antonia's room
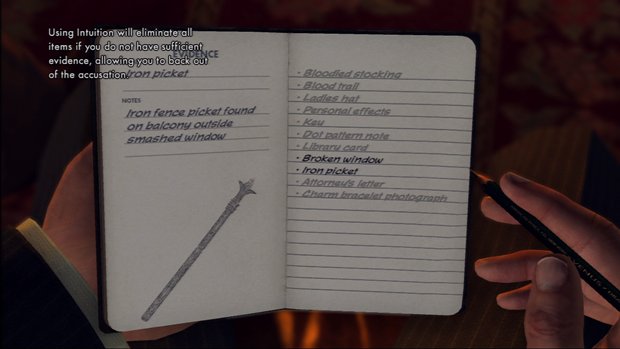
Start with the most obvious clue: the broken window. Look through it, and you'll add the window and the iron picket used to smash it in to your evidence log. Climb out and examine the picket if you want, but it isn't necessary.
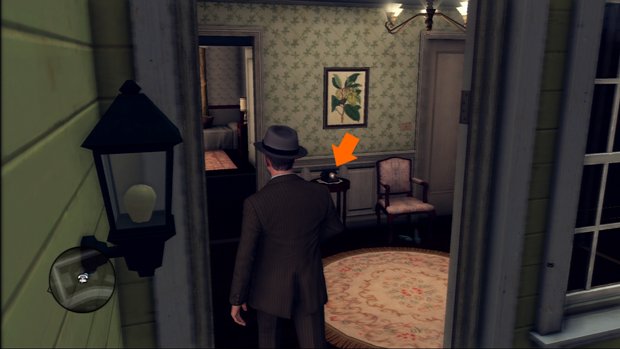
Next, check the suitcase on the bed for a letter addressed to Antonia. Read it to add another clue to your list.

Finally, head over to the dresser and examine the photo you find inside to add Antonia's charm bracelet to your clues.

Interrogation: Barbara Lapenti

Ask Barbara about Possible suspects, and she'll tell the Truth.

When asked about the Movements of victim, however, she'll hold something back. Press Doubt.

When you ask her about the Evidence of break-in, she'll Lie in an effort to protect her boarding house's reputation. Call her on it.
When she challenges you, bring up the Broken window or the Iron picket.
Finally, ask her about theBreakdown of marriage, and she'll Lie again.

This time, confront her with the Charm bracelet photograph to squeeze the truth out of her.
Interrogation: Diego Aguilar
Visit the El Dorado Bar and talk to Diego, and he'll hand you Antonia's divorce papers to log as evidence.
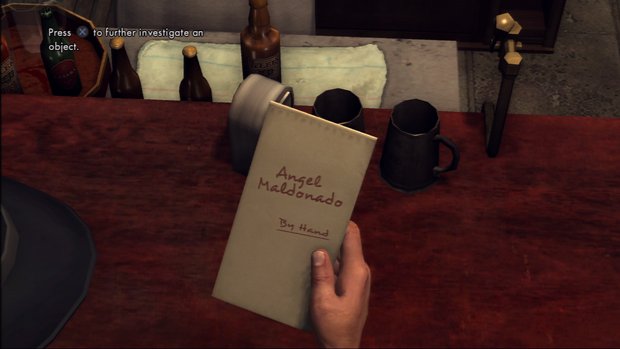
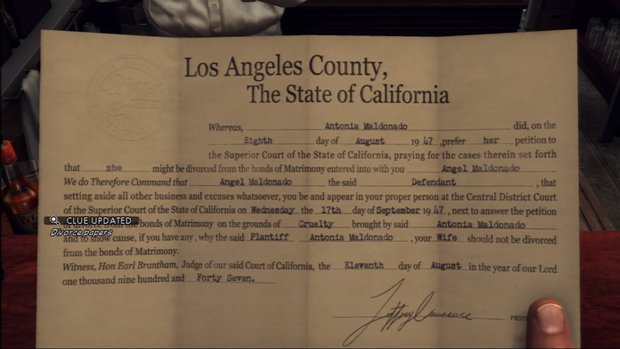
That doesn't rule him out as a suspect, though. Time to question him.
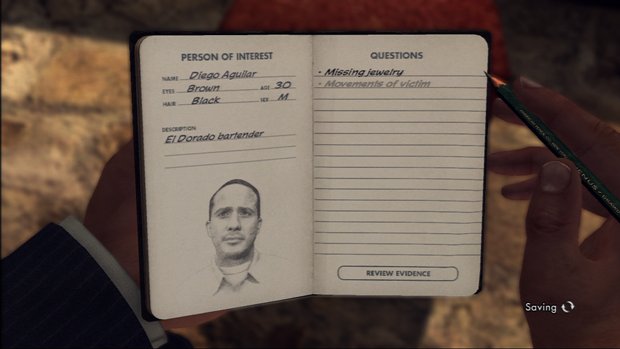
When asked about Missing jewelry, Diego acts a little strange. Doubt his response.

When asked about Movements of victim, however, he'll tell the truth.

Investigation: El Dorado Bar
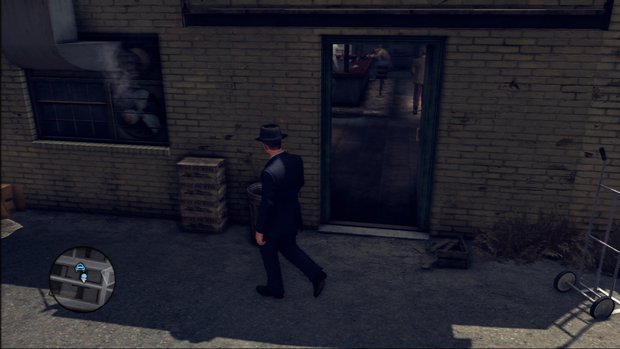
Before you leave the place, head to the back of the bar and take a peek out the door.
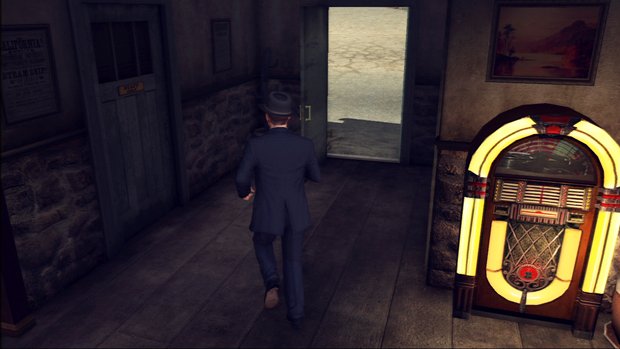
You'll run into the clerk from the fruit market across the street, delivering some, uh, "limes."
Check the crates he leaves behind to find out what he's really up to.
Investigation: Maldonado residence
Start out by checking the mailboxes to find out which apartment you can find Angel Maldonado in.
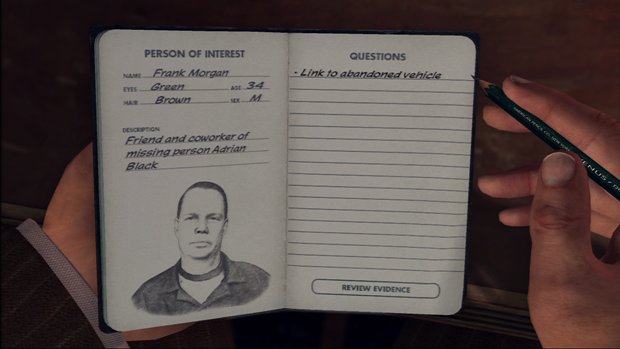
After the fight, head into the kitchen and check the crate on the floor to reveal a boozy clue.

Next, look by the ashtray on the counter for a matchbook with the address of the El Dorado Bar.
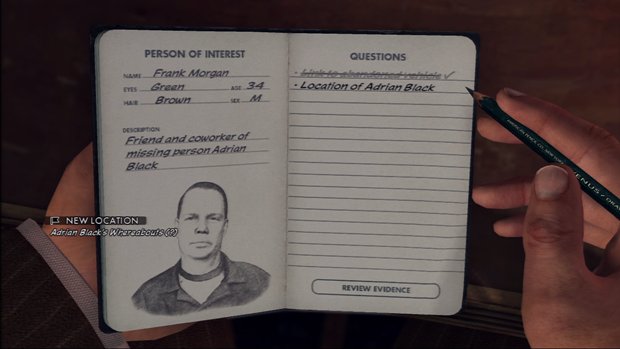
Finally, turn around examine the bloodstained shirt hanging on the wall.

Before you leave, take a moment to canvass the neighbors living on that floor. It's worth checking all the doors, but the only one you actually need to knock on is 302, at the opposite end of the hall from the Maldonado place.
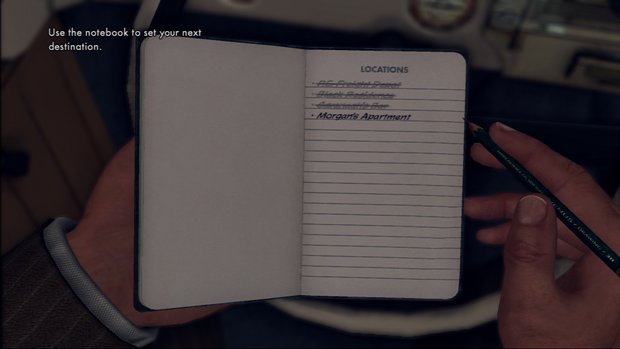
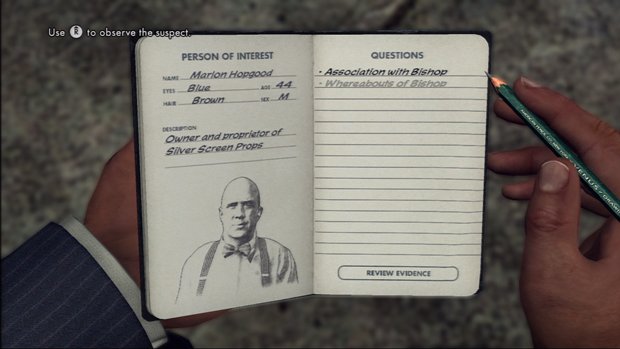
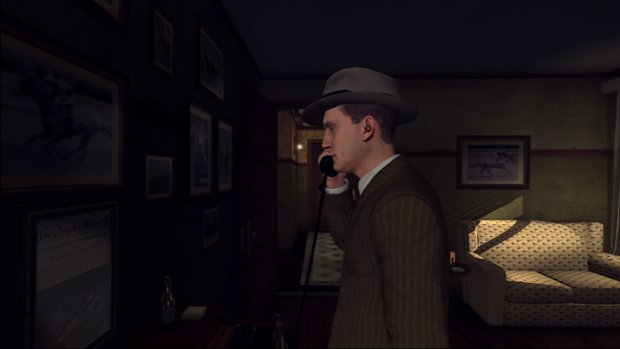
Before you leave, use the phone to put a call in to KGPL.

Interrogation: Angel Maldonado
At this point, you'll be called back to the Central Police Station to examine some ominous clues, so you may as well have a nice chat with Angel while you're there.
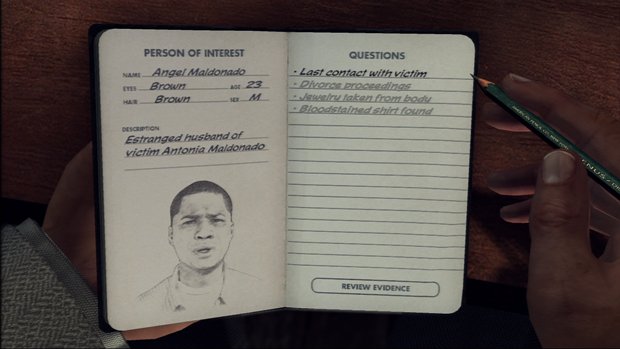
When asked about his Last contact with victim, Angel will Lie.

When he asks you for proof, present the Husband's alibi you got from Angel's nosy neighbor.

Next, ask him about the Divorce proceedings. Once again, he'll Lie.

This time, smack down his pretense of innocence with the Attorney's Letter or the Divorce papers.
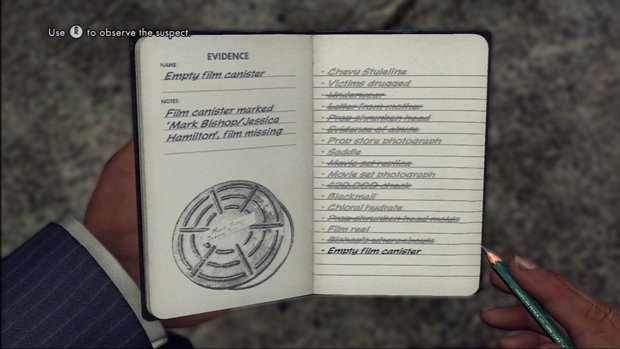
Next, ask him about the Jewelry taken from body. This time, Angel tells the Truth.

Finally, confront him about the Bloodstained shirt found. When he offers an excuse, Doubt it.

Interrogation: Clem Feeney
OK, now head over to the fruit market. You'll find Clem at the counter in the back.
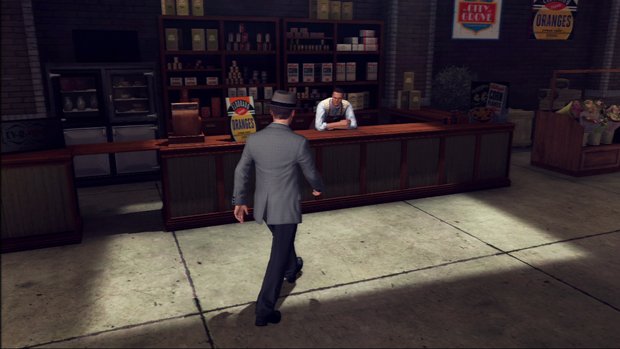
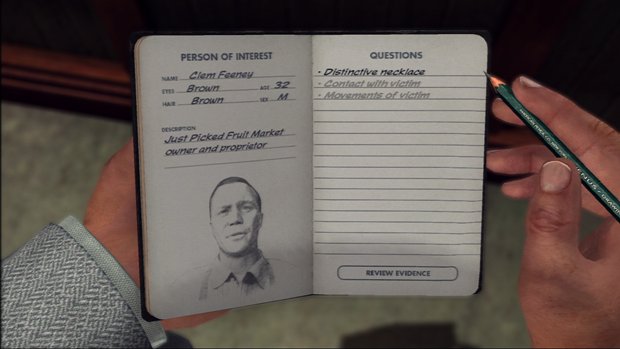
When asked about the Distinctive necklace, Clem looks dodgy. Doubt what he has to say.

Next, ask him about his Contact with victim. Again, the correct response is Doubt.

Finally, ask him about Movements of victim. He'll tell the Truth this time.

Investigation: Just Picked Fruit Market
After talking to Clem, you'll have free rein to look over the store. However, the only area that should concern you is the back room, accessible through the green doubledoors.
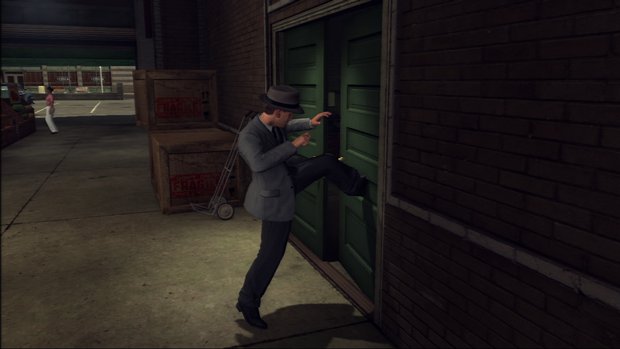
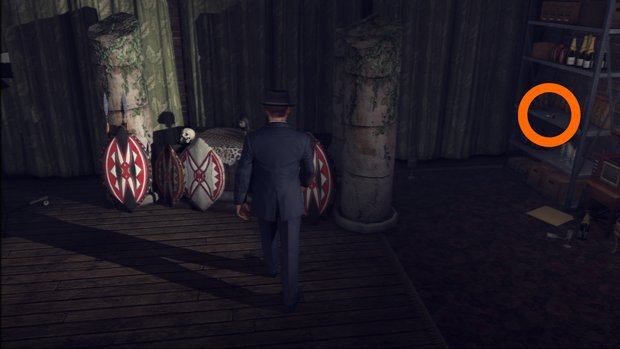
First, have a look at the crate indicated to verify that Clem's running a side business in gray-market liquor sales.
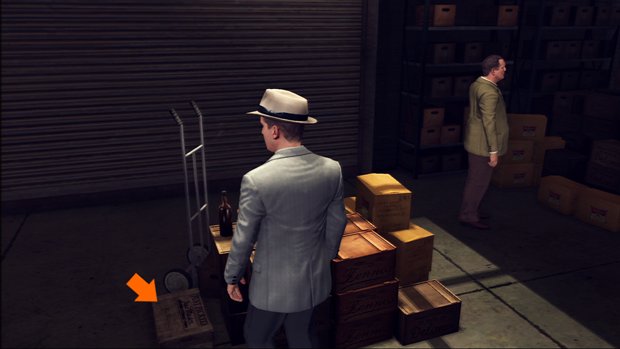
Next, check the edge of the desk by the door.
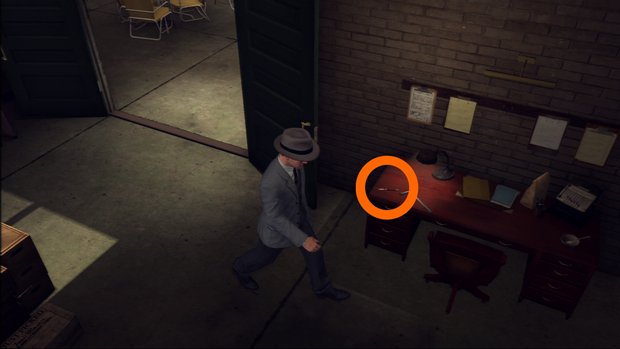
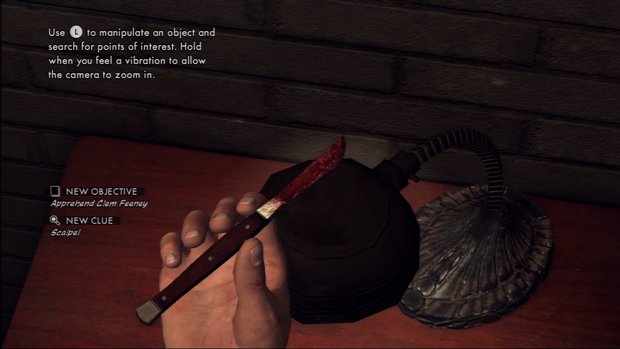
Examine the bloody scalpel you find there for another clue.
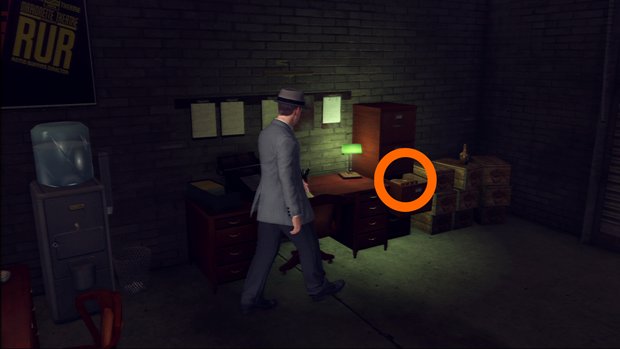
Finally, go over to the file cabinet next to the room's other desk to find a locked wooden box.
Use the dice clue you found at the crime scene to unlock the box - or just input the combination below:
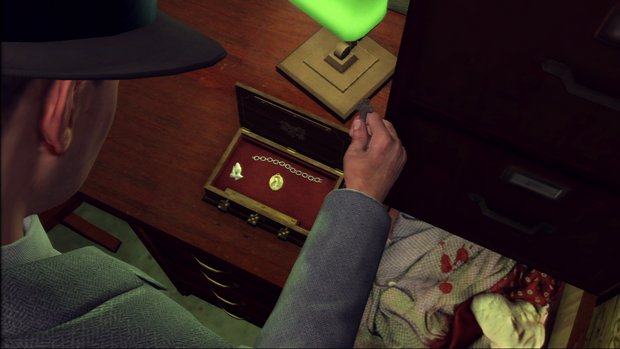
Examine the contents of the box. As soon as you're done, it'll be time for another chase.
As always, try not to hit anything that isn't the suspect, and you should wrap up this case with another five-star rating.

Weekly digests, tales from the communities you love, and more


