Convoy
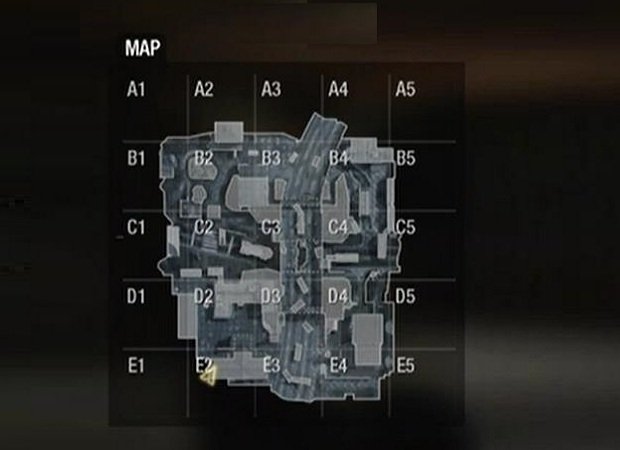
Complete Map:
A1
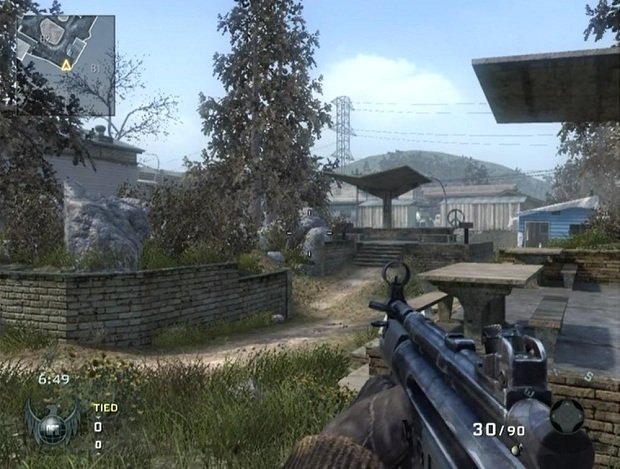
There is very little of interest in the northern section of this map, aside from some mildly nice backyardarchitecture.
A2
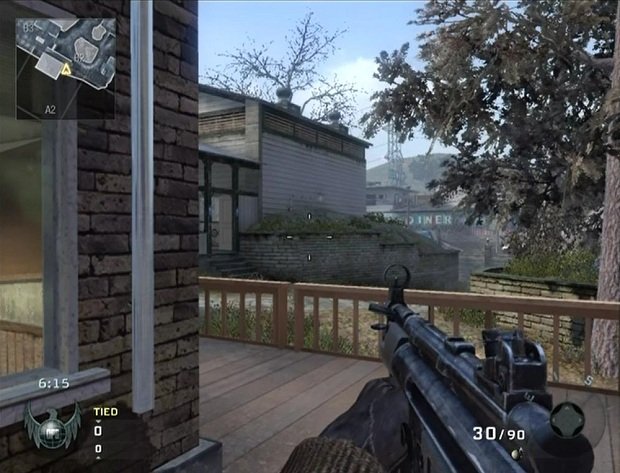
Even the decks and porches around here are relatively useless, since the surrounding houses and trees make it impossible to see enemies in the distance.
A3
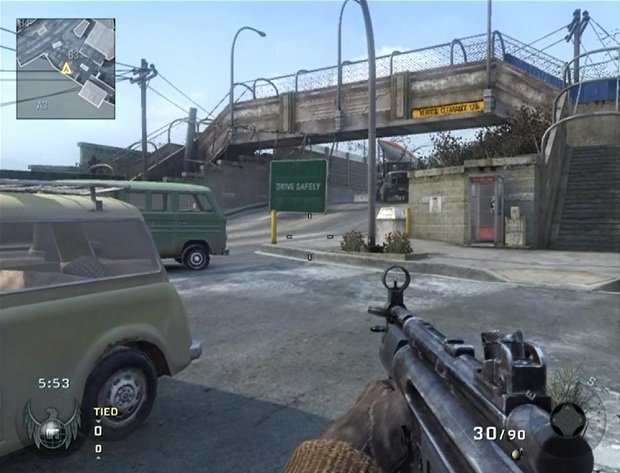
Because of its uninteresting topography, the north section is also vulnerable to attacks from other areas.
Weekly digests, tales from the communities you love, and more
A4
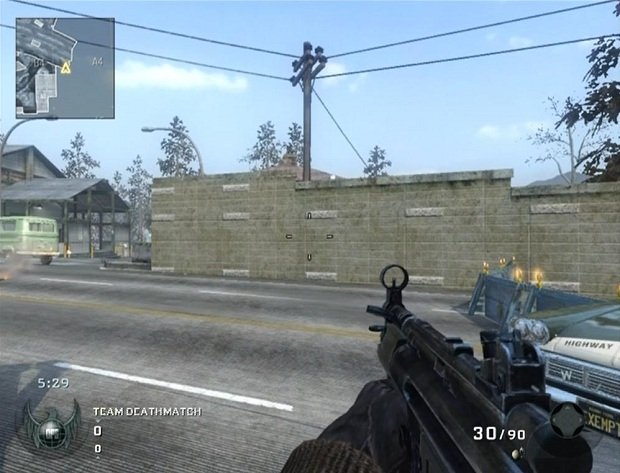
It's best to avoid all the "A" quadrants because there isn't likely to be much action here and it also doesn't serve as a good place to rest and hide.
B1
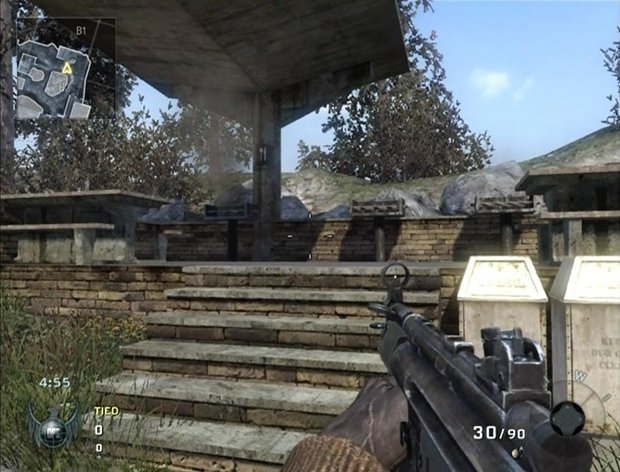
Go down south a bit and you'll find more elevated platforms, though note that distractions like trees still prove troublesome.
B2
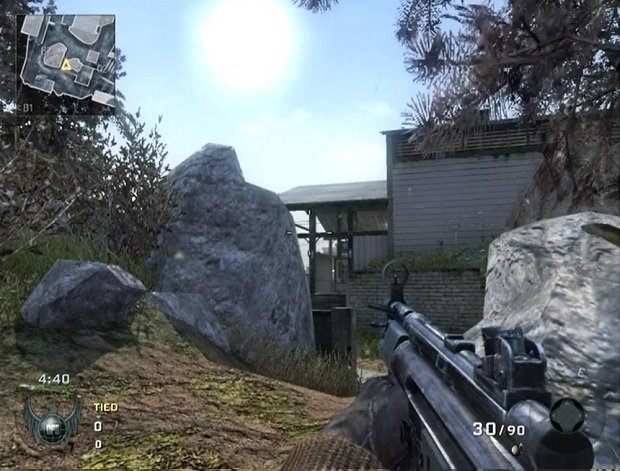
It's a good idea to put all the natural obstructions to your advantage. Nestling yourself between tall rocks will give you good cover.
B3
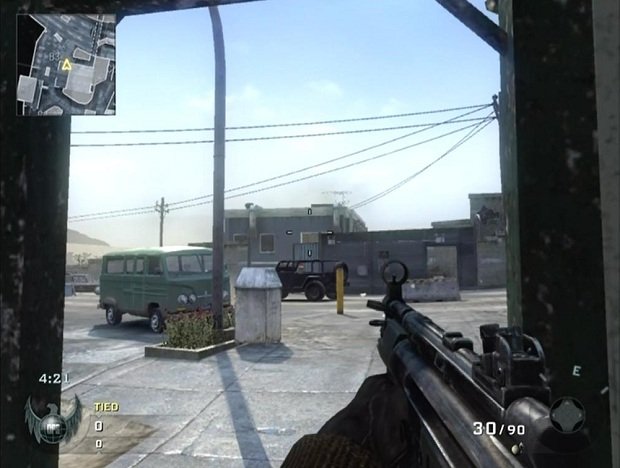
This building in the middle of B3 is ideal for attacking unsuspecting players who happen to walk by.
B4
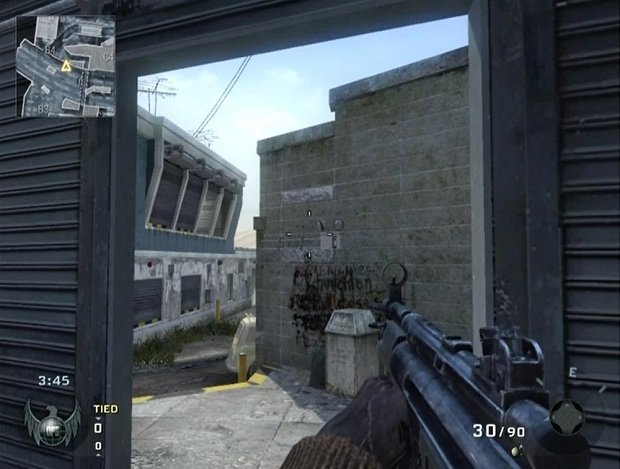
There's an alcove in B4 that is difficult to get to and should make for a good hiding spot.
B5
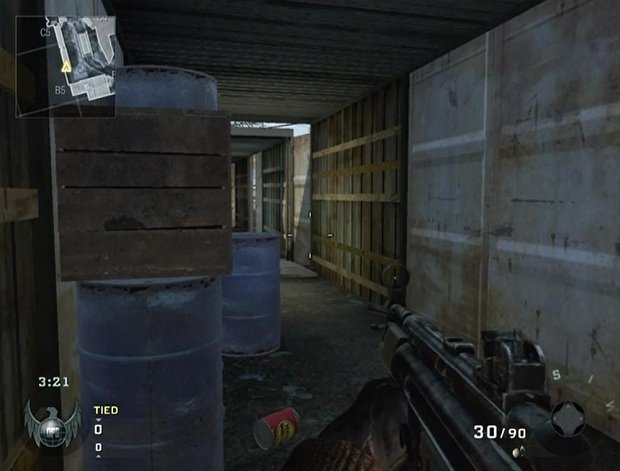
Farther east, in B5, this area is also closed off to much of the map and a good spot if you're in need of a rest.
C1

The shack in quadrant C1 is an appealing spot for sniping while remaining slightly shielded by the small window, though you likely won't see a whole lot of traffic passing through.


