11 essential Battlefield 1 tips to know before you play
From beginners to experts - these tips, tricks, and secrets will help you win more in Battlefield 1
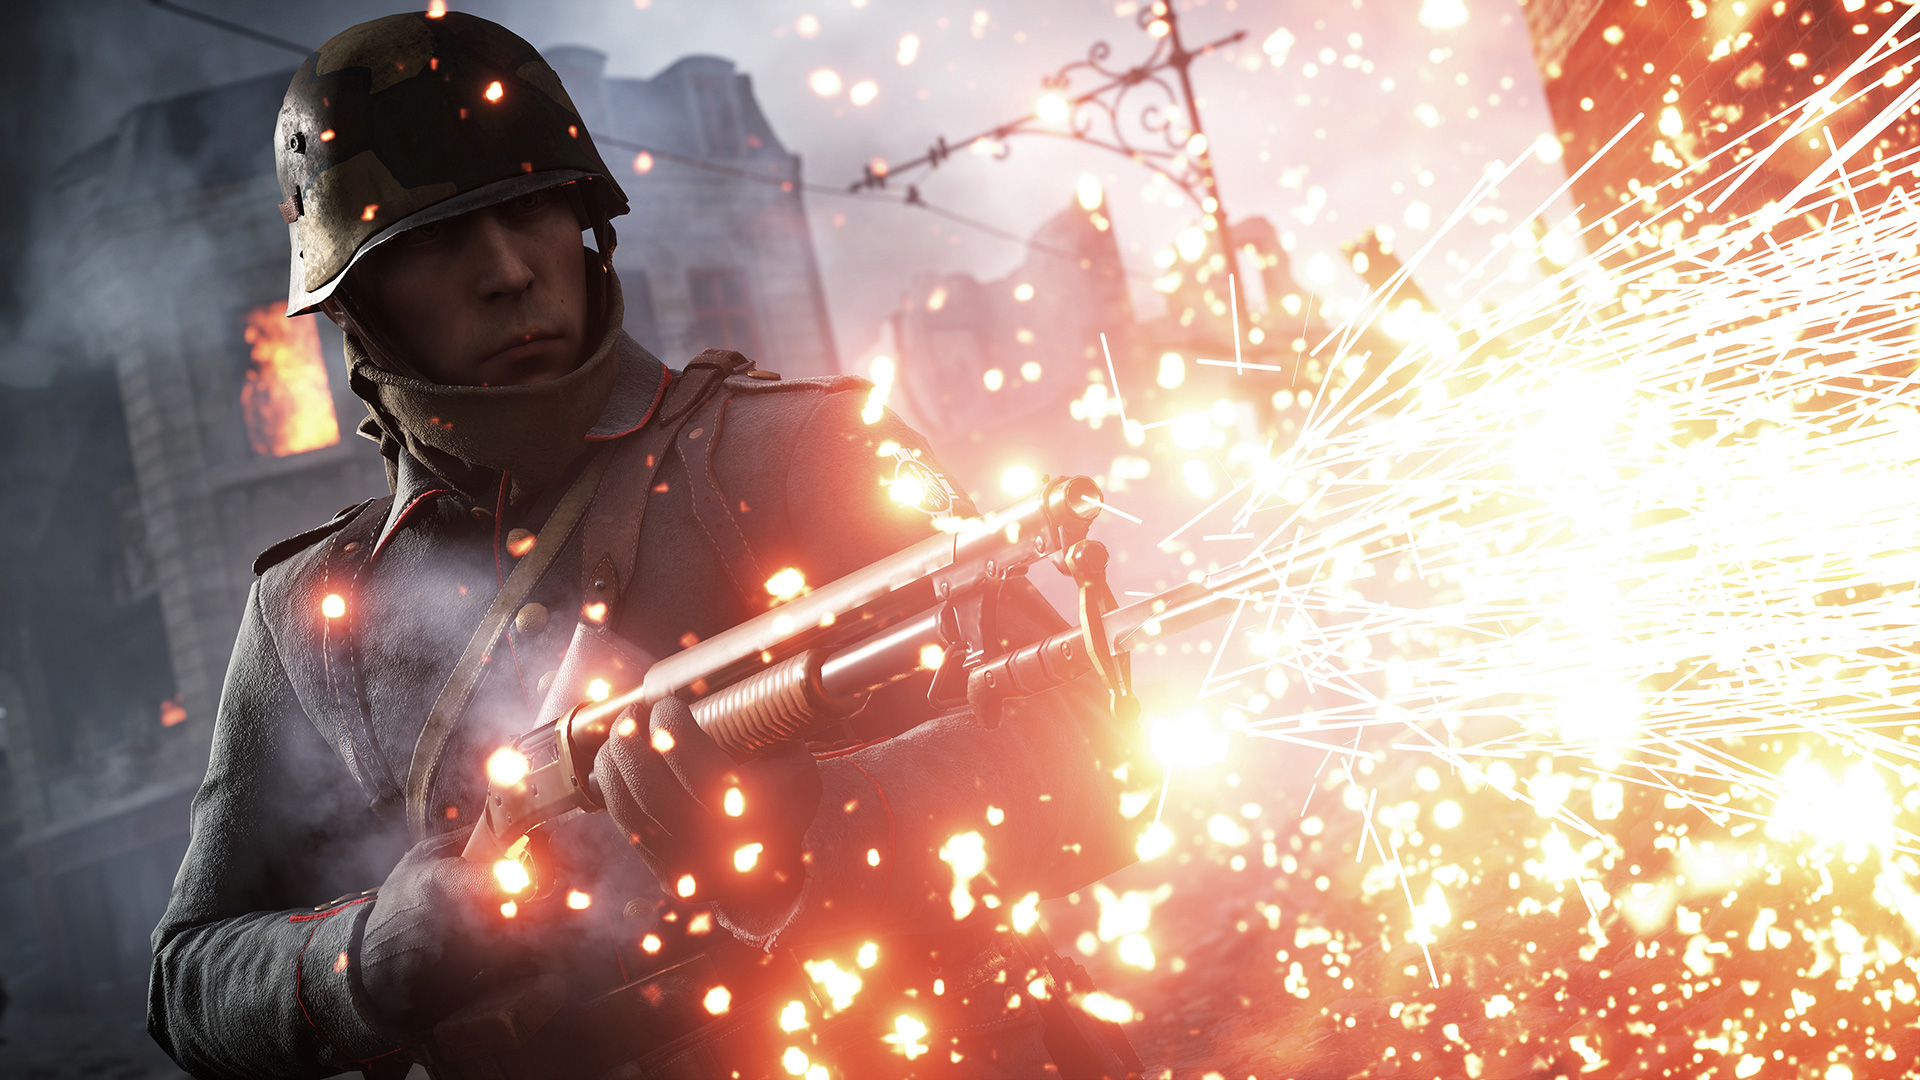
Battlefield 1 remains one the finest multiplayer games on consoles, and the community of players is still healthy two years after release. While it’s much simplified and easier to access than previous games like BF4, there is an incredible depth to online play that rewards smart use of weapons and gadgets as much as a quick trigger finger.
However, after spending months playing the game following release, I noticed that most players needed a little help to realise their true potential. Heck, I was still learning as the ranks ticked by. What follows is a bunch of tips and tricks that will make you better and more competitive online. They may increase your K/D ratio, sure, but the main thing is that it’s guaranteed to boost your standing on the end-of-game scoreboard - and maybe make sure you’re on the winning side more often than not.
1. Spot. Spot. Spot.
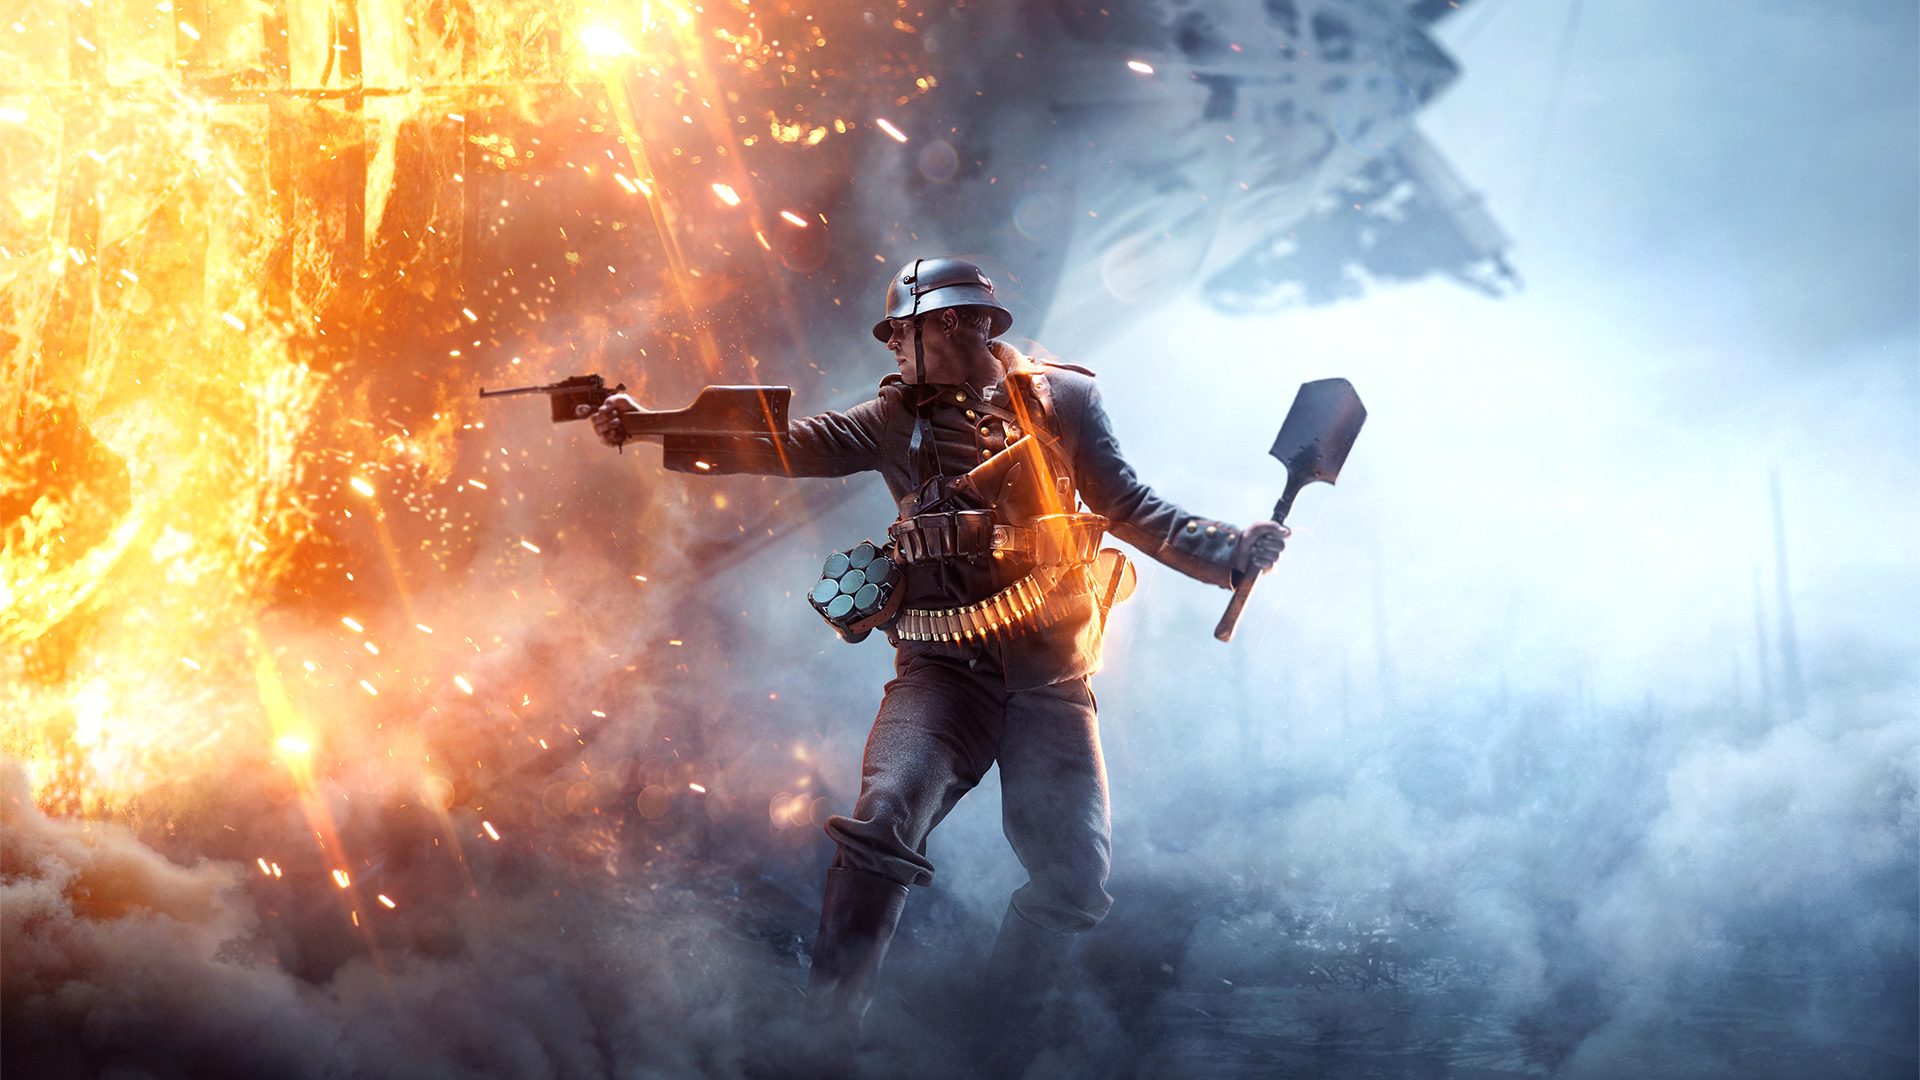
When you tell people to spot enemies in a Battlefield game you’ll always be met with the same smart-arsed reply: “duh”. And yet, it doesn’t happen enough. Tapping R1 (on PS4) while you’re looking at an enemy will spot them, highlighting their class and putting a massive red marker over their head and on your radar. You can see it, your team mates can see it; that enemy is essentially marked for death. Because their class is highlighted you can even work out the best way to kill them (if it’s a Scout, close the distance, if Assault fire from mid/long range). The visual spot works on line of sight, so you’ll lose track of the foe if they dip behind cover for too long, but they stay on your radar so you can hunt them down one-on-one. Even if you don’t get the kill you’ll earn 25 points for a Spot Assist, and 50 if your squad mate does the slaying.
While we’re on spotting - because I can’t emphasise this enough - Scouts have a rather handy Flare gun that not only spots enemies within a wide radius, but it also burns them if they run through the flare. Top tip: when you’re playing Operations or Conquest (well, any mode really) and you’re heading into a heavily defended area, just pop a flare right in the middle. And watch the Spot Assist points roll in as your mates pick off everyone highlighted on their radars.
2. Bayonet or (Bayo)not?
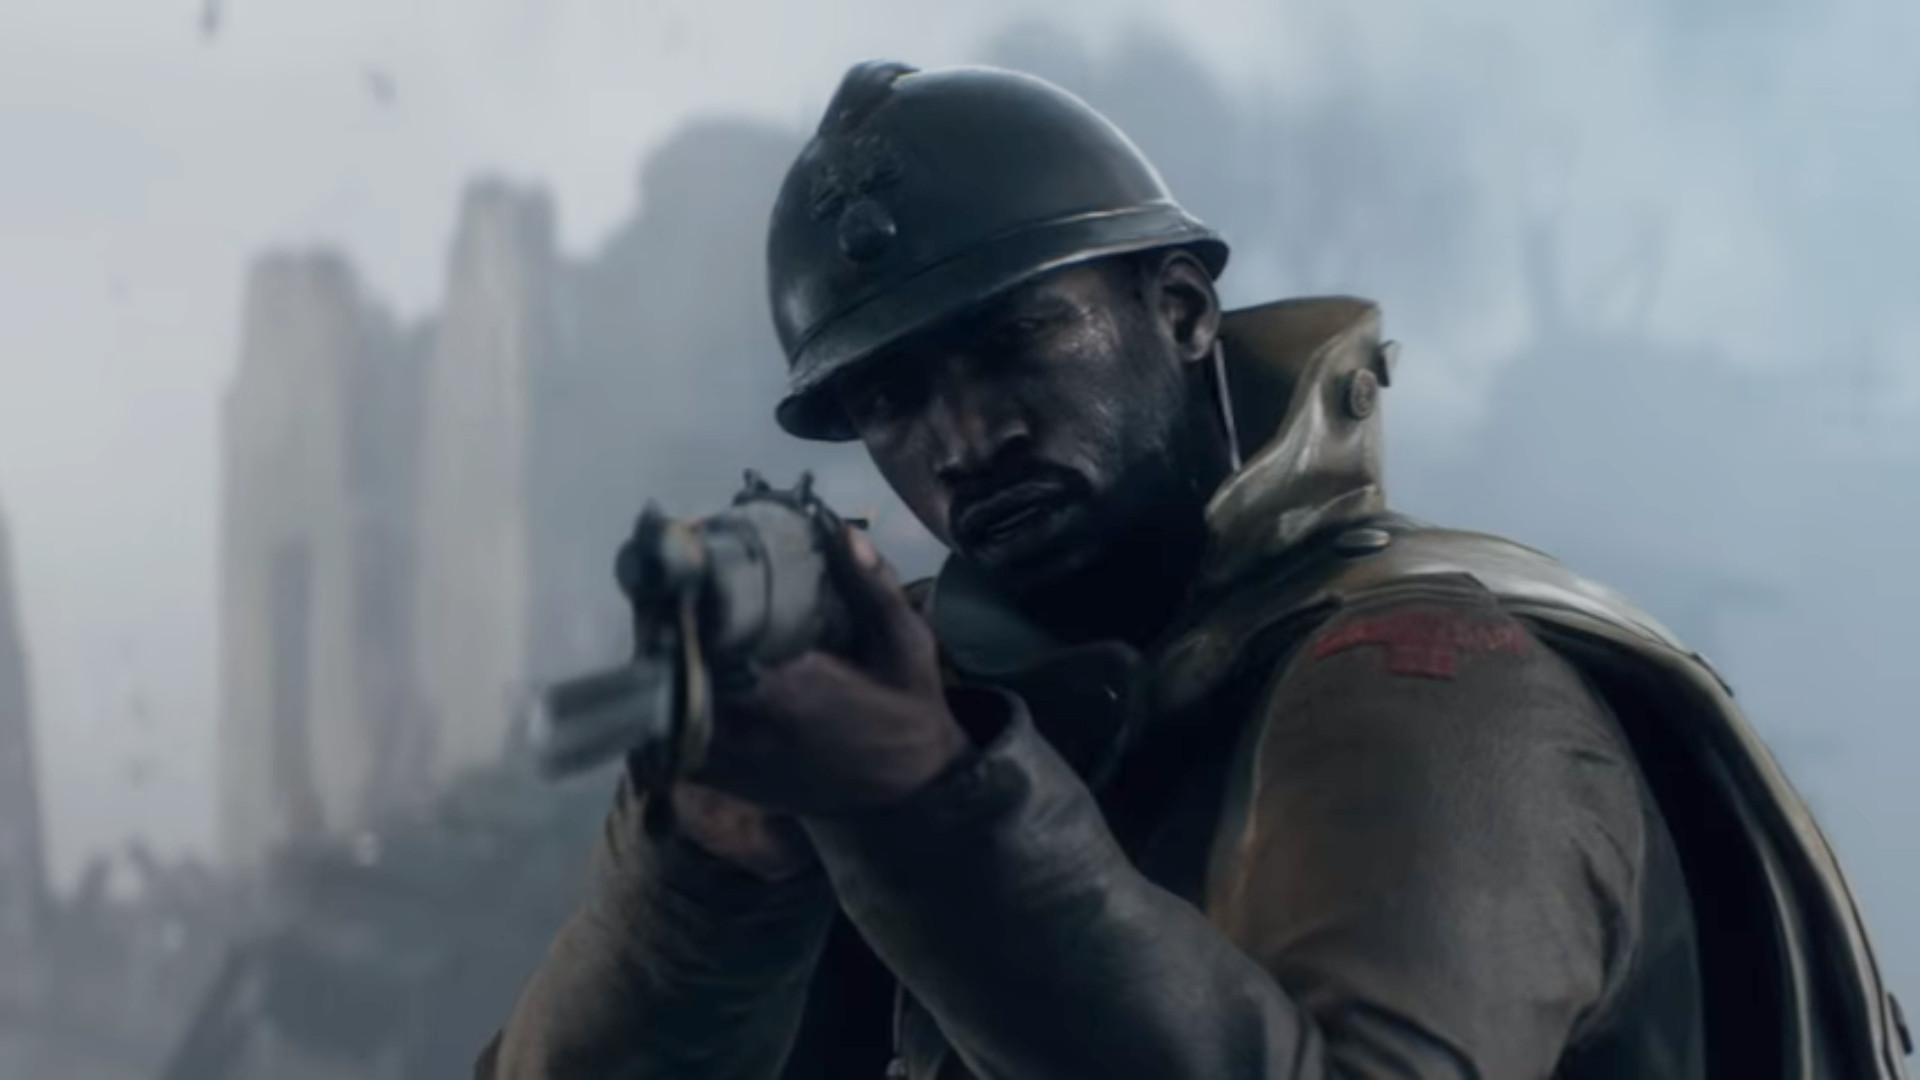
Removing the bayonet from your weapon may seem a little pointless. You can’t skewer enemies without it. Well, it depends how you want to play. Taking off the bayonet (by heading to the Customise option on your Class loadout screen) grants both a quicker weapon draw from running and standing. So, if you’re an Assault or Support running into a heavily contested part of a map, removing the bayonet first will buy you extra milliseconds in one-on-one combat. Sorry, though, Scouts - there’s no way to win a one-on-one with a bolt action rifle vs a machine gun, as you’ll be dead nine times out of ten before you’ve chambered the second shot, even with the fast-loading Gewehr.
However, keeping the bayonet on also has its advantages. In tighter areas of a map (villages etc) you can often reach an enemy with a bayonet charge before they’ve fired enough shots to take you down. You’re a quicker moving target, your foe probably won’t be expecting it, and the bayonet melee activates at a generous distance from the target.
3. Ammo and Med packs vs boxes
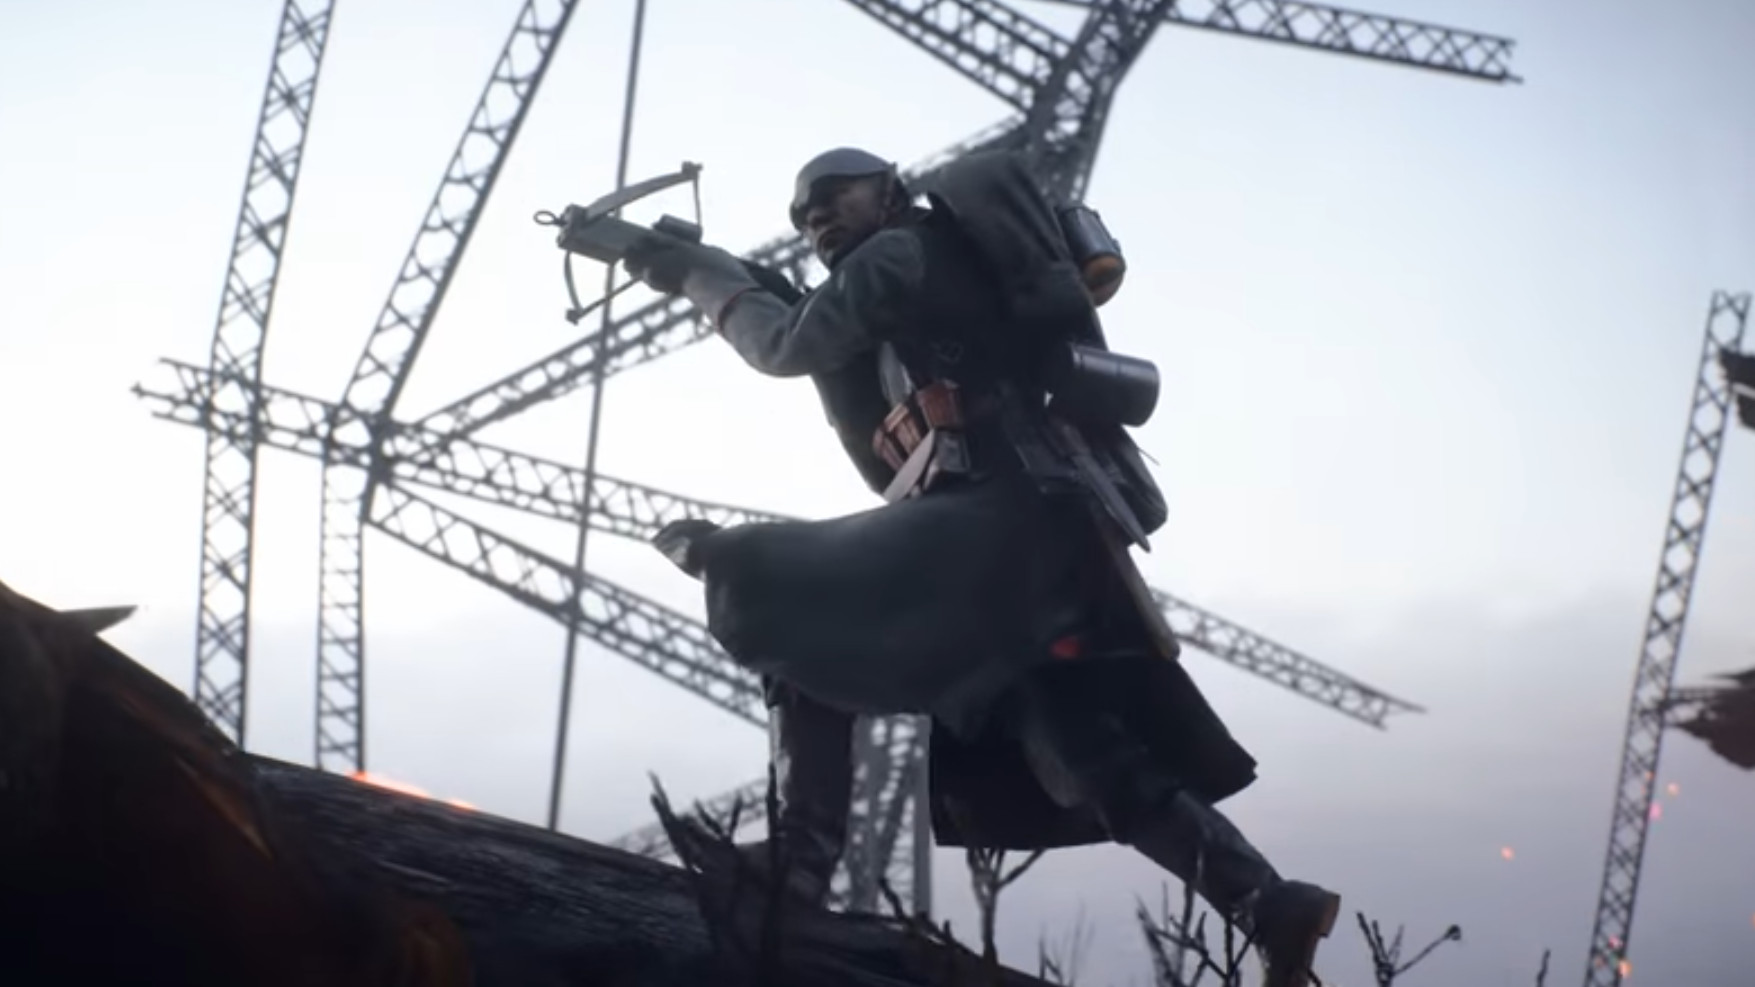
What’s the big difference between the two? It’s mobility vs quantity, but the game doesn’t make this super clear. Packs can be thrown at recipients from a distance, making them ideal when you’re attacking an objective with squad-mates. Because you can throw Med and Ammo packs using Left on the D-pad (or R1 if they’re requested), you can support allies from a distance and on the move.
Ammo and Medical boxes are stationary but, unlike packs, they can resupply multiple friends at once. Ideal for holding objectives, especially in Operations. Personally, though, I usually opt for Med and Ammo packs - players rarely stay in the same spot too long, and Battlefield 1’s maps are designed to keep you moving.
4. How to be better on and off a horse
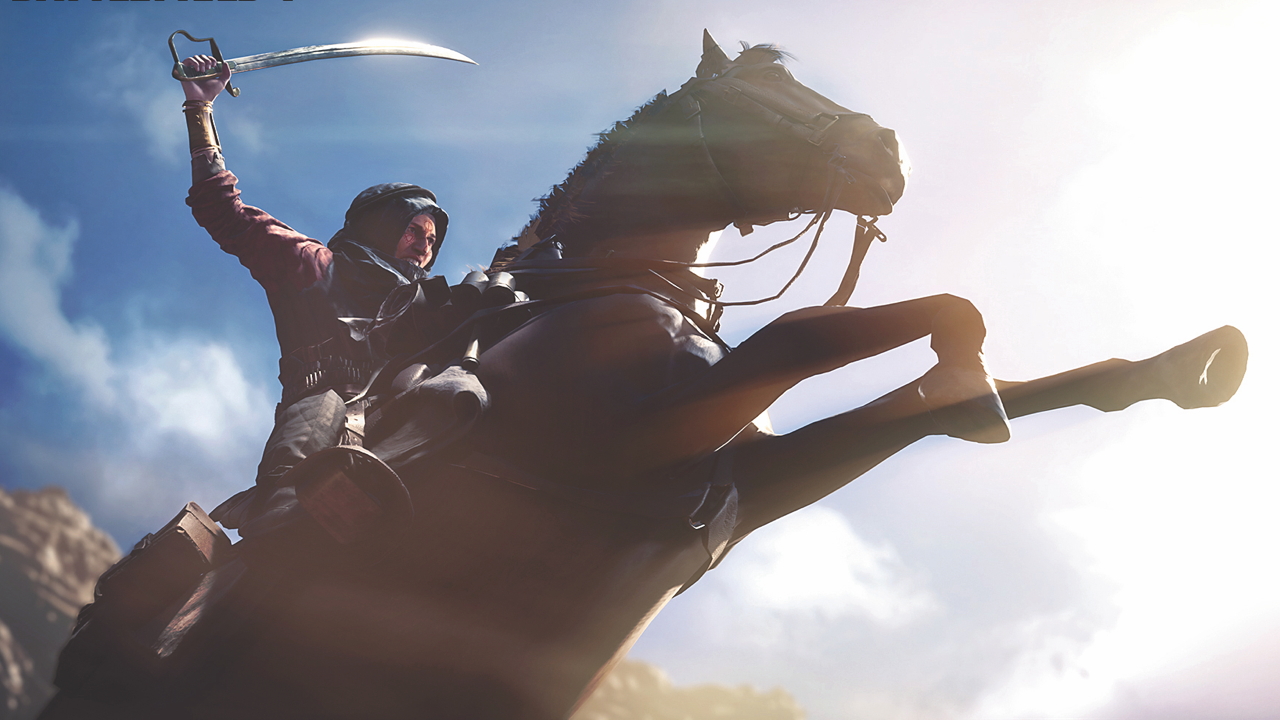
Ever feel like you’re always getting killed by Cavalry, but when you’re actually on the horse, you die within seconds? Yeah. The best way to defend against Cavalry is to keep moving until your foe has made an attack - nine times out of ten it’ll be with the sword, and if they miss you get a window of opportunity to counter when they change direction and their horse rears onto its hind legs. Aim for the rider, don’t stop shooting.
When you spawn onto a horse (don’t be disgusting) you automatically get superior armour, so if you don’t feel comfortable engaging in combat while riding just sprint to your destination, hop off, and enjoy extra protection. There’s no magic formula for being good on horseback. Just remember to use all the weapons you get (the anti-vehicle launcher is woefully under-appreciated), and not just the sword.
5. How to pick a melee weapon
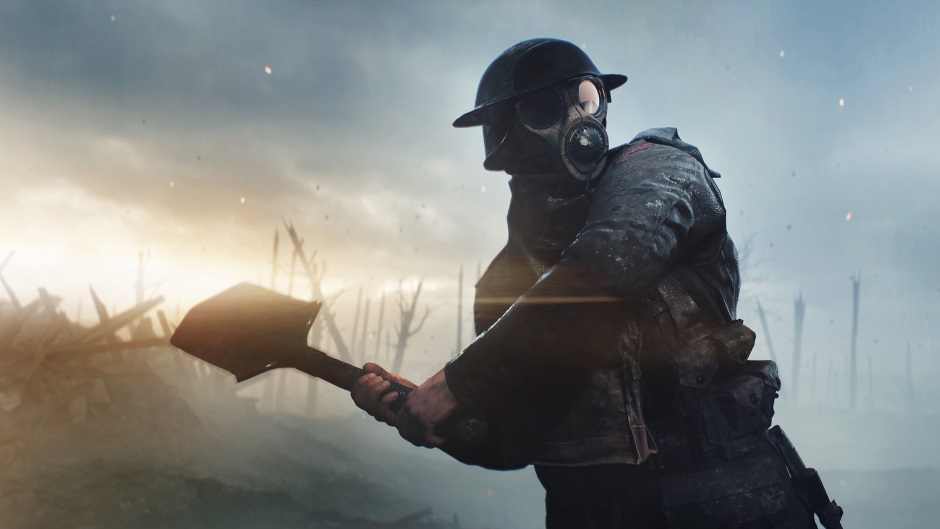
When I first started playing as a Medic I opted to bring the pickaxe as my melee weapon of choice. Looks savage when you murder an enemy with it, right? Well, perhaps I should have taken the spiked club instead. Why? Because the Medic class - special rifle grenades aside - is useless when faced with a tank. You can’t heal a shell to the face. However, certain melee weapons grant special abilities, which you can use to give your chosen class a little more of a fighting chance.
The spiked club, for instance, can be used to damage light vehicles. Certain knives can cut barbed wire, giving Scouts a better view to snipe from. And, let’s face it, in the heat of a melee exchange the speed and damage of a specific weapon barely matters - it’s all about who gets the final blow in - so why not make your melee work a little harder for you?
6. How to be a better squad player
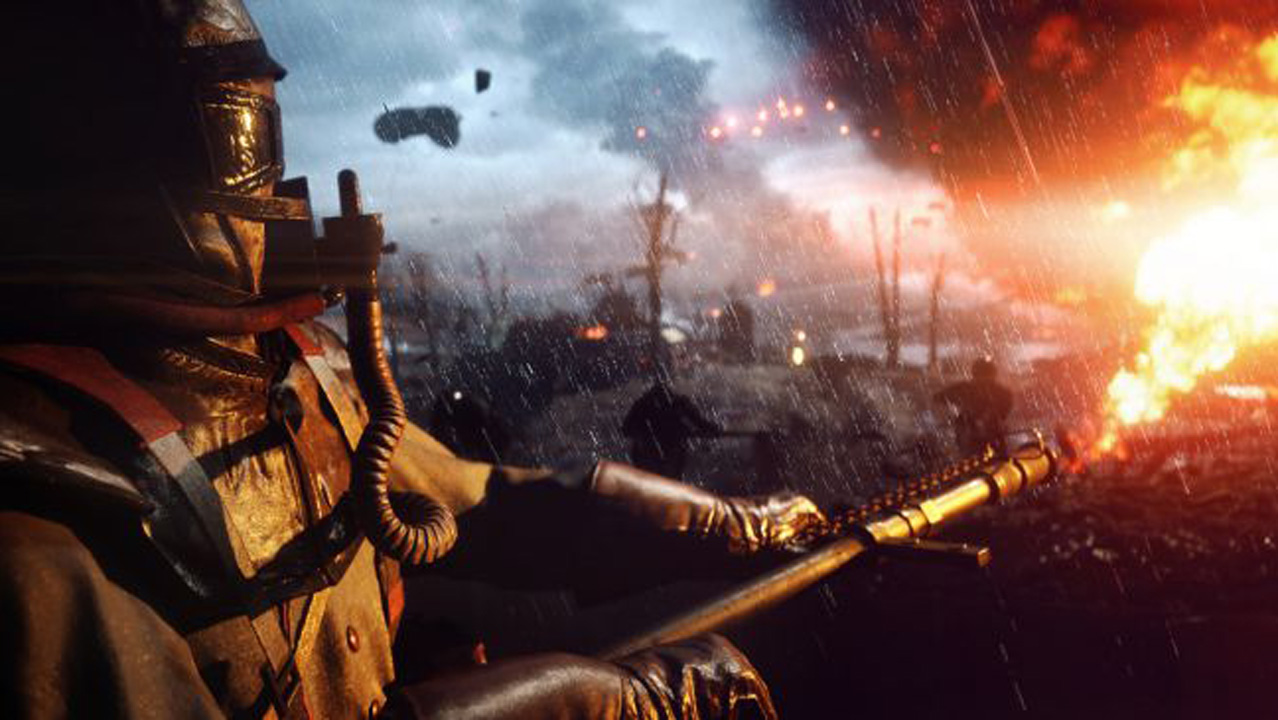
This one is a little more philosophical than an actual feature, but the teams that win more often than not use squad spawn religiously. Maybe you’ve trekked all the way across the map to take an objective in Conquest. We’ve all done it. The war for Objective Charlie looks attritional and deadly, so why not hoover up Apples and Butter while everyone is distracted? Sure, but don’t do it alone. Approach the objective, stay hidden, and wait a few seconds for your squad to spawn on you. Even two players are more likely to take AND HOLD a single objective than one.
Seems a bit obvious, but I’ve been guilty of going it alone in the past, and it usually ends up with a brief objective capture before all my work is undone by a couple of defending enemies who roll up and overwhelm my hiding spot. Oh, and while we’re on the subject, you should absolutely look for squad mates who are trying to pick off outlying objectives while the heat of the battle rages in the middle of the map. It isn’t sexy work, and won’t boost your K/D much, but you’ll win more often.
7. How to kill a behemoth
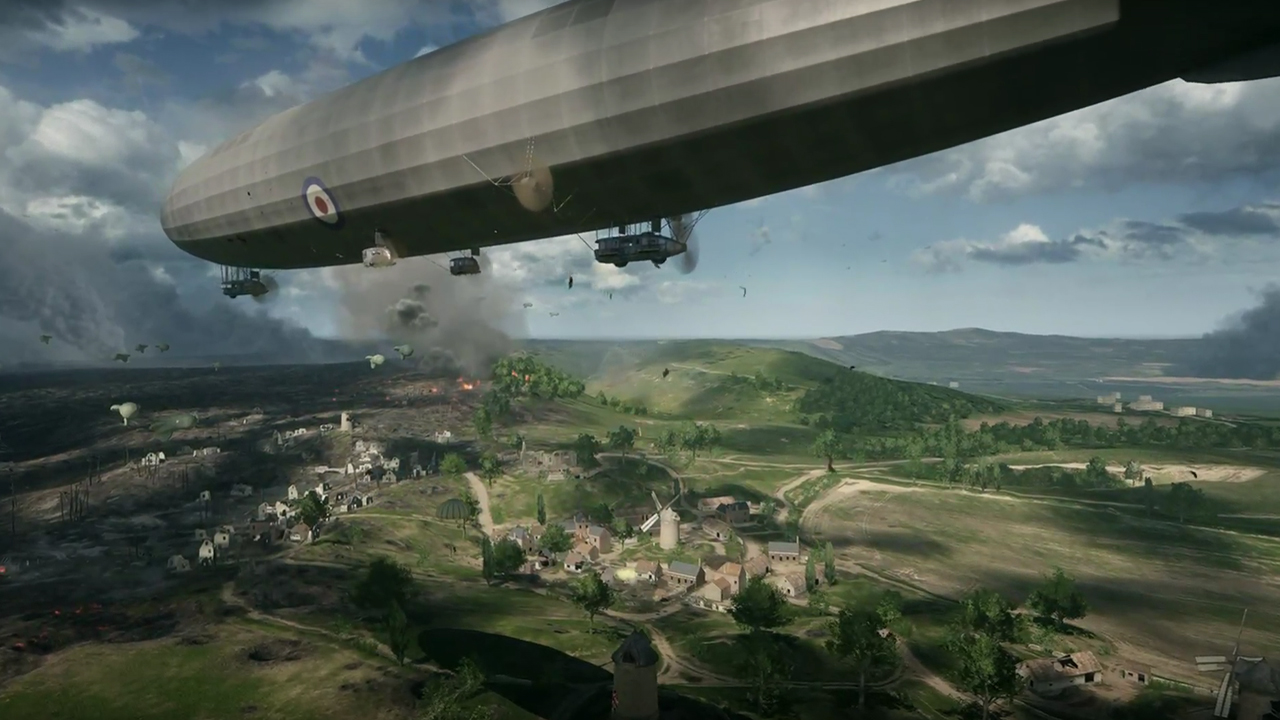
If you’re fighting a behemoth you’re probably winning a game of Conquest / Operations anyway. However, they can seriously dent your score, and if the behemoth appears late in the game when scores are tight… they can swing it in the enemy’s favour. If you’re on a map like Sinai where the train can’t capture Conquest spots, then the best option is to disable its weapons. Did you know you can target specific weapons on a behemoth? Start with the long range stuff like mortars and work down from there. It’s tough to do any real damage with the heavy machine guns on an armoured train, for example, so leave them until last.
If you’re in a behemoth and want to make the most of your advantage? Keep moving, keep spotting targets for allies, and capture objectives if you can. The train track runs through loads of Conquest points on Giant’s Shadow, for example, so use your power to help your team gain a foothold on the map.
8. What are the best weapons for each class?
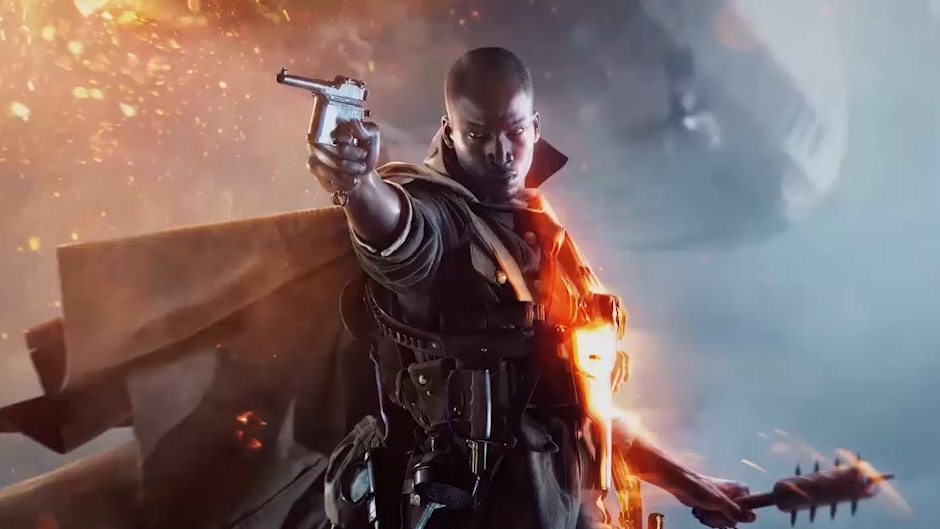
Well, it all depends on how you want to play but, here are the loadouts I’d recommend to make the most of your chosen class:
Assault - Go with the Hellriegel 1915 Factory (for mid-range) or the Model 10A Hunter for, um, slightly shorter range. The Hellriegel has a superb rate of fire and accuracy, so drops enemies very quickly. The Model 10A has ridiculous range for a shot-gun. If you’re assault, get some vehicle killing weapons like AT grenades. Or, for a map with fewer vehicles, take the Rocket gun to wipe out clusters of infantry and bring down buildings.
Medic - Go with the Mondragon Storm (no optics). That’s all you need. It’s quick enough to win one-on-one battles, but has a decent enough range to counter-snipe all but the loneliest of Scouts. Medics should really always take a Med Pack and Syringe (unless you’re playing TDM or Domination - in which case, go for anti-infantry rifle grenades), and Smoke / Gas grenades. Why? Smoke gives you cover to heal allies in key positions (like objectives), and it’s your job to keep as many bodies alive as possible. For a more assault focused Medic, take the Incendiary grenades - these do damage AND create a wall of flame that can, again, buy time for you to make revives.
Support - Of all the classes the Support has the least variety when it comes to their primary. I find the Lewis Gun Suppressive ideal, because it offers increased accuracy and a decent RPM. It’s great for taking down enemies at both short and mid-range. Supports with a repair tool are a valuable resource on maps with vehicles, so take one (you can also use it to damage enemy vehicles, if you get close enough). And an ammo crate for resupplies is handy on EVERY map and mode.
Scout - There’s plenty of debate here but, I’d recommend the Gewehr M95 for a more attack-minded Scout. The increased chamber speed and lack of requirement to zoom out between shots makes it an idea two-shot kill weapon. Sure, it lacks punch at long range, but you’re deadly at mid. For long range, the Russian sniper is by far the best option. Take a Spot flare gun at all times. Decoys are fine for long-rangers, but I prefer Tripwire explosives. Leave a few of these dotted around maps and - especially in Domination - you’re guaranteed a few extra kills.
9. How do I get better at Conquest?
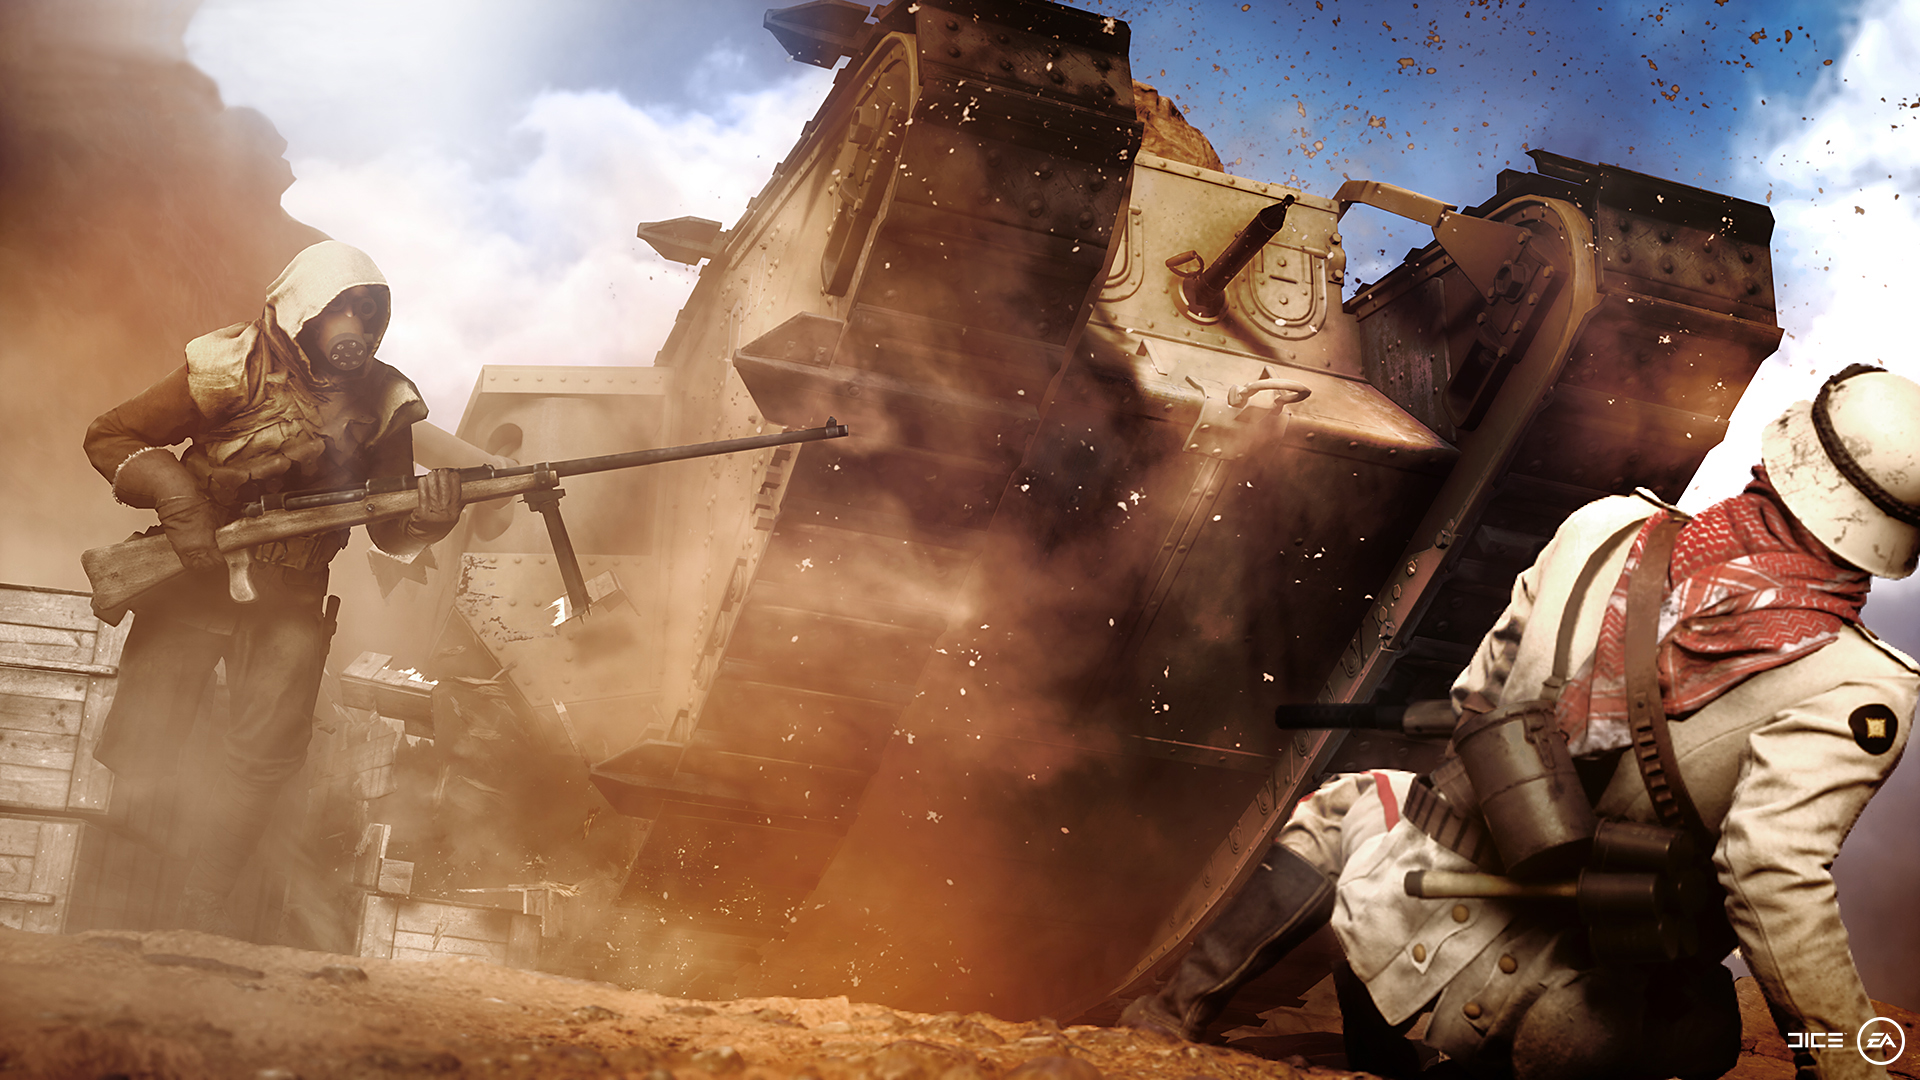
Ah, the eternal question. Be aggressive, is the simple answer. Put your body on the line to win objectives - you should be 100% focused on grabbing all the flags all the time, because that’s what earns the real points. Plus, if you grab an objective, ANYONE on your team can spawn in on it (not just squad mates). If you sit having a sniper battle with someone outside an objective, then you’re wasting your time.
Aside from that - always aim to own the centre of each map. It’s usually Objective C. Go straight there, right from the start. Control the centre, and you can handle the outer objectives much easier. However, if you’re repeatedly smashing yourself against an objective and can’t grab it, it’s always worth a stroll to a distant, less well defended objective to give yourself a foothold.
Finally - get in a tank. Anti-vehicle weaponry is, surprisingly, quite rarely equipped in BF1. A full crew in a tank or landcruiser can often take and hold 2-3 objectives for a decisive amount of time before the opposition gets enough of a coordinated attack together to take it out.
10. How do I get better at Operations?
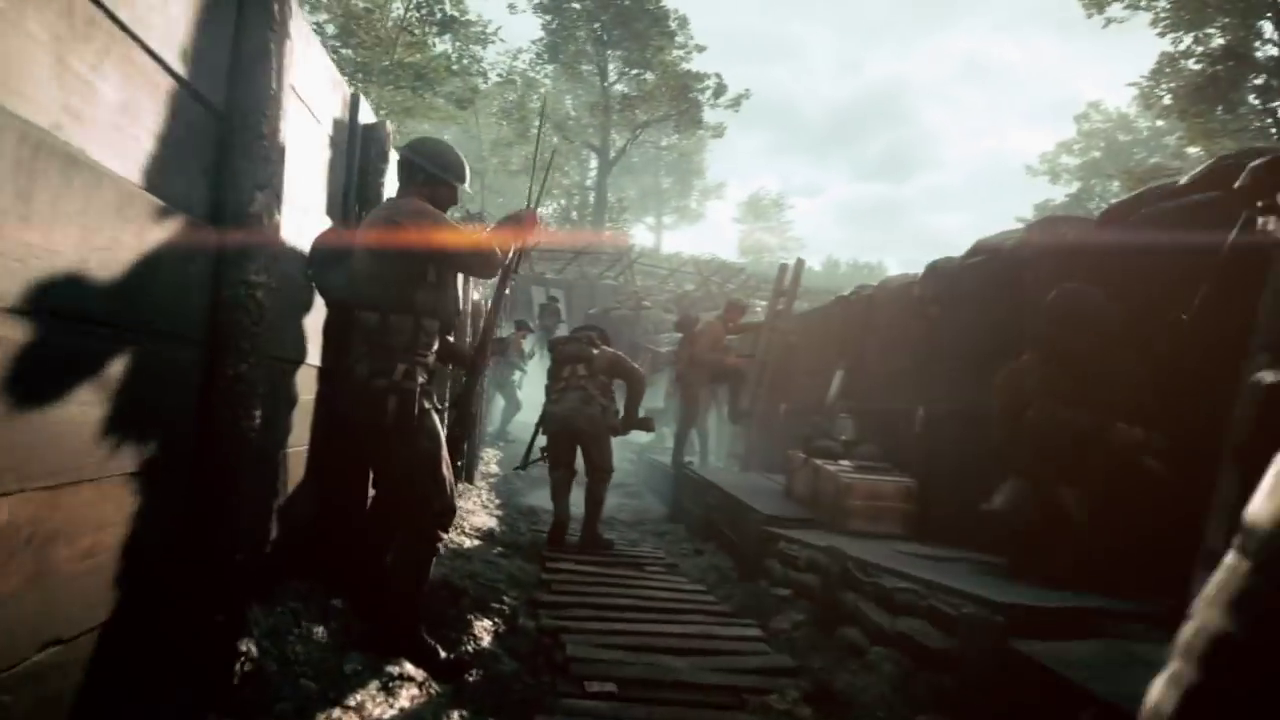
Similar to Conquest, you need to be aggressive. If you’re attacking, then throw your body at the objectives, even if you know you’ll die. It might give you the foothold your team needs to capture the objective. If you’re defending, a good tip is to wait until an objective is lost then, when the enemy is pouring onto the second one, it’s easier to reclaim the first. Swap, rinse, repeat. I’ve been in matches where we’ve frustrated and exhausted the enemy completely by leapfrogging between objectives.
If you’re attacking, use gas and airburst mortars to clear out entrenched troops. Shotguns are useful for then assaulting the areas full of gas, as are Spot flares which allow you to assess the number of defenders. Long-range sniping can be useful when you’re holding an objective as a defender - especially on St Quentin’s Scar, where enemies have vast areas of muddy, open ground to cover between objectives.
However, the best defence - as with attack - is coordinated aggression between squad mates, and a balanced squad to do it with.
11. How to get Battlepacks
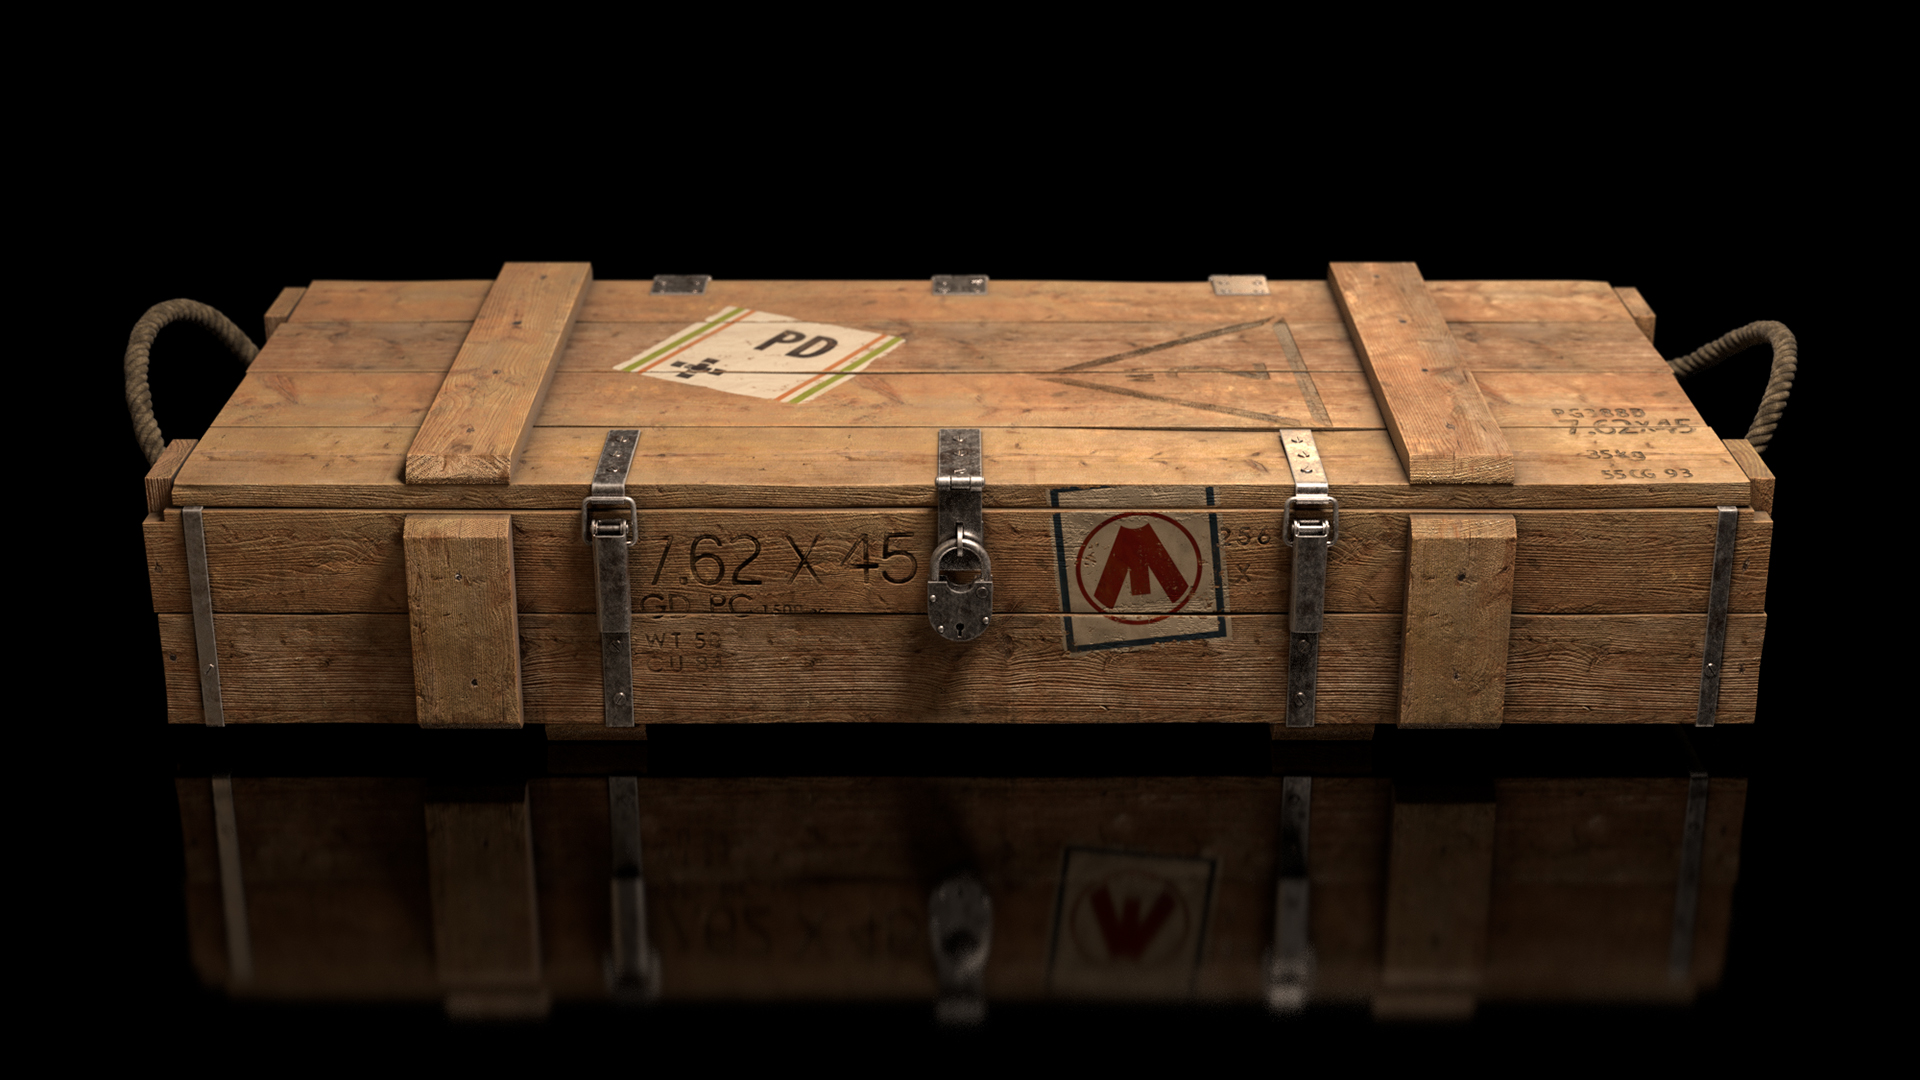
There are several ways to get Battlepacks. Most will come from random drops at the end of games. It works by percentages - usually 15% of all combatants will get a pack. Doesn't matter if you're top or bottom of the leaderboards, or what mode you're playing. You'll likely get more Battlepacks playing Conquest, as it's a mode that requires 25-30 mins investment per match, and it can yield around 10-12 packs across its players. Aside from that, it's pure luck.
You can also buy Battlepacks for real money. That's pretty self-explanatory. Is it worth it? No, no way - most items within packs are cosmetic, and you don't see much of them actually in the game.
The final way to get Battlepacks is via scrap. When you get an item from a Battlepack you get a certain scrap value for it, if you don't want it. Regular items grant 30 scrap, Distinguished 90, and Legendary 270. You can then trade scrap for new Battlepacks once you've saved up enough. A regular Battlepack costs 200 Scrap, an Enhanced version costs 450 Scrap, and a Superior costs 900 Scrap.
Interested in some Battlefield 1 secrets? Then take a look at Battlefield 1's giant shark Easter egg.
Weekly digests, tales from the communities you love, and more


