Resident Evil 5 Strategy guide and Boss guide
Complete Resident Evil 5 Strategy guide and Boss guide
Acts 1 and 2 |Acts 3 and 4| Act 5 |Act 6
ACT 5
Chris finally discovers the source of the Umbrella’s progenitor virus, and a top secret underground lab right beside it. It looks like Tricell have resumed Umbrella’s work, and the lab isn’t as empty as first assumed.
BETA BOTHER
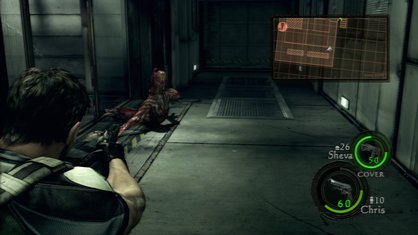
Resident Evil 2’s lickers make a welcome return, albeit in a new, genetically superior, beta modification. And they’re pretty tough too.
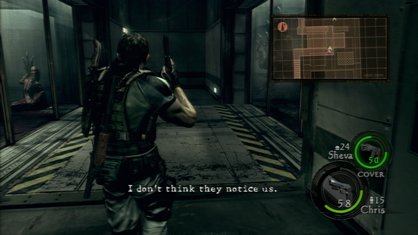
After a couple of teases two lickers will leap out of the glass holding tank that lies just beyond the caged test animals. You’ll find that sometimes they fake their own death (clever chaps, aren’t they?). Aim at a writhing licker and if there’s a red dot it’s still alive. If the laser doesn’t register the licker then it’s dead.
However, for all this the lickers have poor eyesight, meaning you can creep past them without fear of an attack if you tread very carefully. Unfortunately they reproduce very quickly, though, so if they hear you you’ll be surrounded by the critters in seconds. They always attack in large numbers so bigger weapons are definitely recommended for taking them out.
GUN CRAZY
Weekly digests, tales from the communities you love, and more
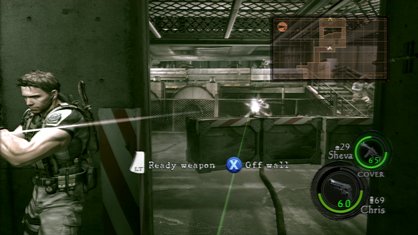
You’ve had it lucky up until now. The majini have now ditched their bottles and knives in favour of some full-blown army gear.
You’ll meet these three grunts (above) early on. Run up to the striped crates at the bottom and take cover before trading fire or you’ll not get far.
Chapter 5.2 is a good time to invest in the bulletproof vest. From now until the end of the game it’s all about using cover to overcome the soldiers.
After the first two rooms there are lots of explosive barrels to use. Strike them and you’ll kill half a dozen majini with one bullet.
Flash grenades are a pain. Not only do they white-out your screen for two seconds, they remove you from cover. Make sure you don’t stray into gunfire when blinded.
FEAR THE REAPER
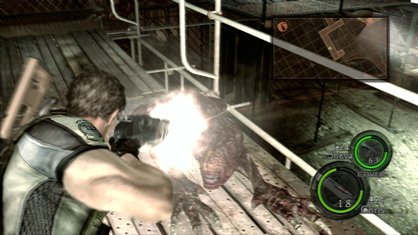
The reapers are the toughest ‘standard’ enemies in the game. Thankfully there’s one massive chink in their armour.
The first reaper appears once you’ve restored power to the broken conveyor belt with the test subjects. Run past it, power up the belt and hop on.
The reaper will chase you. Stand on the strip between the second and third belts and let it get near. Then, use the shotgun to knock it over. The reaper will now slide straight into the furnace!
The test subjects make things difficult for you. If one grabs you, waggle the left stick to shake it off and pick up their treasure afterwards.
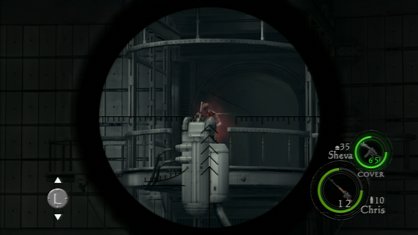
Reapers possess a one-hit kill, but let the others get close and fire one magnum shot into their yellow belly when they’re uncovered. The one-hit KO goes both ways…
WEAPON WATCH
This act’s most powerful weapons:
AK-74
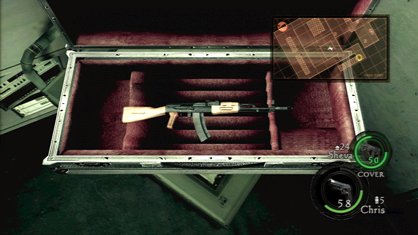
The powerful AK-74 is in the control room off the corridor just past the first two lickers. The room’s on the right, just before you exit this level
Sig 556
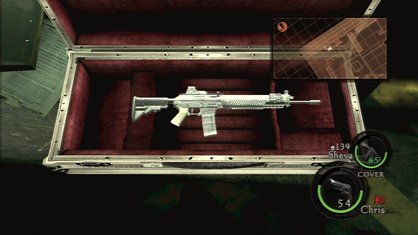
Talk about out in the open… You’ll spy the Sig 556 on the table by the conveyor belts with all the ‘dead’ test subjects. Grab it now while there’s nothing about
H&K PS-1
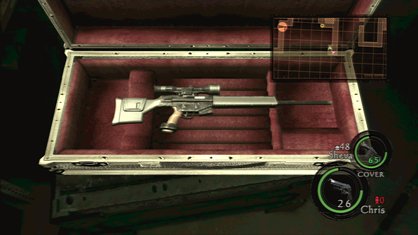
The case with the H&K PS-1 is in the small generator room you visit to power up the horizontal platform. You’ll probably be in a hurry – it’s just after the reapers attack
L.Hawk (Magnum)
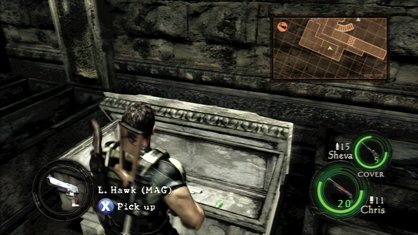
Head up to the last room on this arena’s top level and push the coffin open with Sheva. Inside are two expensive gems and one very useful magnum. Don’t waste the bullets on Wesker.
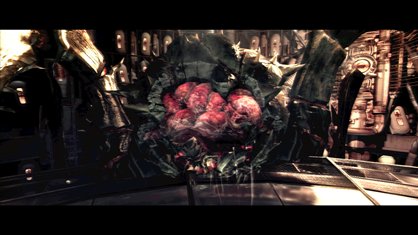
BOSS GUIDE: U-8
It’s just relentless in here. Once the vault’s elevator is activated the facility’s arachnoid guardian springs into action:
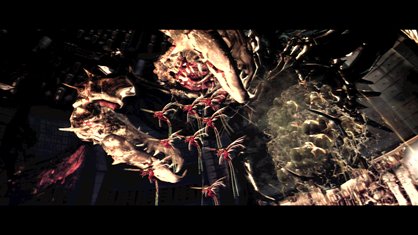
The U-8 appears without warning, and it’ll greet you with an instant-death QTE. If you survive, quickly pick up the hand grenade lying on the platform
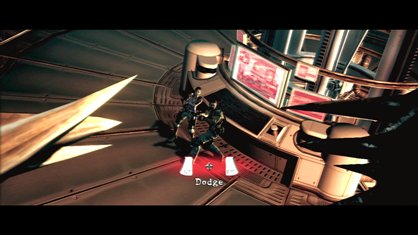
Its two main legs have exposed fleshy muscles. Pick a leg and blast it with a powerful weapon (the upgraded shotgun’s perfect for this)
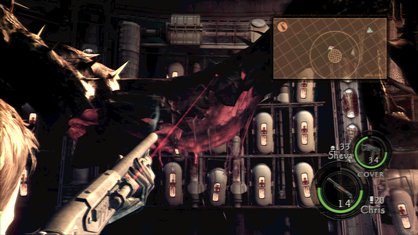
Weaken the leg sufficiently and the U-8 will collapse. Now just run to its mouth and toss one of your grenades inside its sticky gob
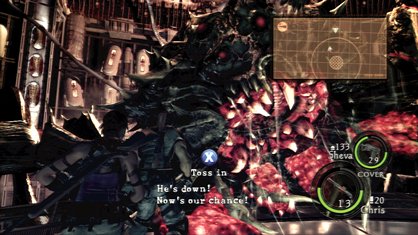
Two cycles of this and you’ll expose its cranium. Now focus all your fire on the brain and you’ll send it off to spider heaven. Hurrah
The only attack to be wary of comes from these flying critters. They trap you in sticky goo, so blast them whenever they appear before attacking the U-8
BOSS GUIDE: UROBOROS MKONO
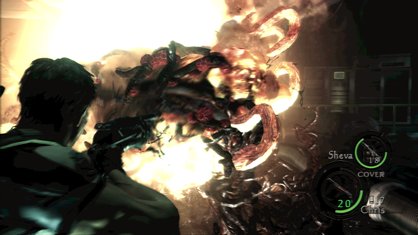
The Uroboros is back and, sadly, there’s no furnace about to kill him with this time!
Locate the three gas canisters and knock them over. Every time the Uroboros gobbles one up, shoot the canister to set Mr Mkono alight
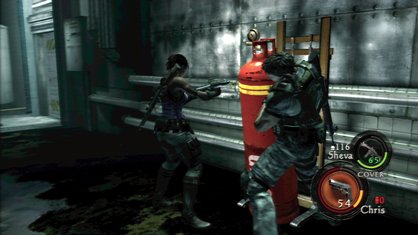
When the flamethrower’s full, pick it up, get in close and go crazy. When it’s on fire it’ll grow bulbous targets, so make sure Sheva’s equipped to shoot ’em
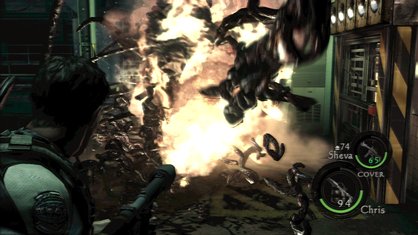
Alternatively, hand the flamethrower to her and shoot them yourself. Keep one eye on the flamethrower ammo and be prepared to refuel it once it’s depleted
BOSS GUIDE: WESKER
A scrap with STARS Alpha team leader sounds like fun, but we’d advise you to just run, run, run:
You’ve got to survive this fight for seven minutes, that’s all. Head to the blue door to your right and Wesker will smash you through. This now gives you the run of the paddock
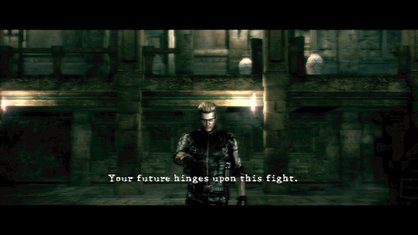
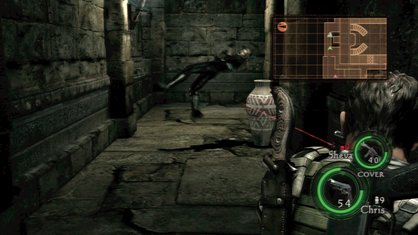
Use your map to track Wesker and stay ahead by running laps around the one-way circuit. Jill doesn’t show on the map, so grab her from behind and let Sheva knock her out if you spot her alone
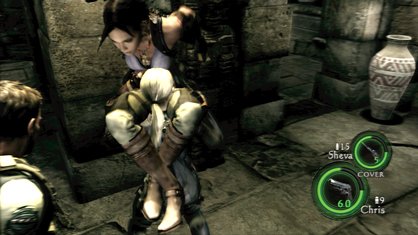
There’s plenty of cover in the upper levels but there’s no point in using it. Wesker will soak up a couple of bullets and simply dodge the rest. Survival’s your only goal. After seven minutes you’ve won
BOSS GUIDE: Jill
You need to stay close to Jill to win this one. Give her space and she’ll just shoot you with her Uzis:
Run up behind Jill and hitX to hold her steady. Then hammerA to keep her there until Sheva shoots Jill’s mind control chip
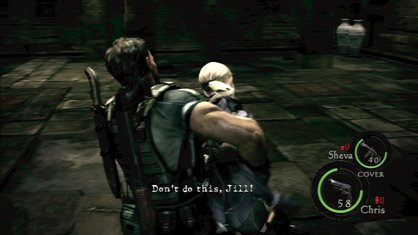
Jill usually fights back afterwards, so get ready to dodge as soon as she breaks free from your grasp
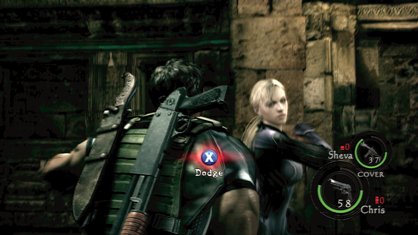
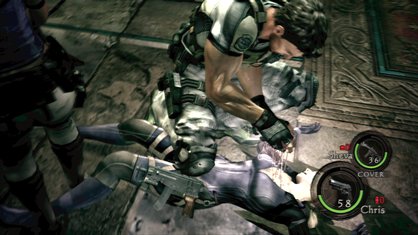
Keep at it and Sheva will knock Jill down. All that remains is to rip the device from Jill’s chest by pressing a as fast as possible.
TIPS
1. The wooden crate, is traded in chapter five for a canvas version. It still houses ammo and health though, so equip that knife and get slashing.
2. When you’re on the second conveyor belt be sure to shoot every gas canister ahead, even if there are no majini about. Be wary of grenade blasts.
Next page: Act 6

 Join The Community


