Lego Star Wars: The Force Awakens Gold Brick locations guide
Find all of the Gold Brick collectibles in Lego Star Wars: The Force Awakens with our complete guide
Weekly digests, tales from the communities you love, and more
You are now subscribed
Your newsletter sign-up was successful
Want to add more newsletters?
Join the club
Get full access to premium articles, exclusive features and a growing list of member rewards.
Jakku (continued)
Gold Brick #22
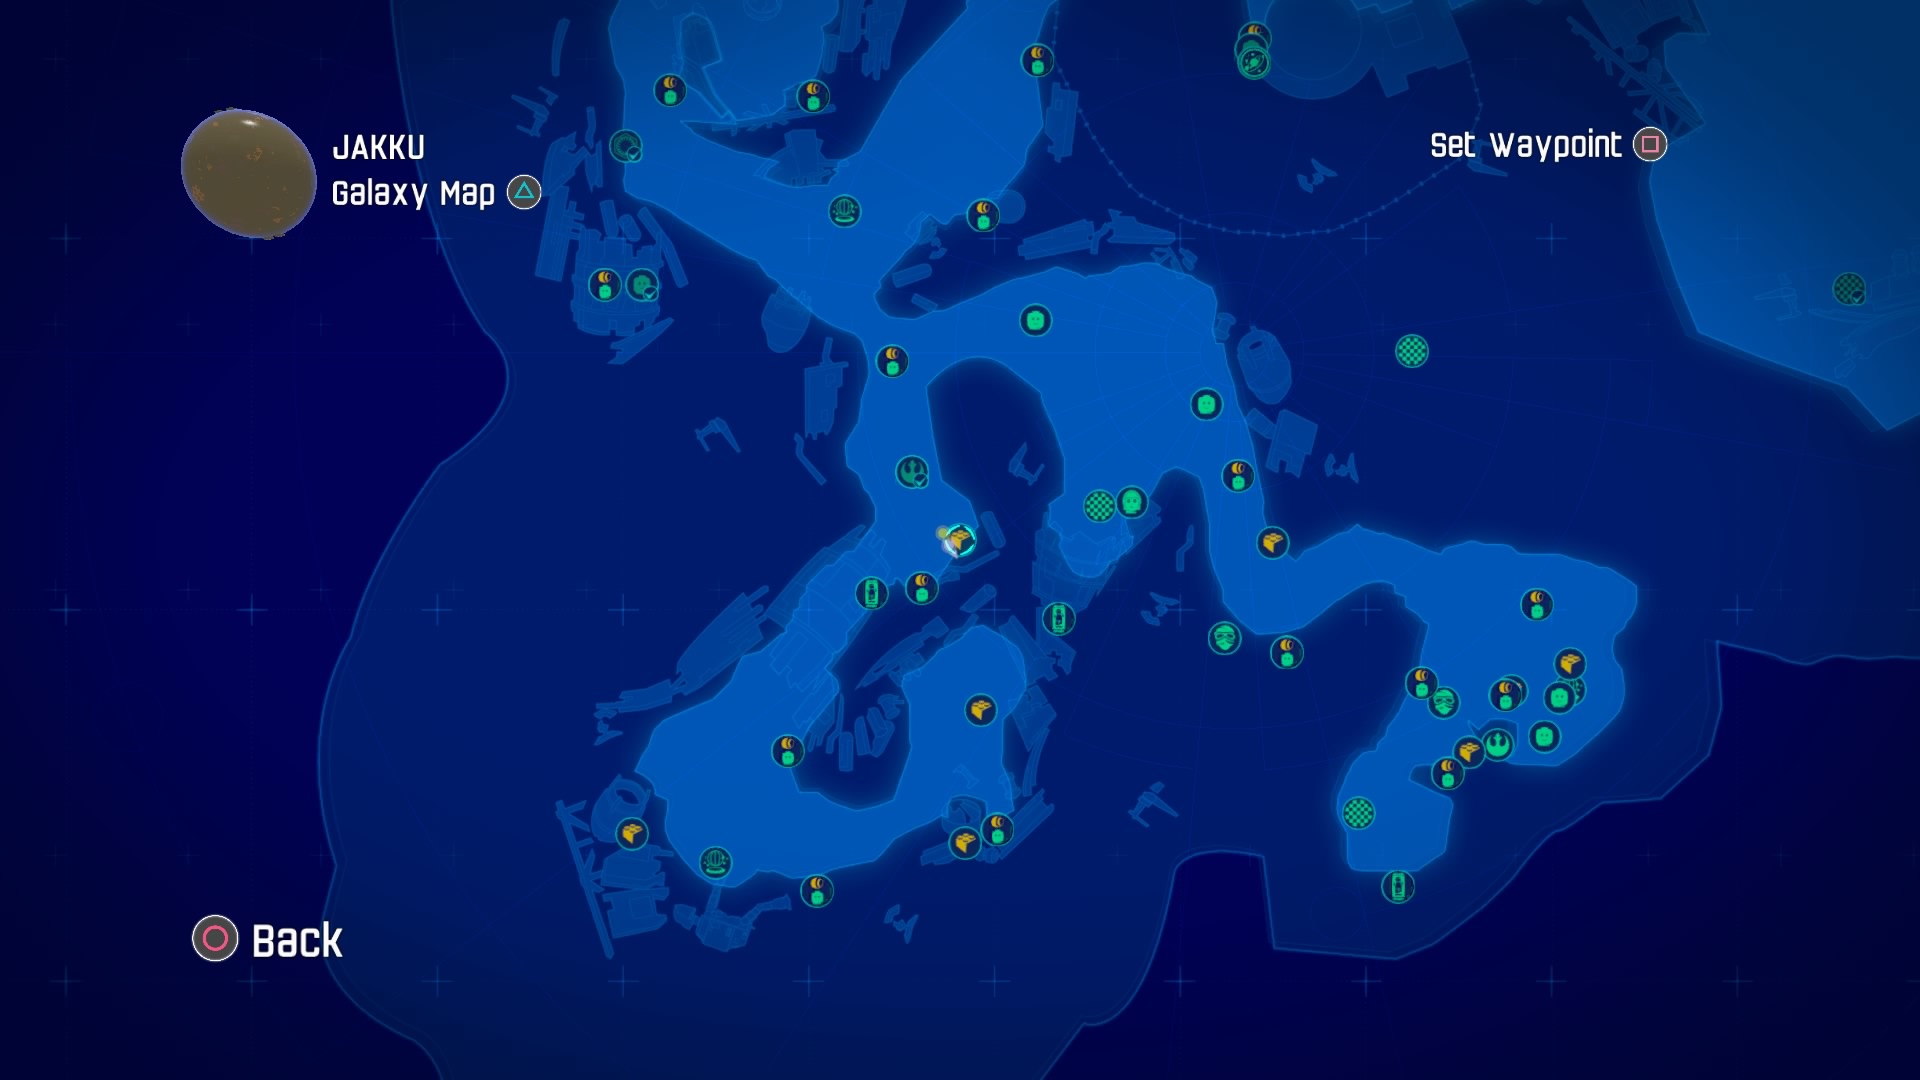
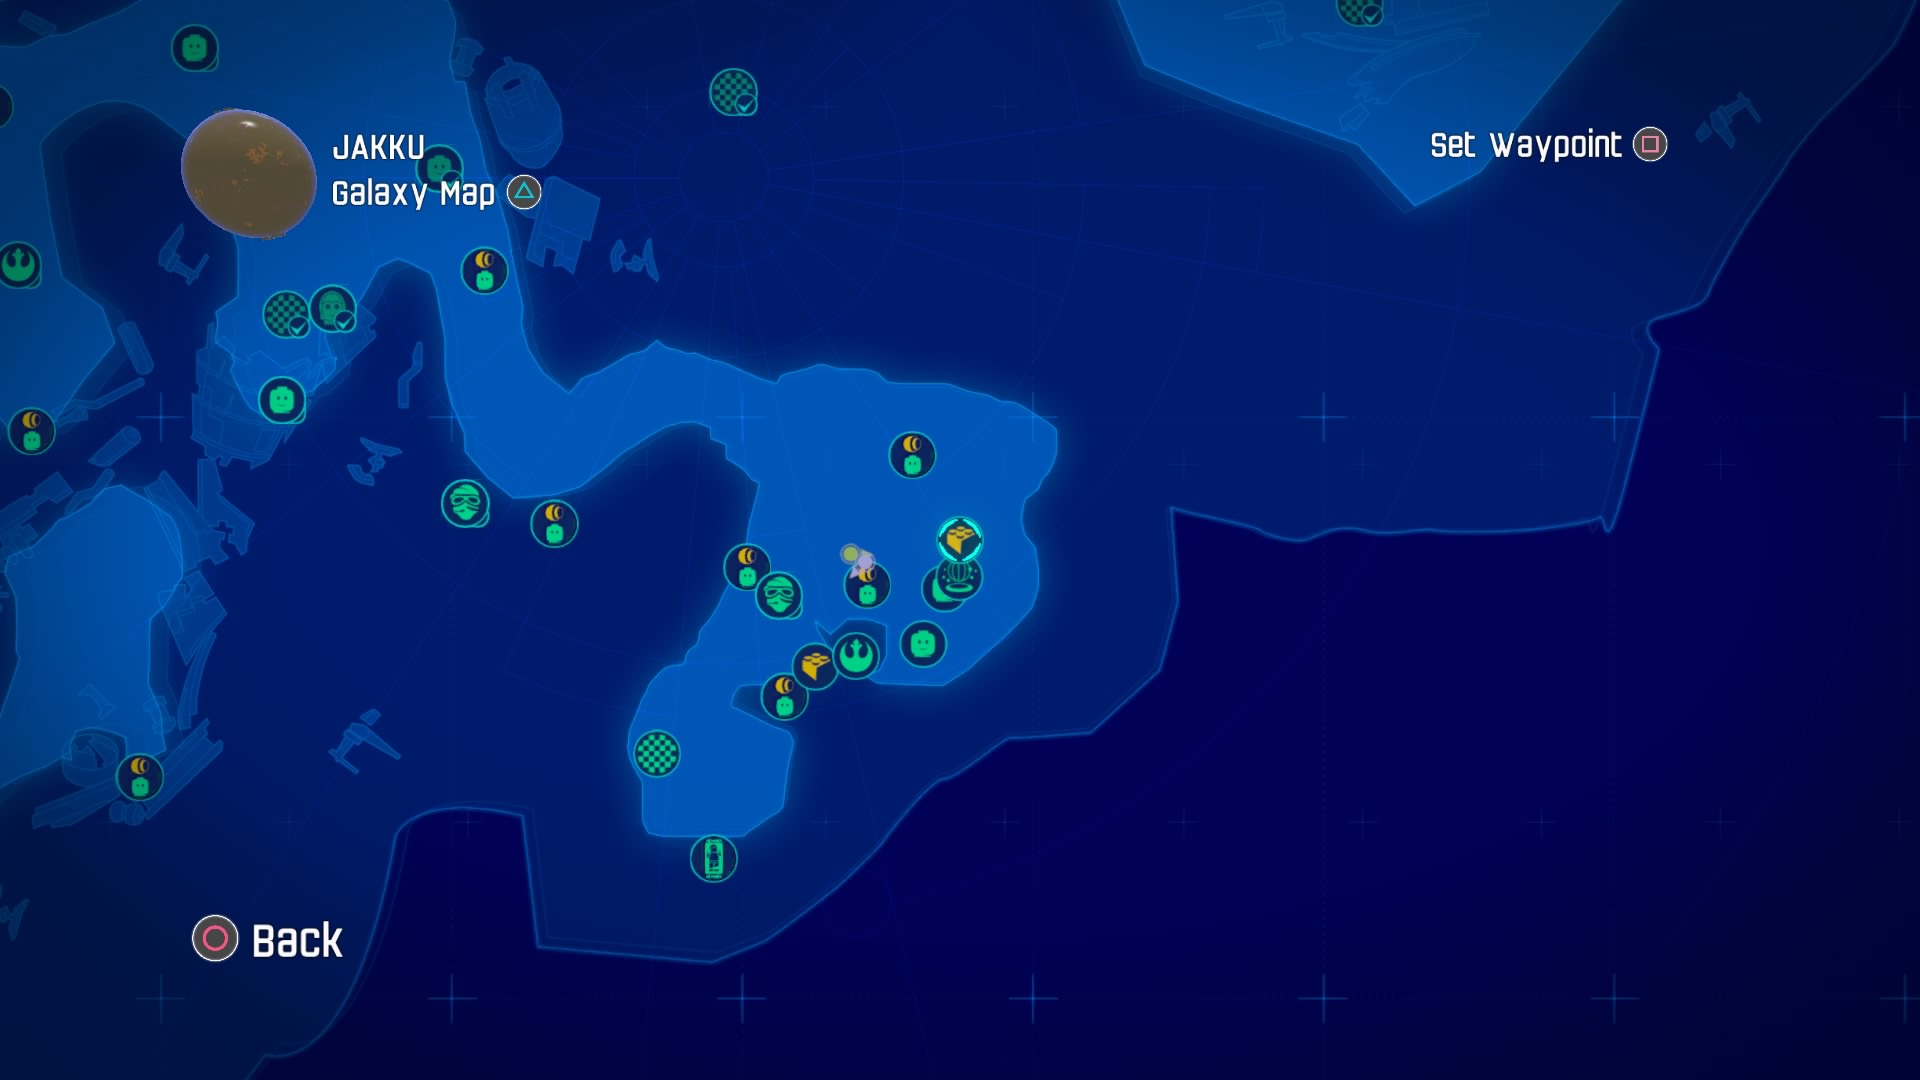
Continue to the south towards the gold brick icon.
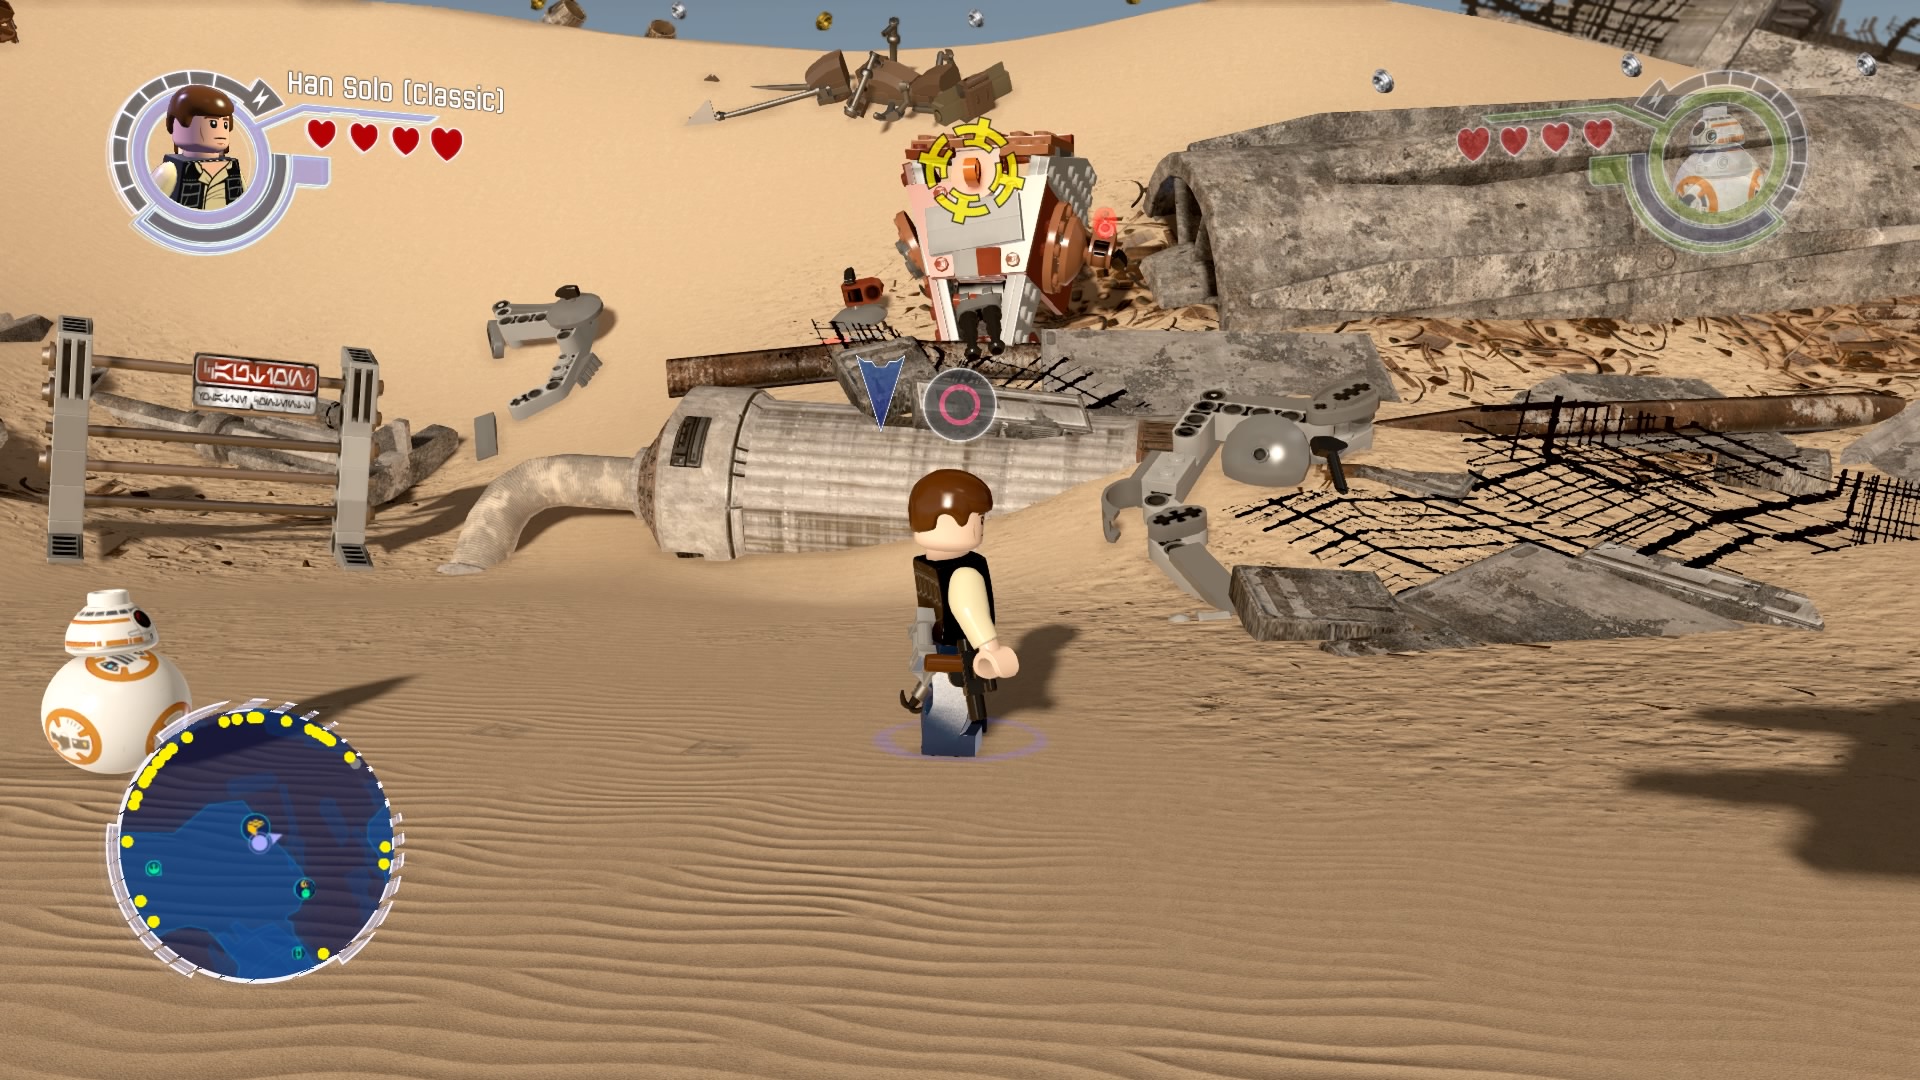
There's a grapple plug along the edge of the path.
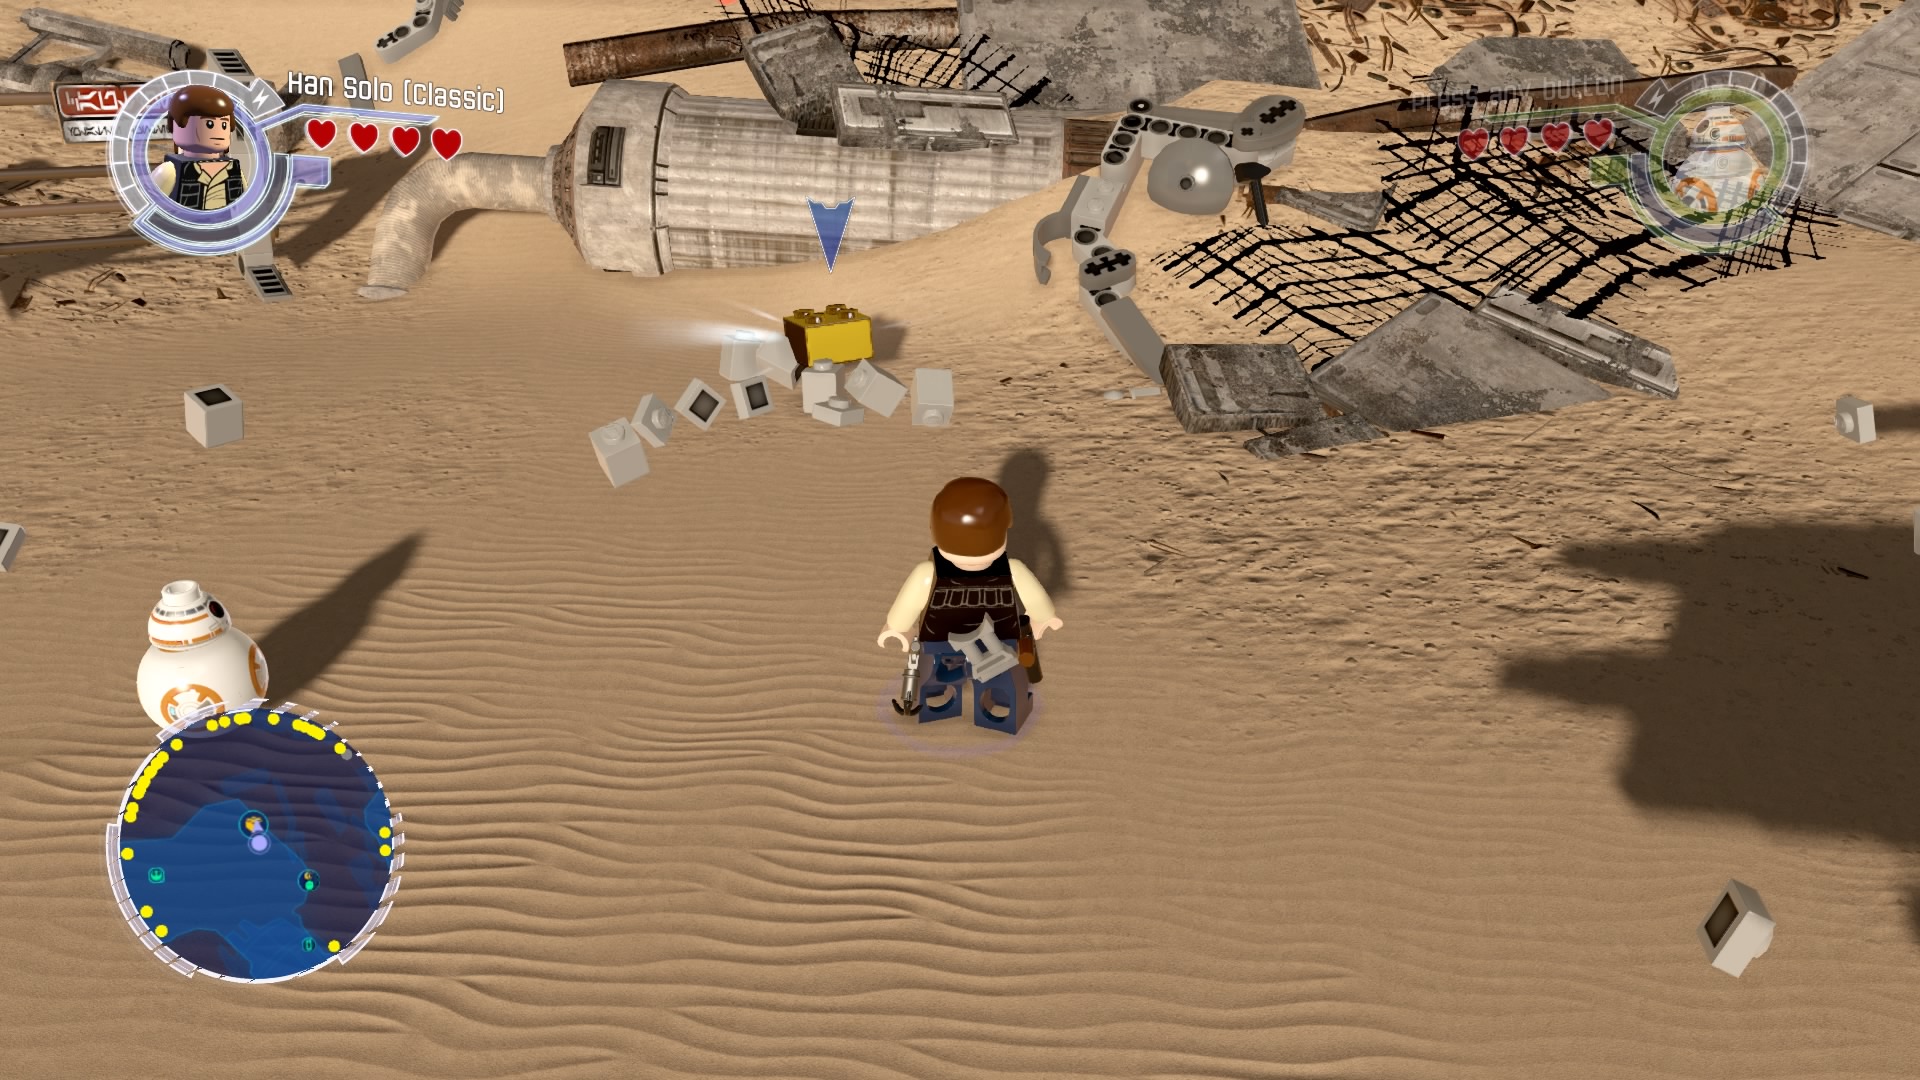
Pull it down for the gold brick.
Gold Brick #23
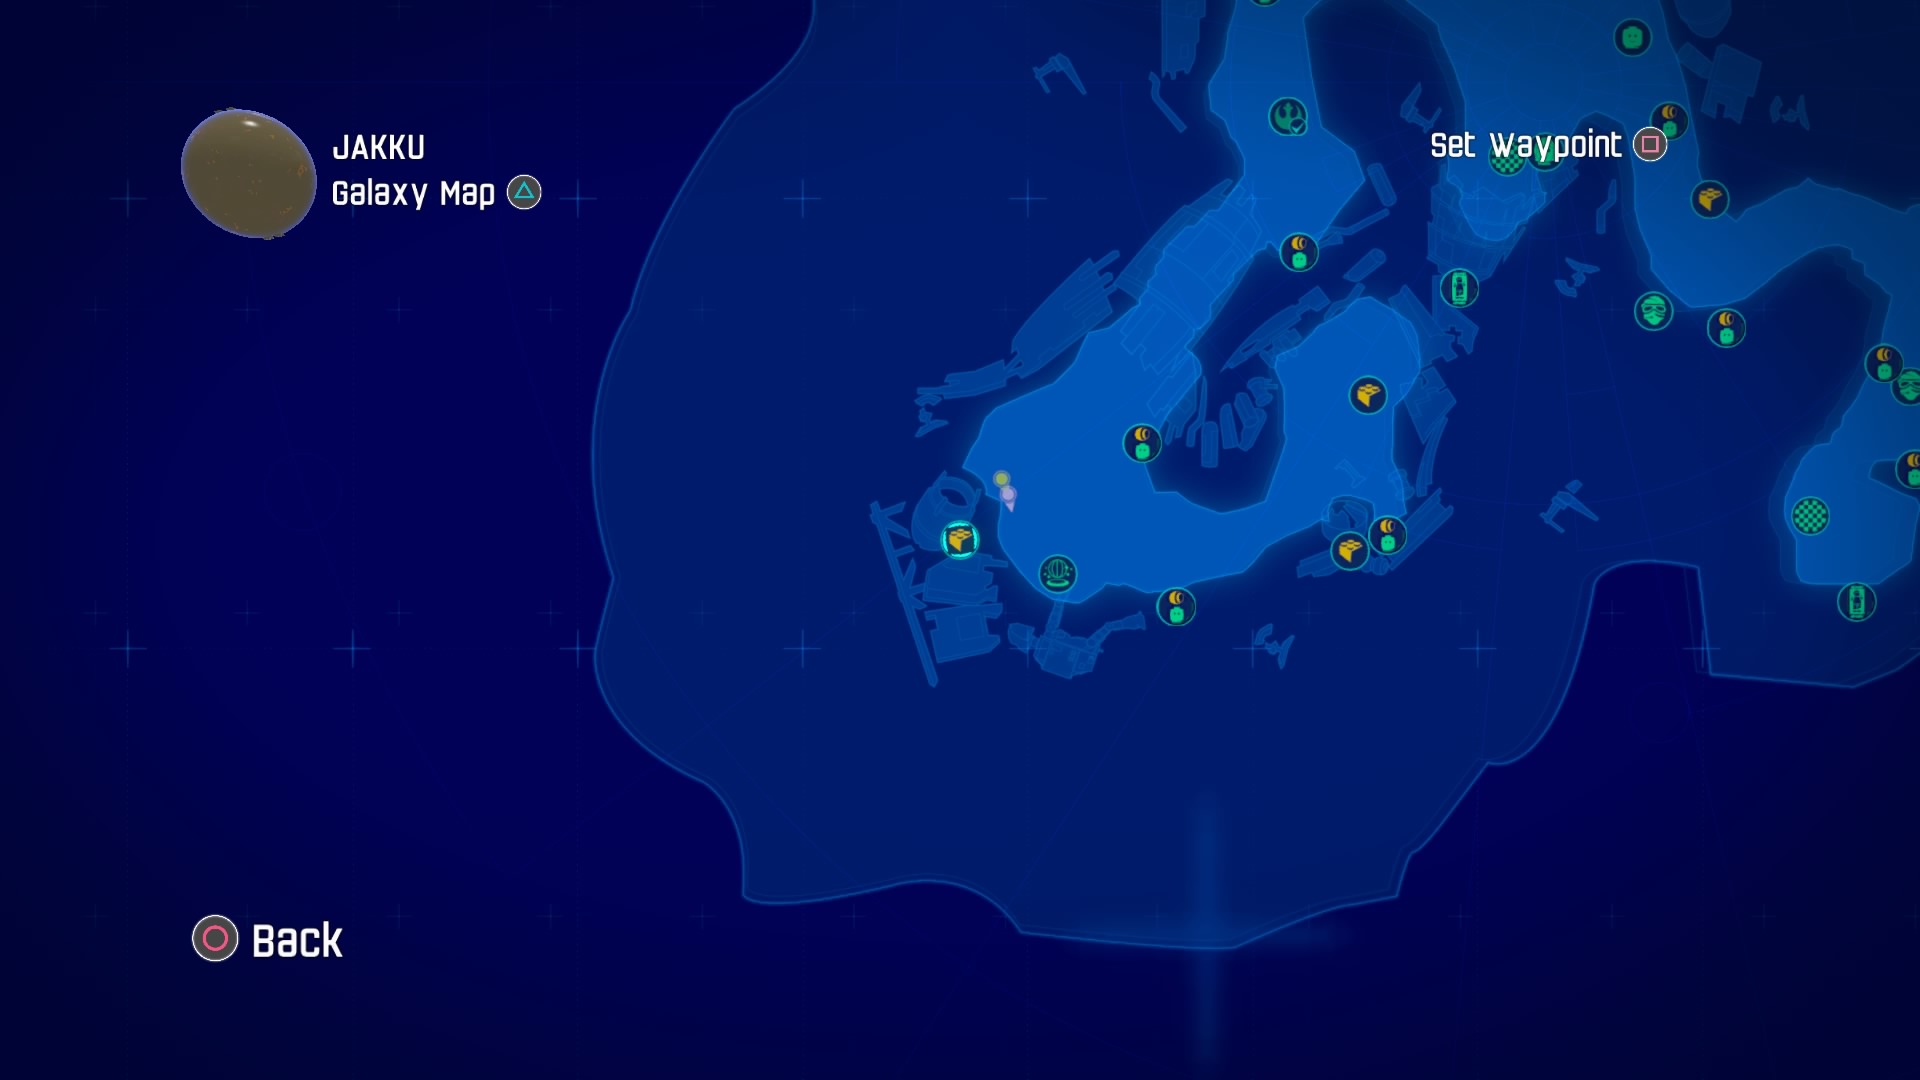
This one is in the southwest corner of the map.
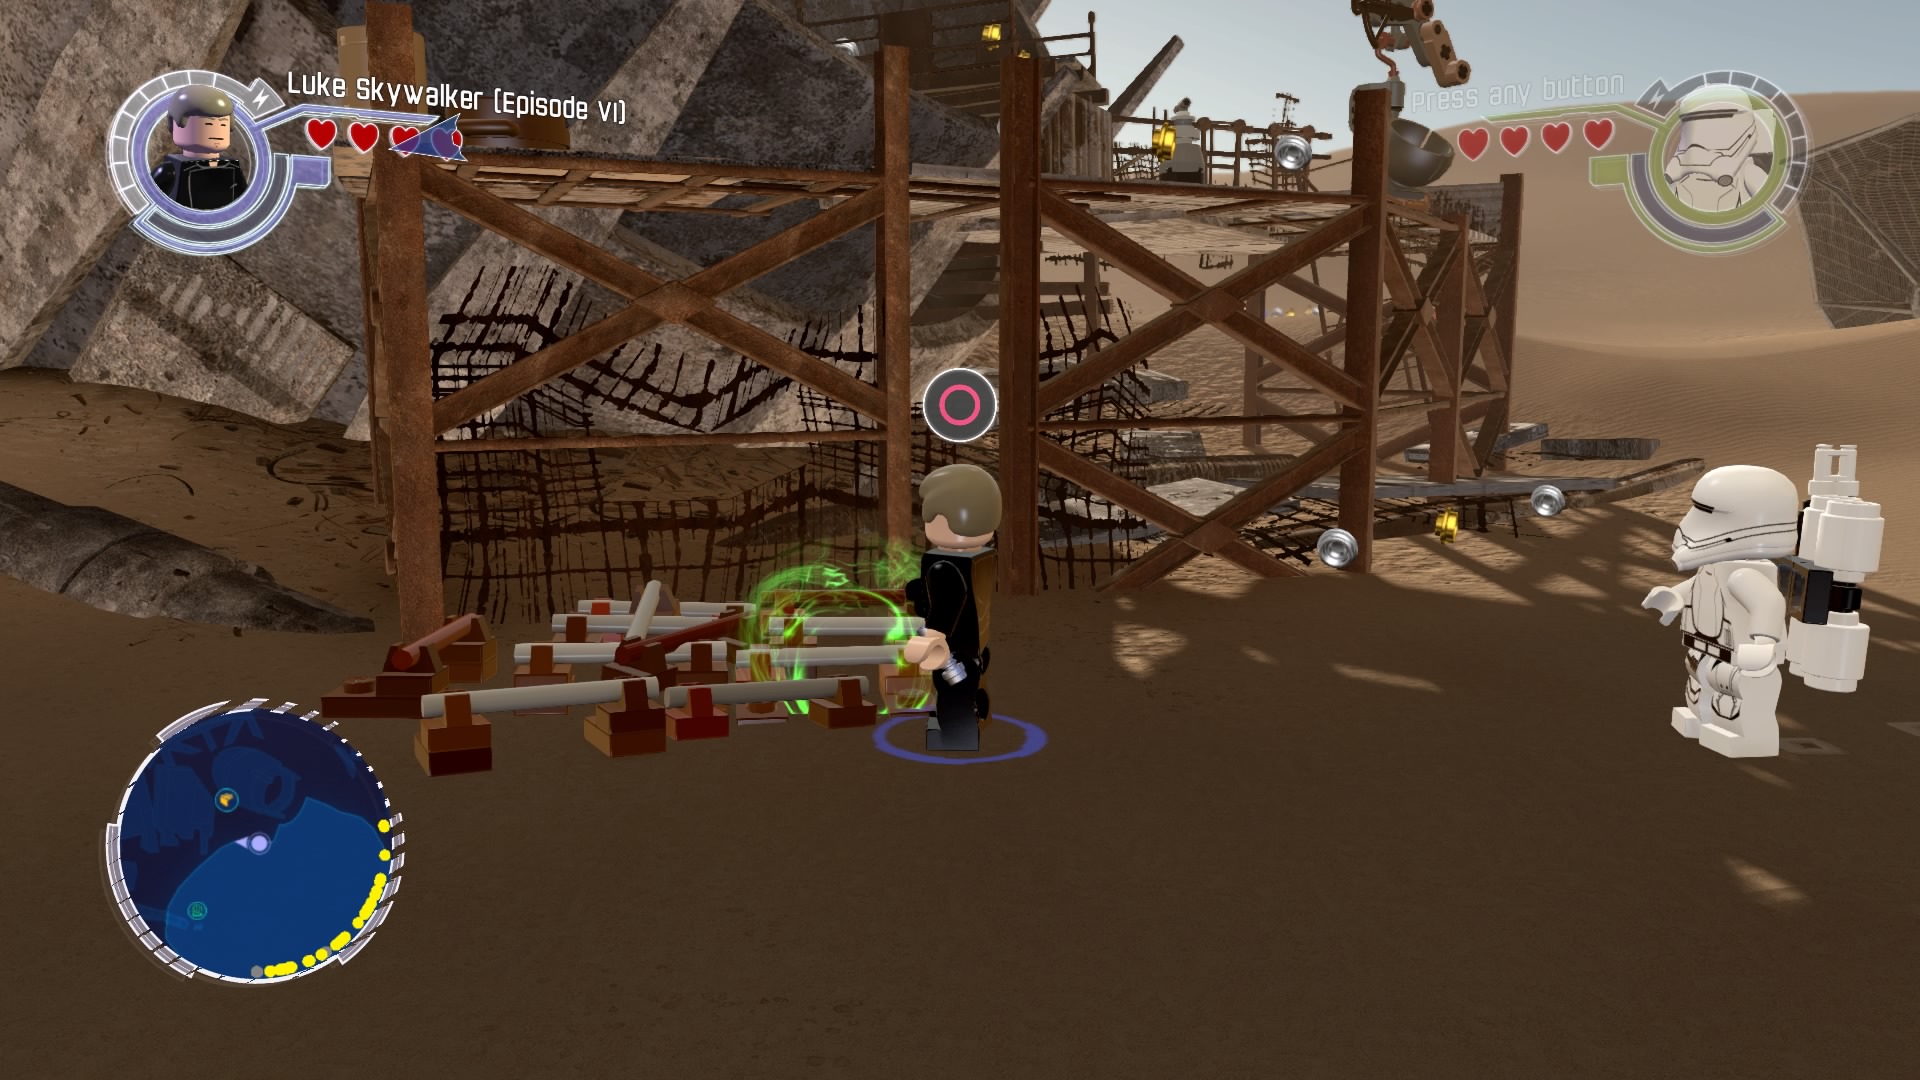
Use the force to build a ladder to climb the scaffold.
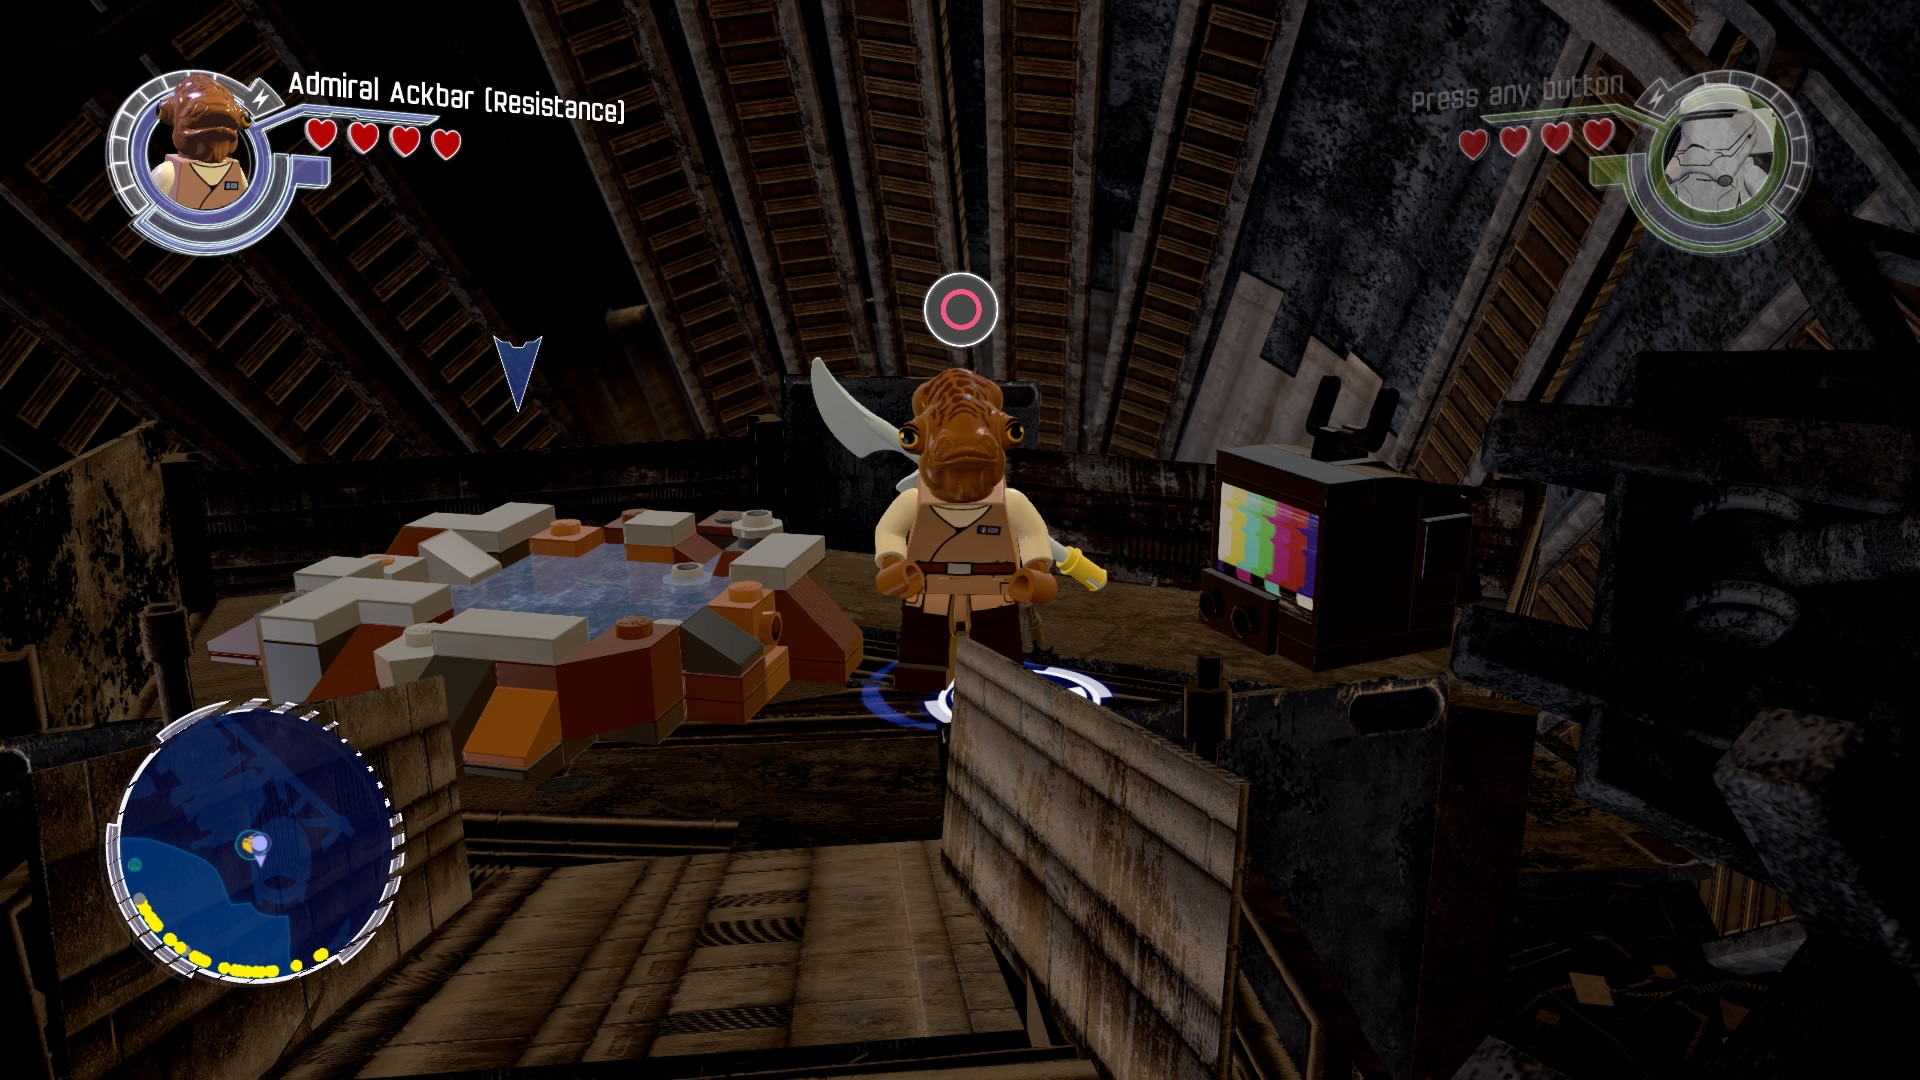
Dive into the pool at the top to get the gold brick.
Gold Brick #24
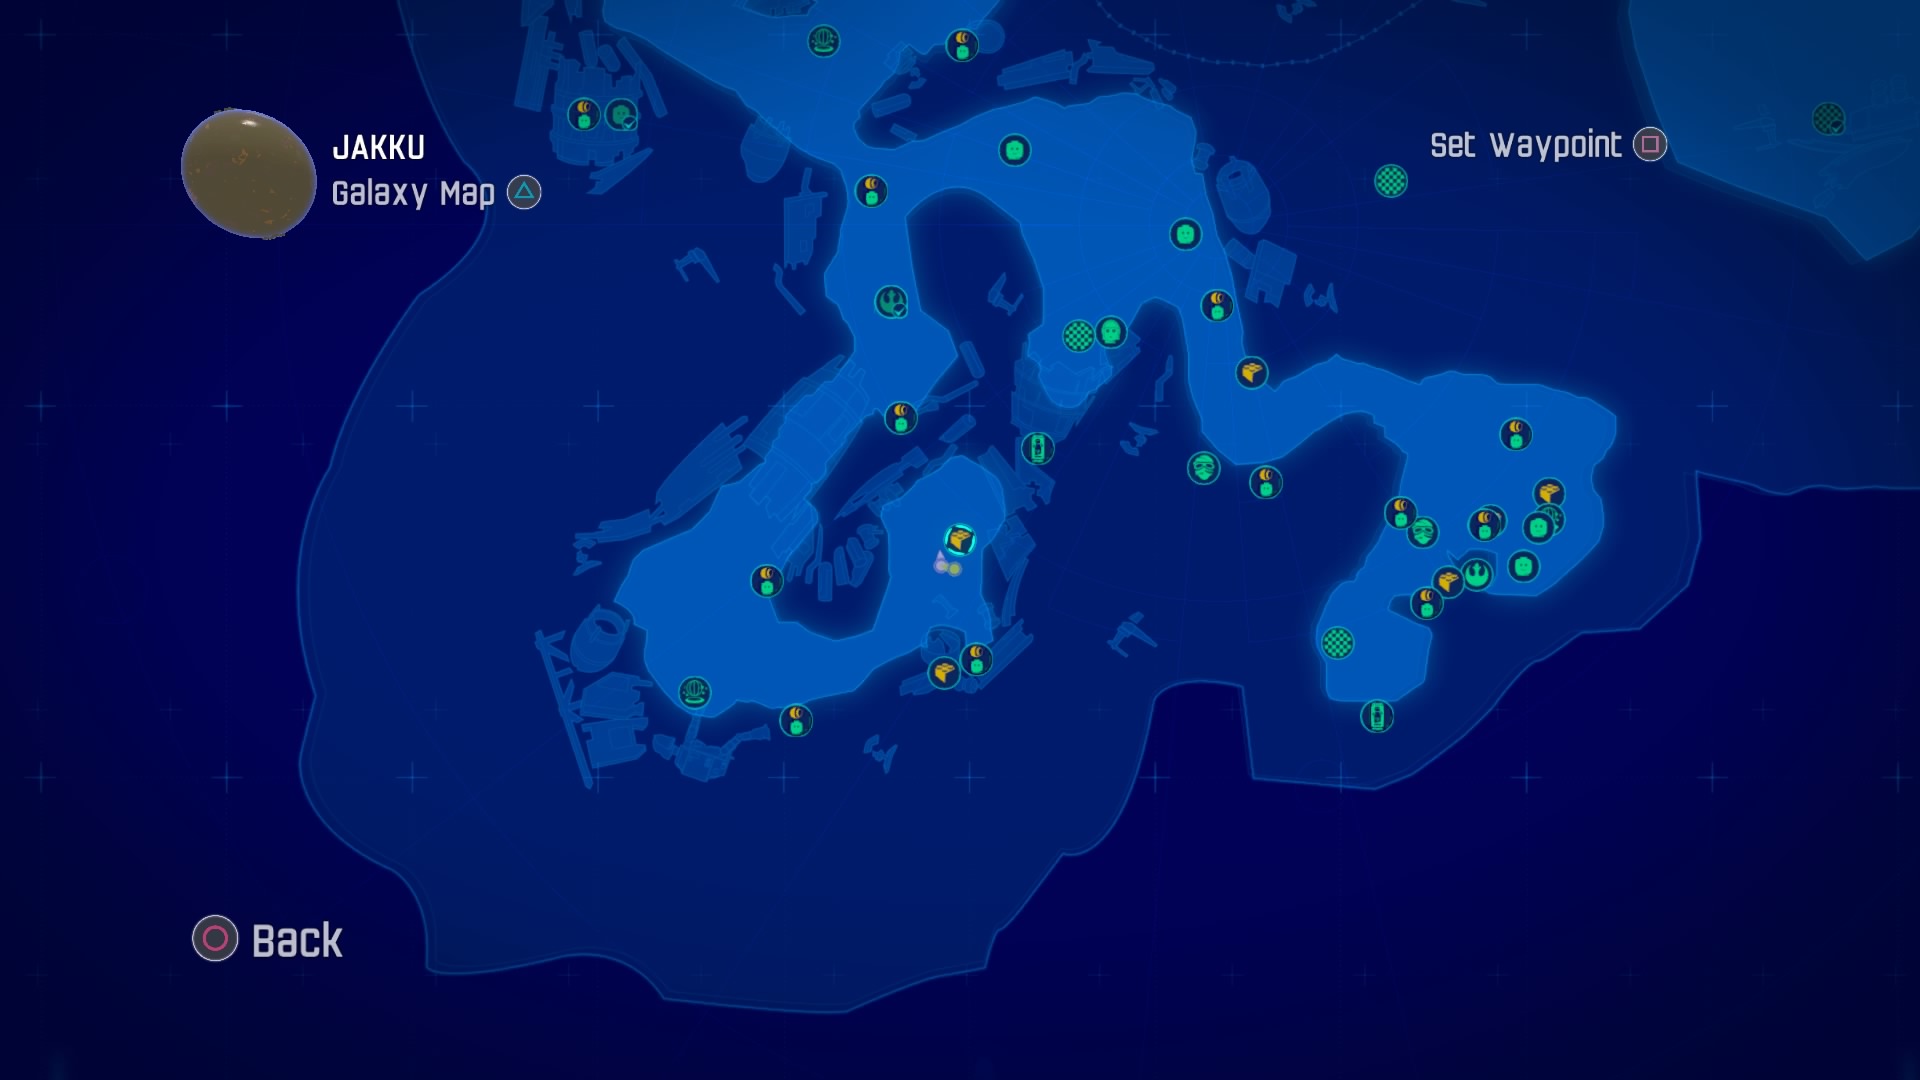
Follow the path around to the east.
Weekly digests, tales from the communities you love, and more
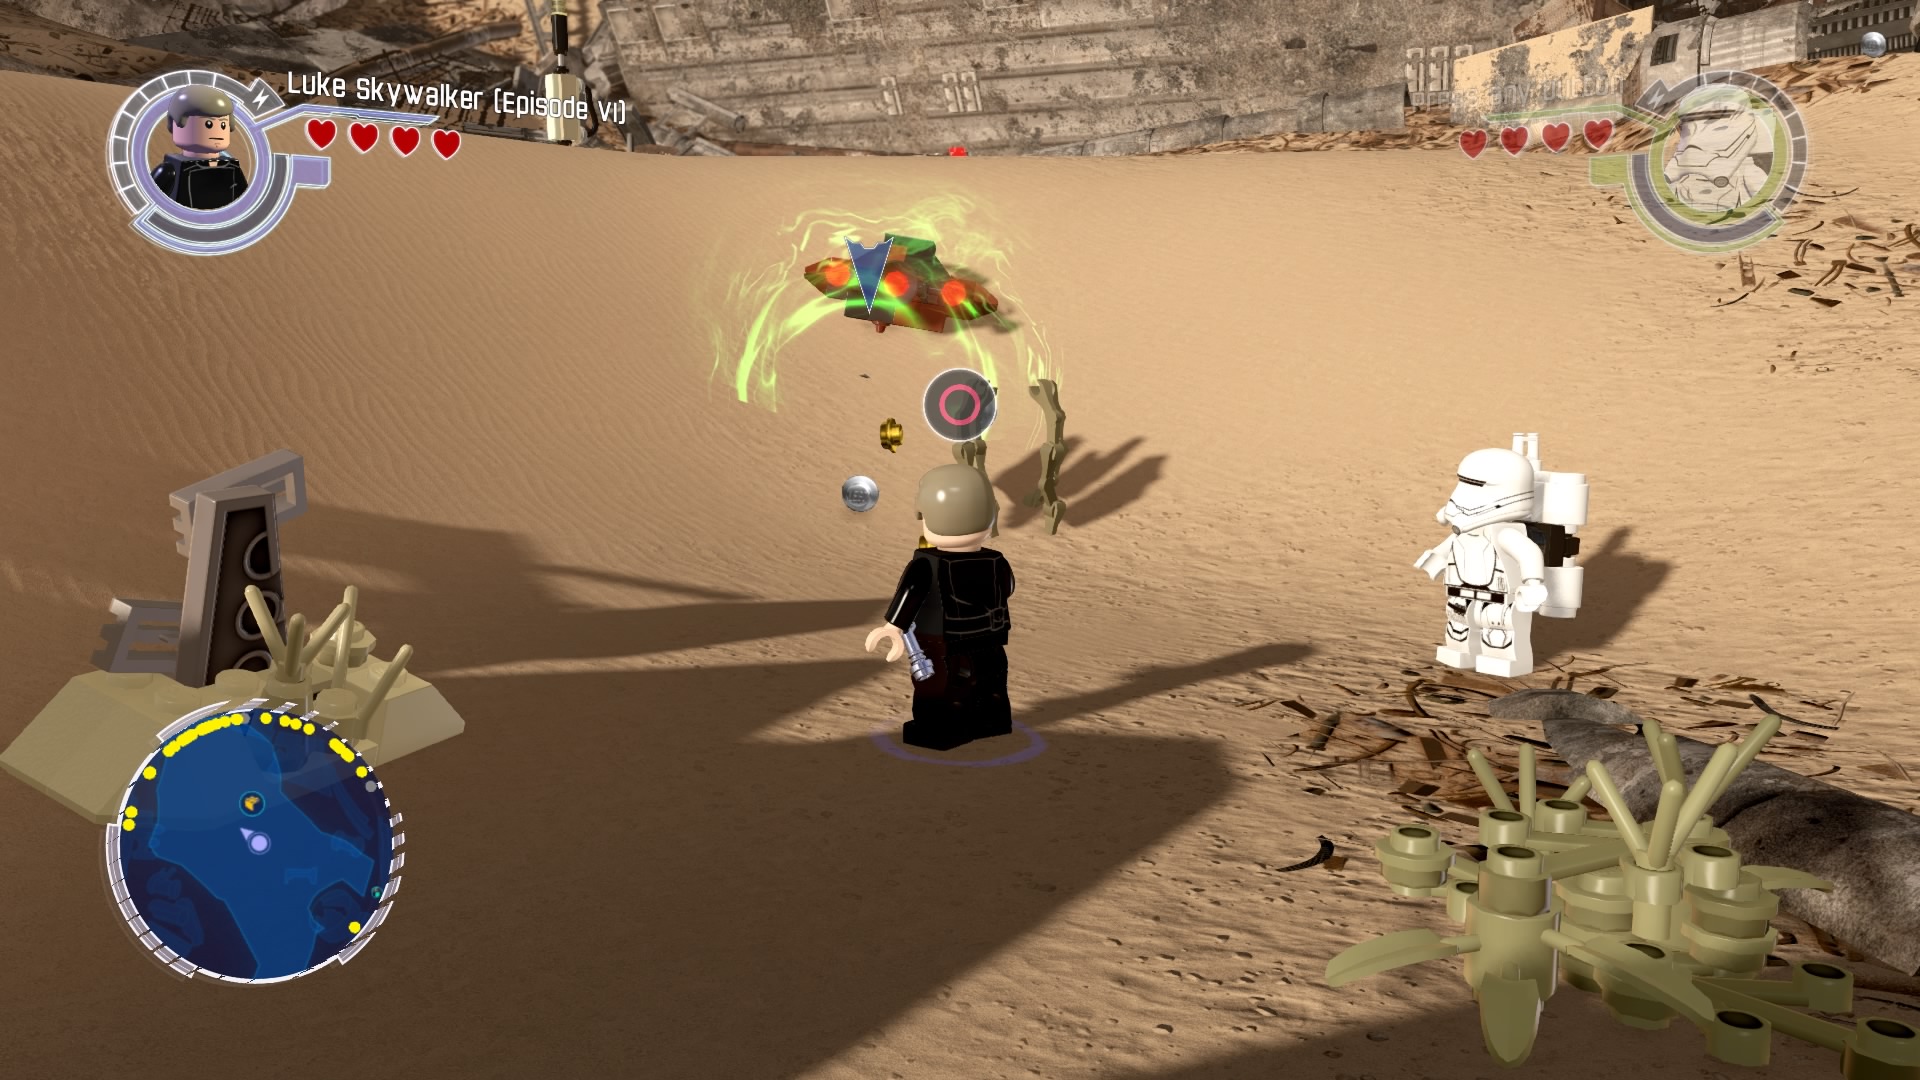
Use the force to pull the droid out of the sand.
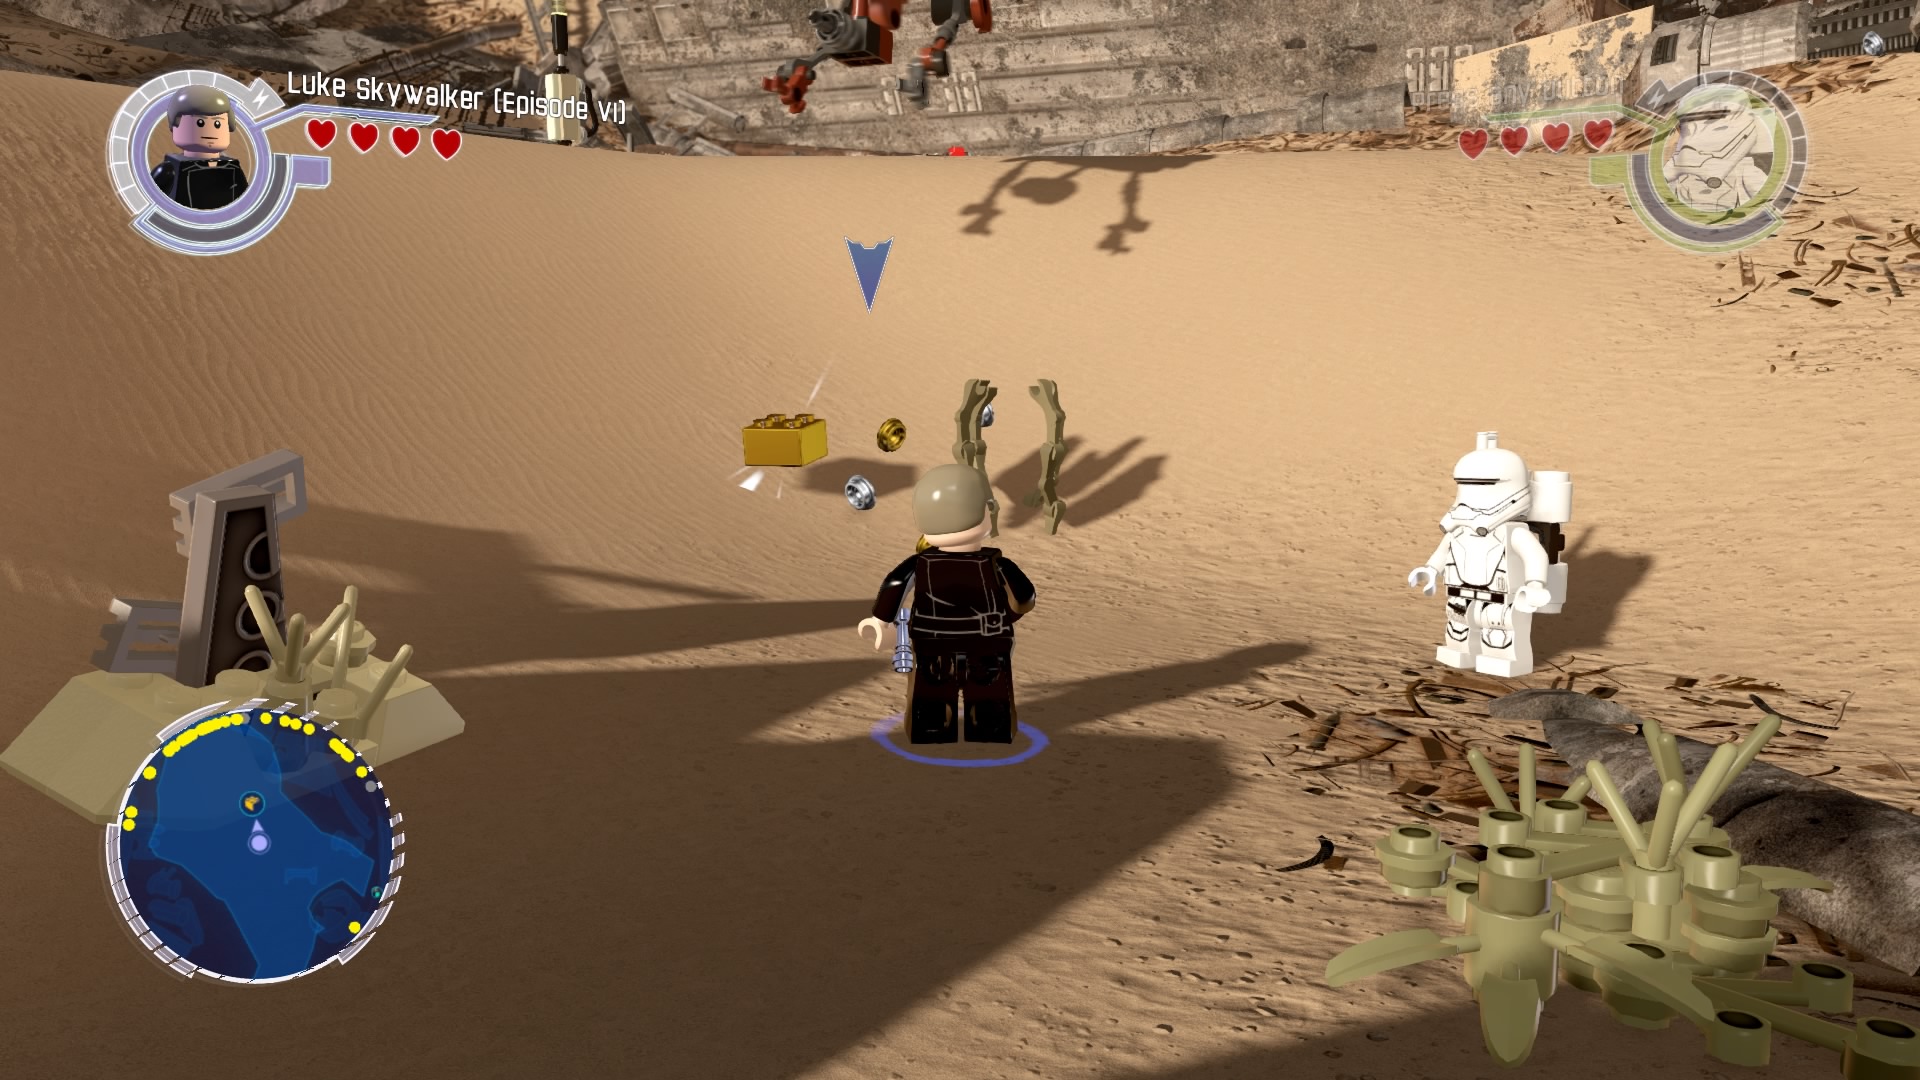
Helping the little chap out will get you another brick.
Gold Brick #25
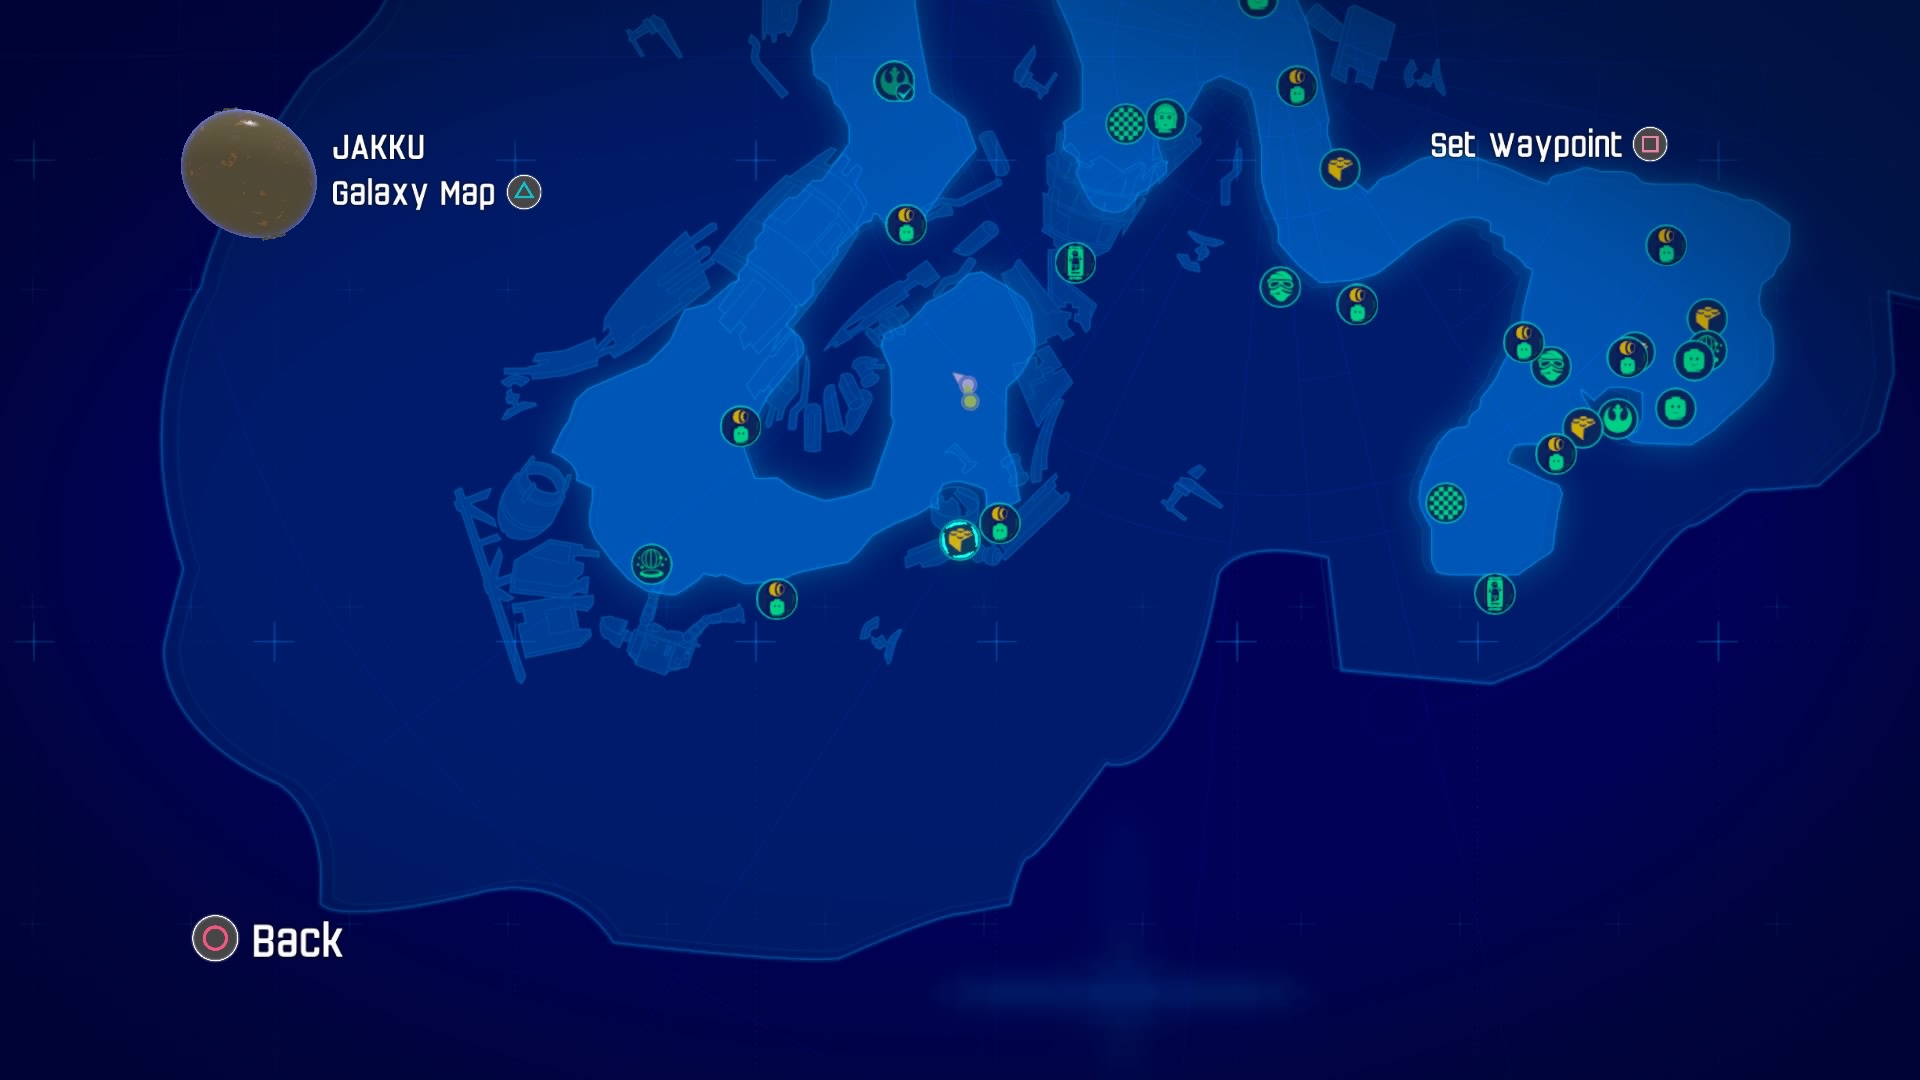
This is the last brick in this section of the map.
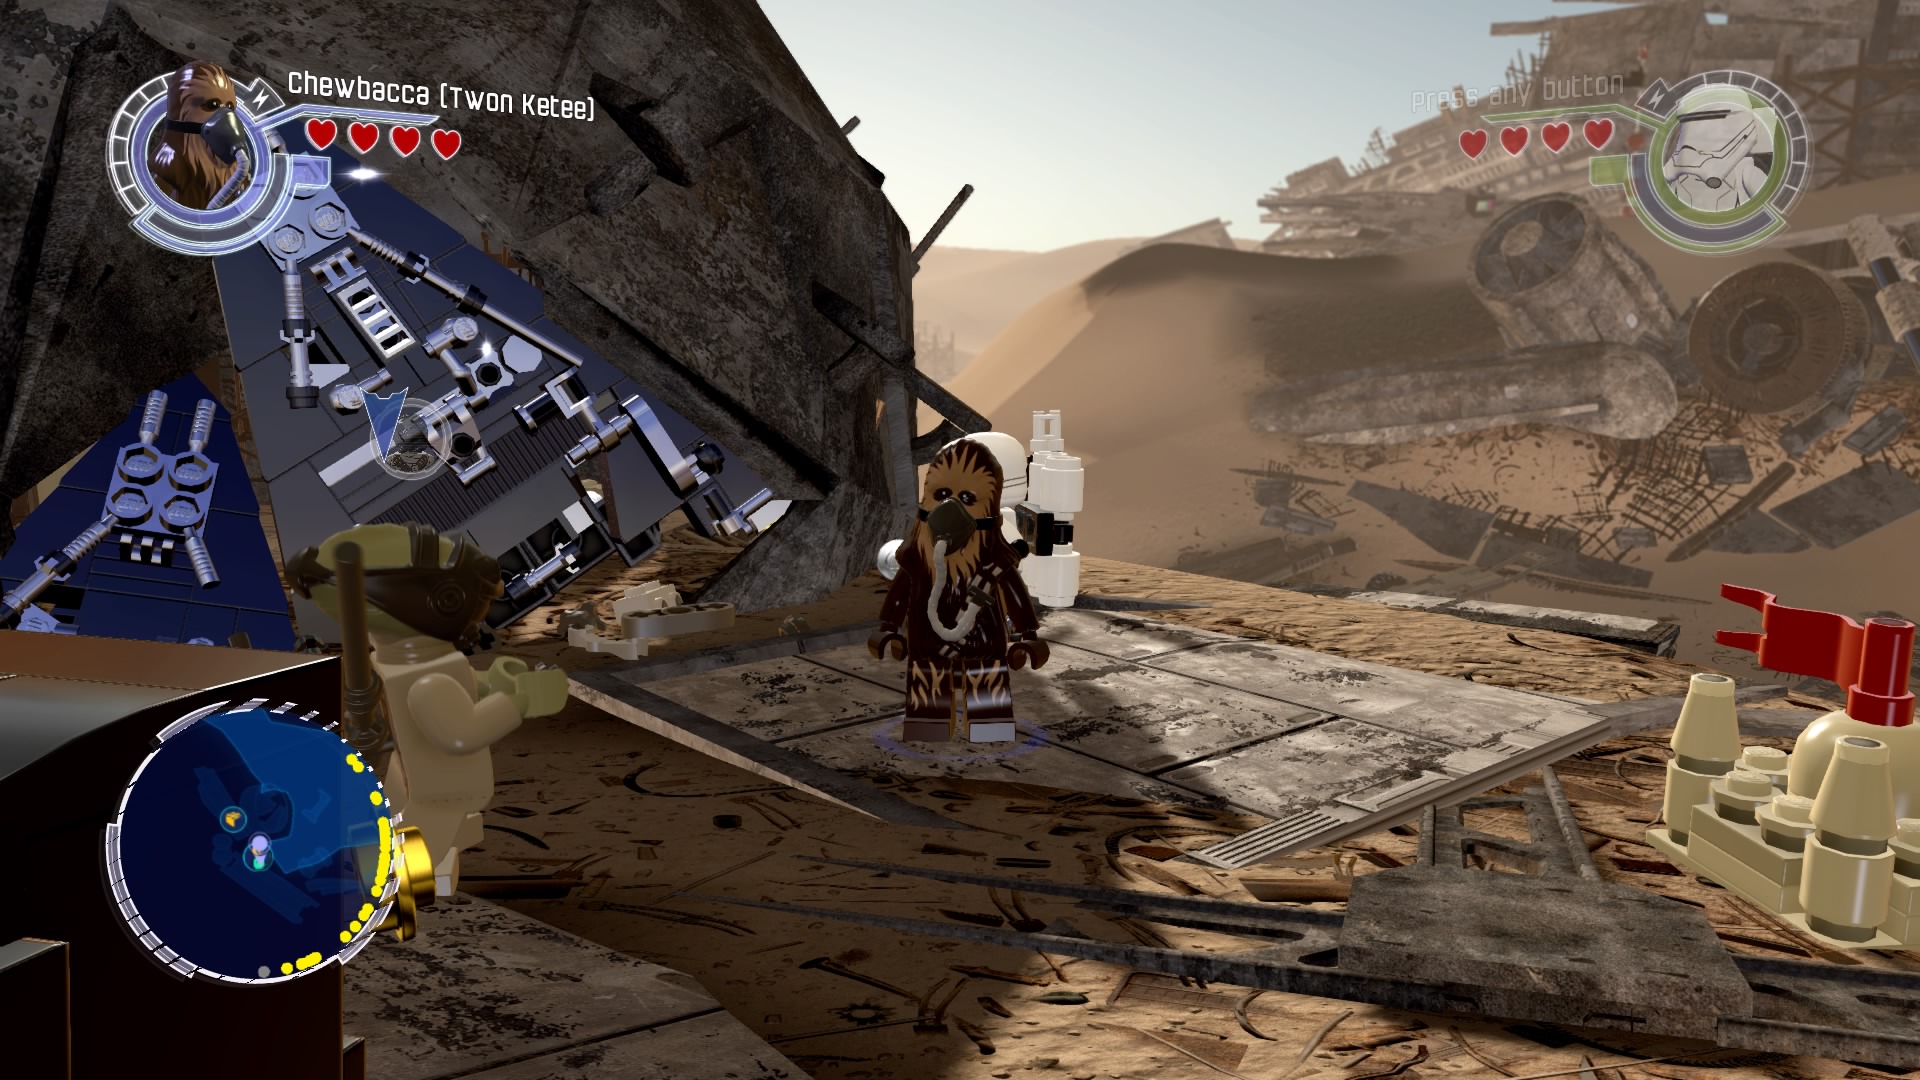
Head up the slope here to find a silver Lego panel.
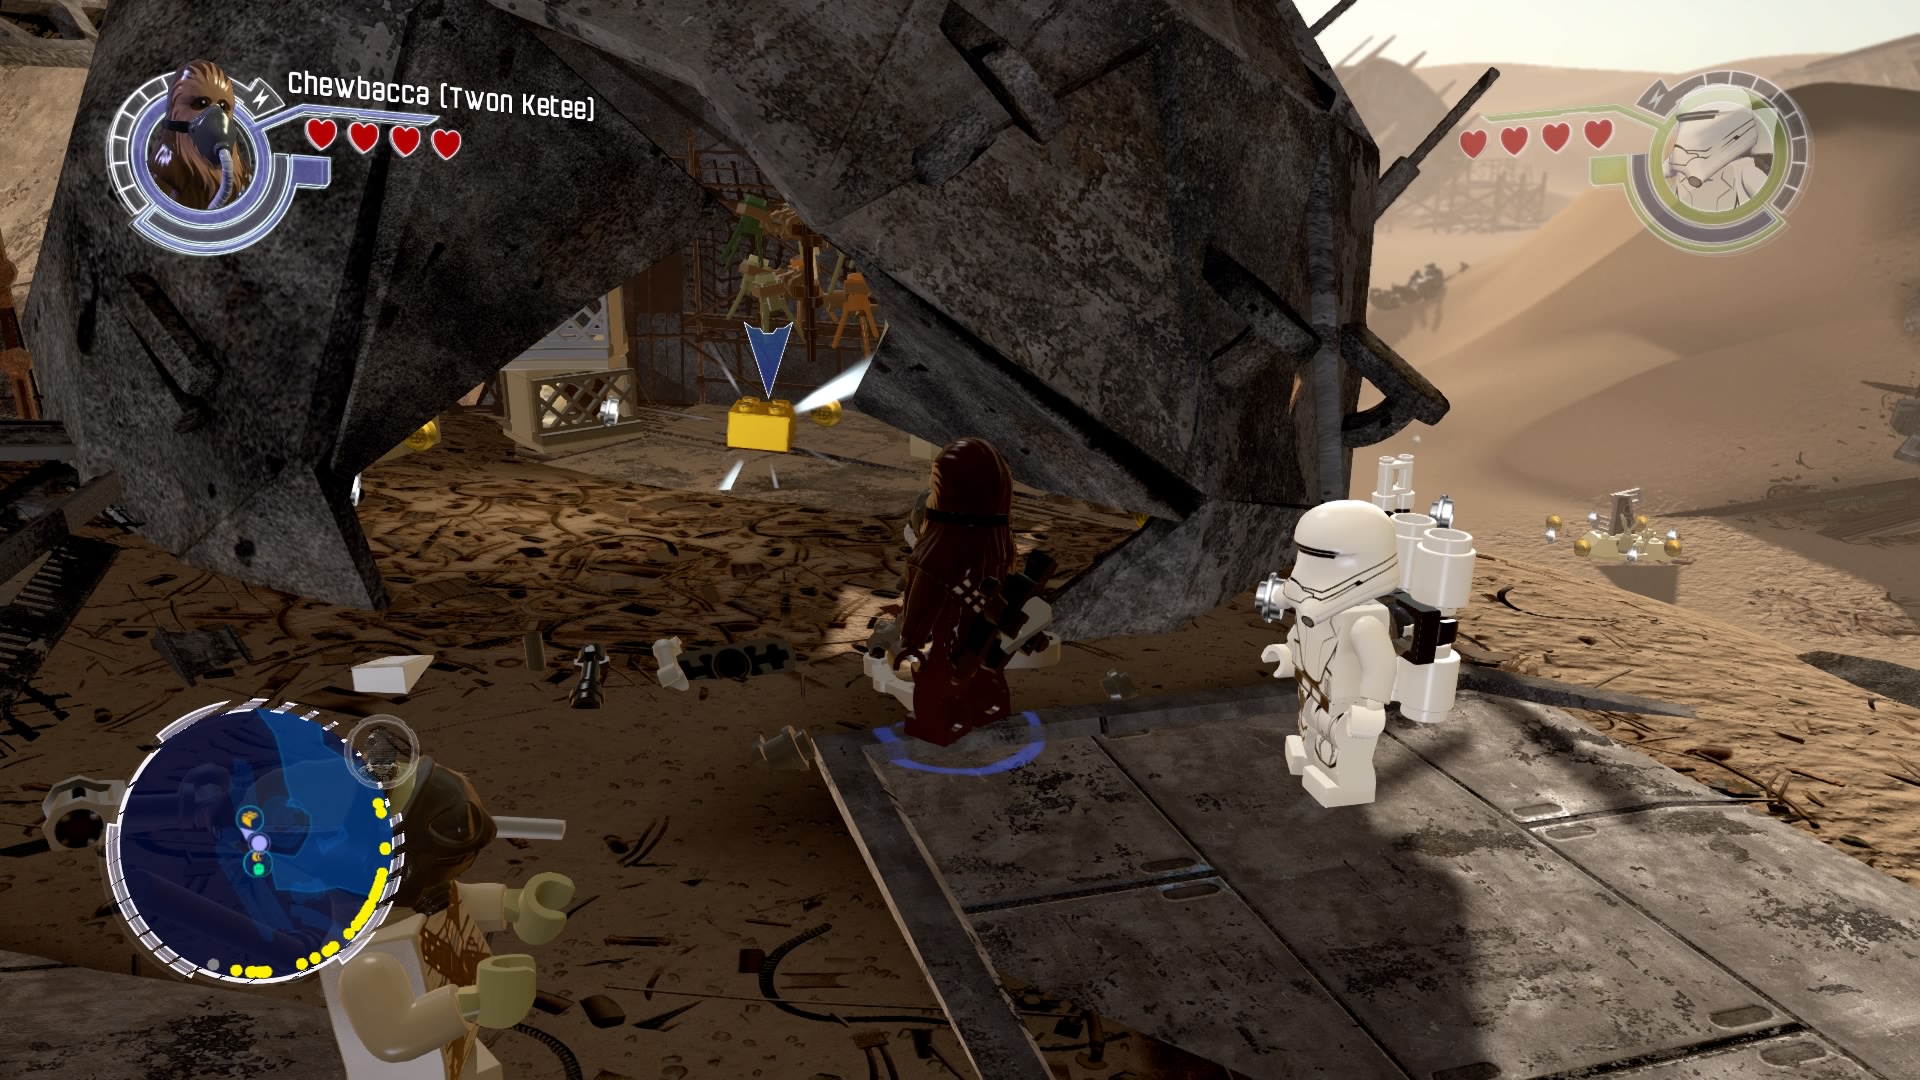
Blow it up to access the area beyond and grab the gold brick.
Gold Brick #26
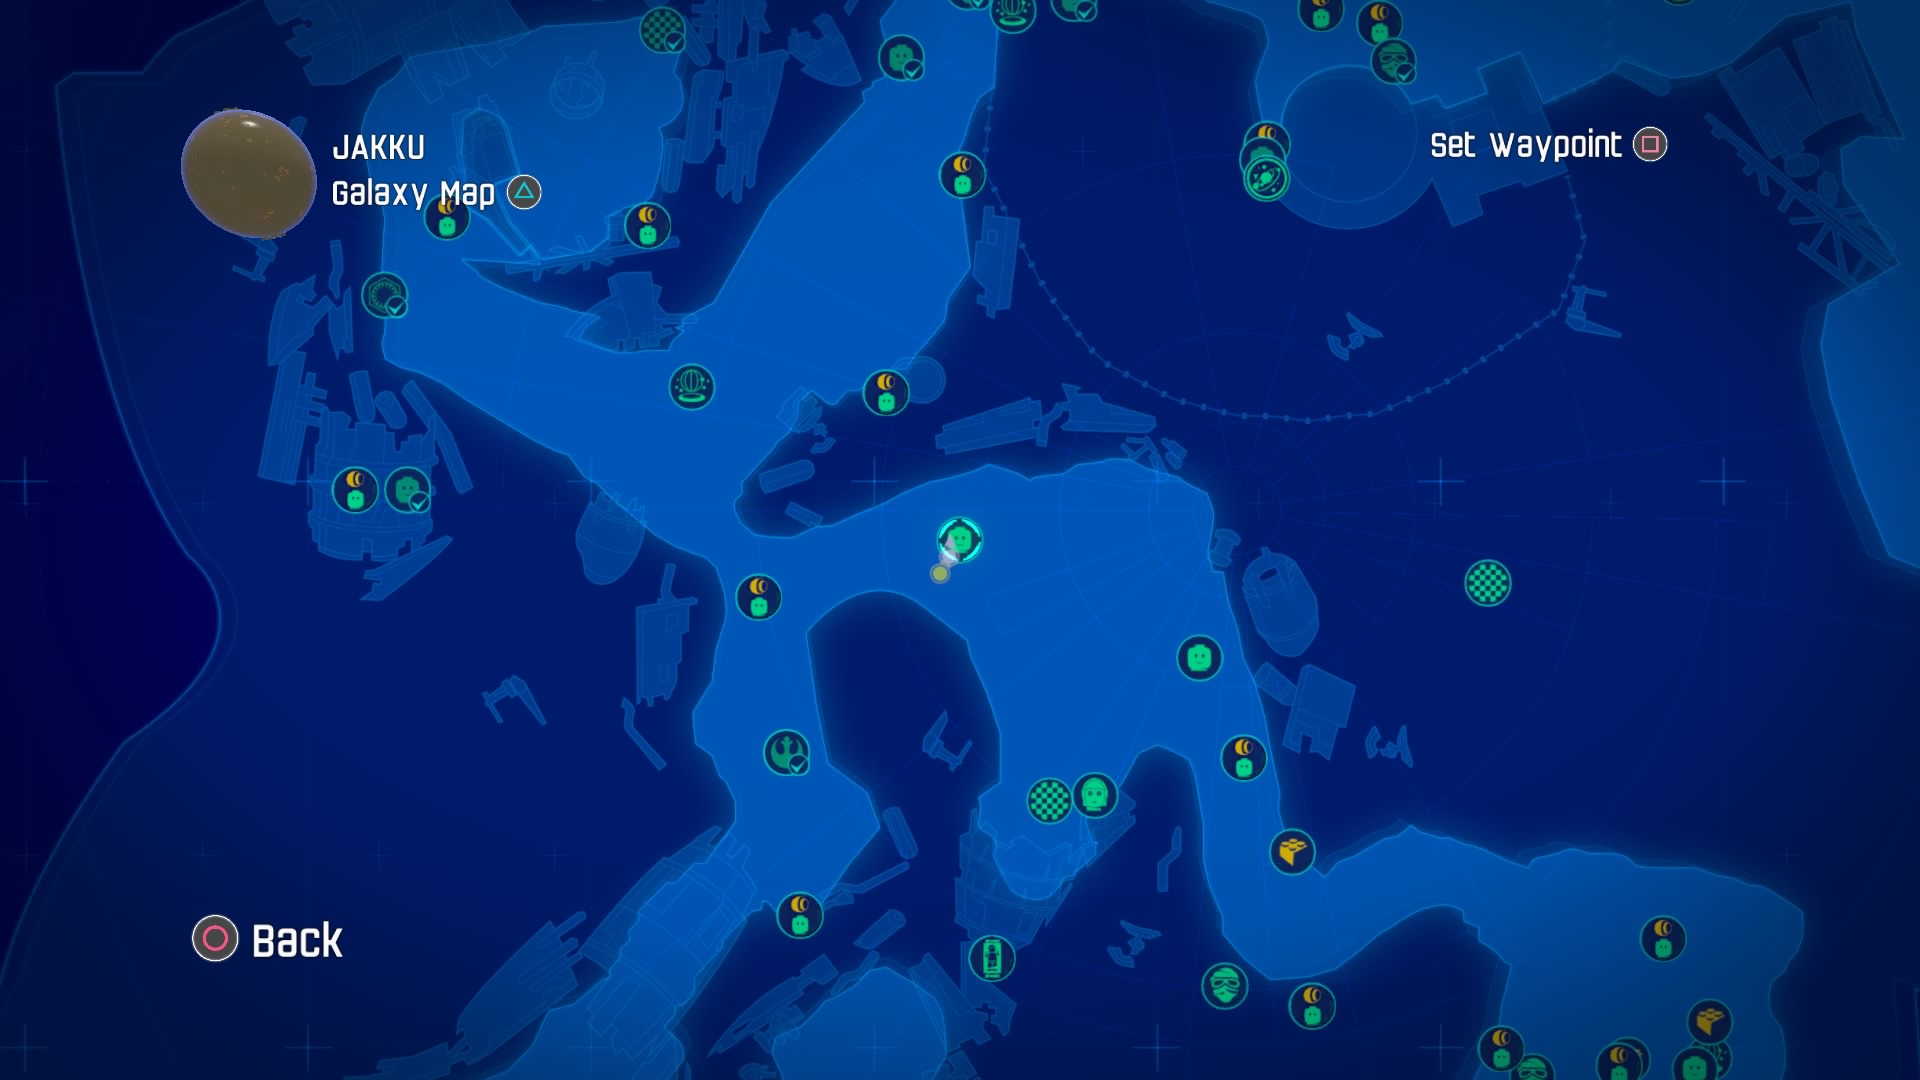
Make your way up and around to start heading down the path to the southeast.
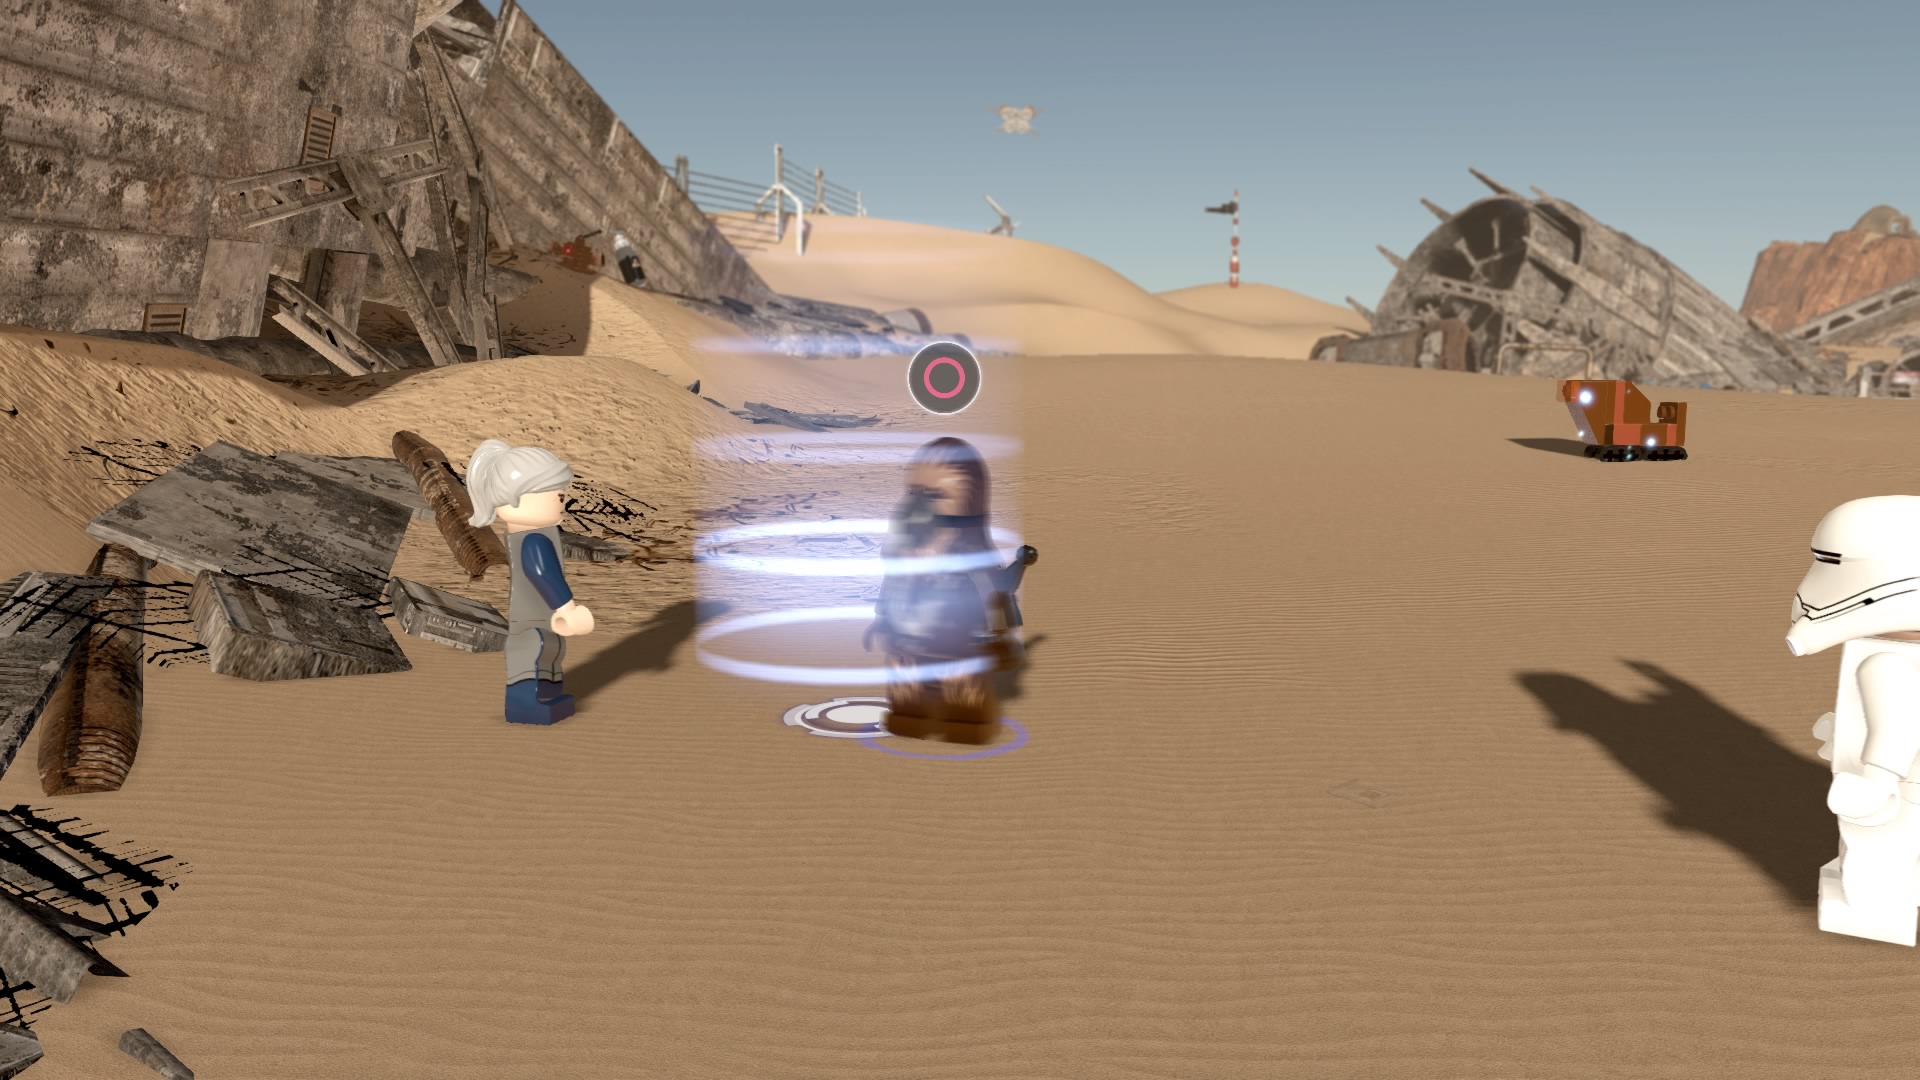
Pick up the general mission on the way.
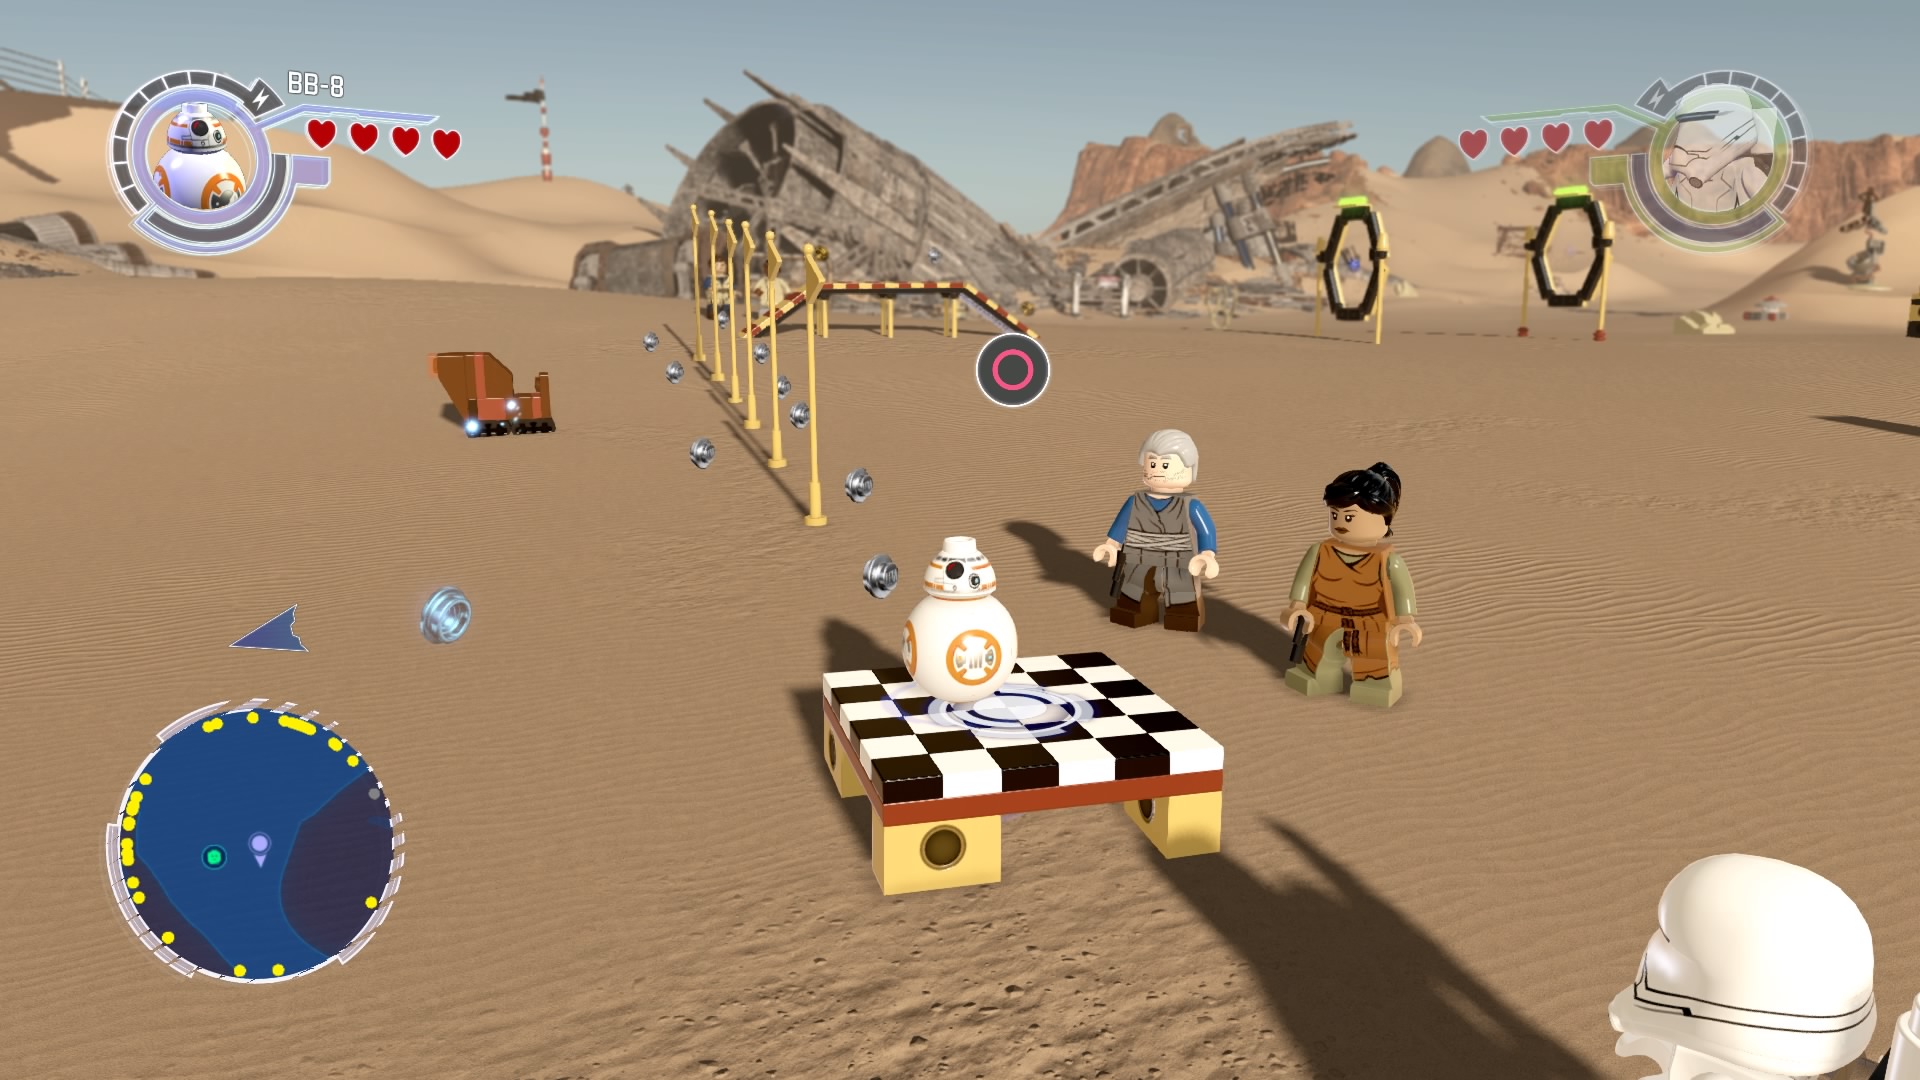
Complete the obstacle course with BB-8 to fulfil the objective.
Gold Brick #27
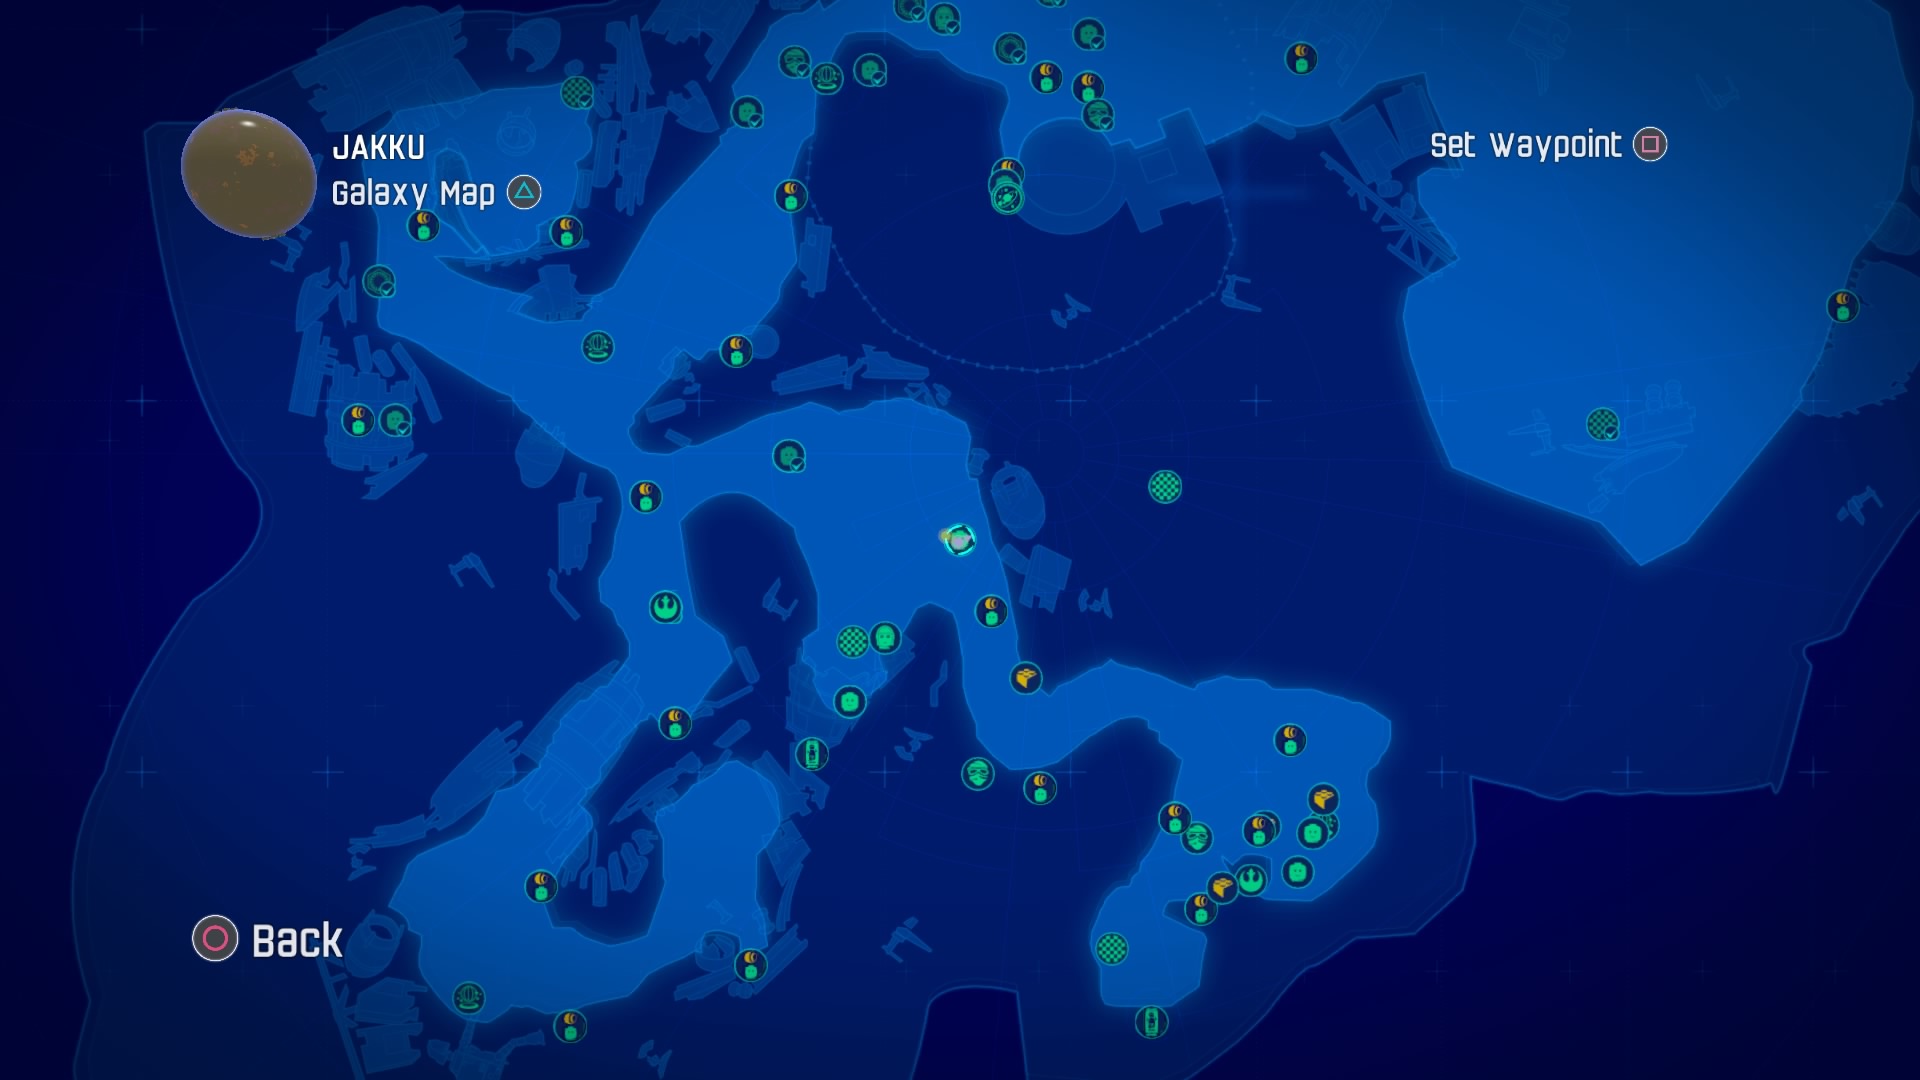
Continue eastwards for another general mission.
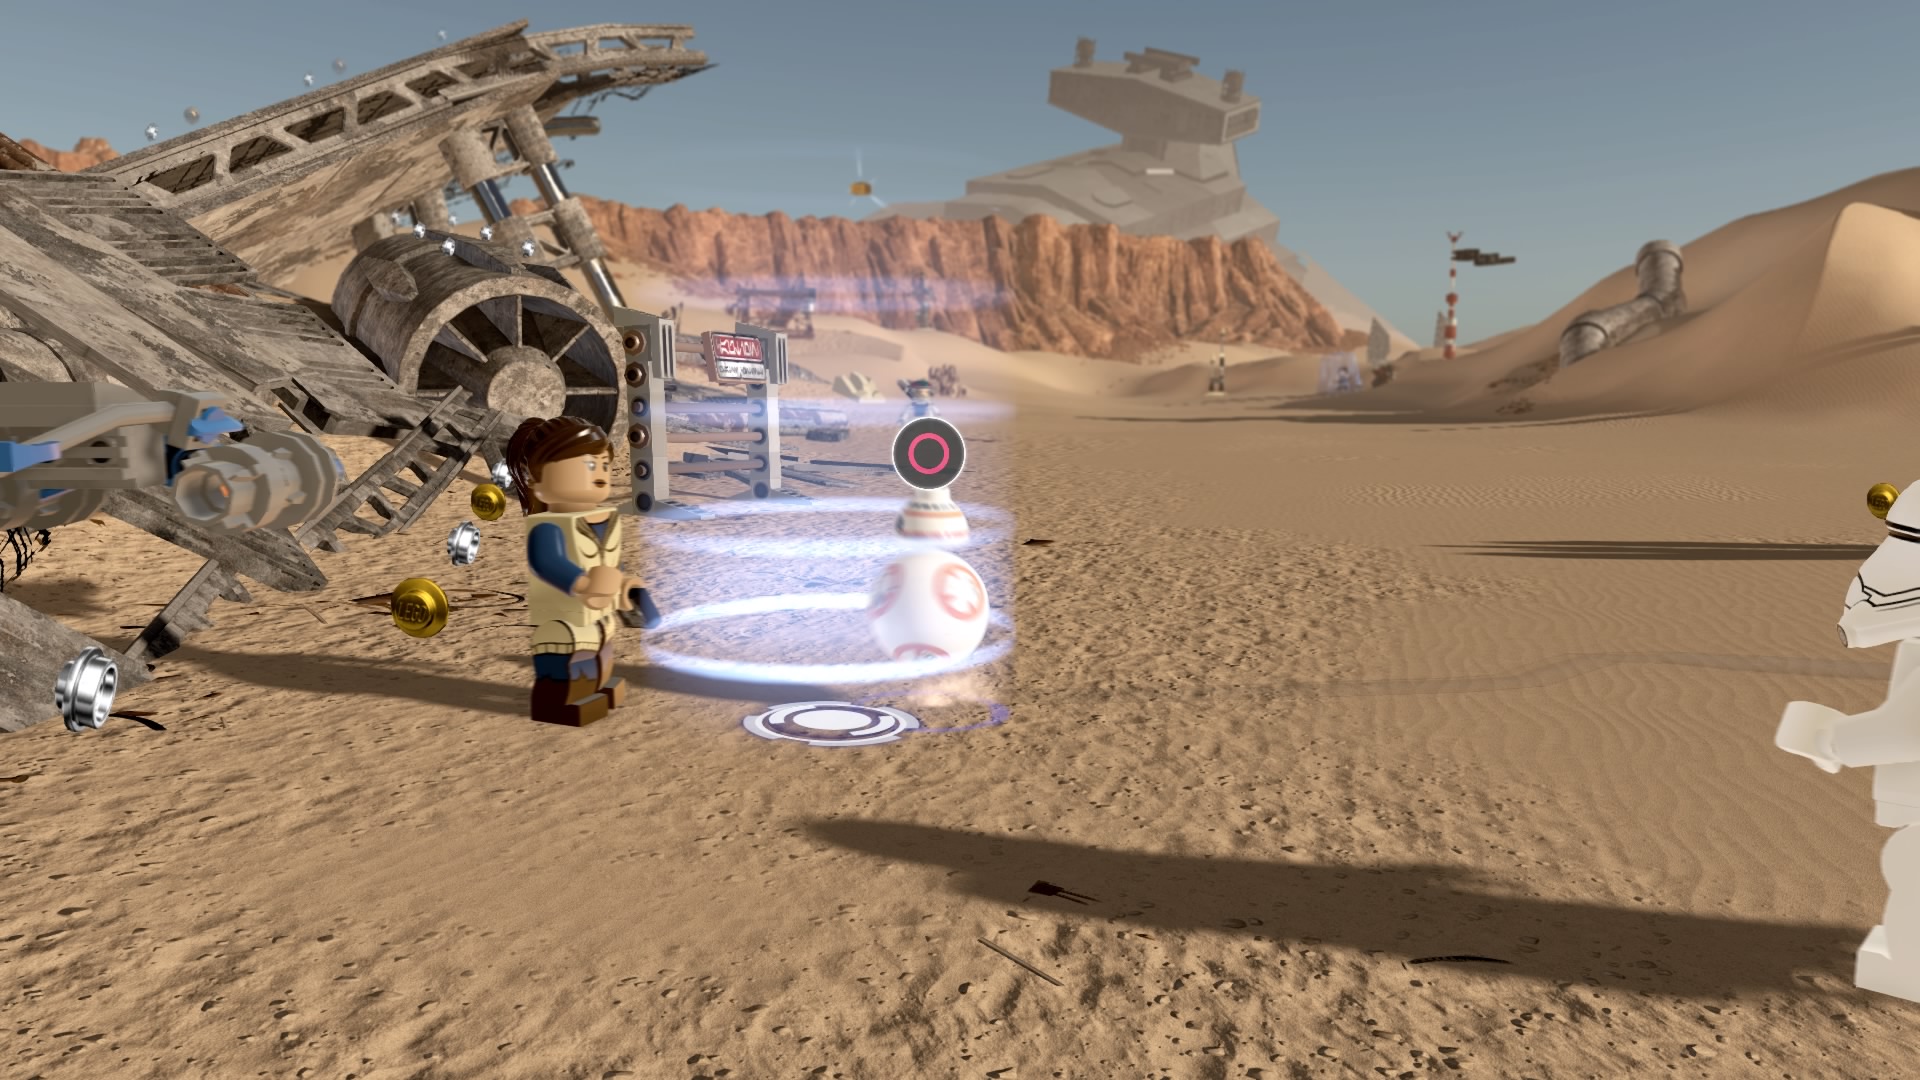
You'll need to build a racer and take it for a spin.
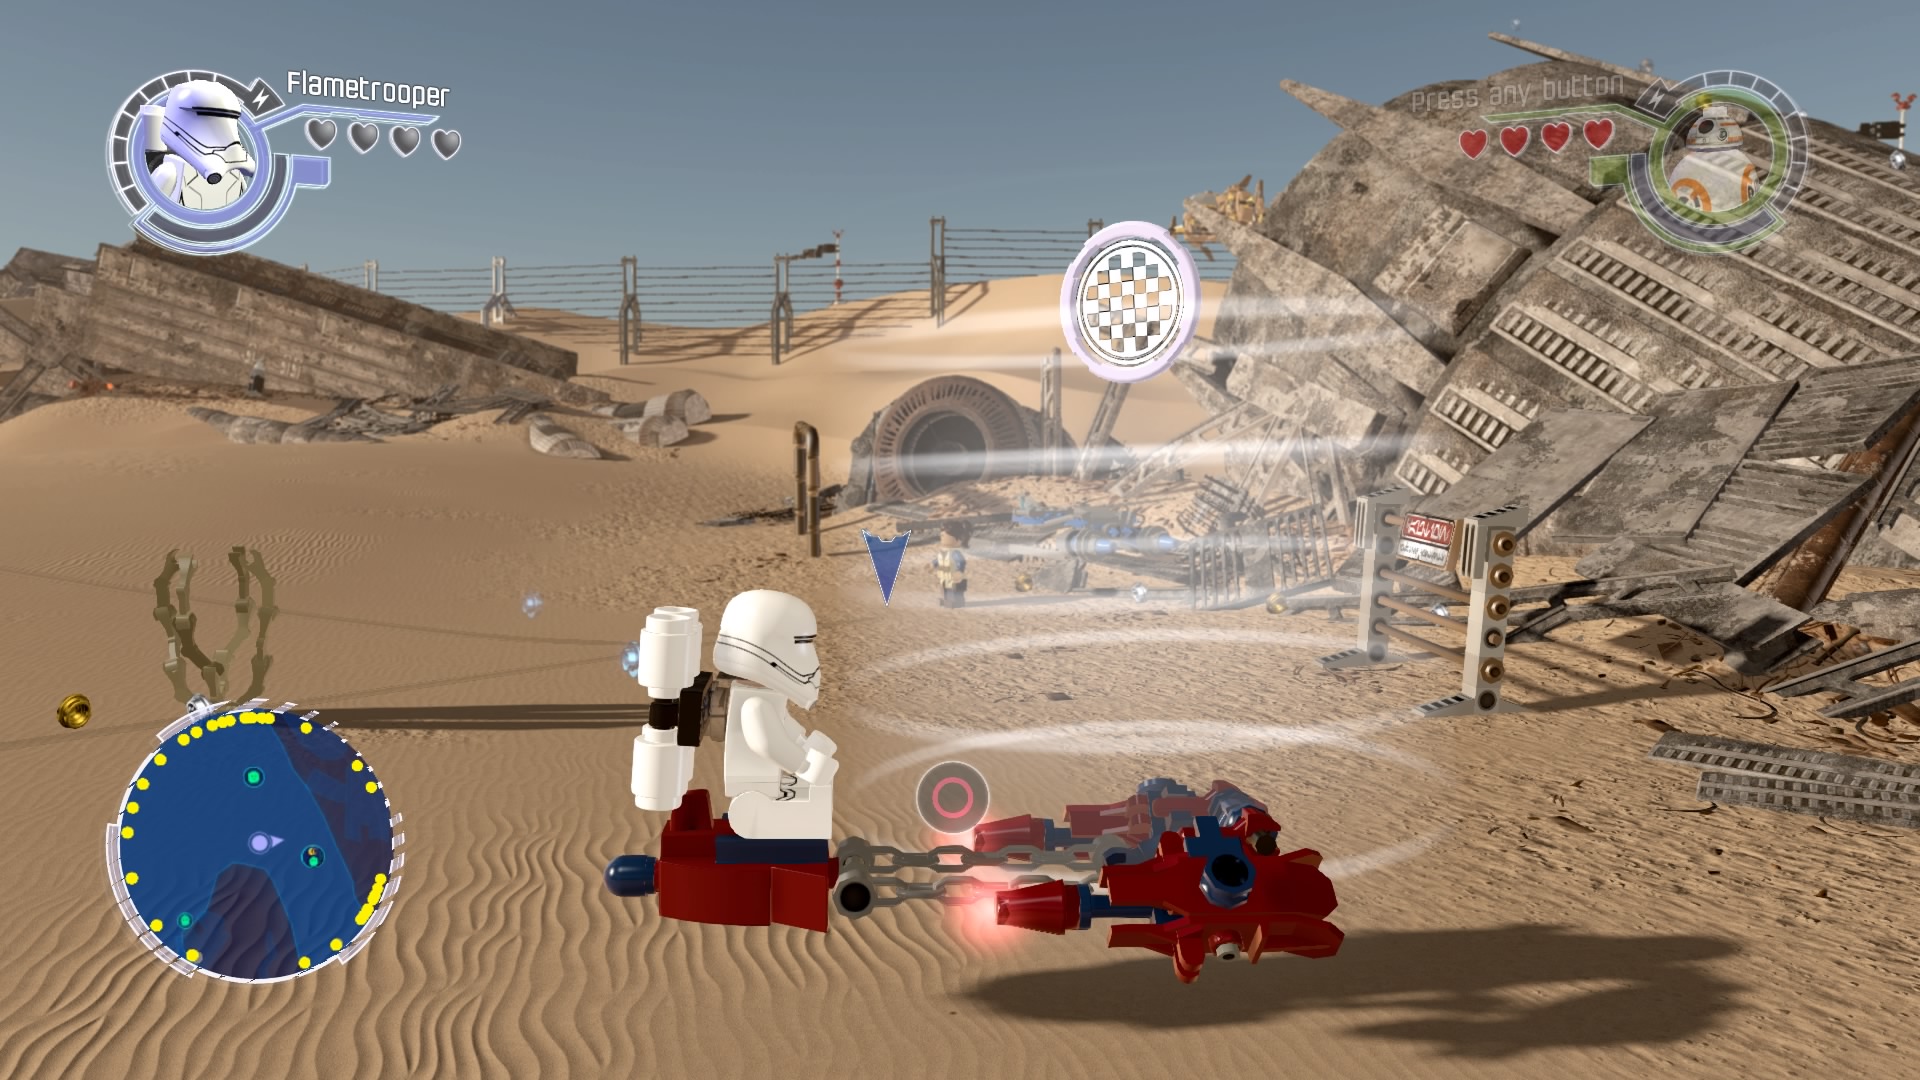
Be warned - this thing is about as easy to handle as a three-wheeled shopping trolley. With three wheels missing.
Gold Brick #28
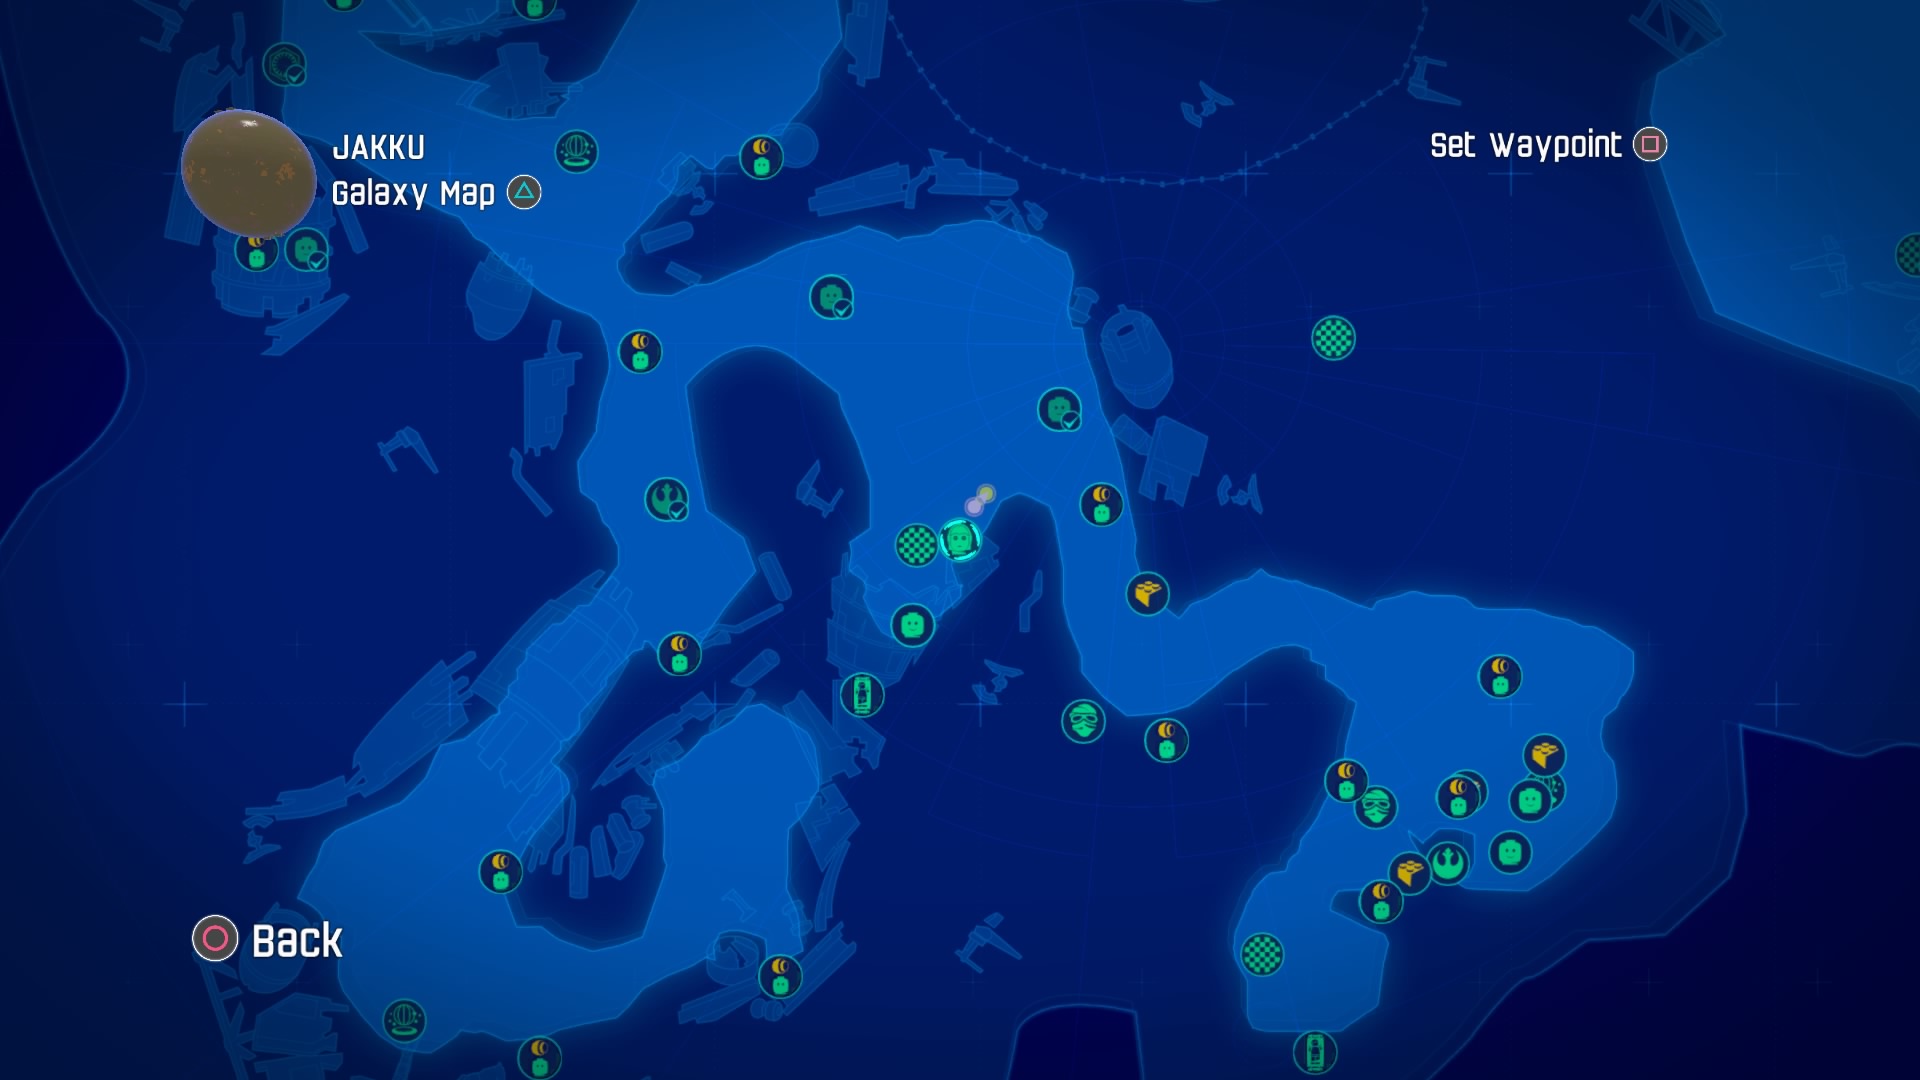
Next up is the translate mission to the southwest.

After accepting it, head to the highlighted area on the map.
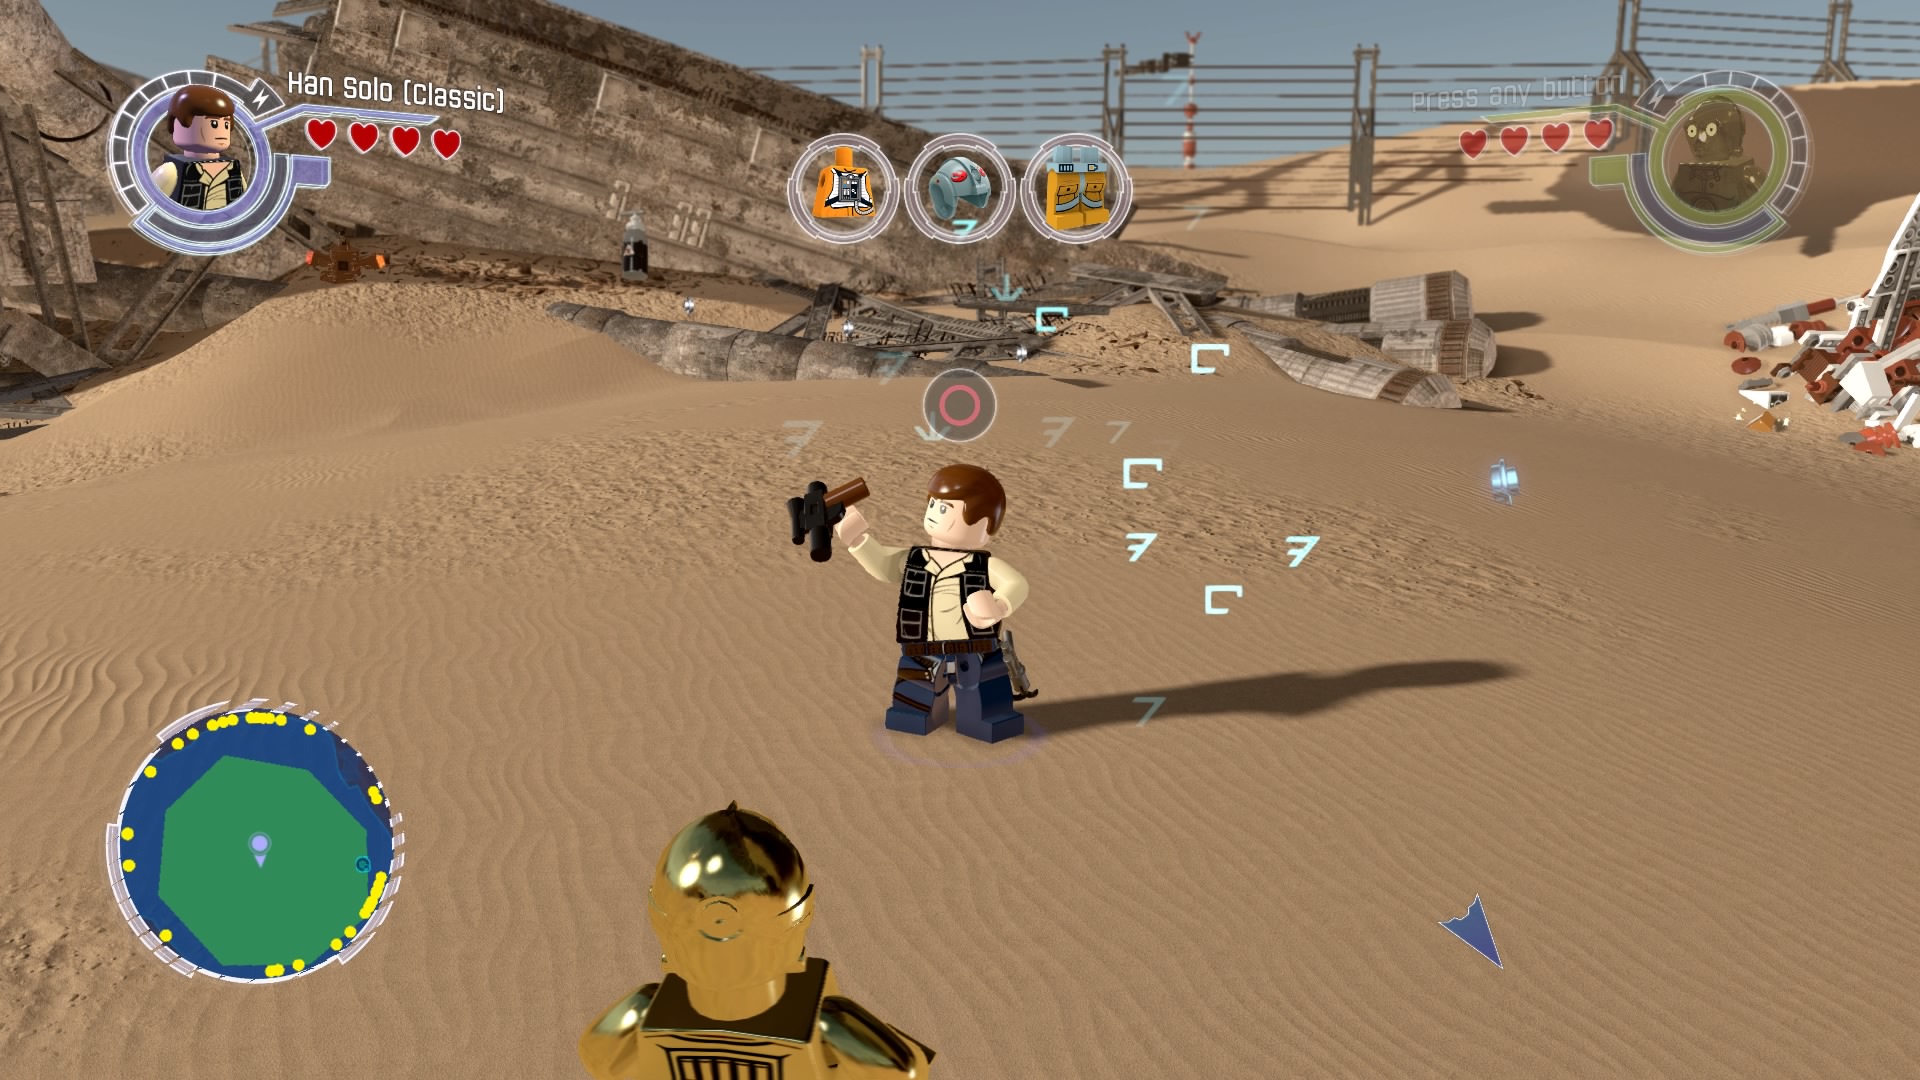
Use the scan ability to scope out the wreckage.
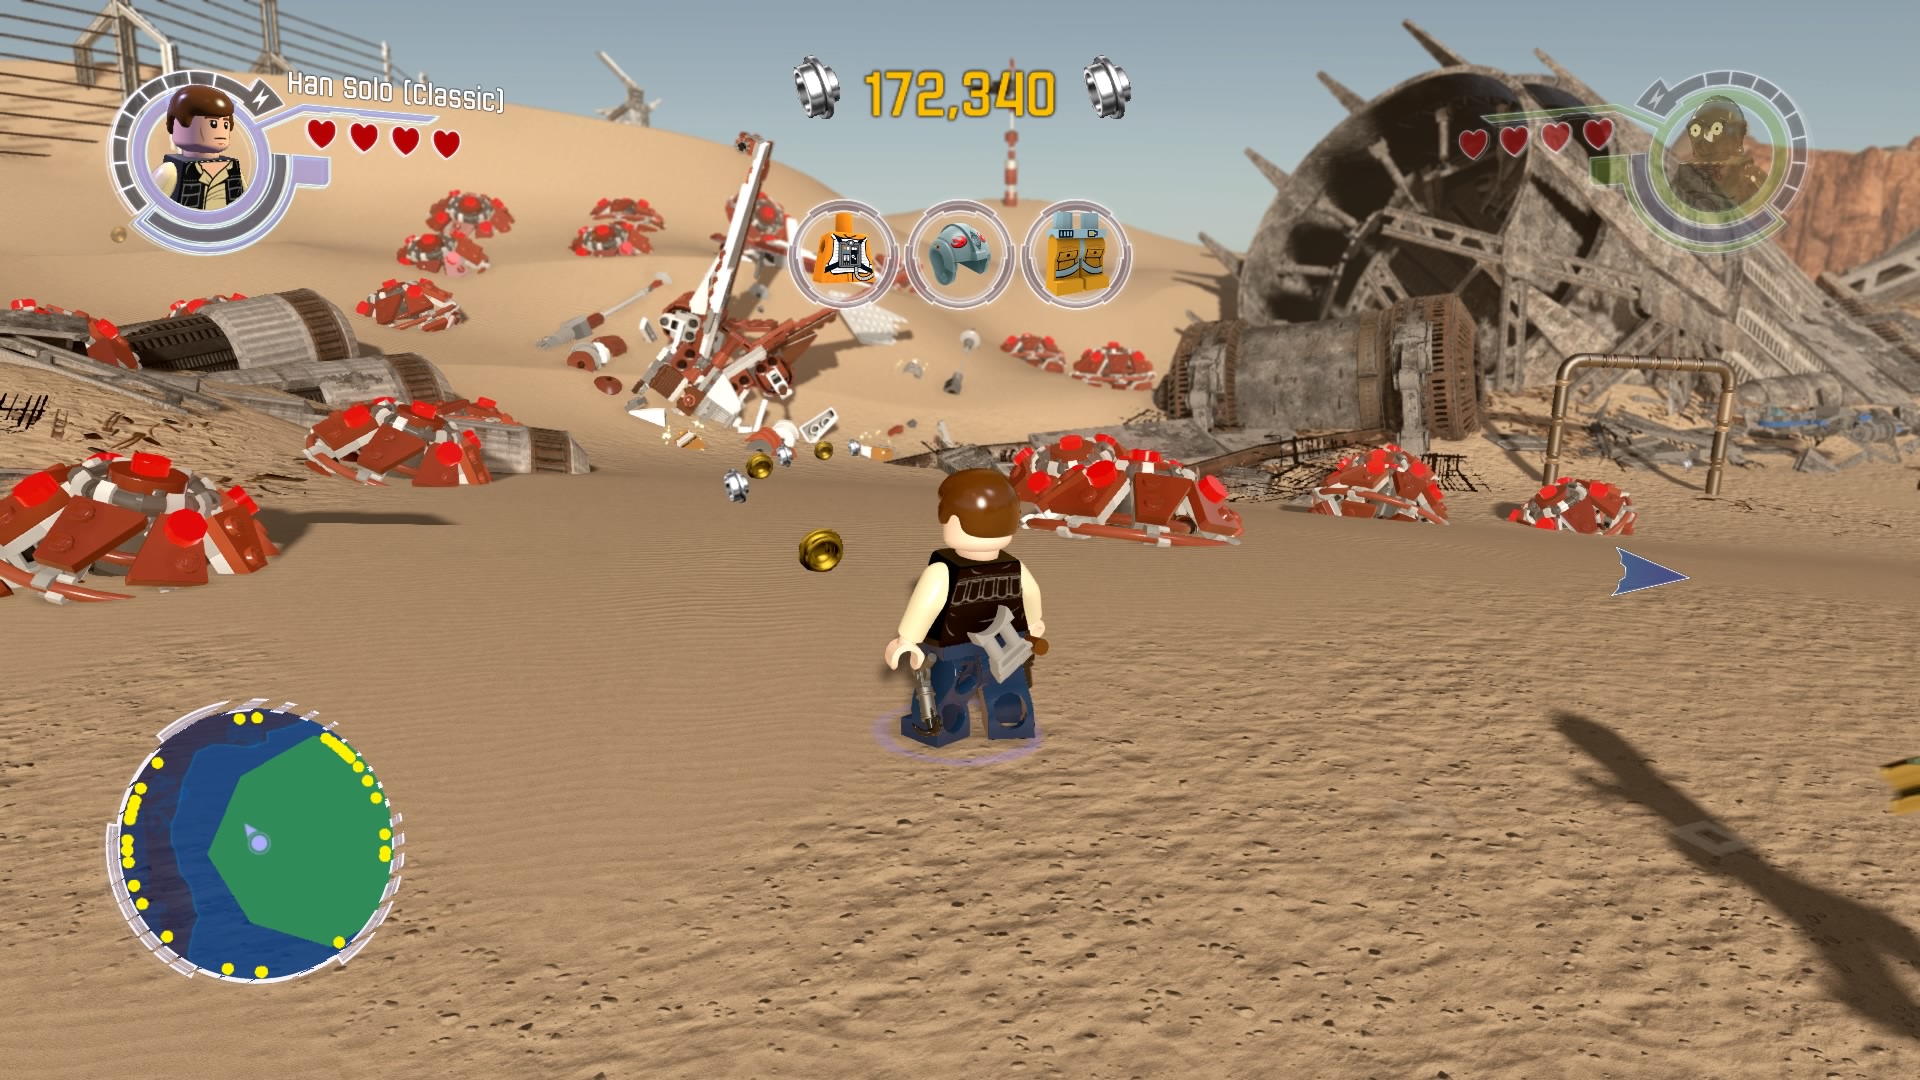
Make your way over to the ship avoiding the landmines.
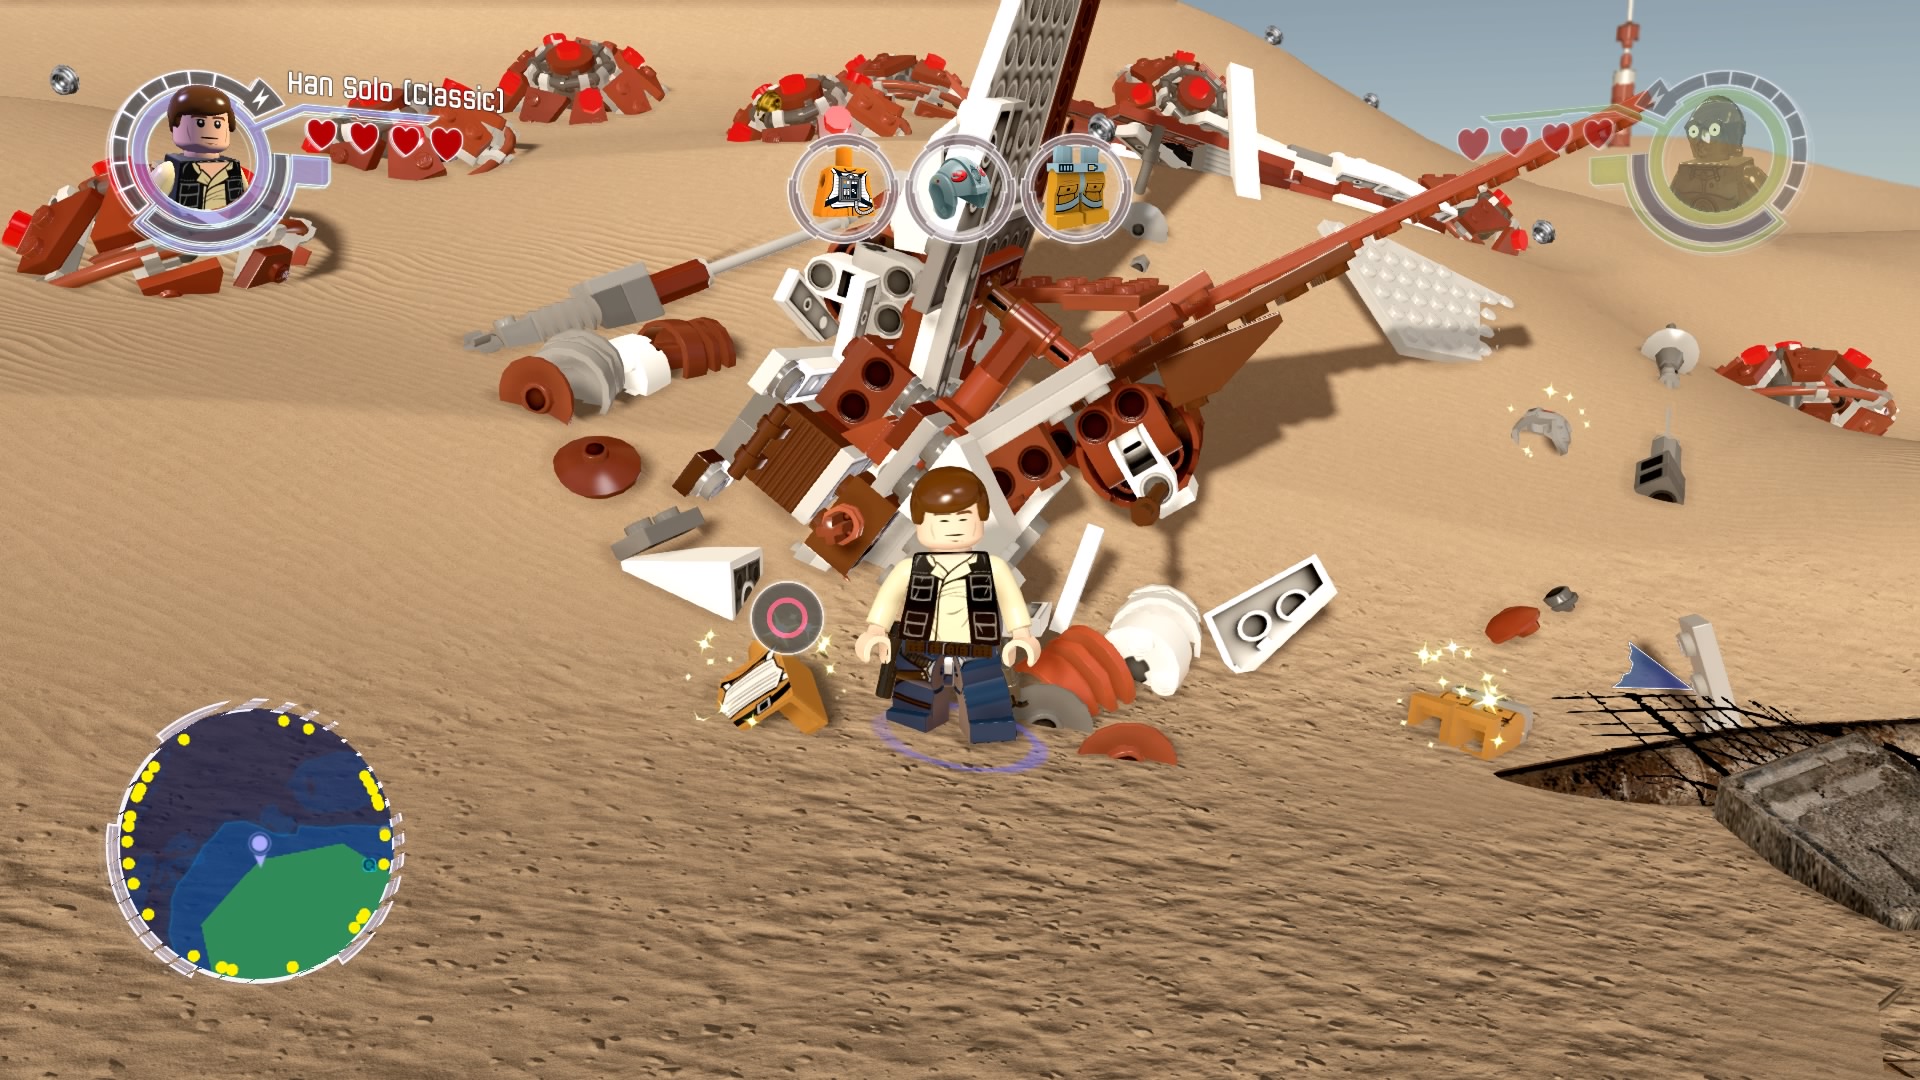
All three pieces you need are buried close to the wreck.
Gold Brick #29
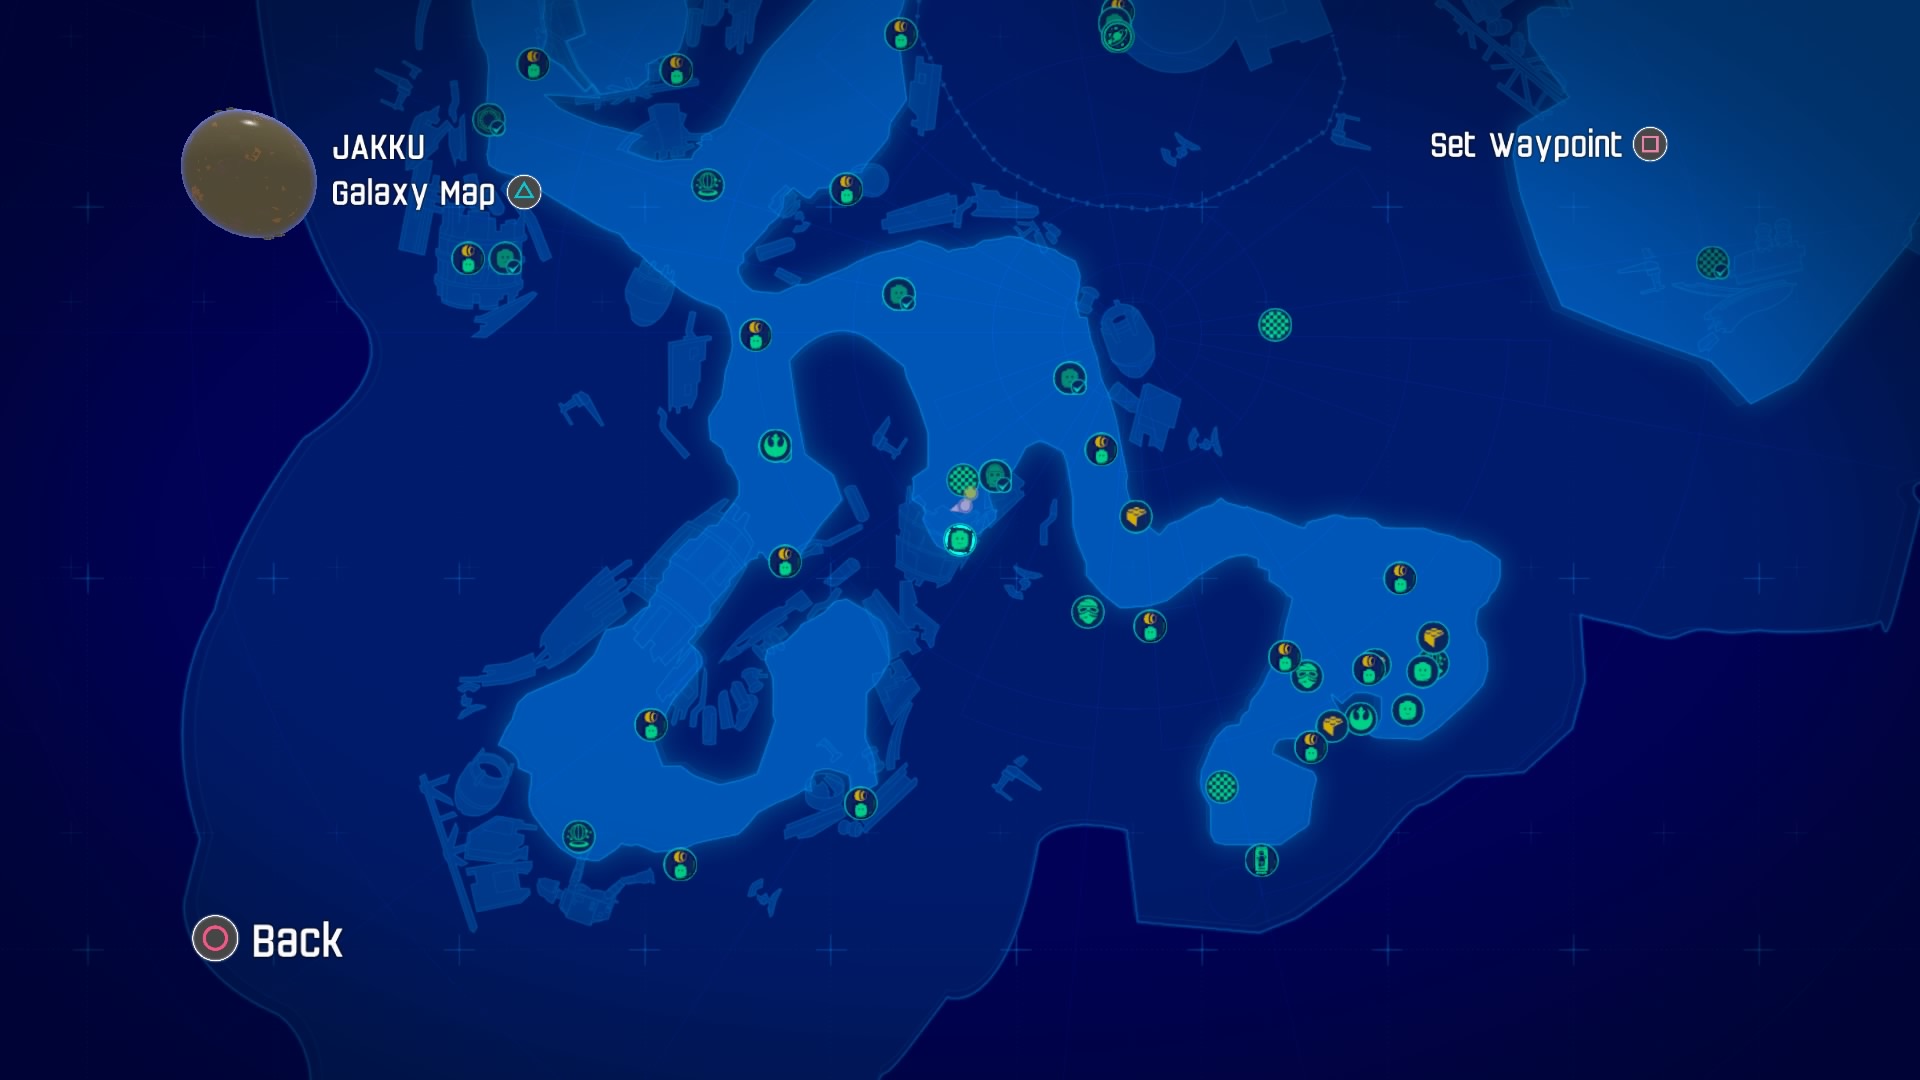
Continue to the southwest corner.
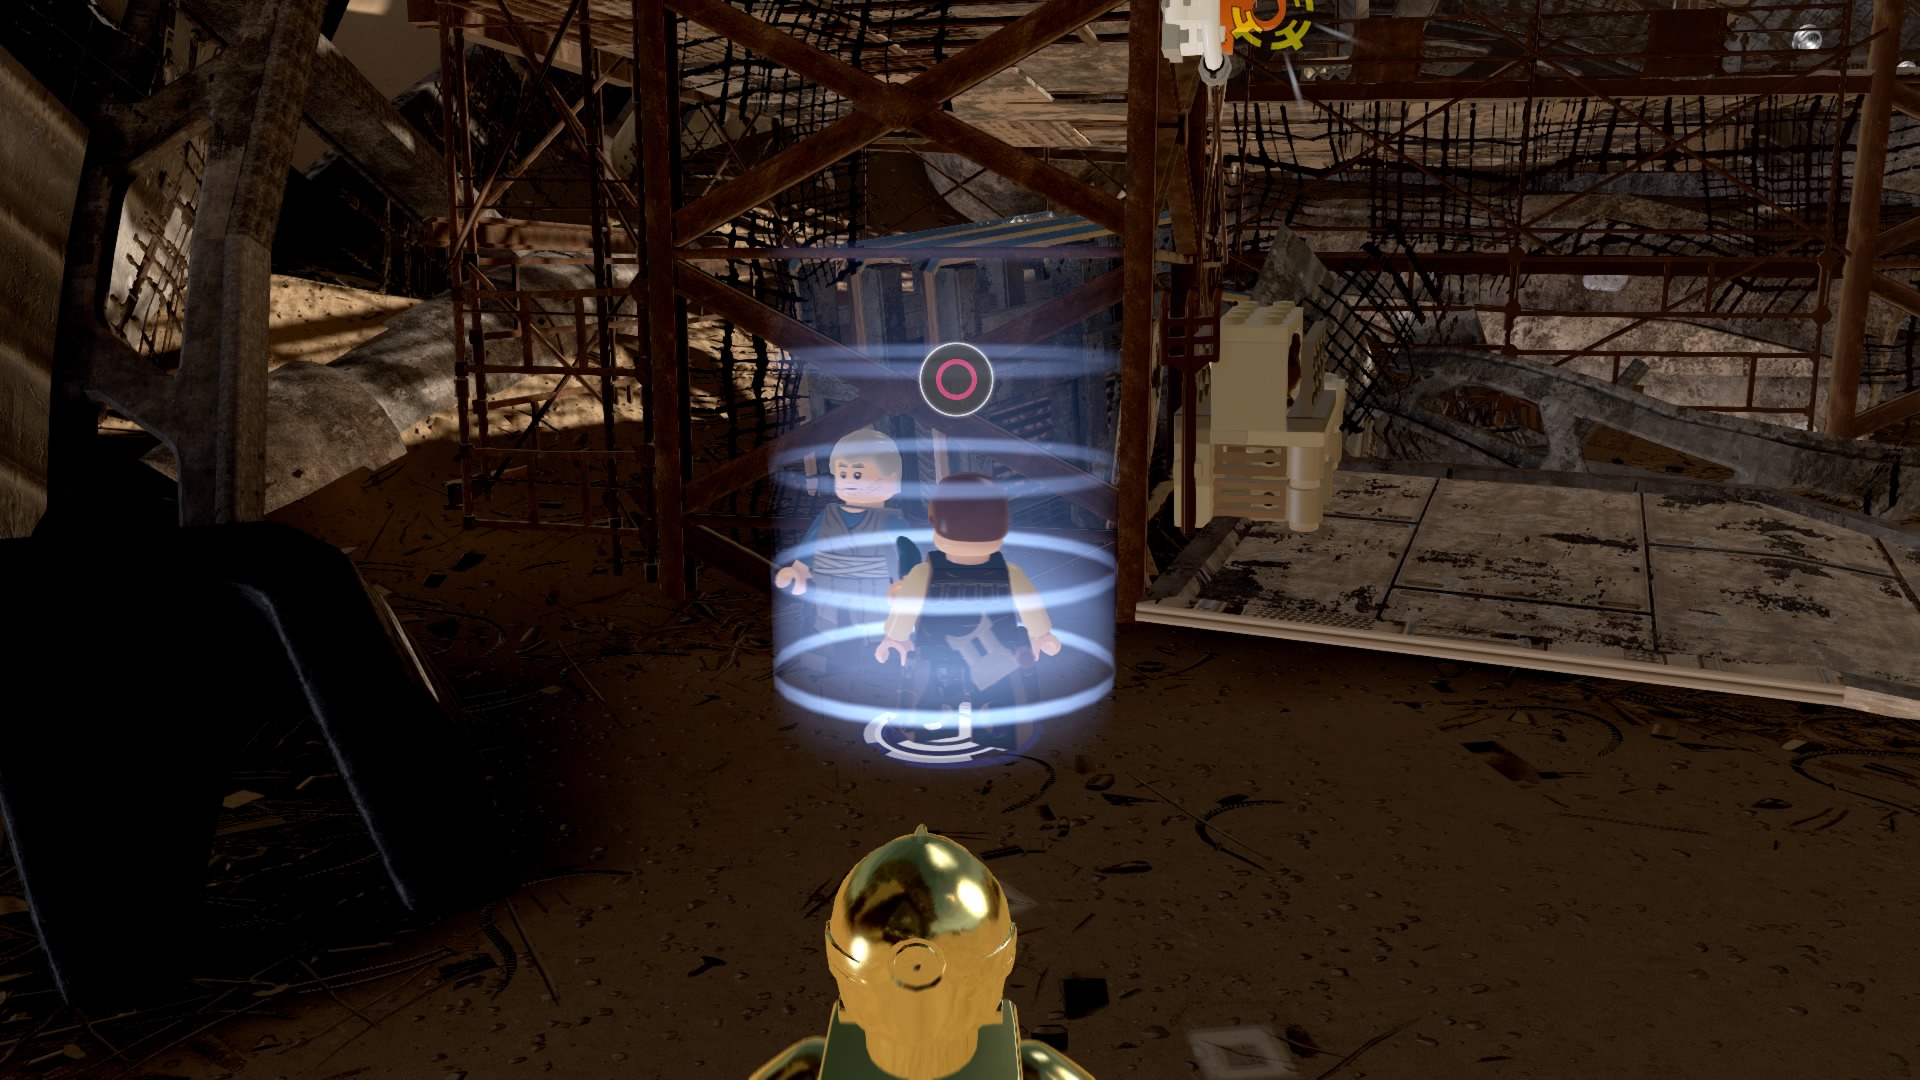
Accept the general mission here.
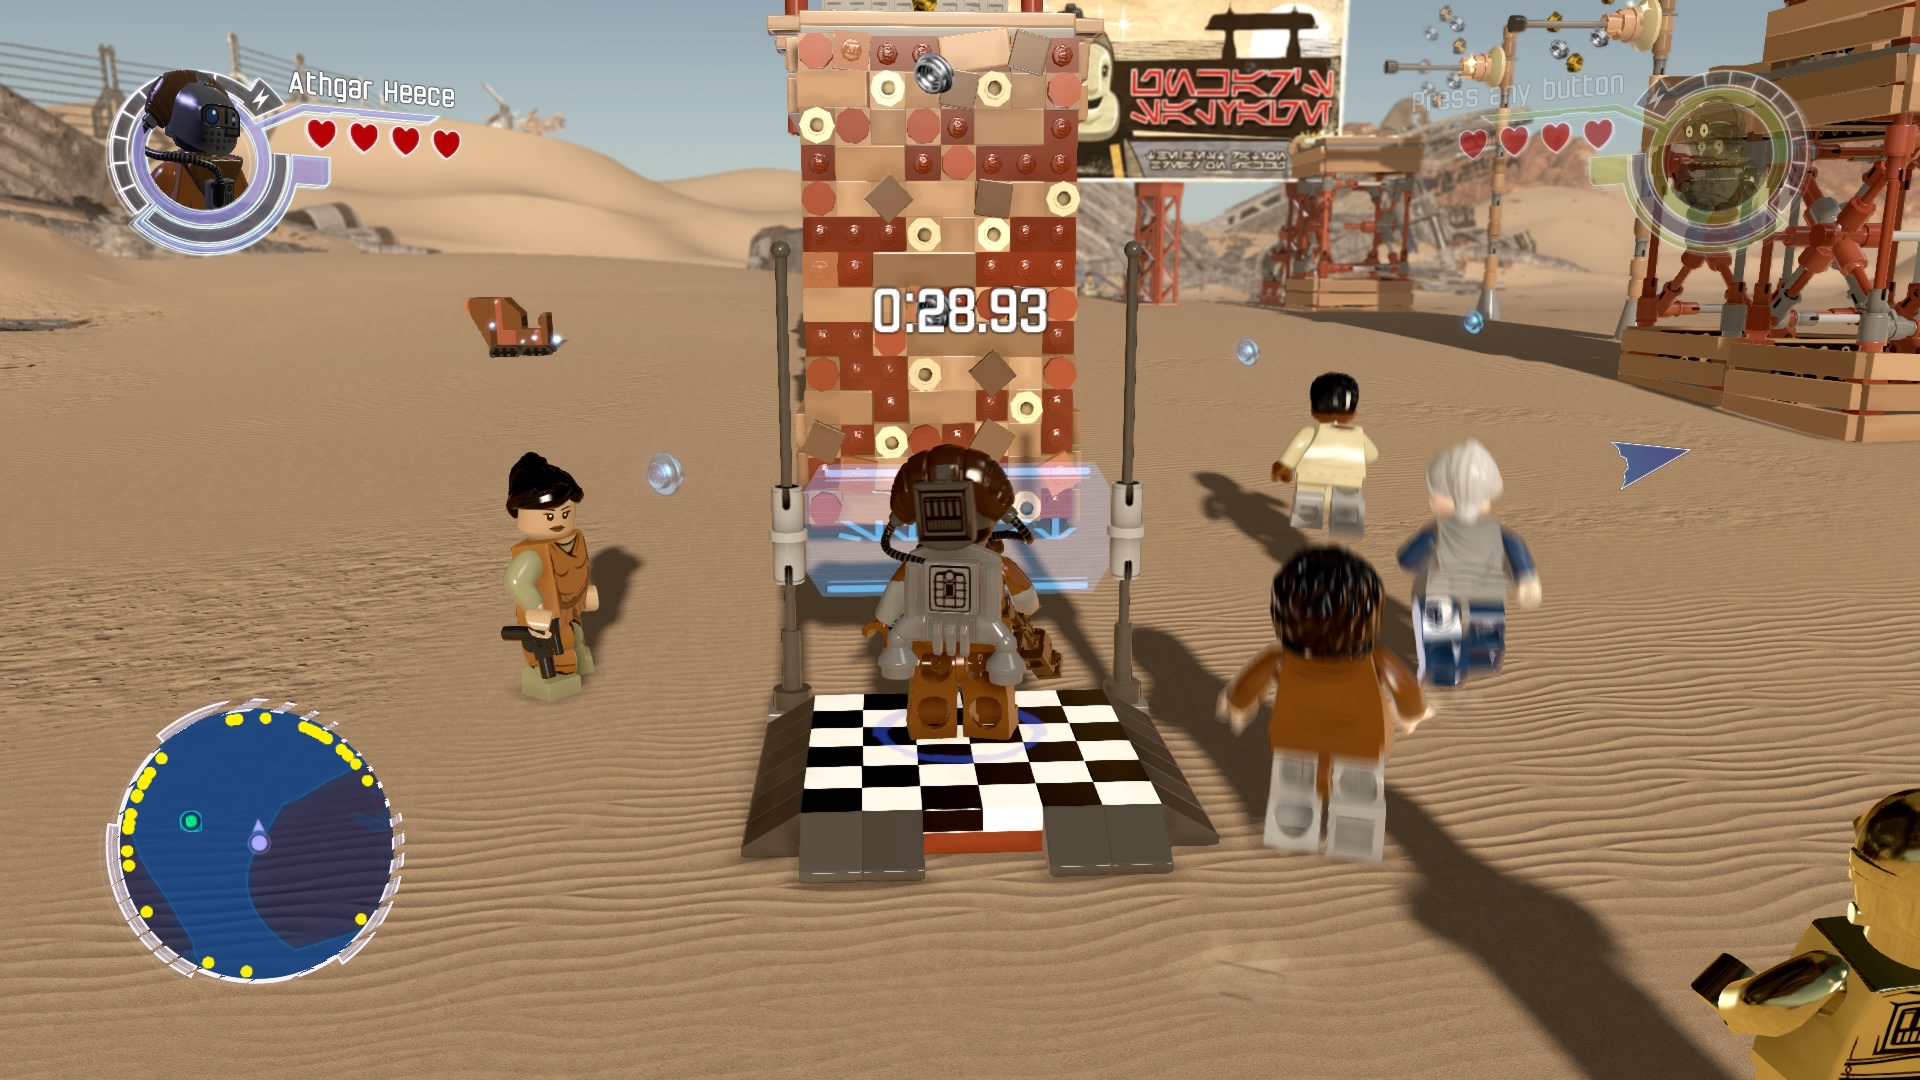
Run the obstacle course for the gold brick.
Gold Brick #30
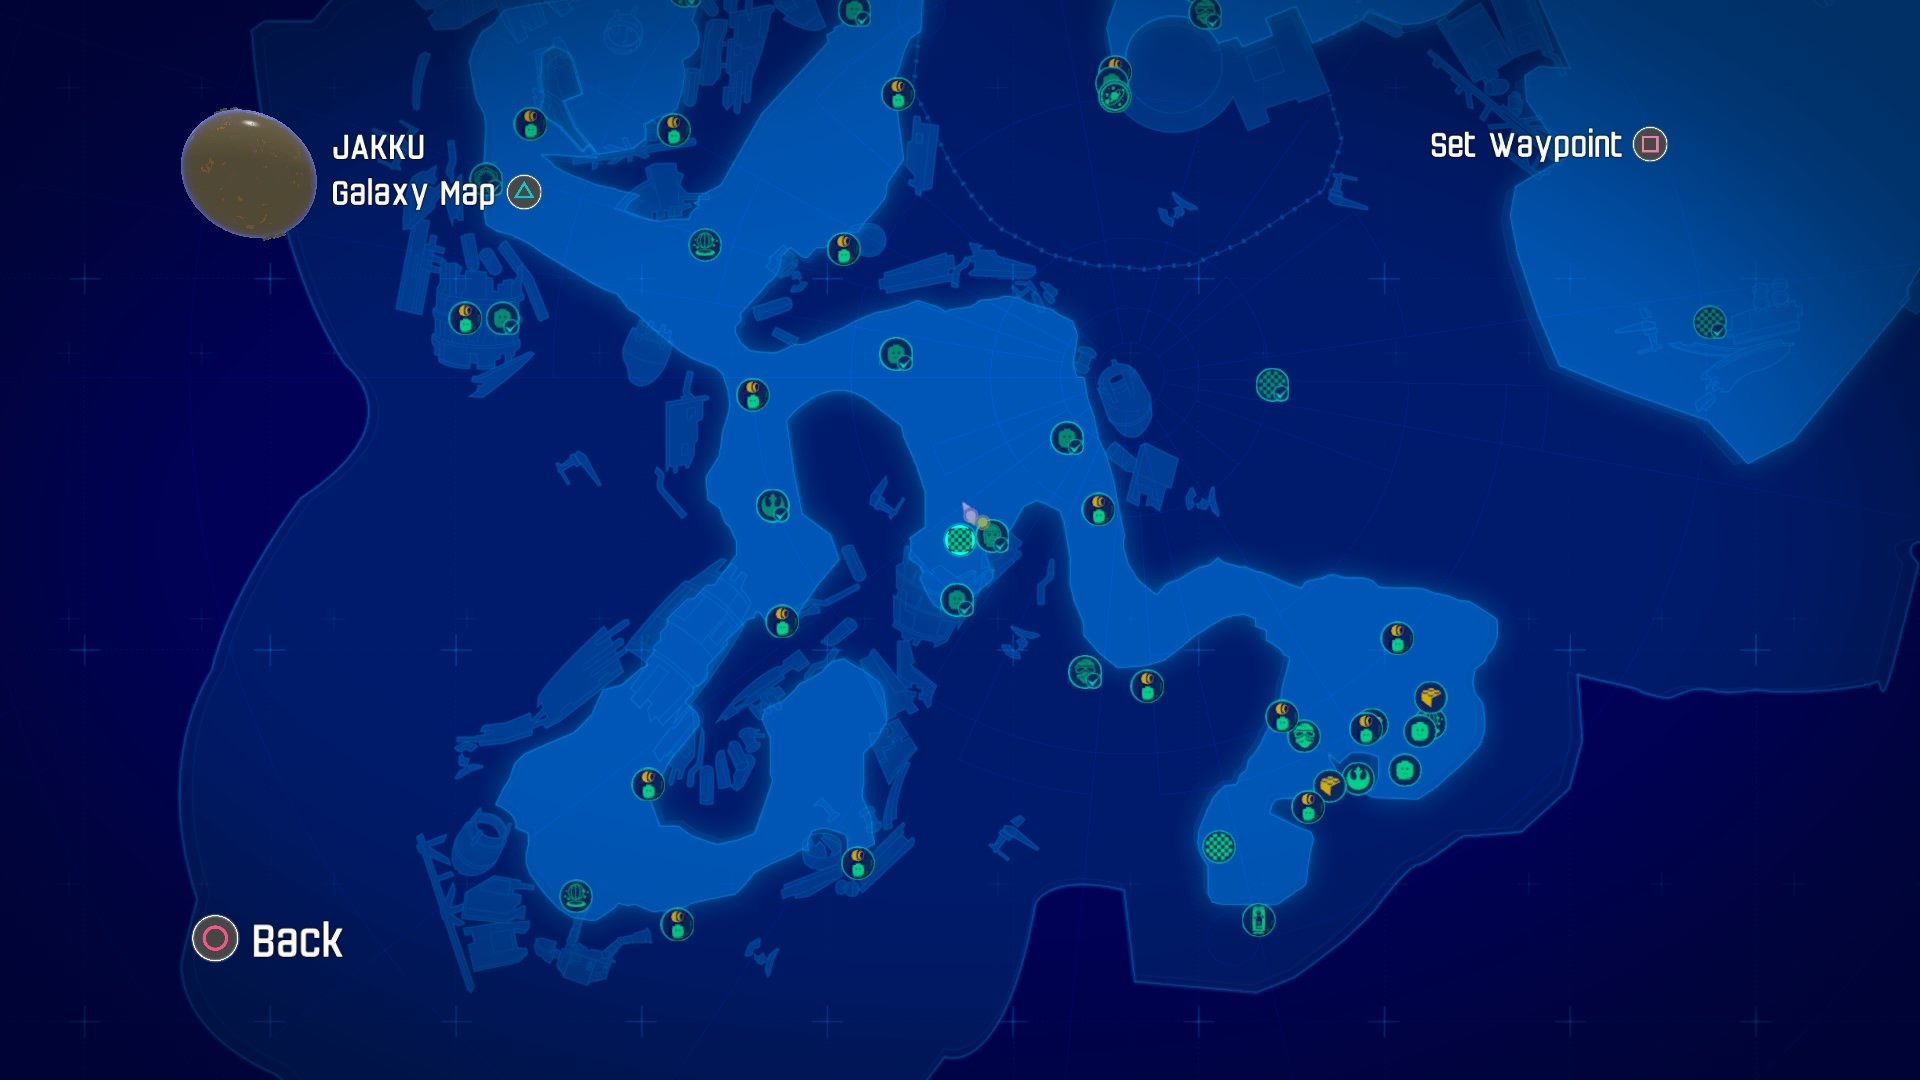
Before we carry on down the path to the southeast, swing by the race icon.
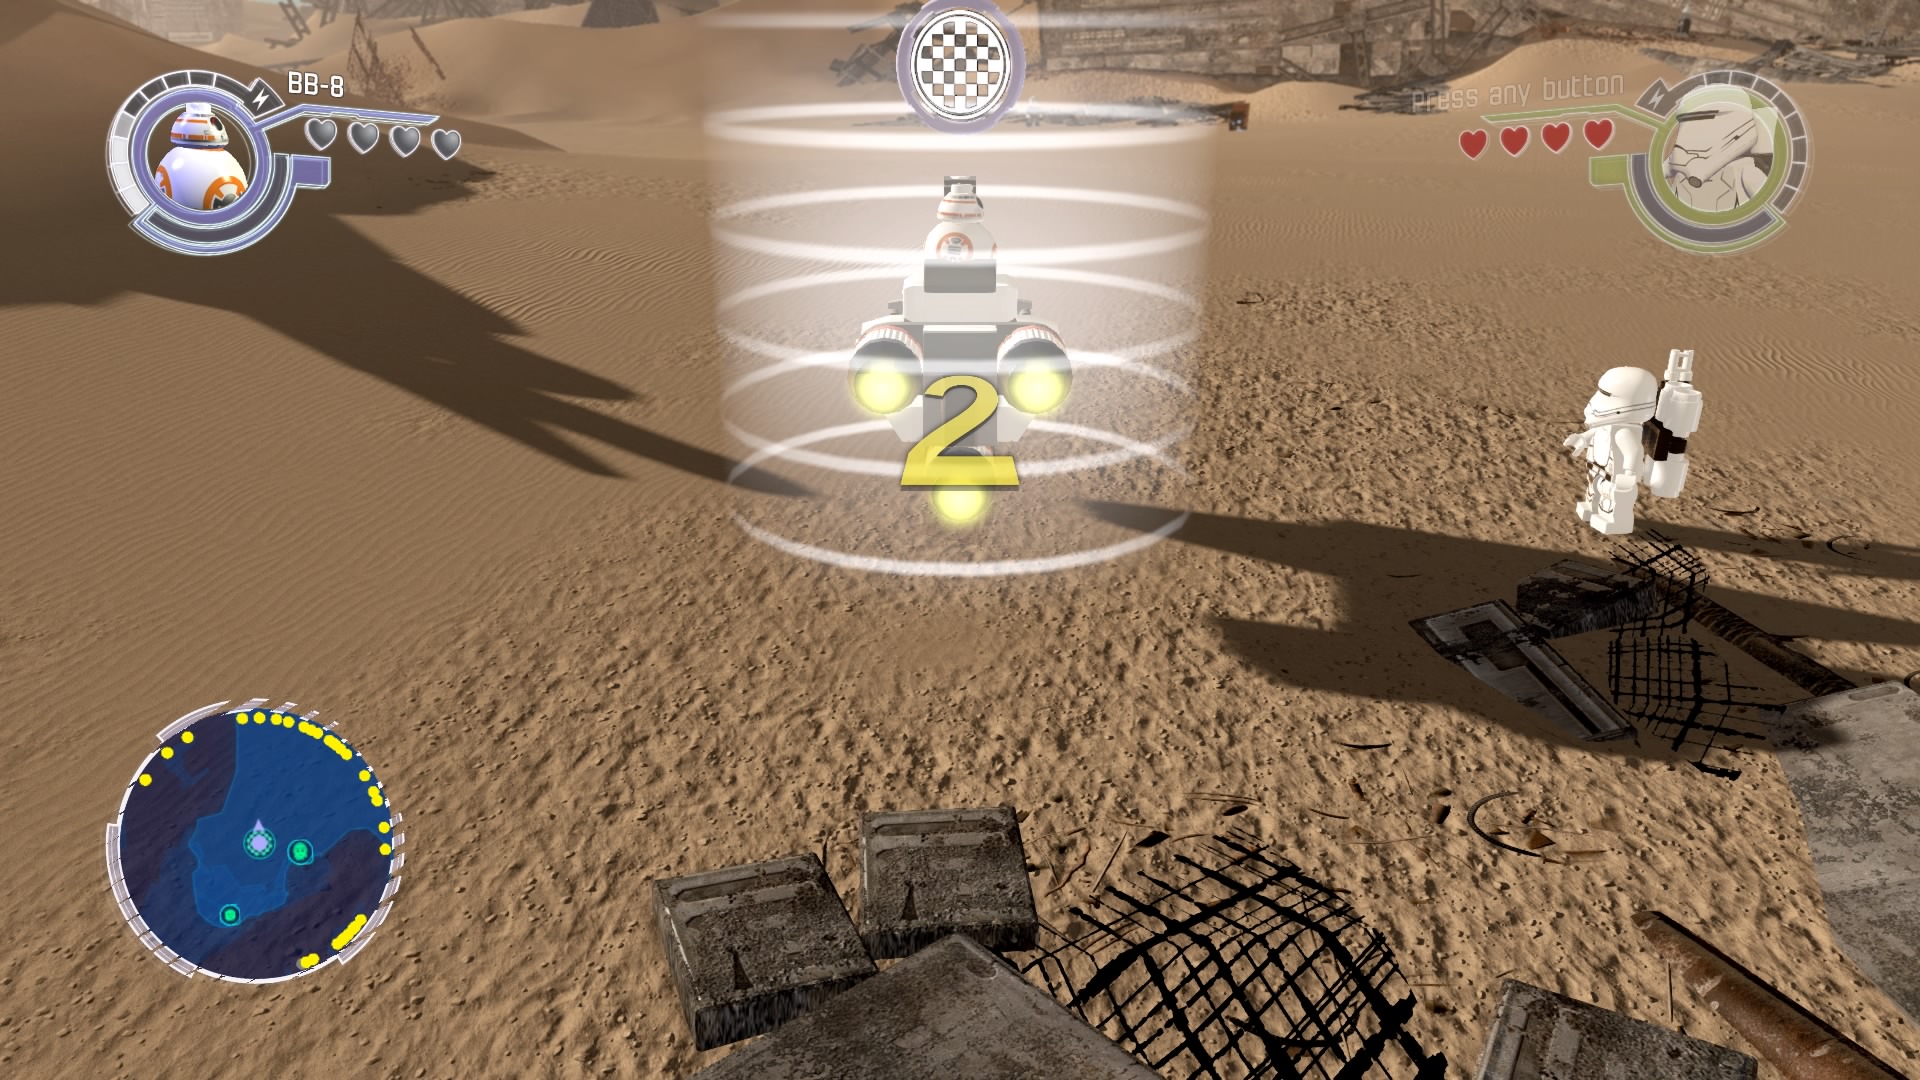
Complete the race for a gold brick.
Gold Brick #31
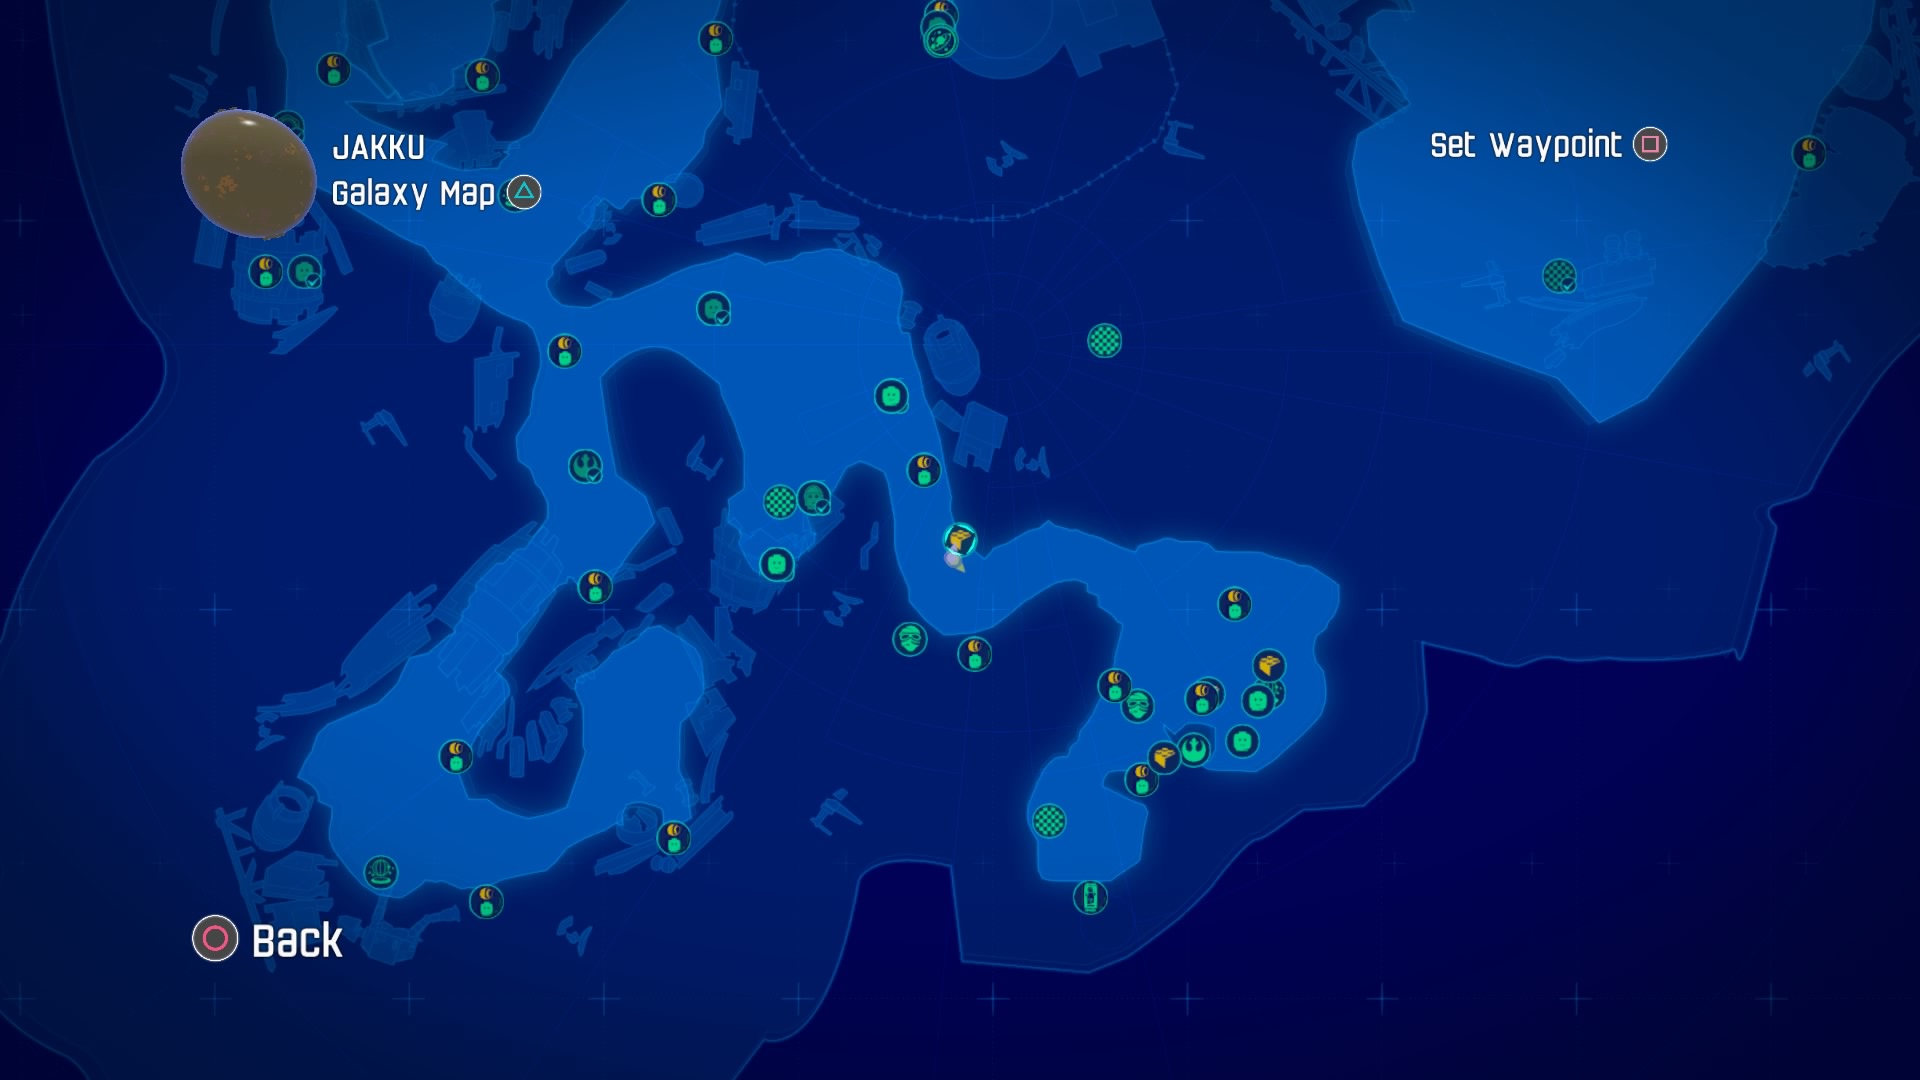
Carry on down the path to the southeast.
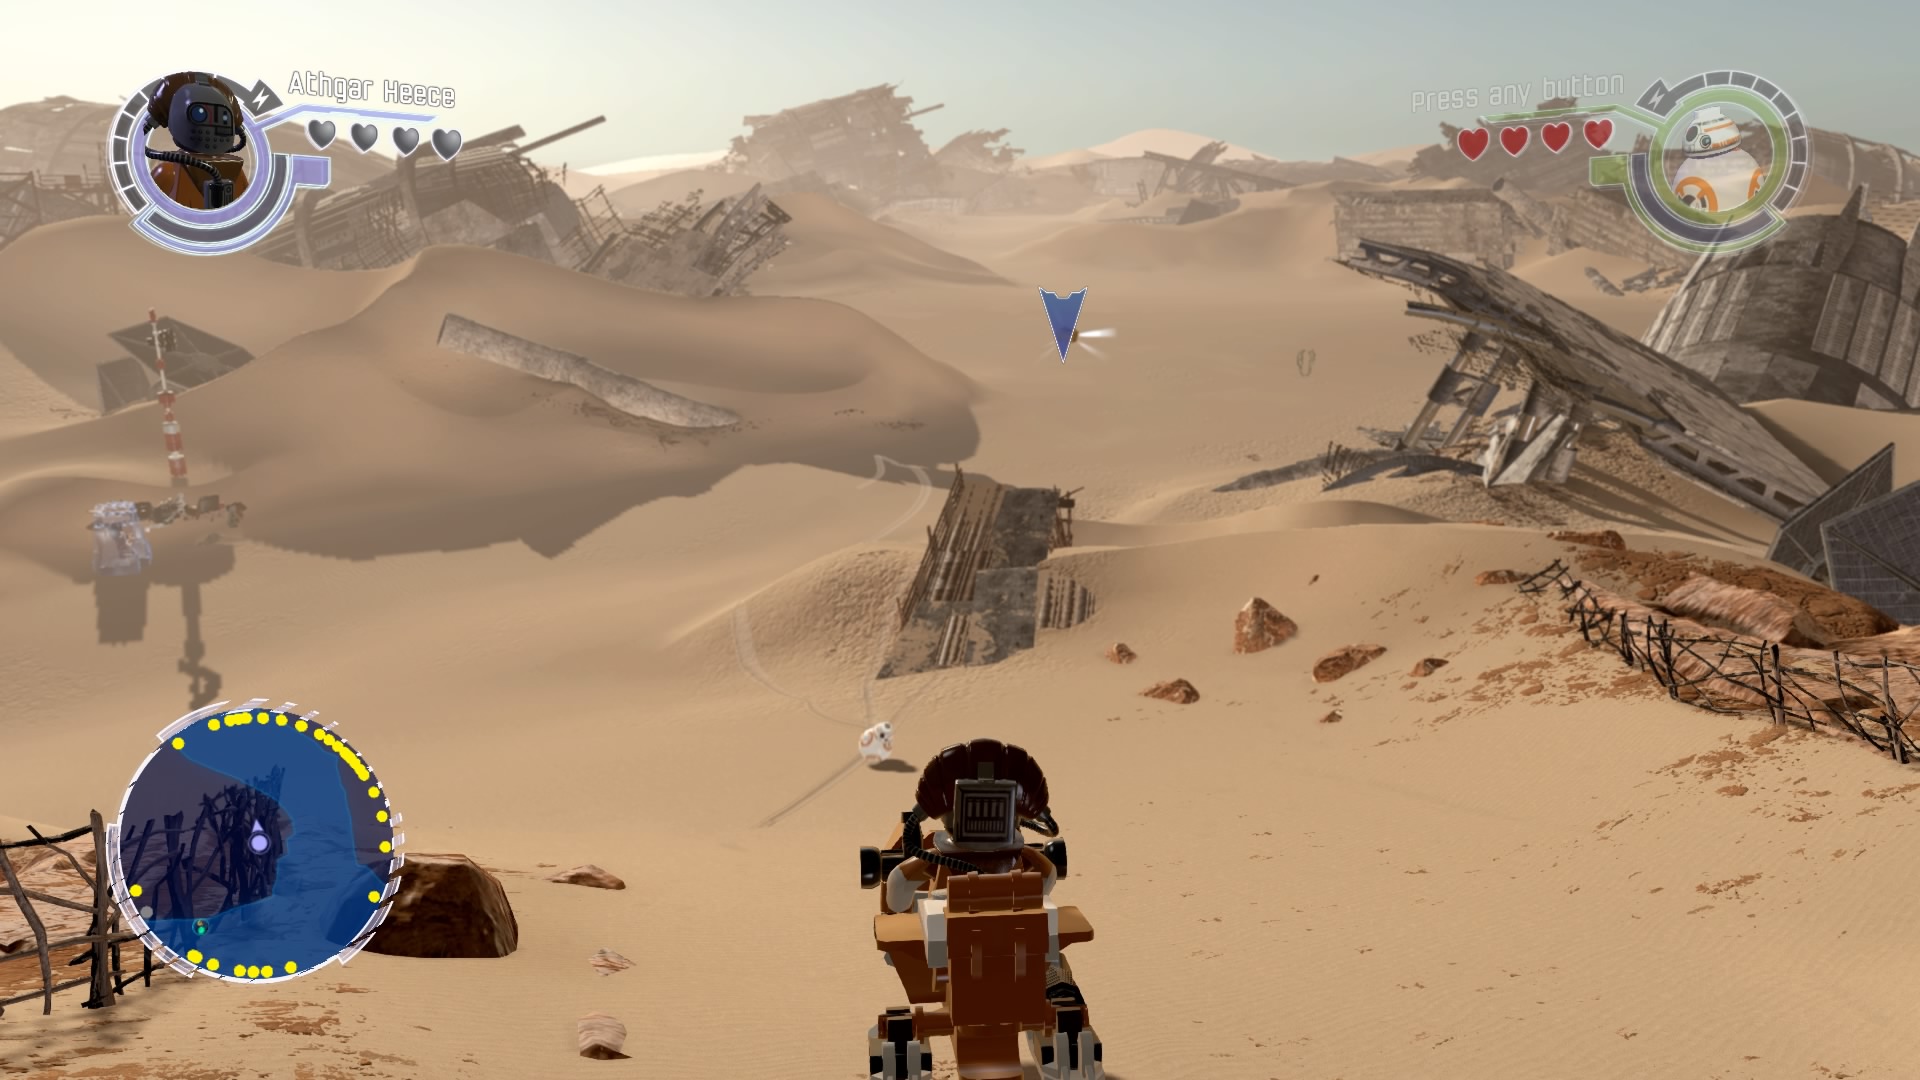
Spawn in a vehicle and speed down the hill and off the edge of the ramp to reach the gold brick.
Gold Brick #32
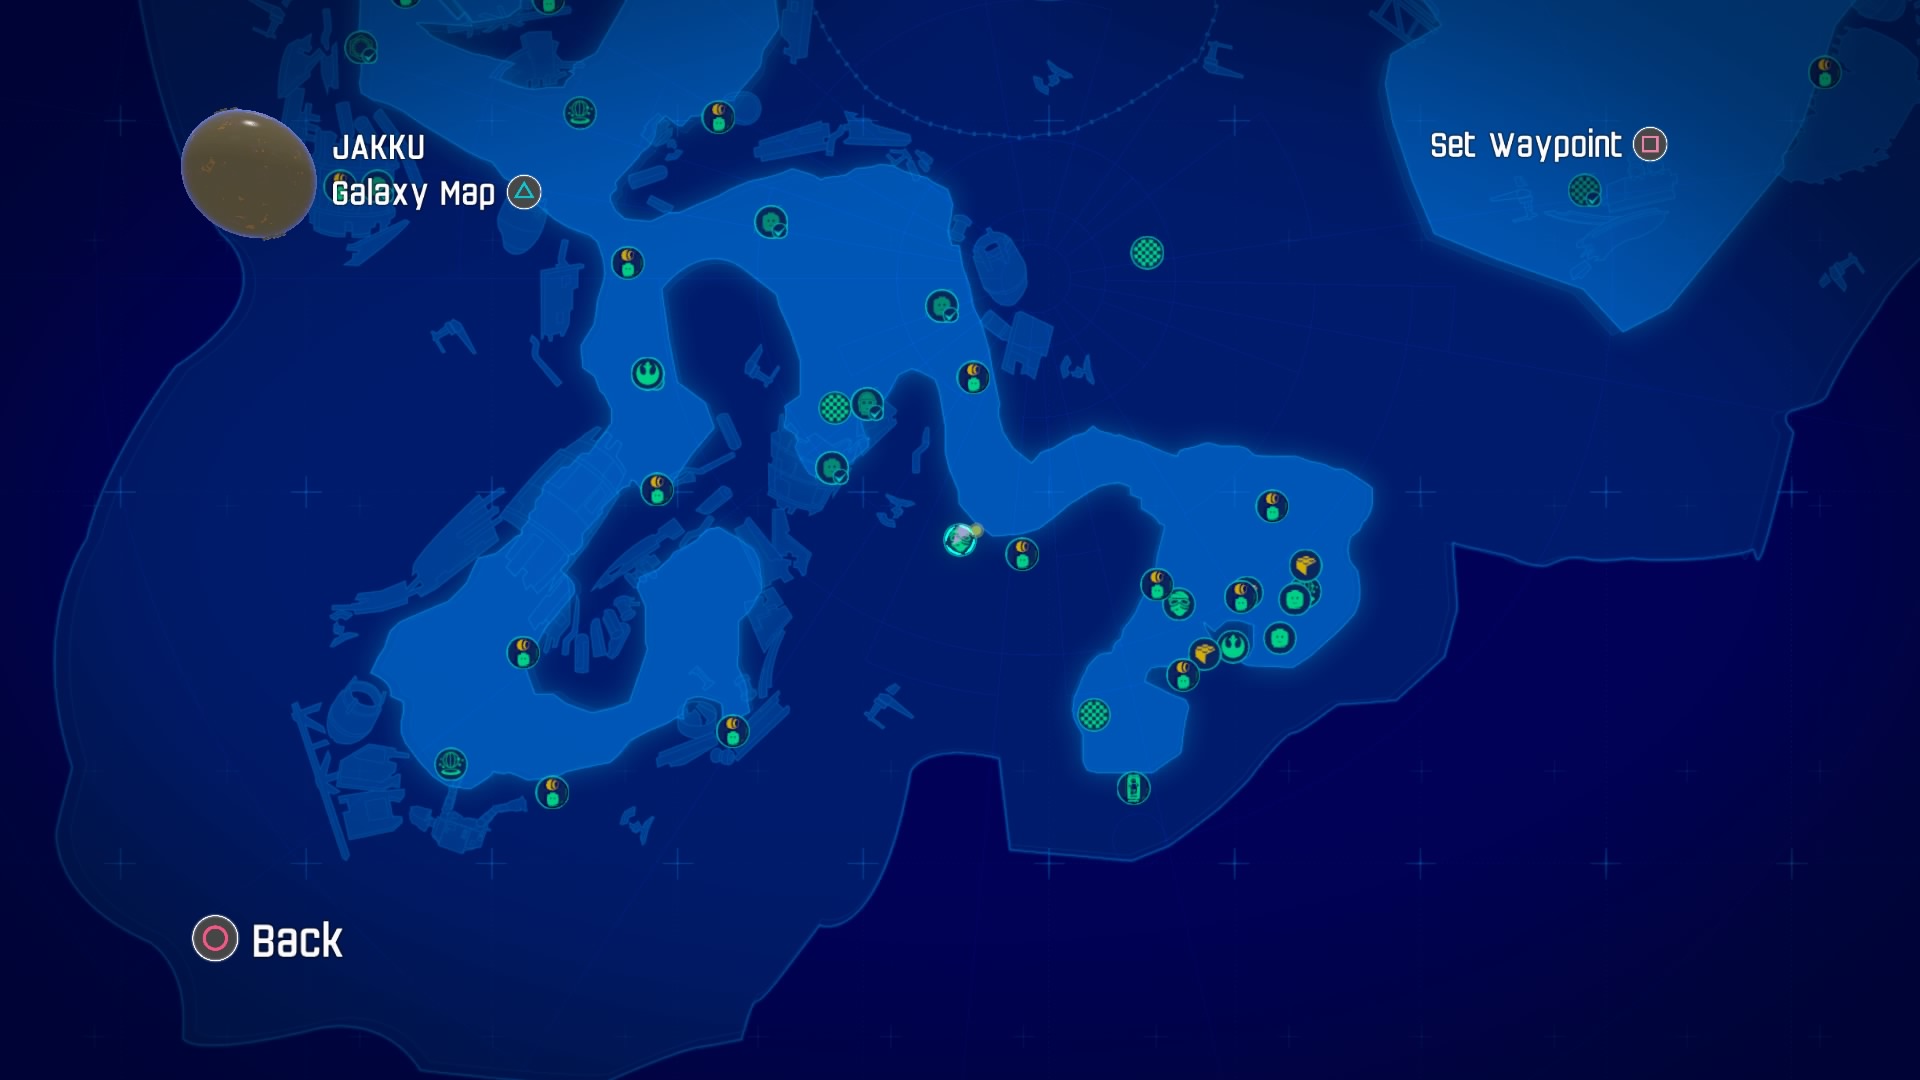
Head over to the scavenger mission icon.
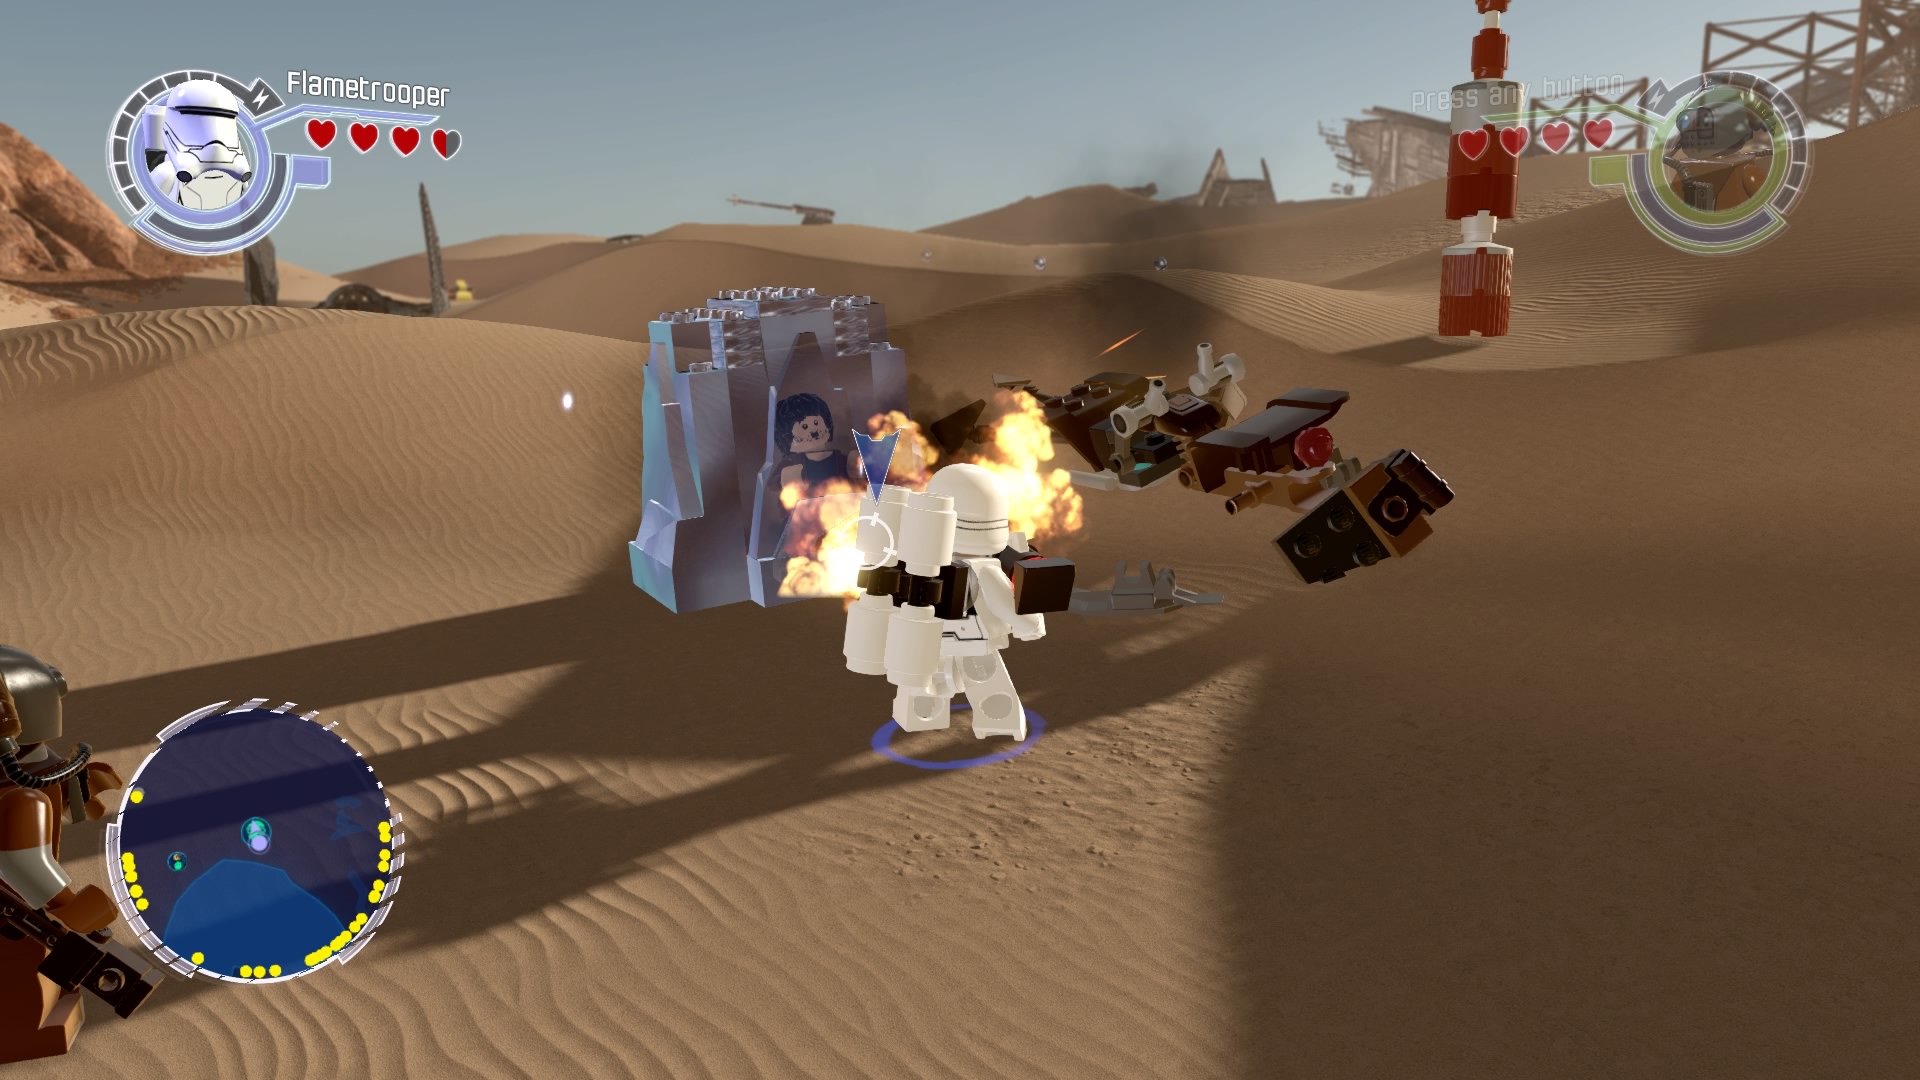
You have to defrost the guy here before you can accept the mission.
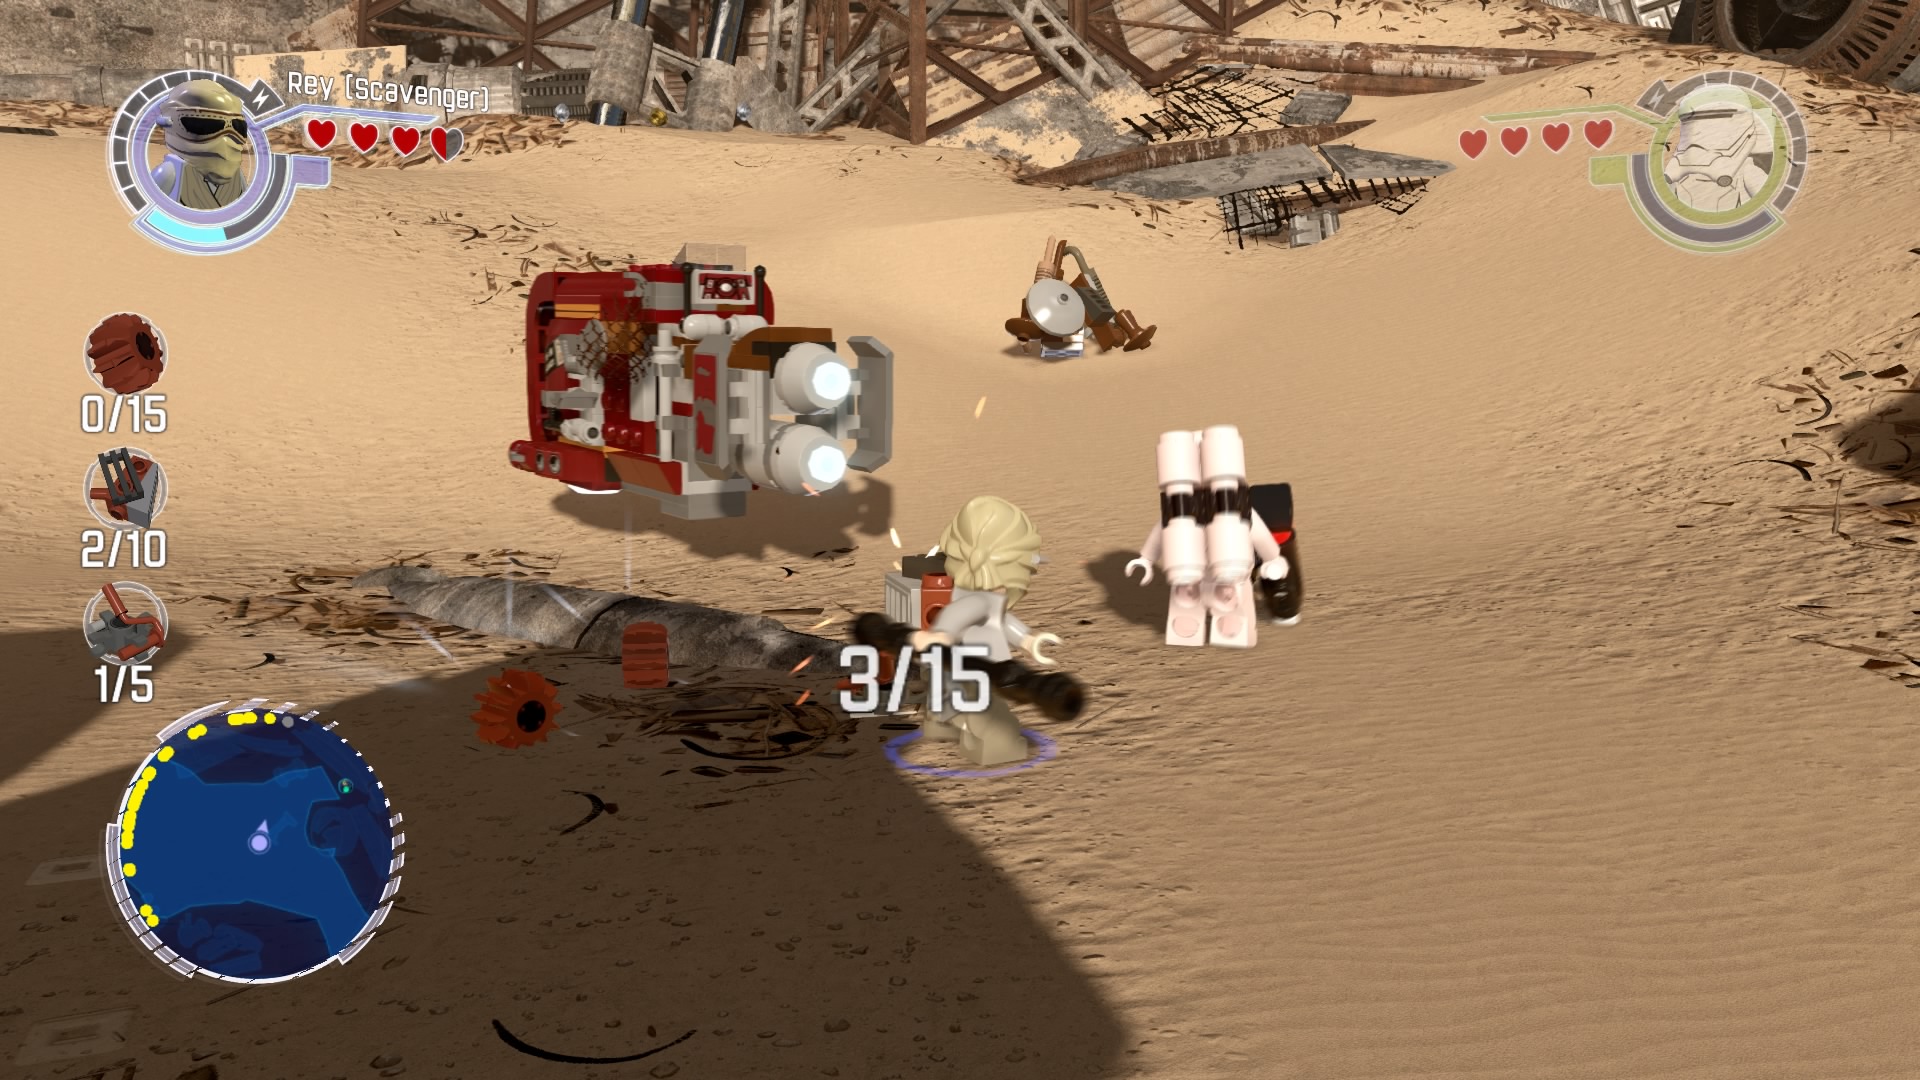
Kill 15 creatures to get the parts you need to complete the mission.
Gold Brick #33

Pop over to the northeast to reach the race icon,
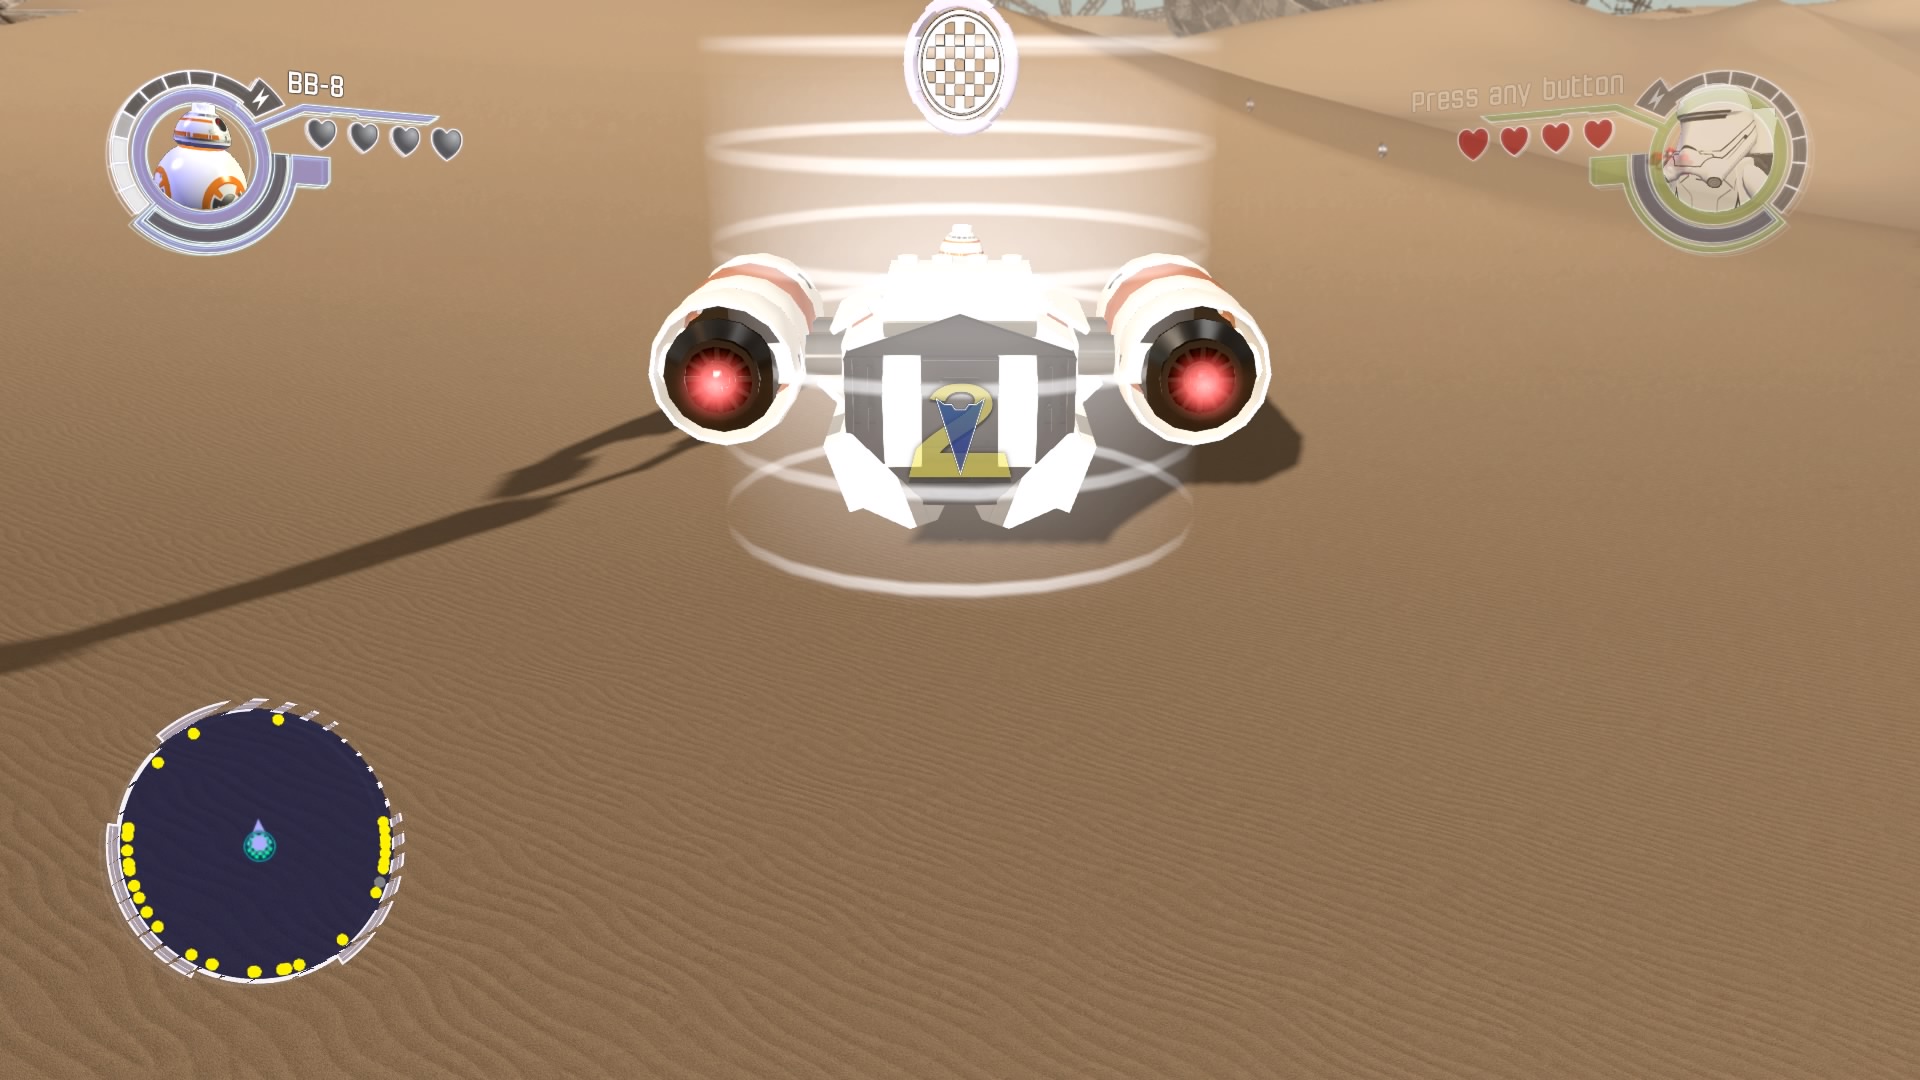
Complete the race for the gold brick.
Gold Brick #34
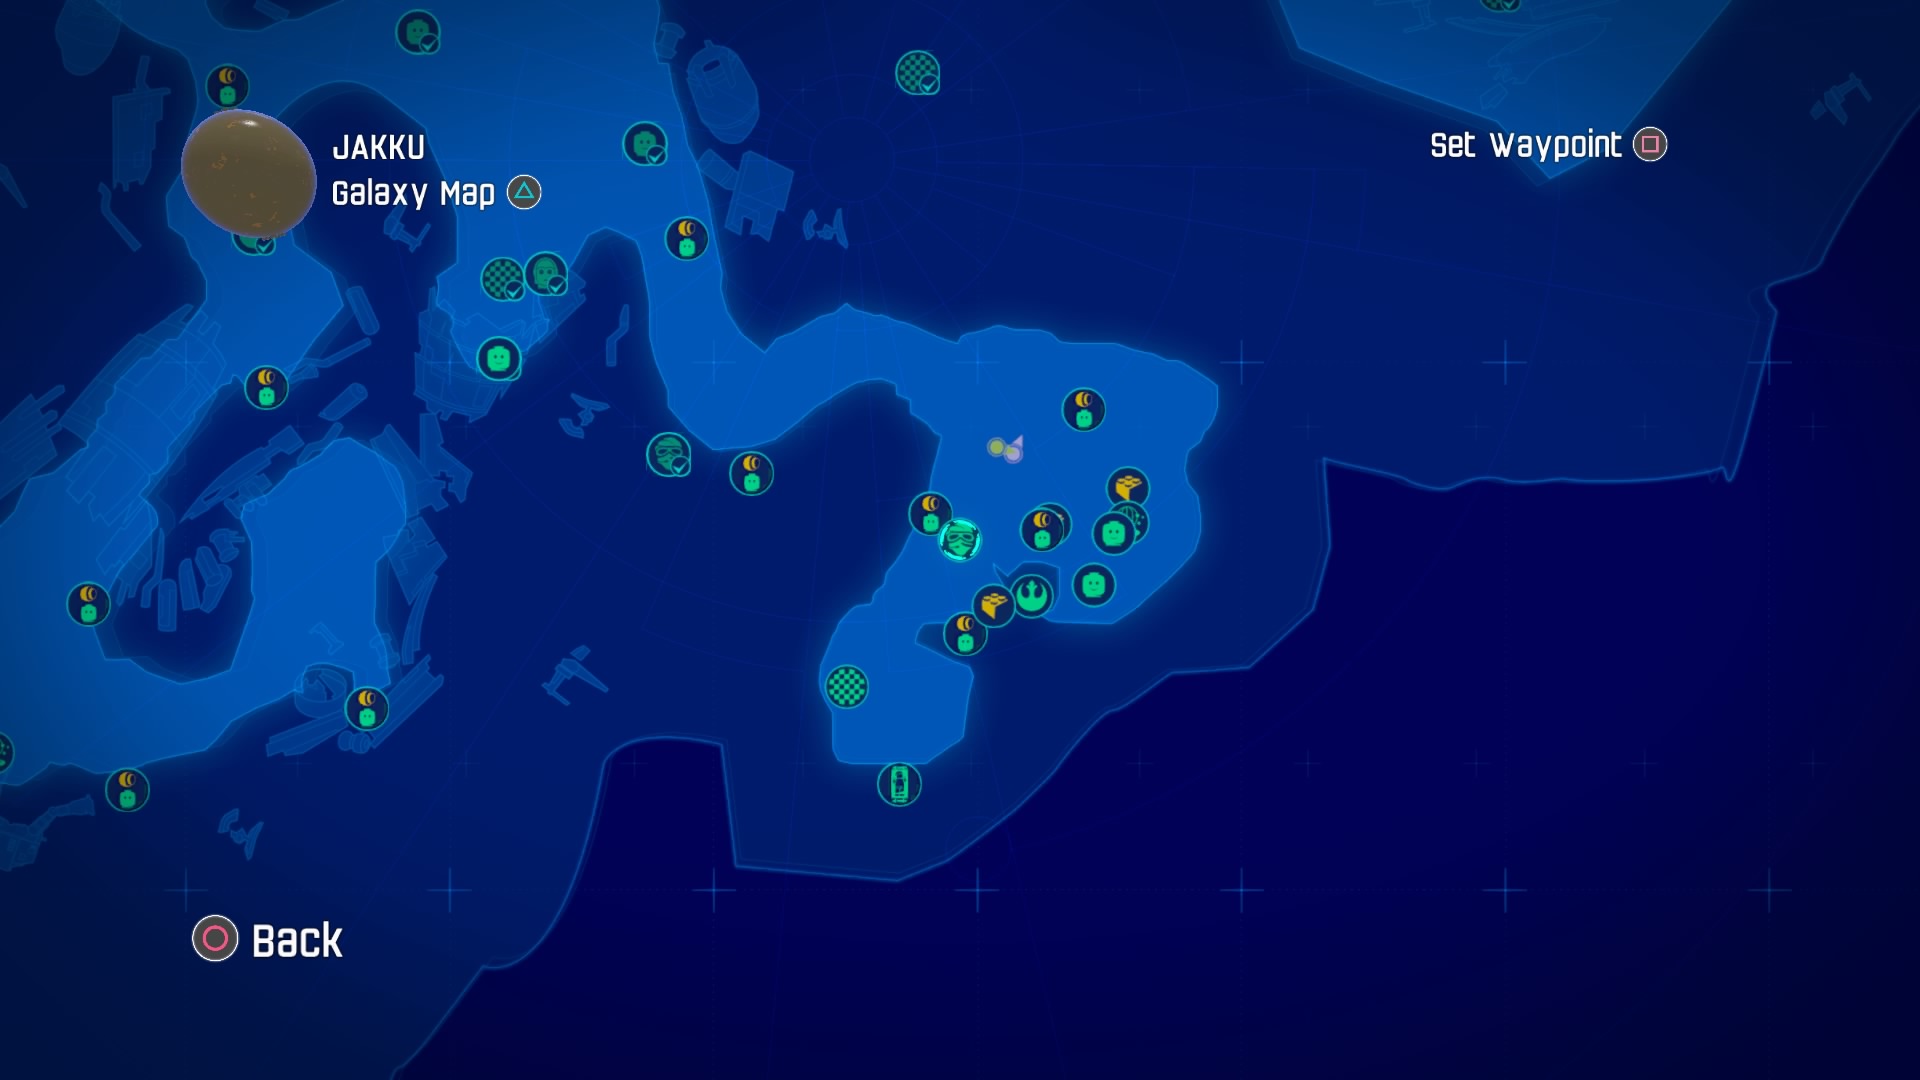
Next up is a scavenger mission.
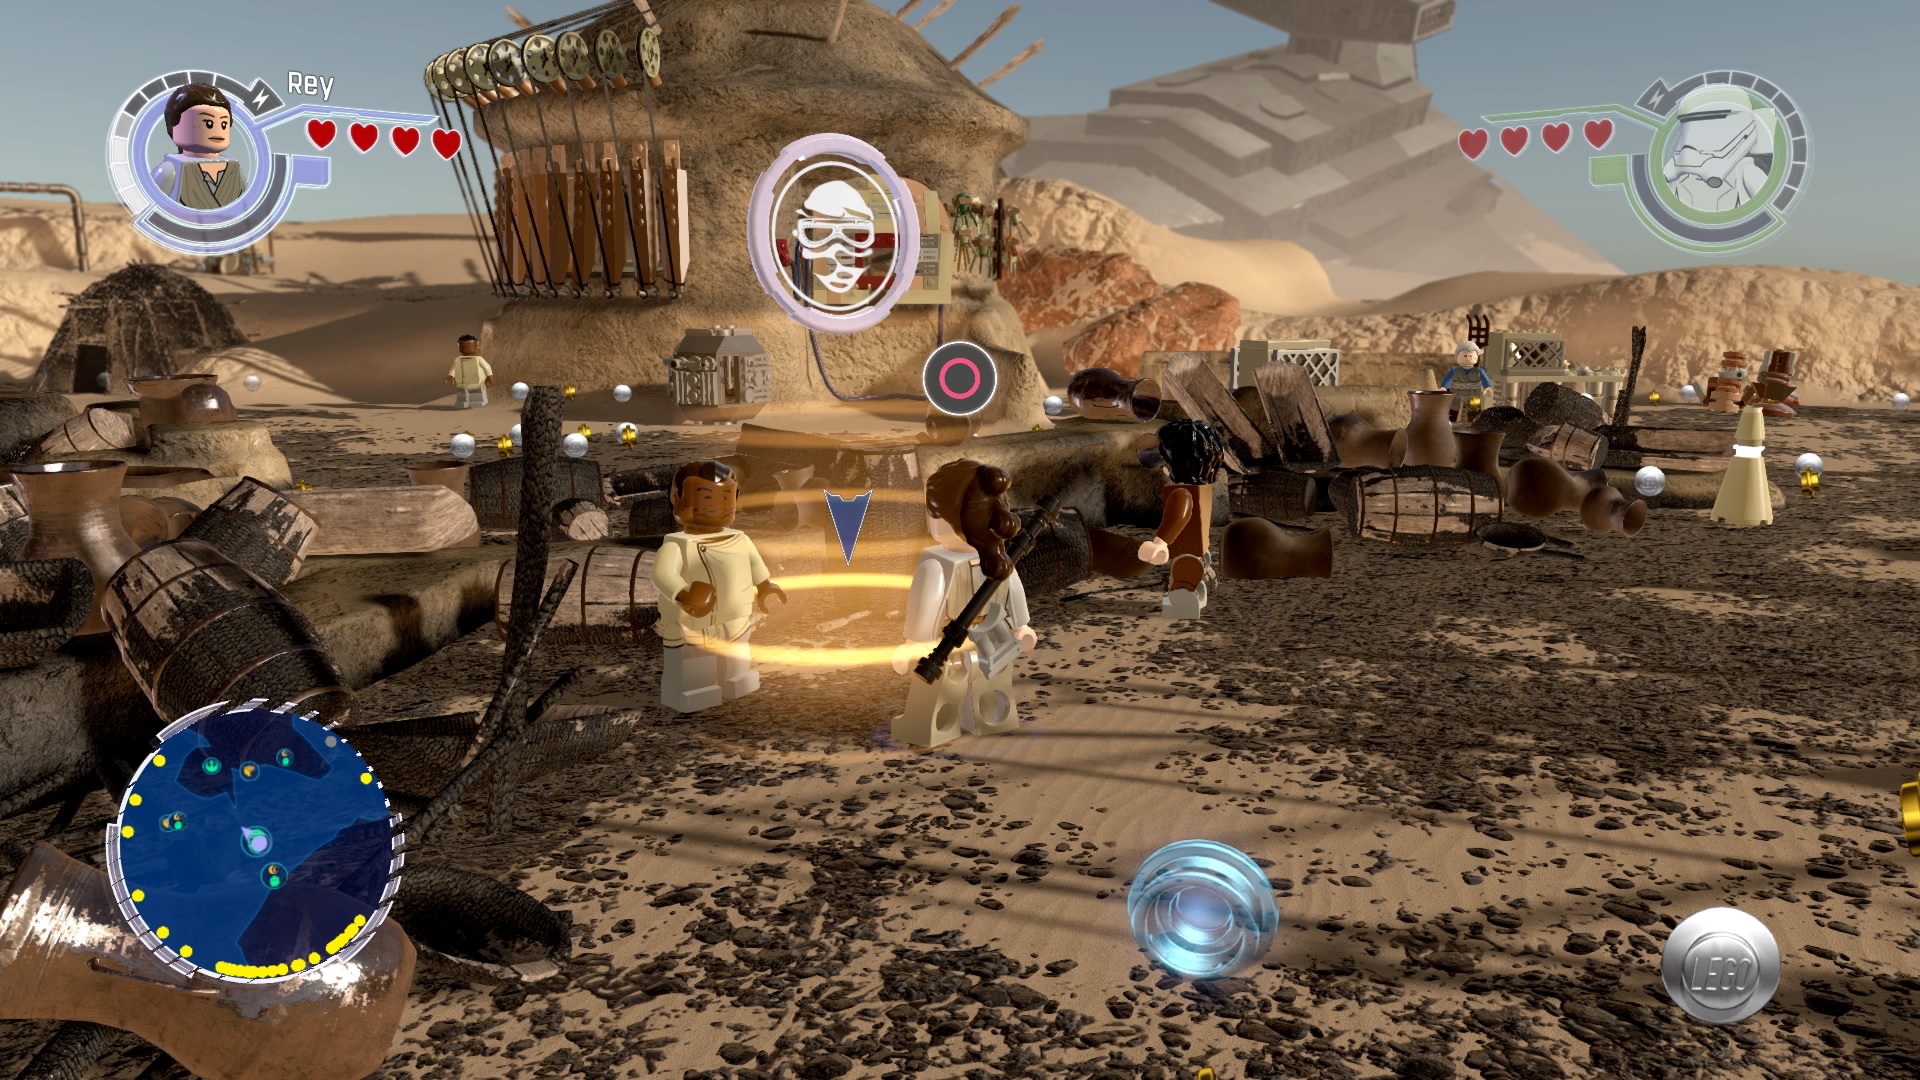
Accept the mission and follow the blue studs.
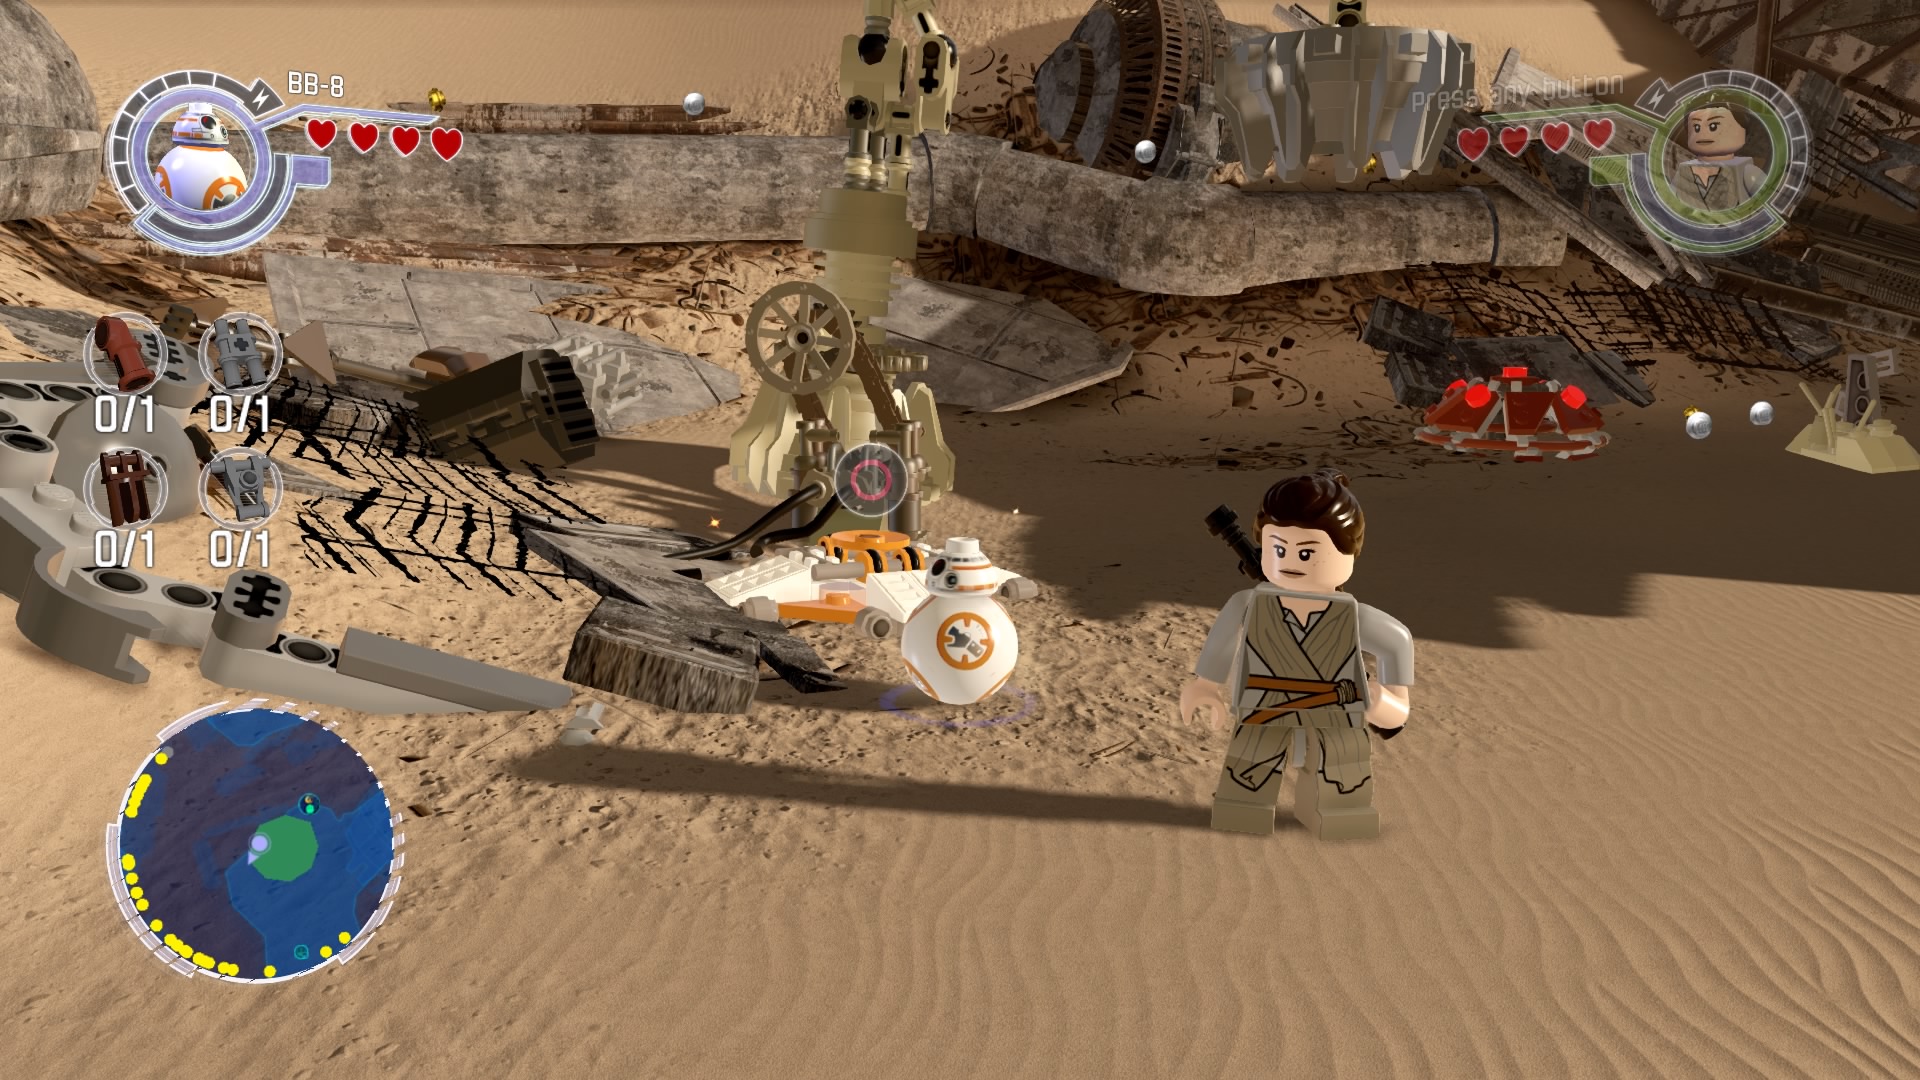
Destroy the objects by the crane and reassemble into a BB-8 platform.
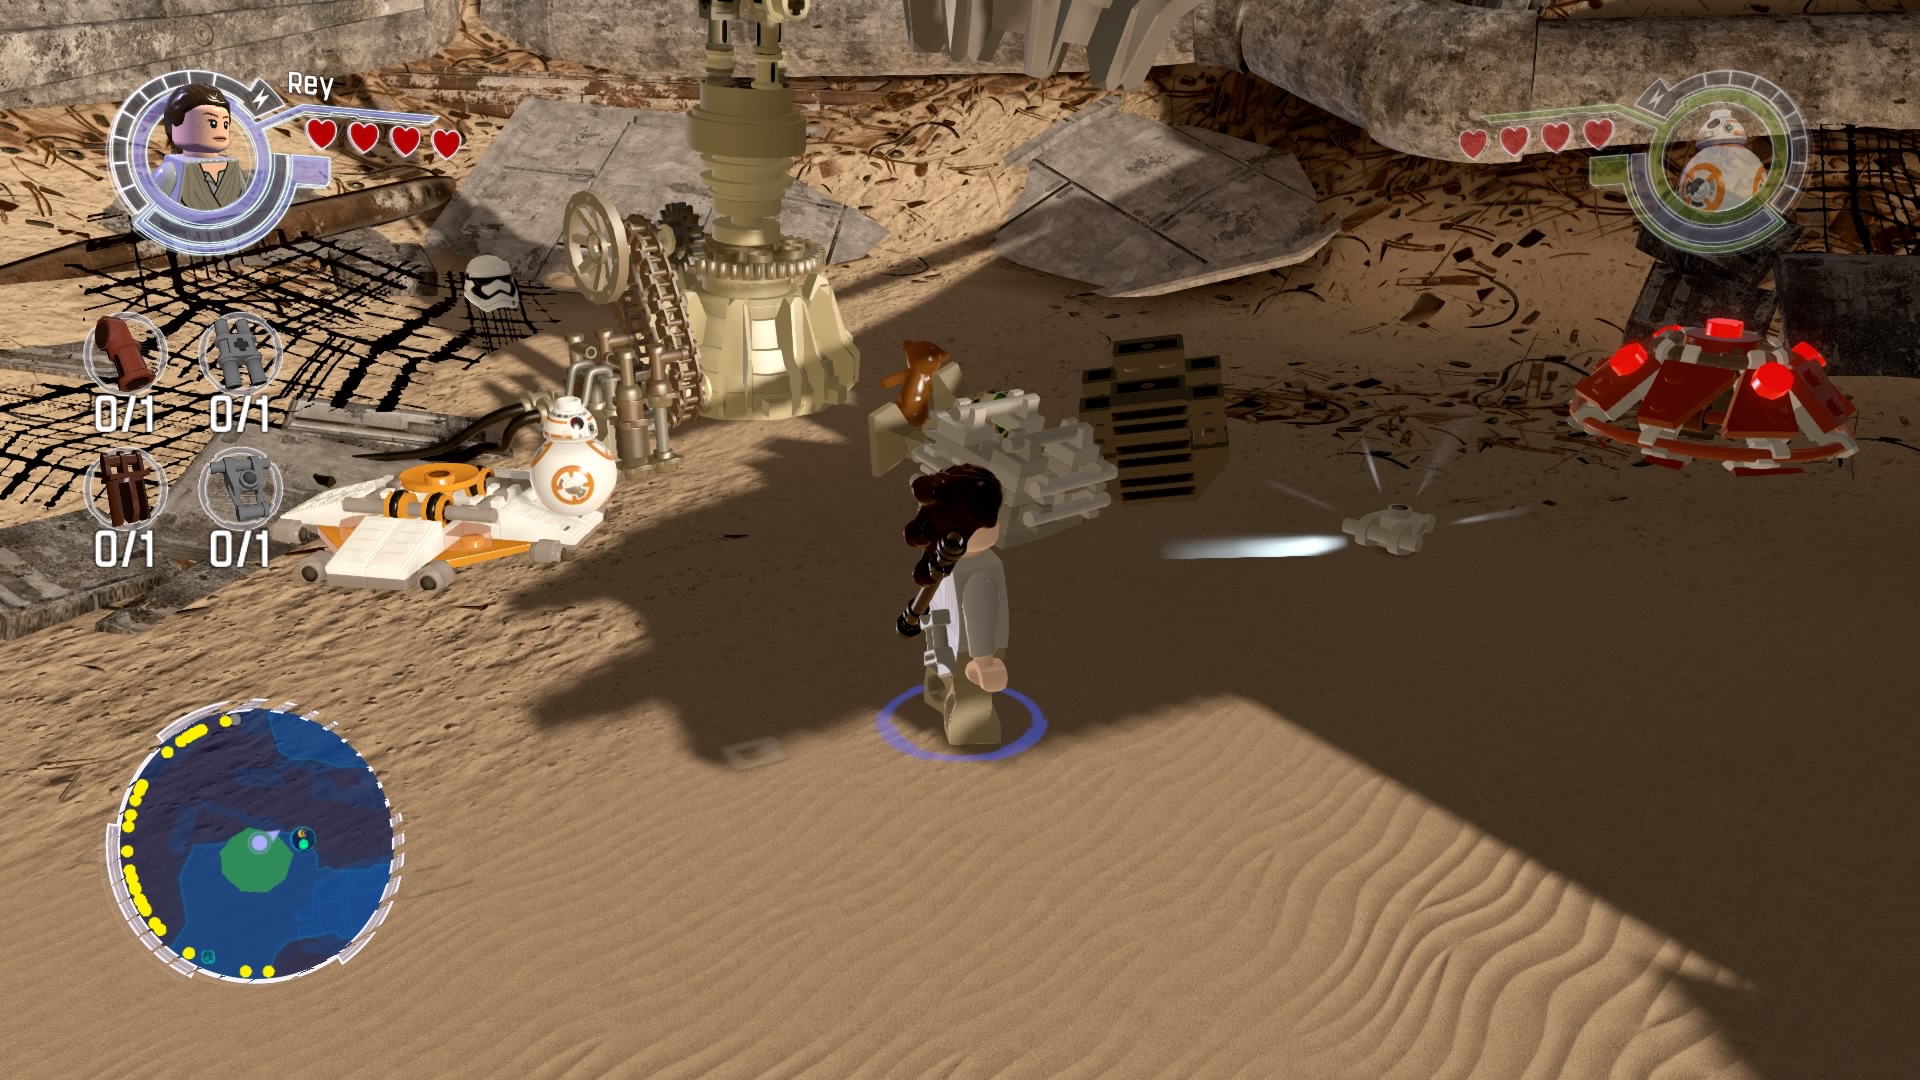
Hop on and use the platform to get the parts you need.
Gold Brick #35
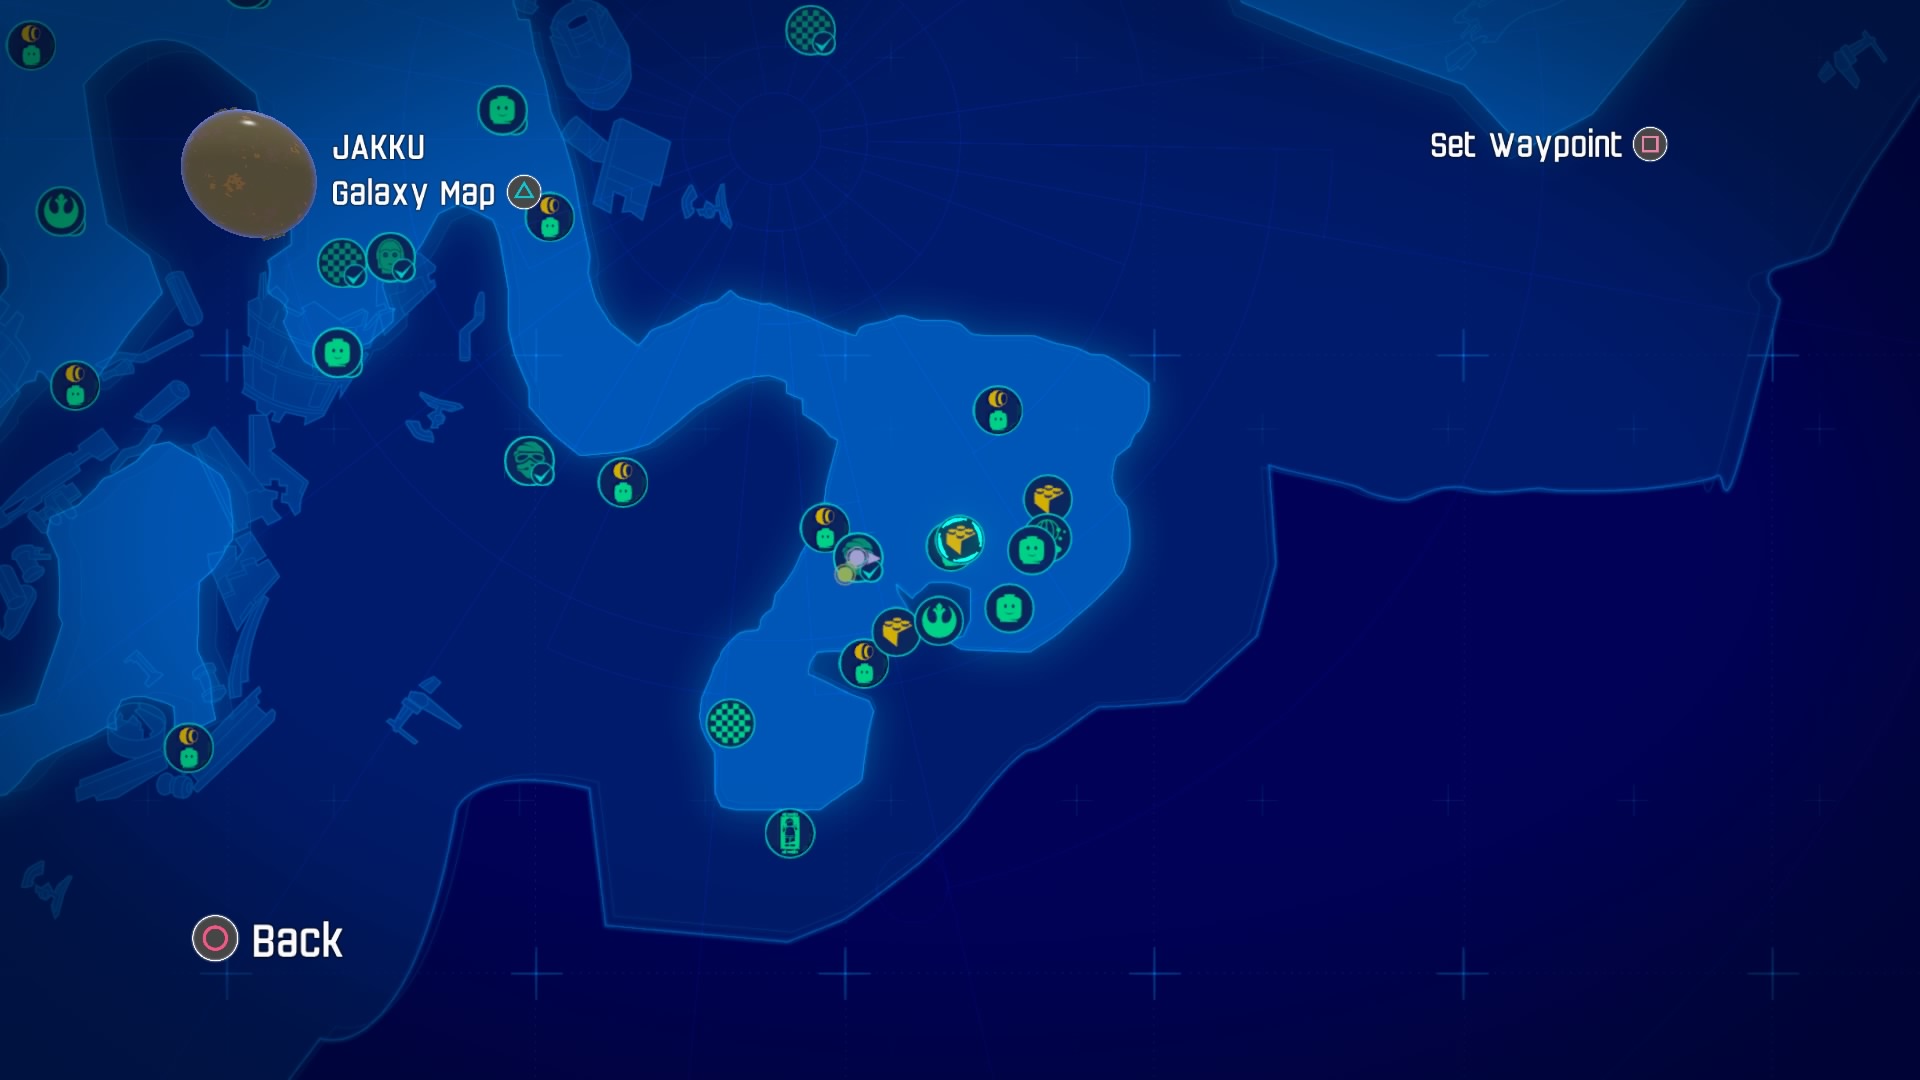
This one is in the middle of the area.
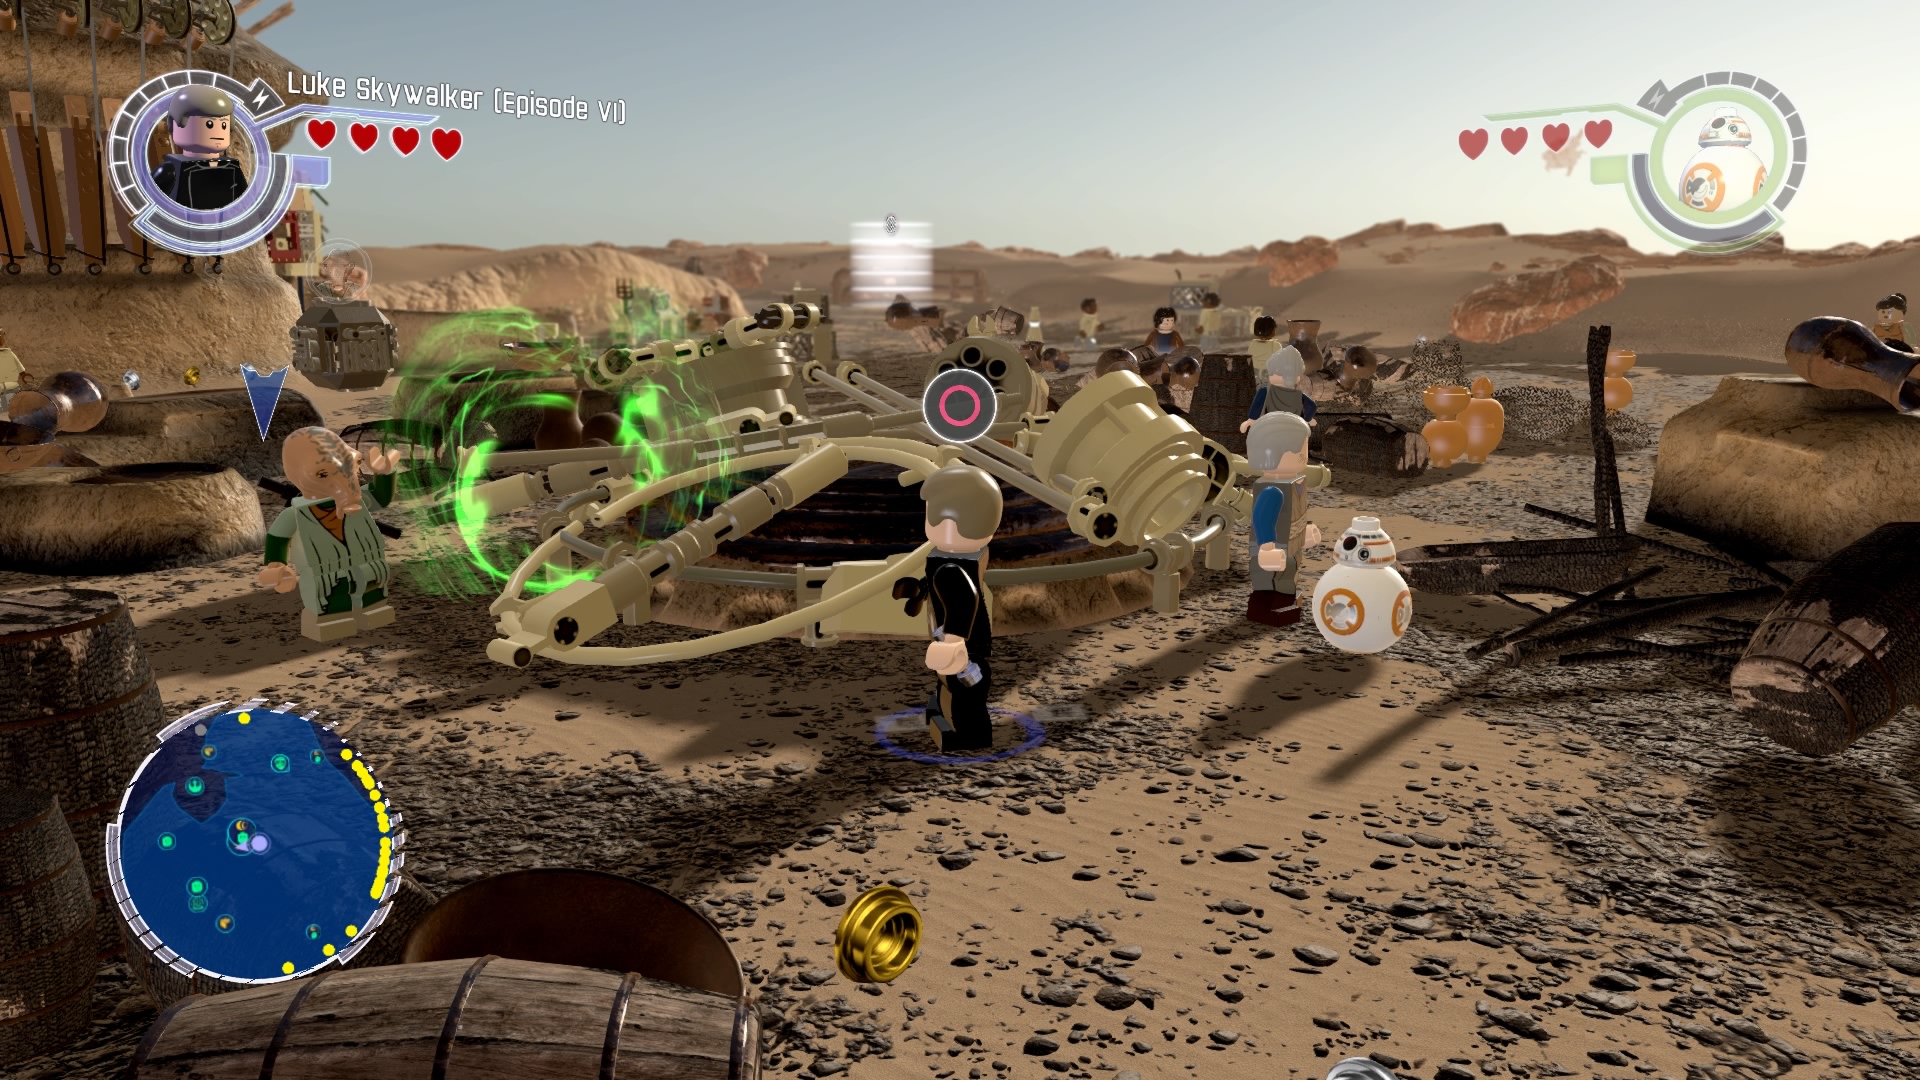
Use the force to build the tower and get the gold brick.
Gold Brick #36
The next brick is a little way to the east.
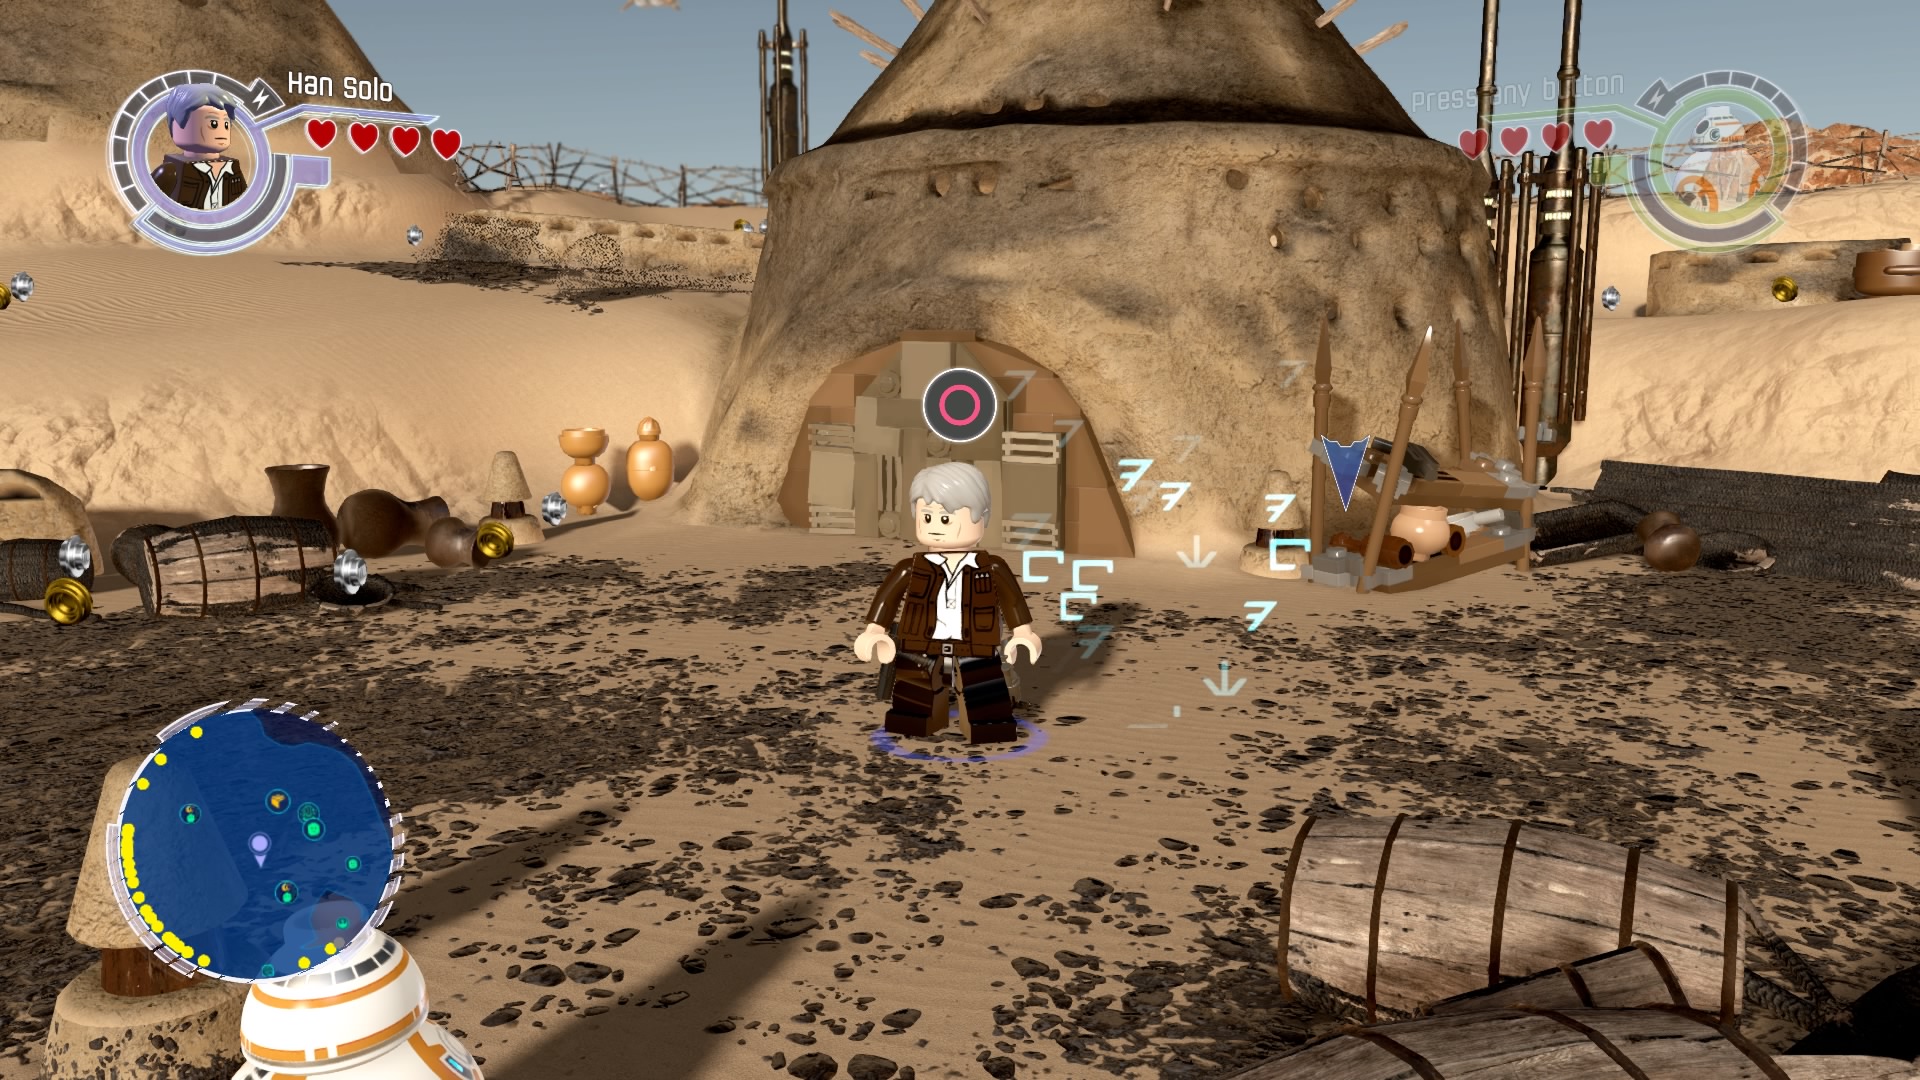
Scan the door of the hut here.
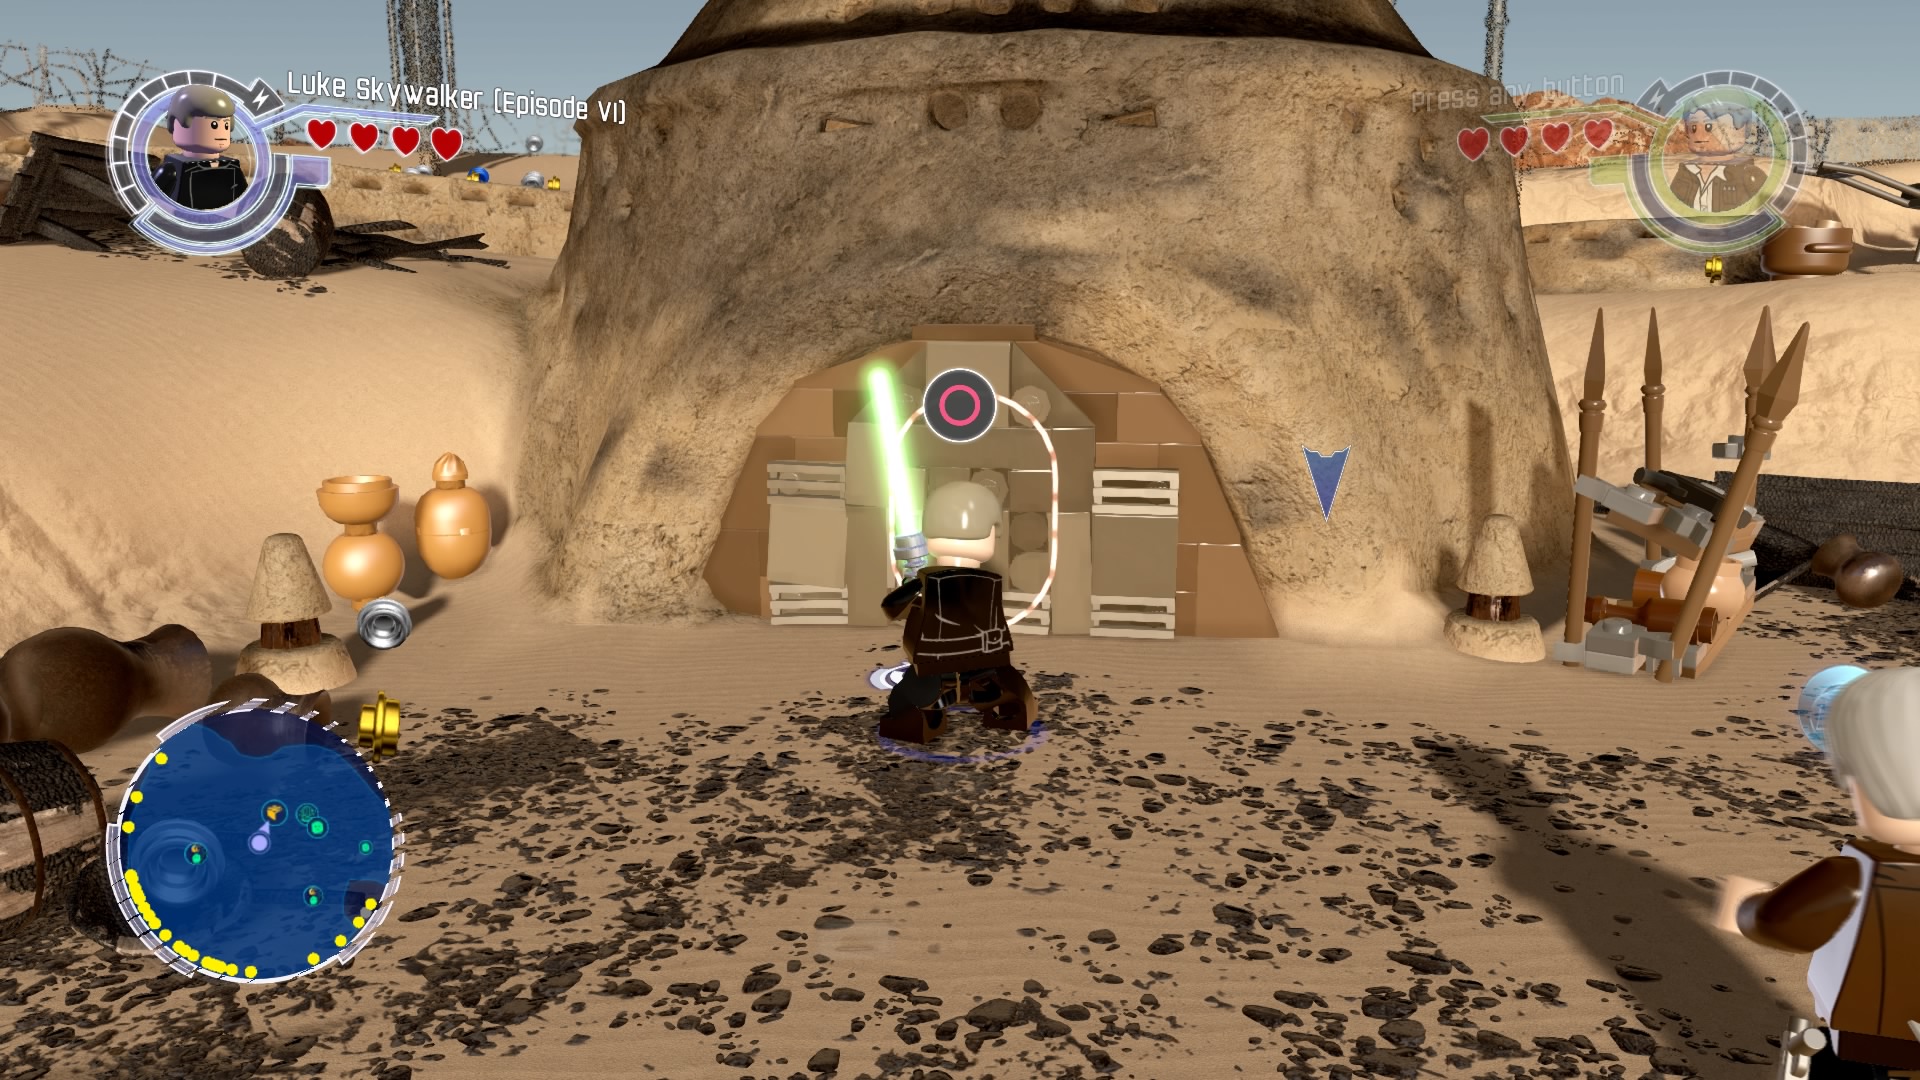
Cut through the door with a lightsaber.
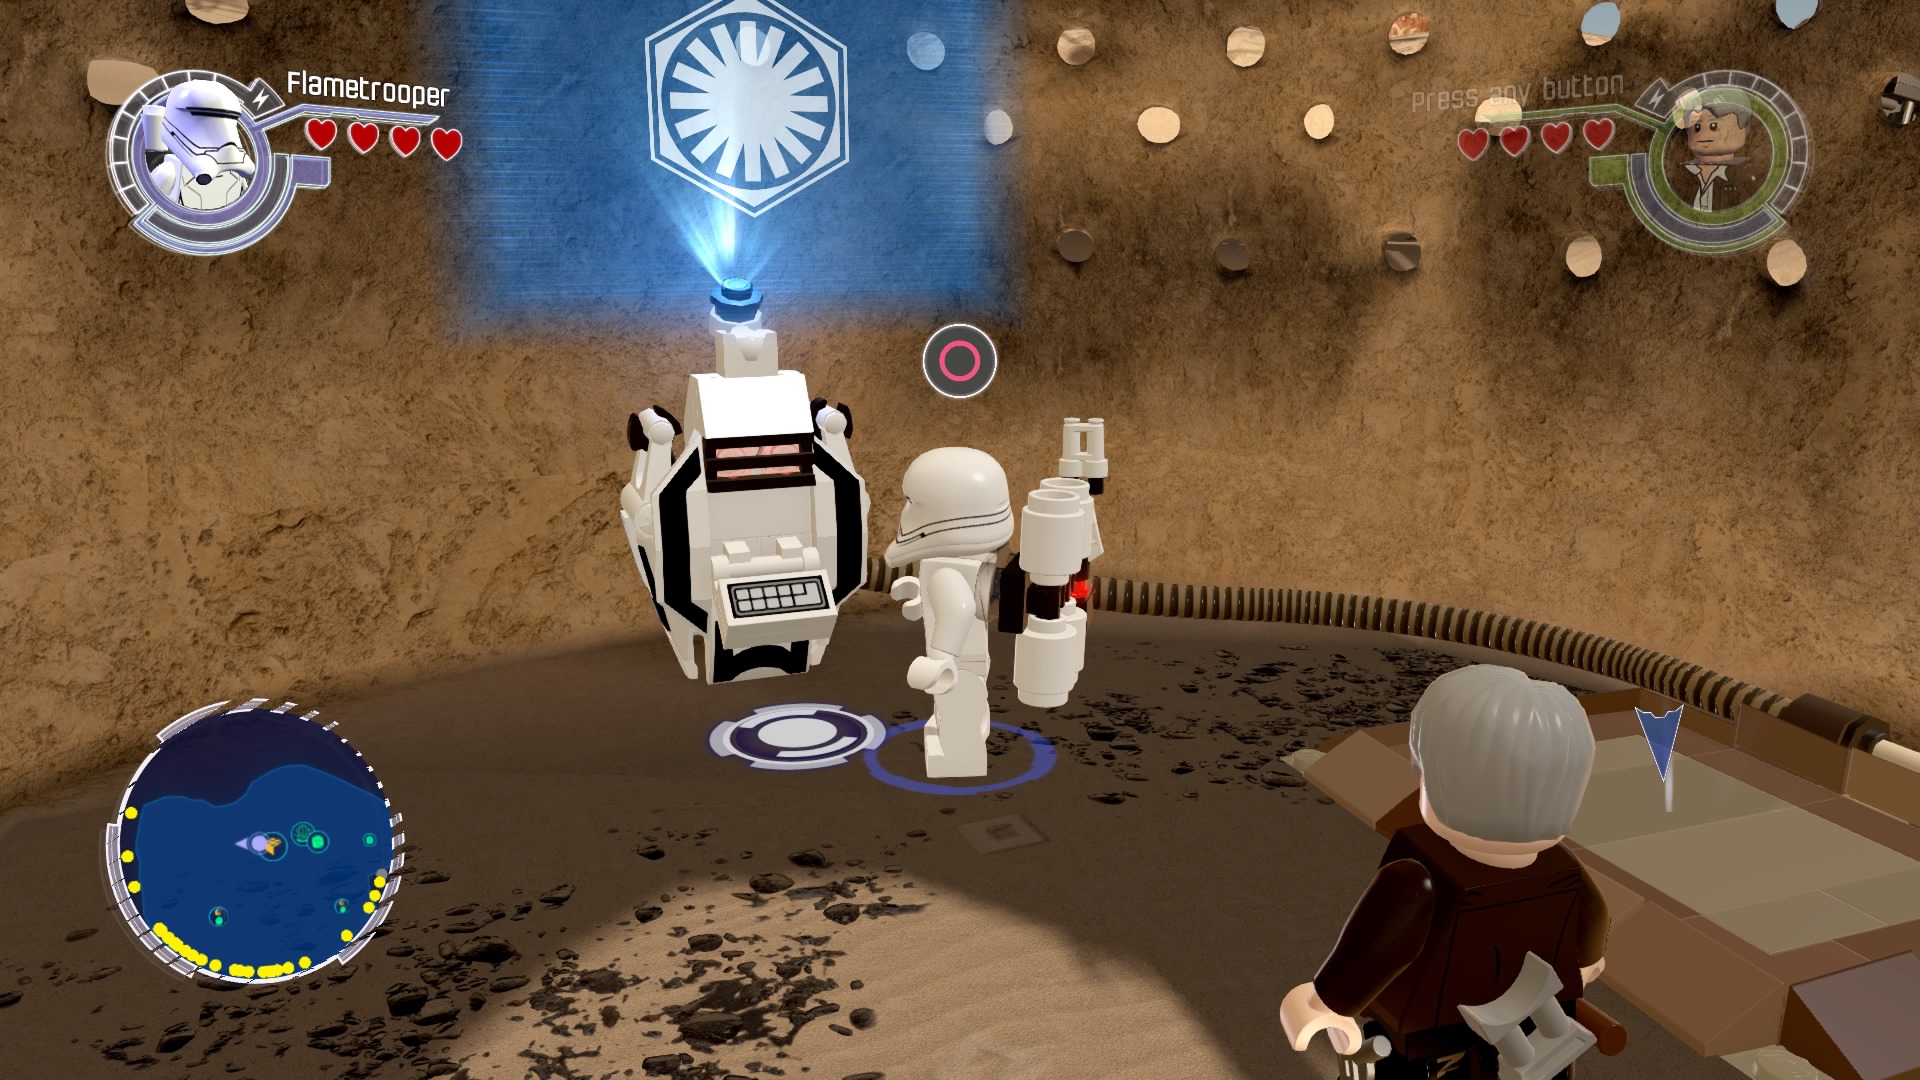
Use the First Order terminal inside.
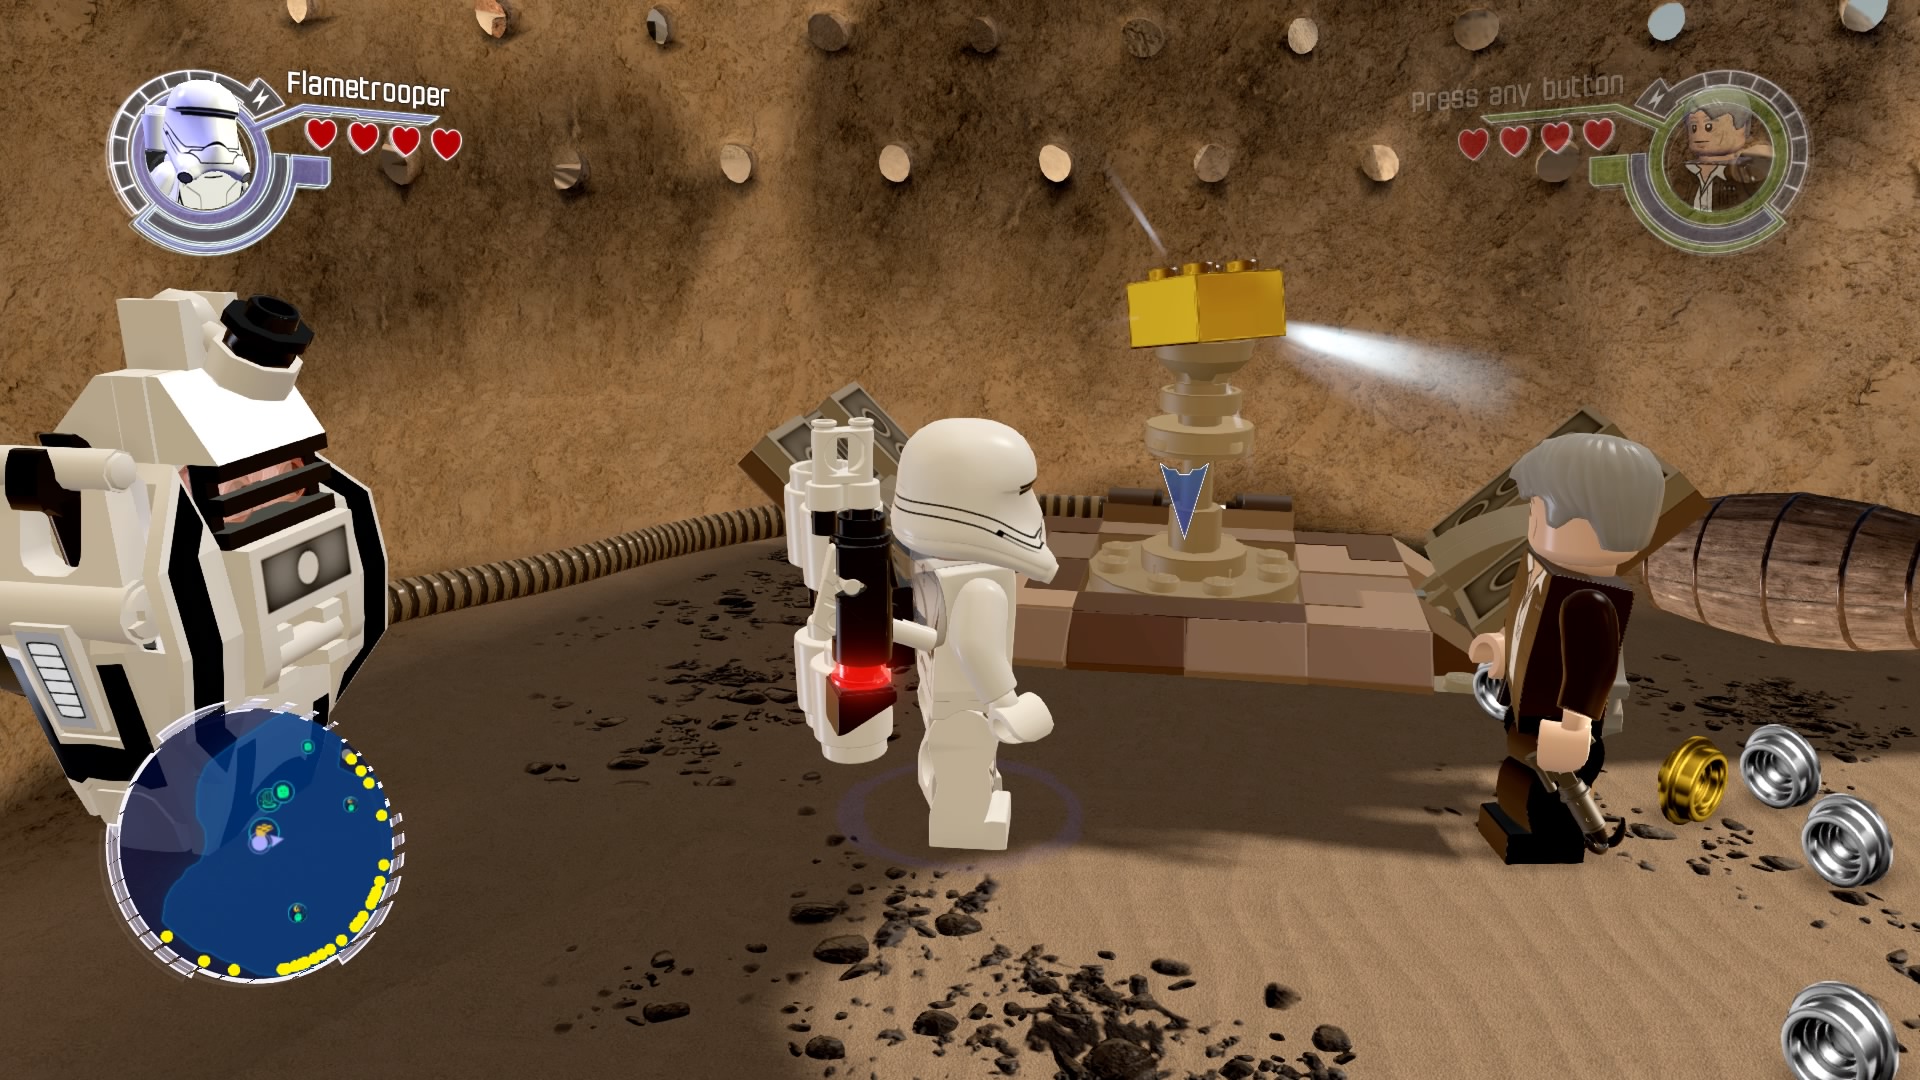
This will reveal the gold brick.
Gold Brick #37
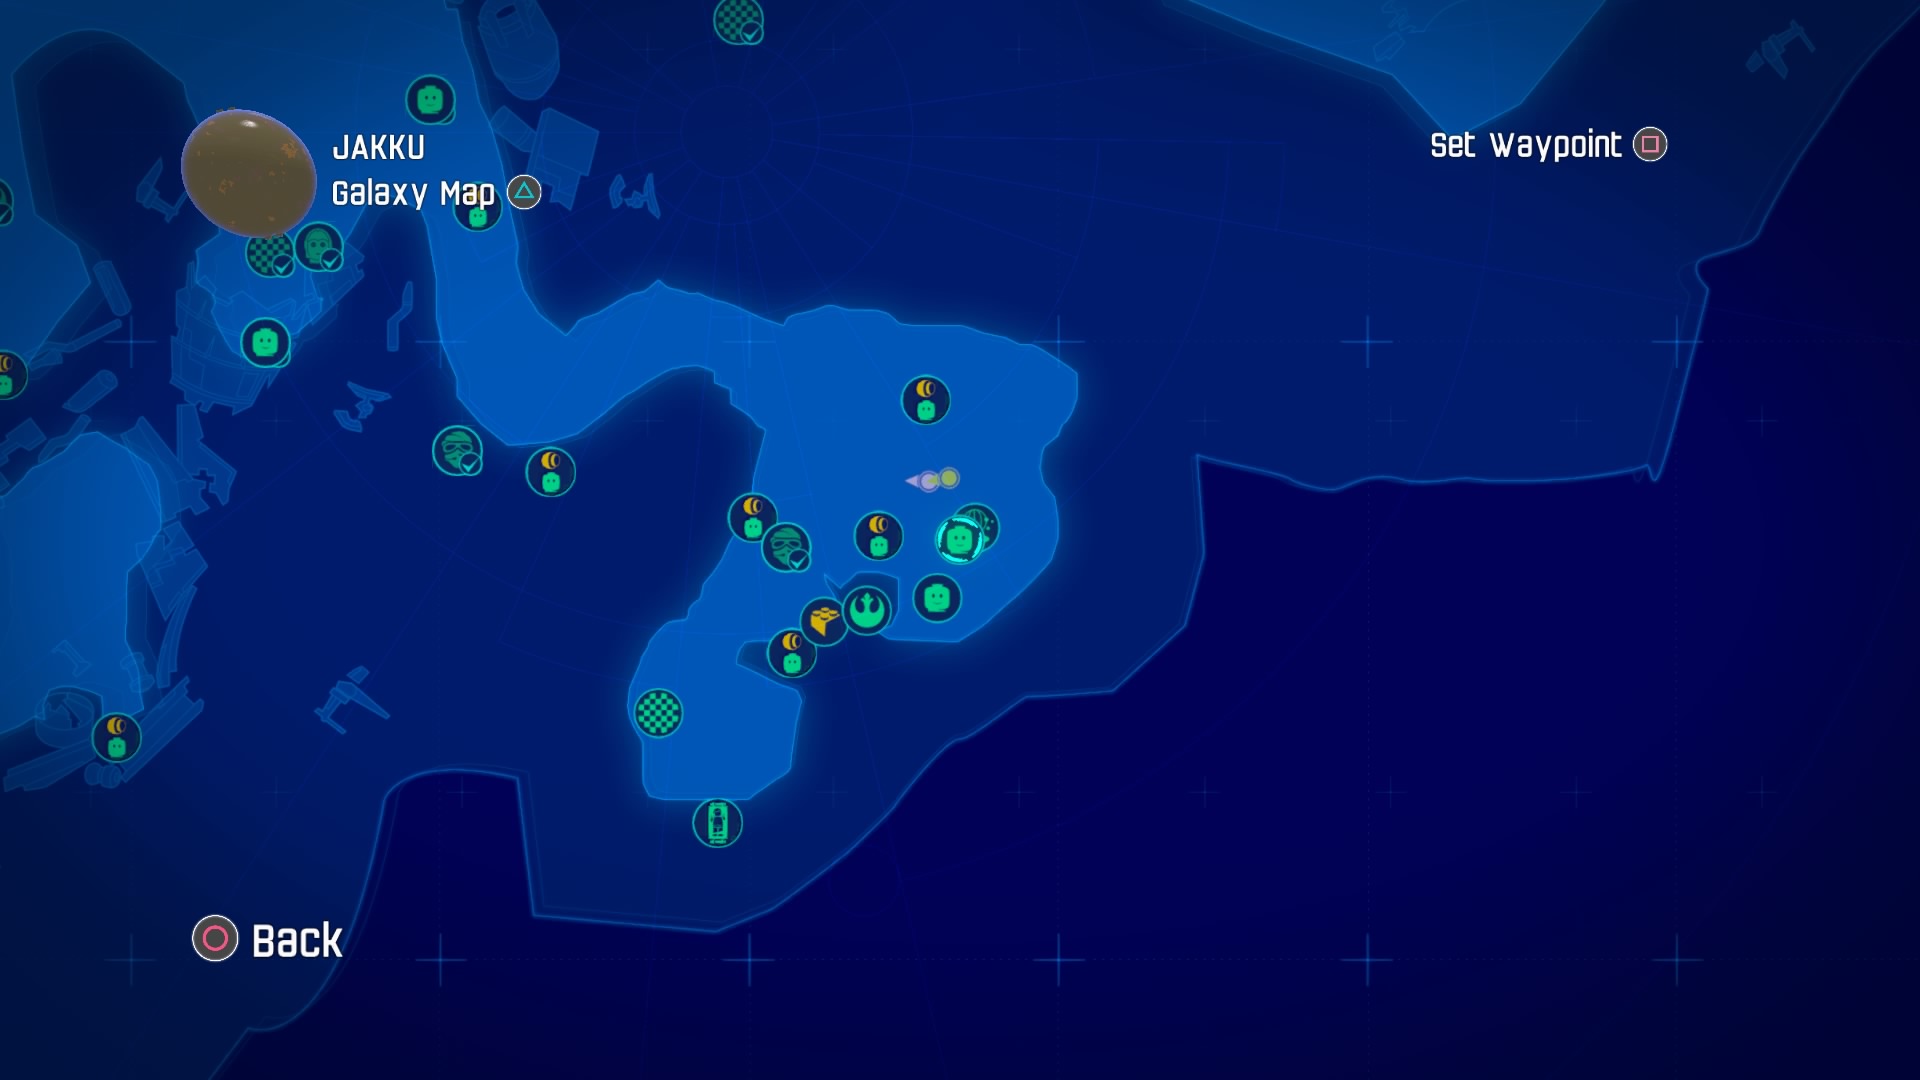
The general mission to the south is next on the list.
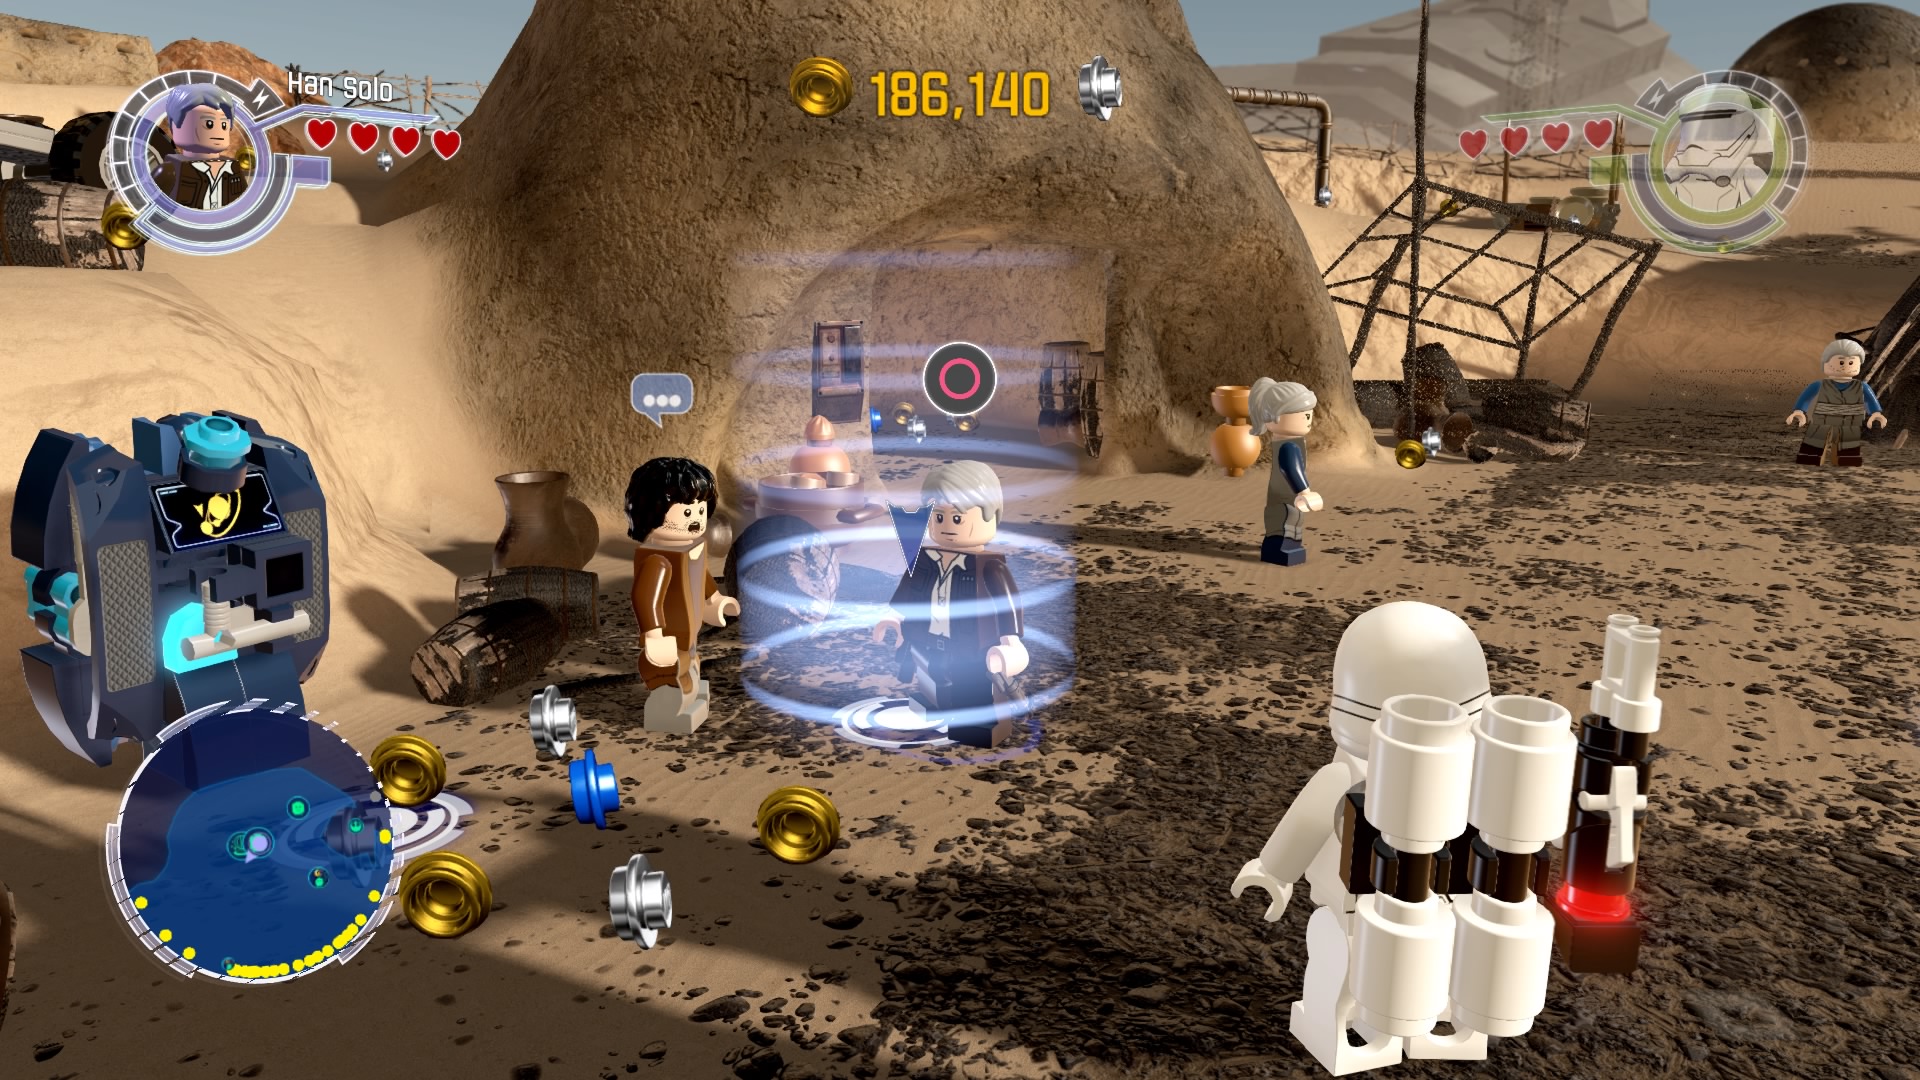
Accept the mission and follow the blue studs.
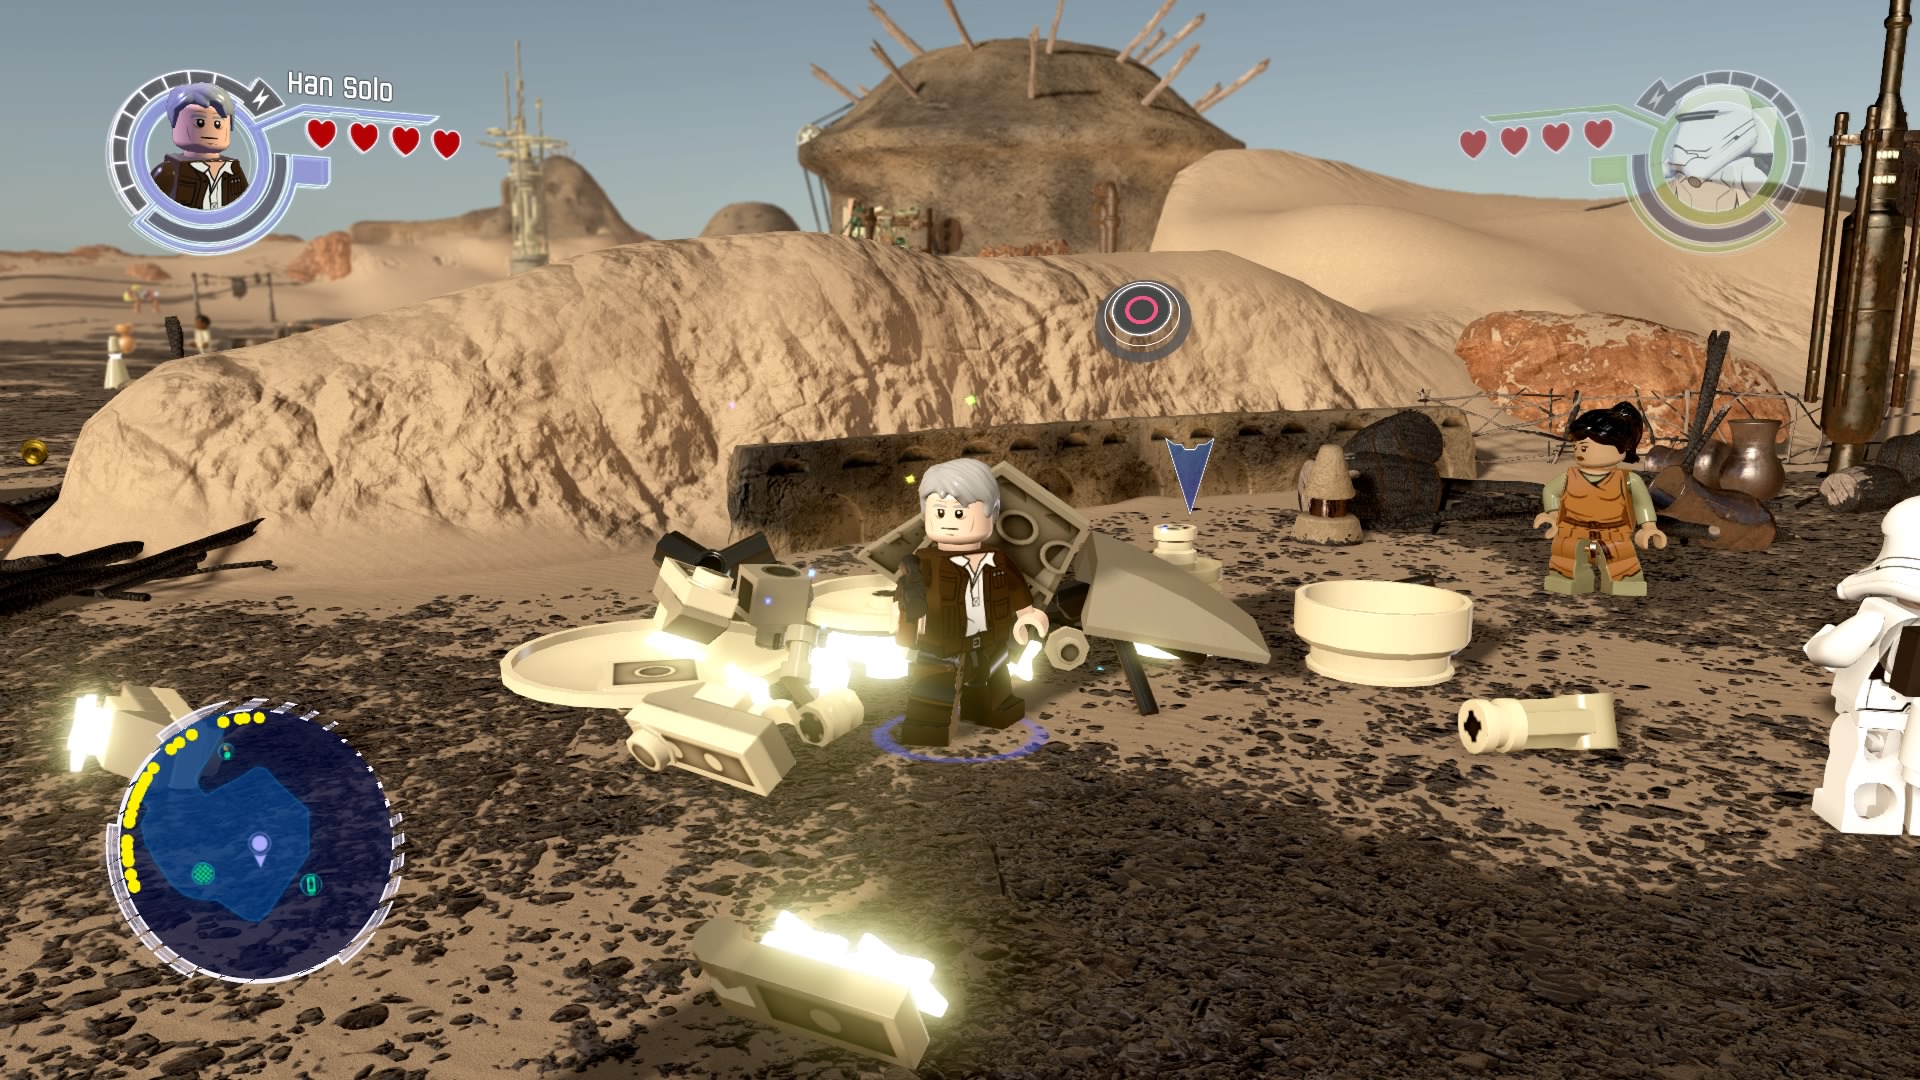
Build the tower.
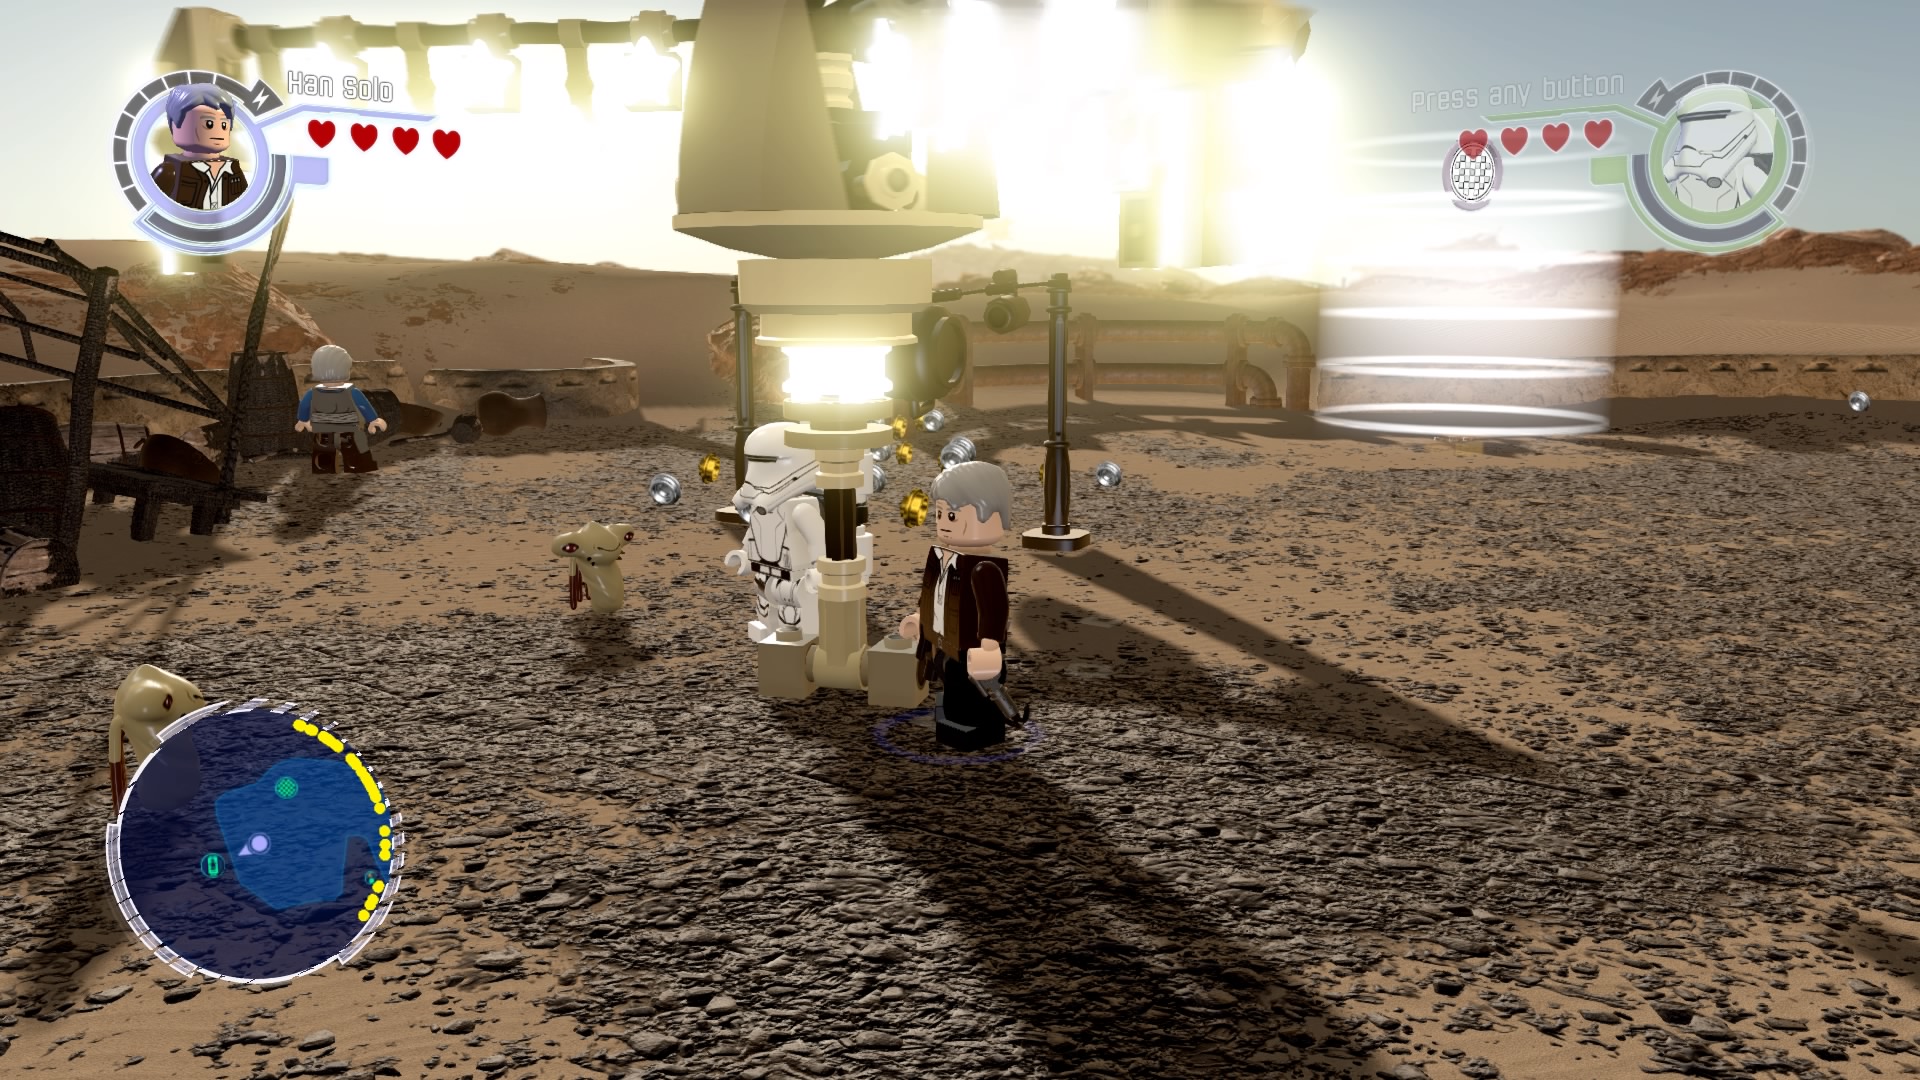
Keep bopping the moles until you complete the mission.
Gold Brick #38
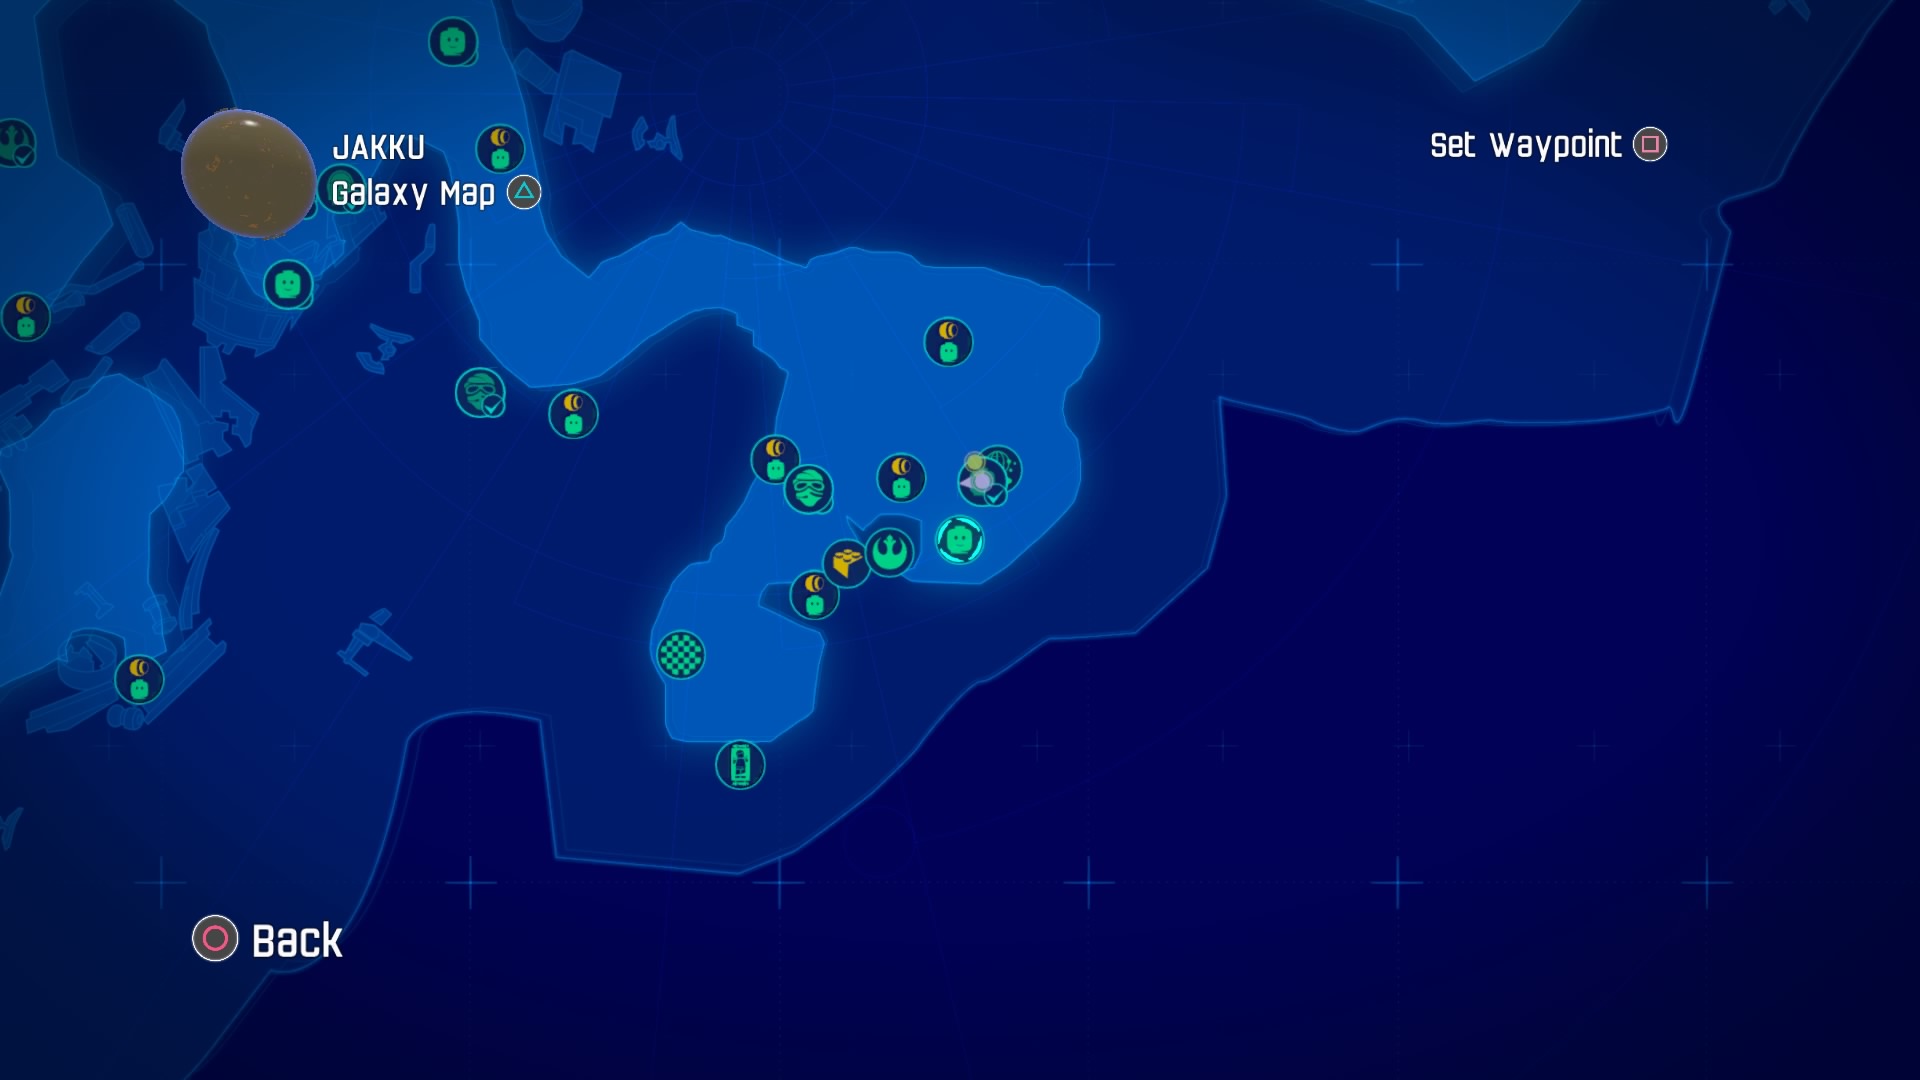
There's another general mission slightly further south.
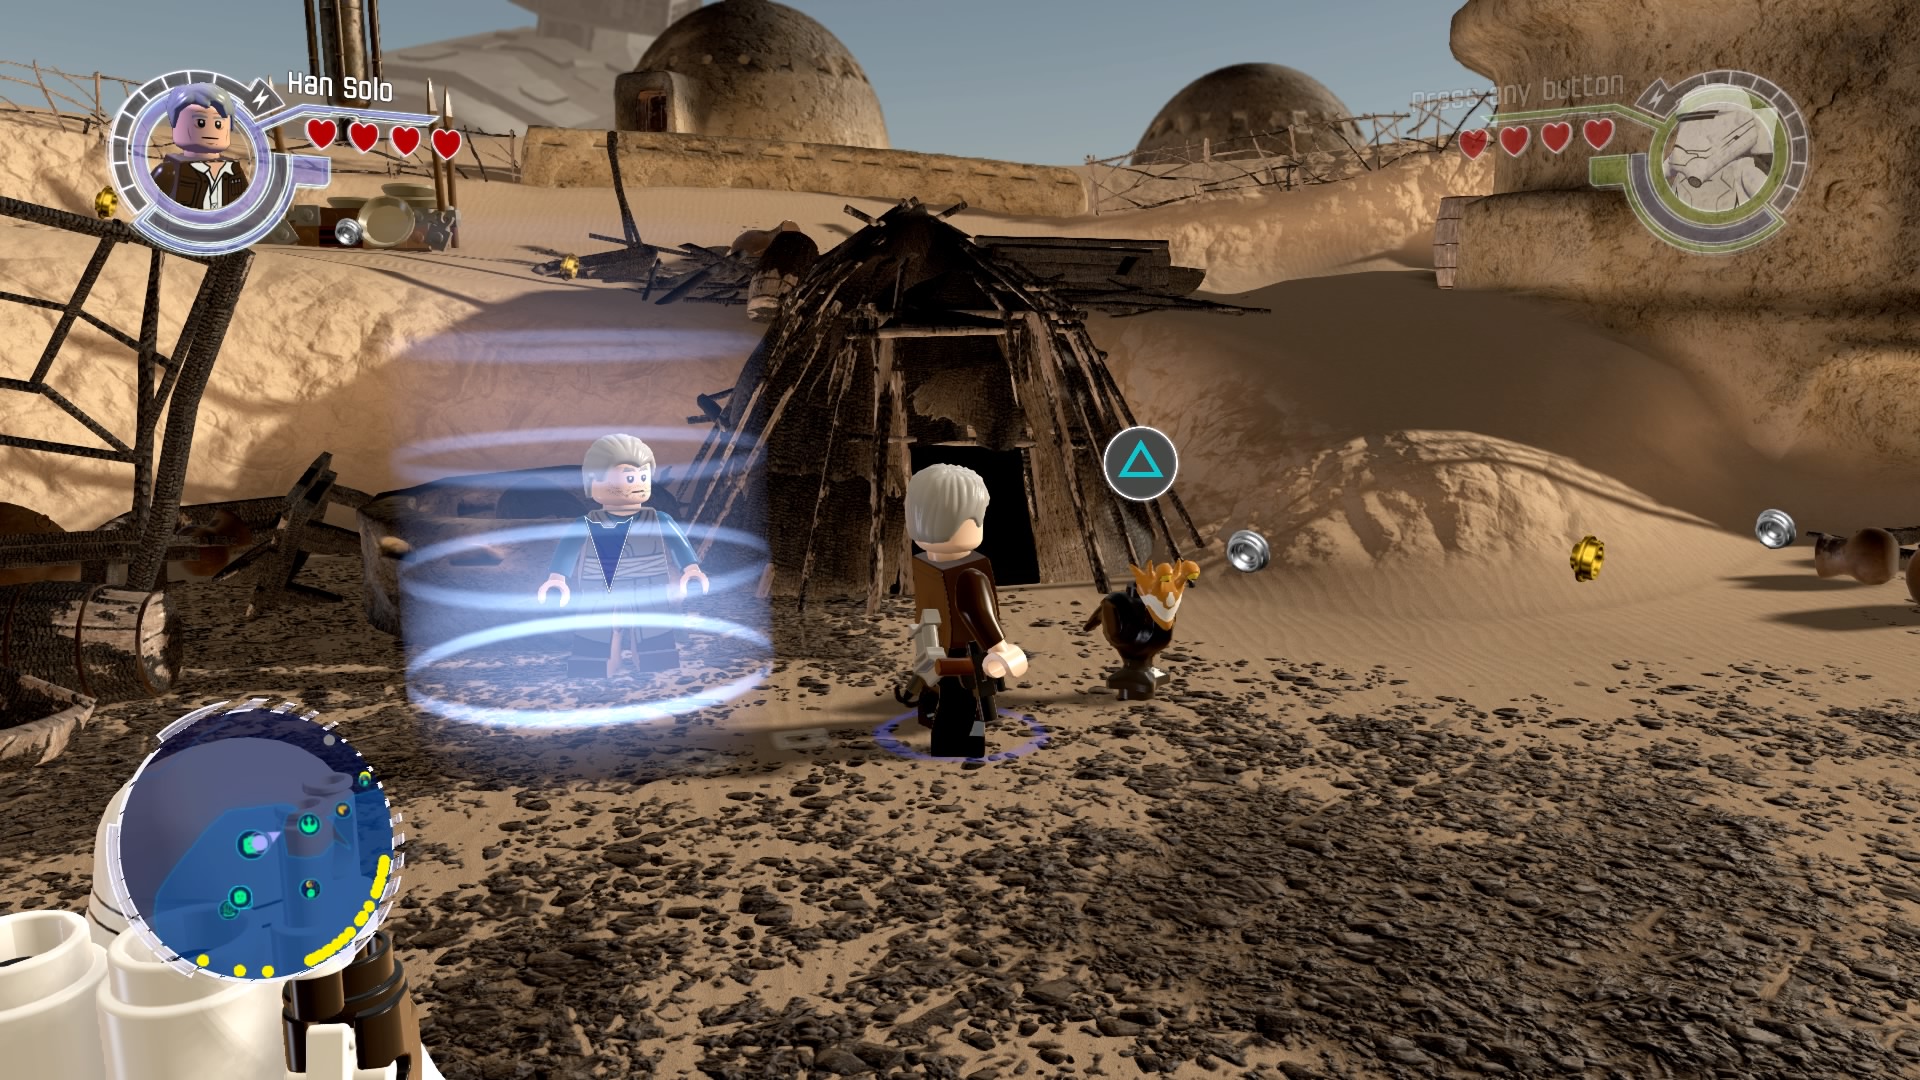
Talk to the guy here and jump aboard his spring pet.
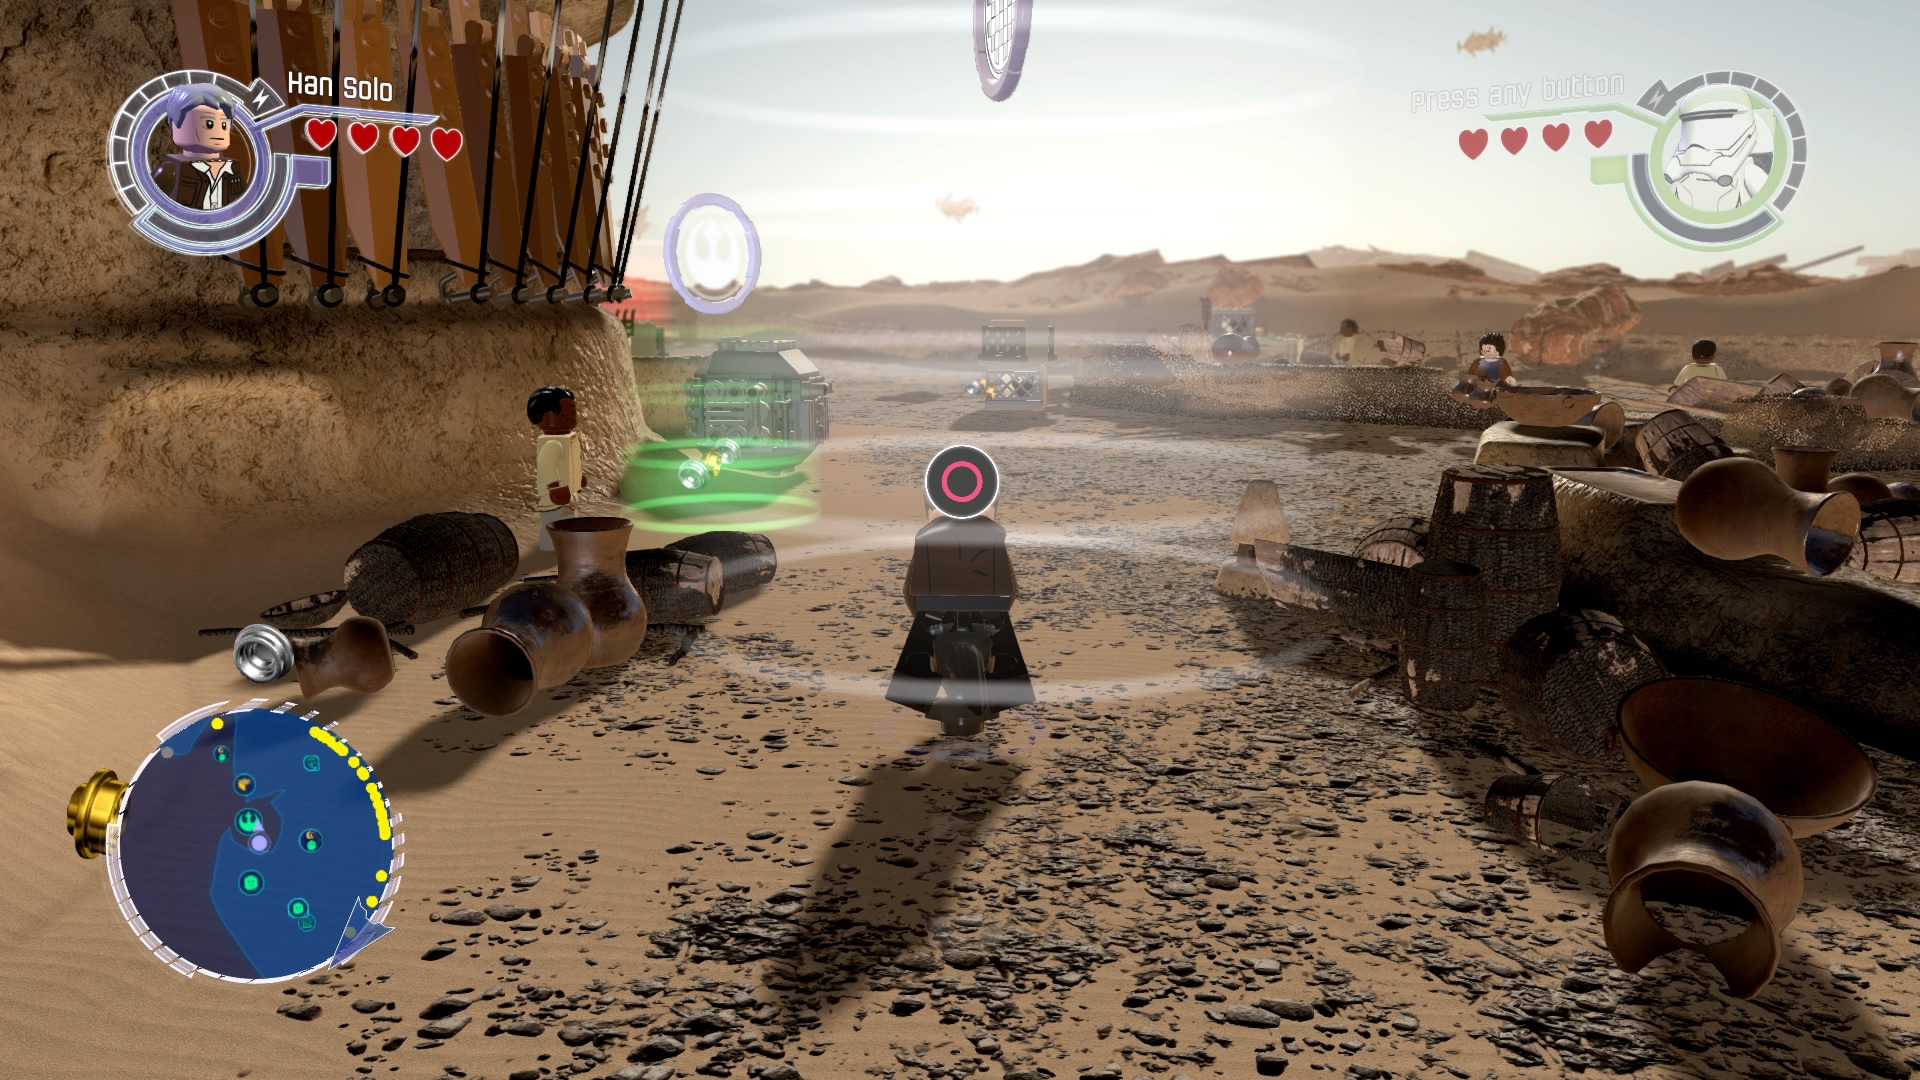
Bounce your way through one lap to finish the mission.
Gold Brick #39
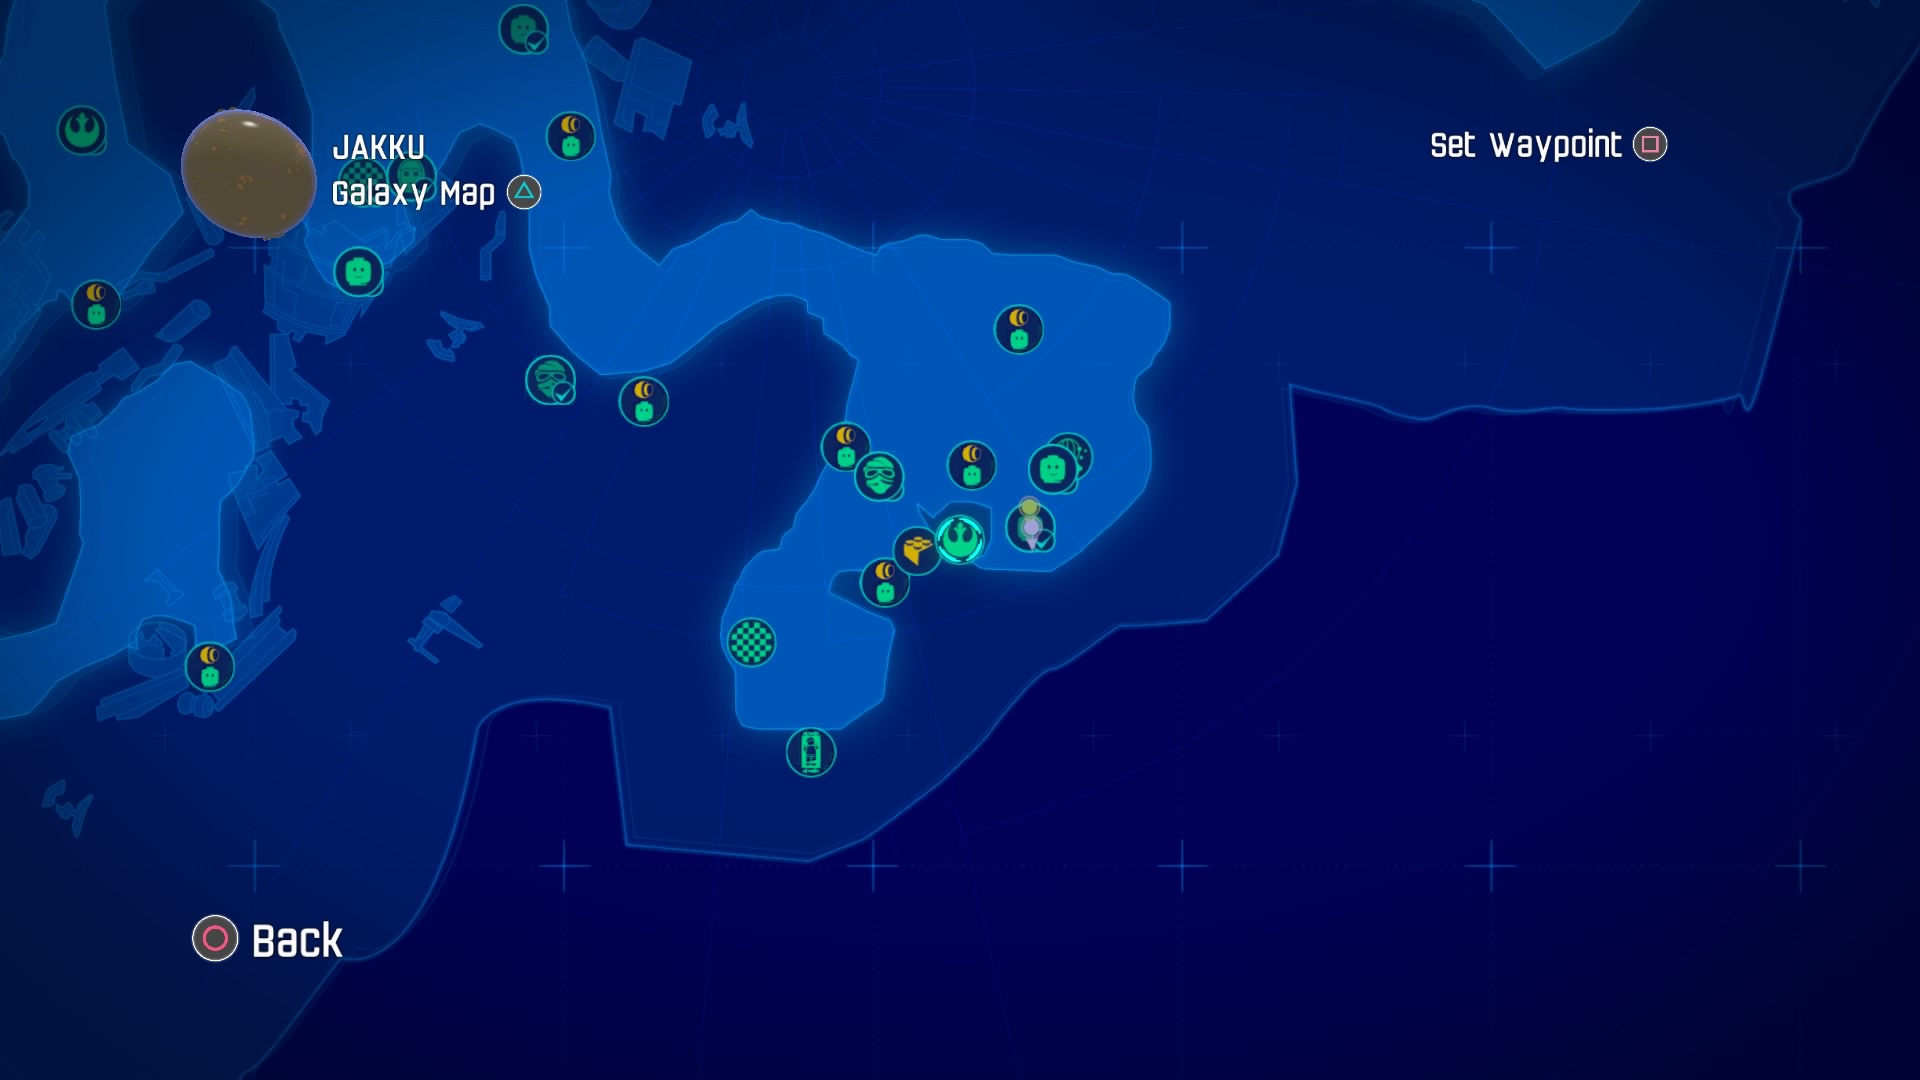
Head over to the resistance mission.
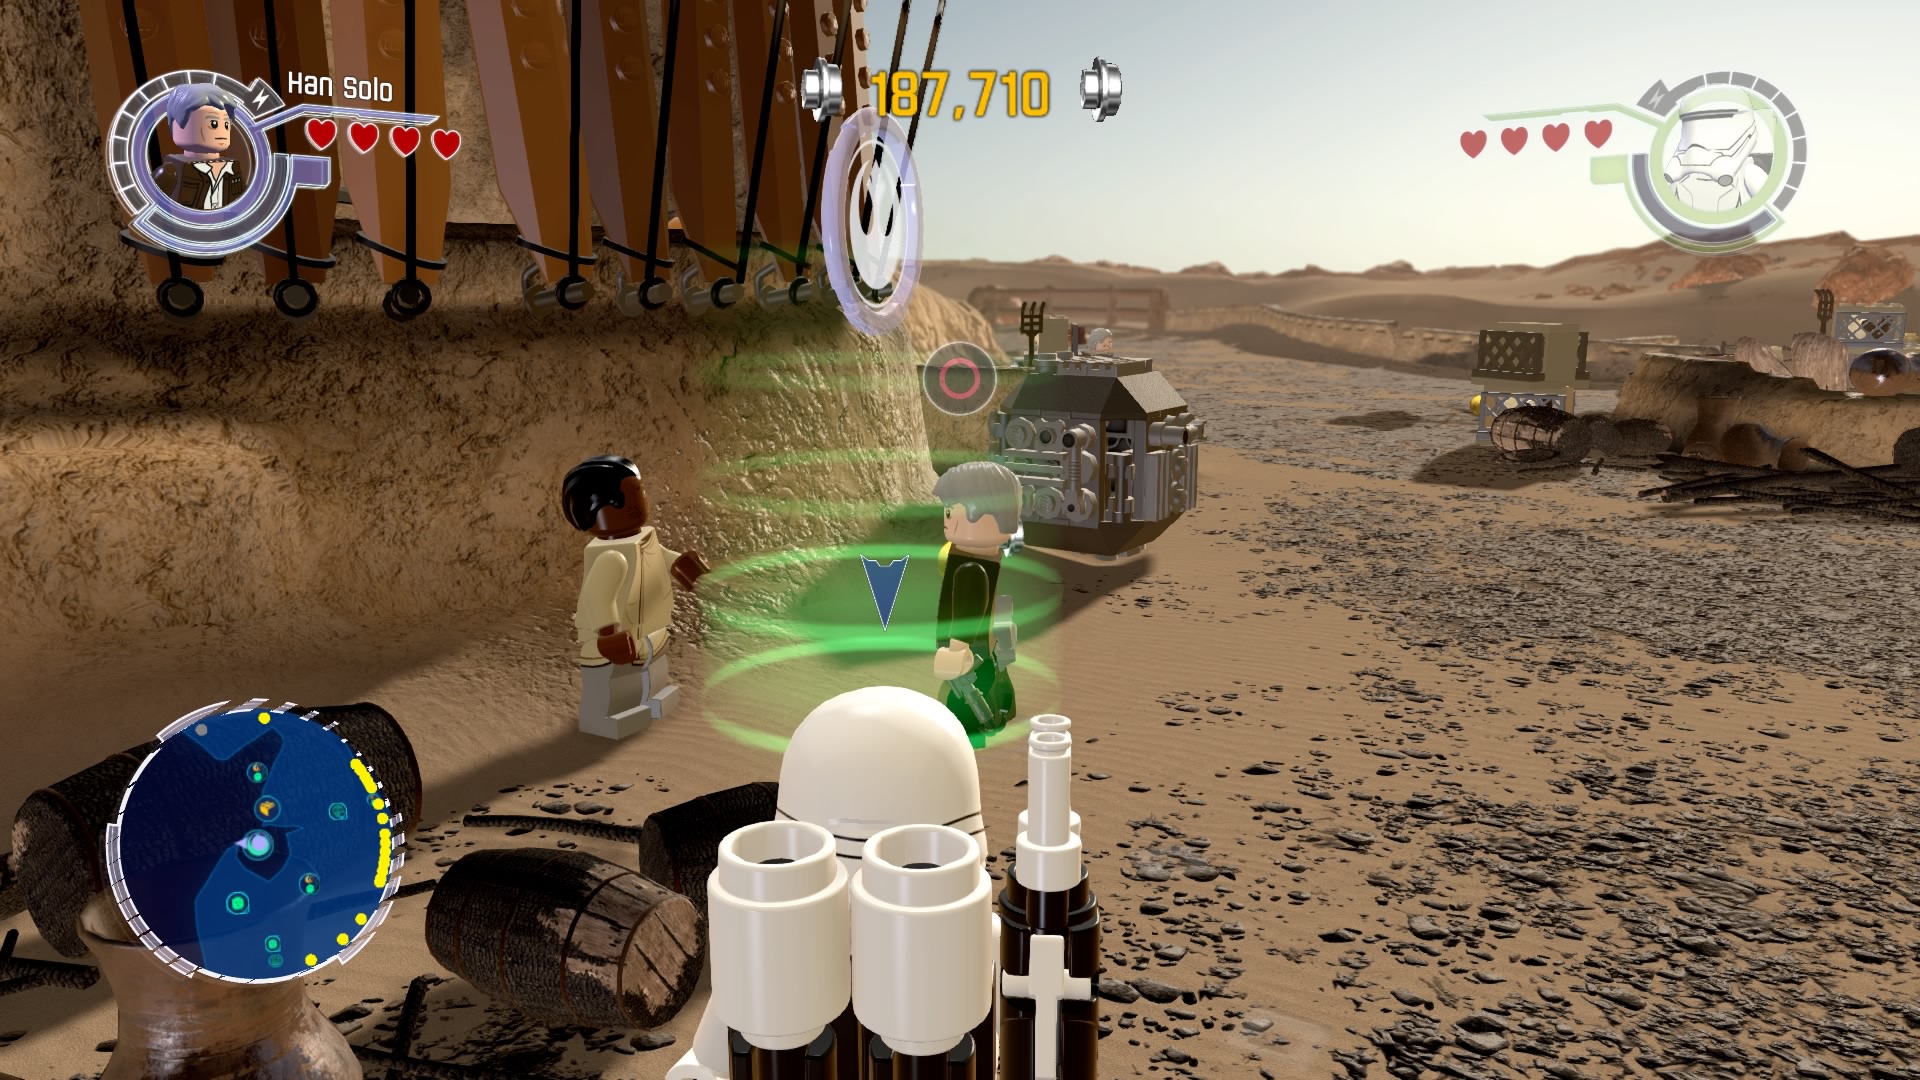
Agree to carry it out and follow the blue studs.
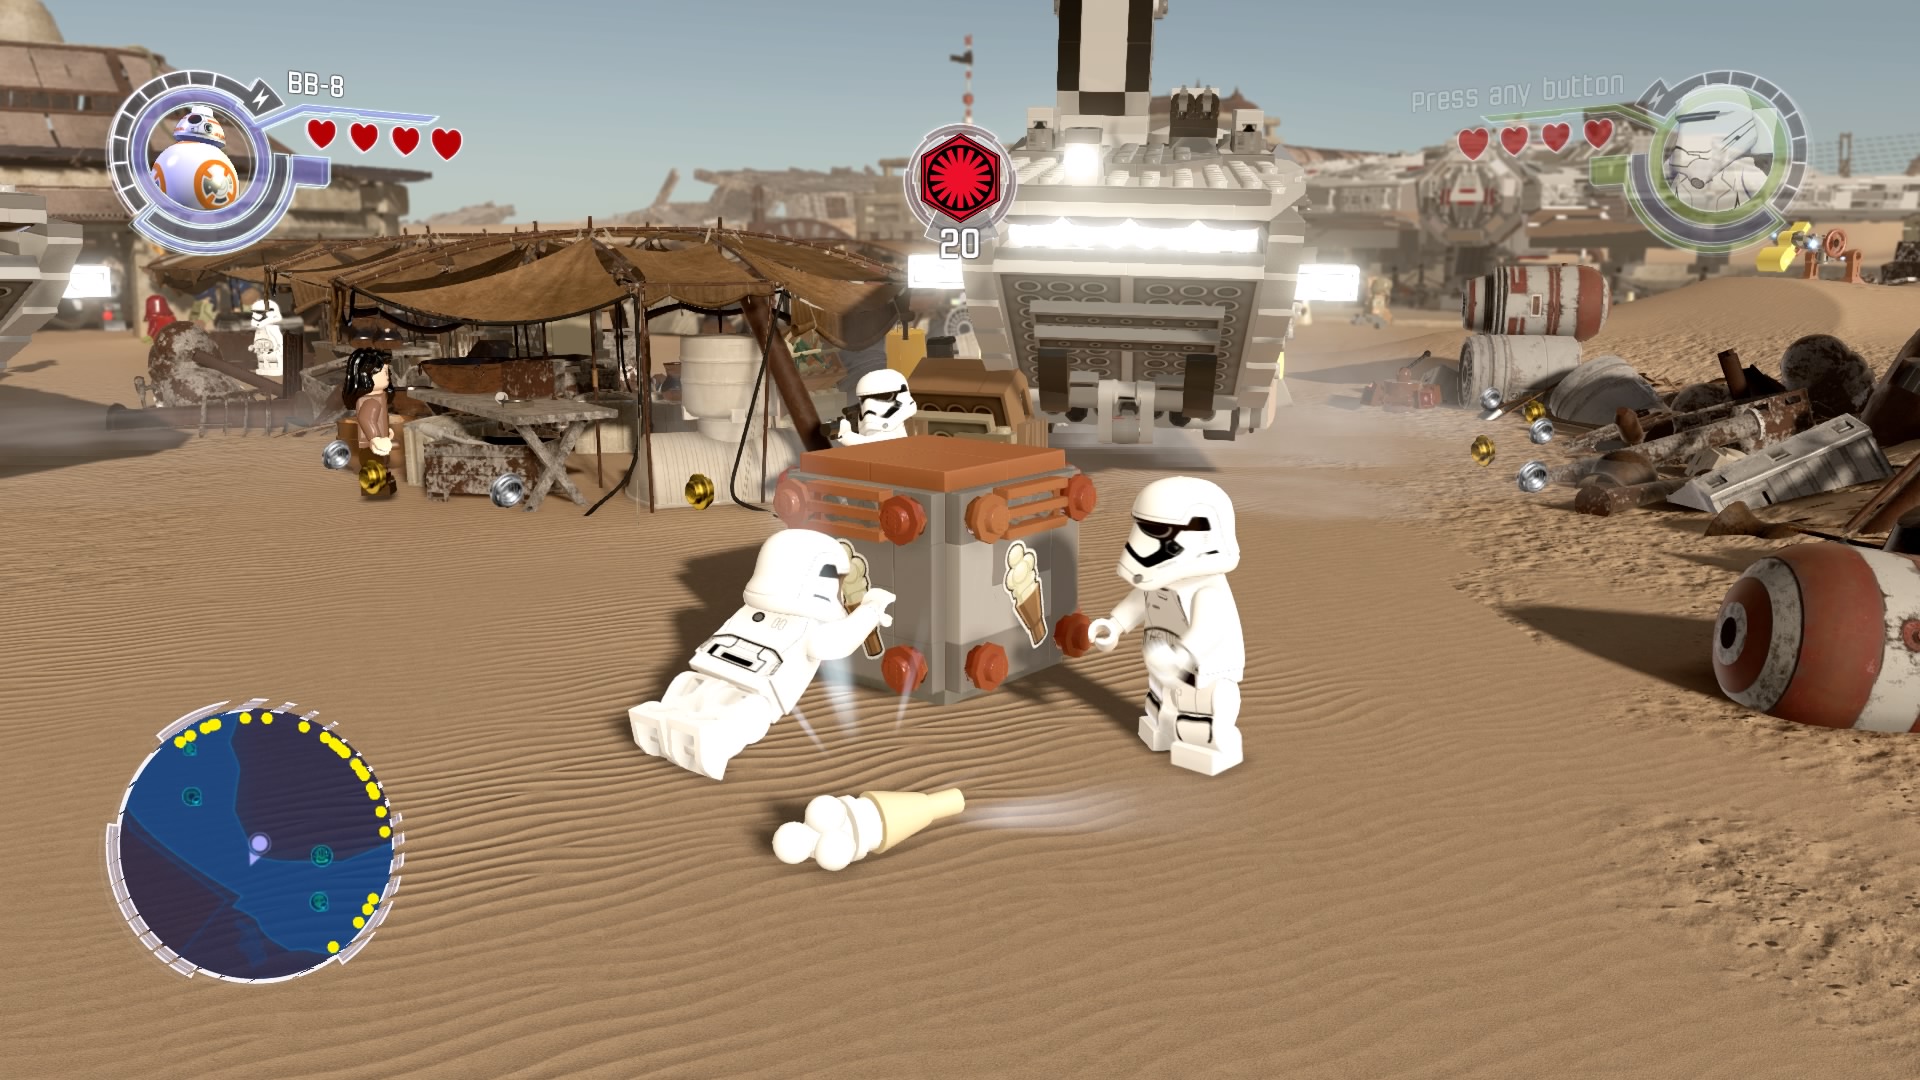
Take out 20 First Order troops and you're done.
Gold Brick #40
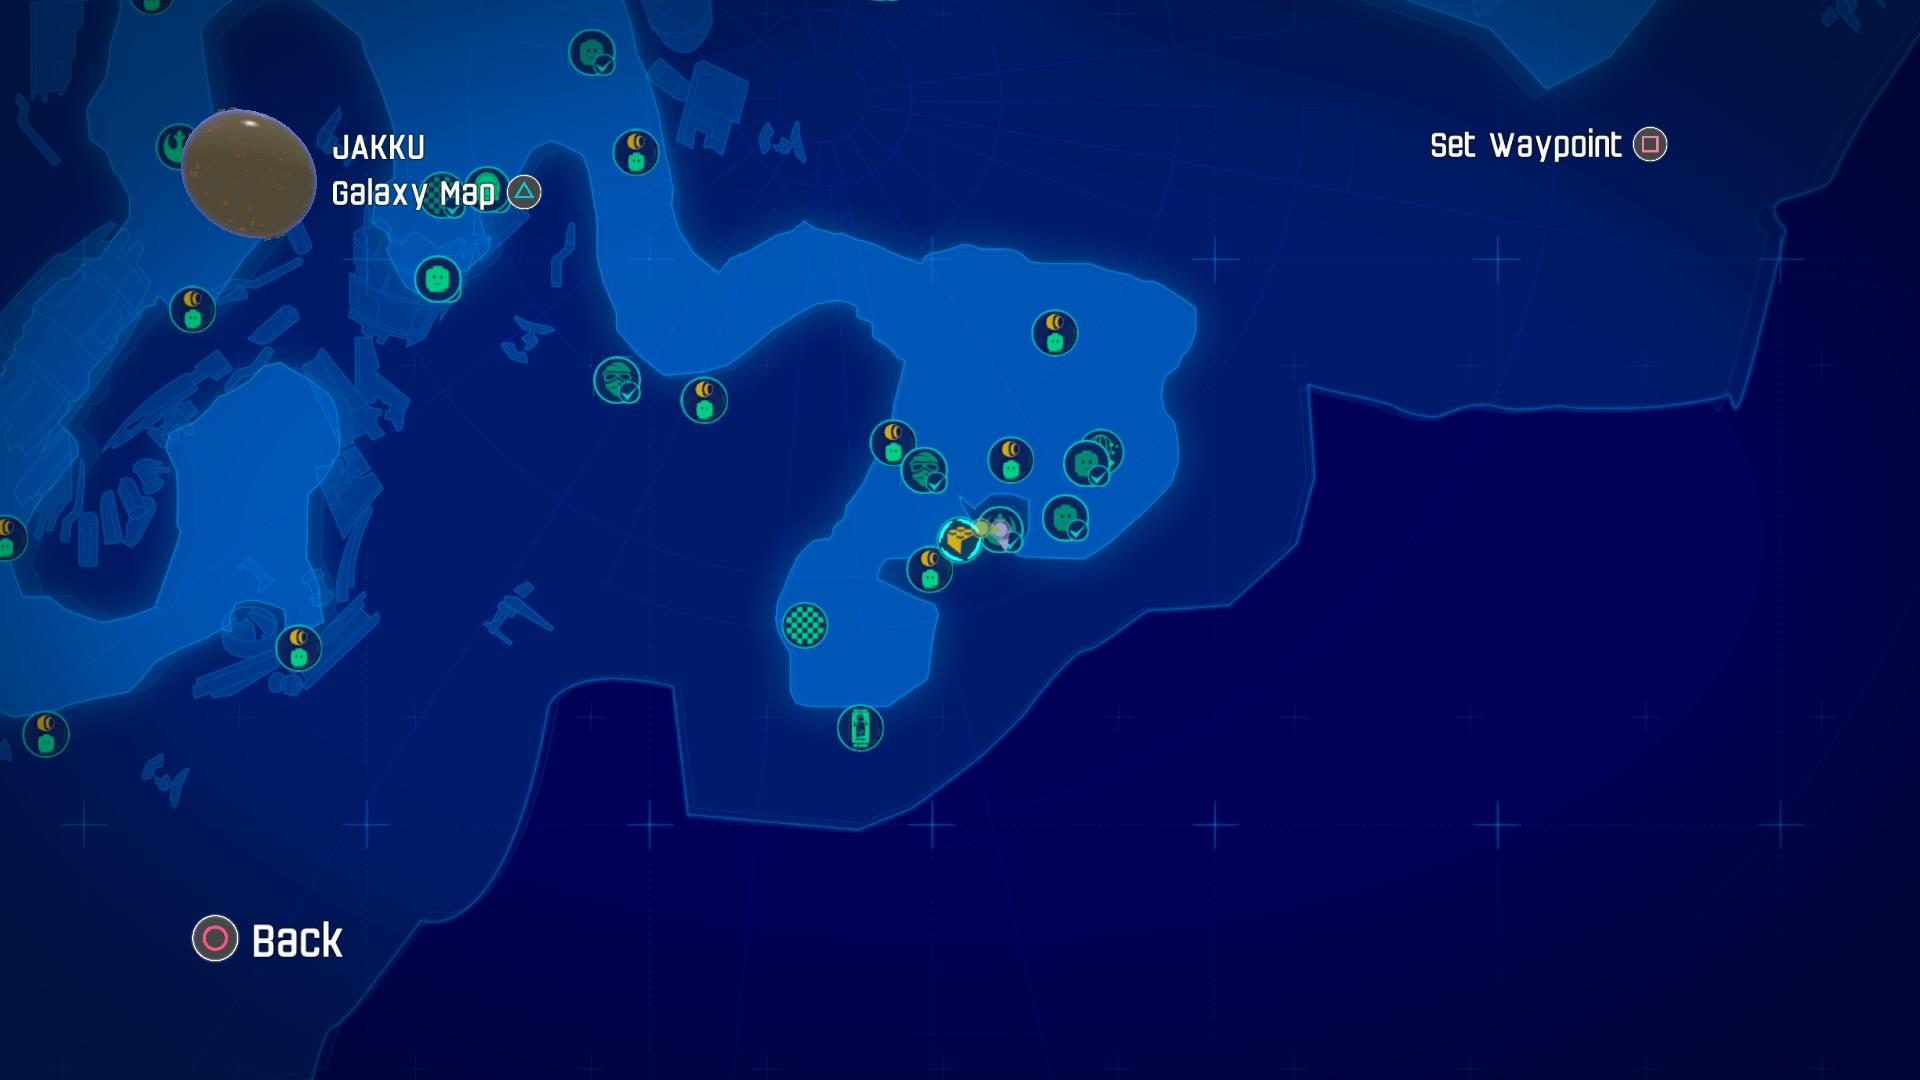
We're taking a break from missions to poke around for the next gold brick.
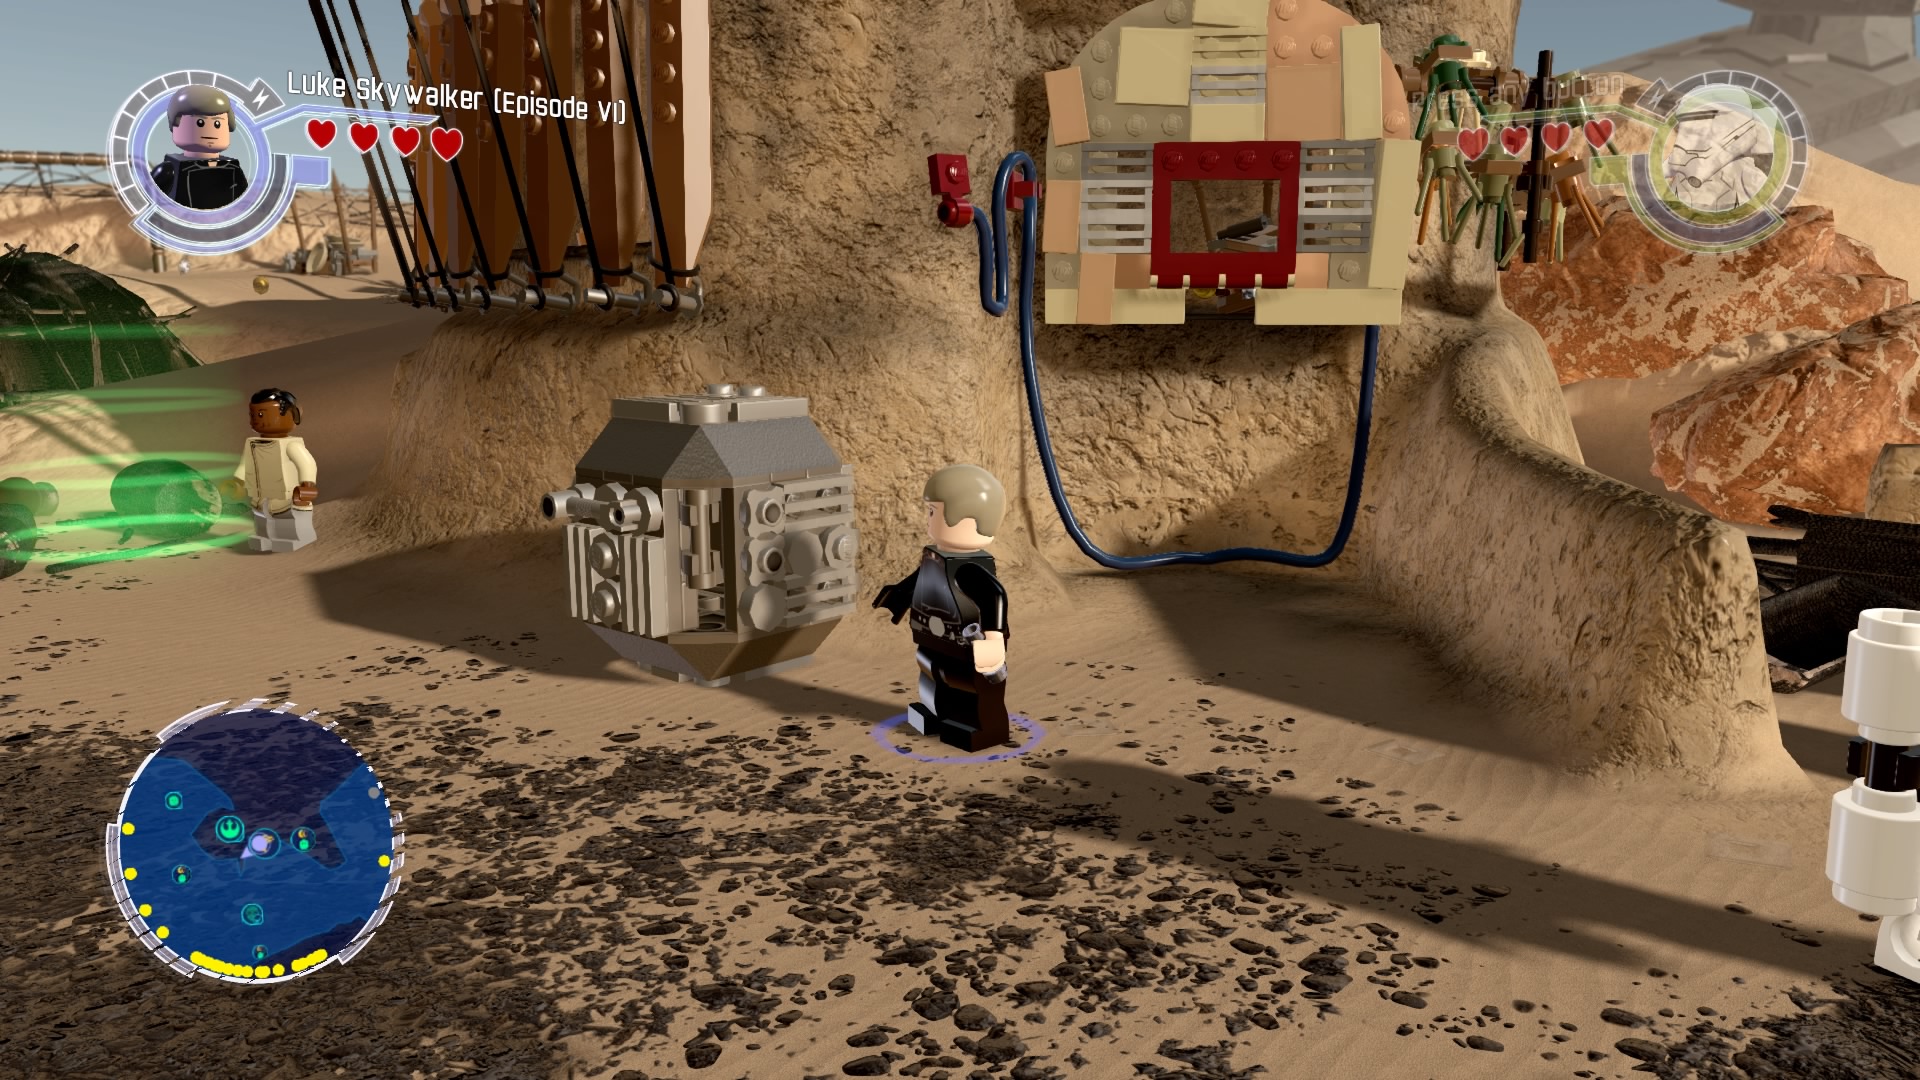
Destroy the crate outside of the hut.
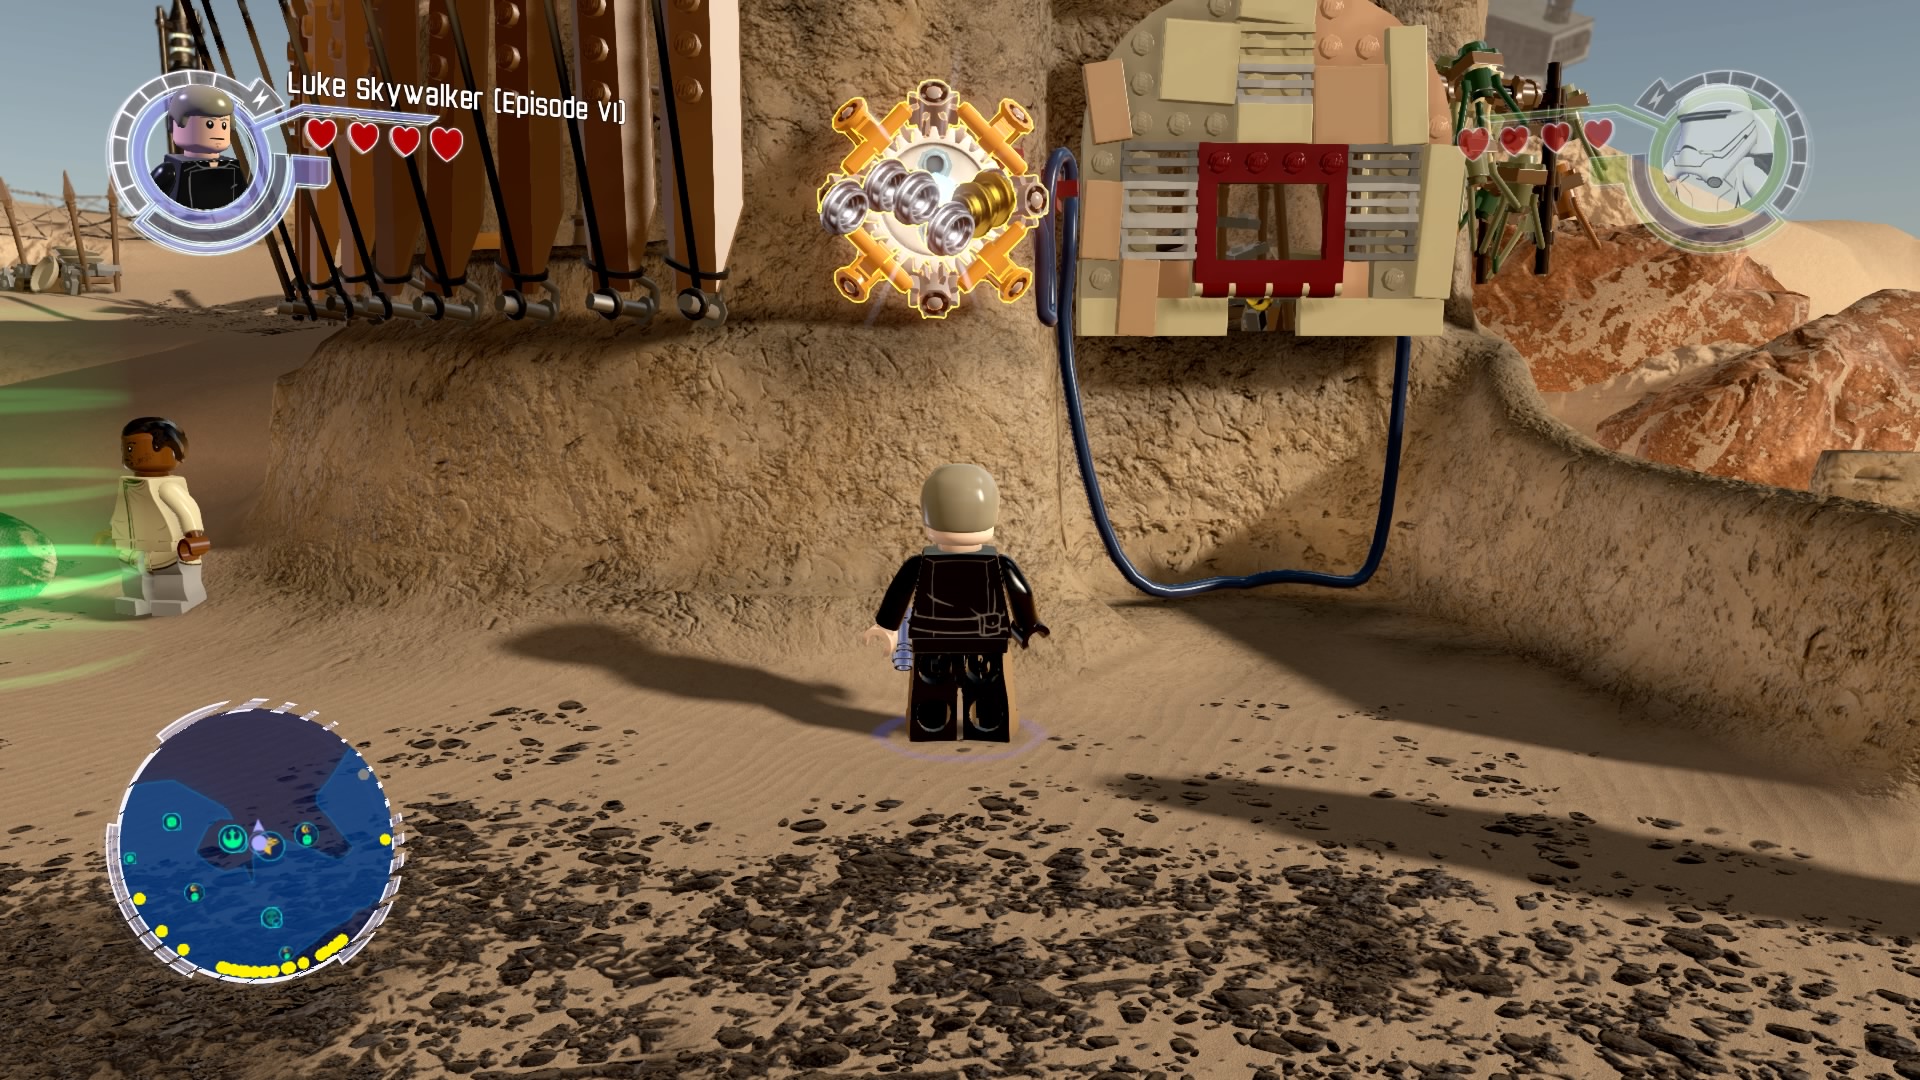
Reassemble the parts into a BB-8 socket and use it to open the closed panel.
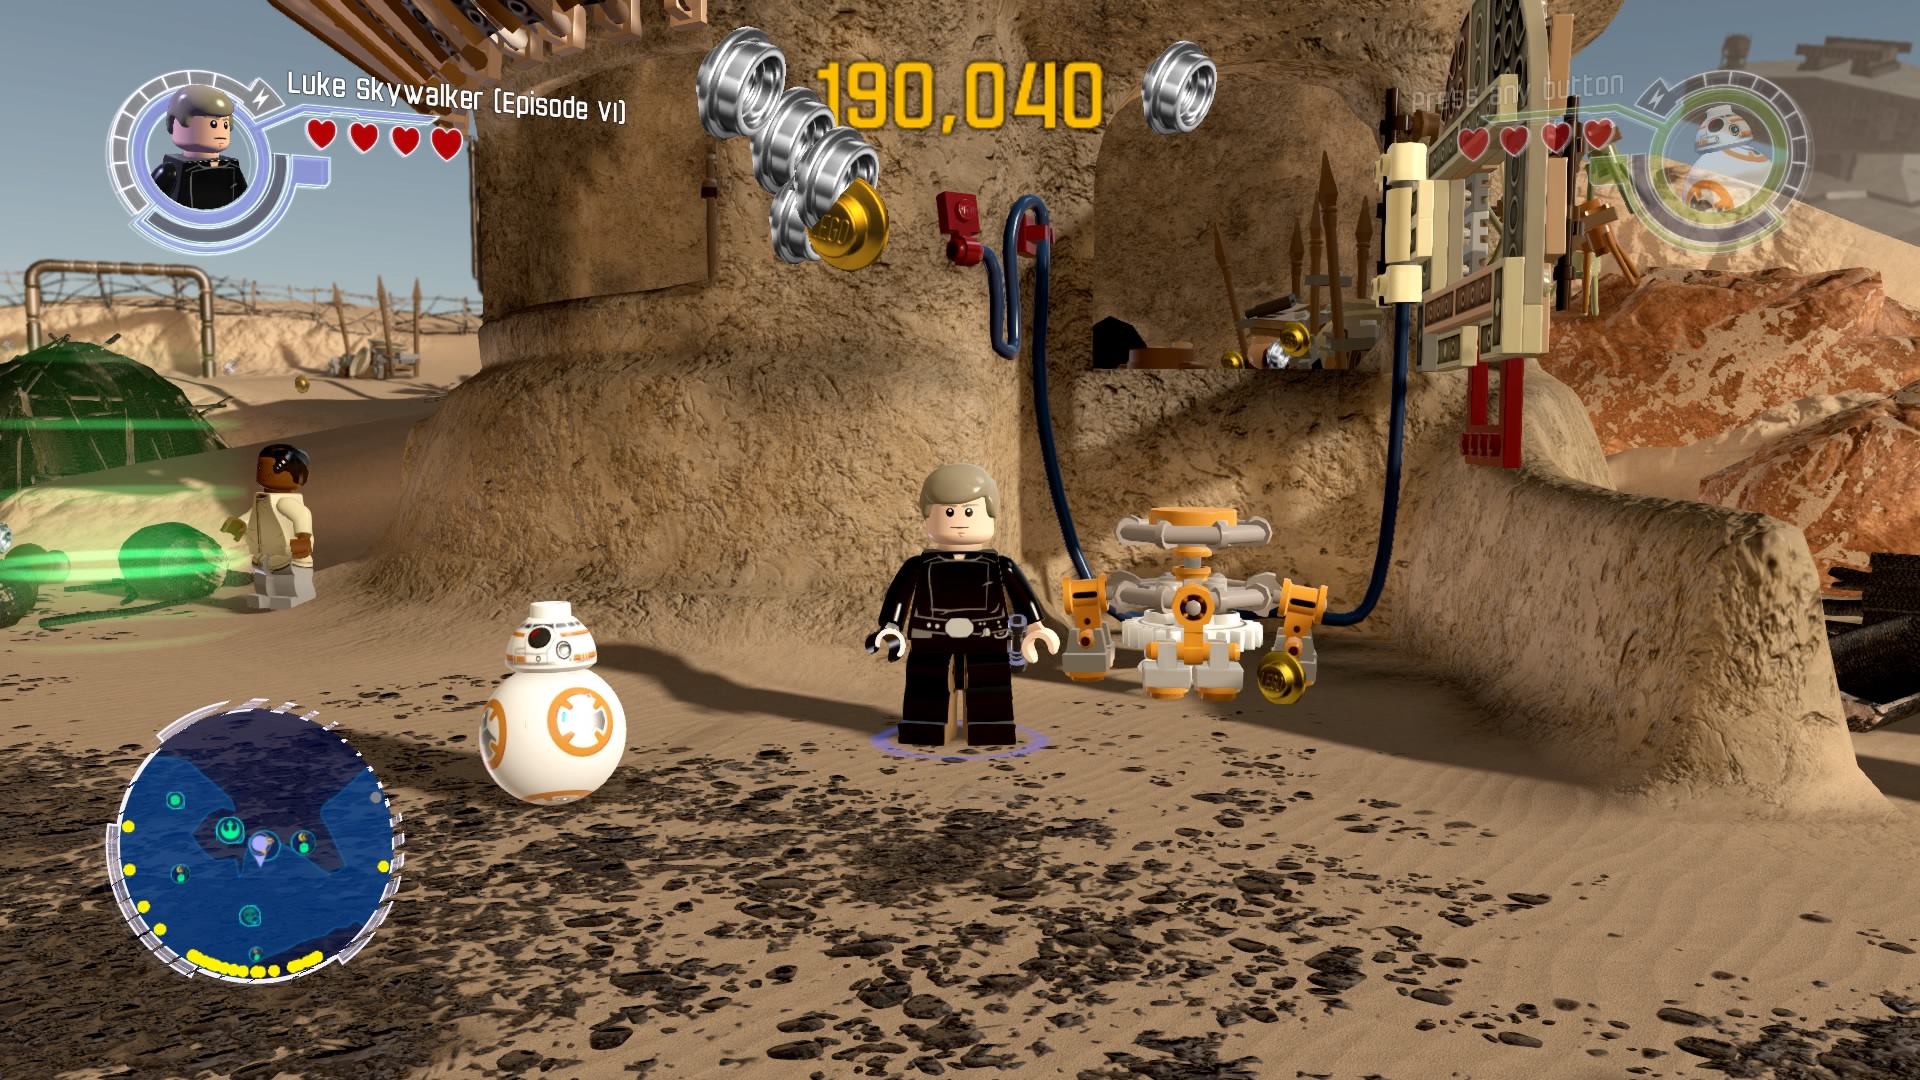
Now use the parts to make a trampoline.
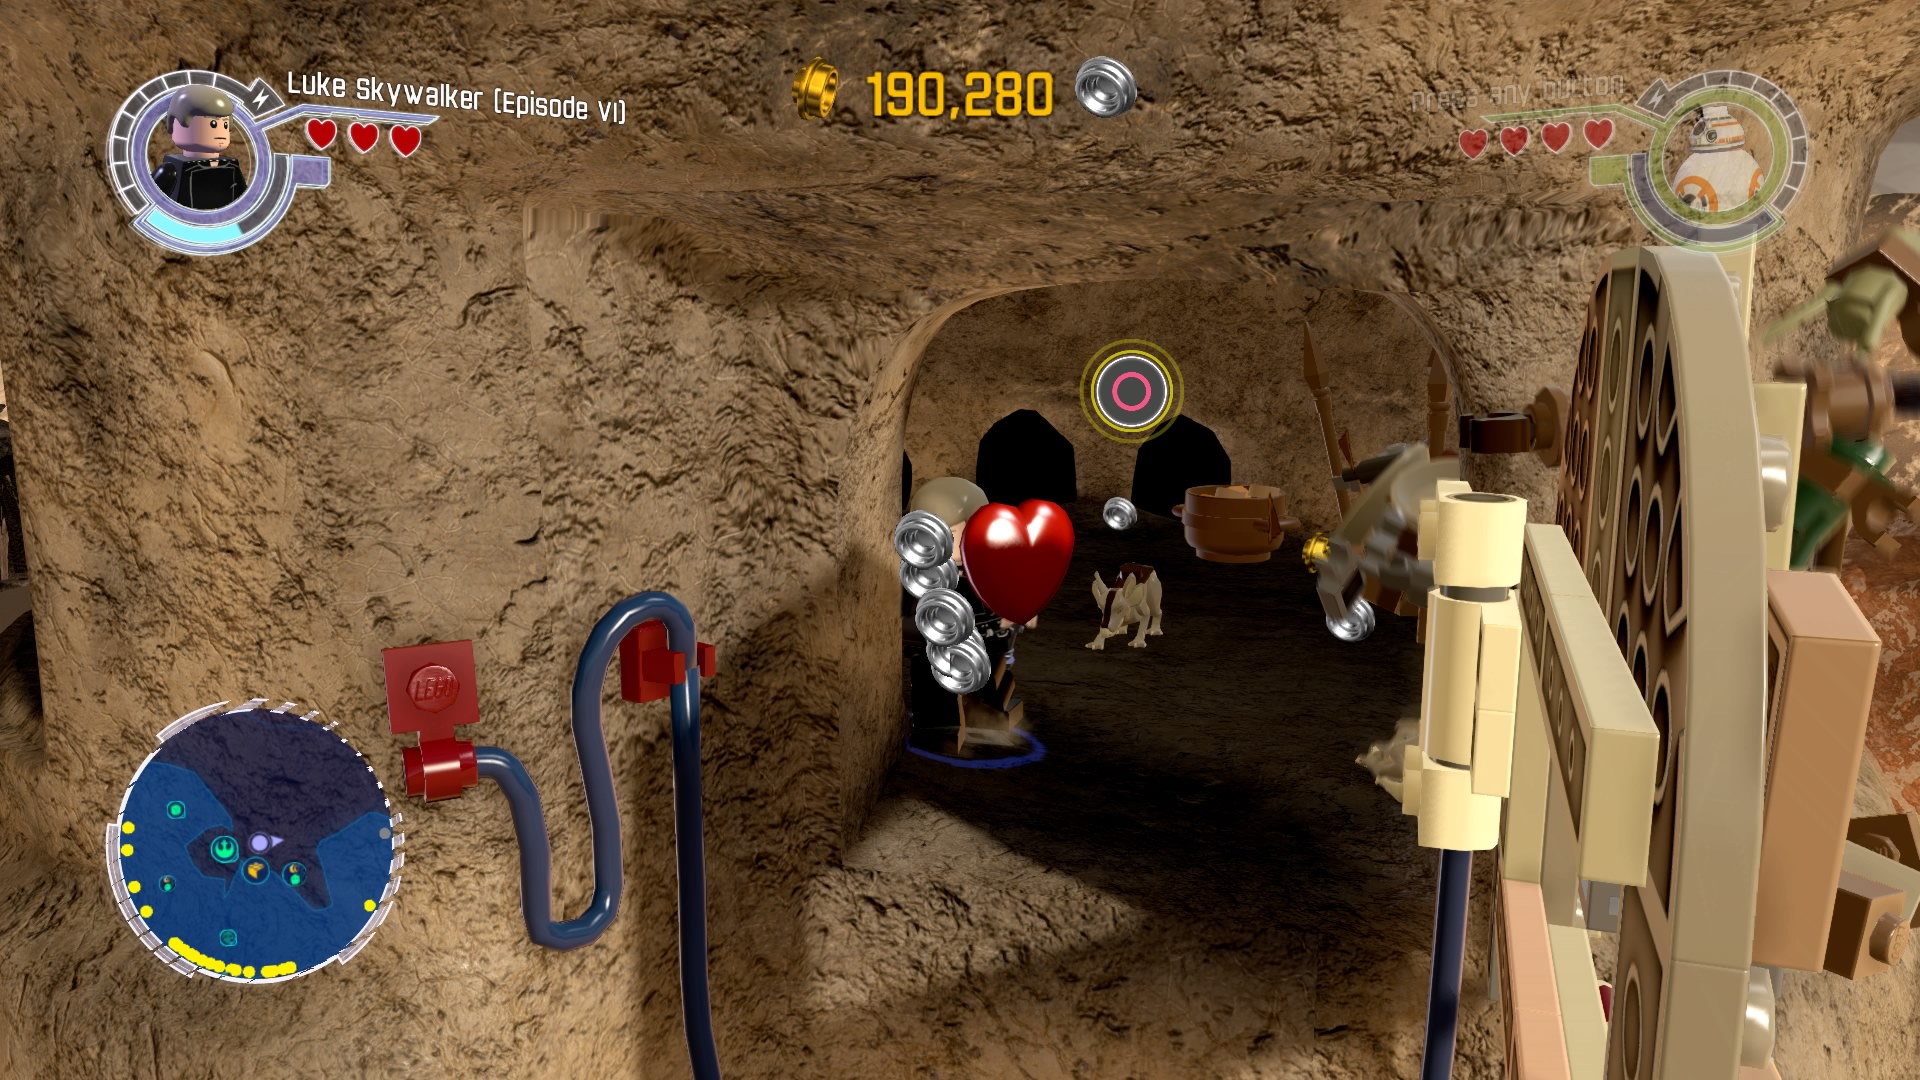
Hop through the window and kill 15 rodents. You'll be rewarded with a gold brick.
Gold Brick #41
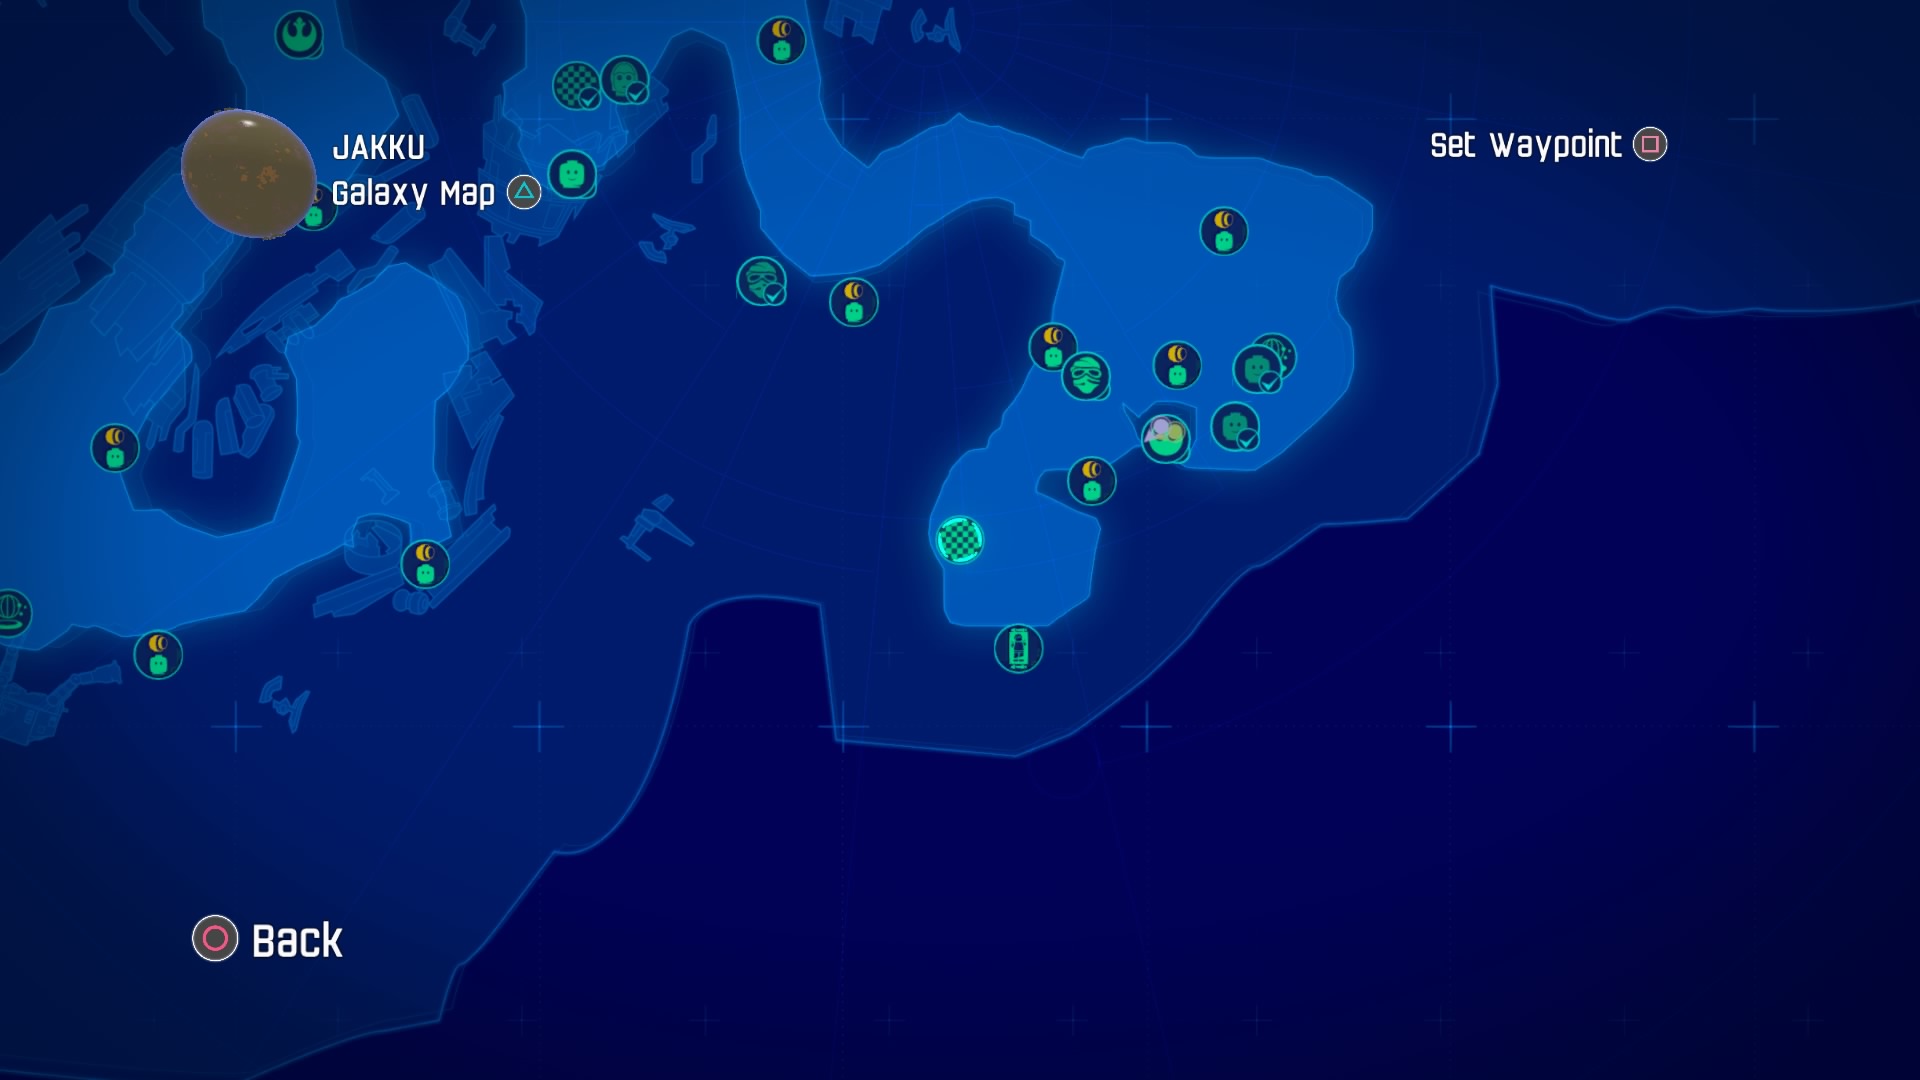
There's a race icon in the southwest corner.
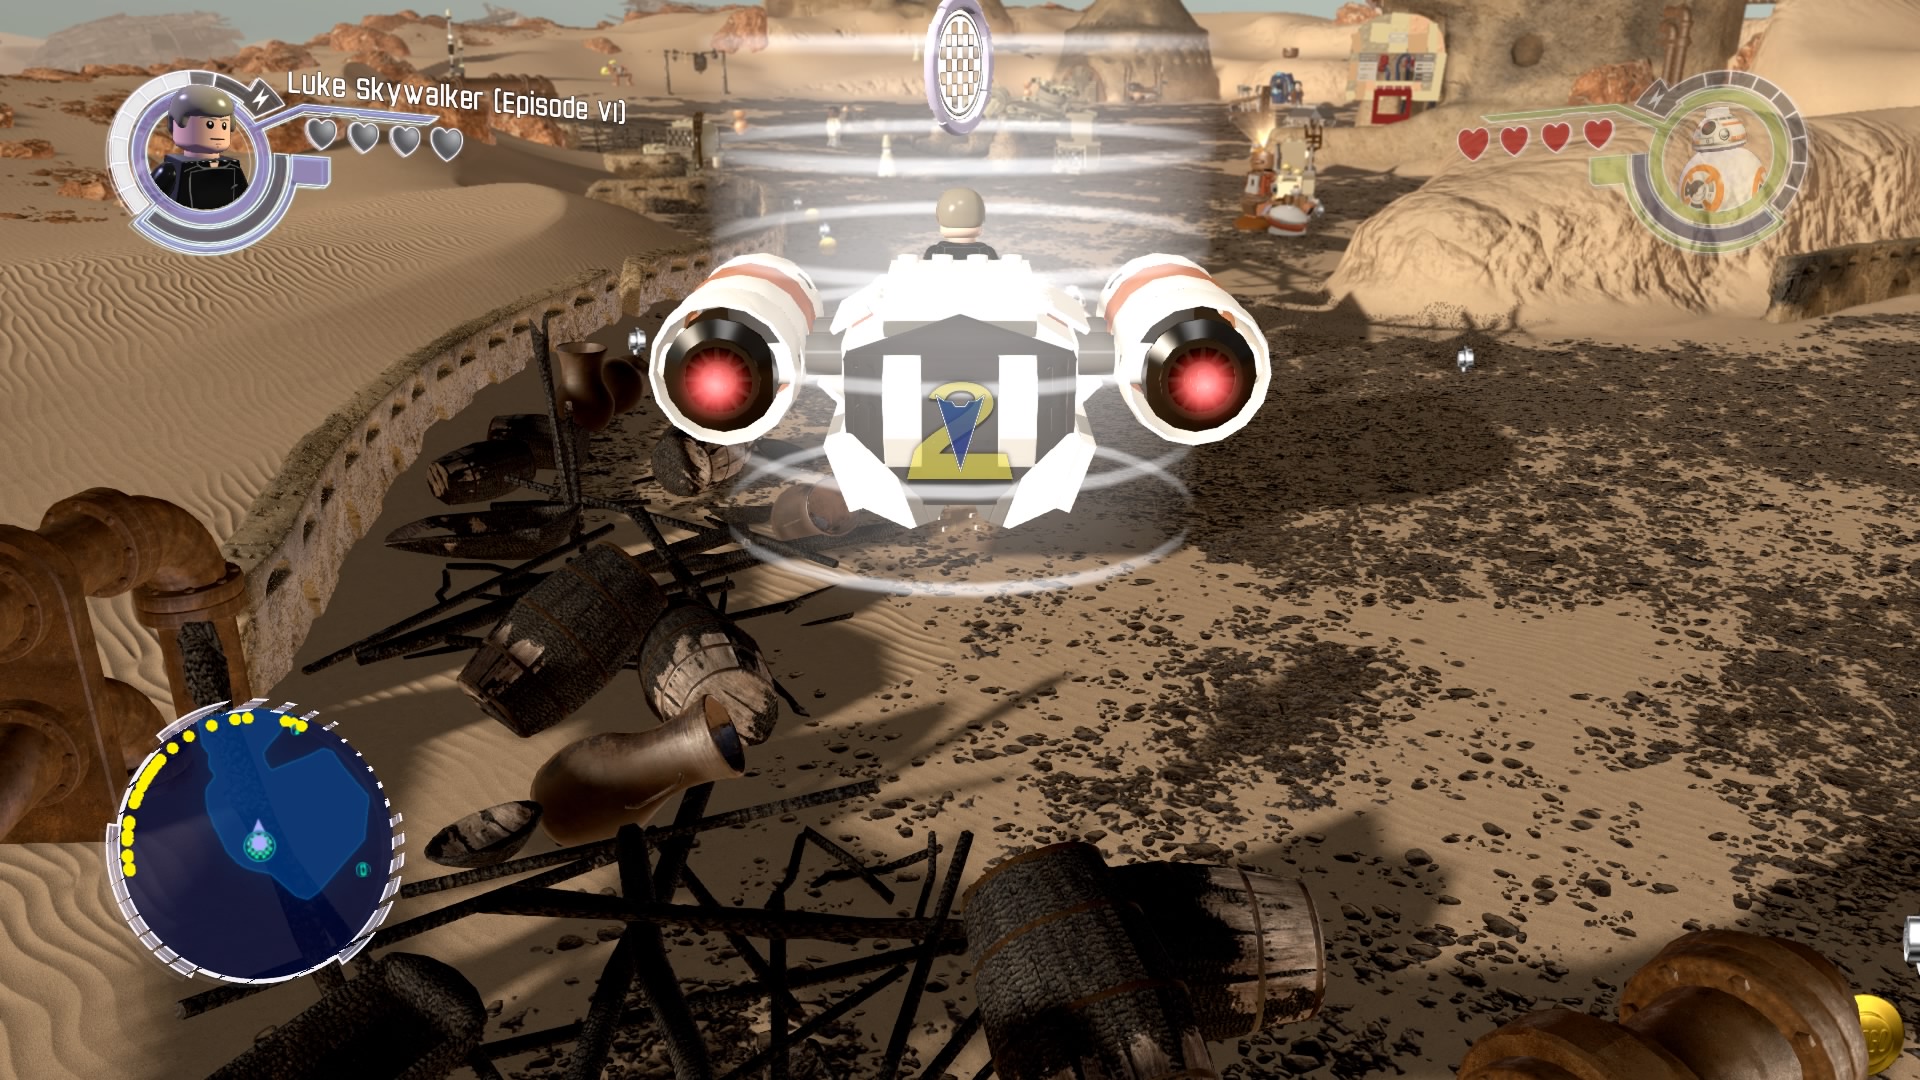
Complete it for a gold brick.
Gold Brick #42
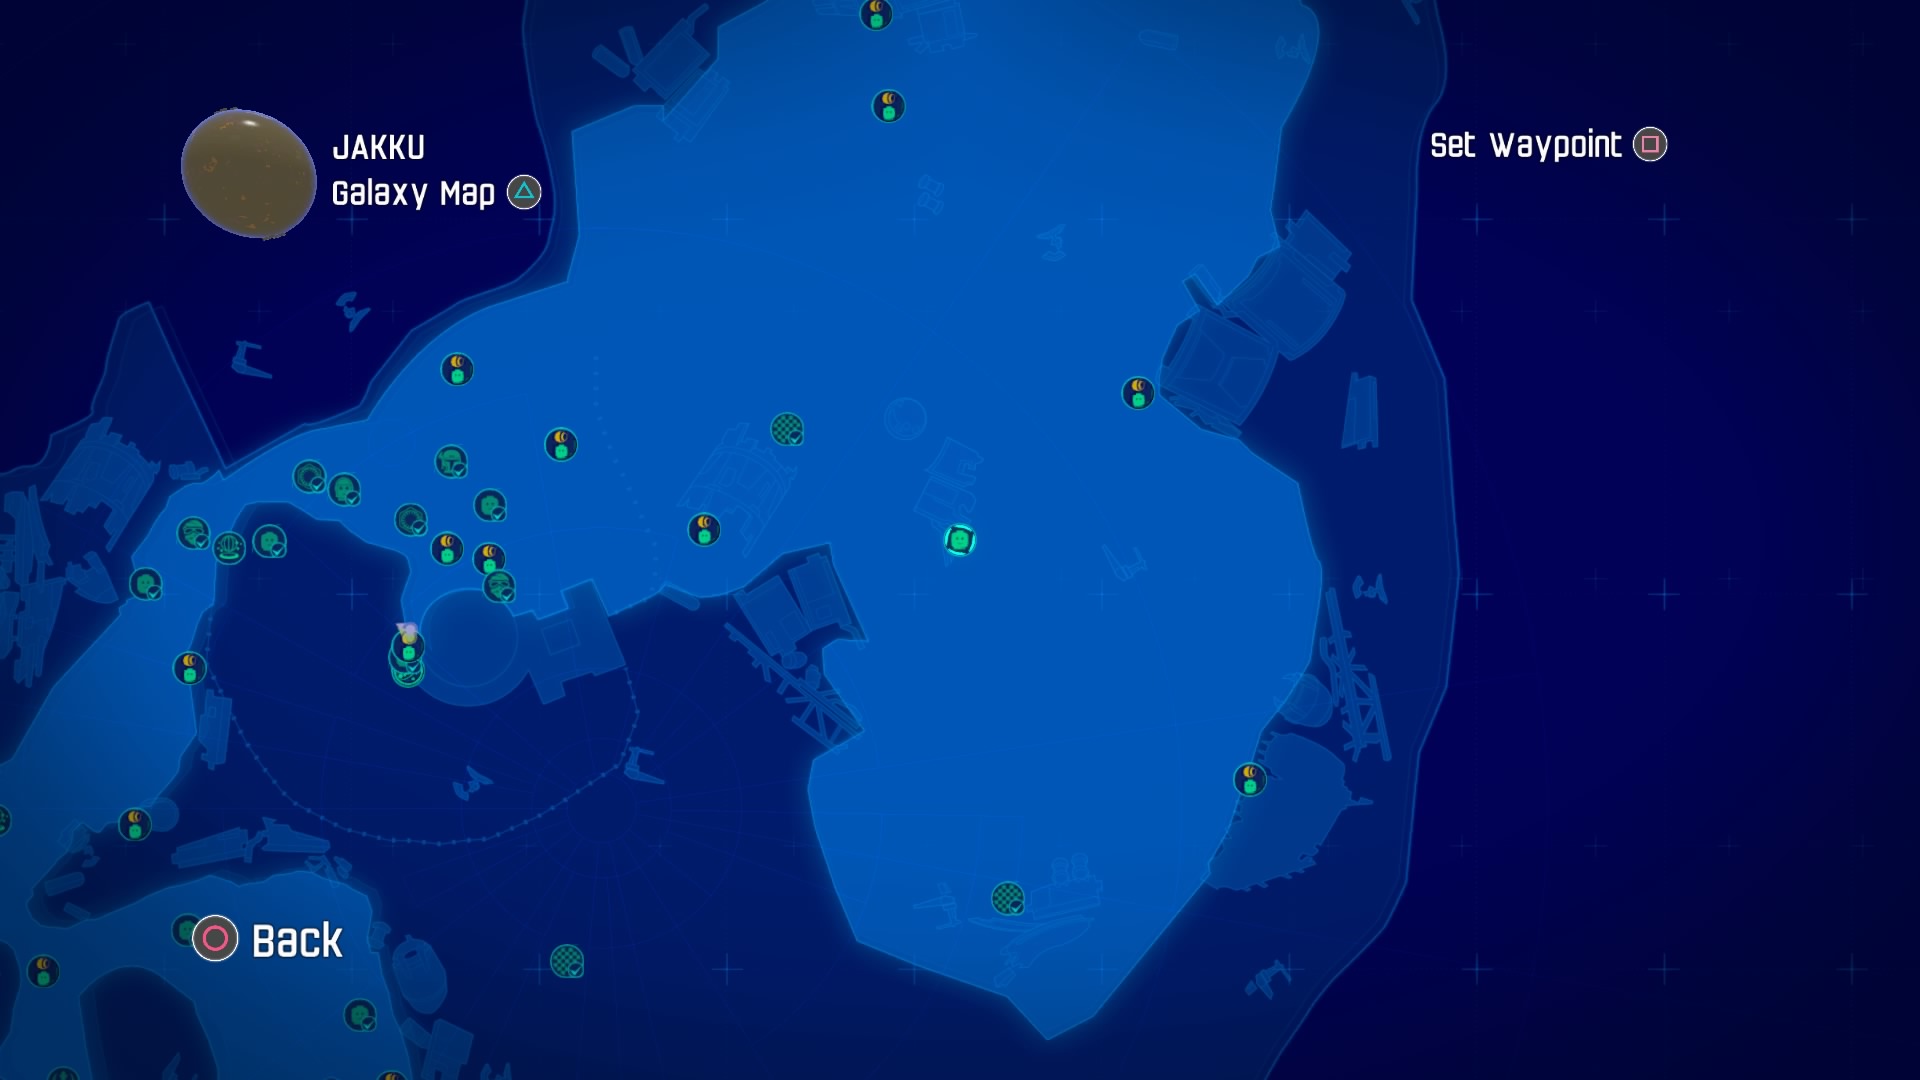
The last three bricks will only appear after you've collected all of the others.
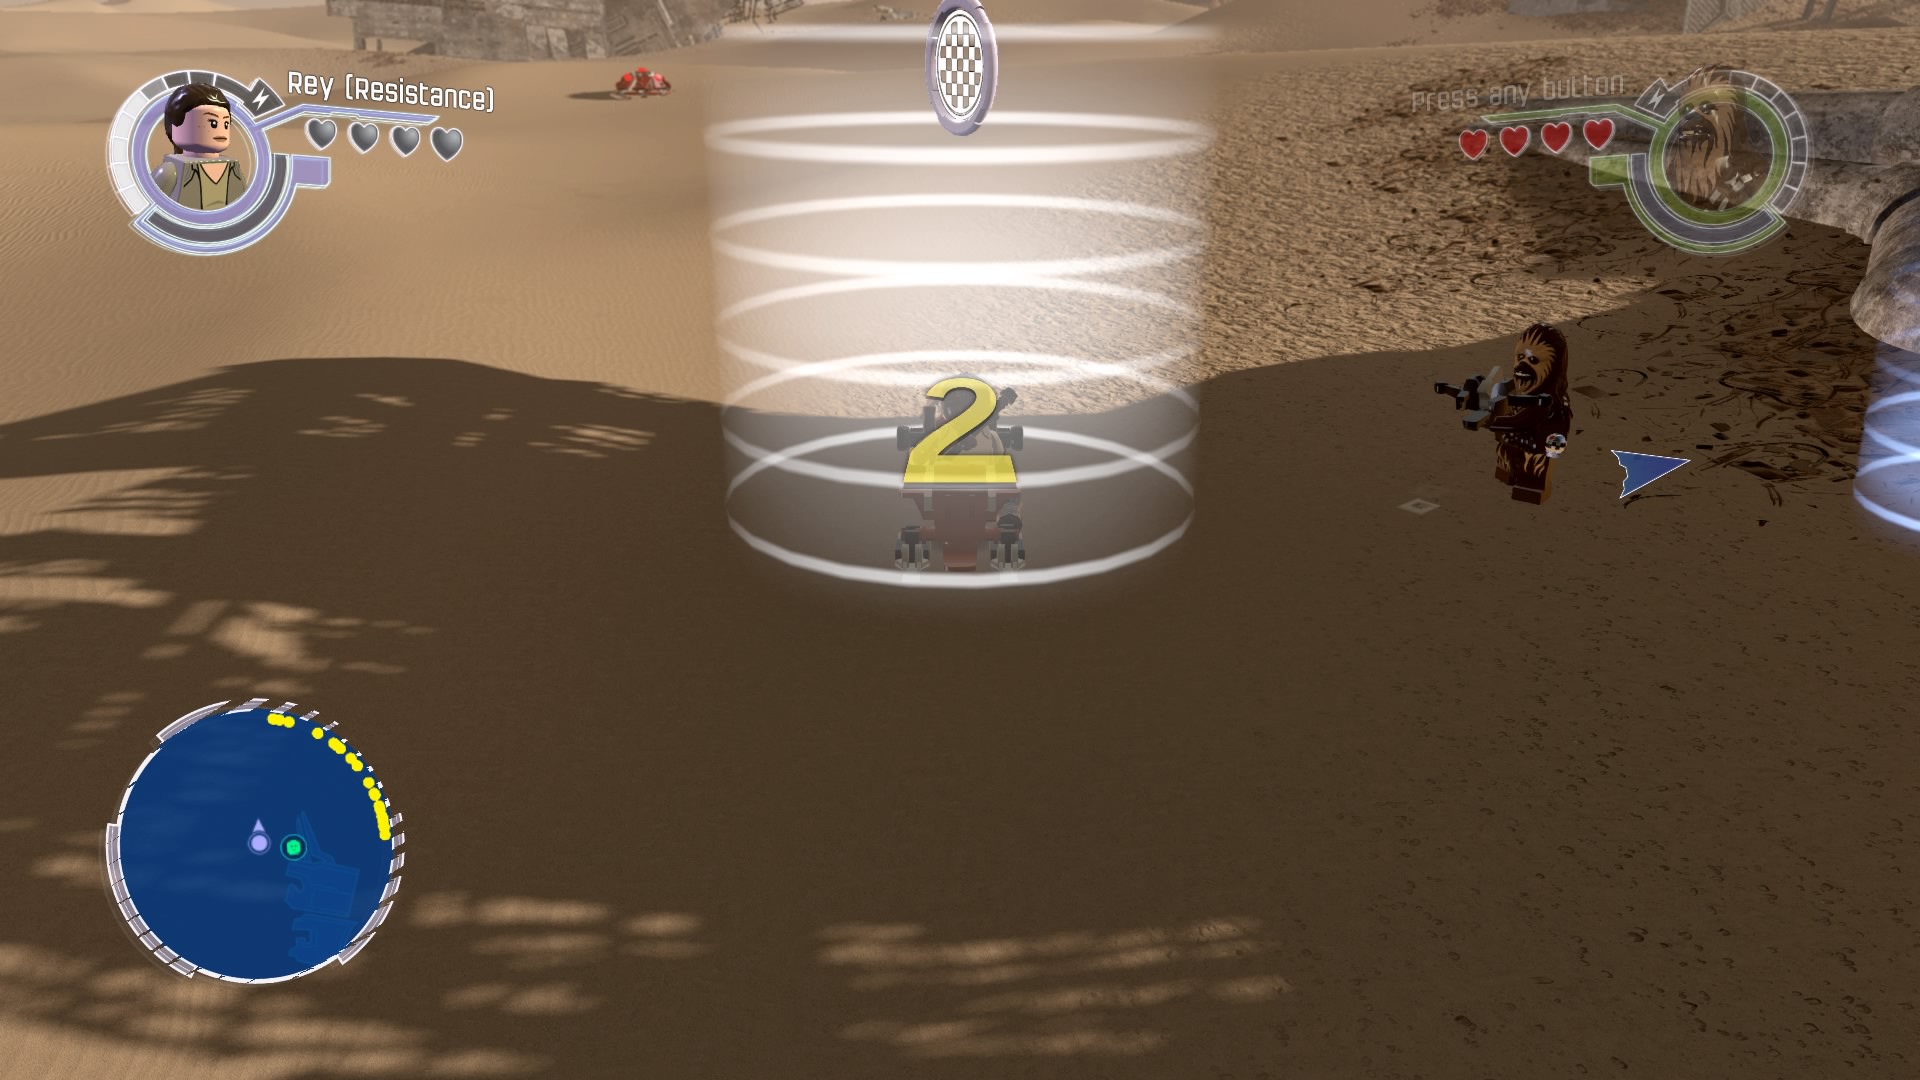
Gold Brick #43
They make up three events in the Niima Sports Festival. The first event is a race,
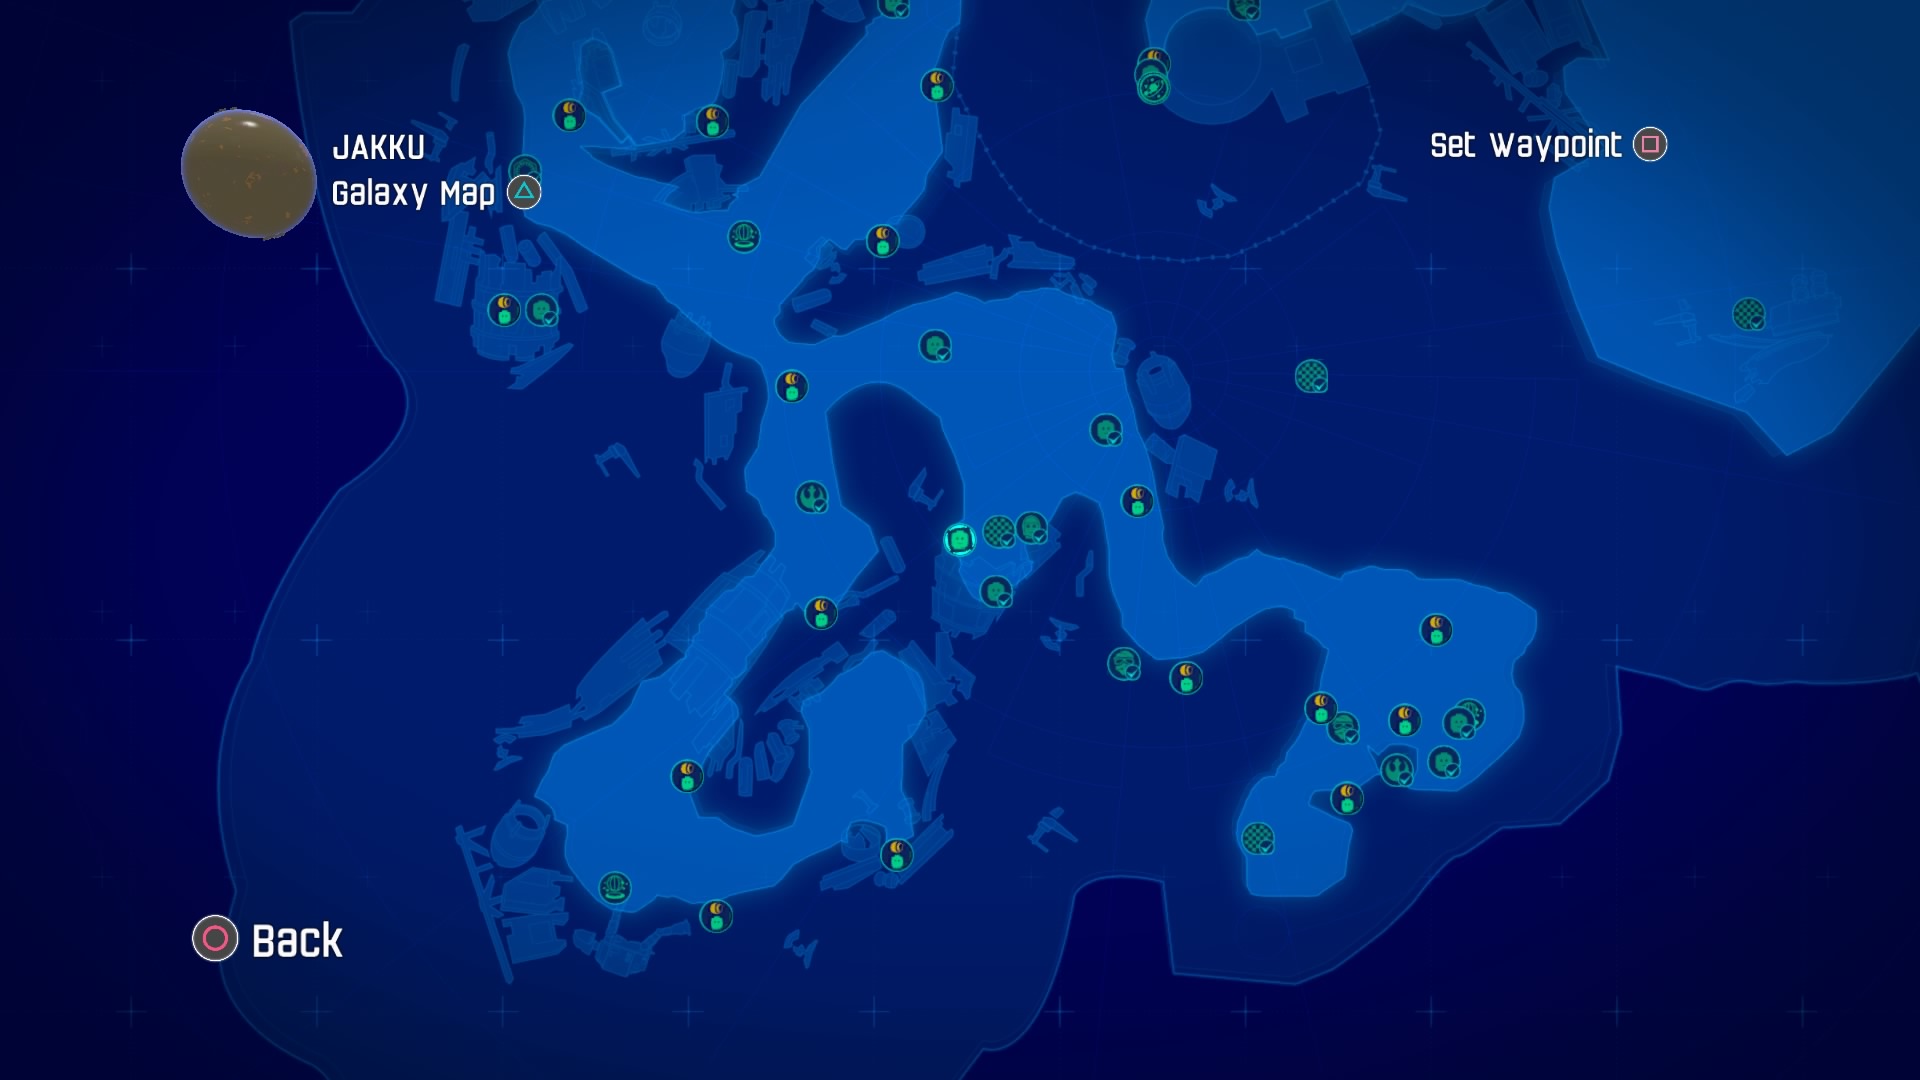
The second event is in the southern half of the map.
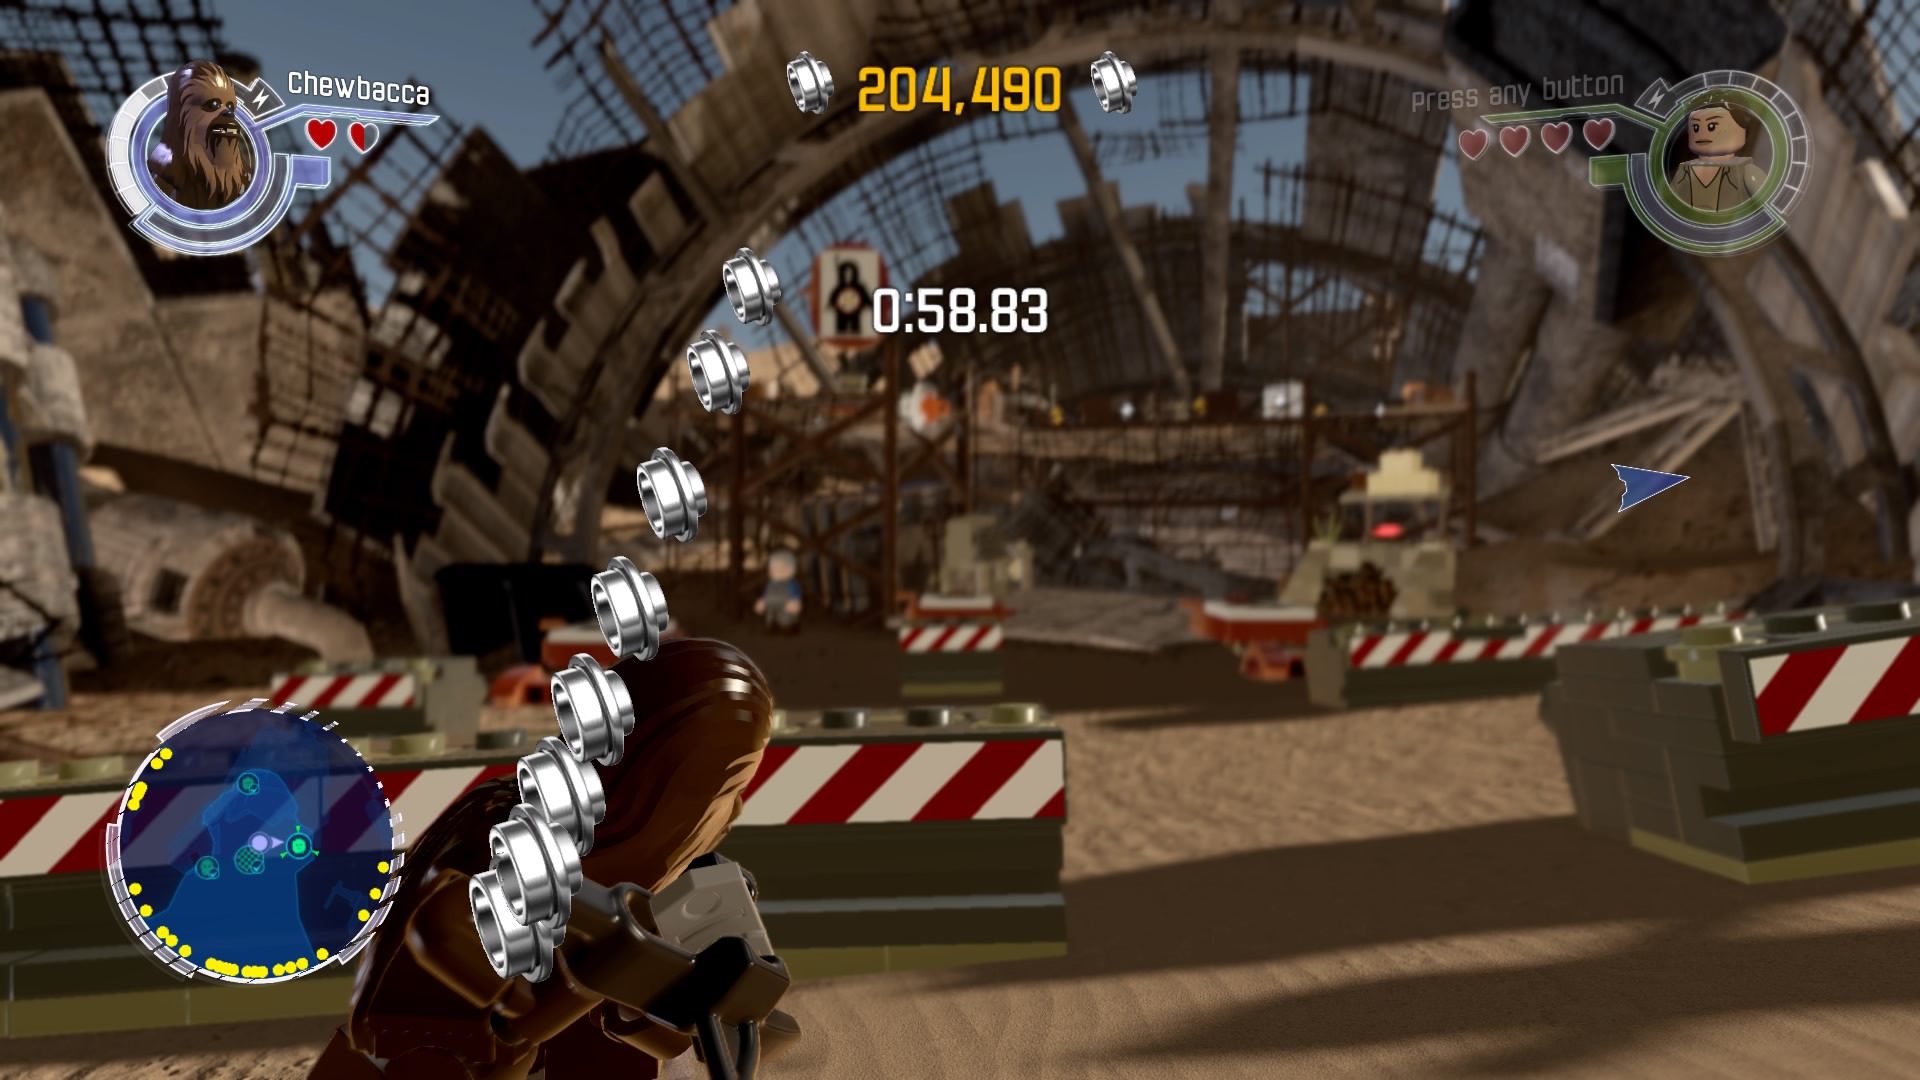
It's a shooting competition.
Gold Brick #44
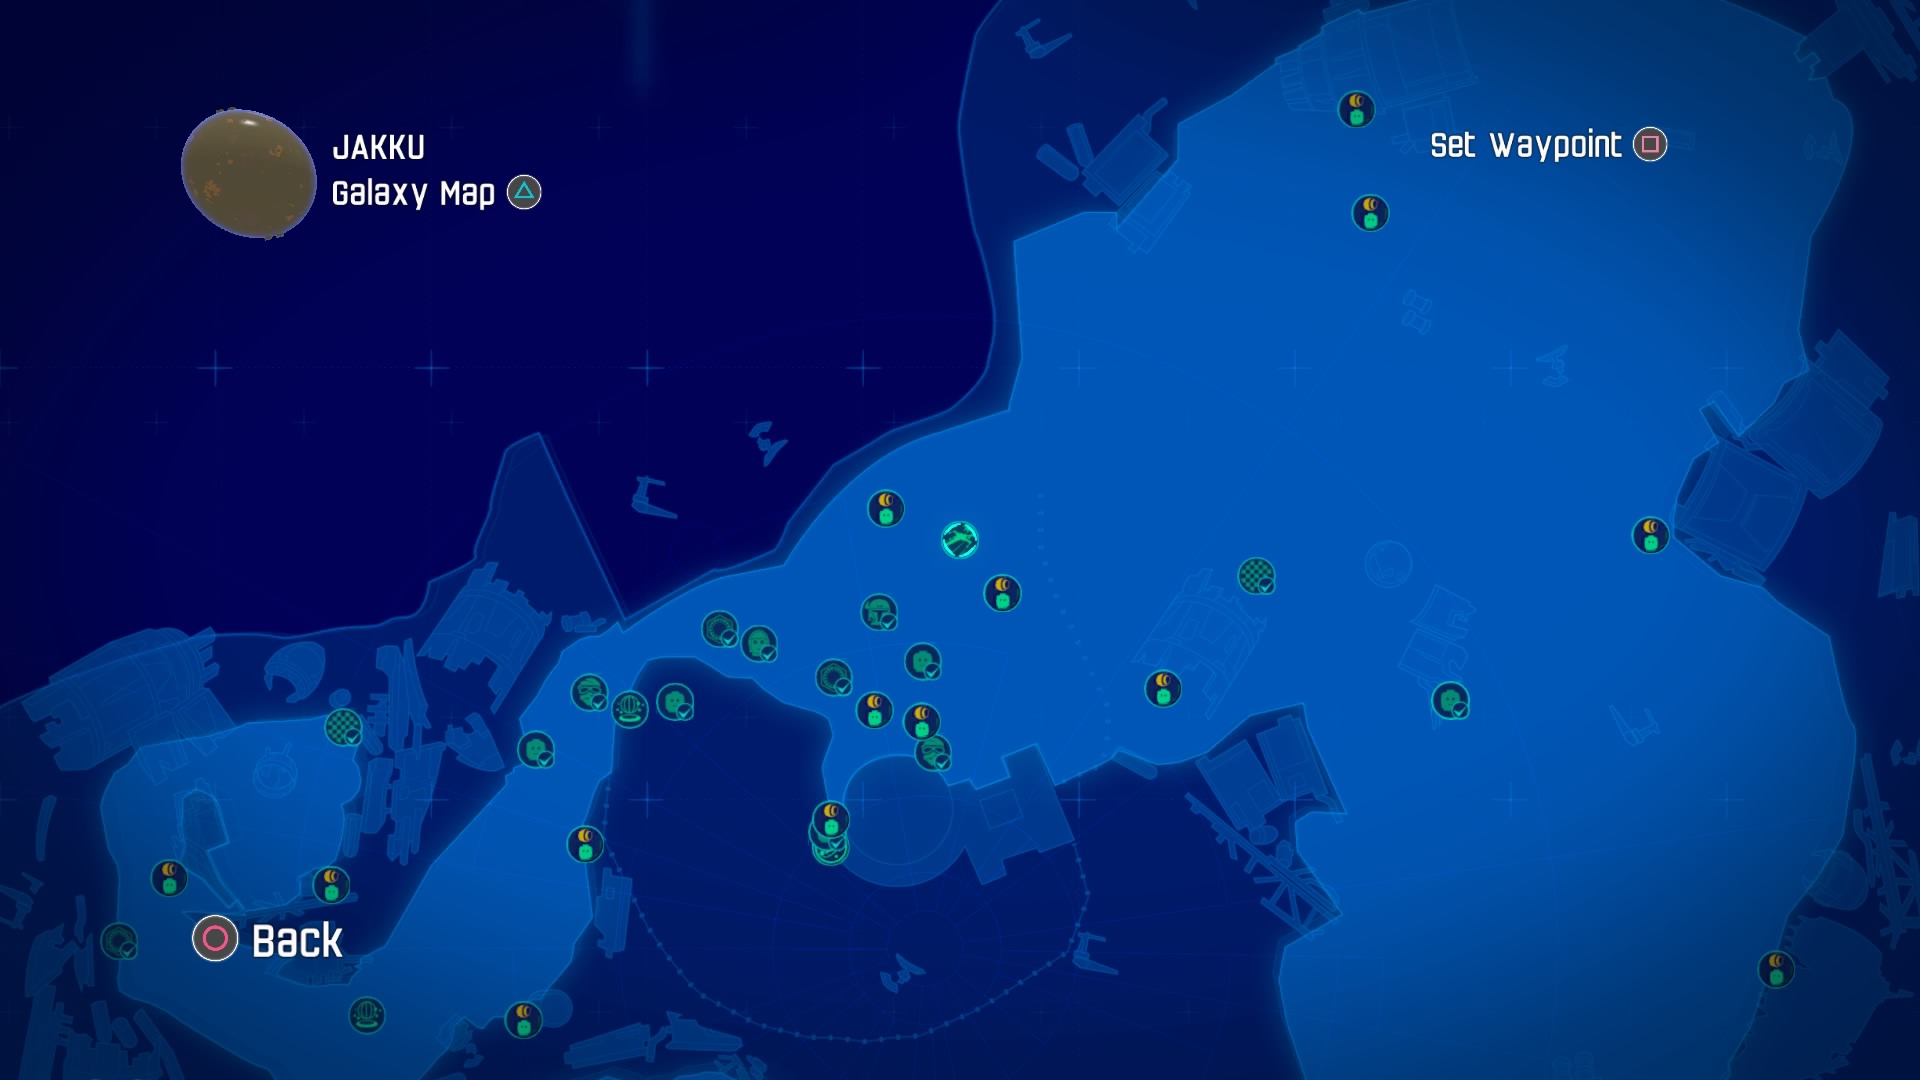
The final event is a Microfighter Skirmish.
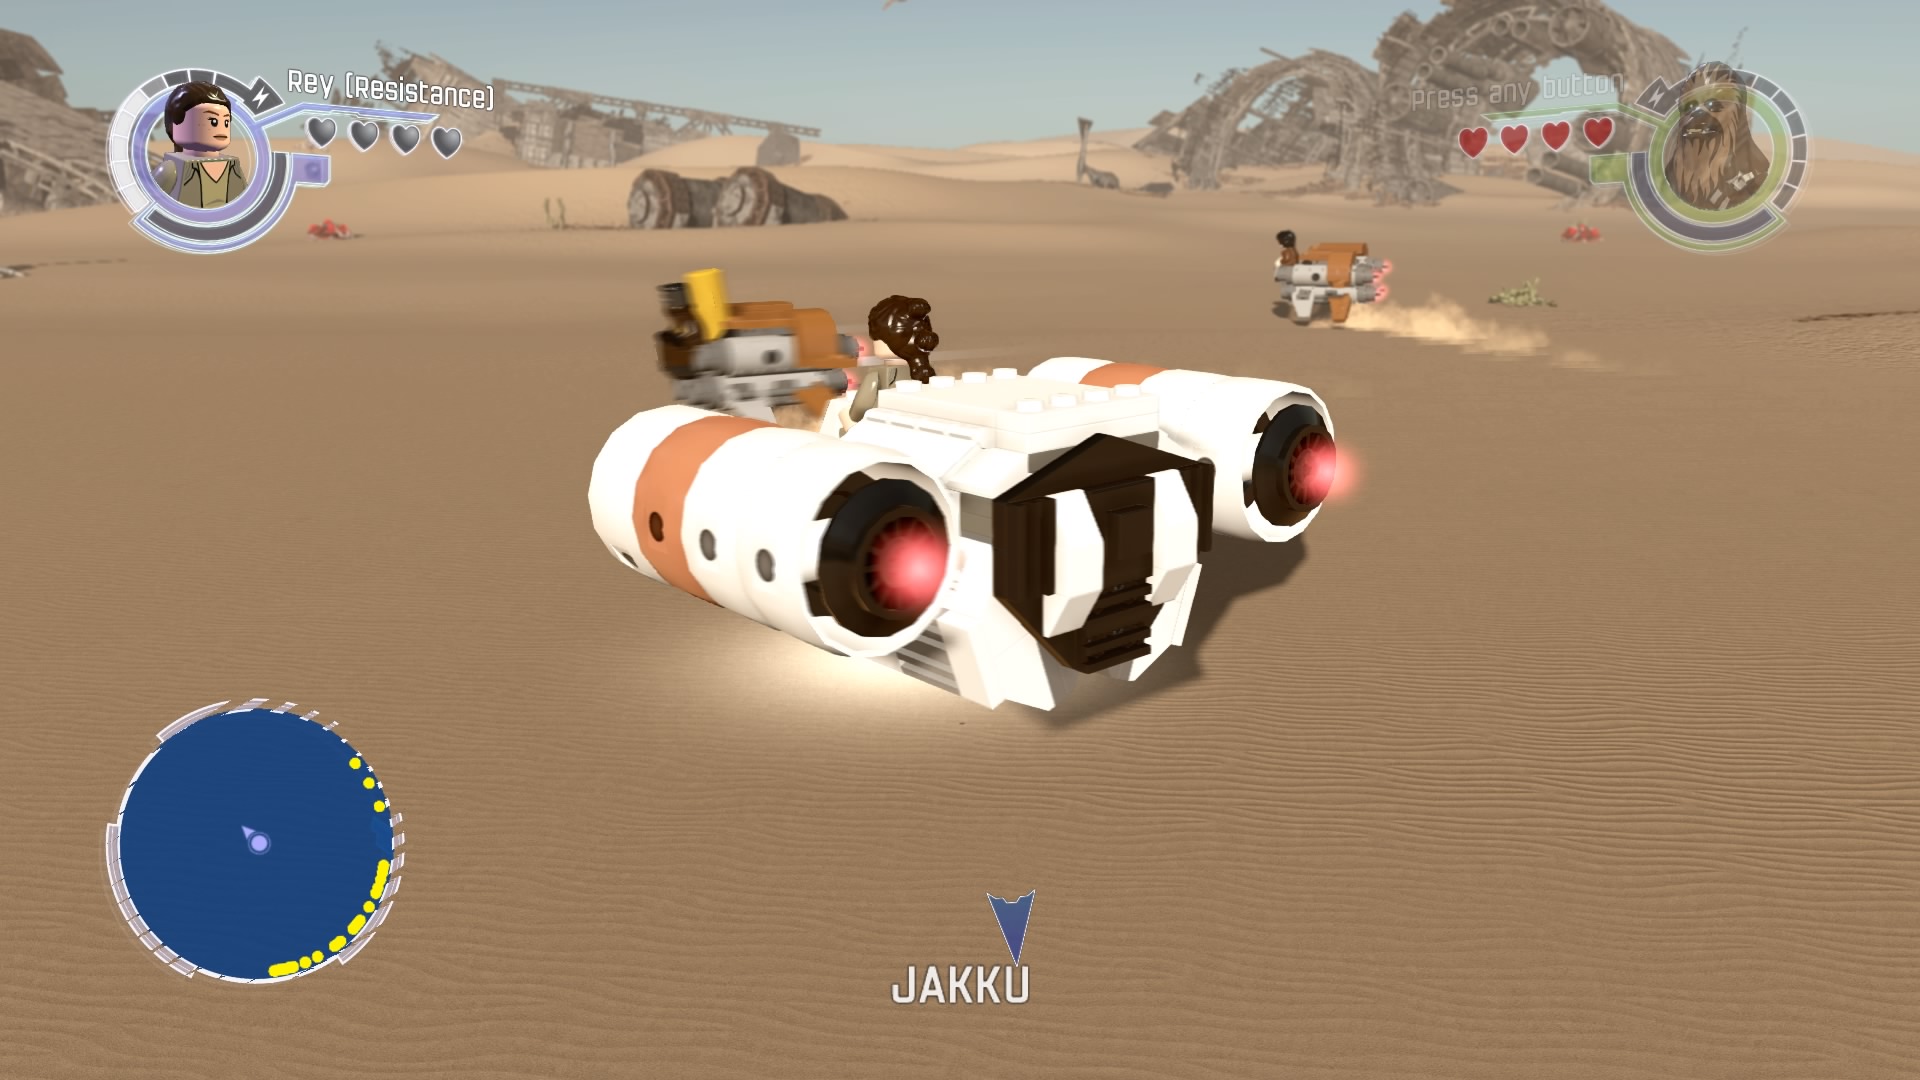
Destroy eight vehicles to bag yourself the final gold brick.
Table of Contents:

Shabana was born looking like a girl wearing a Pikachu hoodie, so when such things became popular, she fitted right in. She writes guides, reviews and features for GR+ when she isn't screaming at Dark Souls 2 on YouTube.
 Join The Community


