Lego Lord of the Rings minikit guide
Follow this one guide to collect them all... all Lego Lord of the Rings minikits, that is
Weekly digests, tales from the communities you love, and more
You are now subscribed
Your newsletter sign-up was successful
Want to add more newsletters?
Join the club
Get full access to premium articles, exclusive features and a growing list of member rewards.
Track Hobbits [1-5]
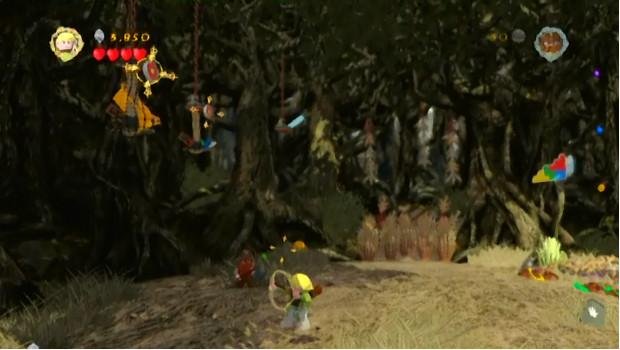
Minikit #1: After getting through the first thicket, you’ll be in a large, open area. To the east you can see three hanging nets. Shoot them down and assemble the loose contents to create a minikit.
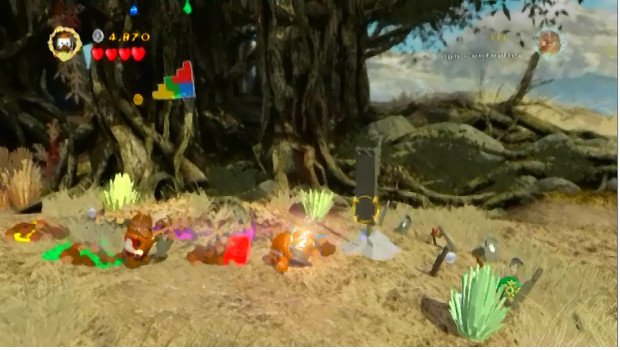
Minikit #2: On the opposite side of the area is a silver flag. Use the Berserker’s bombs to destroy it and reveal a minikit.
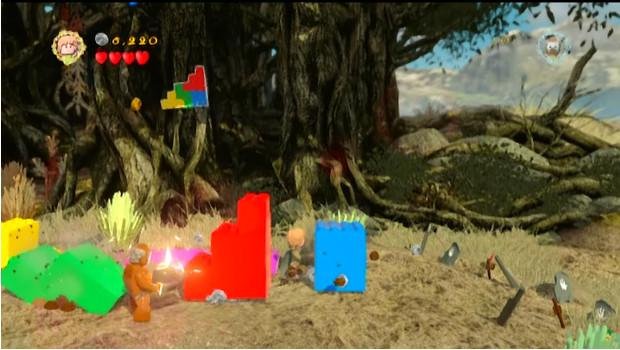
Minikit #3: Next to the silver flag is a set of buried blocks. Dig them out with Sam’s spade, and use Gandalf’s magic to create a staircase to the minikit above. In this instance, you only need to be able to jump up to the minikit, so stack as you will.
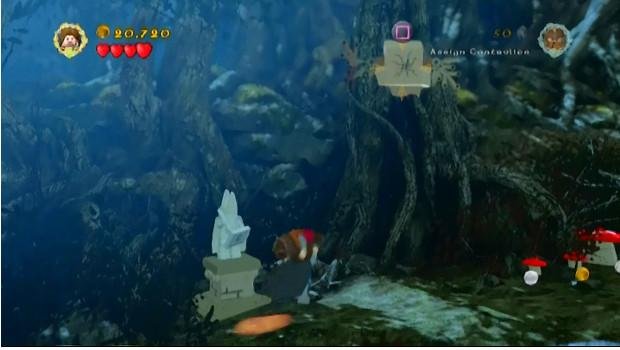
Minikit #4: At the start of the next zone, throw Gimli at the broken tile above to release a minikit.
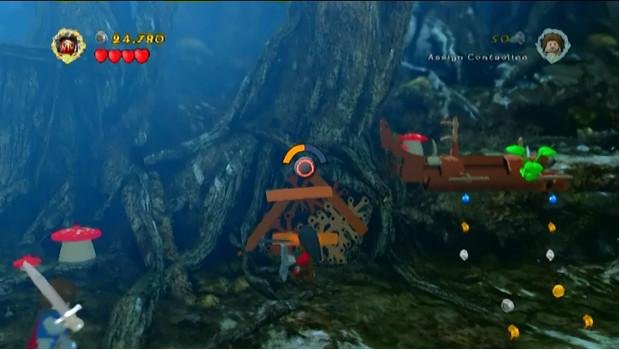
Minikit #5: After going down the first slope, use the Uruk-hai to rip away the golden handle. This opens up a secret area.
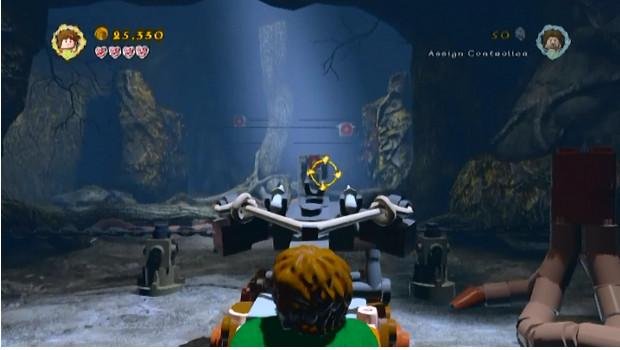
In this shooting gallery area, a minikit dangles from the ceiling. Use the ballast on the far end of the room to shoot all the fast-moving targets. Shoot them all, and that teasing minikit is yours.
Table of Contents
- Prologue [1-5] [6-10]
- The Black Rider [1-5] [6-10]
- Weathertop [1-5] [6-10]
- The Pass of Caradhras [1-5] [6-10]
- The Mines of Moria [1-5] [6-10]
- Amon Hen [1-5] [6-10]
- Taming Gollum [1-5] [6-10]
- The Dead Marshes [1-5] [6-10]
- Track Hobbits [1-5] [6-10]
- Warg Attack [1-5] [6-10]
- Helm's Deep [1-5] [6-10]
- Osgiliath [1-5] [6-10]
- The Secret Stairs [1-5] [6-10]
- Cirith Ungol [1-5] [6-10]
- The Paths of the Dead [1-5] [6-10]
- The Battle of Pelennor Fields [1-5] [6-10]
- The Black Gate [1-5] [6-10]
- Mount Doom [1-5] [6-10]
Weekly digests, tales from the communities you love, and more

Tony lives in Maryland, where he writes about those good old-fashioned video games for GamesRadar+. His words have also appeared on GameSpot and G4, but he currently works for Framework Video, and runs Dungeons and Dragons streams.
 Join The Community


