The Legend of Zelda: Link's Awakening walkthrough: A step-by-step guide to get you through the 2019 remake
Everything you need to get from start to finish with this Link's Awakening walkthrough
Finding Turtle Rock
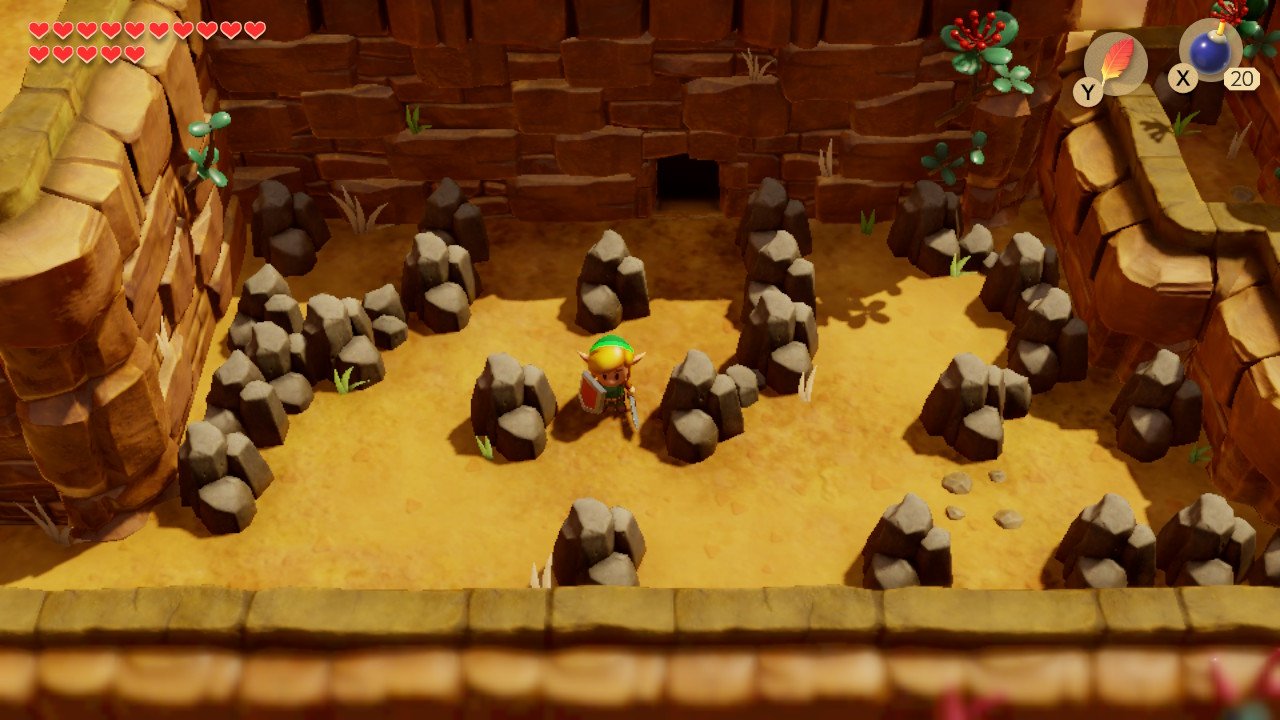
Once the Owl has finished speaking to you, cut the bush on the left and head down the stairs. Stay left, jump into the pit and head downstairs. Hookshot across the gap and follow the path left to the exit. Make your way to the left and up the ladders, although beware of the falling boulders. Once at the top, open the chest to your left for a cool 50 rupees. Head down the stairs and use your magic powder on the altar to get a increase in the amount of magic powder you can carry. Walk left and jump down off the ledge. Defeat the enemies then bomb the cracked wall. Before going in, run left and collect another piece of heart.
Heading back through the cracked wall, follow the path and up the stairs, using your Mirror Shield to deflect the flames. Lift the rock on the right to activate a warp point and then continue west. Play the Song of Soul you learned from the Frog to waken the gatekeeper. At first, you’ll want to break the stone surrounding the enemy’s head, so two or three bombs should do this. From there, the turtle will shift its head from left to right, before lunging at you. Keep moving and jumping, and if it misses you it will stun itself off the back wall. Use this opportunity to get a few strikes in, and after repeating this three or four times, the gatekeeper will fall. Head inside Turtle Rock.
Turtle Rock and the first two keys
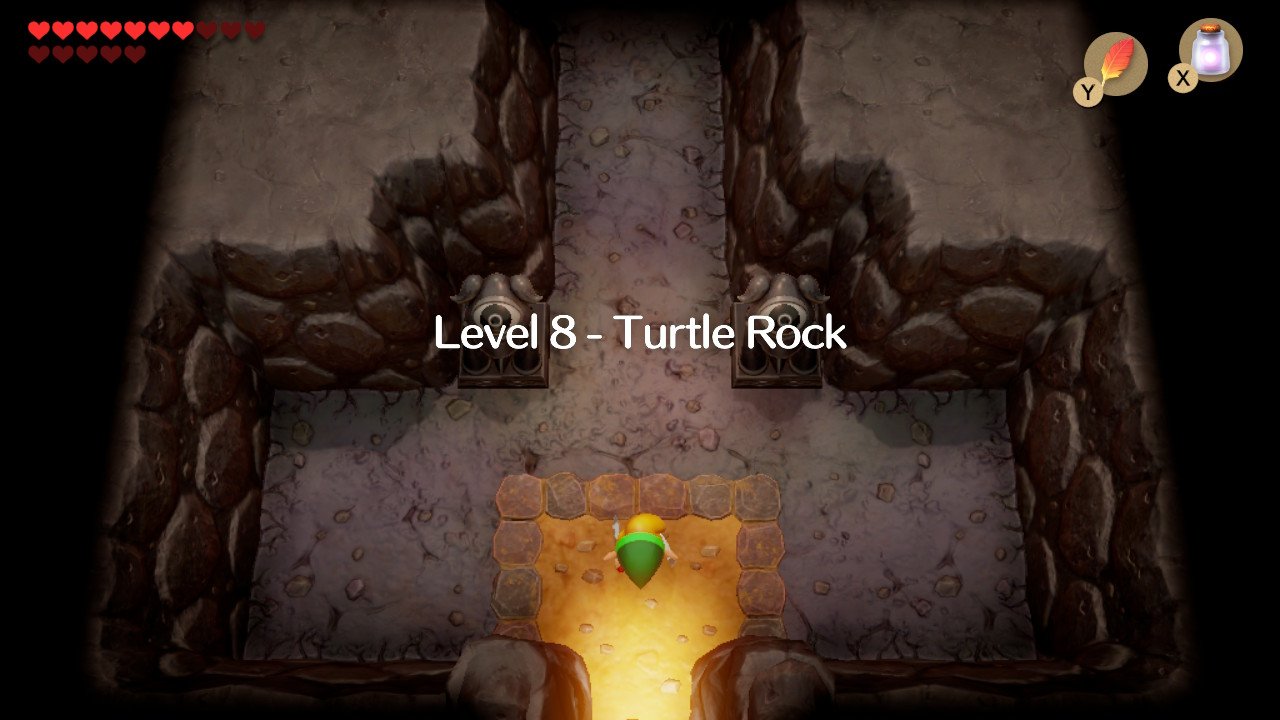
Heading North will see you encounter the first of many mini-bosses in this dungeon. Use your boomerang to kill Vire and once it’s dead, walk a screen to the left, then one screen up. Here lies another mini-boss, the Hinox, who can be taken out with around five hits from the boomerang. In the room to the left, interact with the path-building device in the middle of the room by guiding it left, up, left, and down again. Collect the 20 rupees from the chest and head south to collect the 50 rupees there, before heading into the left room to fight Rolling Bones, who we faced a few dungeons back. As before, jump over the rolling pillar and attack. The boomerang is incredibly effective here, as it hits the boss twice with every throw. Move one screen north and defeat the enemies to drop a key, before moving two screens south.
Defeat the vacuum in the corner, claim the Compass from the chest and head back to the entrance of the dungeon by playing Manbo’s Mambo. From the entrance, move two screens north and follow the path east until you reach another pathbuilder. We want to head to the left first, so build a path to the left bank, and move the top and bottom block left while moving the middle one up to claim the Treasure Map. To get the dungeon’s Stone Beak, bomb the north wall, head down the stairs, make your way across the 2D platforming section. Kill all the enemies in the next room to unlock the door, and grab the beak from the chest.
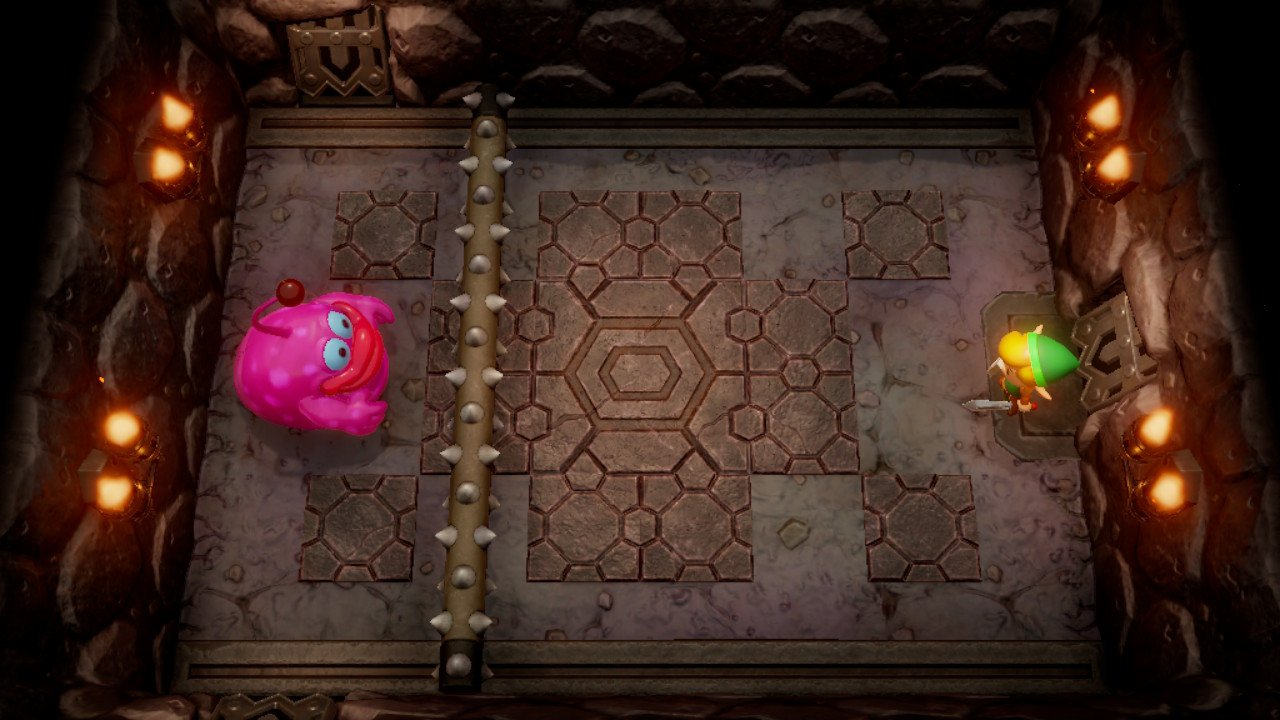
Enter the room above you to trigger a mini-boss fight with Smasher. As before, run around until after he’s thrown his ball, so you can pick it up and throw it back at him. Around five hits will see Smasher fall. Walk up a room to talk to the Owl statue, but don’t go down the stairs yet. Head left from the room you fought Smasher in. You need to cover the entire gap with the pathbuilder to reveal a key, so follow the border of the room and collect the key. Once this is done, bomb the northern wall and go through. Place a bomb on the left wall and walk through. Go down a screen via the bottom right stairs and jump down off the ledge. Ignore the chest, as it contains an enemy, and make your way north from the room the Vire is in.
Build a path between the two wooden blocks at the top of the room, then push the right one over and head north up the newly-accessible path. Unlock the lock and go right through the next locked door you find. Jump over the blade traps and exit through the one-way door on the top wall.
Four more keys
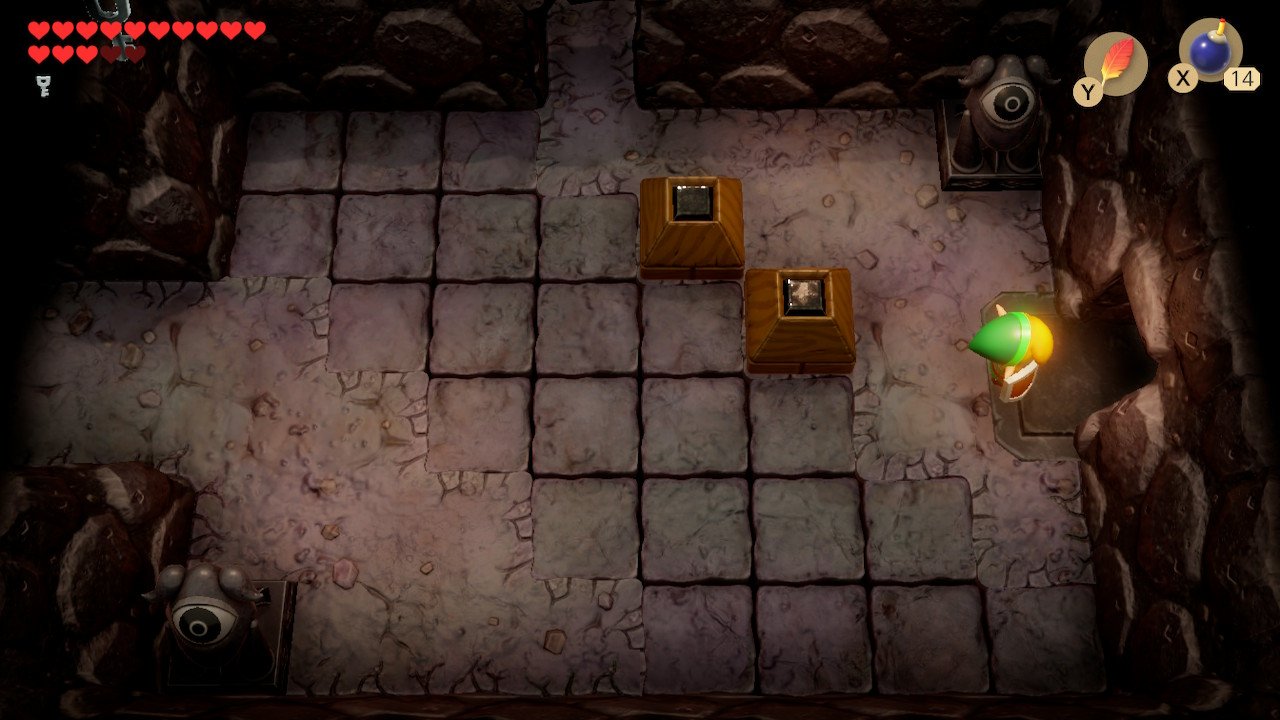
Defeat the four Zols here to proceed. There are two enemies in the next room, but keep moving or else the floor will break underneath you. Collect the key and walk to the left room where you’ll need to use your bombs to defeat the two Dodongo Snakes. Keep moving west and head up the stairs to the next screen, then follow the path to the stairs. Climb the ladder and hookshot across the gap from the ledge. Go north from this room and bomb the cracked left wall. Jump across the gap in this next room and unlock the key block. Kill the enemy to open the left door and in the next room bomb the left wall. Jump across the lava and stand on the pedestal at the bottom of the room to hit the statue in the eye with an arrow, which makes the fourth key drop.
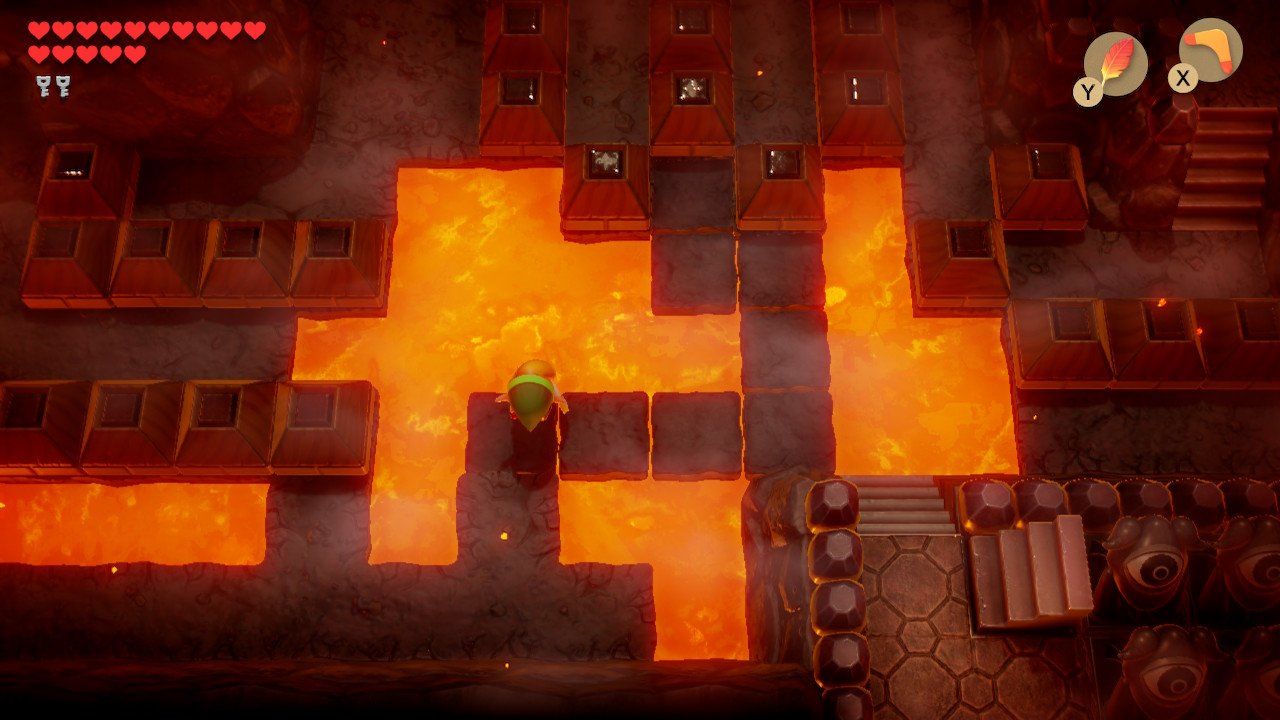
The room just below this contains bombs, arrows, and hearts. Head back into the previous room and walk east. Deflect the Beamos attack and move the block to the left of the chest up, and the one in front of the chest left, in order to get the fifth key. Walk back to the previous room and go up a screen. Defeat the enemies here, and walk through the left door, up the stairs and right. Hookshot across the gap to collect 50 rupees from the chest and then go up the stairs. When you arrive outside, there’s another piece of heart to be got up the stairs in the grass. Make your way east across the bridge, activate the warp point and then head down the stairs. Throw your bombs over the ledge to kill the two Dodongo Snakes we met earlier, then collect another key from the chest that spawns. Use Manbo’s Mambo to return to the entrance of the dungeon.
Walk north two screens and build a path to the right. Continue walking east through the hole in the wall and hit the crystal switch. Go left and then use the bottom stairs. Jump down from the ledge, walk two screens left into the first room, and back up to where we’ve been building paths. Make a path up between the two wooden blocks, push the right one away, then walk up and right until you get to the room with the one-way door. Go through this, then walk two screens to the left. Head up the stairs, unlock the keyblock and follow the path. Hookshot across the room to the southern ledge, unlock that keyblock and walk downstairs. Use Roc’s Feather to navigate this 2D section. Once you’ve reached the upstairs, jump off the ledge on the south side to face the mini-boss Blaino.
Blaino, the Magic Rod and Cue Ball
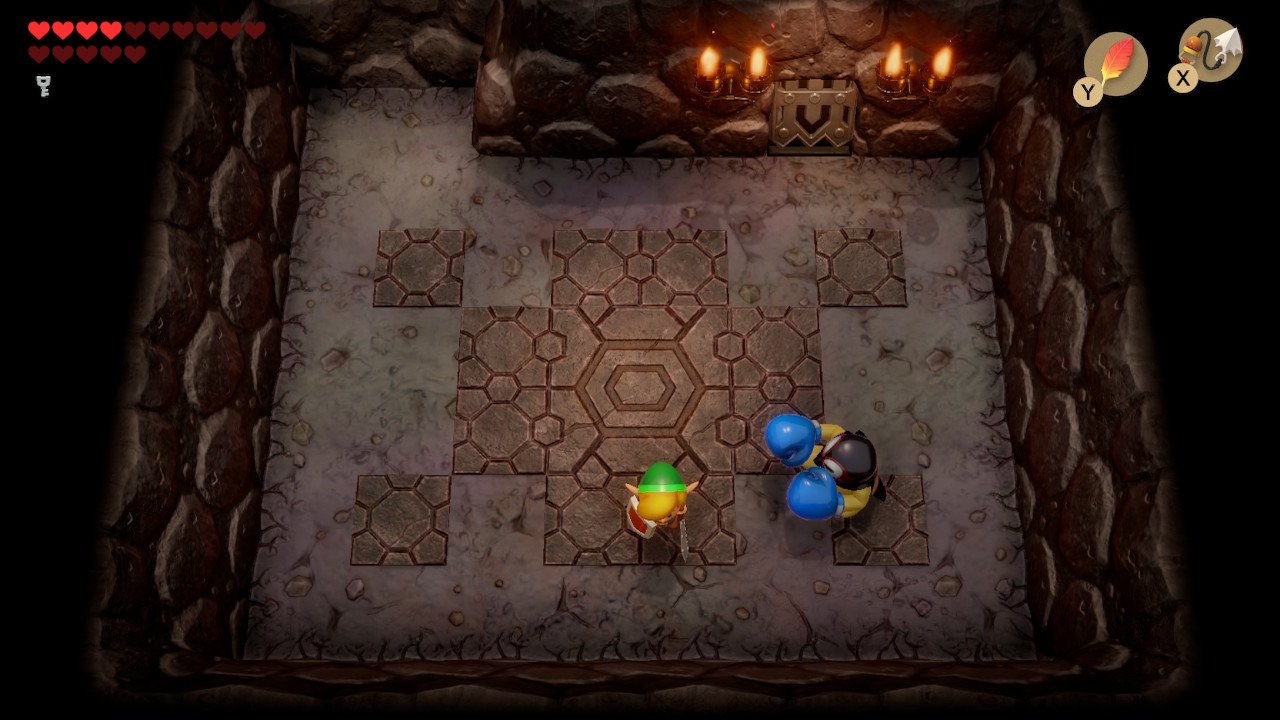
Blaino protects himself with his gloves, and has three kinds of attacks; fast jabs that deal low damage, a medium punch which sees him dart across the room and stun you, and a heavy punch which will knock you back to the dungeon entrance. He winds up his gloves before the heavy attack, so just steer clear when you see that. You can only damage him after he has attacked, so keep moving and look for an opening. After he dies, a portal back to the start of the dungeon will open.
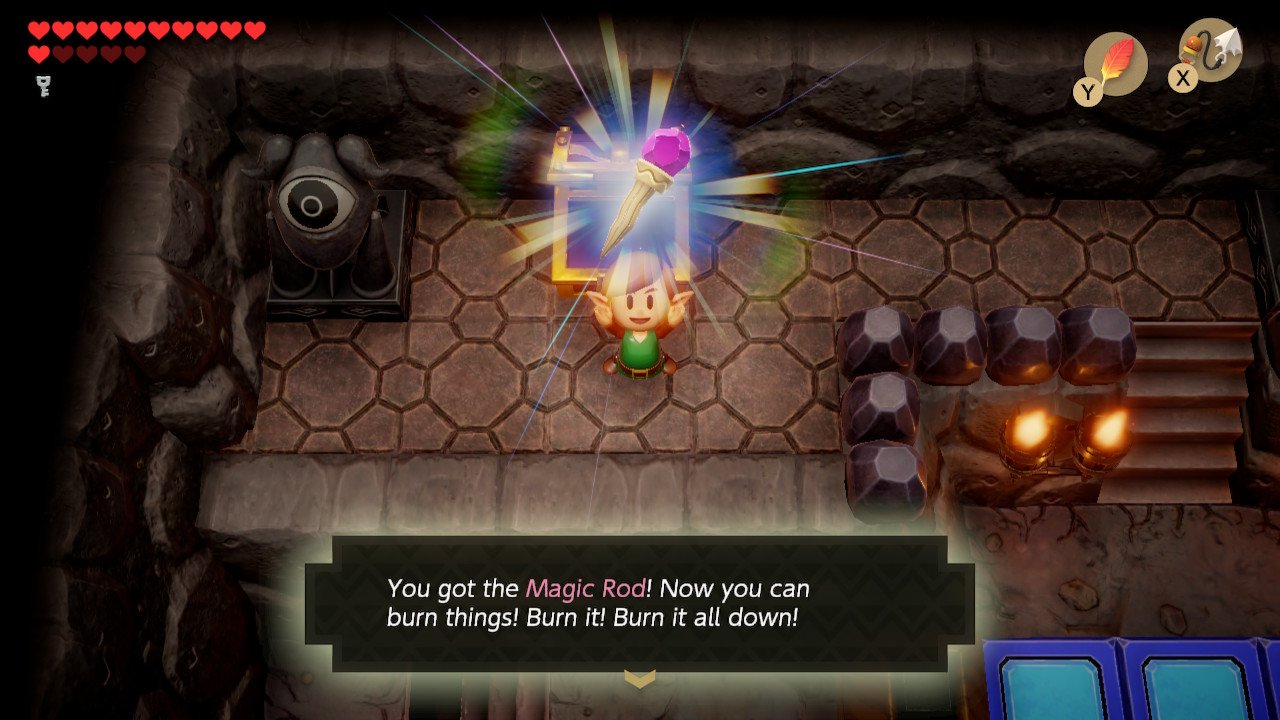
Head through the north exit to claim the Magic Rod. From here, drop off the ledge and head down the stairs, back through the lava section and back upstairs. Jump down and go three rooms west, up the top right stairs and follow the path down. Jump down from the ledge and use the Magic Rod to light both torches, which releases another key. For the final time, use Manbo’s Mambo to warp back to the start of the dungeon, then head two screens north and build a path to the stair on the right. Upstairs, melt the ice blocks with the Fire Rod and walk left. Jump and use the Magic Rod at the same time to melt the upper layer of ice and continue down the ladder. Unlock the bottom left door to begin the last mini-boss fight with Cue Ball.
Cue Ball can only be attacked from behind with the sword, so use Roc’s Feather to leap over it and attack. After a couple of swipes to Cue Ball’s behind, he ceases to exist, leaving us to use the north exit. There is another moving block puzzle here, and we need to fill all of the gap again. The key is to guide the block as if you were writing a digital number two — three blocks up, two right, one down, one right, one up, two right, three down, one left, one up, one left, one down, one left, one up, one left, two down, and the rest right.
Getting to the Nightmare
Take the Nightmare Key from the chest and make your way back the way you came — down one screen, right, then down two screens. Make your way back to the room we created so many paths in, but this time you’ll be coming into it from the north. Push the single block into the lava, jump to the right and push the next block into lava. Make your way up the stairs, jump down off the ledge and use the stairs in the top right corner. Head back towards the room with the one way door in it and from here, head north two rooms then continue west until you reached the locked door.
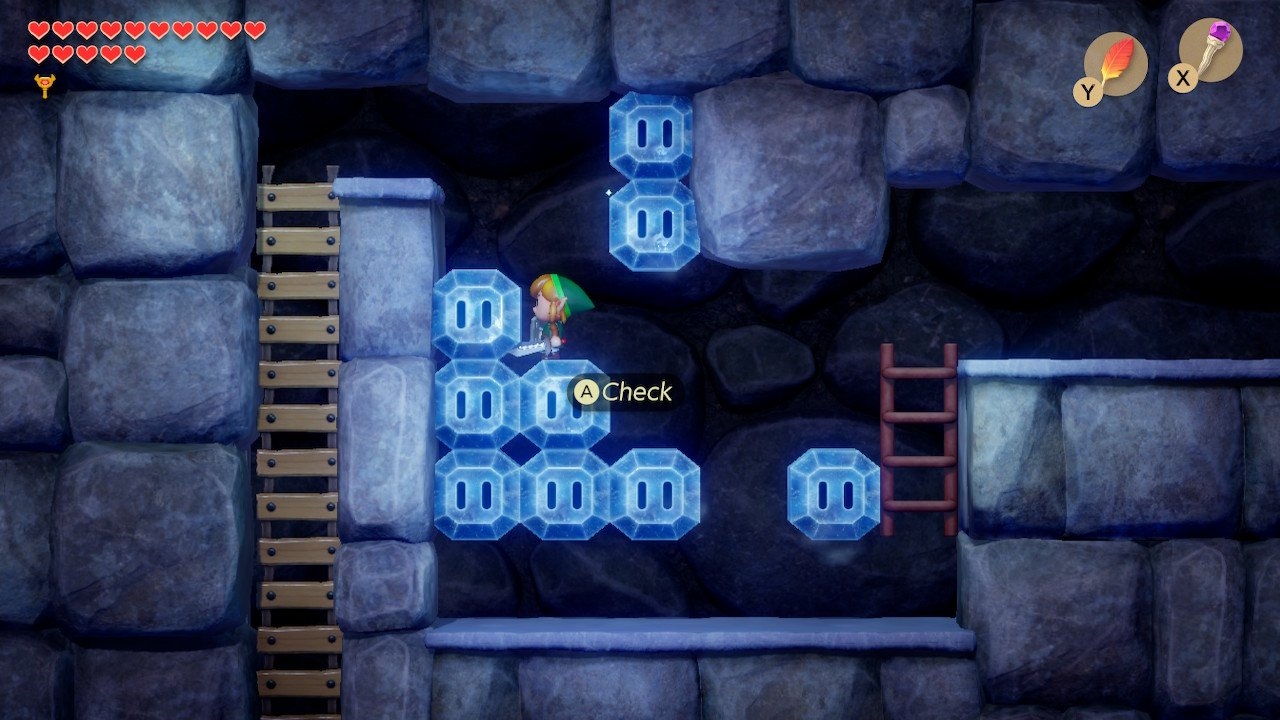
Head up the ladder and melt the ice with the Magic Rod. Walk left and melt the ice above you. Jump and melt the rest of that row. Jump up, and walk to the furthest left column of ice, point down, and melt it. As you’re falling, melt the single ice block on the left. Climb back up the ladder and fall towards the newly opened gap. In the next portion, melt the very bottom row. Melt the second block to the left of the ladder, then climb the ladder and jump to the adjacent ice block, using the rest as a stairway. Go down the ladder and open the Nightmare Door.
Hot Head and the Thunder Drum
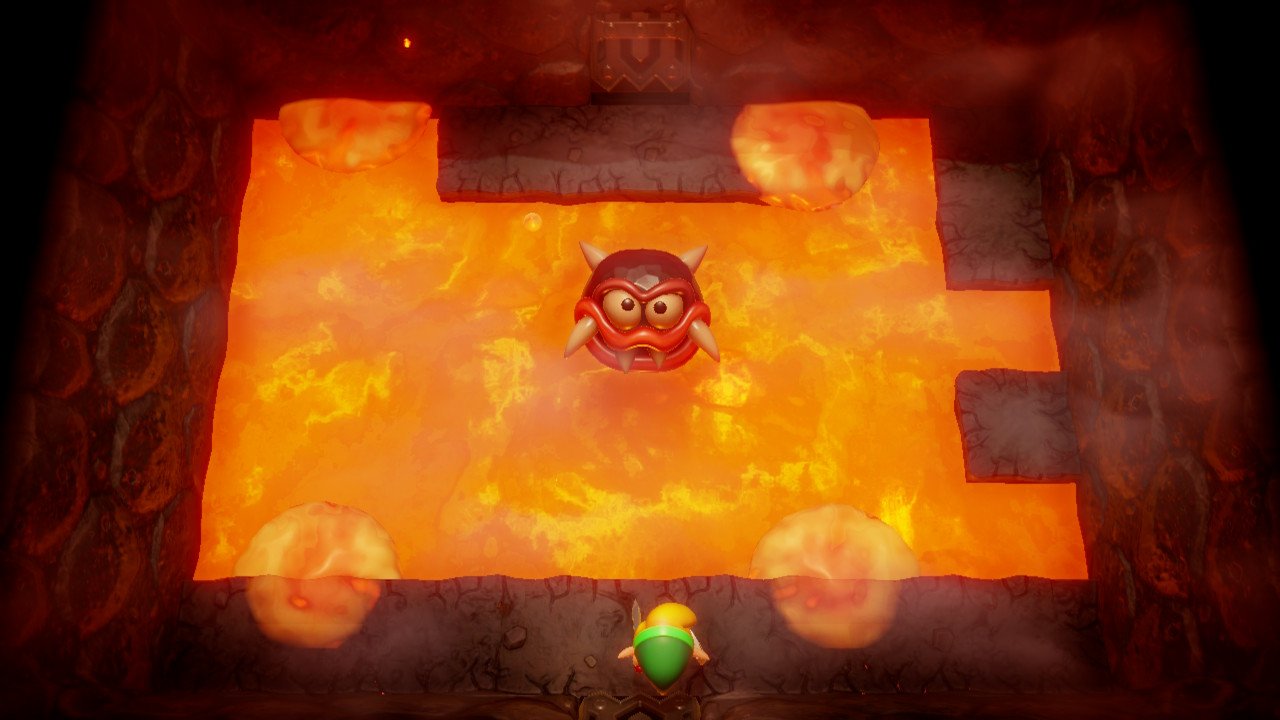
Hot Head is this dungeon’s Nightmare, and is fairly easy to beat once you know what to do. He’ll emerge from the lava and spill some onto the ground, which can take a lot of hearts. The aim is to use the Magic Rod to hit him as he’s passing, which will cause him to whirl around the room and give you more opportunity to hit him. After a few hits, he loses his outer shell and becomes faster, but it only requires two to three hits after this to defeat him. A Heart Container will drop from the ceiling — collect this and enter the next room to pick up the Thunder Drum.
The Legend of Zelda: Link's Awakening walkthrough - Start of the game (Part 1)
The Legend of Zelda: Link's Awakening walkthrough - Tail Cave (Part 2)
The Legend of Zelda: Link's Awakening walkthrough - Bottle Grotto (Part 3)
The Legend of Zelda: Link's Awakening walkthrough - Key Cavern (Part 4)
The Legend of Zelda: Link's Awakening walkthrough - Angler's Tunnel (Part 5)
The Legend of Zelda: Link's Awakening walkthrough - Catfish's Maw (Part 6)
The Legend of Zelda: Link's Awakening walkthrough - Face Shrine (Part 7)
The Legend of Zelda: Link's Awakening walkthrough - Eagle's Tower (Part 8)
The Legend of Zelda: Link's Awakening walkthrough - Turtle Rock (Part 9)
The Legend of Zelda: Link's Awakening walkthrough - Wind Fish Awakening (Part 10)
Current page: Link's Awakening walkthrough: Turtle Rock (Part 9)
Prev Page Link's Awakening walkthrough: Eagle's Tower (Part 8) Next Page Link's Awakening walkthrough: Wind Fish Awakening (Part 10)Weekly digests, tales from the communities you love, and more
