Gears of War 3 Beta Guide
Tyrannize GoW 3's beta battlegrounds with our detailed guide! UPDATED
Oldtown
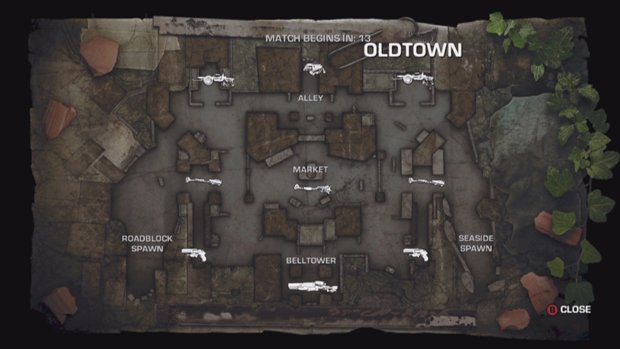
Oldtown is a large map with diverse cover and flanking options. While much of the map is open and well-suited for long-range combat, each section of the board is cut off from the next by buildings or ledges. This means if you go exploring on your own, allies will often be unable to aid you should you find yourself in a firefight. Sticking with your team is especially important here.
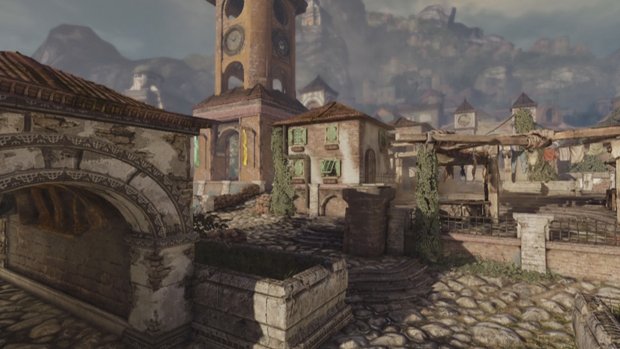
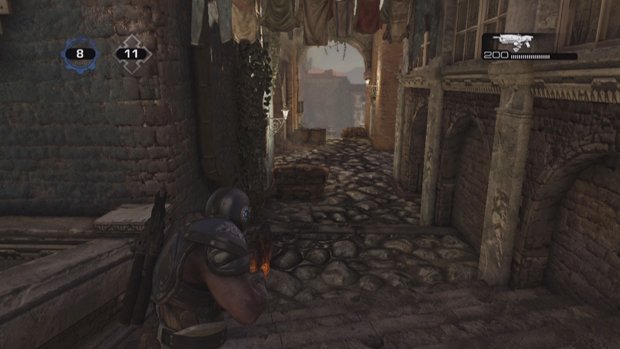
A Digger Launcher or Boomshot can be found in the alley to the north of the map. Scorchers are also located on both sides of the alley. This is typically a high traffic area, as both the Digger Launcher and Boomshot can give your team a serious advantage over the opposition. Grenade traps work well in the tight quarters of the alley, but watch your corners – shotgun battles are common in the narrow passageway. The alley is also an excellent choke point if you've got a Hammerburst or Lancer, as you'll want to prevent the other team from getting their hands on the power weapon located here.
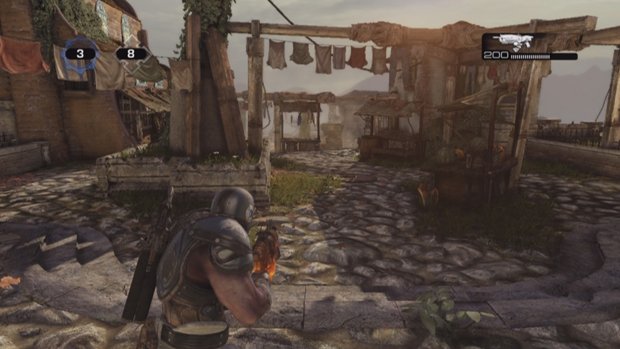
The market encompasses the central portion of the map. Here you can find a grenade spawn and plenty of waist-high cover. Players located in the alley to the north can shoot into the market by aiming through a low fence separating the two areas. Though it may be tempting to blow up every chicken and pumpkin in sight, sticking around the market for too long will make you an easy target.
The bell tower can be found in the southern area of the map. The Longshot and Torque Bow spawn here. Like the alley, this is a high traffic area – the four columns of the bell tower provide a lot of cover well-suited for shotgun surprises.
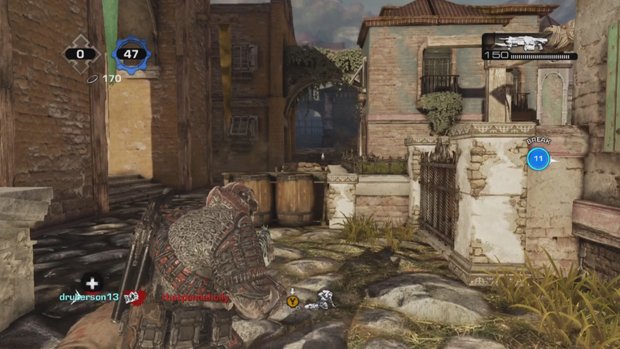
The stairway by the bell tower is another excellent choke point for keeping enemies at bay.
Trenches
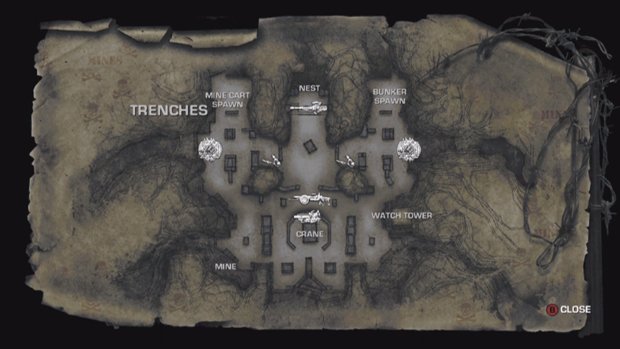
Spanning an old, dusty mining operation, Trenches provides plenty of long-range opportunities in the middle of the map while tightening things up on its sides. Players spawn from either the mine cart or bunker areas, which merge into a large, multi-tiered middle section. Boomshields can be found near either spawn and can be invaluable during king of the hill matches. Various types of grenades can be found in the bunkered area near each spawn as well. Periodically, a loud horn will sound, indicating an incoming sandstorm. When this occurs, equip your shotgun in case you bump into the other team. Activate your Tac/Com view as well – this sharply outlines objects and walls in the map, making it a bit easier for you to navigate when visibility is low.
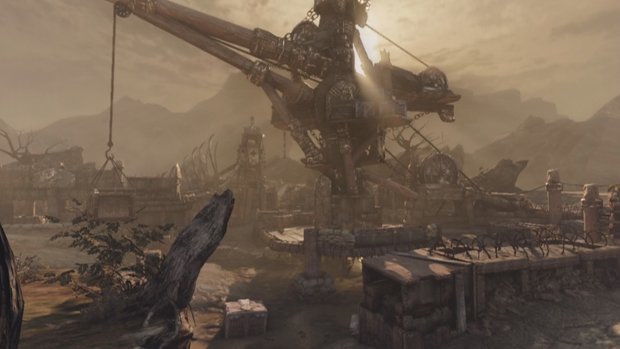
The crane area found in the middle of the map is where most of the action takes place. There's an upper level which houses the crane itself as well as a Mortar, while the lower levels surrounding the crane's platform lead to other sections of the map. A Scorcher or Digger Launcher can be found on the ground level just in front of the crane. Be sure to make use of the cover options available while in this portion of the map, as you can be flanked from either side.
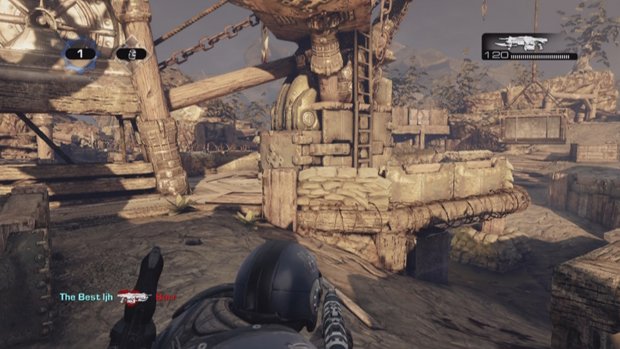
The central ramp near the crane leads up to the nest, the northern section in the center of the map. Here you will find the Oneshot sitting in a lovely sniper's perch. From this location, you can see a majority of the map, including the crane area, as well as the mine and the watch tower. This is a good location for suppressive fire even if you don't get your hands on the Oneshot, provided you bring a decent ranged weapon such as the Hammerburst or Lancer.
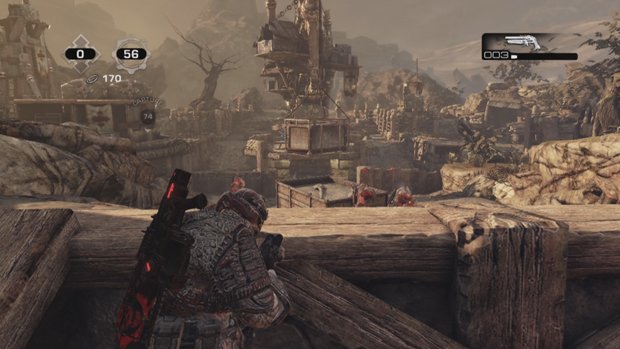
The mine area encompasses the southwestern end of the map. This is a good location for holding opponents from charging up the nearby ramp to the crane and flanking your team. Alternatively, you can also prevent enemies from using the crane as a flanking platform.
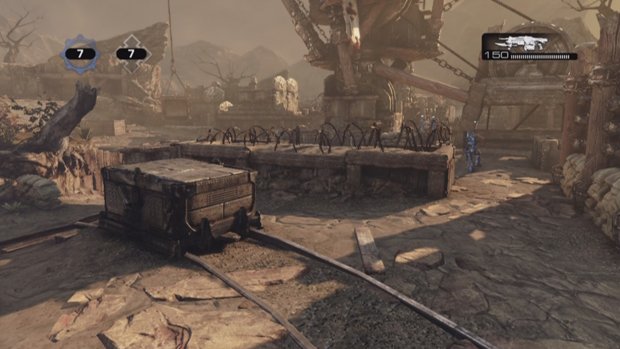
Similarly, the watch tower area on the eastern side of the map is almost a mirror image of the mine.
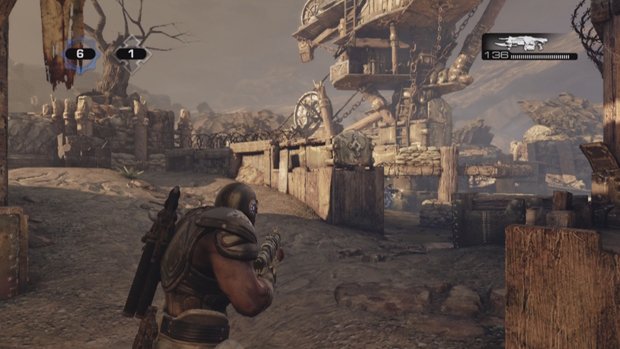
Depending on your team's location, either of these spots are ideal choke points for halting enemy advances.
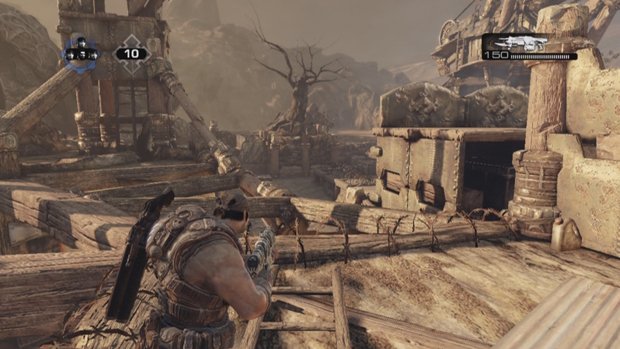
The ramps found near either spawning location (pictured above) are ideal for putting pressure on your enemies from a distance. When there's a battle raging in the center of the map, bring a Hammerburst along and punish your foes from a safe range.
Weekly digests, tales from the communities you love, and more
Ryan was once the Executive Editor of GamesRadar, before moving into the world of games development. He worked as a Brand Manager at EA, and then at Bethesda Softworks, before moving to 2K. He briefly went back to EA and is now the Director of Global Marketing Strategy at 2K.


