Gears of War 3 Beta Guide
Tyrannize GoW 3's beta battlegrounds with our detailed guide! UPDATED
Checkout
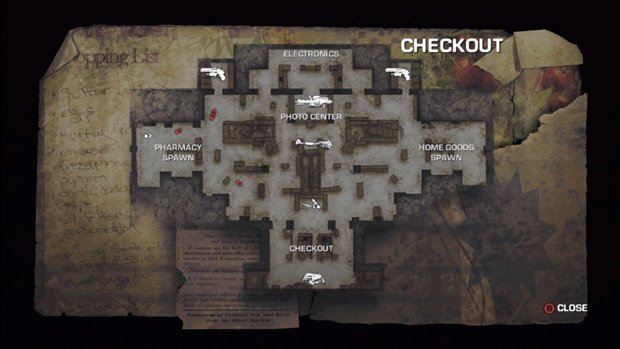
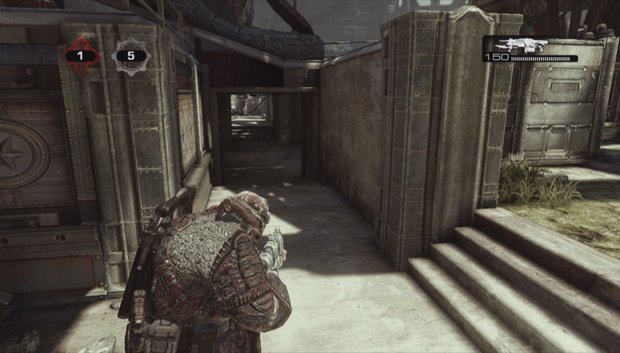
Checkout is a medium-sized map that takes place in bombed-out retail store full of overturned shelving and crumbling counters. Teams spawn in the pharmacy or home goods locations found on the west and east sides of the map, respectively. Due to the large amount of close and mid-ranged skirmishes found in this map, the Retro Lancer is quite effective when taking advantage of all the cover options available.
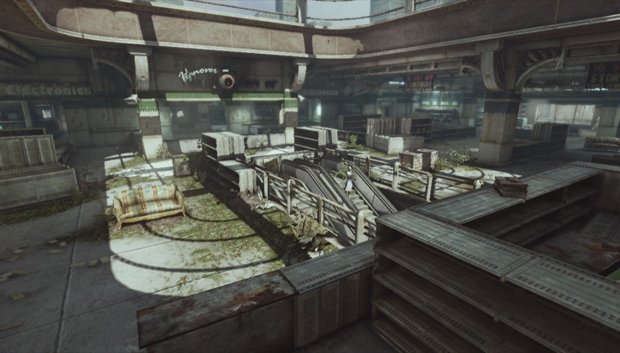
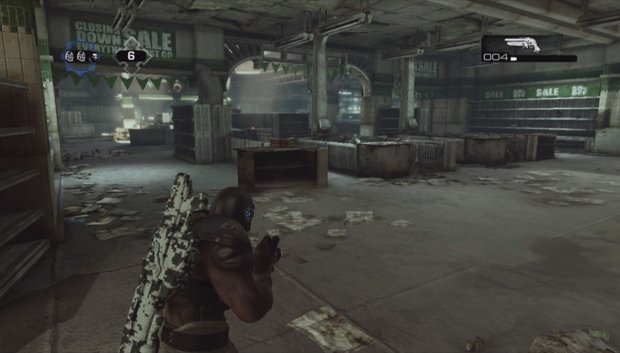
Once a round begins, players will often sprint to the checkout area in the map's southern portion to reach the Digger Launcher or Longshot that can be found there. When racing to beat your enemies to the weapon, don't forget to use your smoke grenade once you arrive – this can buy you the precious time needed to reach it before the competition. Grenades can be found atop a raised platform just north of the checkout area. This platform is a good location for picking off ranged targets with a Hammerburst or Lancer, but watch out for opponents who may try to flank you.
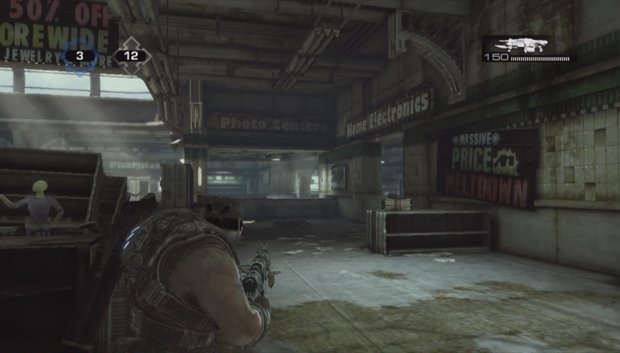
The opposite end of the map houses the toilets, electronics and photo center areas. The toilets contain either the Gorgon SMG or the Boltok. A Mulcher can be found inside the countered area of the photo center and is great for quickly reducing enemies to gory piles of shredded meat. Another grenade spawning location can be found just south of the photo center counter.
Thrashball
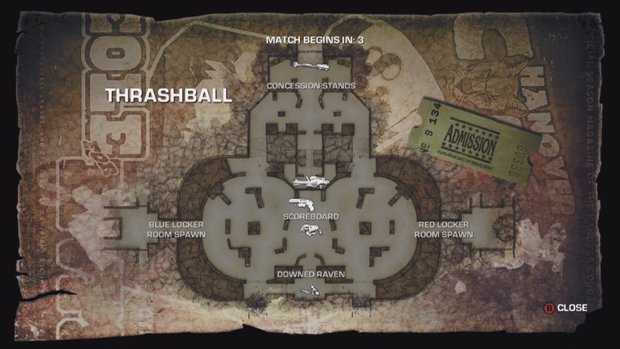
Thrashball is a large map with a lot of open ground spanning – you guessed it – a Thrashball field peppered with waist-high cover. Teams spawn in the locker room locations found on the east and west sides of the board. The Hammerburst and Lancer are particularly useful in this map, as long-ranged battles are common.
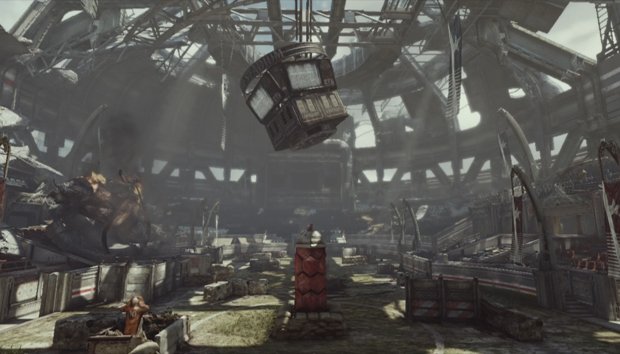
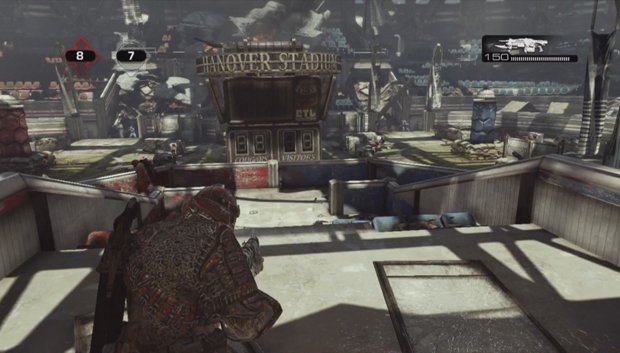
The concession stands to the north are ideal for picking off enemies from a distance – if you plan on heading up there, bring a decent ranged weapon, like the Hammerburst or Lancer. You can find either a Mulcher or Mortar on the annex extending from the south end of the concession stands, while grenades or the Gorgon SMG spawn inside the upper level of the stands. This is an ideal location for guarding the opposing team's captured meatshield in the Capture The Leader game mode, as the stairwells leading up to the the concession stands are excellent choke points.
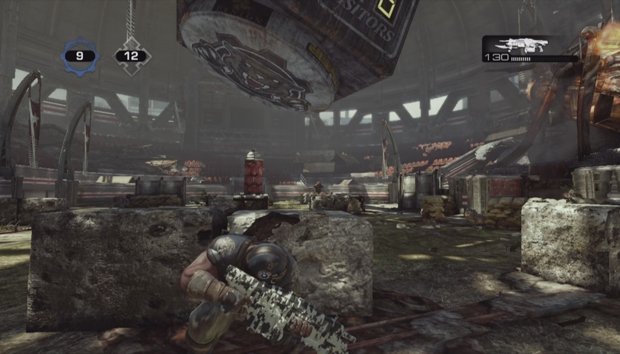
The scoreboard area in the middle of the field is where you'll find either a Digger Launcher or a Torque Bow. However, be wary of your surroundings as there is little cover to protect you from flanking opponents. Also note that if the scoreboard itself is shot down, the weapon found in this location will be unavailable for the remainder of the round. If you're after the central weapon, be sure to use your smoke grenade to stun nearby enemies and reduce their visibility to increase your chances of retrieving it.
The tunnels near the downed raven on the map's southern end is a great passageway for flanking the opposing team. Hidden from the view of every other location on the map, this is often a high-traffic area. Frag and Incendiary grenades can be found in the middle of the passageway – setting them as traps can quickly net you easy kills. Due to the close quarters of the hallway, it's a good idea to equip your shotgun while passing through, just in case.
Weekly digests, tales from the communities you love, and more
Ryan was once the Executive Editor of GamesRadar, before moving into the world of games development. He worked as a Brand Manager at EA, and then at Bethesda Softworks, before moving to 2K. He briefly went back to EA and is now the Director of Global Marketing Strategy at 2K.


