-
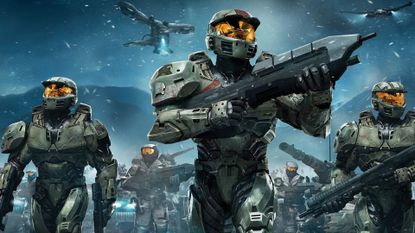
 NewsHalo MMO from OG Age of Empires and Halo Wars devs was canceled because a former Xbox boss wanted a bonus, says dev, despite Microsoft projecting it'd make $1 billion
 -
-
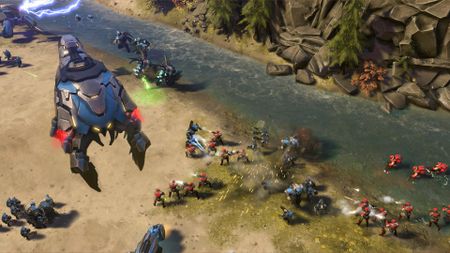
 NewsMaster Chief's absence from Halo Wars wasn't Bungie's fault, it was a move to make players "care about everybody else" in the RTS
 -
 InterviewHow Ensemble's final game went from skunkworks experiment to part of Microsoft's biggest series
 -
 Features6 great RTS games on console
 -
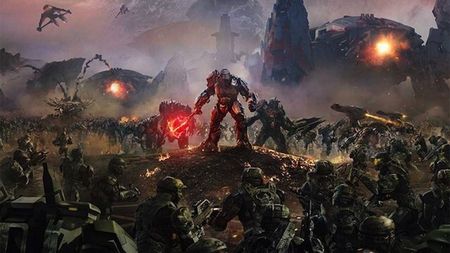
 Xbox NewsMeet Atriox, leader of Halo Wars 2 enemy faction The Banished - he doesn't like you
 -
 FeaturesHalo Wars 2 is not 'Total War: Halo,' but it's still an improvement
 -
 NewsHalo Wars 2 open beta planned for June 13-20 according to Xbox Store
 -
 NewsLet's see what we can glean from this allegedly leaked Halo Wars 2 art
 -
 NewsPlay Halo Wars, Soul Calibur 2 HD, and King of Fighters '98 on Xbox One
 -
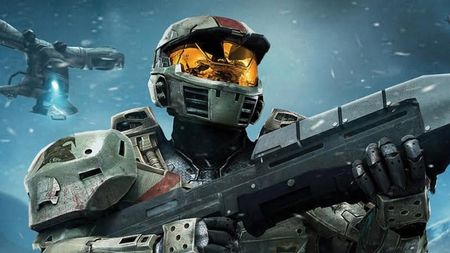
 FeaturesLove it or hate it, gaming wouldn't be the same without Halo
 -
 HaloLeaving out publishers is great for games, Ensemble founder says
 -
 Halo343 Industries hints at Halo's future, denies plans for spin-offs
 -
 HaloSay goodbye to Halo Wars ranked multiplayer support on December 15
 -
 Halo6 things the Halo mystery could be
 -
 HaloWin! Xbox 360 Elite, Halo Legends, more...
 -
 HaloExpanding the Halo universe
 -
 FPSTalkRadar UK #19: End of year Xbox 360 special
 -
 HaloThe best of HaloRadar
 -
 ActionVideo game villains who got away with it
 -
 HaloHalo Wars: Guide to Skulls and Black Boxes
-


