-
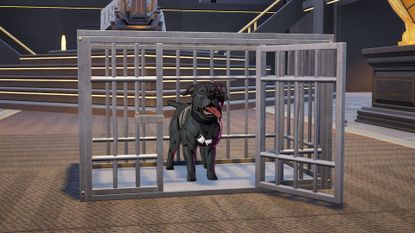 GuideHow to rescue or pet John Wick's dog in Fortnite
 -
-
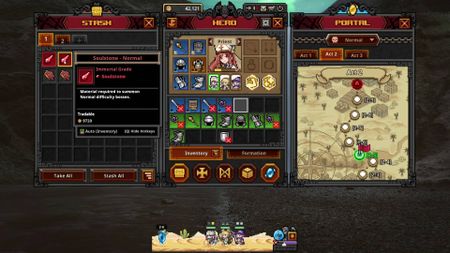 GuideHow to get and farm Soulstones in Task Bar Hero
 -
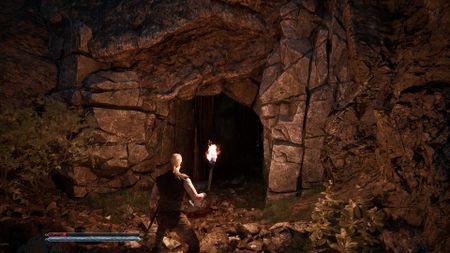 GuideHow to put out a torch in Gothic Remake
 -
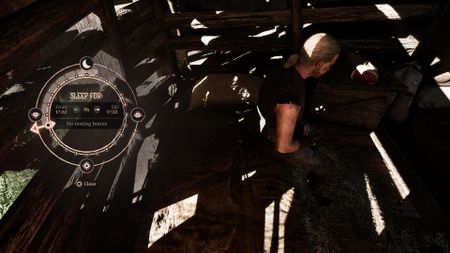 GuideHow to get a bed to sleep in the Gothic 1 Remake
 -
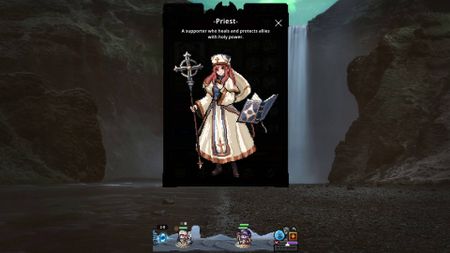 GuideBest Task Bar Hero characters and tier list
 -
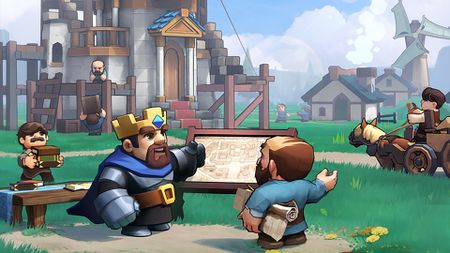 GuideKingshot codes (June 2026) for free Gems, Hero XP, Resources, and more
 -
 GuideWhiteout Survival codes (June 2026) for free resources including Gems, Hero XP, Resources, and more
 -
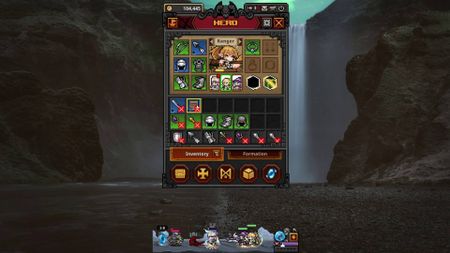 GuideBest Task Bar Hero builds and formations for the early-game
 -
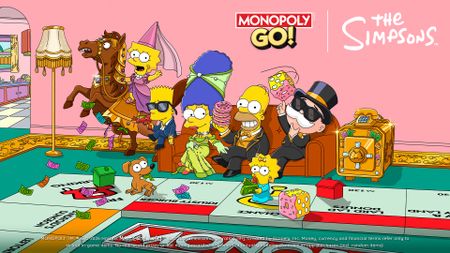 GuideAll free Monopoly Go dice links (June 2026) for free dice and more
 -
 GuideSword x Staff codes (June 2026) and how to redeem them for lots of free resources
-


