Destiny 2 Shattered Throne guide
Tips for beating every encounter, plus a handy map for the opening labyrinth

Shattered Throne was one of the best and biggest surprises in Destiny 2: Forsaken. It's a three-man encounter sitting somewhere between a raid and a Strike in terms of difficulty, and to this day there's really nothing else like it. It's got stunning environments, unique mechanics, and it's a good source of powerful loot - at least, it is when it's available every three weeks. There's a lot to like about it, and there's also a lot to work through. With that in mind, here's how to beat the Destiny 2 Shattered Throne.
Before anything, let's go over how to get to this dungeon. Move like you're going to the Oracle in the Dreaming City - head straight from the landing zone and follow the left wall - and take the leftmost bridge right before the large chapel-like building. You'll see a winding path leading down to your right. Follow this path until you reach a portal. Go through it and follow the linear path ahead until you see a room with a huge black portal in the back. That's your ticket to the Destiny 2 Shattered Throne. Follow this GIF if you need a reminder:
The Labyrinth

When you load into Shattered Throne, you'll come to a large cathedral-like building with a symbol of a diving bird on the back wall. Once you clear out all the enemies inside, including the yellow-bar miniboss, a lit symbol will appear in the middle of the room. This symbol tells you which cathedral you need to go next. You have to clear out all seven cathedrals seen on the map above to beat the encounter.
You will always start at the diving bird cathedral but the rest of the order is random, which is why we prepared a simple map showing how the cathedrals connect. Go to the cathedral indicated by the last symbol you saw, kill the miniboss inside, then look for the next symbol. Do this seven times until you wind up back at the diving bird cathedral. Kill the final miniboss inside and you'll get some loot.
The Descent

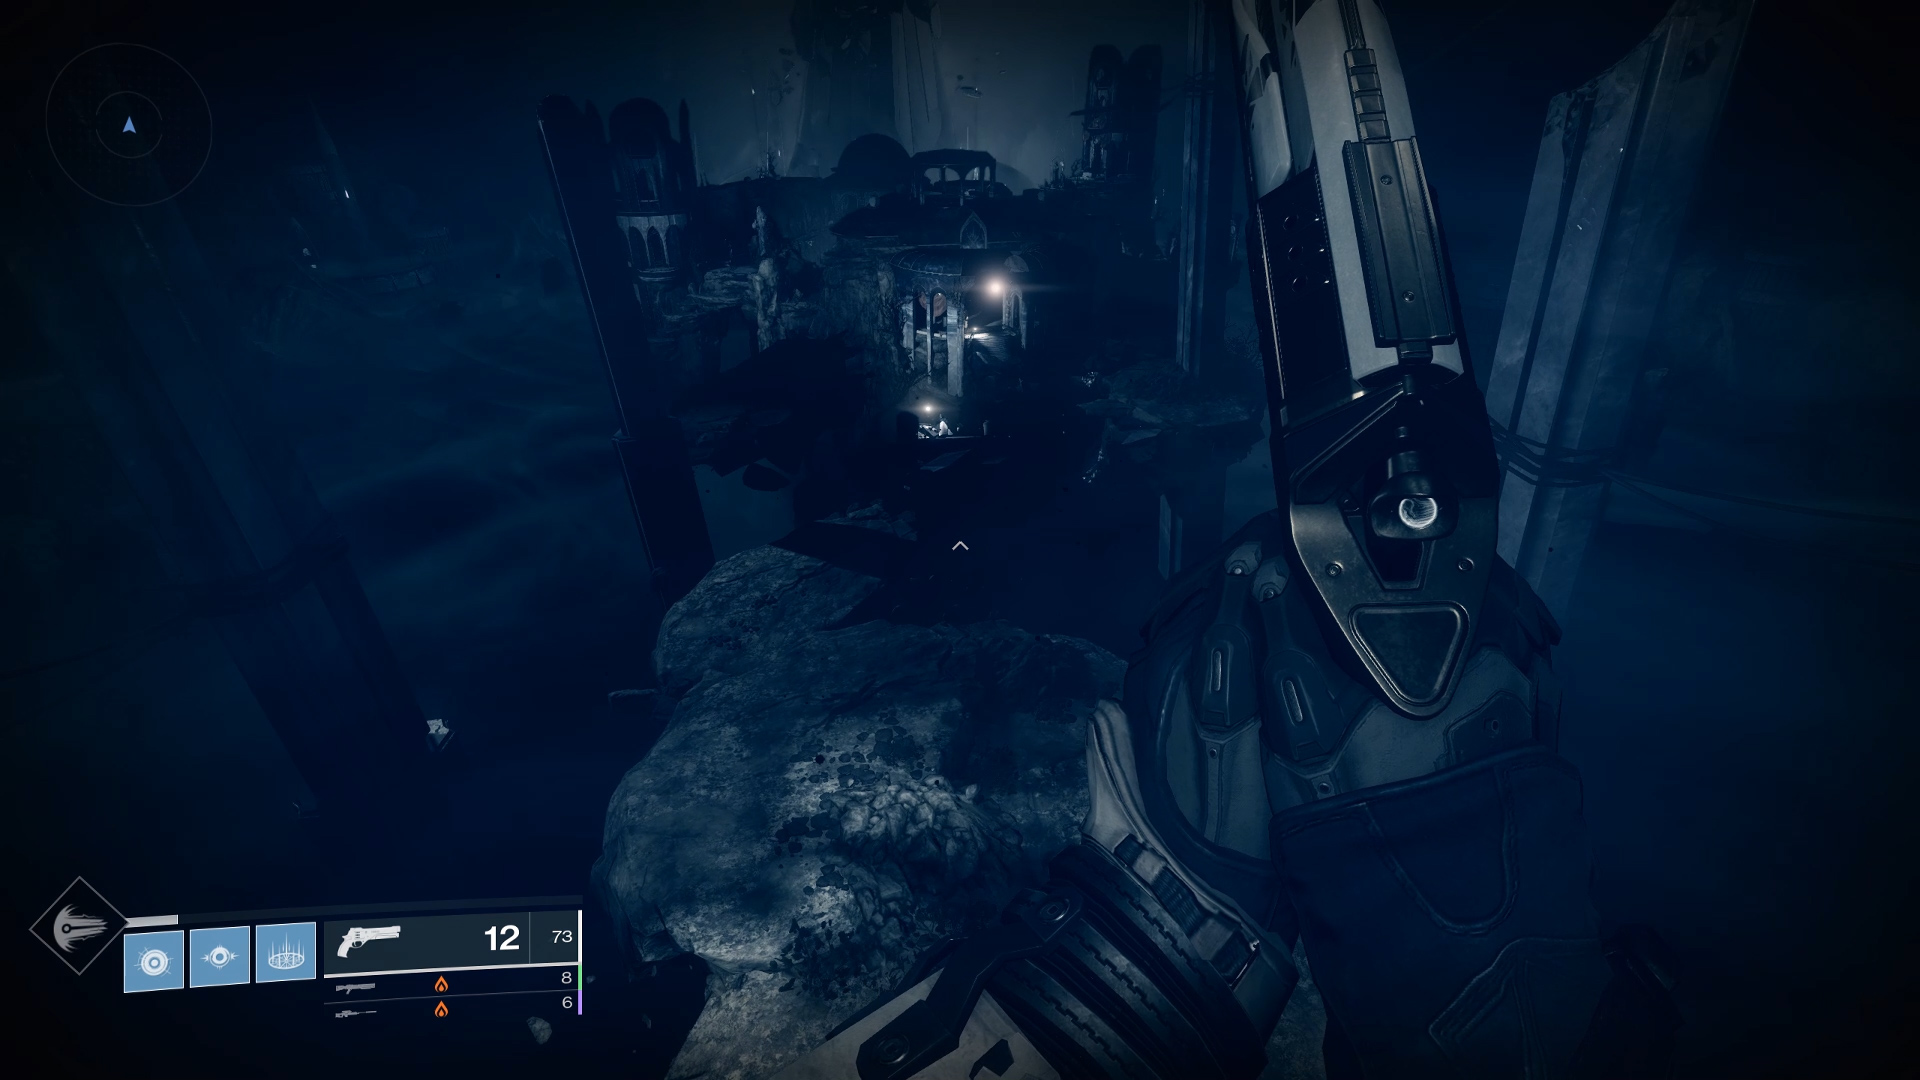
The next stage of the Destiny 2 Shattered Throne is a proper hike. Drop down the hole in the final cathedral and then follow the halls until you reach a big open area filled with Taken. Drop down to the bottom and then head upward. You'll come to a large chamber with snipers along the walls and a broken bridge running through it. Kill the snipers from the doorway, then move along the edge of the room until you can reach the bridge. Jump to it, clear out the rest of the enemies, then take the left stairs.
The next room is filled with thin paths, and as you move along them, Taken Ogres will spawn to knock you off. Retreat whenever they spawn in and safely snipe them from a distance. Make your way to the doorway in the back and you'll come to a shiny barrier. Inside this next area, you'll be suppressed, meaning you won't regen health and you can't run or double-jump. There are a bunch of Shadow Thrall inside, and the goal is to make it to the end of the hall before they kill you. You can work around the suppression aura by using abilities and weapons that recover health, making Warlock rifts and wells incredibly valuable for this area. Just keep moving and shooting, stop to recover when you need to do, and follow the left wall to the exit. You'll come to another open area with a Phalanx-guarded Cathedral in the distance. Make your way over to it and prepare for the first boss.
Vorgeth, the Boundless Hunger
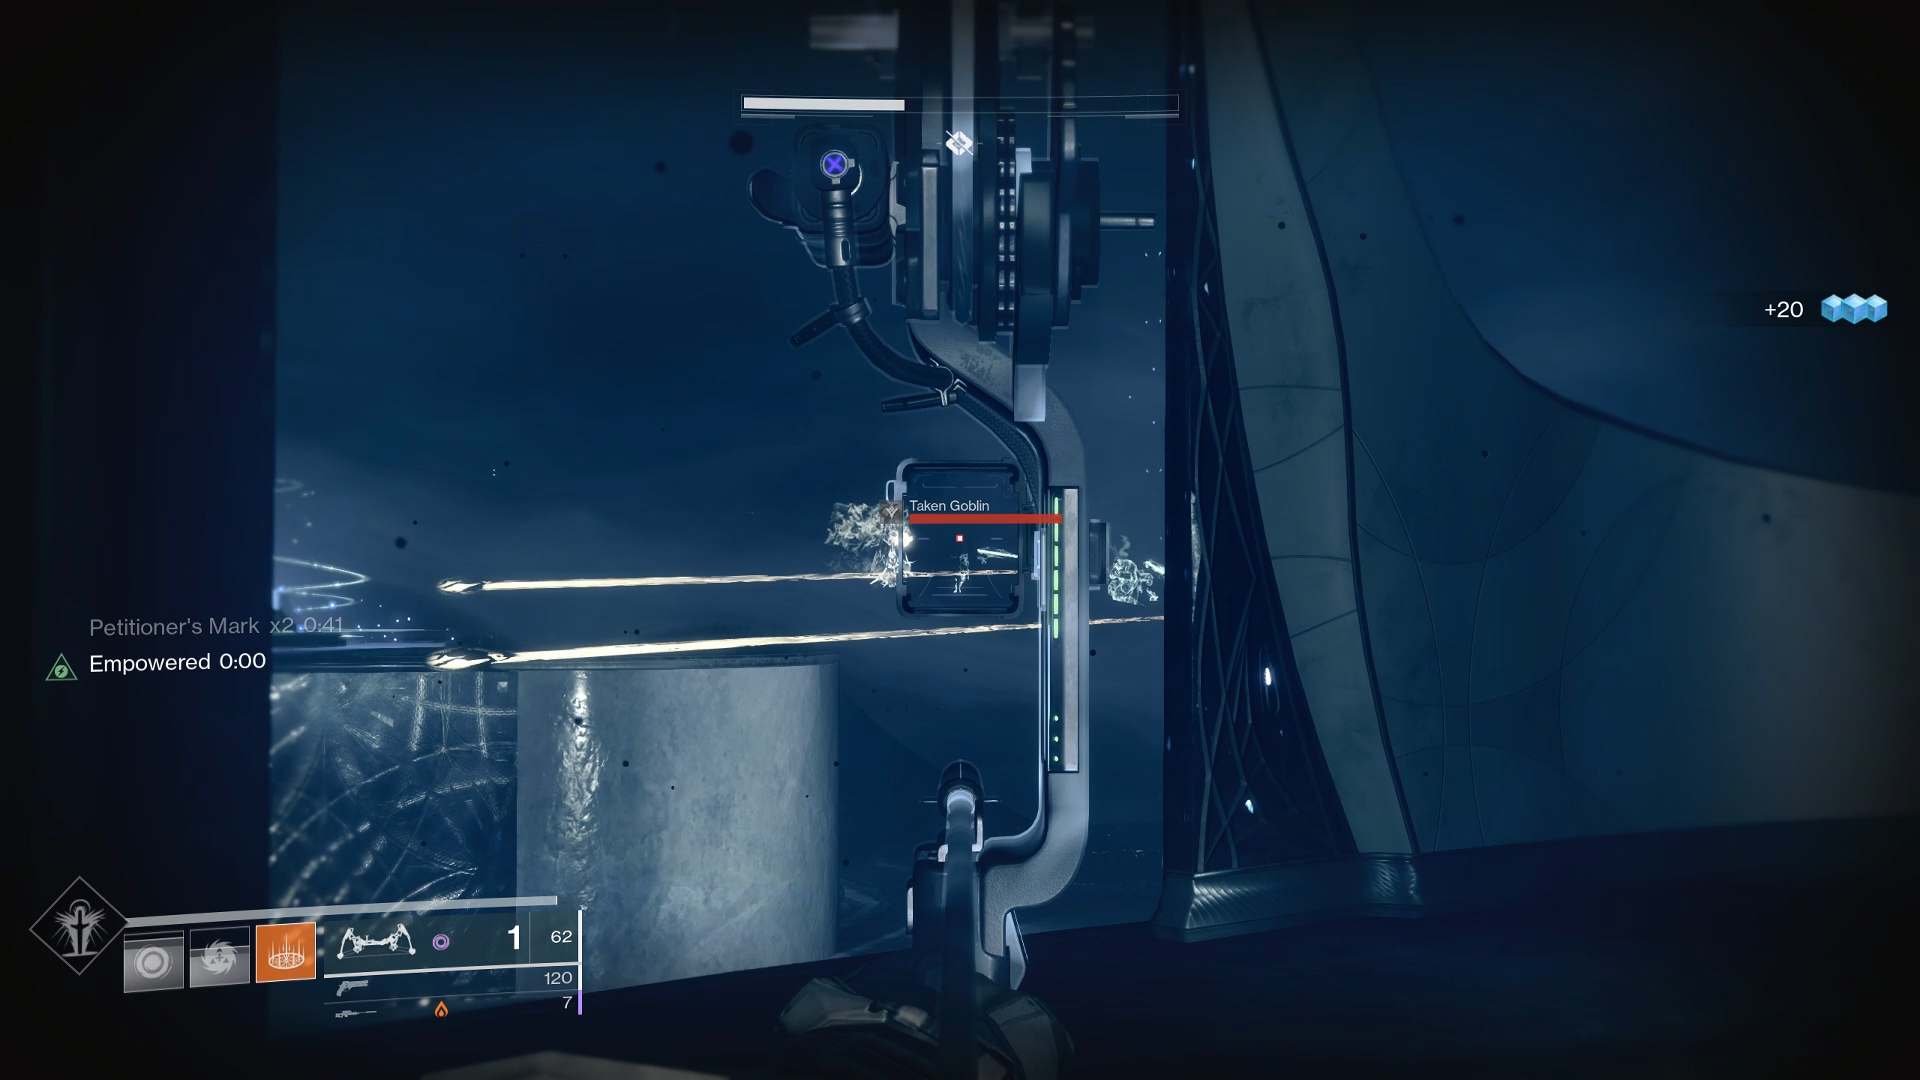
Vorgeth, the Boundless Hunger is the first proper boss in the Destiny 2 Shattered Throne. He's a big ol' Taken Ogre with a special shield. To lower his shield and damage him, you need to extinguish one of the four lanterns in the arena. To do that, you'll need to collect four orbs which provide a buff called Petitioner's Mark. These orbs are dropped by the Taken Wizards along the walls of the arena, so you'll need to kill four of them, collect their orbs, then dunk one of the lanterns. You need to do this without dying, because you lose all your Petitioner stacks on death. You also need to get all four orbs relatively quickly, because if you don't refresh your Petitioner buff within 45 seconds, you'll die.
This is a pretty hard fight, but once you figure out how it flows, it's perfectly doable. When you first drop down, take cover using the pillar to the right. This will protect you from Vorgeth's eye beam while you deal with the first Wizard. Start with the Wizard to your left and work counter-clockwise. Each Wizard is protected by two Taken Vandals and two Taken Goblins. Kill them before going after the Wizards, otherwise their shielding abilities will mess things up. Bring a good void weapon to deal with the Wizards. If you're soloing, I recommend using a void bow for its superb ammo economy.

When you pick up a Petitioner's orb, you'll refresh the timer on your buff. However, you don't need to pick them up the second they drop. The orbs will only despawn after 15 seconds or so, and you can use that time to work on the Vandals and Goblins surrounding the next Wizard. Basically, you want to pace your orb pickups to give yourself as much time as possible to work on the Wizards.
Once you get four orbs, dunk the closest lantern and group up for DPS. During this phase, Vorgeth will shoot shadow orbs at you which deal heavy damage, so shoot of them out of the air before they reach you. Whisper of the Worm works wonders here, but with any good heavy weapons and coordinated supers, you should be able to kill Vorgeth in one round. If you don't, just restart the cycle of killing Wizards and collecting orbs. When Vorgeth dies, you'll get your loot.
Dul Incaru, the Eternal Return
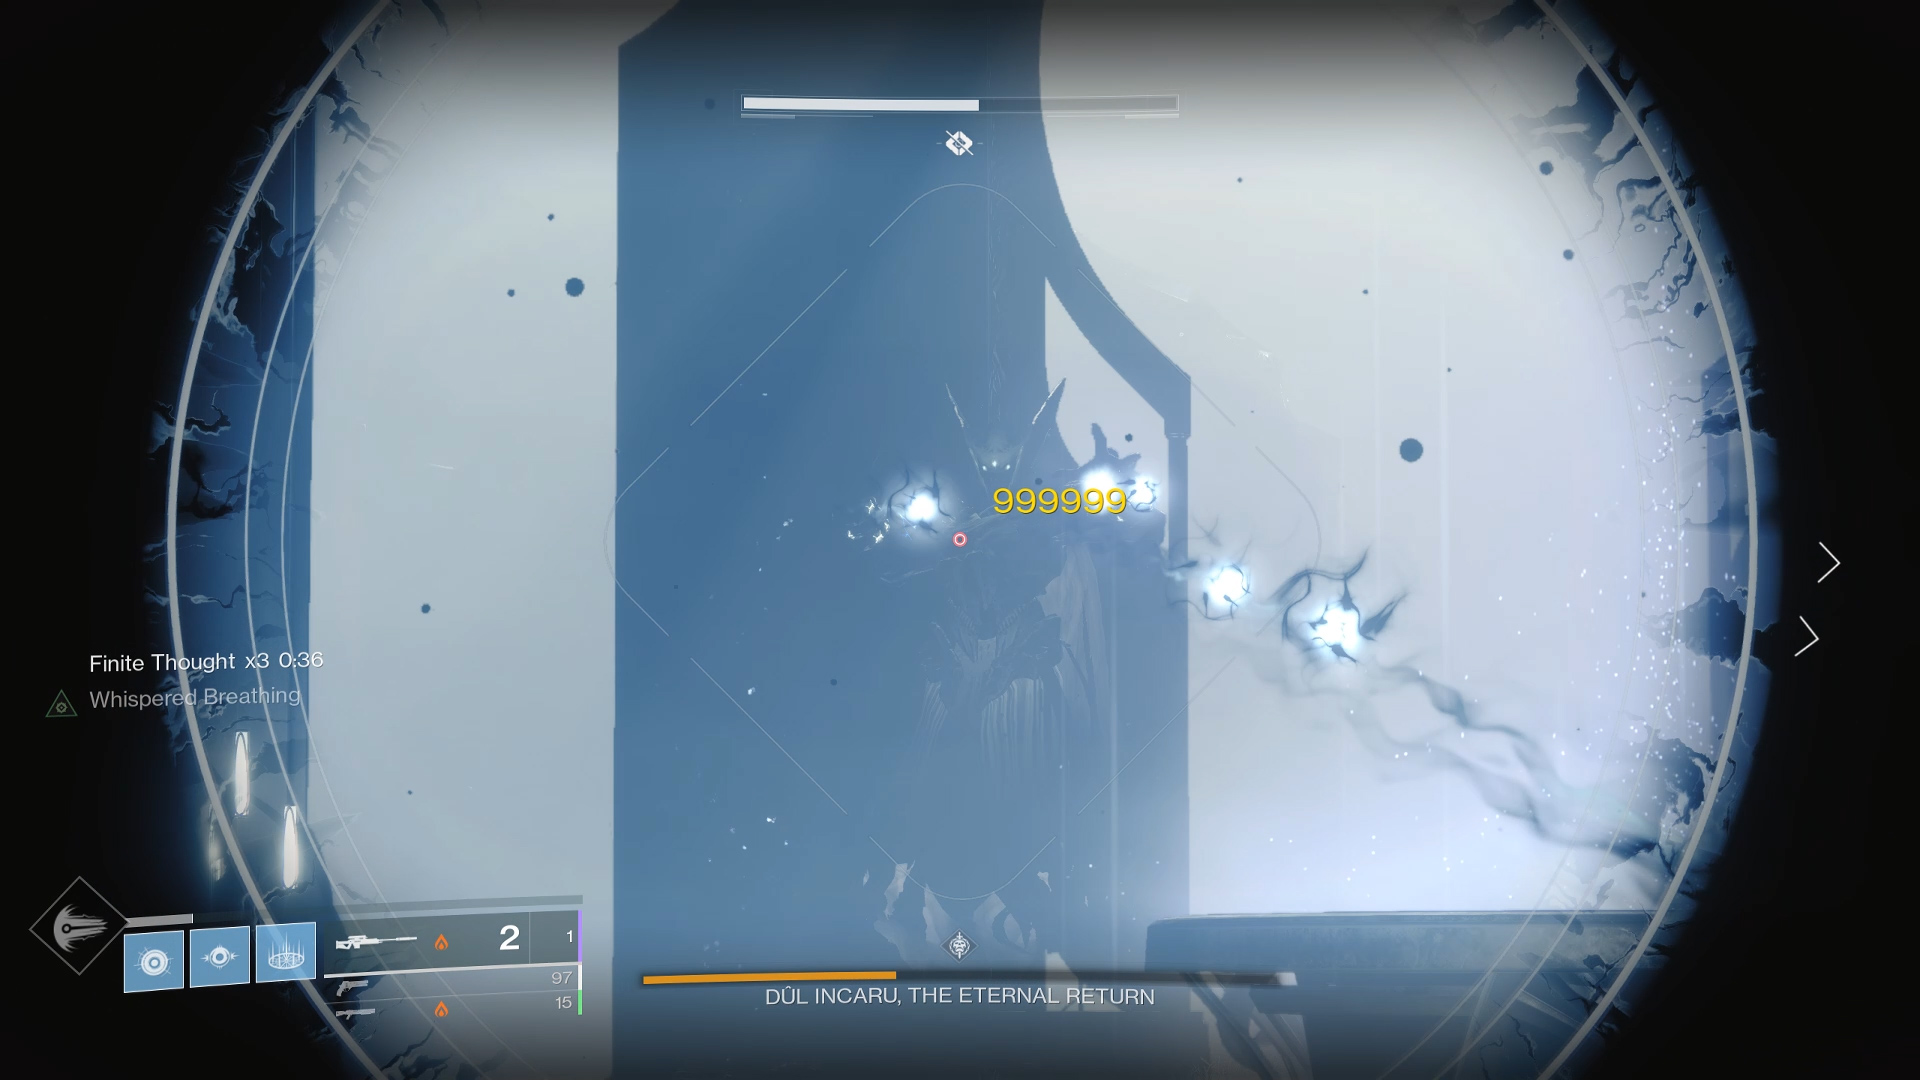
After you kill Vorgeth, you'll need to go through another platforming section. Luckily, the path forward is linear and obvious. Follow the enemies, take the lifts upward, and avoid the Taken bumpers along the walls. Eventually, you'll come to the final boss of the Shattered Throne: Dul Incaru, the Eternal Return - who, as it happens, is much easier than Vorgeth. Here's how this fight works.
There are three Abyssal Champions in Dul's chamber. Like Vorgeth's Wizards, these Champions drop orbs that give a buff you need to kill Dul. The goal is to kill the Champions, get the buff, and DPS Dul. That's pretty much it.
When the fight starts, move to a side alcove to hide from Dul's blasts. The arena is tiny, so fighting the Champions can be awkward, especially with Taken Psions running around. Deal with the Psions as they spawn in - Nightstalker Hunters are great here - and jump over the Champions to reposition if they get too close. Try to kill all three Champions around the same time, or at the very least, try not to pick up their orbs until all three are dead. The orbs will despawn eventually, but the buff they give is also on a timer, so again it's all about hitting that sweet spot. The more orbs you get at once, the more damage you'll deal to Dul.

Whisper of the Worm is king here, but machine guns, Trench Barrel shotguns, and high-DPS supers like Blade Barrage and Chaos Reach will also put in work. If you don't kill Dul in one DPS cycle, cleanse your buff by jumping over the glowing dais in the middle of the room. There's also one more thing to watch for: if you take too long killing the Champions, Dul will summon a crystal in one of the four alcoves of the arena. You can't damage the Champions while this crystal is up, so breaking it should be a priority.
You'll get a huge damage boost from the buff, so as long as you get two or three orbs, Dul Incaru should go down quick. Congratulations! Enjoy your loot.
Weekly digests, tales from the communities you love, and more

Austin has been a game journalist for 12 years, having freelanced for the likes of PC Gamer, Eurogamer, IGN, Sports Illustrated, and more while finishing his journalism degree. He's been with GamesRadar+ since 2019. They've yet to realize his position is a cover for his career-spanning Destiny column, and he's kept the ruse going with a lot of news and the occasional feature, all while playing as many roguelikes as possible.


