Destiny 2 Drifter Allegiance quest guide: How to complete the Drifter's quest
Where to find all of the Drifter's hidden messages and complete his half of the Allegiance quest
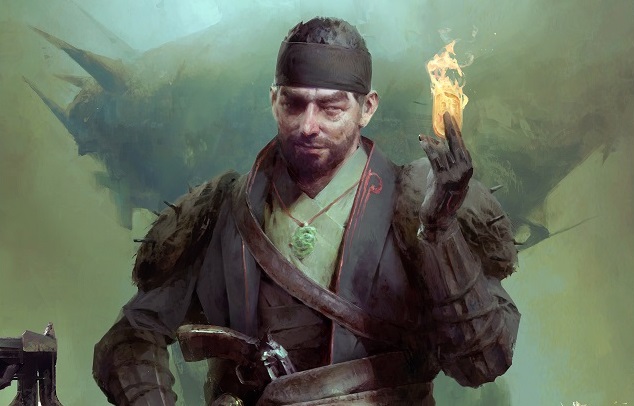
If you missed the Destiny 2 Drifter Allegiance quest back in the Joker's Wild days, there's still time to pledge your trust to the Gambit ringleader. This is one of the more unique quest lines in Destiny 2 in that it permanently affects how some NPCs interact with you. The Drifter will treat you like an old buddy if you opt for his quest, and assuming Bungie hasn't totally abandoned this point, this choice may affect other quests in the future. Choose wisely, because you can't redo the quest, though you can choose differently on alternate characters.
Head here to see the Destiny 2 Vanguard Allegiance quest side of things.
Destiny 2 Season of the Drifter | Destiny 2 Thorn | How to get Gambit Prime armor | Destiny 2 Gambit tips | Destiny 2 Invitations of the Nine | Destiny 2 The Reckoning
How to start the Destiny 2 Drifter Allegiance quest
To start the Drifter Allegiance quest, visit the Drifter at his new home in the Tower. If you haven't already completed the introductory quests for Gambit Prime - finish a bounty, wager a mote in The Reckoning, etc. - you'll need to do those first. After that, the Drifter will present you with two medallions prompting you to "Stand with the Drifter" or "Stand with the Vanguard." Naturally, you'll want to select the Drifter's medallion for this, not the Vanguard's.
Once your choice is made, the Drifter will thank you for your display of loyalty and tell you to visit Spider, the Fallen merchant in the Tangled Shore. Spider will ask you to buy a strange item off him for a whopping 50,000 Glimmer, so be sure your wallet is full before you visit him. You may also notice that he's selling a counterfeit Gjallarhorn rocket launcher - if only we could buy it.
Complete the Thief of Thieves Adventure
Now that your wallet is 50,000 Glimmer lighter, you'll need to complete a 650 Power version of the Thief of Thieves Adventure on Titan. This Adventure can easily be found on your map, and it plays out exactly like the normal version: kill some Fallen supply thieves, track down a busted transmat beacon, kill another Fallen thief, then defend the beacon from a few waves of Fallen.
Get 25 kills in the Crucible
After the Adventure, the Drifter will tell you to raise some hell in the Crucible by killing 25 Guardians. So, put on your favorite PvP loadout and start shooting. It doesn't matter what playlist you run or what gear you use, just that you're racking up kills.
Bank 50 motes in Gambit
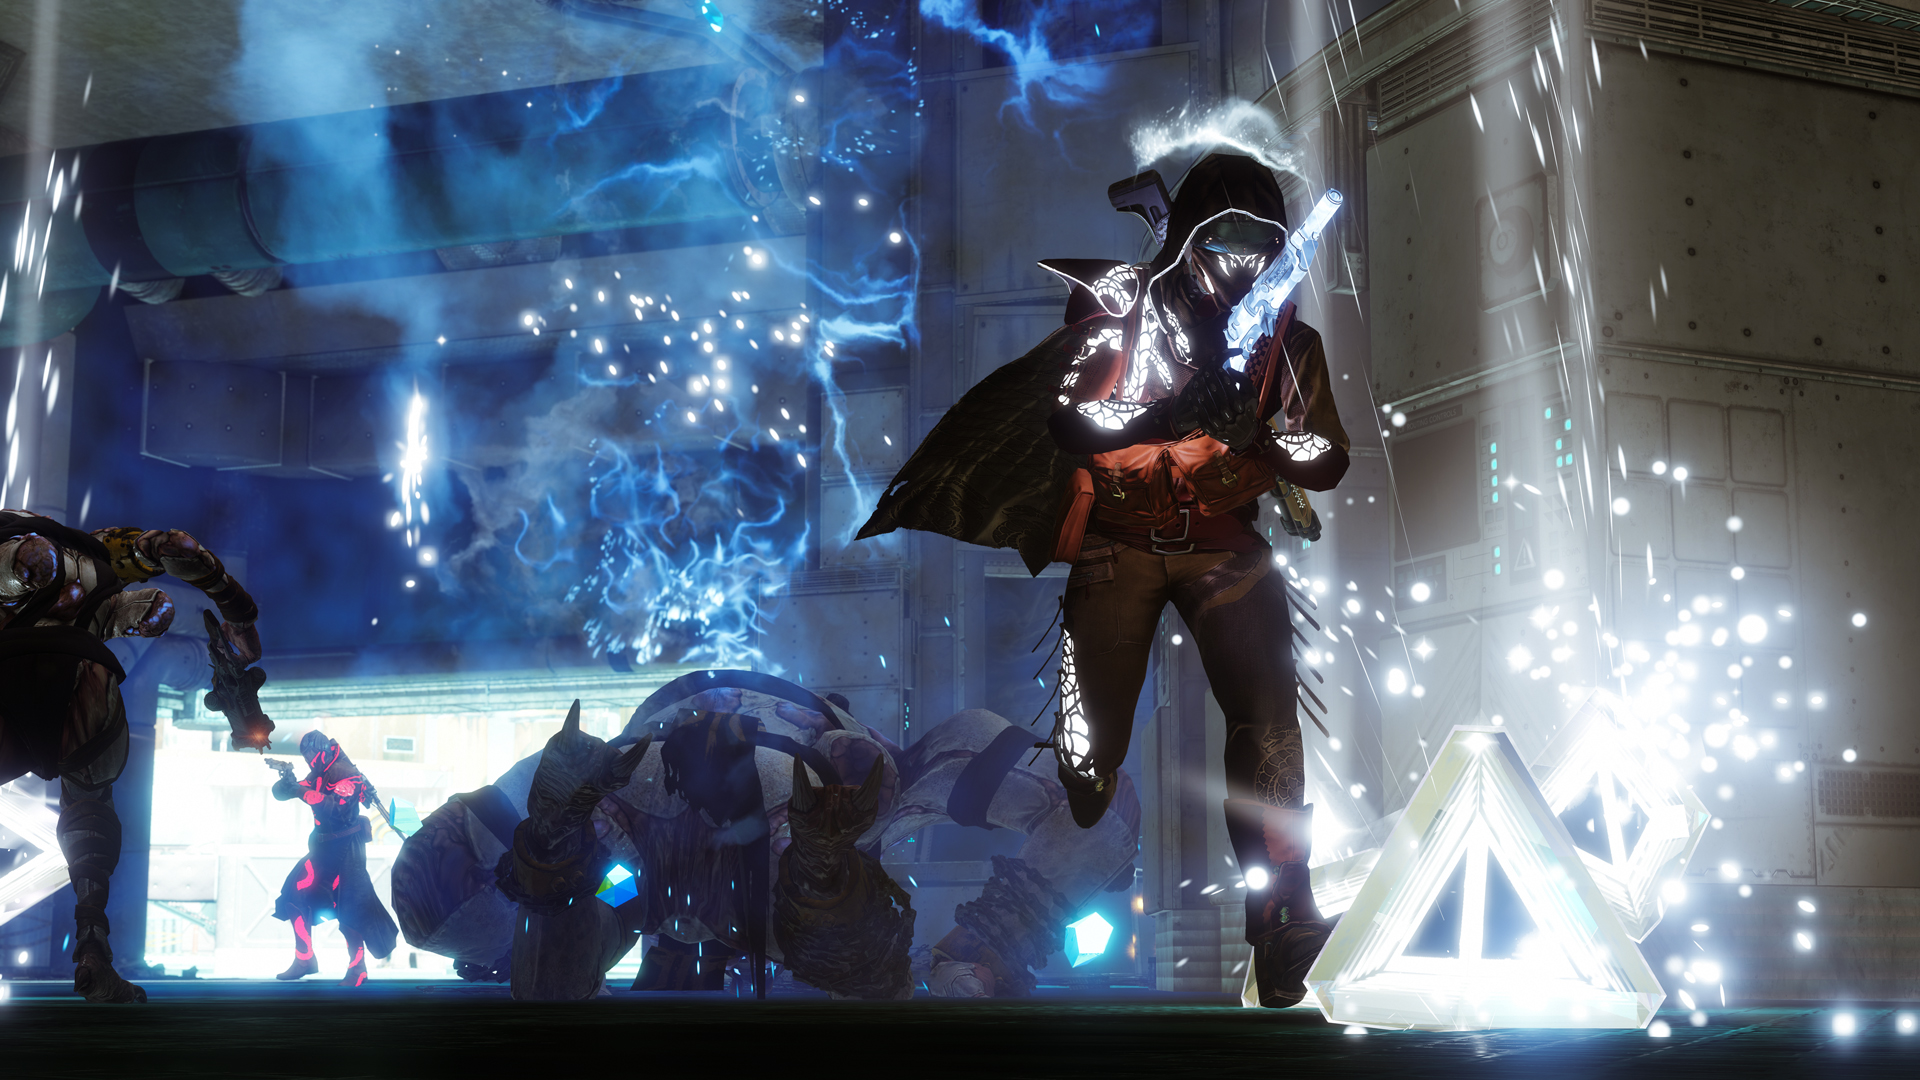
It wouldn't be a Drifter quest without a little Gambit, so once you've killed some Guardians, you'll need to bank 50 motes in Gambit or Gambit Prime. I recommend running Gambit Prime for this step, as it features more challenging enemies who drop more motes, including high-value targets that make it easy to accumulate large quantities of motes at once. Gambit Prime also features a higher mote cap and shorter matches than normal Gambit, so you should be able to knock out 50 motes in one or two games. If you have it, you can also use Collector armor to make grabbing motes easier. That said, normal Gambit will work just fine, so play whatever you prefer.
Gather fuel and rations by defeating Cabal and Vex Strike bosses
With Crucible and Gambit out of the way, it's time to polish things off with some Strikes. You'll need to kill two Cabal Strike bosses and two Vex Strike bosses in order to gather fuel and rations. If you play the Heroic Strike playlist, you risk running into Hive or Fallen bosses, so it's more efficient to play specific Strikes by selecting them from planets. For Cabal boss kills, I recommend the Arms Dealer Strike in the EDZ. For Vex boss kills, go with The Inverted Spire Strike on Nessus. Both are relatively short Strikes with easily meltable bosses, so they're ideal for speed-running. Blitz through both of them twice and you'll have your materials.
Visit the Derelict and find the Drifter's first hidden message
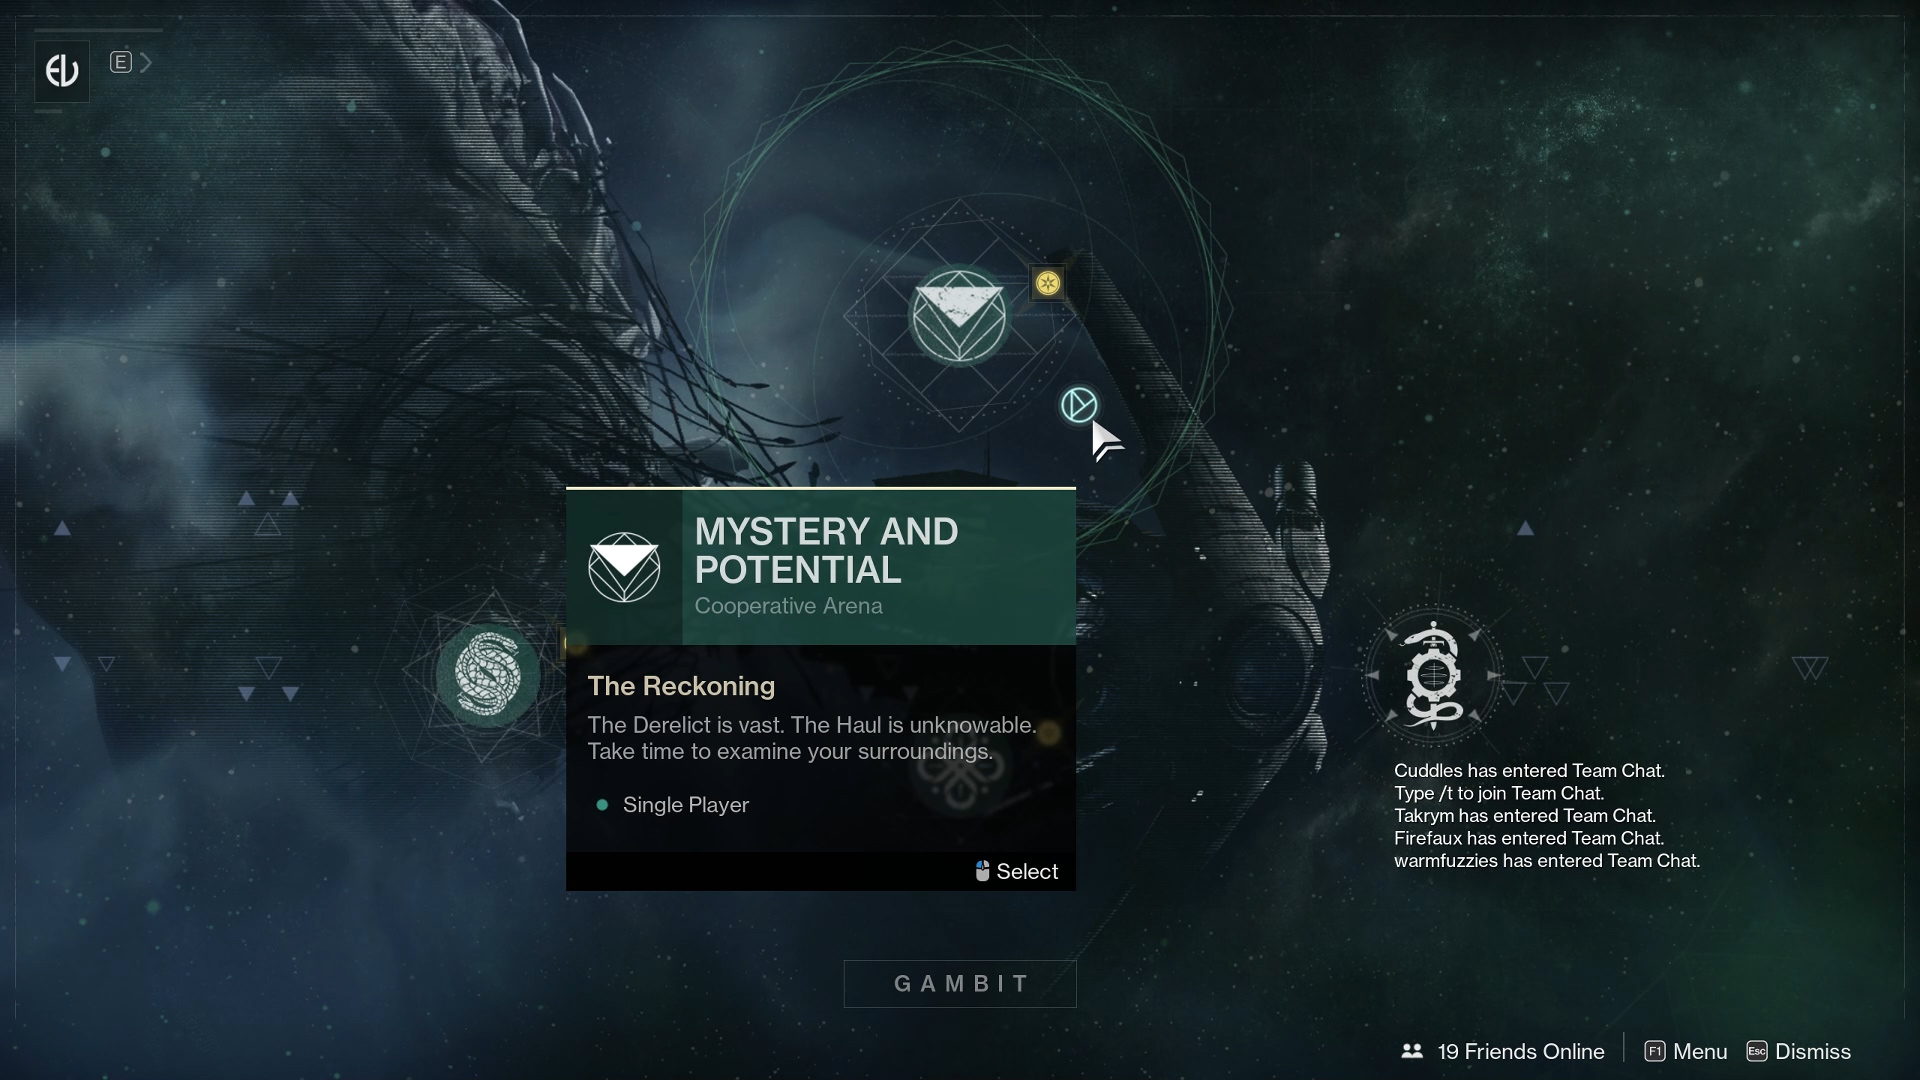
Now that you've stocked up, the Drifter will invite you onto the Derelict, his scrapheap of a ship. Load into this special space by selecting the small "Mystery and Potential" icon below The Reckoning in the Gambit activity directory. You'll load into the Gambit staging area but you'll be free to roam around this time, so look to the back of the ship - opposite the Reckoning portal - and head down the alcove to the left. Follow the linear path until you reach the Drifter's den, where you'll find the first of eight hidden messages.
Drifter hidden message locations
Visit the Drifter in the Tower and he'll tell you to find the rest of his messages, all seven of which are hidden around the EDZ. This is one of the lengthiest steps in the Destiny 2 Drifter Allegiance quest, but if you know where you're going, it doesn't take all that long. That being said, here are a few GIFs showing the locations of all the remaining hidden messages.
Trostland hidden message:
From the Trostland landing zone, look for a doorway near a pile of rubble off to the left. Go inside and look for a computer hidden in the dark on the right.
Skydock 4 hidden message:
The Skydock 4 Lost Sector is at the heart of the Cabal ship in the Sunken Isles. From the landing zone, head under the ship and drop down the central tunnel. Follow the path right, drop down again, and move up until you reach the Lost Sector boss room. The terminal is right up front.
Flooded Chasm hidden message:
Land at the Gulch and head east. The Flooded Chasm Lost Sector will be on the far right wall below an overpass. Follow the path until you come to a cave full of Cabal and Fallen, and look for a Fallen terminal in the middle of the cave near a Cabal drop pod.
Soujourner's Camp hidden message:
From the Trostland landing zone, head west toward the Outskirts and keep going south past the bridge. The Soujourner's Camp is on the way to the Bergusia Forge from Black Armory, if that helps.
Excavation Site 12 hidden message:
The Excavation Site 12 Lost Sector is located on the far right wall of the Firebase Hades area. Hug the right wall of the area and you'll come to a cave full of Cabal. Follow the path deeper and look for a terminal behind the loot chest at the end of the Lost Sector.
Winding Cove hidden message:
Set down at the Winding Cove landing zone and the terminal will be right in front of you on top of a rock.
Scavenger's Den hidden message:
The Scavenger's Den Lost Sector is on the right side of the Outskirts by a sewer tunnel. Follow the linear path until you reach an open cave, then look for a large crate with a purple tarp over it. The terminal will be on your left.
Welcome to the crew
Once you nab the last message, return to the Drifter and he'll reward you with a Crew Loyalty Package containing a medley of Gambit Prime synths and Gambit gear. You're a proper Dredgen now, so be on the lookout for more tasks and updates from the Drifter as Joker's Wild unfolds. You'll also receive a weekly care package containing more synths and powerful Gambit gear, so be sure to collect.
Weekly digests, tales from the communities you love, and more

Austin has been a game journalist for 12 years, having freelanced for the likes of PC Gamer, Eurogamer, IGN, Sports Illustrated, and more while finishing his journalism degree. He's been with GamesRadar+ since 2019. They've yet to realize his position is a cover for his career-spanning Destiny column, and he's kept the ruse going with a lot of news and the occasional feature, all while playing as many roguelikes as possible.
