-
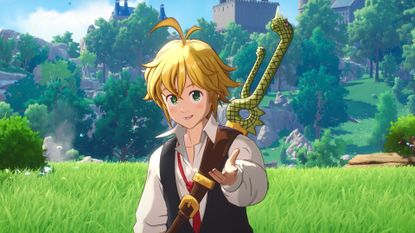 GuideThe Seven Deadly Sins Origin codes (June 2026) and how to redeem them for Draw Tickets, Gold, and more
 -
-
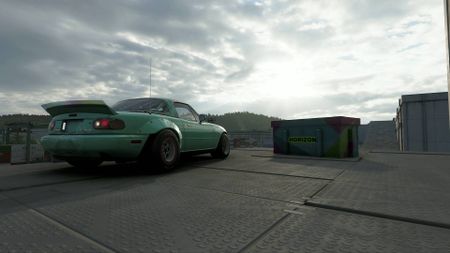
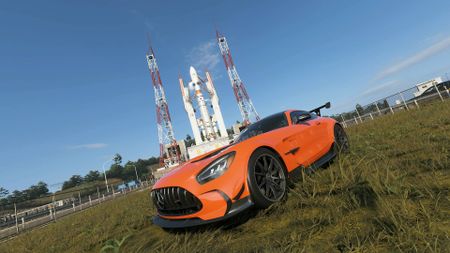 GuideForza Horizon 6 Space Port and Track Toy Photo Challenge
 -
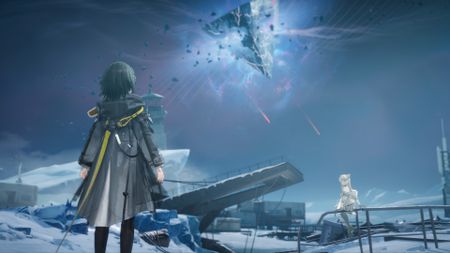
 GuideNeverness to Everness codes (June 2026) and how to redeem them for Annulith, Beetle Coins, and more
 -
 GuideK2 Climbing Simulation codes (June 2026) and how to redeem them for free Points
 -
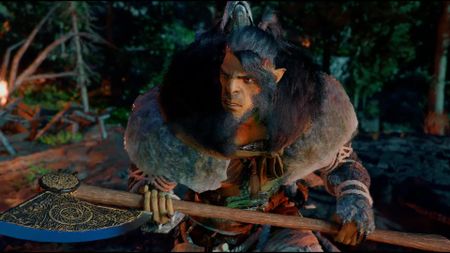 GuideHow to unlock all Characters in Crimson Desert
 -
 GuideWhere to find the Forza Horizon 6 Tokyo City Treasure Hunt chest
 -
 GuideAll Arknights Endfield codes (June 2026) and how to redeem them
 -
 GuideNBA 2K26 locker codes (June 2026) for free MyCareer and MyTeam items
 -
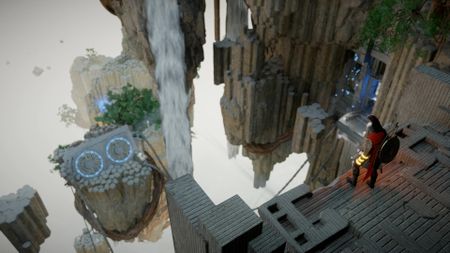 GuideHow to solve the Precipice of Truth in Crimson Desert
 -
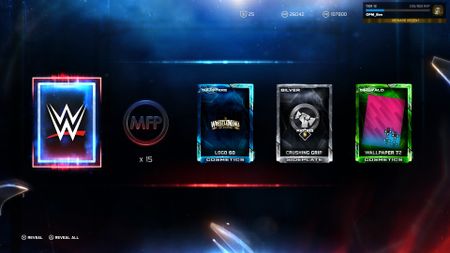 GuideWWE 2K26 locker codes (June 2026) for free MyFaction rewards
-


