Here's how to clone your PC's SSD for free in 2024
Looking to switch your system's C: drive? Here's how to clone an SSD seamlessly in 2024.
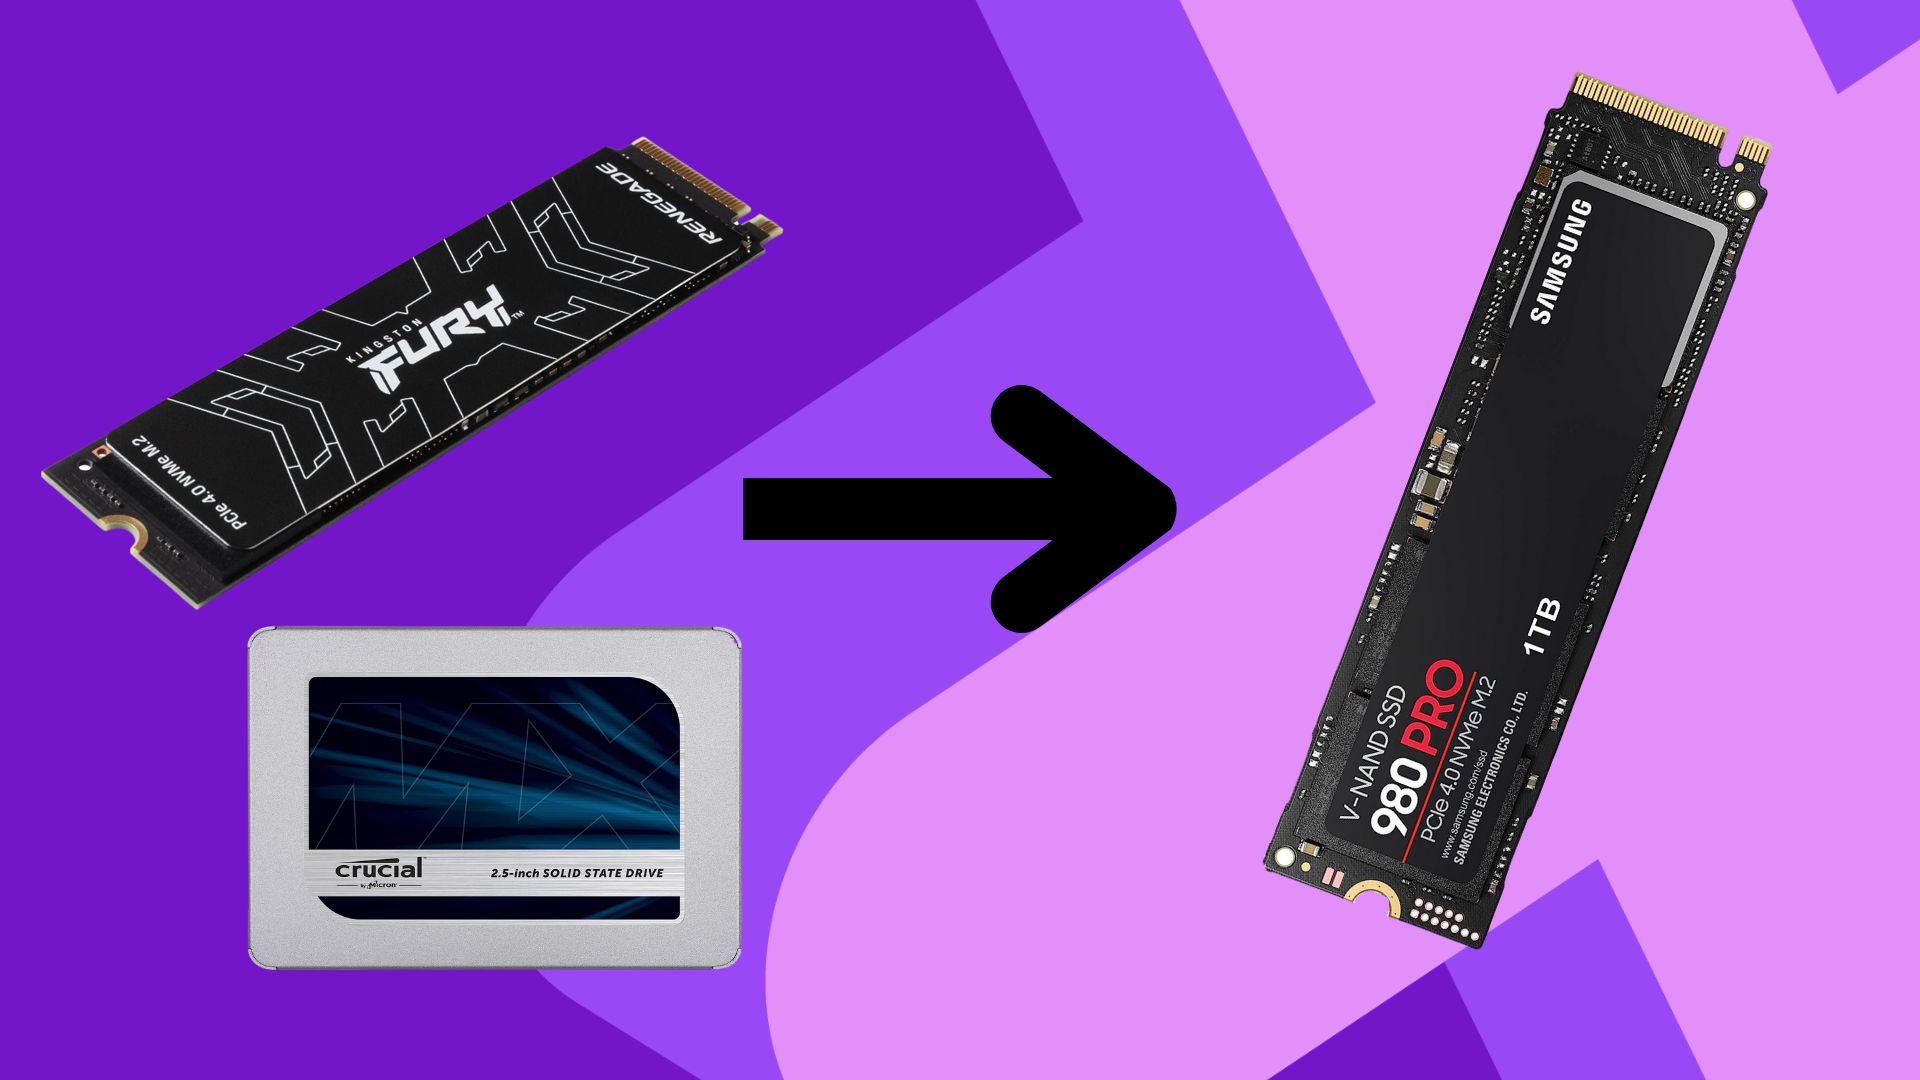
If you've recently grabbed yourself a brand new SSD, you'll probably be curious about the logistics of how to clone your C: drive in 2024. Whether you're upgrading from an HDD, a SATA drive, or just updating to a larger NVMe stick, this can be a useful process to know. While it might seem like a daunting task, it might make the most sense for you to switch out your system storage so everything can run on the new, speedy drive you've just bought.
I recently went through this process myself. Although most motherboards today have more than one NVMe port, my small-form-factor motherboard meant I had to do a complete switch. If the idea of totally swapping out your PC's storage is nerve-wracking to you, I'm right there with you. It felt like a big risk to take, and there were a lot of questions in my mind before doing it. Luckily, with how speedy the best SSDs for gaming are at the moment, the process is actually surprisingly painless, and depending on the hardware you're working with, shouldn't take you all that long.
Years ago, this process would have been really easy because there were so many bits of software that offered you cloning and backup features for free. Nowadays though, they're a bit harder to find. There are plenty of tools out there you can pay for, but using the method below, you won't need to pay a dime.
I have no doubt there will be other applications out there that will do the trick, but the one I'll be recommending today is DiskGenius. This software does have a paid version, but there's nothing in the steps below you'll need to part with money for, and personally, I love the way it's all set out. Its UI is clear and easy to navigate, it offers loads of functions, and gives you loads of control over what's happening. So, without further ado, here's how to clone your gaming PC's SSD for free.
Before we start, here's what you'll need:
Hardware-wise, here's what you'll need before beginning. This may vary depending on your motherboard, your number of NVMe slots, and what drives you're wanting to swap.
The example I'll be using in the steps below is exactly what I had to do with my PC, but this process with DiskGenius will work regardless of whether you're trying to back data up to one of the best external hard drives for gaming, or whether you're looking to clone a SATA to an NVMe SSD, or the other way around.
So, you will need:
Weekly digests, tales from the communities you love, and more
- An existing SSD that you already use (C: drive, game drive, etc)
- A new SSD you're looking to upgrade or backup to (we'll call this the target drive)
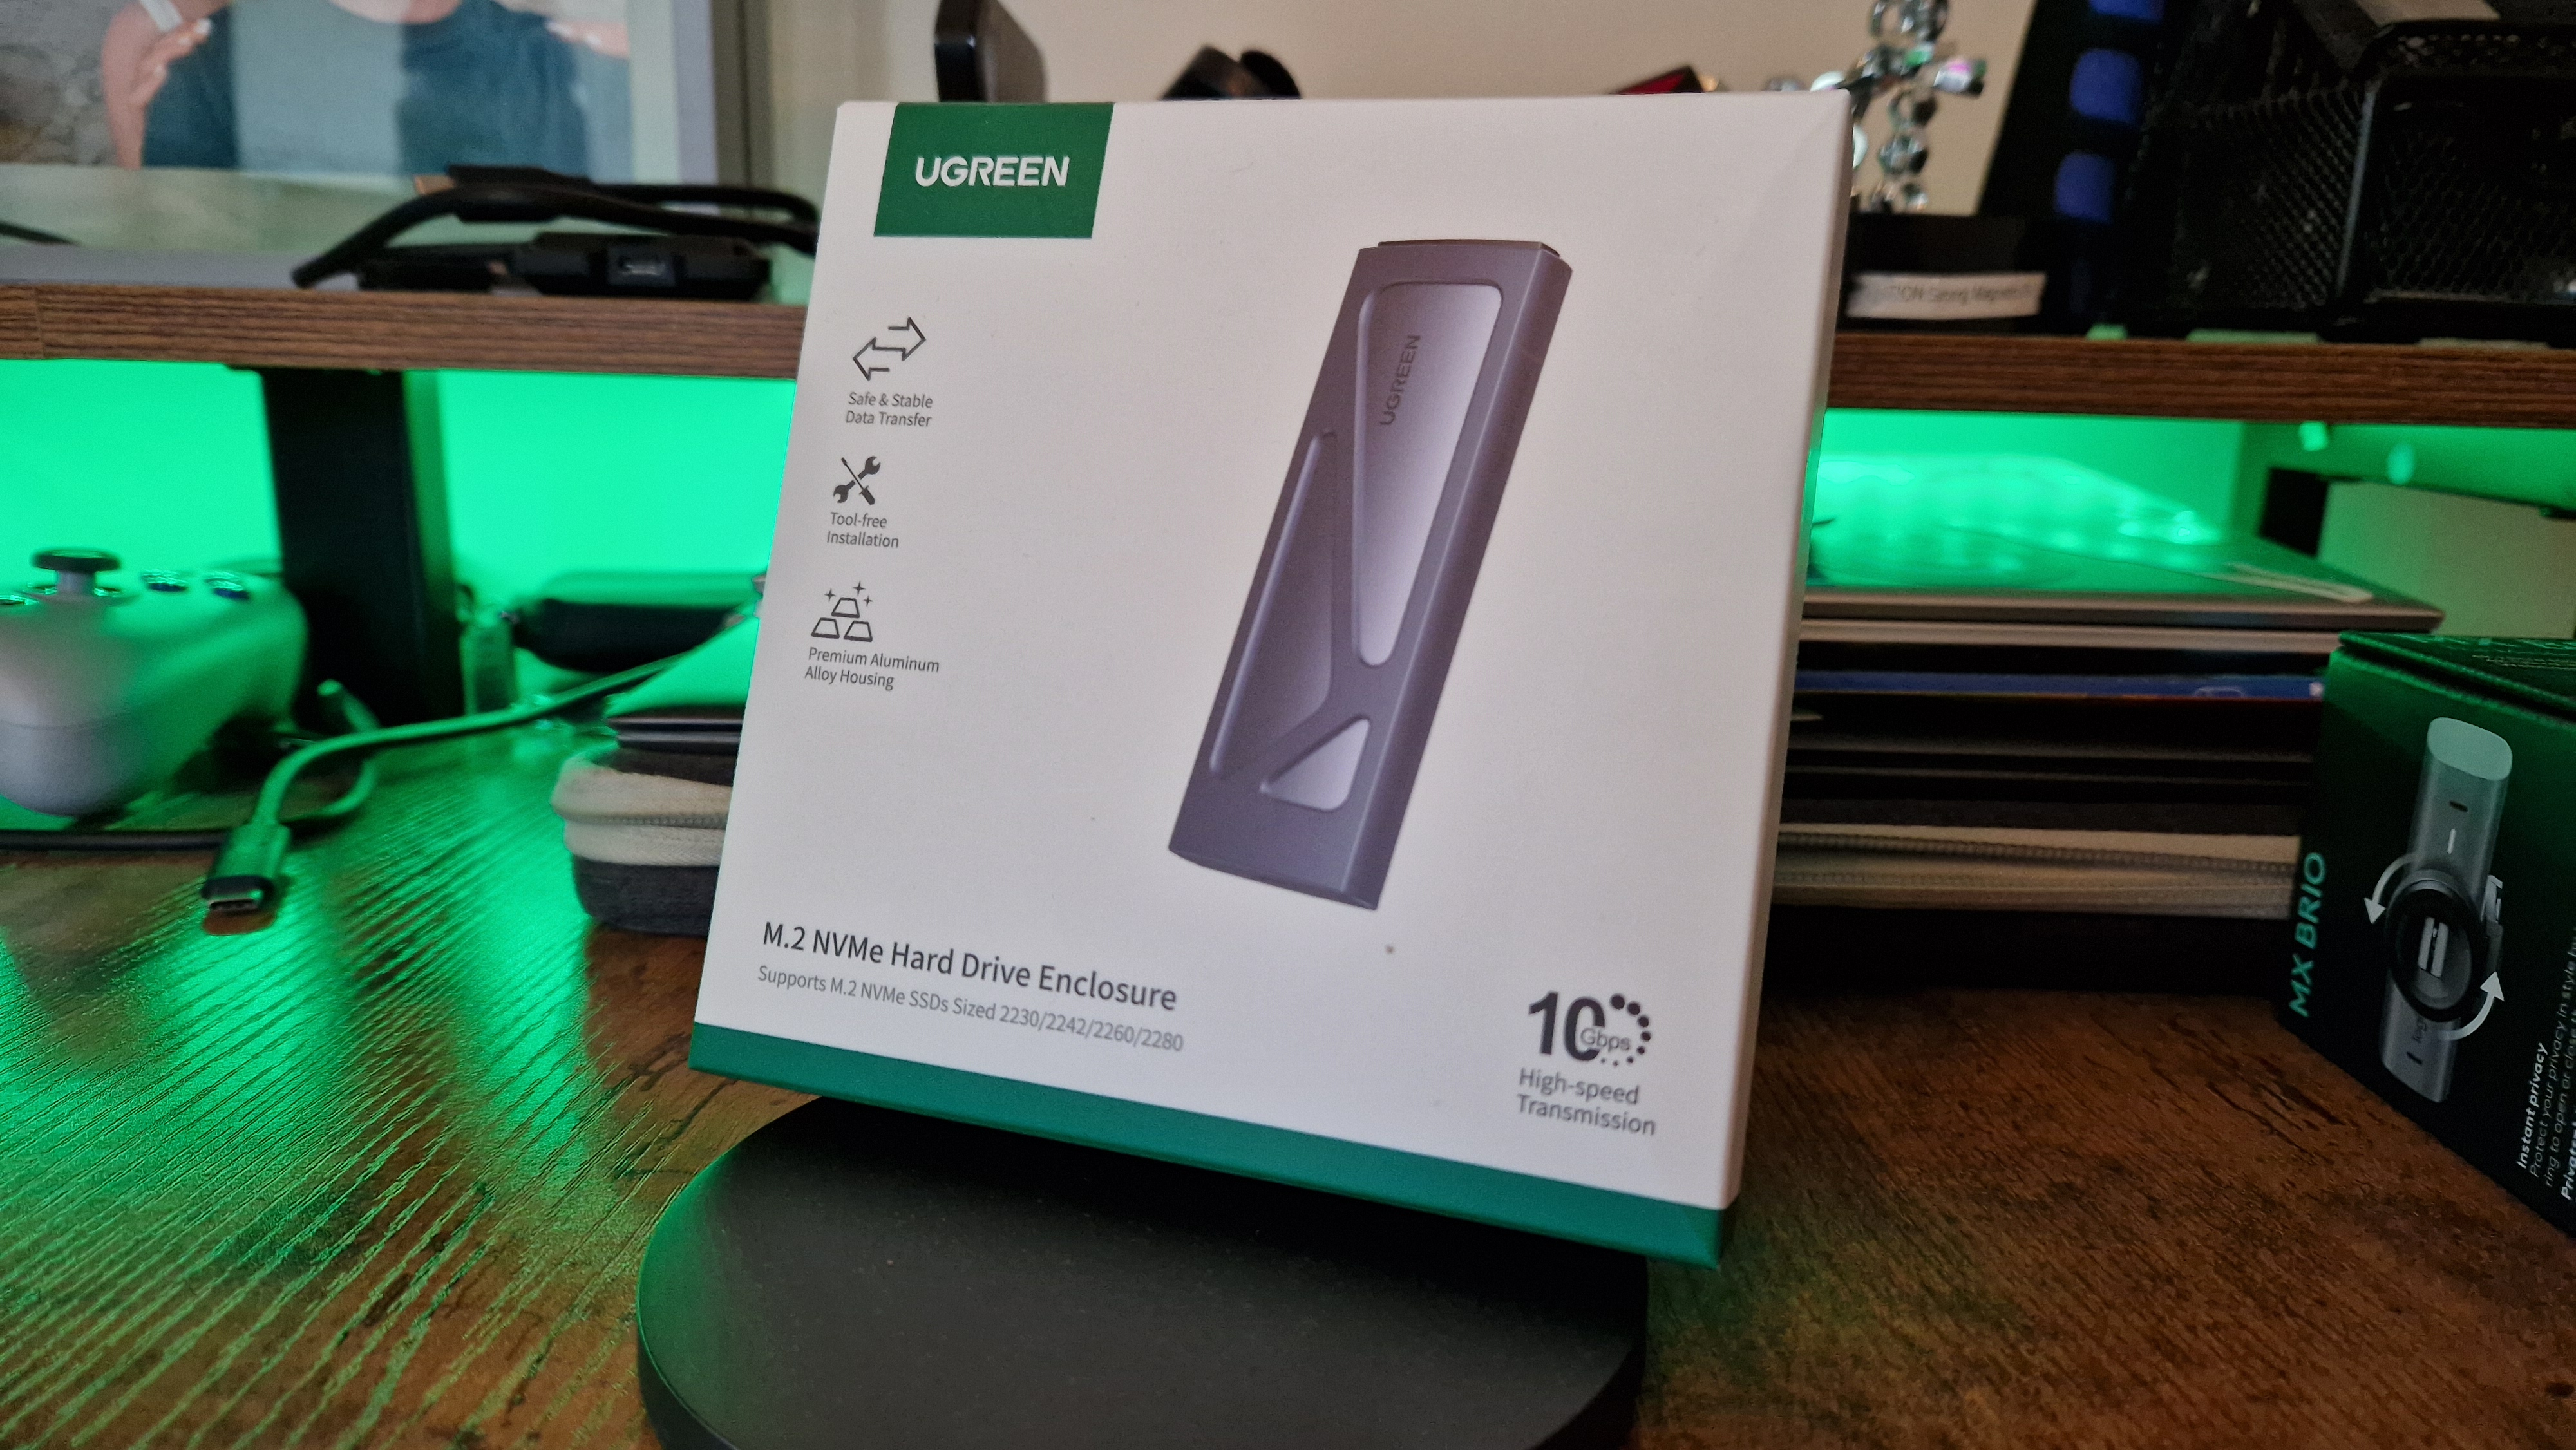
- A way to connect the two drives to the same PC (for me this was a UGREEN M.2 NVMe hard drive enclosure, but for you, it could be a USB port or a secondary M.2 bay on your motherboard)
- DiskGenius downloaded and installed on your system.
How to clone your SSD Step 1: Preparing to clone
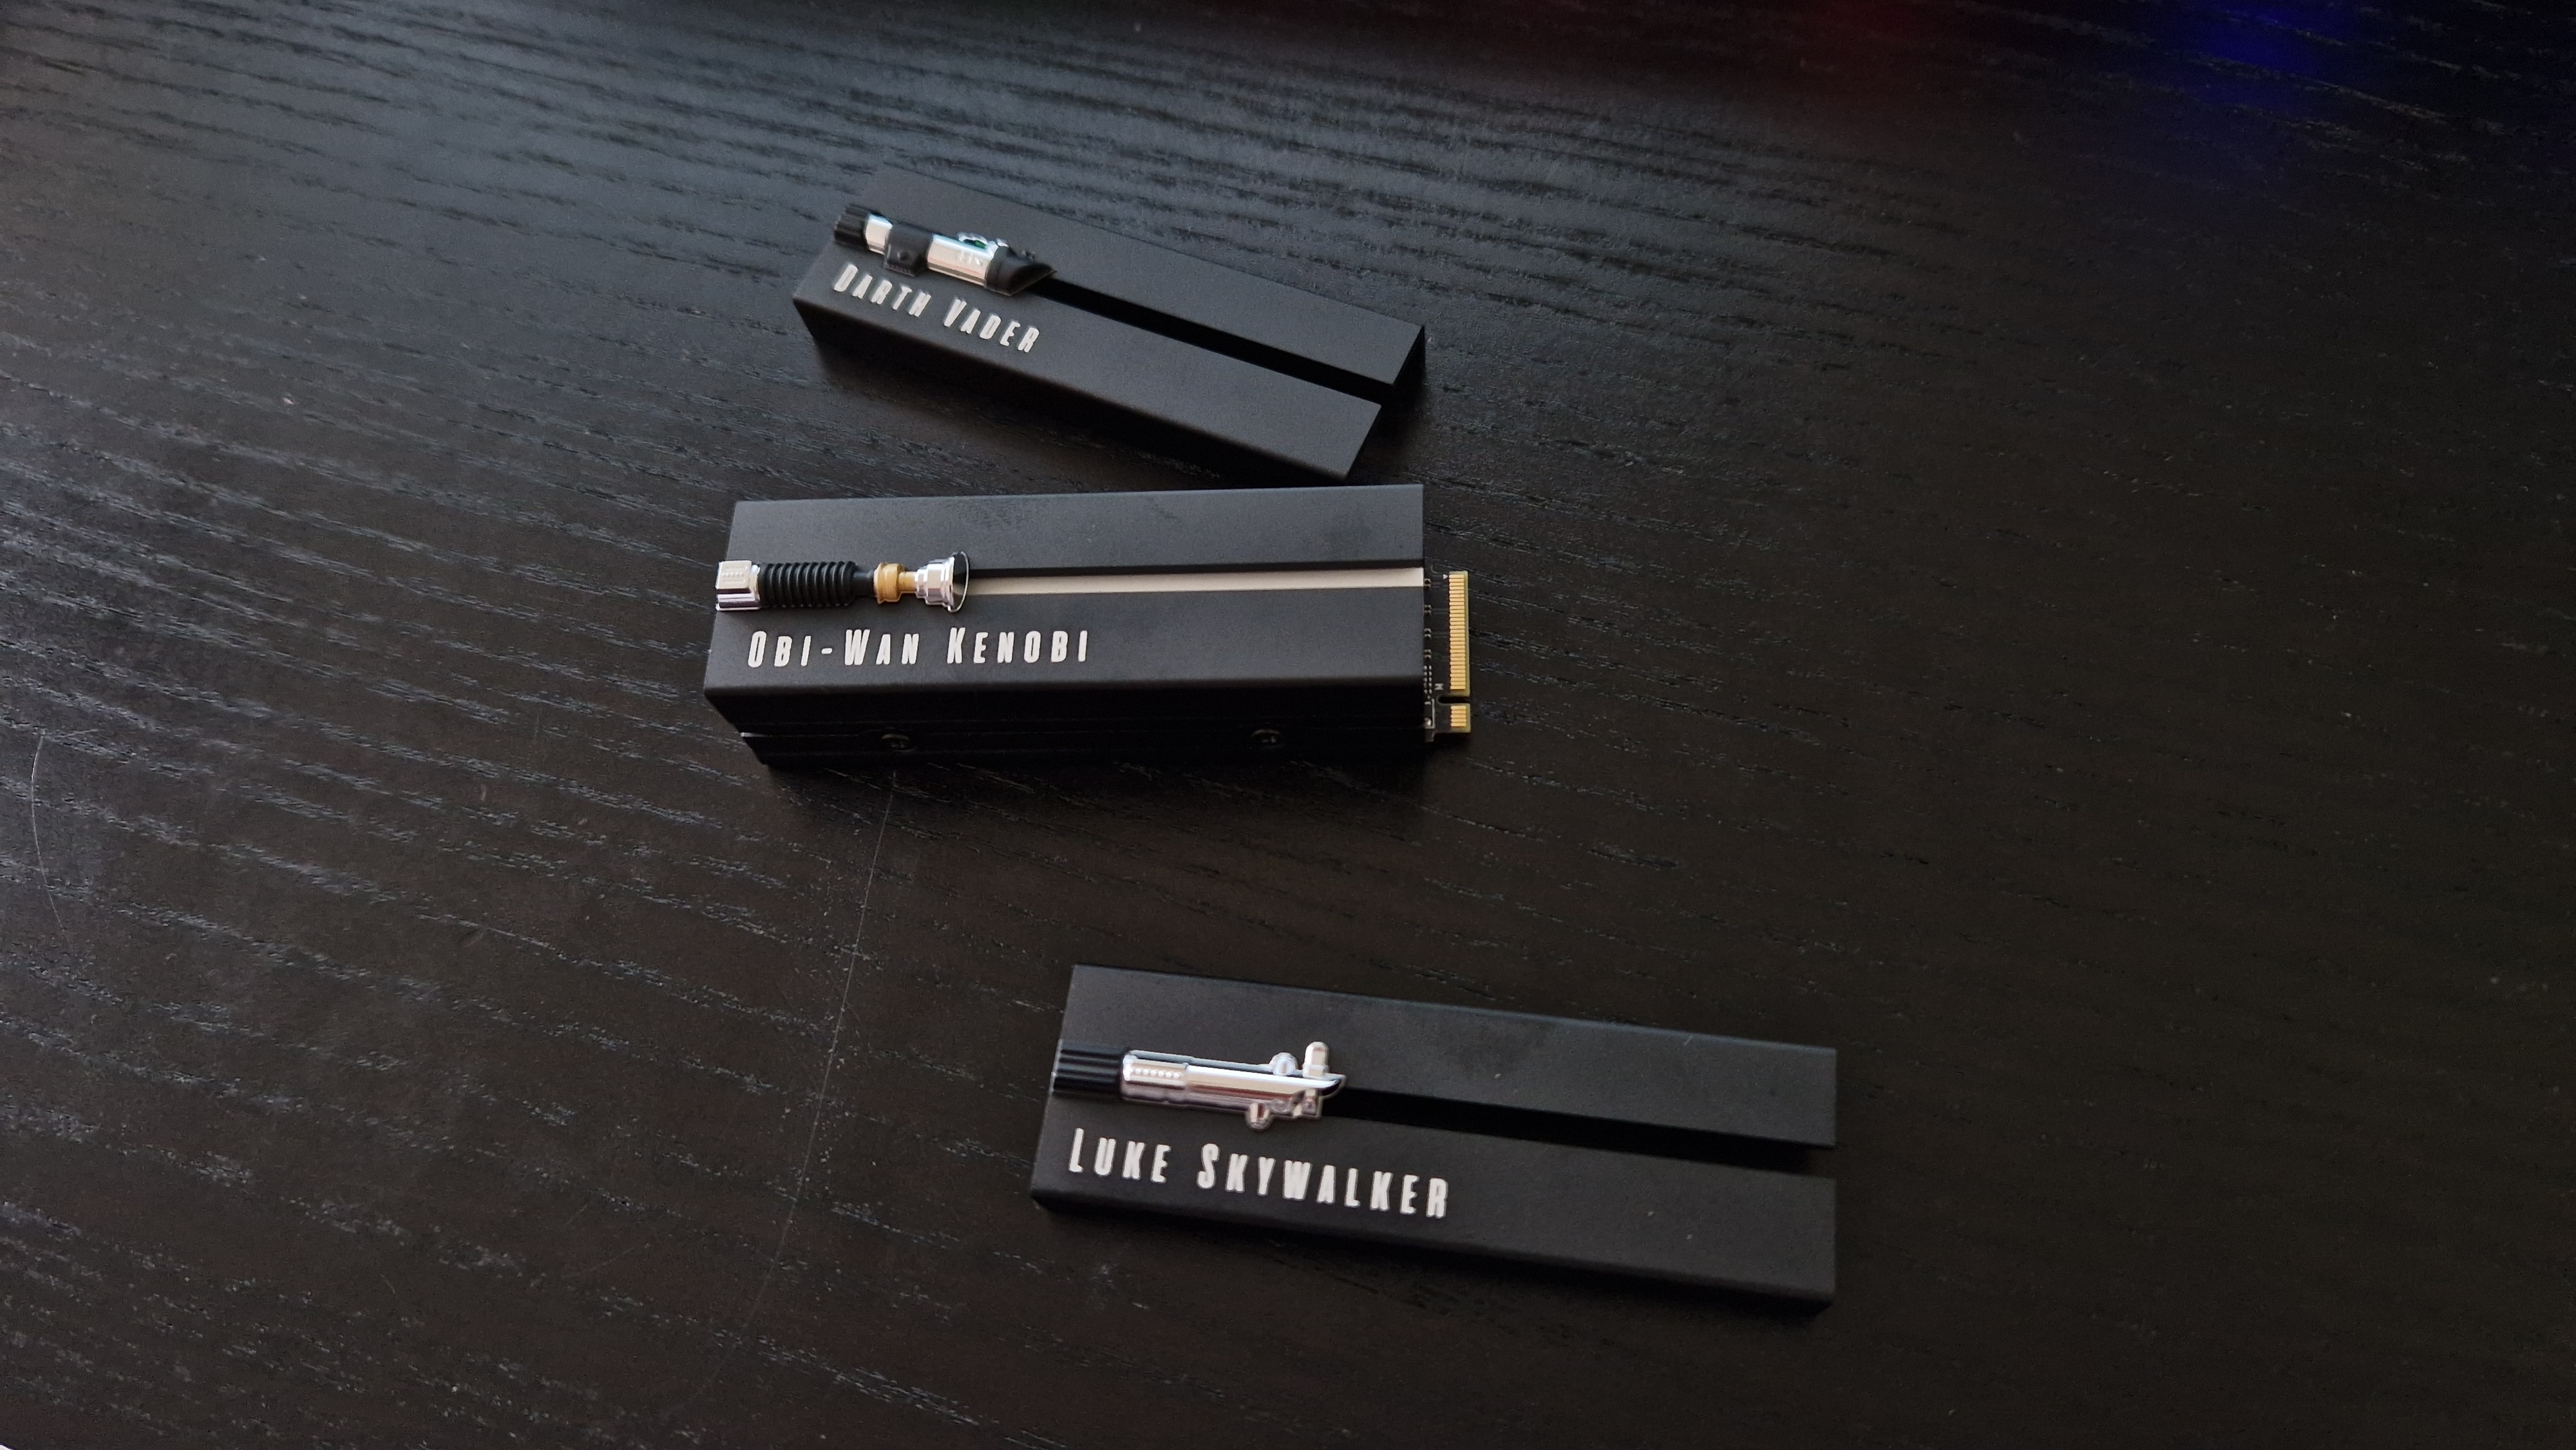
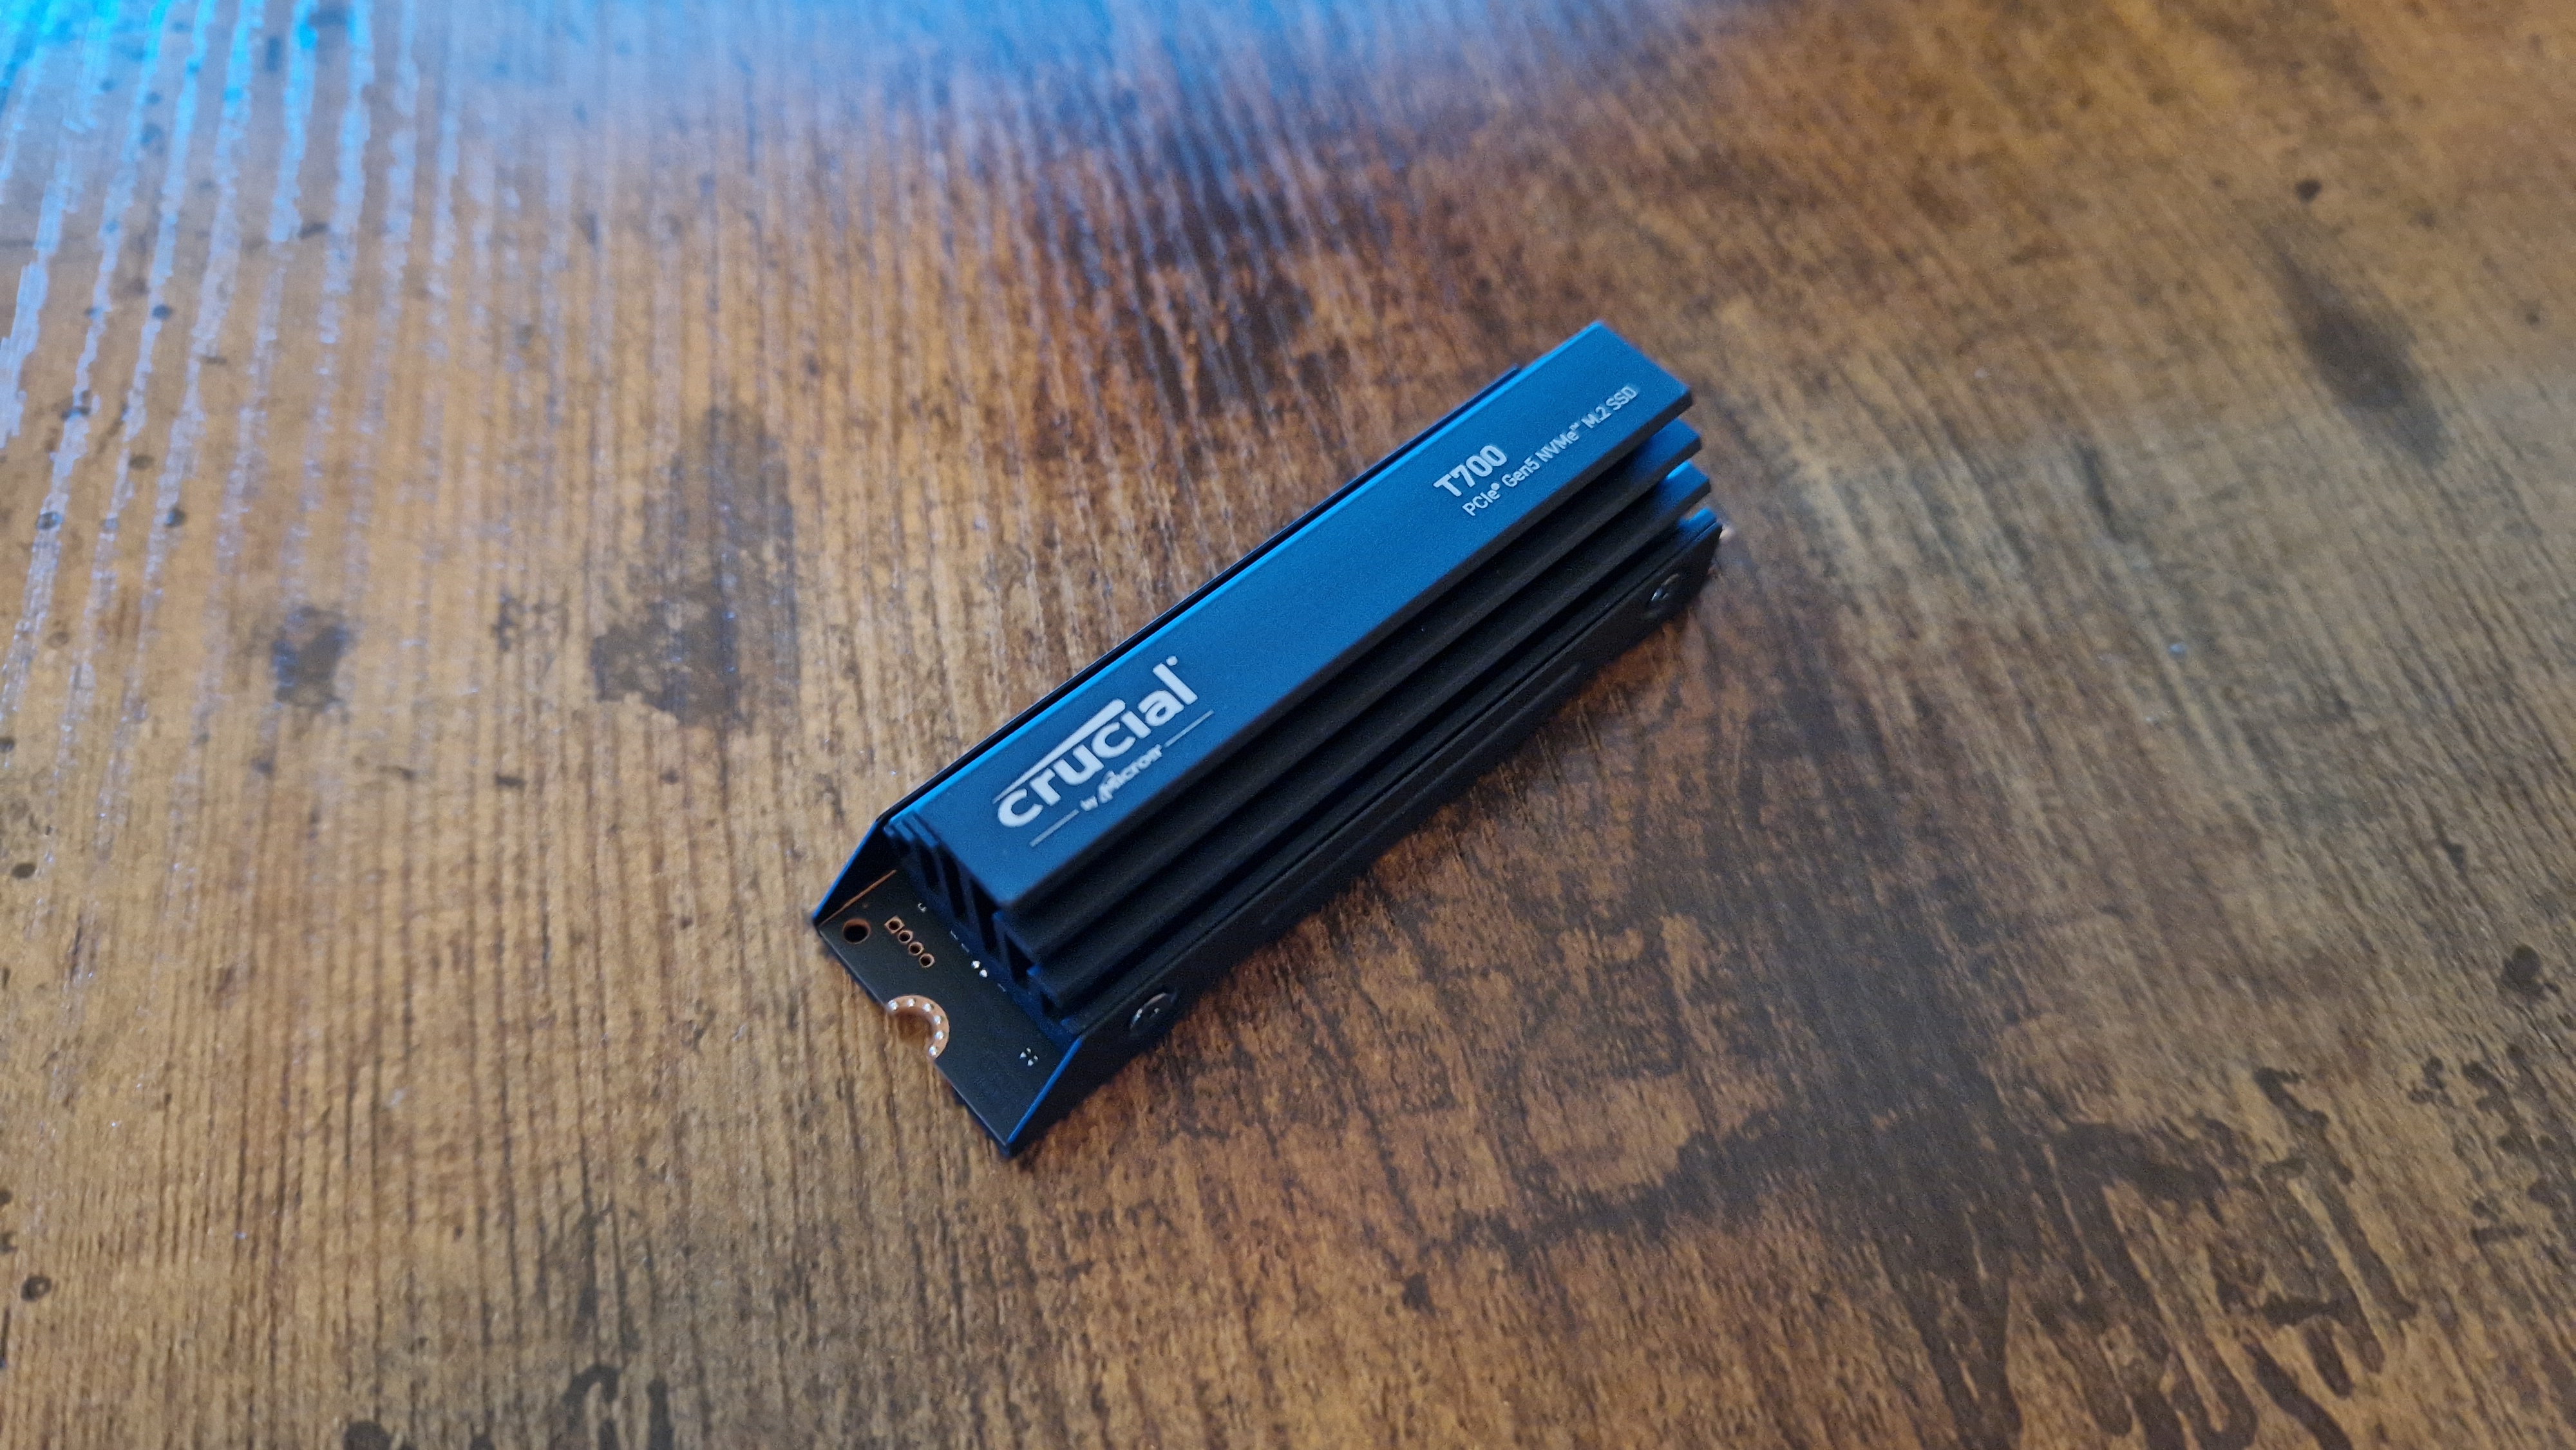
Alright, so now that you have what you need, you need to connect both drives to your gaming PC and open the DiskGenius app. For me, this meant putting the Crucial T700 Pro inside UGREEN's M.2 enclosure, but for most people, it will mean either plugging in a USB or USB-C external drive into their PC or installing another NVMe drive into an empty slot on their motherboard.
Whichever you need to do, connect things up, and open DiskGenius.
As you'll see from the image below, you'll find a summarized list of the connected drives that DiskGenius detects in your PC. On the left-hand side, you'll see their various drives and partitions (A). Up at the top, you'll see a list of functions that DiskGenius can perform(B), and below that, a bar that shows you how full your C: drive is (C).
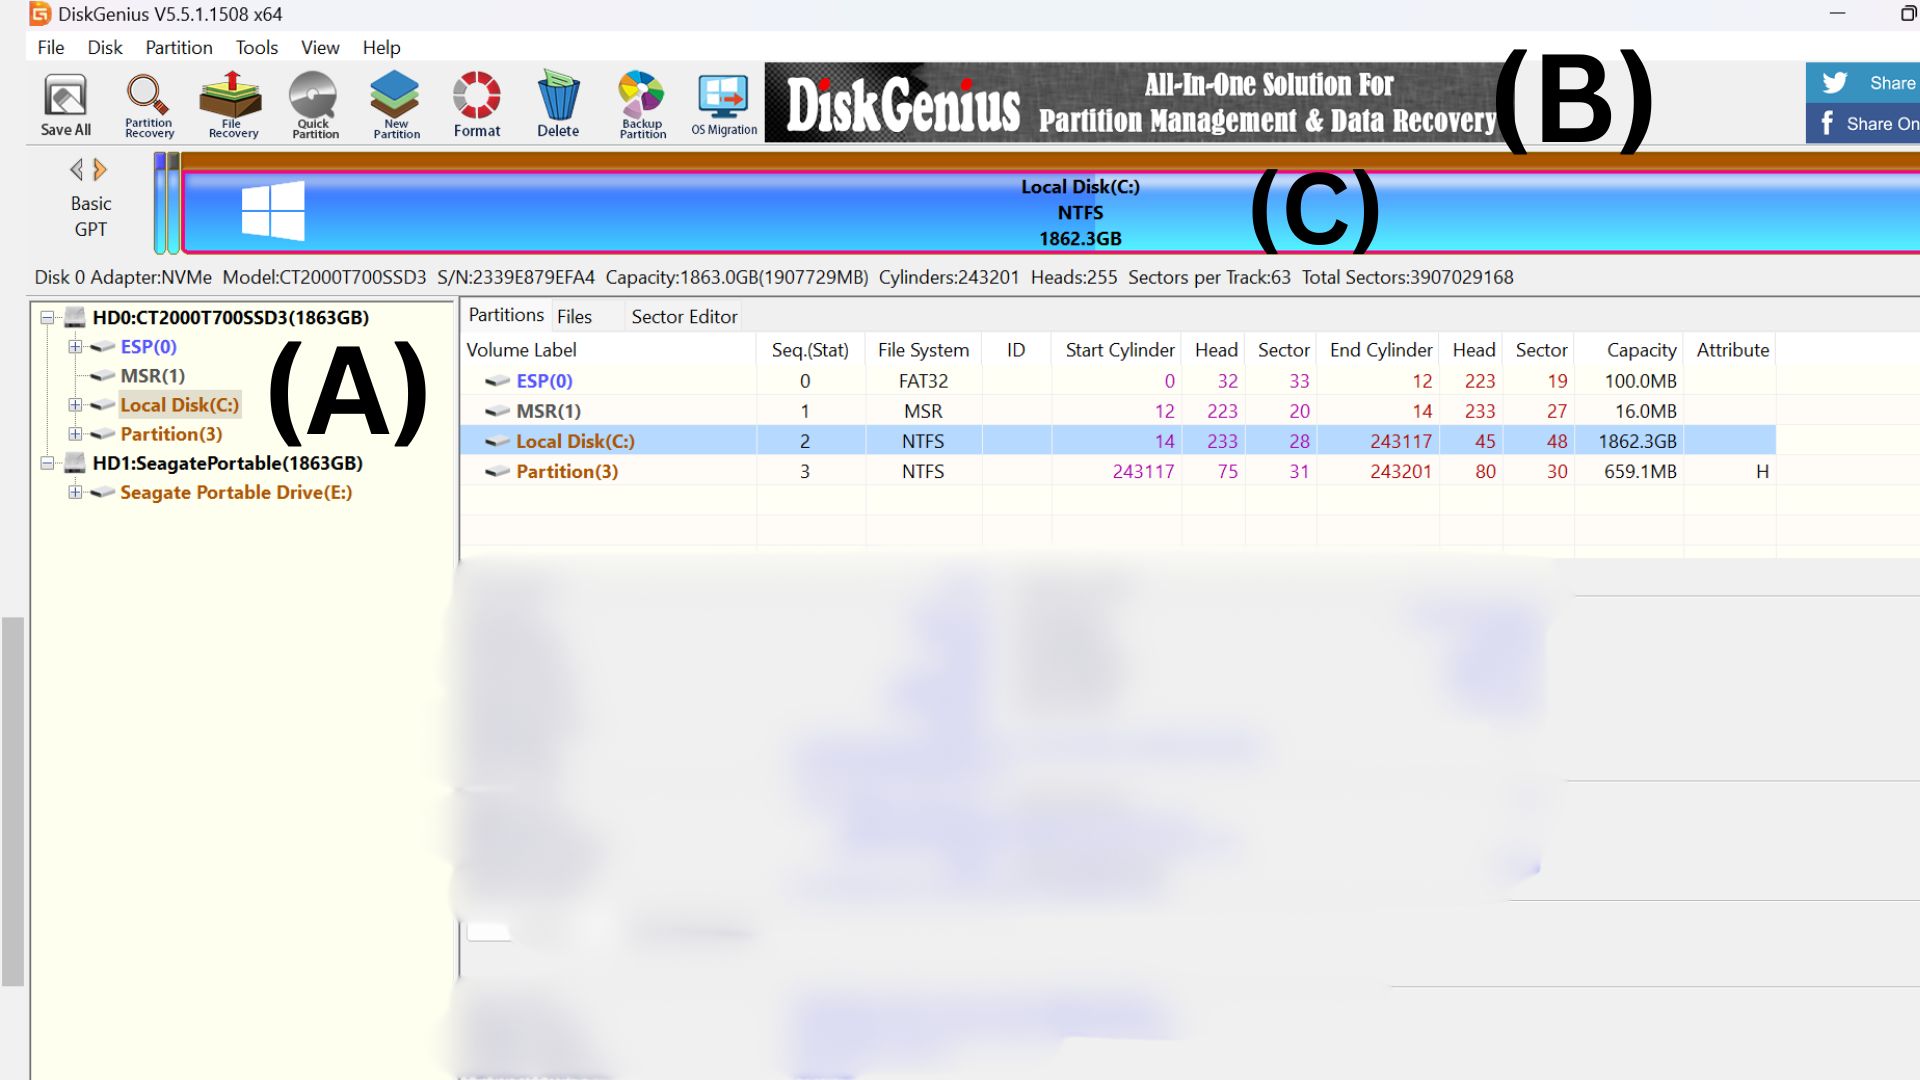
Usually, your C: drive will show up as "HD0", followed by a serial number or manufacturer name. The main thing you'll want to do in this preparatory step is to ensure that you can see all the drives you're hoping to find, and take a mental or physical note of their names. If you have trouble distinguishing between serial numbers, here's a trick that might help you determine one from the other. At the end of the drive name, the software will display the capacity of that drive in GB. So, if you're upgrading from a 1TB drive you'll see close to 1000GB, and if you're transferring data over to a 2TB SSD you'll see roughly 1800GB.
How to clone your SSD Step 2: Setting coordinates
Now that we know which drive is which, we'll look to the menu on the left-hand side of the application window, and click "Local Disk (C:)" or whichever SSD partition you're hoping to clone.
Up at the very top of the screen, we'll head up to the "Tools" drop-down menu where you'll see the options "Clone Disk" and "System Migration".
If you want to transfer your PC's C: drive, hit "System Migration". If you're just looking to backup or transfer a secondary drive, the cloning option should do the trick. Luckily, these are very similar processes so the following steps should match up.
Again, let's imagine we're cloning the C: drive that you have Windows installed on. When you hit "System Migration", you'll be asked to select a "target disc" - this is where you intend to transfer the files to once migration begins (so most likely your new SSD) Remembering the name of each drive we identified in step 1, select the target disc you want to use.
A warning will come up saying "All files and partitions on target disc will be overwritten! Are you sure you want to migrate the system" - For clarity, that means everything on the disc you are transferring to will be deleted to make room for the system migration. For the most part that should be ok since you'll probably be transferring to a brand new drive. Either way, make sure you're alright with that and click "ok".
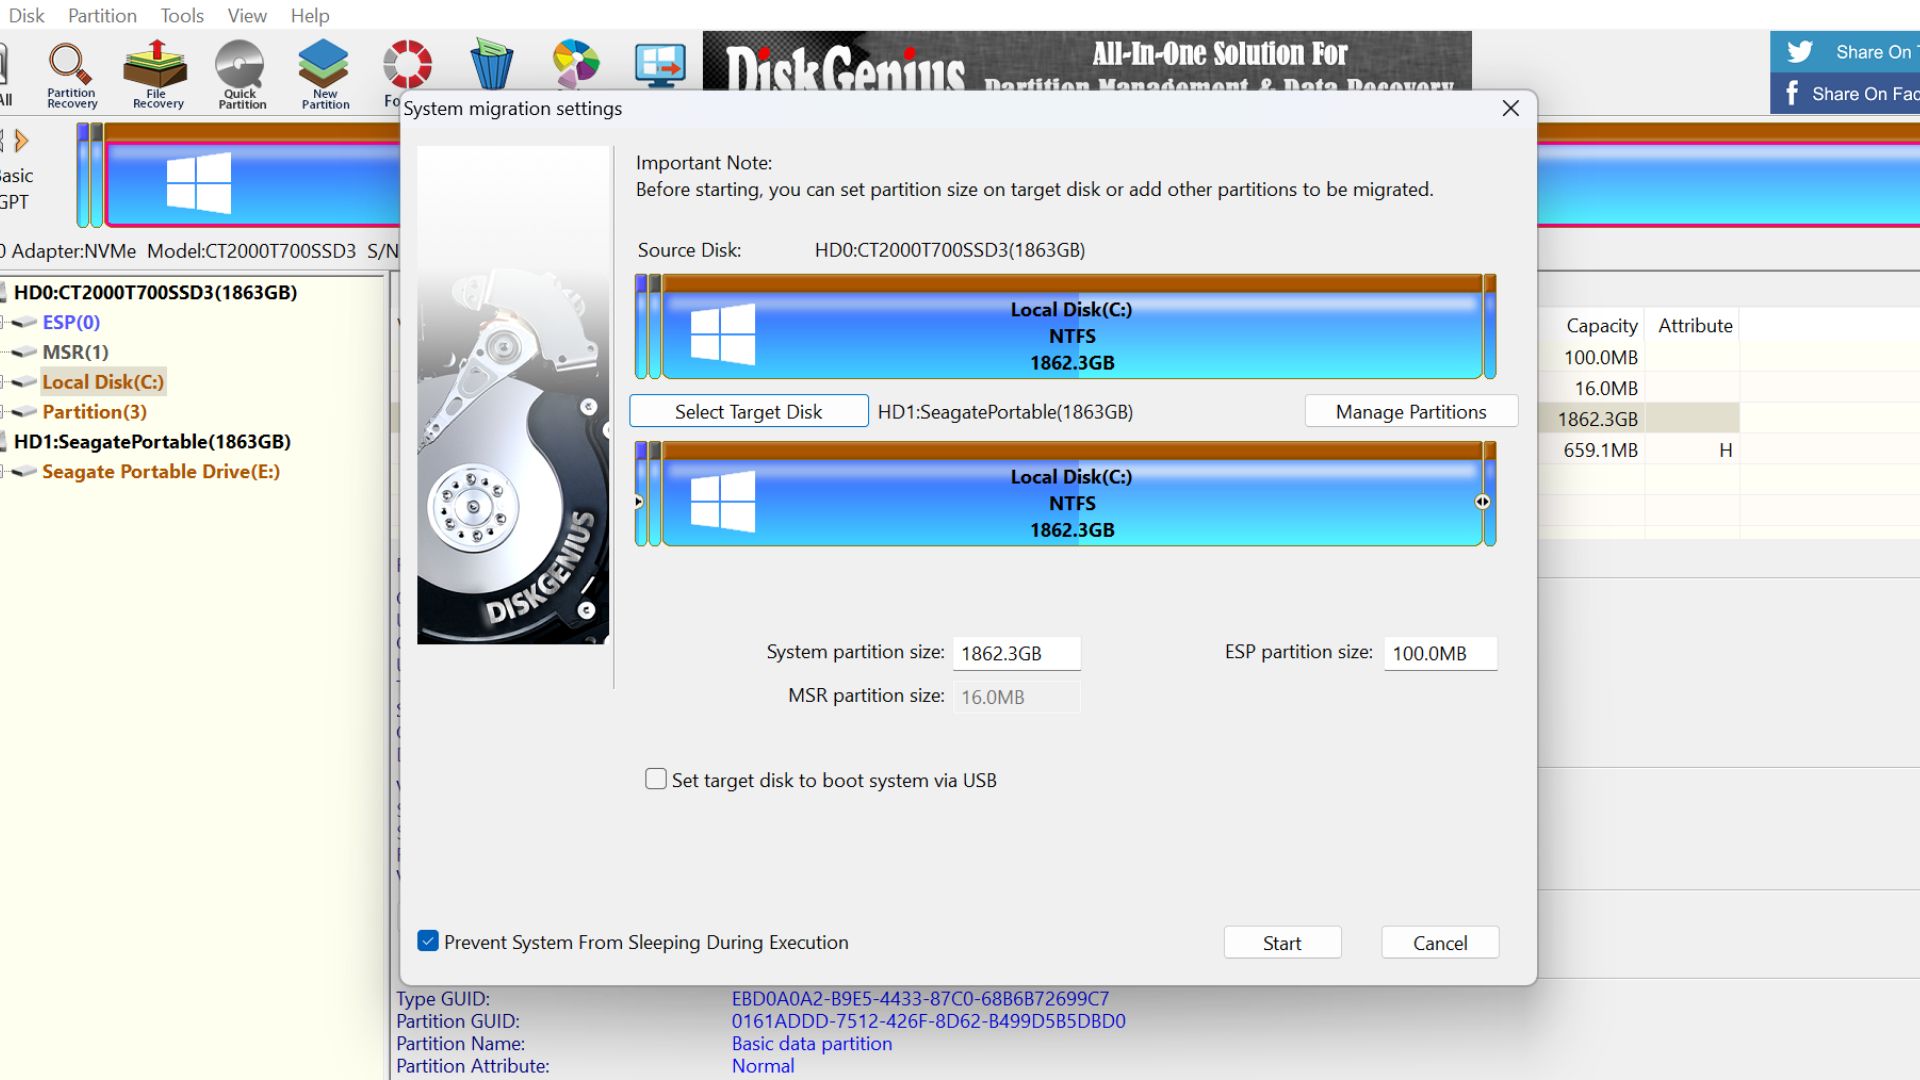
You'll then get a System Migration Settings window open up. Using the small drag-and-drop margins on each drive's capacity bar, you can now set new partitions in the target drive, which can be useful if you want to separate system files from games and applications, for example. This is a great time to triple-check check you have the correct drives selected. If you've elected for a full system migration, your current C: drive should be automatically selected, so that shouldn't be too much of a worry. If you're just cloning a disc, you may need to be doubly sure that you've selected the correct source disk.
As a quick side note: DiskGenius is great because in doing a system migration, it doesn't delete the files from your existing C: drive. Some other software does this as part of the cloning process.
The one box I'd draw your attention to here is the one that asks if you'd like to set the target disc to the new boot location. Usually, I'd recommend leaving this unchecked, unless your target disc is an NVMe drive that you've already installed on your motherboard. You definitely don't want to tick this box if your target disk is connected externally via USB or USB-C. If you're going to physically swap the target disc into the motherboard slot your current C: drive is residing in, there's no need to check this box.
Finally, check the box that says "Prevent System from Sleeping During Execution".
Then hit the "Start" button, and when the next pop-up comes up, select the "Hot migration" button and the process will begin.
How to clone your SSD Step 3: Cloning
Now, it's a bit of a waiting game. Depending on what drives you're using and how much data you need to transfer, this process could last anywhere from a minute to an hour or even more (if you're just using HDDs).
You'll see the data transfer in real-time so you can track its progress - but I'd look to do as little as possible on your PC while this process is taking place. You don't want to be deleting files, launching new applications, or saving new game data while this is happening. The migration uses a "snapshot" of your drive when it starts, so any new data won't be part of the migration and will provide a less accurate clone.
Once the system migration is complete, the application will tell you "System Migration completed. To boot from target system, please reboot to BIOS and set target disk as boot device. Do you want to restart your computer now?"
If you need to physically swap drive locations around, now is a great time to do that. Personally, I'd elect not to restart now so you can manually shut down and put the new drive in place first. If your SSD is already seated in the desired motherboard location, you can restart now.
Once you've done any physical swaps that need doing, hit the Delete (or other designated key) key to boot to your PC's BIOS. Depending on your current settings, you may need to change your boot location. If you've removed your former C: drive, this shouldn't be an issue, but Windows Boot Manager should pick up the correct location.
Your PC will then launch Windows as normal, and you'll be surprised to know that it really is as simple as that. An exact copy of your old C drive will now work as normal - you shouldn't need to log in to any applications or launchers again, it should all be there as usual.
Looking to take on this challenge? We've used our price comparison software down below to show you the most helpful tools for the job.
Want a system-specific storage solution? Check out the best SSDs for PS5, the best PS5 external hard drives, and the best Xbox Series X hard drive.
One of my earliest memories is playing SuperMario64 and wondering why the controller I held had three grips, but I only had two hands. Ever since I've been in love with video games and their technology. After graduating from Edinburgh Napier University with a degree in Journalism, I contributed to the Scottish Games Network and completed an Editorial Internship at Expert Reviews. Over the last decade, I’ve been managing my own YouTube channel about my love of games too. These days, I'm one of the resident hardware nerds at GamesRadar+, and I take the lead on our coverage of gaming PCs, VR, controllers, gaming chairs, and content creation gear. Now, I better stop myself here before I get talking about my favourite games like HUNT: Showdown, Dishonored, and Towerfall Ascension.
