Darksiders shards and artifacts guide
Hoard these collectibles to attain max power
Weekly digests, tales from the communities you love, and more
You are now subscribed
Your newsletter sign-up was successful
Want to add more newsletters?
Join the club
Get full access to premium articles, exclusive features and a growing list of member rewards.
Lifestone shard
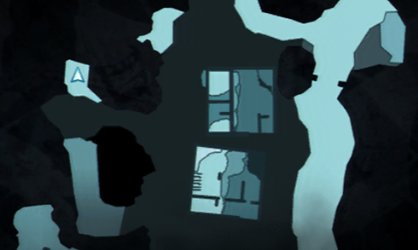
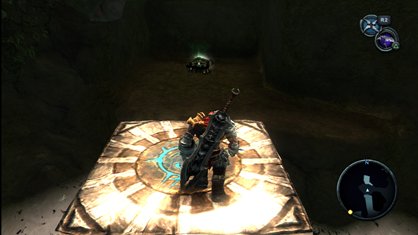
To reach the chest containing the Lifestone shard, you must first raise a stone out of the water to serve as a platform. Raise the stone by hitting the glowy part (it'll turn red when activated,) then swim up to the next cavern and go up the passageway. Defeat the handful of enemies that spawn, then use the raised stone to jump across to the chest.
Lifestone shard 2
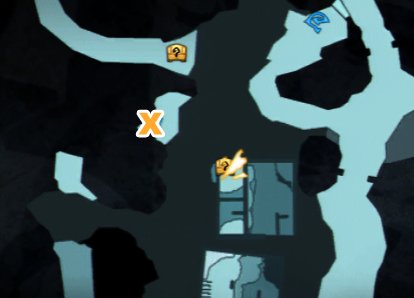

Requires: Abyssal Chain
This chest is easily spotted, but you'll have to come back for it when you have the Abyssal Chain. Simply swing across the flooded area to the ledge where the chest sits in plain sight.
Artifact: Soldier
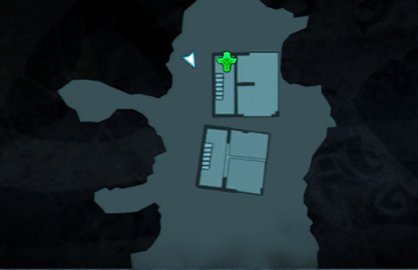
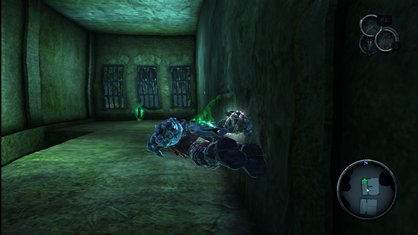
Swim down into the submerged lower floor of the second building. Then swim up the staircase into the submerged room to find the artifact.
Weekly digests, tales from the communities you love, and more
Artifact: Soldier 2

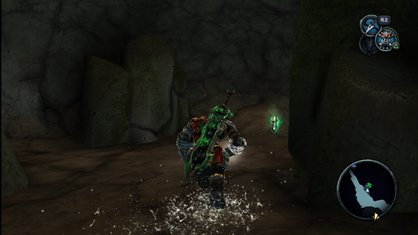
Swim directly into the big waterfall near the area's start point; there's a small cave hidden back there. At the end of the cave lies the Soldier artifact.
Wrath shard
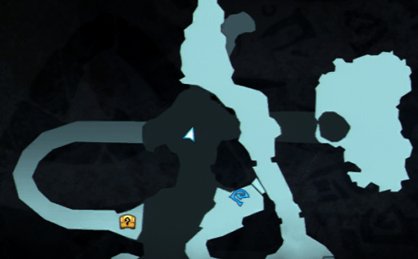
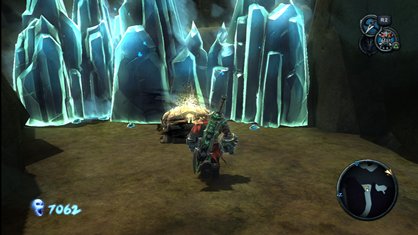
Requries: Tremor Gauntlet
Your first time through Drowned Pass, you'll see the blue crystals that hide this Wrath Shard across the chasm from the Vulgrim location. Don't bother with them till after you get the Tremor Gauntlet. You'll have to get to the chest from the backside; jumping across the chasm doesn't work. So jump down into the water and swim back toward the big waterfall near the start of the area. Facing the waterfall, swim down and left through the underwater passageway. When you emerge, follow the tunnel up and around to the blue crystals. Smash them with the Tremor Gauntlet and collect your Wrath shard.
Contents:
The Crossroads/Scalding Gallow/Choking Grounds and The Broken Stair/Twilight Cathedral/Drowned Pass/Anvil's Forge/The Hollows/Dry Road/The Ashlands/Iron Canopy/The Black Throne and Eden
 Join The Community


