-
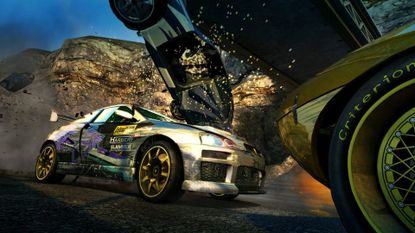 NewsNeed for Speed: Unbound dev offers a very strange teaser, and fans think it's for a Burnout game
 -
-
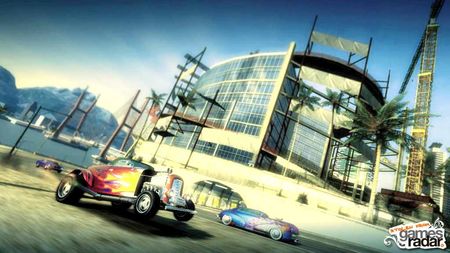
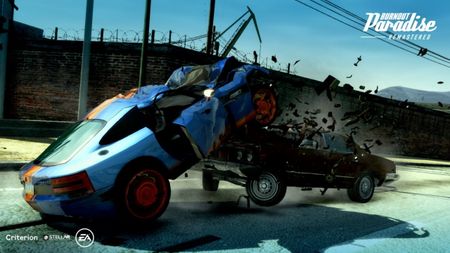 NewsNew Burnout Paradise Remastered gameplay trailer shows off high-octane fun for Switch
 -
NewsBurnout Paradise Remastered gets a Switch release date and a surprising price
-
 newsAfter over 11 years, the Burnout Paradise servers will close this summer
 -
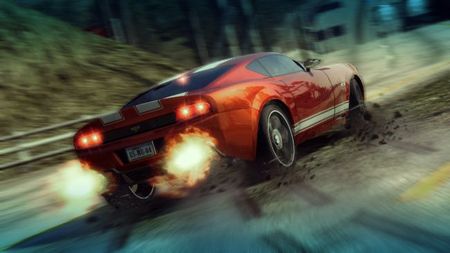
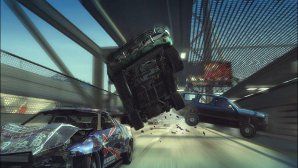
 RetrospectiveTen years on, Burnout Paradise is an imperfect, but still thrilling and mega fun, open-world racer
 -
 newsDaily NewsRadar: The return of Burnout Paradise, Tomb Raider Barbie, Jessica Jones and more
 -
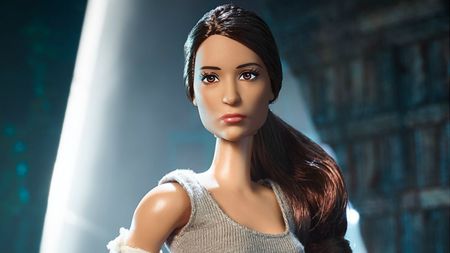
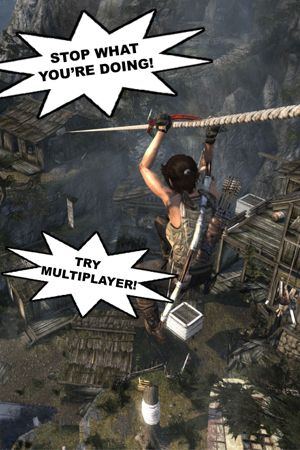
 Features8 last-gen games that need PS4, Switch and Xbox One remakes
 -
 Burnout Paradise Cheats
 -
 ActionWhat could spur three EA execs to jump ship?
 -
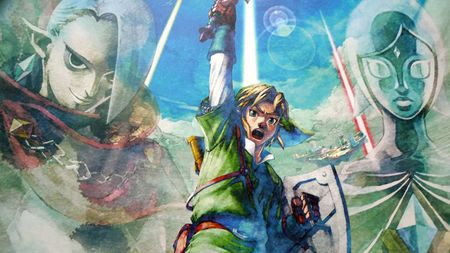
 ActionThe 60 best moments of the last console generation
 -
 AdventureToo many distractions are burying the fun of AAA games
 -
 FPS GamesThe best uses of pop music in video games
 -
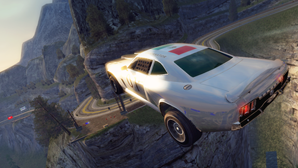 Racing Games10 lies video games tell us about racing
 -
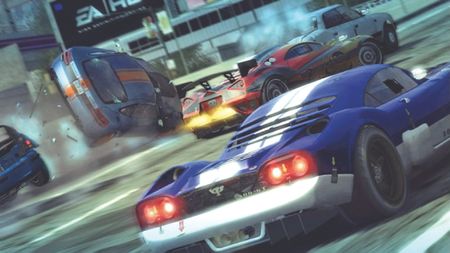
 RacingWhy Burnout Paradise is one of the greatest games ever made
 -
 RacingBurnout Paradise developer working on PS Vita game
 -
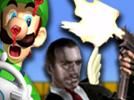 ActionWhat if Niko Bellic was in Mario Kart?
 -
 RacingBurnout Paradise: Big Surf Island - review
 -
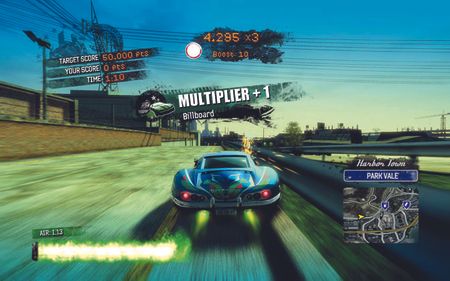 Racing GamesBurnout Paradise review
 -
 RacingHow to get 40 Trophies in 60 minutes
 -
 RacingCriterion reveals the "biggest news in Burnout history!"
-


