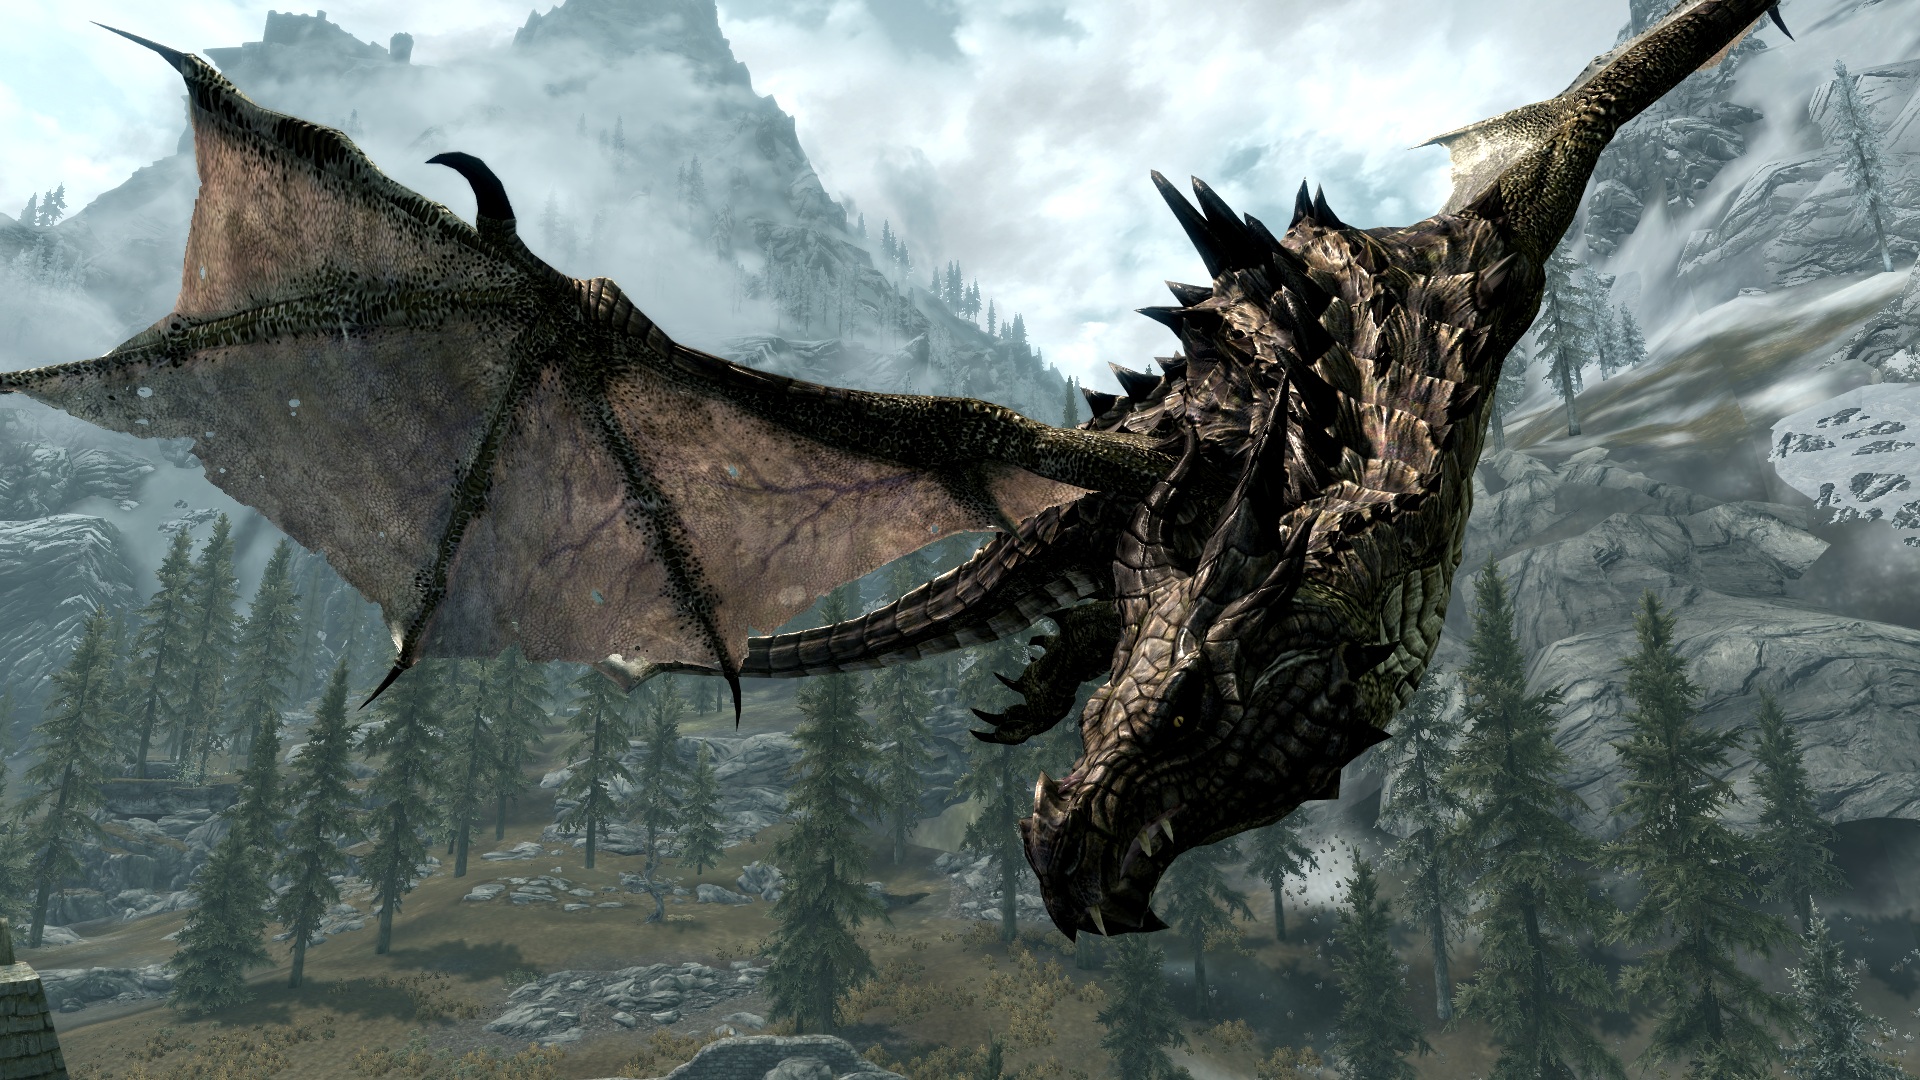
Skyrim dragon hunting guide
Take down Skyrim dragons with ease using our guide
Skyrim Dragon Main Storyline Encounters
In this section of the guide we will take a look at all of the unavoidable encounters with dragons that occur through the main storyline. There are only five dragons you must fight to complete the game although plenty more will attack you while trying to progress from one point to another. There are even a number of unique dragons that will attack in service to their Lord Alduin but these are covered in the following section.

Mirmulnir – The First Dragon Encounter
The very first dragon you will battle is Mirmulnir. This isn’t that bad even for the unprepared since you will have numerous allies fighting alongside you. Since Mirmulnir gets so distracted trying to eat the basic soldiers you’re spoiled for choice on how to handle him. This fight is incredibly easy no matter how it’s approached if we’re being honest.
A melee character is best off hanging out inside of the tower and keeping track of the beasts’ movements until it lands. Rushing out of the tower, get a few attacks in and then retreat once it takes to the air again. Mages should do much the same since it’s unlikely that you’re prepared to go toe to toe with a dragon at this point.
But the easiest way to handle this fight is to simply bring a bow with you as the above video demonstrates. While he can strafe you with fire when you’re on top of the tower if you retreat down the steps then it’s impossible for him to hurt you. Keep retreating down the steps when he attacks and shooting from the top of the tower when he’s distracted. This will kill him in no time, granting you your very first dragon soul.
Sahloknir
Shortly into the main quest line you will find yourself navigating through a fierce snowstorm to climb a mountain. The goal is to reach a dragon burial site with Delphine but a nasty surprise awaits the duo at the destination. Sahloknir obeys its master’s words, attacking the Dovahkiin and any allies he’s brought up to the site. If you don’t have some equipment or potions to help you resist fire then this is a very dangerous encounter.
Sahlokmir is a slightly stronger version of the Blood Dragon. Normally this would be a very difficult fight due to how powerful it is but it’s possible to have two allies helping you as well as any summoned allies. For mages, if you can’t summon up Atronach assistance then it’s possible to complete the quest A Night to Remember to gain the unique artifact Sanguine Rose. This will allow you to summon up a Dremora to aid in the fight. Fighters will have an easy time here whether they use a bow or not since Delphine has one and is incredibly accurate with her attacks.
Karthspire Encounter
When arriving at Karthspire you’ll find that you, Delphine and Esbern are besieged by a huge number of Forsworn and a vicious Frost Dragon. Normally the Forsworn will be too distracted by the titan but every now and again they’ll come after you which, to be frank, makes this near impossible. Luckily that’s a very rare occurrence so for the most part you and the duo with you can focus all of your energies taking down the beast. Esbern’s Frost Atronach is especially useful in tanking the dragon's attention.
The dragon itself shouldn’t really be a problem at this point. Since there’s so many people attacking it the thing will go down rapidly. What complicates your life is that immediately after dealing with the dragon you’re going to have a large number of very angry Forsworn to contend with. Hopefully the dragon managed to help thin out the number of these freaks running around during his “fly around and murder everyone” phase.
Alduin, the First Fight
Honestly this is, without a doubt, the hardest mandatory fight in the entire game. No matter how prepared you might think that you are Alduin is powerful enough to absolutely wreck your day. Coming into this fight with a follower, summoned allies and Paarthurnax’s aid will still leave you in a position where you’re likely to die at least once or twice.
Everything Alduin does involves fire attacks so you’ll want to have equipment to help resist that. His attacks consist of causing fire to rain from the skies, flaming breath attacks, a massively powerful bite and a devastating tail lash. While he’s beating on you, fireballs will be raining down from above, your only option is basically to tough the battle out. Lastly he’s entirely immune to damage until struck with the Dragonrend shout.
Defeating him is a simple enough matter in theory but executing it is something else entirely. Once he flies within range hit him with a fully charged Dragonrend shout. This forces him to land as well as rendering him vulnerable. Ready your most powerful weapons, or ice spells, and charge the beast. Keep your healing spells and potions at the ready while unloading on him with your most powerful attacks if you want to bring him down. Don’t take any chances, heal up as soon as your health begins to dwindle to avoid surprise deaths, and he should go down before too long.
Ohdaviing
This isn’t a fight since you’re just trying to capture this dragon inside of the castle. After using your shout to draw the beast into combat don’t even bother standing your ground. Simply turn tail as soon as the beast comes into view and run back into the room. Hide next to the device on the side of the room and wait for Ohdaviing to walk partially into the chamber. Once you’re told to activate the device drop the trap to finish this mission.
Alduin, the Final Showdown
Unlike the last fight this battle is actually incredibly easy. While any of your companions might have been left behind three of the most powerful warriors in Sovangarde are going to be fighting alongside you. Plus you should have leveled up a good amount as well as be equipped with much better equipment than the last time you battled, leaving Alduin to be immensely outclassed by the four heroes. It’s kind of anti-climactic to be honest.
When the four of you reach the misty area choose the Clear Skies Shout. Wait until told to use it and then use a level three Shout to clear the mists. This must be repeated a few times until Alduin stops trying to hide. The beast comes out to attack and your allies will begin attacking him but he is invulnerable until hit with the Dragonrend shout. Bring him down to the ground using that Thu’um and the quartet can begin laying into him. He fights in exactly the same manner as before but now there are plenty of targets to keep him distracted from focusing on you. It’s easy enough to complete this fight without even using a single healing item.
Jump to Section:
Skyrim Dragon combat Strategies
Skyrim Dragon Types
Skyrim Dragon Storyline Encounters
Skyrim Dragon Roosts & Other Encounters
Current page: Skyrim Dragon Main Storyline Encounters
Prev Page Skyrim dragons Dragon Types Next Page Skyrim Dragon Roosts & Other EncountersWeekly digests, tales from the communities you love, and more
Daniel is a freelance games journalist, but is also the Editor-in-Chief at Gaming Excellence.


