9 things I wish I'd known before I started LawBreakers
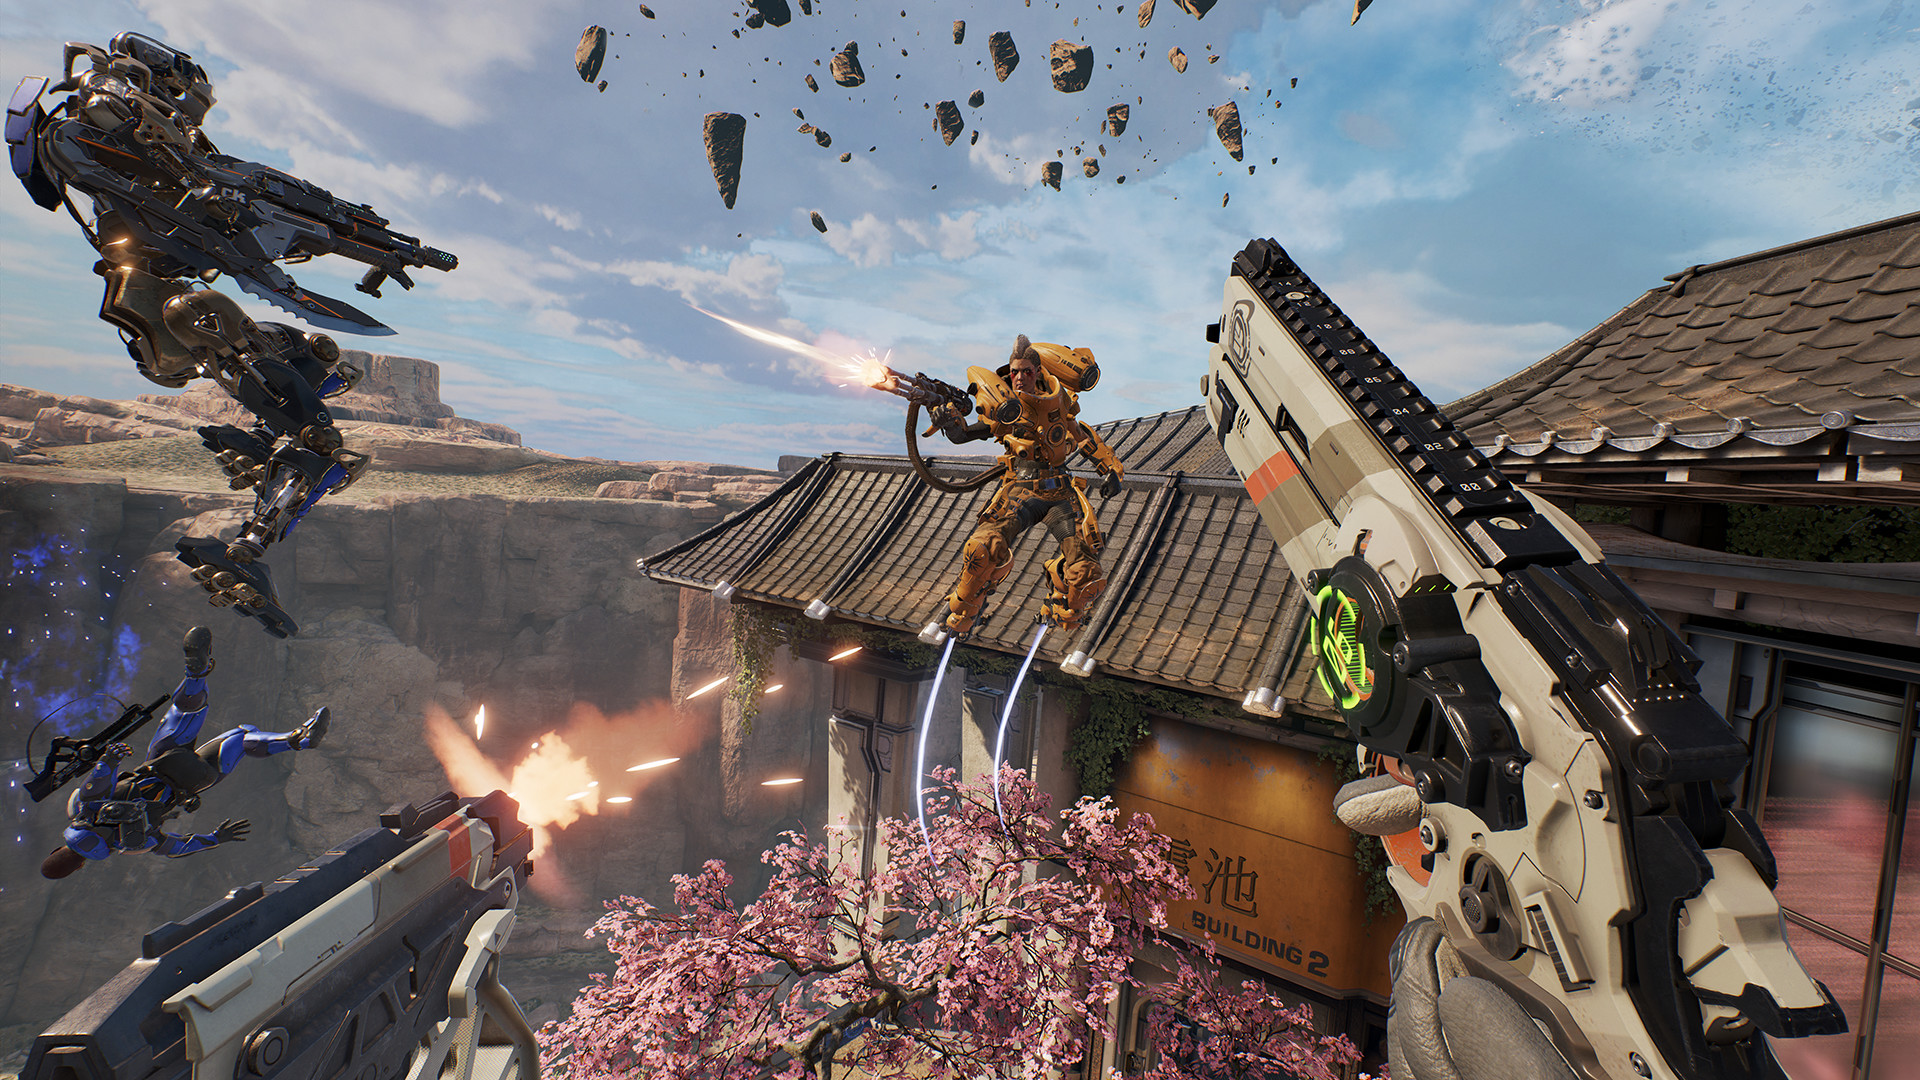
Zero-gravity. Talking balls. A barrage of laser beams and ninja blades following your every move. There’s a lot to get used to in LawBreakers, and while your old work experience boss at the printer factory was at least partially right about learning on the job being the best way to improve, you can certainly take the sting out of your first few rounds with some prior knowledge.
Behold, then, a few nuggets of precious information that will help you through the beginner phase of LawBreakers. With the All-Star Update bringing new maps and matches, there's never been a better time to get stuck in.
Vanguard is the class to learn the basics with
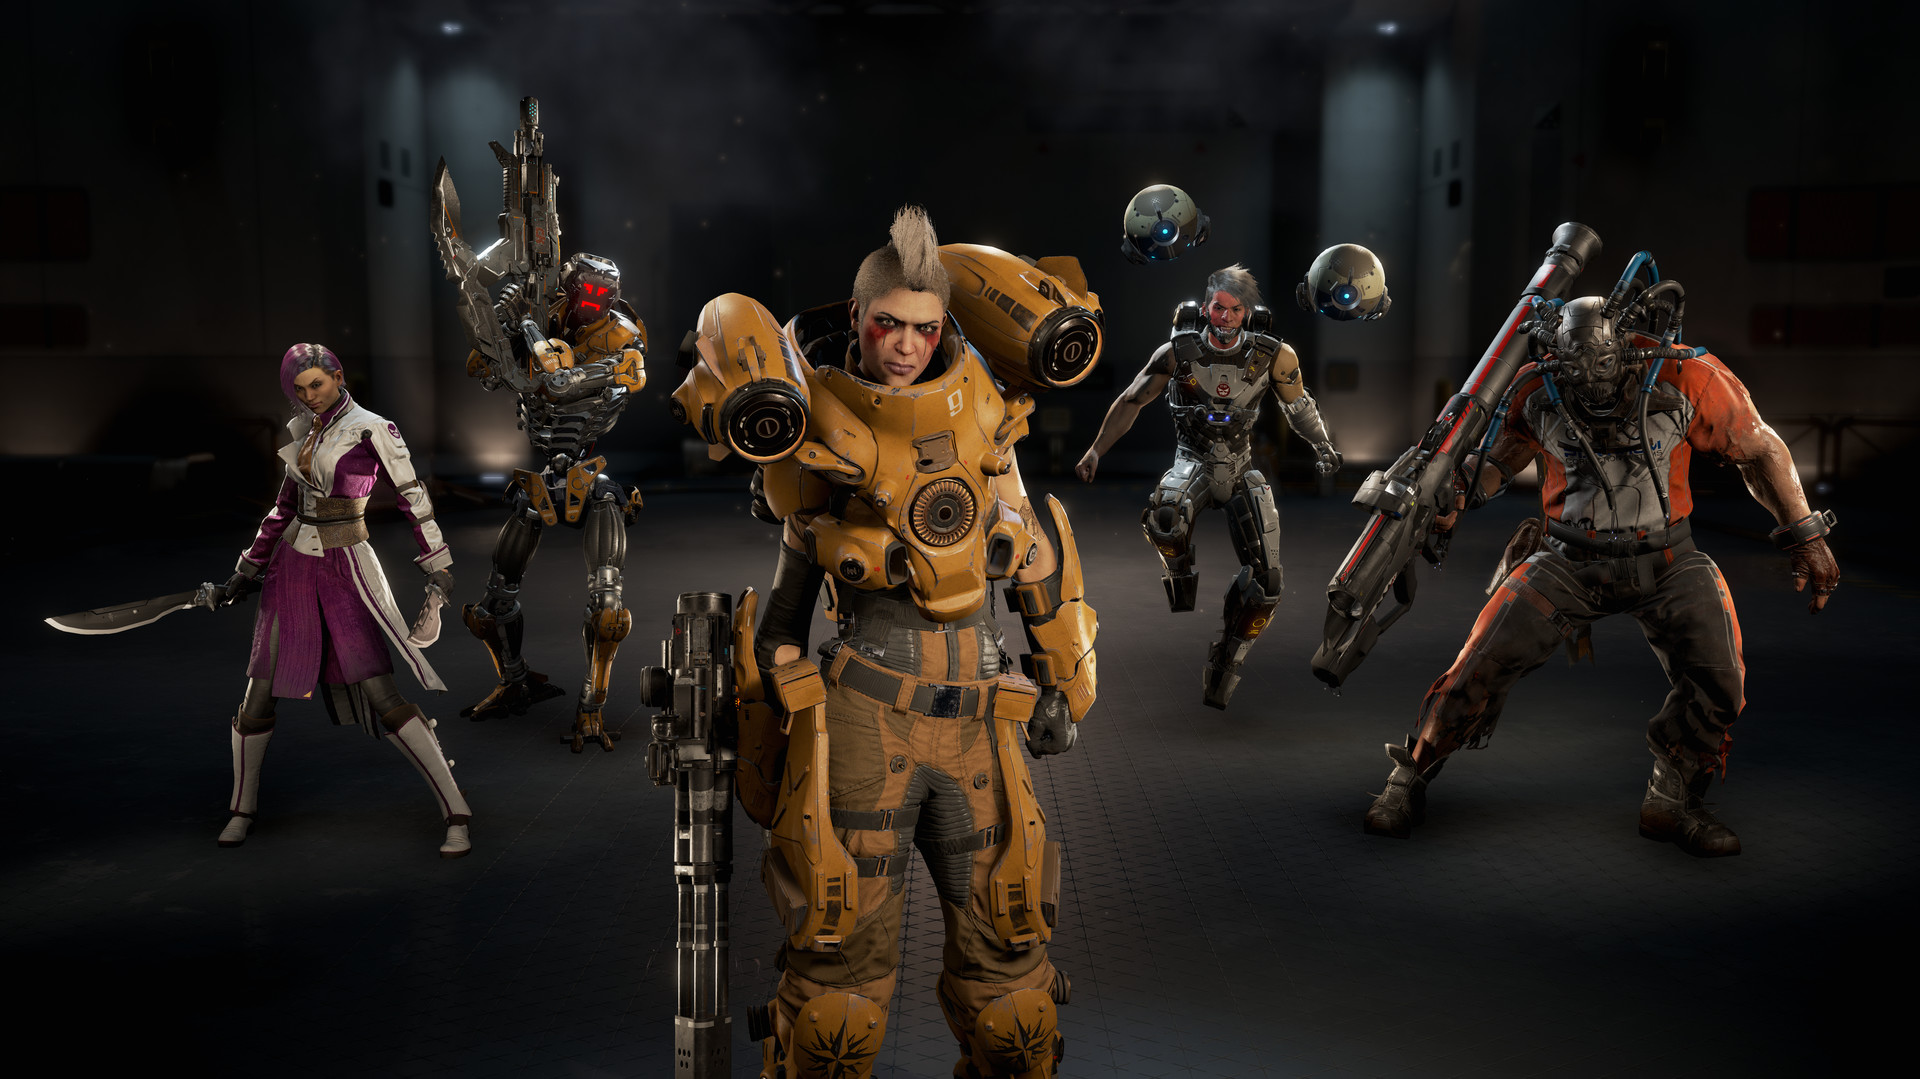
The funny thing about LawBreakers’ class-based combat is that each class is concerned chiefly with firing guns at the others, and there’s no true support character like Team Fortress 2’s Medic or Overwatch’s Mercy, with whom you can learn the ebb and flow of matches from the relative sidelines. The Battle Medic exists, yes, and can be fundamental to keeping a team alive, but they're also just as much of a warrior as everyone else.
Article continues belowIn their absence, there isn’t an obvious choice for beginners who just want to figure things out. Squishies like the Assassin and Wraith require particular skillsets, and when you’re dying every seven seconds as you play them, you’re not learning about much except your own blood pressure levels. Wraith is a brilliant intermediate character for learning LawBreakers’ faster, aerial game a little later on, but at first you might want someone a little easier to handle (and keep alive).
Maverick and Toska-9, LawBreakers’ Vanguard characters, are the ideal entry point for absolute beginners. They have an easy loadout to get your head around: Hydra minigun, grenades, jetpack boosters and a Starfall special ability that works exactly as it sounds: it rains pain down on nearby enemies.
The Hydra is a relatively simple minigun-type weapon, and it’s a massive damage-dealer. The trick is to start firing it as early as possible, since bullet spread decreases dramatically after the first couple of seconds. And this is actually a great way to get you thinking about one of LawBreakers’ core tenets...
Shoot in anticipation of where the enemy *will* be
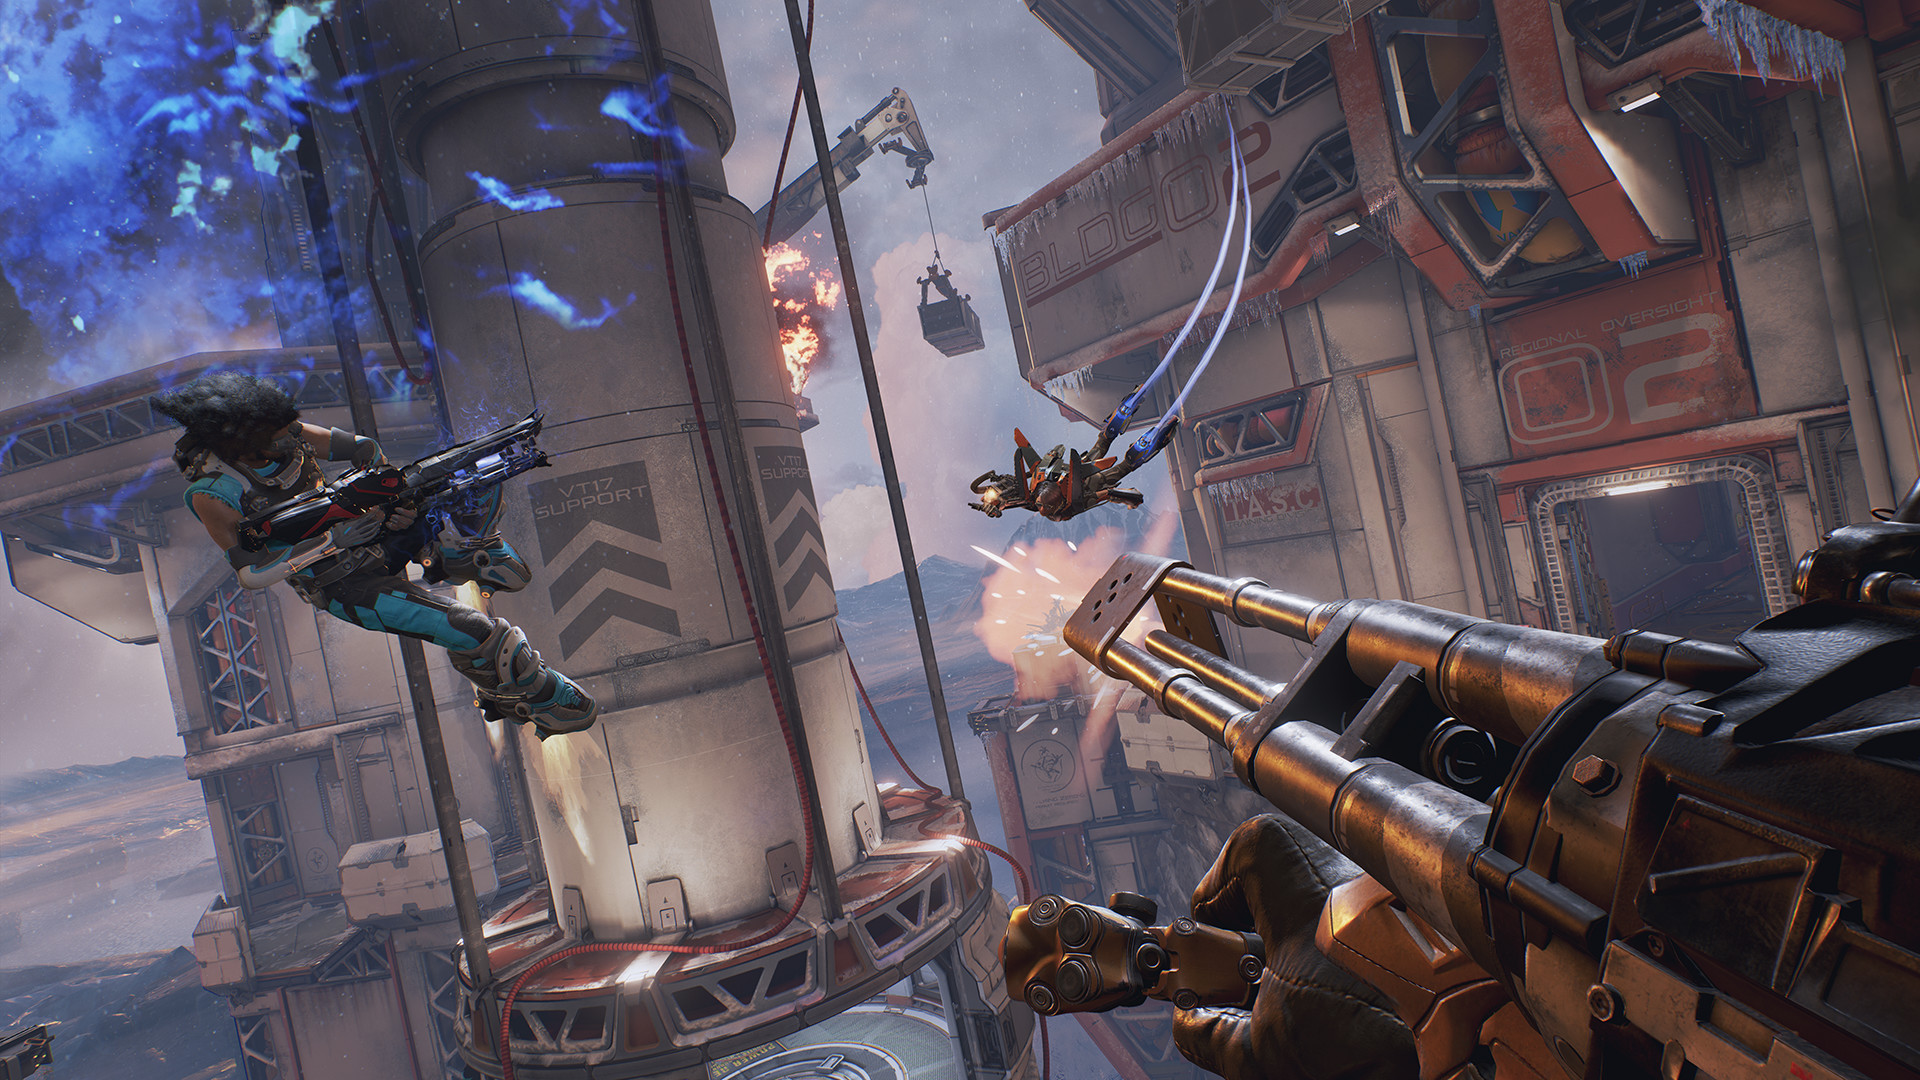
So much of the game is played up in the air in zero-gravity areas that the skilled player will get an eye for trajectories and arcs, and be able to maintain accurate fire at all times, regardless of their class. That’s not something you can apply right away, but it is something to think about every time you enter a fight.
Weekly digests, tales from the communities you love, and more
This is an especially fast-paced game, both in terms of player movement and the cadence of each game mode. In order to adjust to that speed, read an opponent’s movements so you can visualise their path, then shoot into it. Necessity will vary depending on distance and character (the Gunslinger can instantly hit a target at pretty much any range, for example), but it's a good habit to get into early.
Turn your mouse sensitivity down (or your stick sensitivity up)
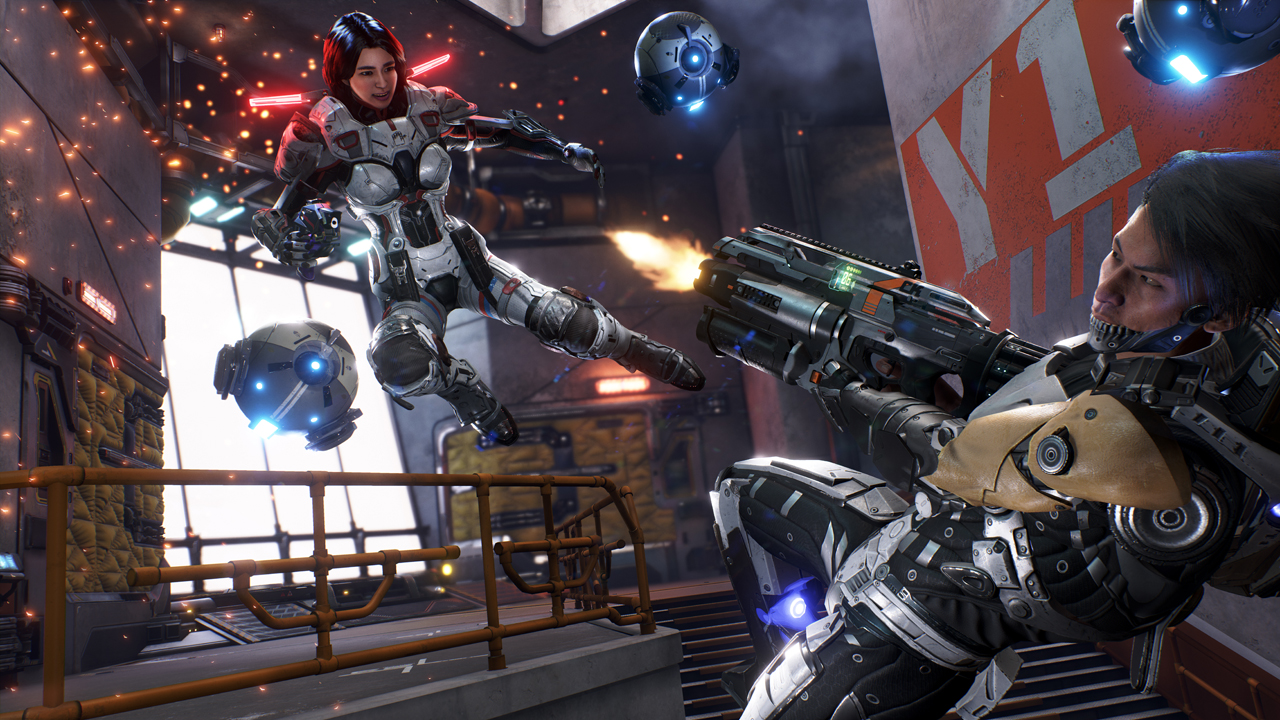
The default mouse sensitivity on PC is very twitchy, and probably isn’t doing anything for your K/D. Most players I’ve spoken to use a value somewhere between 1.0 and 2.0, depending on their mouse. Personally I find 1.1 works for me and my 3200dpi mouse, but it’s worth experimenting for a few matches and figuring out what works for you. Just know that the slider almost certainly needs to go way down, not up.
Conversely, you might want to keep an eye on your stick sensitivity if you’re playing on a PS4. The default turn speed isn’t too sluggish (though faster, more reactive characters like Assassin and Wraith might want a tad more immediacy), but as you get better at the game, it may well be worth incrementally turning things up in order to act (and pre-empt) more quickly.
Play the damn objective
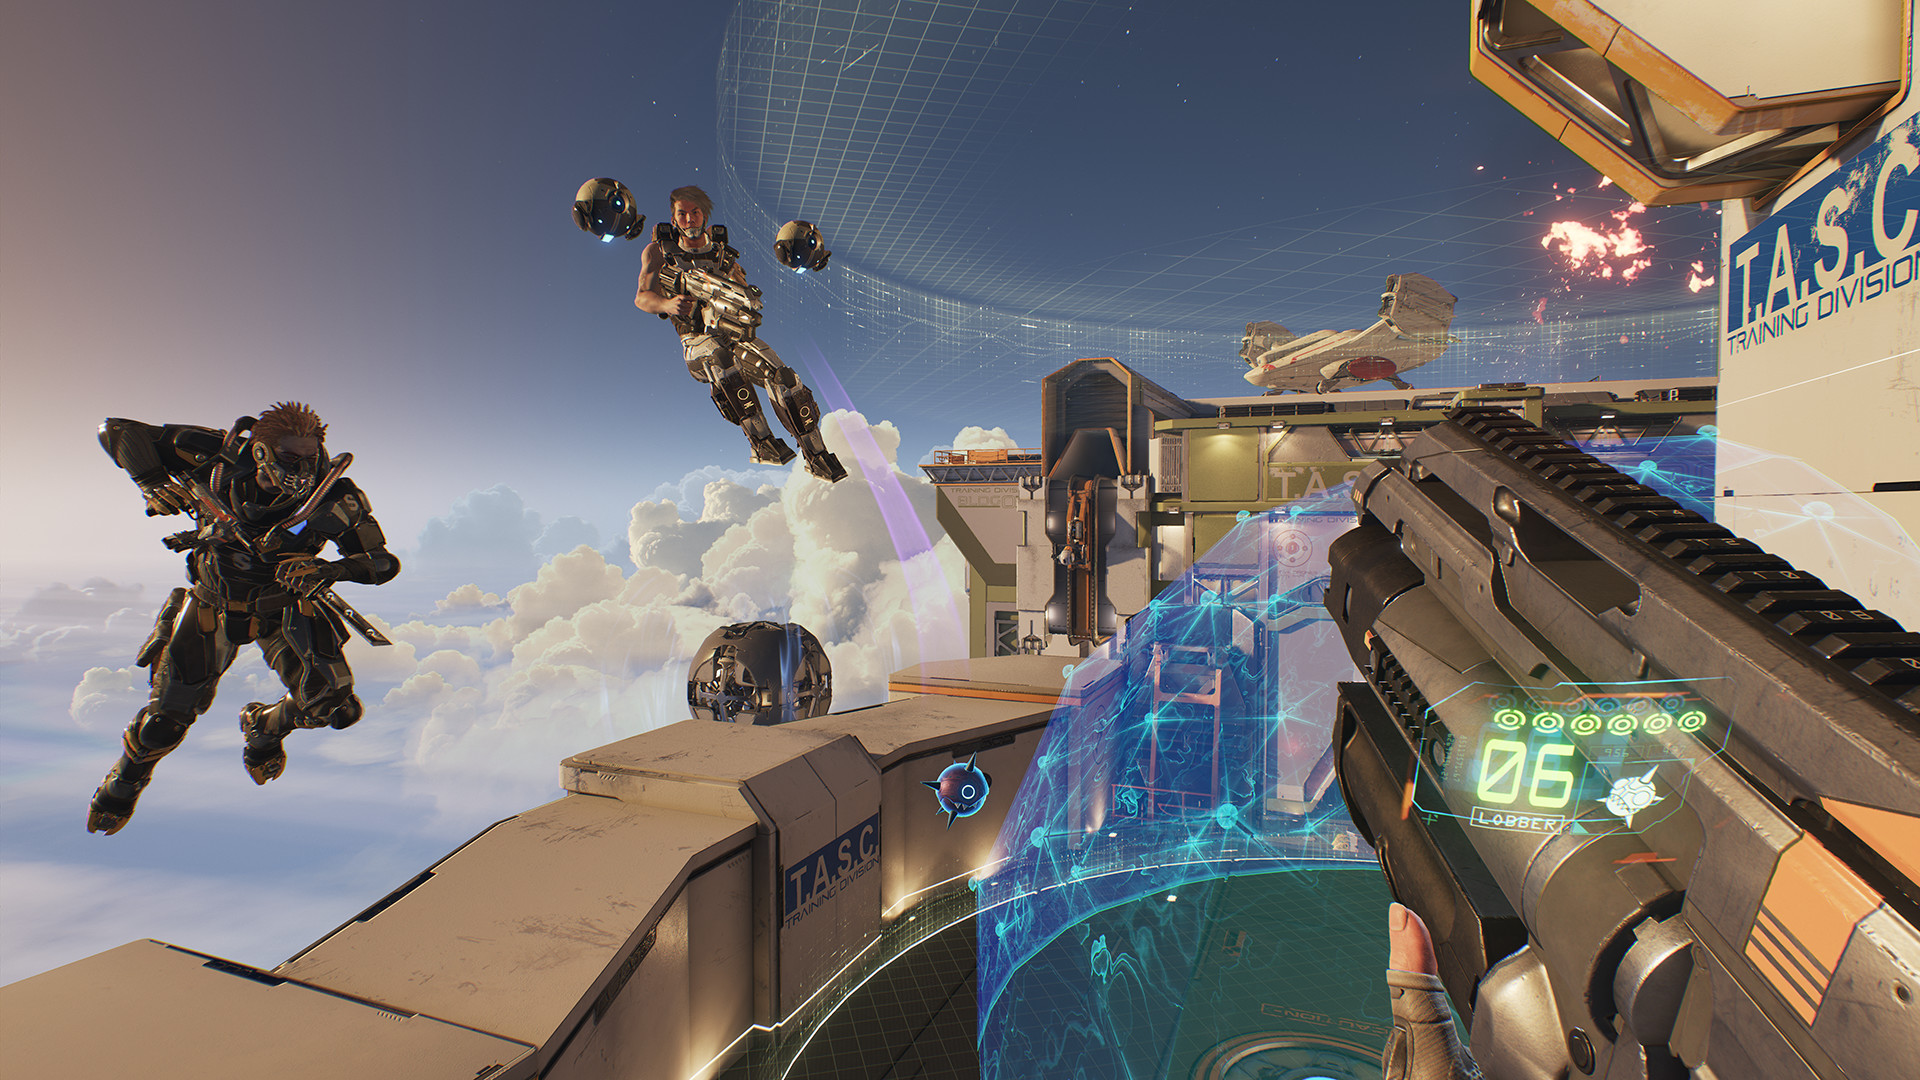
There just isn’t the space or the time in LawBreakers to ignore the objective and play a purely K/D-focussed game. Maps themselves feel designed to explicitly minimise mindless run-and-gun behaviour and, this being a team game, you’ll almost always find yourself outnumbered and outgunned if you wander around solo, looking for kills.
This might seem like redundant advice, but if the first week of LawBreakers’ full release has demonstrated anything, it’s that there’ll always be people determined to ignore the objective. It’s particularly rife during Occupy and Turf War modes, but take heed: the players who earn MVP at the end of a round are the ones with high objective points scores. What’s more, they’re often the ones with the most kills too, because when you’re paying attention to the ebb and flow of the match, you can anticipate where and when the enemies will pop up. So pretty please, try to win the mode, rather than pad your stats.
Blind-firing is actually useful
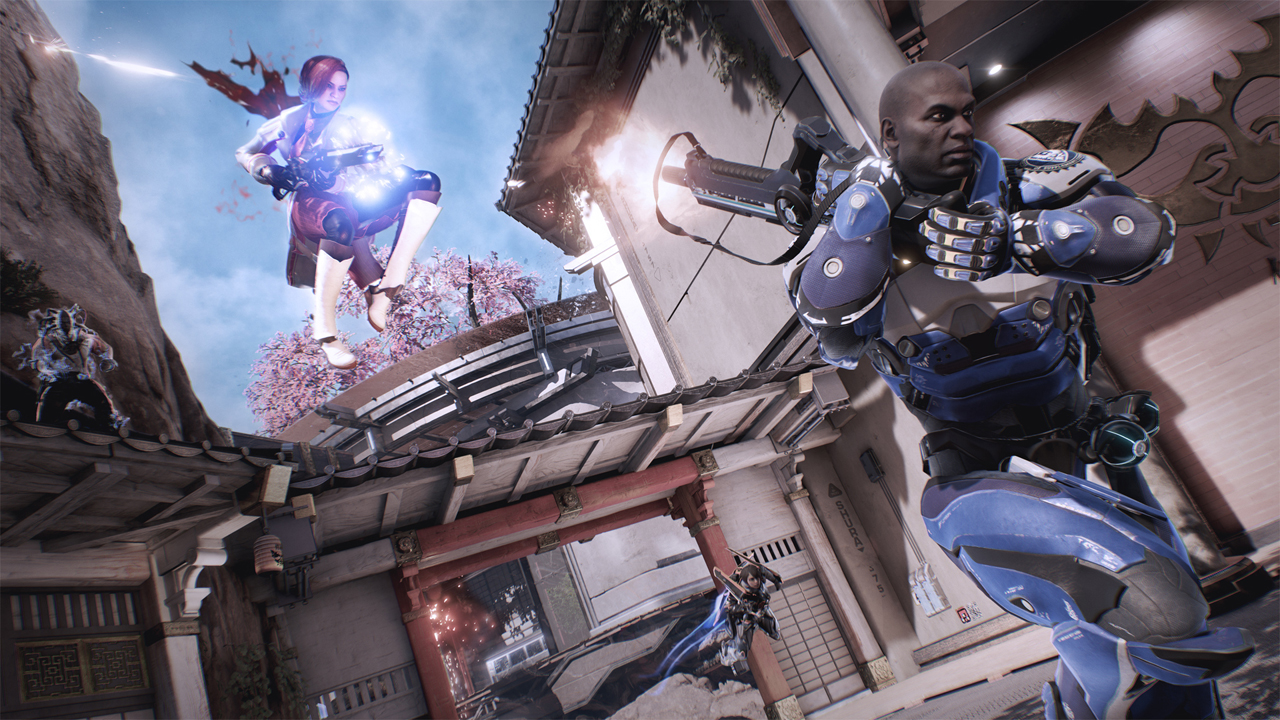
Chances are, you pressed left CTRL (or down on the d-pad) exactly once when you first loaded LawBreakers up, then never again since. But the fact is that blind-firing might save your life, and even get you a few kills. Its purpose is twofold: sending shots at any enemies pursuing you, and propelling your forwards when you’re airborne. Even if it doesn’t kill someone behind you, it might distract them enough that you can escape with the uplink, battery or Blitzball. And the extra propulsion will certainly help you get those objectives back to your base quicker. So, you know, use it.
Learn the health locations on each map
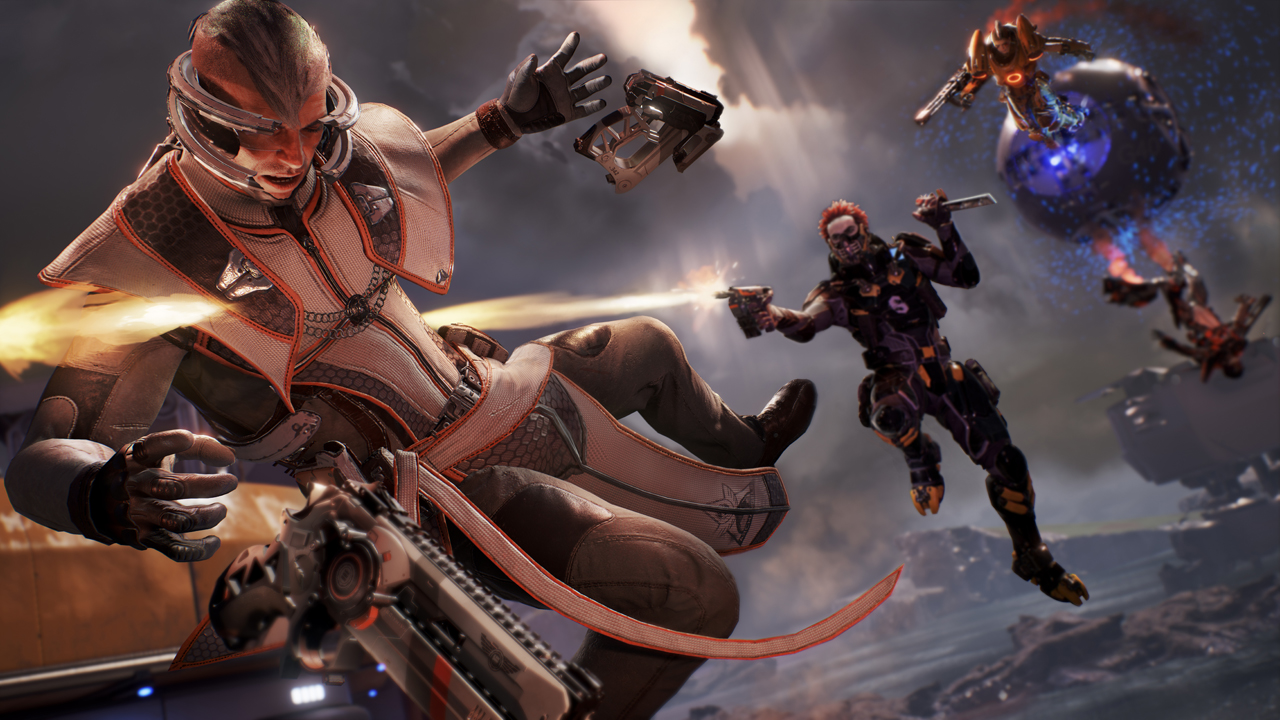
Only two classes - Battle Medic and Harrier - can heal others on the move, so in all probability you’ll need to take matters into your own hands several times during each round and go heal yourself. Health comes in two form in each map: health vials, and health stations, and they both glow bright green. Vials respawn every 30 seconds, whereas stations never deplete. However, don’t stand in the stations for any longer than you need to - other players will always be looking out for them too, and in that confined space the regeneration isn’t fast enough to counteract a hail of gunfire or - even worse - explosive damage.
Melee is important
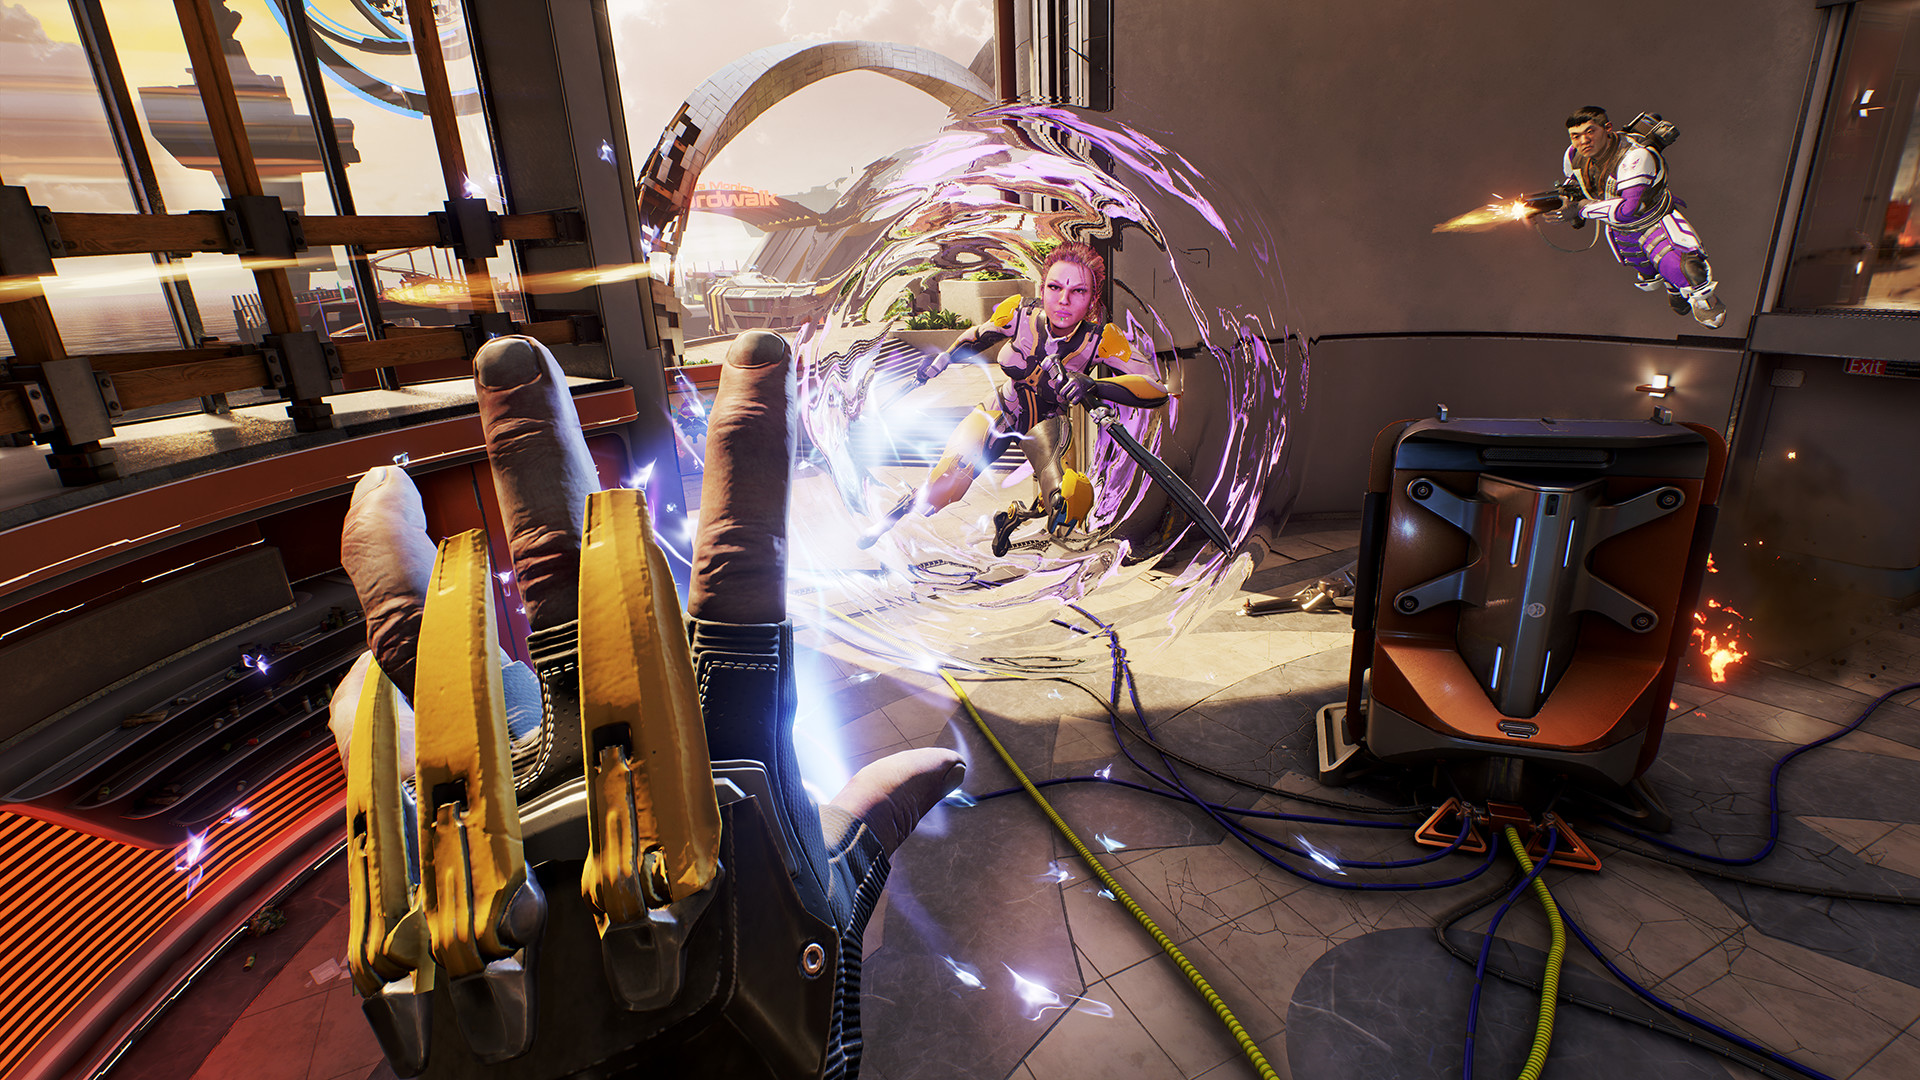
The boot-stomping in this game is more than just a means of Cliff Bleszinski’s self-expression, or another category of underwhelming cosmetic loot. It’s both of those things, sure, but it’s also a really effective way of finishing off opponents or scoring environmental kills.
Example: you’ve emptied a full clip into an opponent and their health bar lingers at a tantalising sliver (this happens a lot). You can wait to reload, wiggling around like a boxer, or you can just press ‘F’ (or click the right stick on PS4) to finish them at close range with an immensely gratifying kick, bellowing ‘Back of the net!’ out loud and then getting a hold of yourself again. Everything after the kick is of course optional.
In outdoor areas, closing the gap to an airborne opponent and kicking them out into orbit is just a fantastic feat, and a wonderful way to clear the way for objective-carrying opponents. Kicking is also a great move to integrate into certain classes’ move-sets. The heavy Juggernaut, for instance, has no way of dodging around tricky, fast-moving, close-range opponents, but a swift boot can clear them back out into comfortable shotgunning range, resetting their position in front of you for a clean shot at the same time.
Vanguard and Harrier (and later, Assassin and Wraith) are amazing Blitzball carriers
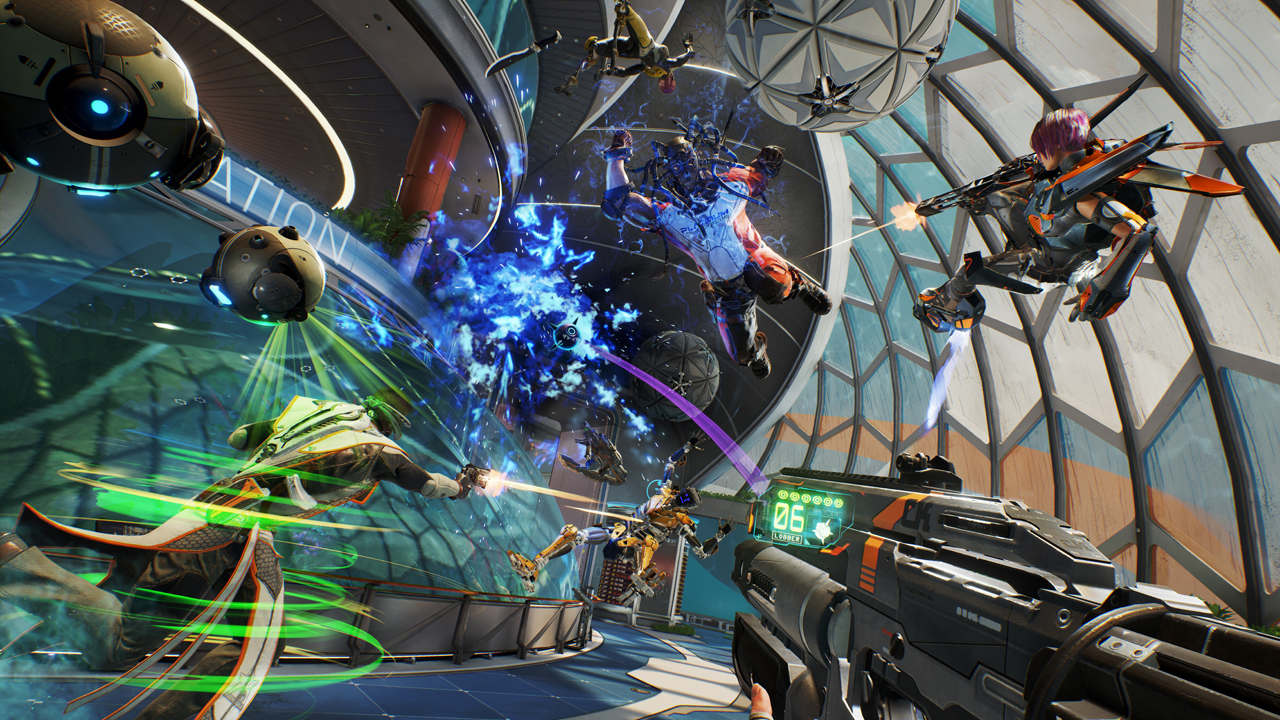
Yep, we’re back to Vanguard class talk again, this time joined by the formidable - OP? - Harrier. Their weapons are incredible in any game mode, but their movement abilities really come into their own in the faster-than-light-itself Blitzball mode. Vanguards can usually get from the ball spawn to the scoring zone of any map in one full charge of their afterburners, doing so with remarkable rapidity and plenty of vertical options too. It still takes everyone by surprise at the moment, so make good with Toska-9 and Maverick until they get nerfed.
The Harrier class isn’t quite as straightforward when it comes to whizzing about, but does bestow a triple-jump and wall-jump ability, which give you the power to get from spawn to score zone almost as quickly as a Vanguard, while being a tad more unpredictable too. Fastest of all, but trickiest to handle, is the Assassin. Master the momentum of her grapples and air-dashes, and you’ll be from ball pick-up to goal in a handful of seconds. When you’re comfortable with her, there’s no-one more nightmarishly quick, but her low-health nature means that you’ll have to pick your moment very carefully indeed. If the zone is too hot, hang back. Same deal goes for Wraith.
Back-dash, and lay a grenade in your wake
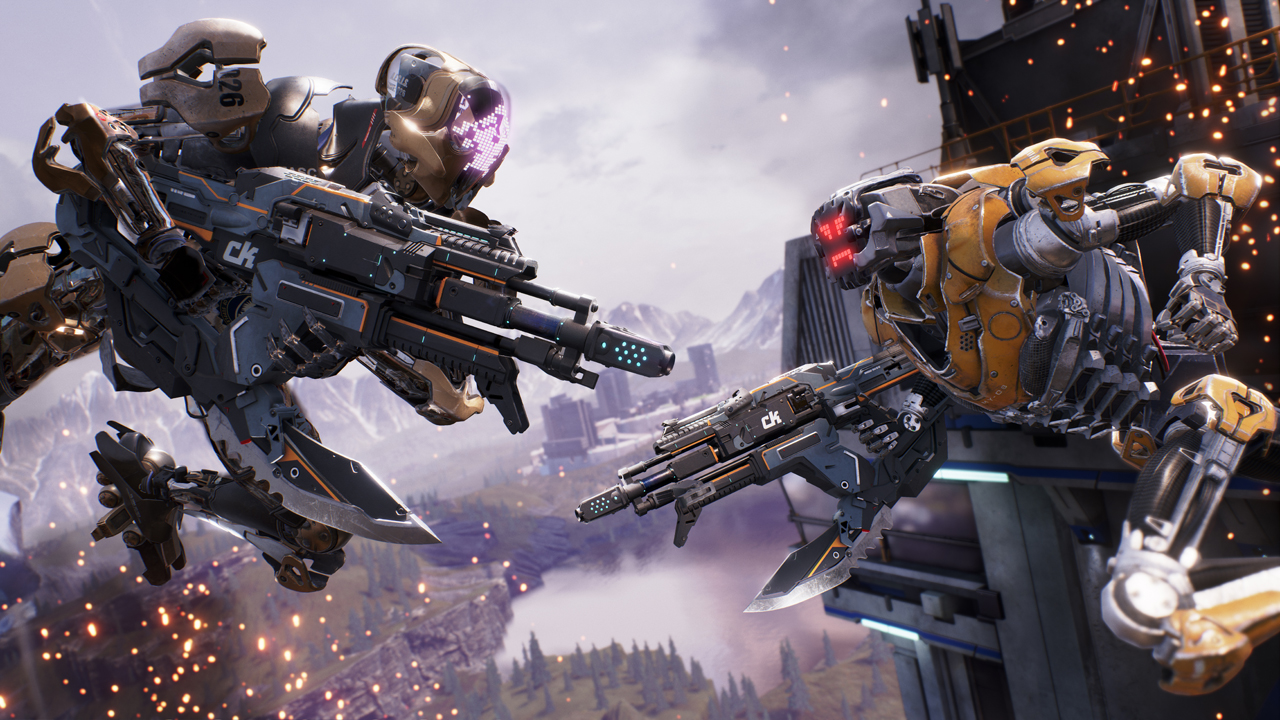
Try this, while playing as an Enforcer: use your movement ability and move backwards at the same time. Then just after that, press your grenade button. You’ll perform a backdash and drop the grenade right where your pursuing opponent was probably heading. It’s a killer move.
You can perform similar manoeuvres with other classes. Harrier performs a double-foot kick instead of the usual one-foot, which pushes you back and buys you some space, and most others can harness their movement ability to kick off in the opposite direction. The Assassin's rangey dash, combined with her innate speed and Flux Blast force grenade, can put great distances between her and an opponent.

Phil Iwaniuk is a multi-faceted journalist, video producer, presenter, and reviewer. Specialising in PC hardware and gaming, he's written for publications including PCGamesN, PC Gamer, GamesRadar, The Guardian, Tom's Hardware, TechRadar, Eurogamer, Trusted Reviews, VG247, Yallo, IGN, and Rolling Stone, among others.

 Join The Community


