
 Join The Community


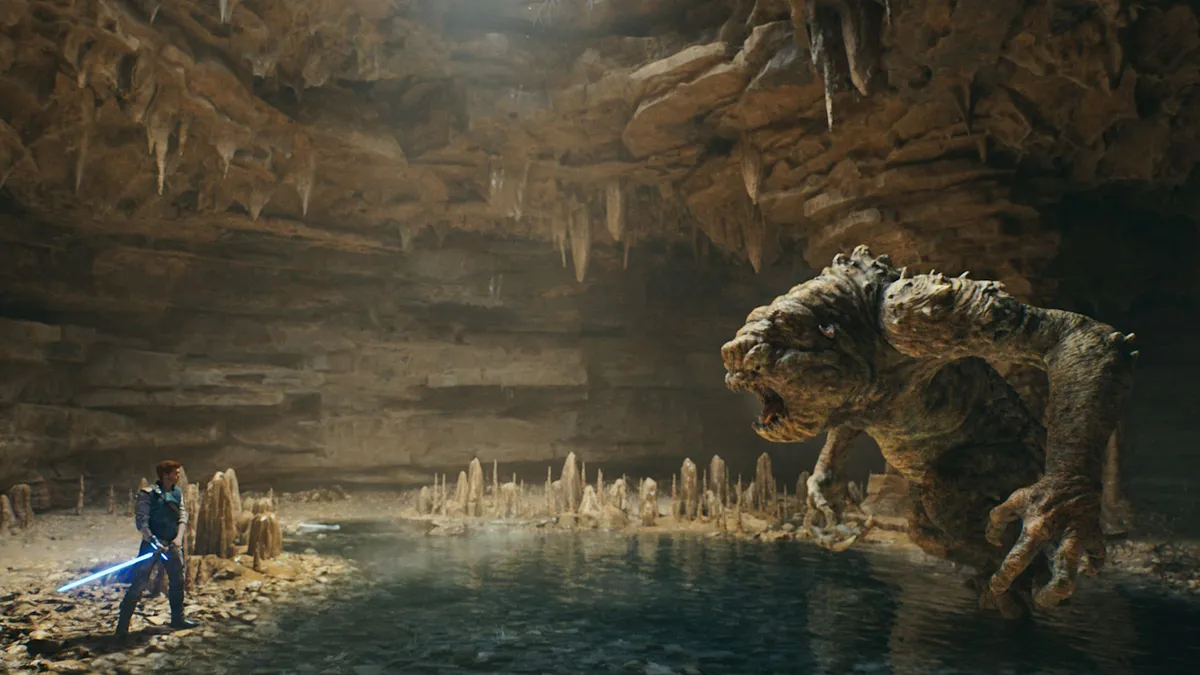
The Star Wars Jedi Survivor Rancor fight is an optional boss that players can encounter very early on - and frankly, while it can be beaten at any point, a wise player might wait until later before going across this slathering pug-faced monstrosity on loan from Return of the Jedi. The Rancor is capable of sweeping strikes and instant-kill attacks that make it seriously tough, and even experienced players will fairly struggle against Koboh's secret peril. Still, it's certainly not unbeatable - and we'll show you how to beat the Rancor in Star Wars Jedi Survivor, with tips and tricks that Luke could certainly have used in Jabba's Palace.
How to find the Rancor in Star Wars Jedi Survivor
If you're working through our Star Wars Jedi Survivor walkthrough then you'll find a Meditation Point just before Cal arrives at Rambler's Reach on Koboh. Off to the right will be a local prospector who's worried about a missing group if you speak to them. This will start a Rumor titled 'Find the Missing Prospectors.' To get started, you'll need to head to the mine where they were last seen, which is a short distance from the prospector - head up the nearby vine wall, and the mine will be to your left in the nearby cliff face.
Climb down the pipe at the entrance and continue into the mine. Turn left as you approach the main shaft, and use the Force on a glowing blue grate to open a way ahead. Go straight on, watching out for some creatures that will jump you, and cut through some pipes to carry on. Wall-run over the gap, follow the path, and turn left using the rock-bridge to traverse the next gap.
Article continues belowNow take the second right, cutting through more pipes, then follow the path around until you find a gap to squeeze through on your left. Turn right immediately, and go through another gap. Follow the path, activate the shortcut back to the start, and head through space on your left - there, you'll find a meditation shrine on your right, and the Rancor arena straight ahead of you.
How to beat the Rancor in Jedi Survivor
My top tips for beating the rancor are:
- Stay mobile and dodge as much as possible
- Focus on damage with the Dual or Crossguard Stances
The Rancor can kill Cal in a couple of hits and has three unblockable attacks, one of which is an insta-kill, so mastering dodging here is vital. The air dash you can unlock from the list of Star Wars Jedi Survivor abilities, Force powers and gear can be incredibly useful here, if not essential, a a valuable bit of extra mobility.
The key thing to remember is that if you see the Rancor glow red, get as far away as possible from it. Two of its unblockable attacks are large area of effect strikes, and the third, most deadly one, is a lengthy lunge.
Rather than forcing the fight, let the Rancor come to you and it'll have overextended, making it easy to land a few blows. The Rancor's guard, and the infrequency of its attacks, means that parrying can be tricky, so it's best to keep a distance. The blockable attacks - an array of large swipes towards you - are extremely heavy, and will drain your block meter quickly, staggering you and opening you up to more punishment.
Before you start the fight it's worth considering the skills and stances you have equiped. Given how hard the Rancor hits, extra health can make a lot of difference here. So consider putting your skills into the 'Survival' tree, which offers extra max health and more healing from very early on. You can also collect a lot more Star Wars Jedi Survivor stim canisters to help in the fight.
When it comes to which of the Star Wars Jedi Survivor lightsaber stances to use, you'll have two good options depending on how far through the game you are. Early on, I had most success with the Dual Wield stance which lets you get lots of small hits in - breaking the Rancor's guard is nearly impossible due to its other attacks, so simply pressuring it where you can, rather than blocking, is a good strategy.
However, if you take on the Rancor later in the game, you'll have the Crossguard stance - a heavy-hitting lightsaber style that's very effective against bigger foes that don't try to block your strikes. You'll only have to land a handful of hits to do some serious damage with this option. You won't unlock the Crossguard until after you leave Koboh for the first time, but with the Meditation Shrine unlocked you'll be able to fast-travel back to the mine very quickly.
After you've beaten the Rancor, you'll be able to scan it for some extra XP, and make use of the crystal in the back of its cave to boost some other stats. To leave the mine, simply climb out of the pit, take the shortcut back to the mine entrance, and head back to Rambler's Reach - you'll need to talk to the prospector to fully complete the mission.
GamesRadar+. Not to be reproduced without permission

