


 Join The Community


GamesRadar+ Verdict
Pros
- +
At its heart
- +
a great game
- +
Brilliantly ripe acting
- +
Successful base management
Cons
- -
Totally unripe controls
- -
Can't make fast tactical decisions
- -
Grueling campaign missions
Why you can trust GamesRadar+ Our experts review games, movies and tech over countless hours, so you can choose the best for you. Find out more about our reviews policy.
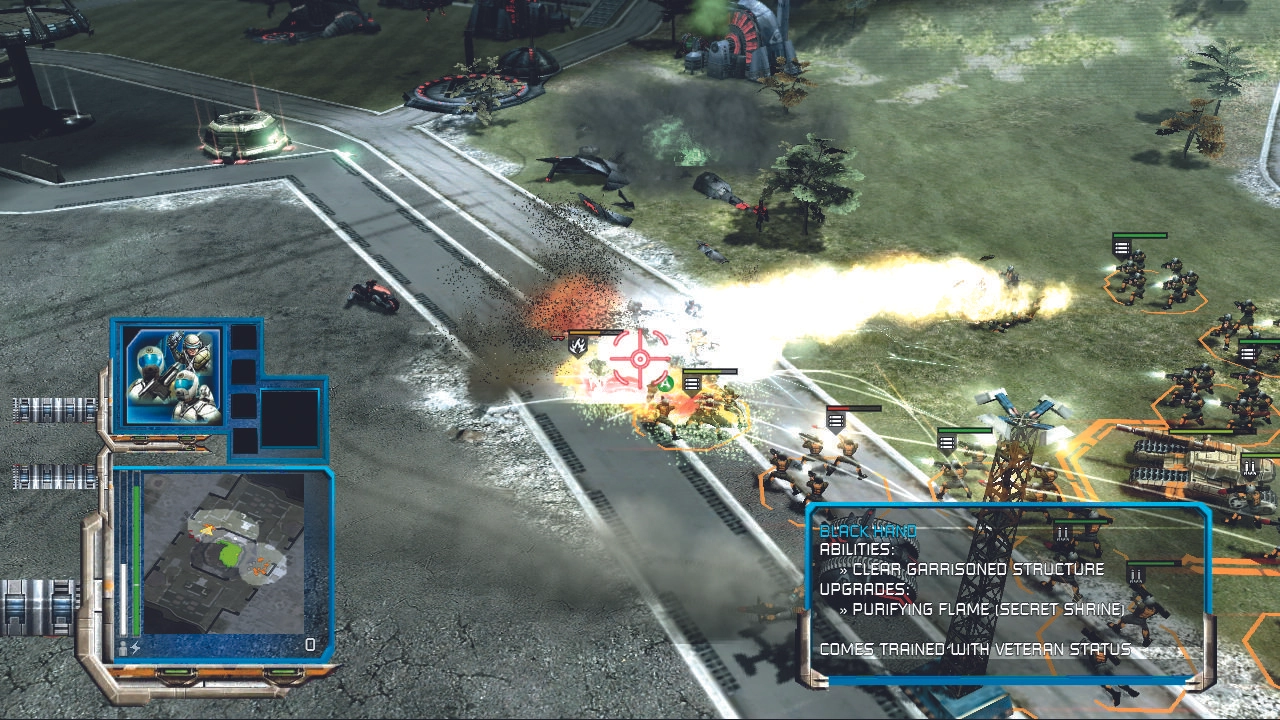
Port ho! Or, more in keeping with the military chatter of your units, “We haff PC port in our sights!” It’s EA’s second shot at squeezing the PC title onto the 360, this time an expansion pack that focuses on everyone’s favourite baldy megalomaniac as he claws his way back to power. But while Kane’s search for tide-turning tech satisfies the ‘conquer’ quota, commanding is another issue. Apologies for the broken record routine, but the Xbox 360 pad is no substitute for the mouse and keyboard, at least when it comes to playing PC games, which this is. EA’s system of control revolves around a series of command dials, each tab dropping to a further level of strategy for whatever element of the battlefield it commands. For base management it’s a success. You spot a new threat and you’re never more than three clicks away from putting into motion a retaliation plan.

Actually enacting the plan? Not so good. As slick as pumping out units may be, actually selecting them involves all manner of finger gymnastics and the kind of button combo memory that would give Rain Man the willies. The ability to group units into squad tabs on the dial is a neat attempt at hotkeys, but piecing together each squad will lose you countless minutes – not good in an RTS as quick paced as C&C.

While it all fundamentally works, the gist is: on-the-fly tactical decisions are off the table. Each battle has two layers of strategy – how do you beat GDI, and how do you beat the controls. It loses a great deal of fluidity in the process, the tough campaign missions in particular are a grueling exercise in learning by rote. EA need to take a page out of EndWar’s book – reinvent the control scheme for 360 – or Civ Revolution’s – reinvent the gameplay for 360. As it is, Kane’s Wrath, like its predecessor, is a stubborn mule stuck in its PC ways. And yet when the game is throwing around its patented brand of silliness it feels like a perfect fit. The mad live action mission briefings (particularly Joe Kucan hamming it up a treat with kitchen foil wrapped around his mug) and some inventive new unit types are almost worth facing the controls for. Almost, but not quite.

Jul 1, 2008

