-
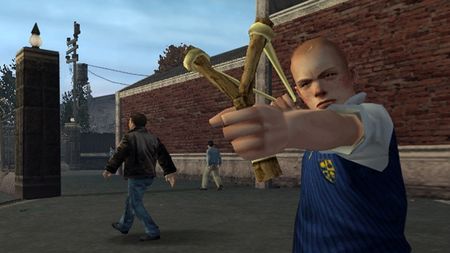
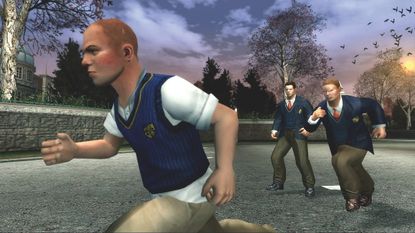 NewsBully Online modder isn't worried about Rockstar's lawyers, but all the hype for the GTA Online-like mod is "a clear sign that Bully 2 wouldn't be such a bad idea"
 -
-
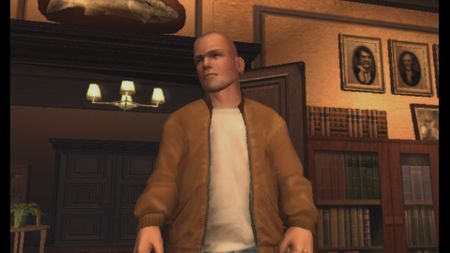 Now PlayingI turned a Rockstar PS2 classic into a cozy game and it proved that the Steam Deck's greatest strength is in being the anti-Switch 2
 -
 NewsRockstar details backwards compatible games for PS5, Xbox Series X/S
 -
 NewsThe design director of Bully and Sleeping Dogs is working on a new horror game
 -
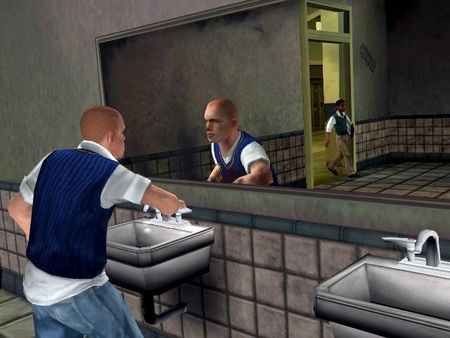
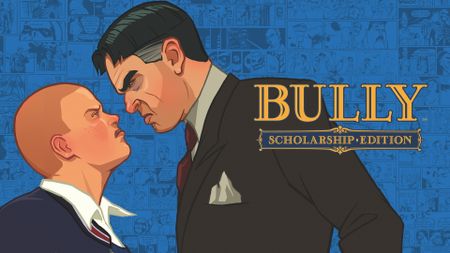 RetrospectiveHow the creators of GTA swapped city streets for school beats in Bully: Scholarship Edition
 -
 FeaturesWhy having New Game+ in real life would be both fantastic and horrific
 -
 CommentaryNew Rockstar game coming by April 2015. Bully 2, surely?
 -
 Action10 great games that never needed a sequel
 -
 FPS GamesValentine's Day cards for gamers
 -
 ActionThe Top 7... Cheerleaders
 -
 ActionRockstar says that Bully sequel is in the cards, but on the backburner
 -
 ActionWhy Rockstar needs to make Bully 2
 -
 ActionThe Top 7... Movie genres games should try next
 -
 SportsMature games remade for the Wii family
 -
 ActionThe most sick, morally questionable Achievements and Trophies
 -
 ActionGaming’s least hard hard-men
 -
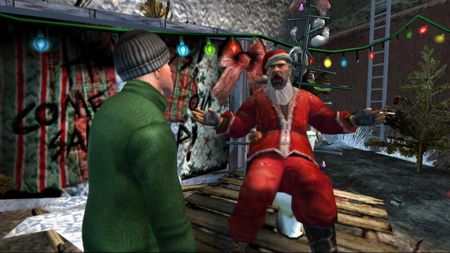 ActionThe evolution of Santa Claus
 -
 Action GamesCostumes that saved the world
 -
 ActionBully 360 still causing problems
 -
 ActionBully 360 progress update tomorrow
-


