The Next Generation PC - Day 3
The future is two screwdrivers and a cup of joe away
4) Graphics card
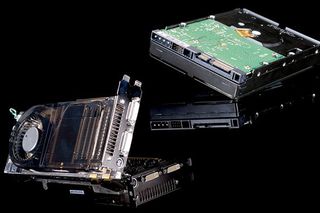
Once the motherboard's fitted inside your new case, you can slot your graphics card into the largest PCI-Express slot on the motherboard. There's usually a small clip on the right end. You'll know that you've pushed the card properly into place if this clip clicks home - now you won't be able to lift the card out again without undoing this clip. (And please don't try: you'll just end up wrecking the clip and thereby rendering your motherboard instantly worthless.)
Now, power: there'll be one or two six-pin plugs on the other end of the card, and you need to connect the corresponding cables from your PSU to these. This is an often overlooked step, for some reason, so don't forget.

5) Hard drive
Slot your drive into one of the 5.25 inch bays in your case, and screw it into place if your case is too cheap and nasty to have thumbscrews. Assuming this is a modern, SATA drive, plug one end of a SATA cable (the long, thin ribbon ones, usually red, that came with your motherboard) into the matching socket on the back of the drive, and the other into one of the two-to-four similar sockets on the motherboard. (Got an IDE hard drive? Connect it to your primary IDE socket - see step 6). Connect the thin black plug from your PSU to the power socket on the hard drive. If your PSU doesn't have this cable, you'll find an adaptor from the old large, four-pin white plug type in the mobo box.
Some drives using the faster SATA II/300 speed have a small plastic jumper over the pins at the back forcing them to run at the slower SATA-150 speed. Check the sticker on the top of the drive to see if this is the case, and remove the jumper if so.
Sign up to the GamesRadar+ Newsletter
Weekly digests, tales from the communities you love, and more
Most Popular


