Starcraft II: Wings of Liberty – Campaign walkthrough & strategy guide
So it's been 10 years since you played Starcraft? Better check out our walkthrough
Another small scale mission, but this time you'll take control of Raynor, Tychus, Swann, and Egon. This is a pretty straight forward mission, and instead of a step by step guide just use these general tips and it shouldn't be too difficult. Remember that your character units can't die, they can only be incapacitated, so don't panic if one of them goes down.
1. Memorize the hotkeys for each character
Each character is mapped to an individual key, as are their special moves, so make sure to figure them out. Individually clicking in the middle of a fight takes longer than it should, so get used to using the hotkeys.
2. Use Raynor to take out Nydus Worms, Spine Crawlers andhigh threat targets
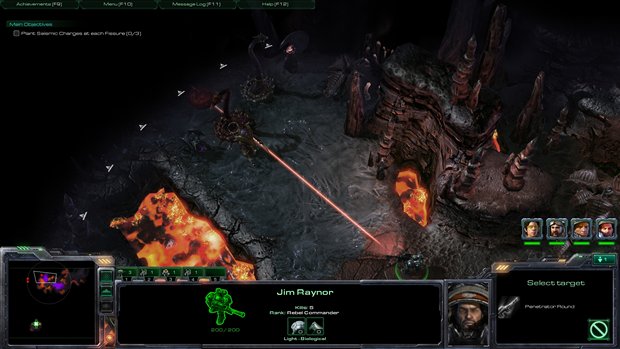
Raynor is essentially a Ghost unit that can't cloak and his Penetrator round ability is similar to Snipe, but hits everything in its path. The 300 damage is best used for taking out Spine Crawlers or hard to reach Nydus Worms. Also look out for Aberrations and Ultralisks to use it against as they can quickly decimate your forces if left unchecked.
3. Spam Tychus' grenade
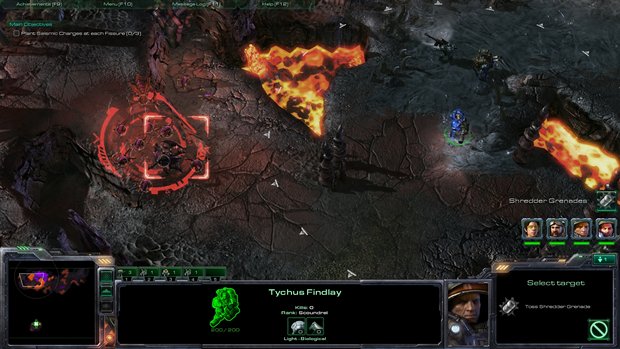
Tychus' grenade is an extremely useful area of effect weapon that does high damage and will automatically kill most Zerg in its radius so make sure to use it at every opportunity, especially when the Zerg begin to swarm you. Also note it can't hurt your units so feel free to use it in close proximity if you're getting overrun.
4. Plug chokepoints with Swann's turret
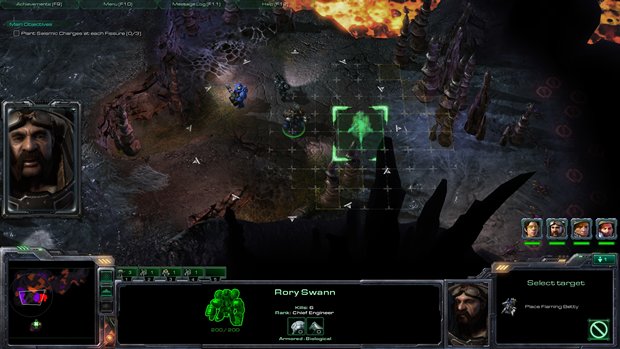
Swann can drop an auto turret flamethrower periodically, but its reset is longer than the other abilities, so make sure to save it for large swarms of Zerg or tight chokepoints only. Don't forget to redeploy it once its timer is up either.
5. Keep the rest of the units to the rear
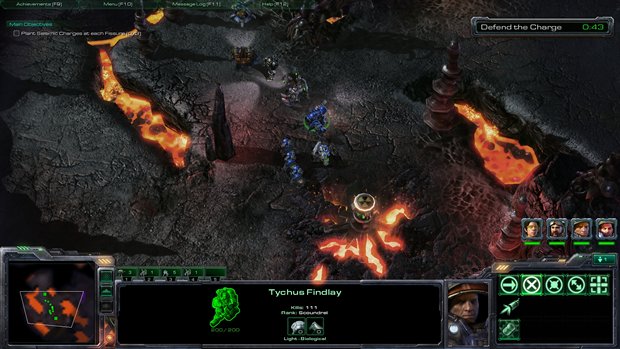
Egon functions like a regular Medic, so make sure to keep him close to, but behind the other characters so he can do his thing. Be careful as its easy for large swarms of Zerg to make positioning the individual units difficult. The Marines and Medics you acquire should also stay to the rear until you need them for defending the bombs you'll be planting. Make sure the Medic is placed behind the Marines at all times.
Weekly digests, tales from the communities you love, and more
