Assassin's Creed: Brotherhood Sons of Romulus Lairs guide
Complete every hidden Romulus lair in full synchronization with our complete walkthrough guide
Weekly digests, tales from the communities you love, and more
You are now subscribed
Your newsletter sign-up was successful
Want to add more newsletters?

Every Friday
GamesRadar+
Your weekly update on everything you could ever want to know about the games you already love, games we know you're going to love in the near future, and tales from the communities that surround them.

Every Thursday
GTA 6 O'clock
Our special GTA 6 newsletter, with breaking news, insider info, and rumor analysis from the award-winning GTA 6 O'clock experts.

Every Friday
Knowledge
From the creators of Edge: A weekly videogame industry newsletter with analysis from expert writers, guidance from professionals, and insight into what's on the horizon.

Every Thursday
The Setup
Hardware nerds unite, sign up to our free tech newsletter for a weekly digest of the hottest new tech, the latest gadgets on the test bench, and much more.

Every Wednesday
Switch 2 Spotlight
Sign up to our new Switch 2 newsletter, where we bring you the latest talking points on Nintendo's new console each week, bring you up to date on the news, and recommend what games to play.

Every Saturday
The Watchlist
Subscribe for a weekly digest of the movie and TV news that matters, direct to your inbox. From first-look trailers, interviews, reviews and explainers, we've got you covered.

Once a month
SFX
Get sneak previews, exclusive competitions and details of special events each month!
Much like the six assassin’s tombs found throughout Assassin’s Creed 2, there are six Lairs of Romulus scattered across the world of Brotherhood, each containing a deep, dark secret (and a bunch of dudes dressed like Lassie). Finding your way to the treasure at the end of each lair is reasonably easy, but can you do it like Ezio would have and achieve full synchronization? We’ve put together a guide to help, just in case you’re not a natural born killer.

For the timed lair runs, a good tip to remember is to position the camera in the direction you intend to leap before making each jump. True you can be a bit quicker if you don’t, but it’s not worth making a mistake and having to start the entire run over.
Brotherhood Clusters and 2012 Artifacts guide | Brotherhood Flags and Feathers guide
The Halls of Nero %26ndash; Rome

Full Synchronization: Complete the memory within 8 minutes.
The trick to making this speed run is to simply remember where to start a few of the key platforming sections. Then of course, make sure not to fall. In order to make it to the end in less than 8 minutes you’re going to have to avoid all distractions such as treasures or flags and keep focused on the goal. It’s simple enough to find the best path through some lengthy (and frustrating) trial and error, but why not let us do the work for you? Just watch the above video to see how it’s done. Remember that you can always pause during the memory to see how much time you’ve got left.
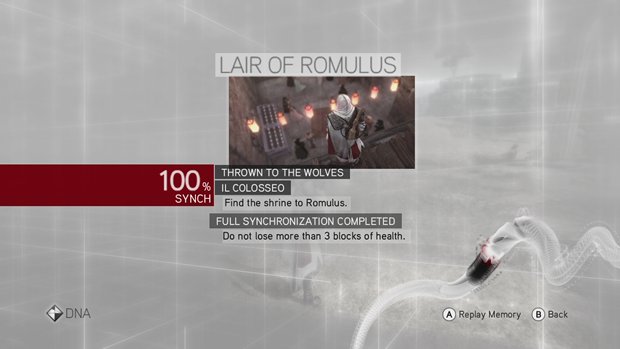
Full Synchronization: Do not lose more than 3 squares of health.
Keeping your health up should be no problem here. The enemies are tame, and as long as you have the lenient counter-attack timing down you won’t come close to losing 3 squares. Just be aware that there are two fights – one after you confront your target for the first time and another avoidable fight near the end (see below).
Weekly digests, tales from the communities you love, and more
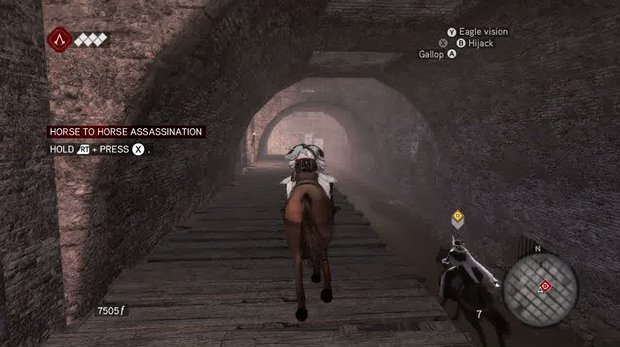
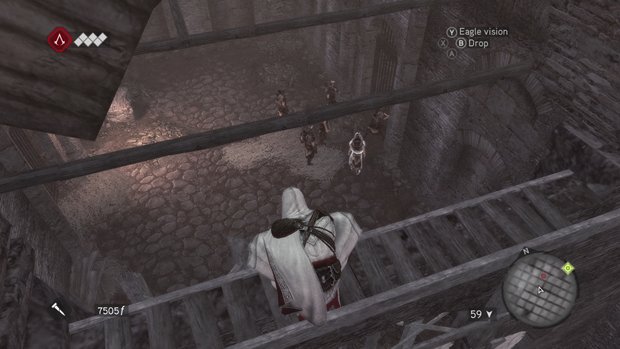
If you can catch up to your target on this final stretch and either hijack or kill him before he crashes through the wall, you can avoid fighting the second group of baddies.
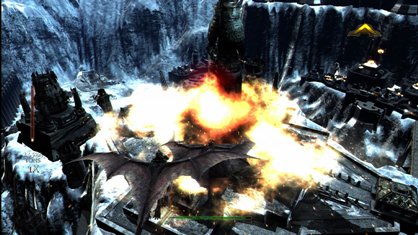
Full Synchronization: Complete the memory within 8 minutes.
The biggest challenges you’ll face during this speed run are the maze-like hallways and the group of baddies at the end. They’re not particularly tough, but fighting them takes up time, and avoiding them can be tricky.
-Avoid treasure chests, especially ones you see in the maze-like hallways. If you see one there, chances are you’re at a dead end.
-Soon after the first checkpoint you’ll enter some hallways. When you have a choice of direction, take the 2nd left, then the 2nd right, then the 2nd right again.
-In the second set of hallways, when you have a choice of direction, take the 1st left.
-In the third set of hallways, take the 1st left, then a quick right.
-In the fourth set of hallways, when you have a choice of direction first go straight, then right, then right again.
-In the fifth set of hallways (after you climb the big cross), when you have a choice of direction, go left, right, straight, right, and right.
-Completely avoid fighting if you can and begin your ascent at the ladder. If you’ve not made any mistakes by the time you reach the fight, you’ll probably have around a minute to spare and you can dispatch some or all of these guys quickly. Having no opposition makes climbing less risky. This is the last area before the goal line.
