Killzone 2 – hands-on
Weekly digests, tales from the communities you love, and more
You are now subscribed
Your newsletter sign-up was successful
Want to add more newsletters?
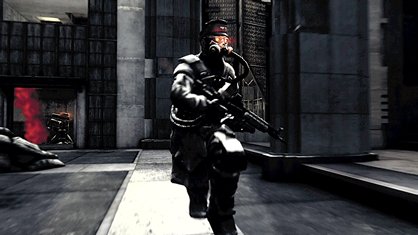
Our latest chance to play Killzone 2 had us starting with the third mission in the game, coming just after the training sections. It’s the first mission proper against the Helghast and sees Sev and his Alpha team attacking the coastal town of Corinth to secure its resources. The opening is a rush of tracer fire, explosions and shrieking that mimics the classic opener from Medal of Honor: Frontlines. The objective is to overrun the entrenched Helghast positions and secure the beach for the main force to land as they zoom in on flying sleds.

Controls feel very similar to Call of Duty 4 – you can zip to a down-the-scope view for improved accuracy, and fire from the hip and throw grenades at the touch of a button. Running is assigned to L3 CoD-style, and you can hug cover using L1. From cover you can blind-fire or poke your head out to take potshots, and unlike Rainbow Six Vegas 2 this all remains firmly in first-person. As we began popping Helghast in the head, legs and arms, watching them react as every bullet found its target was massively satisfying. The animation is superb and ensures that every shot you fire feels solid. This encouraged us to experiment with each pull of the trigger. Best of all, this play through puts to bed many of the concerns we had over Killzone 2. The original PS2 game wasn’t great; shooting accuracy and balance of weapons being a major fault, but this sequel has been polished to within an inch of its alien-bashing life.

We moved off the beach and through a warehouse full of Helghast (reinforcements crashed through the roof in startling fashion) and eventually made it to the Sixaxis-controlled switch. Holding L1 and R1, you ‘grab’ the wheel and turn it by going through the motions of turning a wheel – neat. This is the moment where everything got turned up to eleven. Once past the checkpoint where our previous playtest ended, everything was new. Ahead was an open space littered with handy cover – rubble, concrete slabs and broken masonry. Almost as soon we set foot onto the field, all hell broke loose and a lone gun post on top of a bombed-out tower block peppered our squad.
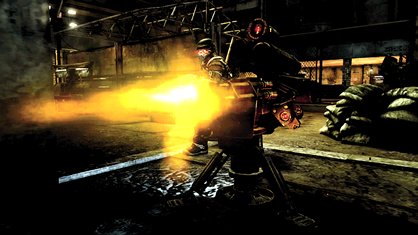
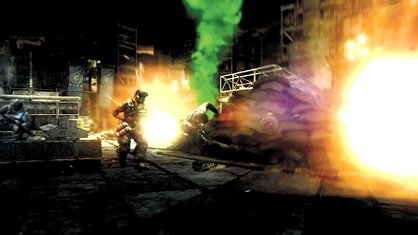
Using cover, we scurried to an abandoned gun turret and fired back. An oil barrel below the entrenched enemy caught our eye and a couple of shots later the thing exploded, bringing down the entire building. Sure, it’s massively scripted and shows Killzone 2 isn’t that original, but it does put on one hell of a show. This was more evident the further into the level we played. After demolishing the tower block with a well-placed shot to that clichéd barrel, we came across the real battle. Ahead of us were a dozen Helghast; behind us were our squad and armoured support.

As the firefight took hold, we used cover positions to progress and fend off the Helghast troops while enjoying the sight of enemies’ hats pinging off with well-aimed headshots. Then we got a shock as a huge tank burst onto the scene. The tank was ours, luckily. But as it arrived, so did a small army of Helghast, too many for us to deal with – so we retreated to a trench and watched the tank deal with the problem. While our tank was mopping up, we soon came under attack from one of the game’s mini-bosses, an armour-clad minigun carrying Helghan with a handy weak spot on his back in the shape of an explosive canister. The trick here is to use the accurate shooting mechanic to hit the boss in the leg, forcing him to spin and stumble around, exposing his back. Once again, just experimenting with the guns and body specific targeting proves fun and valuable.
Weekly digests, tales from the communities you love, and more

Imagine FX and Creative Bloq editor Ian Dean is an expert on all things digital arts. Formerly the editor of Official PlayStation Magazine, PLAY Magazine, 3D World, XMB, X360, and PlayStation World, he’s no stranger to gaming, either. He’ll happily debate you for hours over the virtues of Days Gone, then settle the argument on the pitch over a game of PES (pausing frequently while he cooks a roast dinner in the background). Just don’t call it eFootball, or it might bring tears to his eyes for the ISS glory days on PS1.
