
 Join The Community


After 120 hours with my Baldur's Gate 3 playthrough, I thought I'd locked in the best team. Shadowheart, Astarion, and Karlach accompanied my Bard in what I thought was the best Baldur's Gate 3 party I could build, but as I faced down the game's final combat arena, almost all of it – as well as my entire combat style – had to change.
This article contains spoilers for Baldur's Gate 3's final act.
Baldur's Gate 3's final battle is a grueling gauntlet. As the big boss towers above the city, it's up to you to fight your way towards it. Starting in a castle courtyard with enemies raining down fire from the battlements, the scope of the fight gradually narrows, from the traditional arenas that you've been tackling since the Druid Grove, to a game of inches.

In terms of combat, the options available to you remain pretty broad. By the time you get here, you've been in these big arena fights before and you know how to make them work for your party. But narratively, the High Hall of Baldur's Gate is part of some very specific stories; Astarion and Shadowheart should have wrapped much of their narratives up, but Lae'zel and Gale – two characters I'd made little use of – are just getting to the good bit.
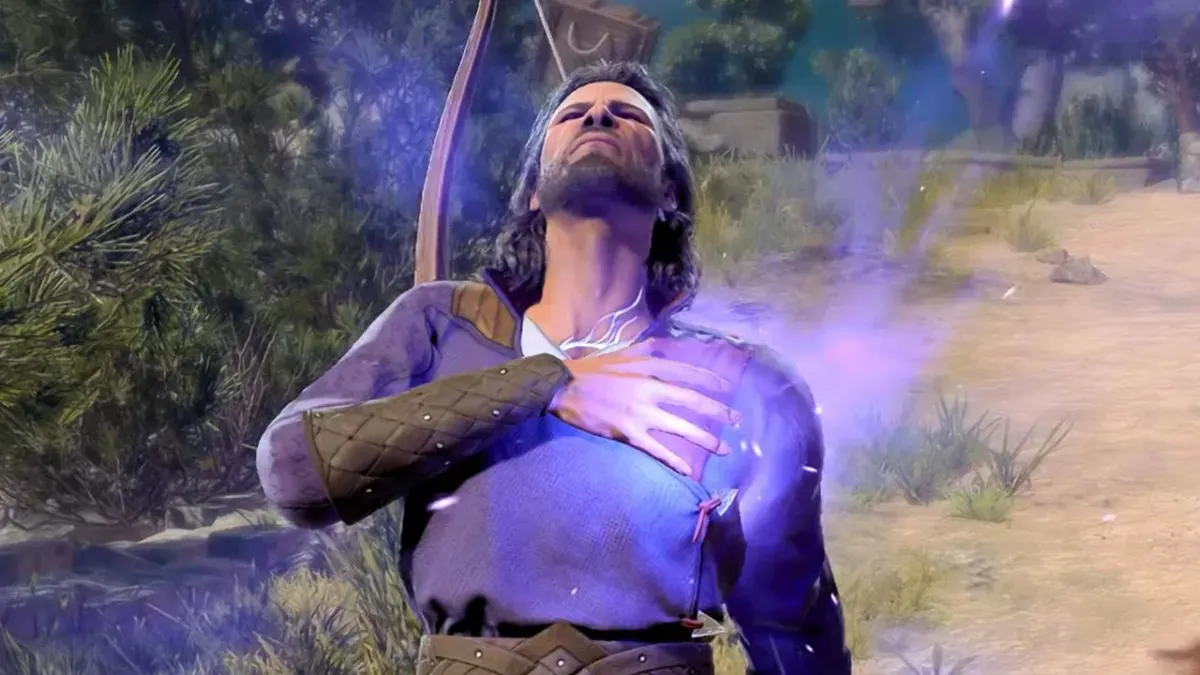
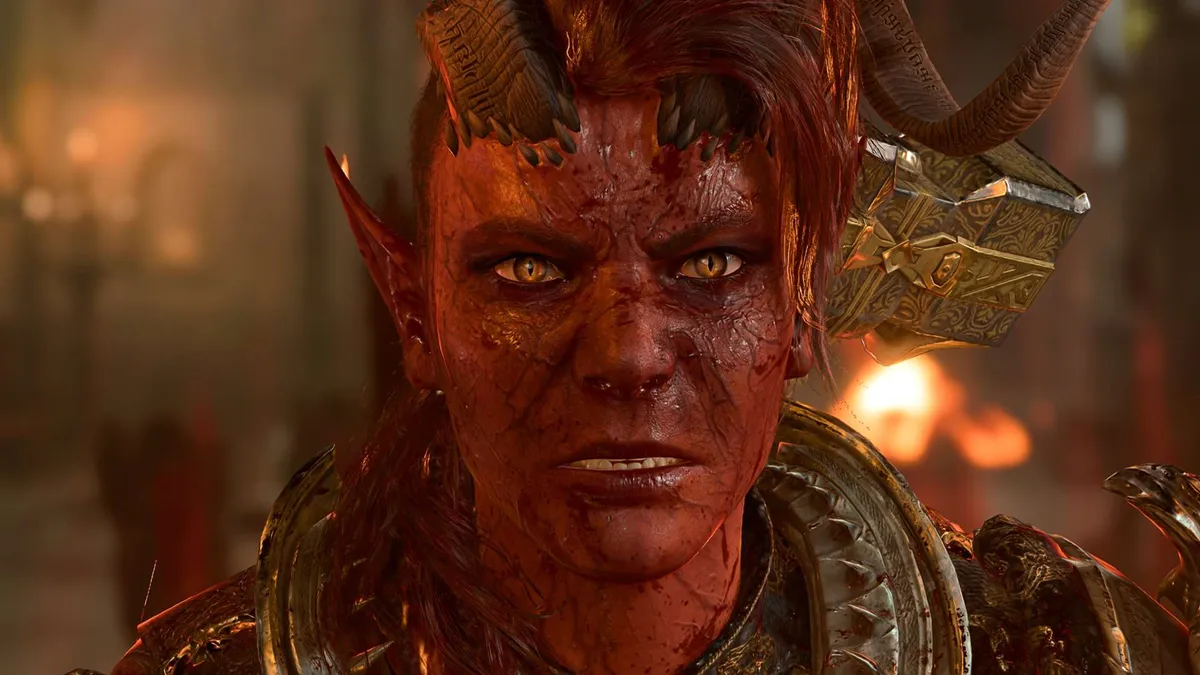
Determined to see those stories to their proper ends, I swapped them into the party. Confident that Astarion's single-target damage might be of limited use in the big fight to come, I brought in Lae'zel, who I'd long-since sidelined in favor of Karlach. And because I knew a boss fight was coming, regular substitute Gale was swapped back in for Shadowheart, in a repeat of my strategy in Baldur's Gate 3's hardest boss fight.
Cunning Action
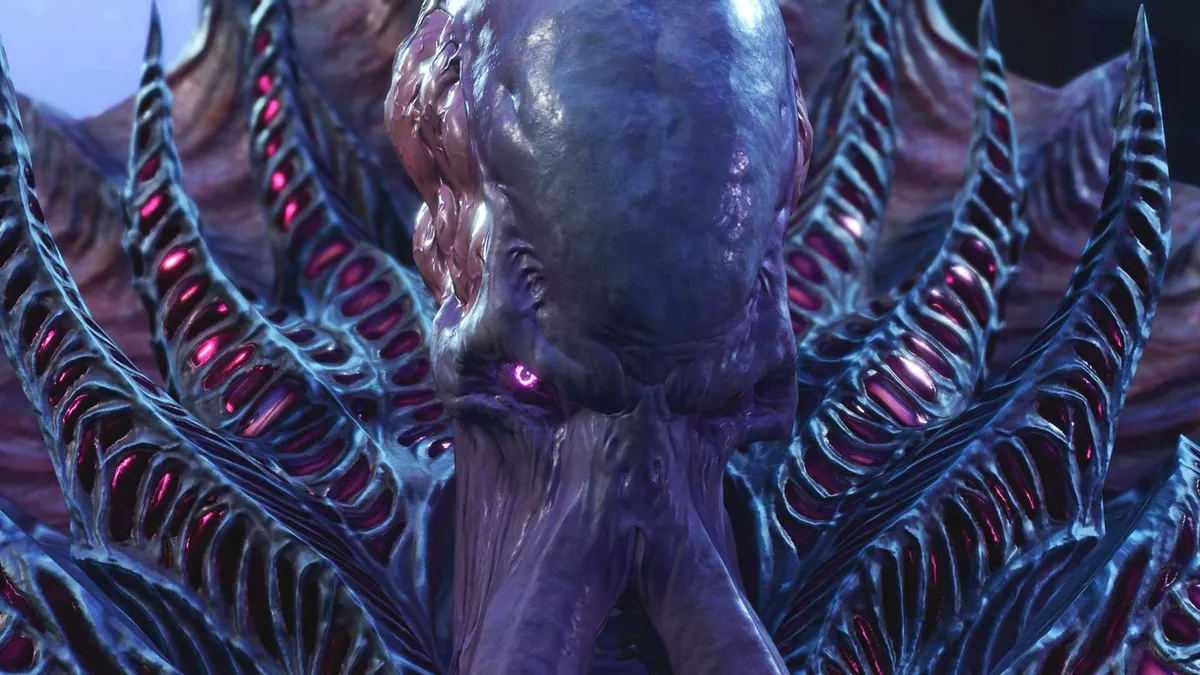
Things start badly, as I accidentally lock Gale out of the first combat arena. At the start of the battle, your party progresses into a large castle courtyard, surrounded by walls and buttresses from which various foes attack from above. Not wanting my squishiest party member to fall too early, I make him hang back, and then watch in terror as a portcullis drops down between him and the rest of the party once the fighting starts. Thankfully, I'm not technically down a party member – as part of Lae'zel's story, I'm accompanied by exiled Githyanki prince Orpheus. Unfortunately, he's voluntarily turned into a Mind Flayer, but that does mean that he offers quite a lot of help in the fight, while Gale is reduced to shooting cantrips through the holes in the gate.
It's here where I start to get my first sense of how this entire battle is going to play out. The whole courtyard is filled with enemies, but only a few of them are aggroed at the start of the fight. If I step too far forward, however, not only am I out of range of my Mage, but I'm starting to pull in some of the ever-more dangerous opponents that lurk farther up the gauntlet. Individually I can take them on without a problem, but if they bolster the ranks of the ones I'm already fighting, the offense standing against me starts to get overwhelming. I'm forced to edge forwards, making sure to take as many foes down as I can before I take another step. It's a dramatic change from most fights, where I'm able to rush ahead and take on each new opponent as I please. It's not too long before the courtyard falls quiet and I'm able to progress (lending Gale a potion of Flight so he can clear the wall), but it's clear that I've got some lessons to learn, and pretty quickly.
Flurry of Blows
The next section of the battle seems easy enough. A fork gives me a choice between whether to turn left or right – with just a few enemies to the right, I'm conditioned to assume that that's the way to go. Not long after I take them on, however, they get air support. If you've played literally any of Baldur's Gate 3, you'll remember the Nautiloids – the huge, tentacled airships that make a mess of the city before the crash that kickstarts the game. One of them shows up and starts trying to blast me to smithereens. It has 10,000 health, and even if I wanted to fight it, it's too far away to actually engage with. Instead, it starts shelling the stairway I'm standing in and dropping reinforcements into the fight.
It's around this time that I realize I've gone the wrong way. Fighting through these enemies is going to slow me down too much, and the staircase that would help me progress has been blown out. Gale's flying potion has worn off, so there's no hope of getting up there and I'm forced to turn around, but by this point I'm getting seriously bogged down by the number of enemies I'm facing. Most of them are only Intellect Devourers – crawling brains with pathetic HP – but in large numbers they're still a threat, and they're accompanied by more Mind Flayers and even some beefier companions that are liable to explode when they get close.
Even as Lae'zel and Karlach cut their ways through multiple enemies per turn, every step has to be fought for.
This is where my progress really starts to slow. It's the weight of numbers against me rather than the strength of any individual unit that's the real limiting factor, and even as Lae'zel and Karlach cut their ways through multiple enemies per turn, the constant bombardment by the Nautiloid means that every step has to be fought for. Some turns, I can't take a single step forward, because if I do I'll get hit with a shell that might knock me from the tower and rob me of a crucial fighter once I reach the top. At one point, I spend two turns with my entire party pinned down inside Gale's Globe of Vulnerability – protected from any incoming damage but entirely unable to move forward, relying on collateral damage from the Nautiloid to thin the herd of opponents bearing down on me.
It's a moment unlike any other in Baldur's Gate 3. Even as the game pushes you in its harder tests of skill, it's prepared to indulge in your personal power fantasies. Here though, I feel like I'm inching through waist-deep mud, crawling forward while desperately looking for any opening. Finally, it comes – just as Gale's Globe is about to fall, I can dart forward with Karlach and Lae'zel. Not prepared to leave a man behind, I use Dimension Door to teleport Gale to the exit, and bring up the rear with Orpheus. The journey I've just undergone might have only taken a few seconds in normal time, and in any other fight might still have held me up for a handful of turns. In the end, it takes me 30 minutes to get through the courtyard, and more than another hour to make it up the two flights of stairs to what I assume is the final fight. It's clear that even Larian knows that this is no trivial trial. Waiting for me at the top is a device that thankfully heals my entire party. Only a handful of these have shown up in the entire game, so it's testament to the quagmire of this battle that one's been placed here.
Final showdown
And it's not over yet. Between me and the final boss is yet another gauntlet – a ring of Mind Flayers and high-level fighters stand in a ring around me, accompanied by a dragon. Making matters worse is the fact that the Nautiloid is already positioning for another set of airstrikes and that the direct path to the boss is a dangerous one – if I walk across the ground directly in front of me, it'll spawn tentacles that whack nearby units.
Everything that the game is doing here is based around setting me up for a war of attrition. I can't move across the floor, so I need to work slowly around the narrow 'halo' of raised ground that exists at the edges of this arena. To succeed here, I need to get Orpheus all the way to the other side and then channel a spell for an entire turn, but that means dealing with all the Mind Flayers, each of whom has a shield that will dish out substantial damage to any melee attackers. If I haven't subdued the dragon, that's also curtains for Orpheus – but this thing is up there with the toughest foes in the entire game.
It's clear I need some help. Thankfully, Baldur's Gate 3's final fight lets you call on the friends you've made throughout the game – and I'm pretty friendly. I start with Mizora, Wyll's devilish patron, and use her to keep the dragon pinned down with the powerful Hold Monster spell – it keeps her at the back of the fight, but it's crucial to letting me advance. Much as I'd love to use that opportunity to start marching the rest of the party towards my goal, however, I've still got to fight forward step-by-step, clearing out as many enemies as I can before the Nautiloid shows up. Matters are made even worse by the fact that I need more help than just Mizora, but summoning an ally takes up an action – if I ask for help, I sacrifice a turn to do so, slowing me down further still. I resort to using Karlach and Lae'zel's Action Surge abilities to get in a 'normal' turn before calling in a new ally.
Finally, I get Orpheus to the boss, using Mizora and another summon to clean up one side of the battlefield while I inch forward with the others, and start channeling his spell. The first turn goes off without a hitch, and I've managed to dispatch the dragon thanks to a poisonous cloud from Gale, but I'm still at the whim of the Nautiloid. If it happens to aim at Orpheus, I'll be forced to break the channel and start over. My only plan is to rely on Gale's Globe of Invulnerability again, but that would mean a desperate sprint to get in range. Thankfully, the Nautiloid whiffs its shot, and Orpheus completes his spell. From there, it's a relatively simple affair to finish off the final boss and complete my first Baldur's Gate 3 playthrough.
Sweet victory

There are more technically difficult fights than this one in Baldur's Gate 3: at the climax of Act 2, or some of Act 3's trickiest optional bosses. But this one was a slog. It was slow, methodical, with a sense that a single misstep would force a reload – in this final gauntlet there was no returning to camp to heal up, or even swap out a dead party member for a healthy one. If I lost a single character, that was one person fewer to take into the final boss fight, and that wasn't a risk I was prepared to take.
But what that slow going meant was that this final fight, with all its fits and starts, felt perhaps the closest to an actual battle to anything else in Baldur's Gate 3. It was the sense of pushing ever-forward into enemy territory, using any advantage possible to grant the next foothold, that most fights didn't offer. By this point in the game, most combat encounters felt like puzzles to work out, the vast array of tools at my disposal meaning there had to be an optimal approach. That was a marked difference to the faster, more deliberately satisfying 'popcorn fights' of the early game, but neither felt as grueling as my journey through the High Hall did.
I'm also aware that right at the very end of it all, my success came down to luck. I would have managed to get that channeled spell off eventually, but it felt oh-so-sweet for that final dice roll to work out in my favor, for more than two hours of fighting to finally, crucially go my way. As methodical a game as Baldur's Gate 3 is, it doesn't necessarily fill itself with fist-pump moments, the way that everything aligned for me at the peak of this gauntlet was certainly one of them, and a fitting capstone to my entire first playthrough.
My favorite Baldur's Gate 3 quest is so far off the beaten path it's a miracle I even found it.

