Weekly digests, tales from the communities you love, and more
You are now subscribed
Your newsletter sign-up was successful
Want to add more newsletters?
Join the club
Get full access to premium articles, exclusive features and a growing list of member rewards.
Skull #6: Sickness
Description: All player units have 50% fewer hitpoints.
Requirement: Kill 50 Banshees
This skull is stupid simple. Your units will destroy twenty Banshees without any help from you and, upon doing so, the glowing cranium will conveniently place itself in the open hangar behind your base.
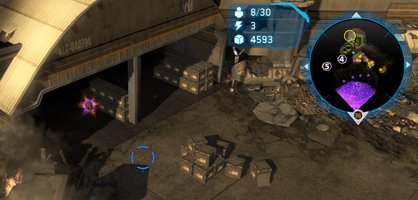
Black Box #6: Wait until you place the third Elephant across the broken bridge using the "transport" power. Before leaving the area to concentrate on other tasks, check the western shadows for a short separate path. The crate is there.
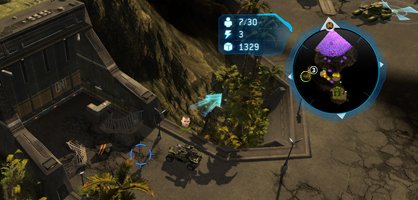

Skull #7: Rebel Sympathizer
Description: Non-player units get 25% more hitpoints.
Requirement: Kill 10 Locust
If you obliterate every power node, you'll probably obliterate the necessary number of Locust at the same time. The skull materializes right next to one of those power nodes, on a little peninsula near the middle of the map.
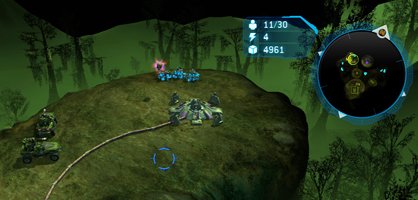
Black Box #7: At the very top of the map, and as far east from the Scarab as possible, is a small area surrounded by cliffs. Look for the bountiful gathering of shiny blue supplies and you'll find the crate too.
Weekly digests, tales from the communities you love, and more
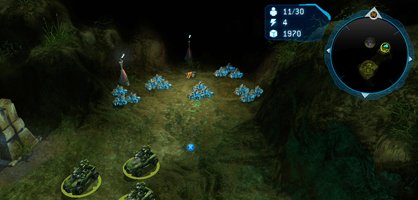

Skull #8: Rebel Supporter
Description: Non-player units do 50% more damage.
Requirement: Kill 750 Infection Forms
This one will take some patience, but little effort. Just make sure to build all four turrets at your base and enhance them with anti-infantry tech; with enough time, they should eliminate most of the 750 Flood on their own. The skull appears in the northern tip of the map, at the end of a precarious cliffside road.
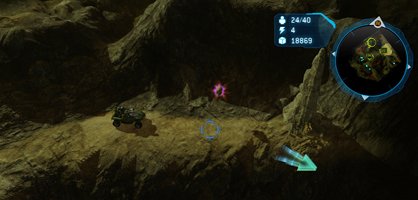
Black Box #8: Hidden right under your nose! Directly south of the base, on a tree-ringed plateau, is the crate.
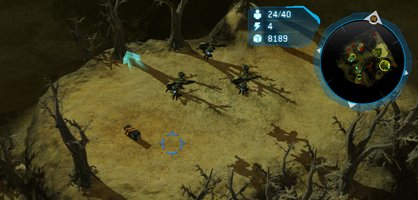

Skull #9: Rebel Leader
Description: Non-player units start with extra veterancy.
Requirement: Kill 20 Flood Stalks
To collect this skull immediately, build a squadron of Hornets and fly around the map searching for the mushroom-like stalks. They're all over. When finished, return home and look just a bit northwest. The skull is next to the crashed Pelican... you'll need the Hornets or some other air unit to nab it.
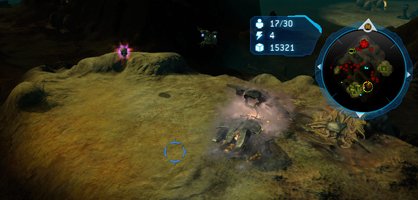
Black Box #9: On the western side of the map, near one of the Flood structures you have to put down. Nothing else really distinguishes this location, so check the minimap in the screen below.
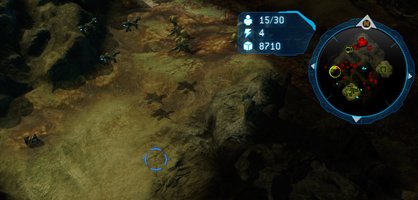

Skull #10: Catch
Description: All player units recharge unit abilities in half the time.
Requirement: Kill 350 Swarms
Set up some turrets with anti-air tech and you'll reach 350 no problem. To find the skull, start at the base and follow the southeastern edge of the map. Past the first tractor beam generator is a Flood-infested area and the skull you desire.
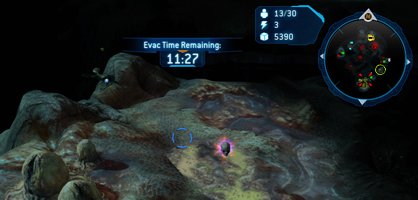
Black Box #10: Hey, remember those squads you're supposed to be saving? Well, the middle one - Team Bravo - happens to be blocking the path to the black box. Rescue them and any unit can collect it... or fly a Hornet over, drop down for the crate and leave the entire lot to die.

 Join The Community


