Starcraft II: Wings of Liberty – Campaign walkthrough & strategy guide
So it's been 10 years since you played Starcraft? Better check out our walkthrough
How long has it been since you've played Starcraft? Weeks? Months? Years? Probably years. In that case you'll probably find our guide to the Terran campaign pretty handy. We've got the first 3 missions for you today, but don't worry, we'll be updating it next week with the rest. In the mean time, keep practicing and get those APMs up! And if you don't know what APMs are, may God have mercy on you if you try the multiplayer.
We'll be continually updating this guide with more levels, please keep checking back!
Index
Mission 1 - Liberation Day
Mission 2 - The Outlaws
Mission 3 - Zero Hour
Mission 4 - The Evacuation
Mission 5 - Outbreak
Mission 6 - The Devil's Playground
Mission 7 - Smash and Grab
Mission 8 - Safe Haven
Mission 9 - Haven's Fall
Mission 10 - The Great Train Robbery
Mission 11 - Welcome to the Jungle
Mission 12 - The Dig
Mission 13 - Cutthroat
Mission 14 - Ghost of a Chance
Mission 15 - Breakout
Mission 16 - The Moebius Factor
Mission 17 - Engine of Destruction
Mission 18 - Supernova
Mission 19 - Media Blitz
Mission 20 - Piercing the Shroud (Secret Mission)
Mission 21 - Maw of the Void
Mission 22 - Gates of Hell
Mission 23 - Belly of the Beast
Mission 24 - All In
Mission 1 %26ndash; Liberation Day
This first mission is really just there to whet your appetite, so don't sweat it too much. Throughout this guide, stuff you need to do just to complete the mission will be written normally, andstuff that you need solely to get achievements (but can otherwise ignore) we'll caption for you. The appended, underlined"Protips" are tips that are useful for the particular missions and the single-player generally, but are also good advice for multiplayer – who said campaign doesn't train you for online?
1.Move up the road:

a.Just select your dudes and move them to the right, along the road. Don't forget to use Attack Move (press A, and then left-click where you want them to go).
Protip: If you don't have a clear goal when you're moving somewhere, or if you're moving into unknown territory, always use attack move. It can save you precious split-seconds on reaction time.
2. Shoot the dudes behind the barricade.

a.If you're using attack command, the firefight should begin automatically.
b.Once it does, however, be sure to select your troops and have them focus fire on a single target. Otherwise, attack move may cause them to split their fire which is less than ideal from an efficiency perspective.
Protip: Remember that in most cases, you want to focus everybody's shooting on a single target at a time and then move on to the next one. This is important because it kills each targeted guy more quickly, and in a one-to-one fight, that means one fewer gun shooting your dude -- which means you'll suffer, ultimately, less attrition.
3.(Achievement) Blow up this propaganda hologram.
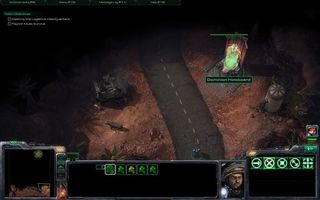
a.Pretty straightforward here. Just select your guys and right click. Whee!
4.Same deal with these guys as the first couple behind the barricade. Focus fire for the win.
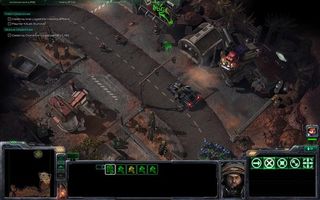
5. When you come around this corner, just wait a second.
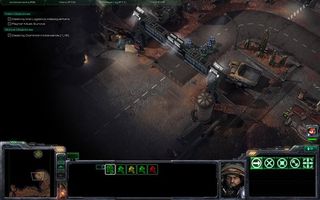
a.You've got an overwhelming enemy force here, but hang back for a second and you'll get some help.
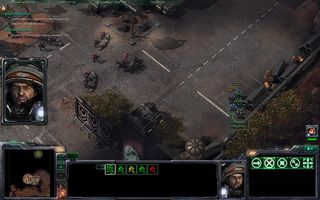
b.Once the dropships come in and drop off your guys, immediately attack with everybody. And don't forget to select everyone – including the new guys who just dropped in -- and focus that fire on one target at a time!
6.(Achievement) Once you've cleared these guys out, make sure to take out the holograms to your south and to your west.
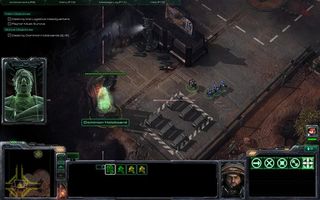
7.Onceyou've taken out the holoboards, move north toward the main Dominion base.
a.After a cutscene you'll have to take out more troops, and then a vehicle with a mounted gun. If you're playing on hard or brutal difficulty, you may be down to just a few guys here, or even Raynor alone. Have no fear, you'll be reinforced soon, and Raynor is more than capable of taking care of this stuff on his own.

b.You'll get another cutscene and you'll be joined by an angry mob armed with Molotovs. Viva la revolucion!
8.(Achievement) Proceed north, kill the bad guys, and take out the last holograms.

9.Keep going north and just kill anyone in your way – the mob should do most of the work.
a.And speaking of the mob, if you're down to just Raynor, and he's hurt, don't be afraid to use the mob as meat shields. The AI baddies are programmed to prioritize the mob over your guys, so don't be afraid to let the cannon fodder be just that. Stalin would be so proud!

10.Once you near the main objective, you'll get confronted by a couple of Dominion vehicles. With the mob's help, these should go down fairly quickly.
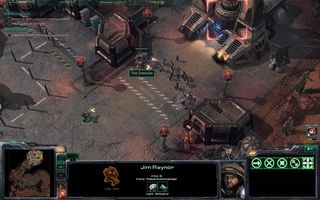
a. Make sure you kill them if you want to get the achievement for killing all the bad guys on hard difficulty!
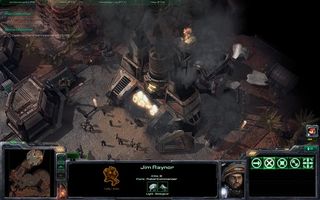
11.Finally, destroy the Logistics Headquarters (again the mob will do most of the job here) to finish the mission!
Sign up to the GamesRadar+ Newsletter
Weekly digests, tales from the communities you love, and more
