Contract: Muire D'yaeblen
Prerequisite: None | Suggested Level: 18
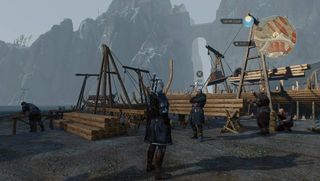
This contract is available at the Kaer Trolde Harbor Notice Board. Check it out, then speak to Bjorg by the fast travel marker to learn about drowners attacking sailors in the area. Start the hunt by speaking to witnesses around the harbour.
Now it's time to check the areas where the attacks happened. Choose either one and use your Witcher Senses to find another victim. This will create a red scent trail you can follow to reach the drowners' lair. Head through, taking out the drowners in the caverns, until you reach a strange lair. This isn't a drowner problem: you're dealing with a sea hag.
The next step is to mask your scent. Go into your Alchemy menu and craft some drowner pheromones, use it on yourself, and head to your marker to wait for the hag to arrive. She won't be hard to defeat but note that she will bring some drowners into the fight with her. Once you're victorious, return to Bjorg for your reward.
Contract: In Wolf's Clothing
Prerequisite: Begin "Nameless." | Suggested Level: 15
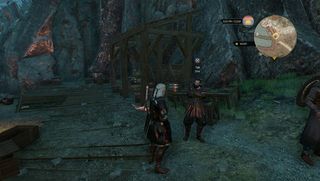
You can get this quest as a contract from the Larvik Notice Board, but it will also pop while doing "Nameless" for the main story. The ladies in Lofoten will tell you of Morkvarg, a cursed beast in Freya's Garden nearby.
For more information on Morkvarg, you can speak to Einar, who survived a confrontation with the beast. He's found at the docks near Larvik, just to the east. You won't learn much beyond the fact that lifting the curse on Morkvarg will be tough.
Now head to Freya's Garden. Take the steps up and around the locked door and drop-in, then use your Witcher Senses to detect footprints. Follow these all the way to the rear of the garden. Enter the cave here to confront Morkvarg himself. After a scuffle, he'll fall to the floor and beg you to lift the curse.
The first step to doing this is to find a special key. Use the sluices outside the cave to open the gate nearest the cave. Now you can dive into the water and find a second cave underneath; the key lies in here. With the key in hand, head to chapter house near the middle of the garden. Inside, you'll find Morkvarg's journal.
Read this to learn about your old pal Einar. Return to him with this new information, and he'll give you a cursed fang (make sure you learn how to use it before taking the violent path here). Return to Morkvarg with this - you'll have to battle him again - and use it to lift his curse for good. Alternatively, you can feed him werewolf meat for the same effect, which you can loot from wherever you first killed him. Once in human form, the can be killed for good or released, but either one will end the quest. If you didn't complete this quest via contract, you can still visit the issuer for a reward.
Contract: Missing Son
Prerequisite: None | Suggested Level: 29
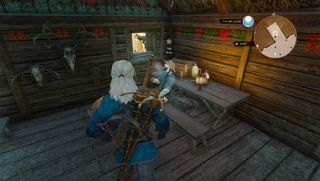
You can get this contract from Rannavaig Notice Board. Talk to Odhen to learn that his son has disappeared, last seen with some thugs looking for treasure in some nearby ruins.
Head to your new marker to encounter a fiend. Battle it - Relict Oil and bombs work well - and it will flee once its health reaches about 30%. When this happens, use your Witcher Senses to spot its footprints. Track these to reach its lair near Boxholm. Kill the beast for good, then use your Witcher Senses to find Odhen's son's corpse nearby. Return to him for a reward.
Contract: Dragon
Prerequisite: None | Suggested Level: 28
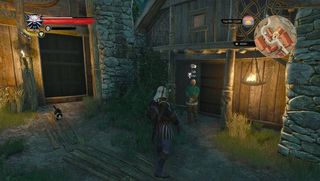
This contract can be grabbed from the Fyresdal Notice Board. Talk to Vagn nearby to learn of a Vagn terrorizing the area. Step one is to check on some victims. Enter the nearby marked house and speak to the victims' mother. Ask about where they were found and examine the bodies to wrap things up here.
Head to your new marker and use your Witcher Senses to check the area. There's a dead cow, and you can follow its blood to find a disembowelled dog. After examining it, return to Vagn and tell him the situation: you're dealing with a forktail here.
Now you'll have to guide a sheep to the forktail's nest. Drive it to the search area (remember, it'll run away from you, so guide accordingly) to make the dragon appear. Now kill the beast - Aard and oil work well - and return to Vagn to end the quest.
Contract: Strange Beast
Prerequisite: None | Suggested Level: 16
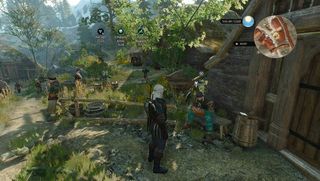
Check the Notice Board in Larvik to find this contract. Speak to the village elder to learn that some mysterious monster is terrorising the town. Head to your next marker to speak to some villagers who've encountered the thing. You'll learn more about the attacks.
Head to the search area and use your Witcher Senses to find a corpse, red claw, and blood stains. Follow these to reach the lair of the beast in question: a souped-up nekker. Take out the lackeys in the cave, and the real boss will show up. Throughout the fight, it will tunnel to safety and summon additional nekkers, but the battle is still pretty simple. Once you're victorious, return to the elder in Larvik for a reward.
Contract: Here Comes the Groom
Prerequisite: None | Suggested Level: 19
Head there and make your way through the cave, taking out drowners along the way. Use your Witcher Senses to find some siren tracks, then follow these back outside. You'll find the body of Britt's fiance. You'll also find Melusine, the giant siren that took him. Slay her and return to Kevan for your reward. Now all that's left is to tell Britt the news.
Contract: Big Game Hunter
Suggested Level: 46 | Prerequisites: N/A
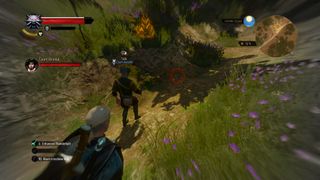
Check the notice board at the Cockatrice Inn to initiate this quest, then head to Chuchote Cave to speak to Count Beledal about the job. He needs protection while he documents some of Toussaint’s unique wildlife. Head to the markers to encounter various species like panthers and bears. If you’re careful, Beledal will get the info he needs without aggravating any of the animals. Otherwise, be prepared to fight.
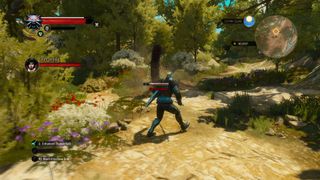
For the final part of the expedition, Beledal will want to see peacocks mate. Travel to the spot and use Axii to make the birds do their mating dance. This will also summon a centipede to the area. Take it down to close out the expedition. Back at the camp, you’ll have a chance to meet Beledal at a picnic where he’ll display his work from the day’s events. Meet him there to receive a special reward and wrap up the quest.
Contract: The Tufo Monster
Suggested Level: 48 | Prerequisites: N/A
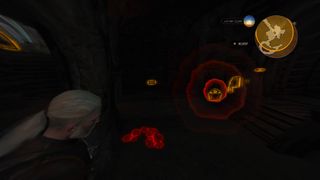
You can get this contract from the notice board in Flovive. Head to the Tufo Estate at the northern edge of the town and speak to the monsieur. Something is making noises in his fields, and some of his men have gone missing. Start your investigation in the estate’s cellar. Use your Witcher senses to check for clues, and something will crack the wall nearby; use Aard to blow through into a secret tunnel.
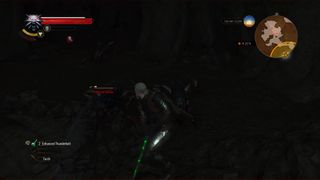
Make your way through the tunnel, taking out kikimores along the way. Eventually, you’ll come to a large chamber with more clues – there’s something big down here. Burn all the kikimore eggs you can find, then return to the surface. The monsieur’s wife has returned, and she has some information about the missing farmhand.
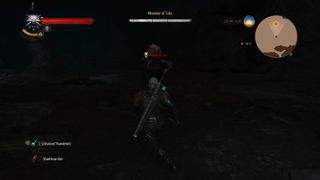
Head to your new marker in the fields to the north and use your Witcher senses to find two sets of footprints. Follow the left one to reach some flattened bushes; looks like a shaelmaar did this. Follow the tracks all the way into a cave to find the beast’s lair. Find the farmhand’s body, pick up his pendant, then draw some blood from his body. Pick a few mushrooms from the cave, then combine them with the blood to make shaelmaar bait. Spread it around, slay the beast, and return to the estate for your reward.
Contract: Bovine Blues
Suggested Level: 38 | Prerequisites: N/A
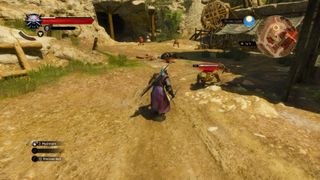
You can get this contract from the notice board in Flovive. Head to the Ardaiso Quarry to the northeast and speak to the foreman about a “cow that fell from the sky.” Head to where the accident happened at the top of the quarry and take out the alghouls that have appeared. After the fight, examine the corpse to figure out what happened here: a draconid dropped this cow from the sky.
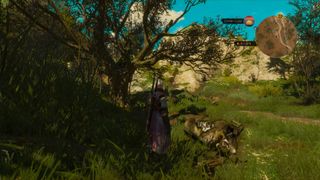
Check the crane up on the hill to find where the draconid crashed, then follow the blood trail to find a small distillery. Take out the bloaters there, and find where the blood trail picks up. It will eventually lead you to another dead cow, then to a cliff. Scale it to find a pair of slyzards, slay them, destroy the nest if you so desire, then take a slyzard trophy back to the foreman to complete the contract.
Vintners Contract: Griffin-in-the-Vines
Suggested Level: 43 | Prerequisites: N/A
There are five of these contracts across the map, initially marked as Undiscovered Locations; each wine merchant needs some monsters taken care of. The first vintner is found just southeast of Rioux-Cannes Outpost. Speak to him, kill the shaelmaar in the cave, and return to him for a reward.
Vintners Contract: Chuchote Cave
Suggested Level: 40 | Prerequisites: N/A
The second vintner is found near the Chuchote Cave marker, by the cave entrance itself. Speak to him, then head inside to clear out the arachnomorphs. Return to finish this quick quest.
Vintners Contract: Rivecalme Storehouse
Suggested Level: 37 | Prerequisites: N/A
The third vintner is by a storehouse entrance just west of the Dulcinea Windmill marker. Speak to him, then head inside to find some ghouls and an alghoul. Kill them and return to the vintner for your reward.
Vintners Contract: Dun Tynne Hillside
Suggested Level: 40 | Prerequisites: N/A
The fourth vintner is on a hillside north of Dun Tynne Castle. Talk to him, then head inside the cave to encounter a single centipede in the first chamber a pair of the bugs in the second. Kill all three and return to the wine merchant to complete the contract.
Vintners Contract: Cleaning Those Hard-to-Reach Places
Suggested Level: 43 | Prerequisites: N/A
The fifth and final vintner is found just a little ways inland from the bridge to Crane Isle. Speak to him and head inside the cave he needs cleared out. Inside, you’ll find two gargoyles. Take them down and return to the vintner to wrap things up.
Vintners Contract: Griffin-in-the-Vines
Suggested Level: 43 | Prerequisites: N/A

There are five of these contracts across the map, initially marked as Undiscovered Locations; each wine merchant needs some monsters taken care of. The first vintner is found just southeast of Rioux-Cannes Outpost. Speak to him, kill the shaelmaar in the cave, and return to him for a reward.
Vintners Contract: Chuchote Cave
Suggested Level: 40 | Prerequisites: N/A

The second vintner is found near the Chuchote Cave marker, by the cave entrance itself. Speak to him, then head inside to clear out the arachnomorphs. Return to finish this quick quest.
Vintners Contract: Rivecalme Storehouse
Suggested Level: 37 | Prerequisites: N/A

The third vintner is by a storehouse entrance just west of the Dulcinea Windmill marker. Speak to him, then head inside to find some ghouls and an alghoul. Kill them and return to the vintner for your reward.
Vintners Contract: Dun Tynne Hillside
Suggested Level: 40 | Prerequisites: N/A

The fourth vintner is on a hillside north of Dun Tynne Castle. Talk to him, then head inside the cave to encounter a single centipede in the first chamber a pair of the bugs in the second. Kill all three and return to the wine merchant to complete the contract.
Vintners Contract: Cleaning Those Hard-to-Reach Places
Suggested Level: 43 | Prerequisites: N/A

The fifth and final vintner is found just a little way inland from the bridge to Crane Isle. Speak to him and head inside the cave he needs to be cleared out. Inside, you’ll find two gargoyles. Take them down and return to the vintner to wrap things up.
