UMOJA MISSION 2: BACK IN THE SADDLE
Main Objective: Get to the sublevel door, Kerrigan Must Survive
Bonus Objective: None
ACHIEVEMENTS
Back in the Saddle: Complete the "Back in the Saddle" mission in the Heart of the Swarm campaign.
Full Throttle: Prevent the Dominion from destroying a Tram Engine during the Tram Ride in the "Back in the Saddle" mission.
Brutal Legend: Don't take damage from the Archangel in the "Back in the Saddle" mission on Normal difficulty
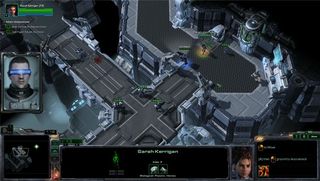
Medpacks will restore both your health and energy. You don't have to save these for any reason, so use them when you come across them.
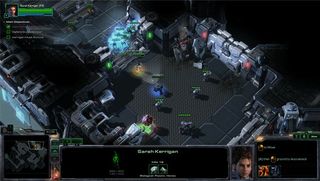
Use your abilities on every cooldown. There's a rechargeable medpack here if you get into a bind.
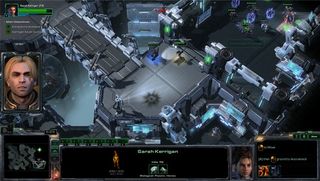
Crushing grip tends to make most of these groups pretty easy to deal with. There's also a medpack if you need it.
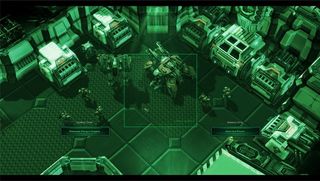
This is the first choice that you make in the game. Currently, it appears whatever choice that you make doesn't affect anything later on...
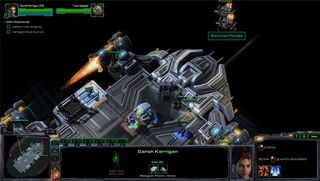
The first group of units spawn at the front of the ship. Make sure you're there at the start of the encounter to minimize downtime in order to get the Full Throttle achievement.
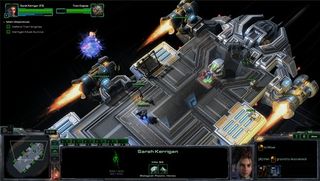
Use your Kinetic Blast on the medivacs so you won't have to deal with the units they drop.
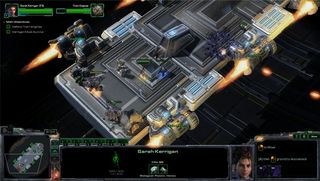
The next wave will spawn from the bottom. There will be two groups, so make quick work of them, because another group will spawn right afterwards back at the front of the ship. There will be another group that spawns back at the rear of the ship to start making your way there as soon as you're done at the front.
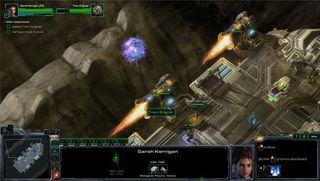
You will have a short break between the next wave, so pick up a medpack if you need to recharge. Get ready to Kinetic Blast another medivac that will approach the tram from the left. Shortly after another group will spawn at the rear of the ship.
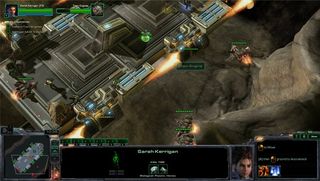
After that last wave, grab the newly recharged medpack and head back to the rear of the ship. 3 groups will spawn in the next wave. Shortly after, two groups will spawn, one from the left and one from the right, but both will target the front-right engine.
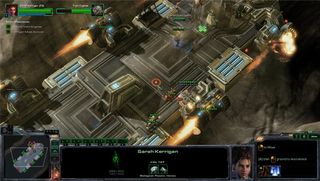
In the next wave, you'll be bombarded by medivacs. 2 will spawn at the front-left of the ship, so Kinetic Blast the first one and finish off the dropped units from the second then head to the rear of the ship. 2 more medivacs are dropping off more units, one of which is a siege tank, which can be one-shot with a Kinetic Blast. This is the last wave of units for the tram portion of this level.
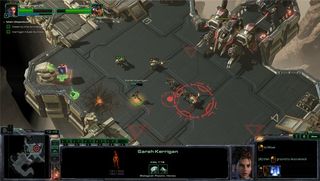
Use your Kinetic Blast on every cooldown. There is a rechargeable medpack so you never have to worry about running out of energy. This fight is pretty similar to most boss fights in World of Warcraft where survival is met by simply not standing in anything that glows. Red reticles will appear below you one by one, so simply keep moving.
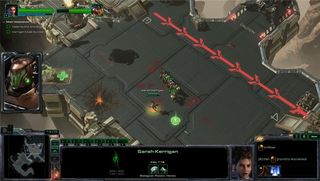
It's second mechanic will paint the ground red in a line showing you where he will bomb next.
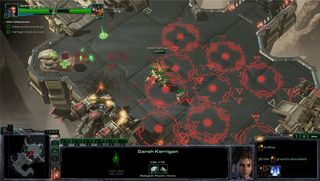
The last mechanic is a giant volley of missiles that cover either all of the right portion of the platform or the left. Simply alternate moving from left to right while using your Kinetic Blast. From here on out, he will start repeating mechanics until he is down.

