First Stage
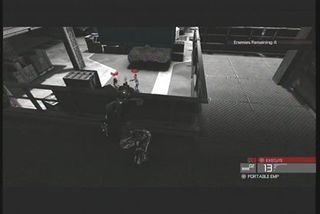
Above: Cappin’ fools.
• This is a very easy stage. The only difficult part will be learning where all of the enemies are so that you don’t blunder into them. If you have difficulties it will likely be near the end, in the final room with four soldiers. Three of them will congregate under the giant suspended crate, but dropping it on them will call the guards so don’t bother. Instead just Mark and Execute them. Then you can sneak to the far end of the hangar and take out the last guy.
• If for some reason most of the enemies are in the final room instead of the earlier locations (the enemy placement randomization can be weird) then be sure to use the maintenance stairs. These stairs will take you under the hangar where you have a few choices of where to come out and make sneaking up on people very easy.
Second Stage
Above: I am the terror that quacks in the night.
• For whatever reason, the guards on this stage will automatically call reinforcements if they so much as catch wind of your bootlaces. Be careful dealing with them due to this or you might find yourself dealing with 20 enemies instead of ten. It’s actually really annoying and makes this level far more suited to Infiltration mode than Hunter. I guess this is to make up for the last stages simplicity but it’s INCREDIBLY annoying.
• Don’t rely on your Sonar here, either. It is pretty finicky about what walls you can see through, and this means that it won’t necessarily warn you that you’re about to rush into a room with a guard. Paired up with the above this will cause you more deaths / reinforcement calls than any real errors on your part.
• To proceed as safely as possible, take out the first guard with a melee attack, use the pipe to get to the far side of this little room, and drop down. Hop over the railing so you can get past the turret where the shut off switch is. Walk under the turret and turn left, here you can leap onto the roof of the red lit computer room. Use your upper position to take out a few of them before moving.
• The large room isn’t hard but it’s very easy for enemies to sneak up on you. With that in mind, make use of the overhead pipes and the ledges you can leap over so that you can hide from the enemies at all times. Shoot out lights, lure them to you and then kill them off. It might take a bit but it’s safer.
Third Stage
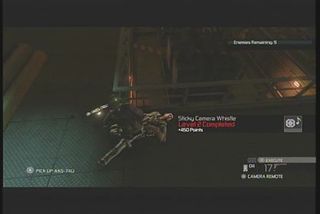
Above: Sucker.
• Getting to the first guard can be tricky since he doesn’t come anywhere near your starting area. Wait for him to face away and then climb along the pipe to get closer to him. Stay in the shadows and be patient there until he walks under you. If he’s taking too long then use a Sticky Cam to draw him over to you. Take him out to recover your M&E ability.
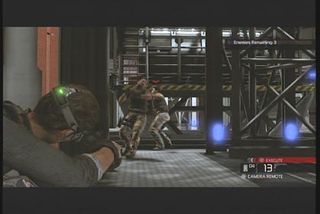
Above: Clearing out the ground floor.
• The rest of the stage is easy until you’re in the silo area. Here you will find that the last few enemies are hidden away from you with the exception of two guards. Use an M&E to kill them, trying to draw the others to your position. Snipe one dead and then use a Portable EMP burst as well as charging the enemy to get the last one.
Fourth Stage
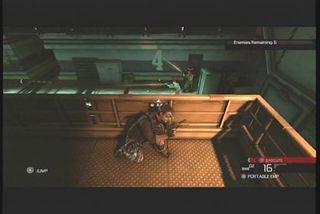
Above: Waiting for the last one.
• An incredibly simple stage if you’re good at sneaking. Hop up the ledge to your right as you face the room. Here is a lone guard you can lure over with a Sticky Cam. Take him out in melee before slipping towards the other three guards. Stand over them and wait for them to move together before using the M&E to take them out.
• The rest of the guards are easily enough taken out in this stage. Just try to get at least one with an M&E so you’re ready for the next area.
Fifth Stage
• This is basically an exact replica of the last level with one twist; there are two guards up on the right side and one on the upper left. Take out the three on the ground with your M&E before doing anything else. Climb up on the right ledge and from there snipe the man on the left and one on the right side. Lastly melee kill the last enemy to recharge your ability. The last few guards are nothing of concern.
Sixth Stage
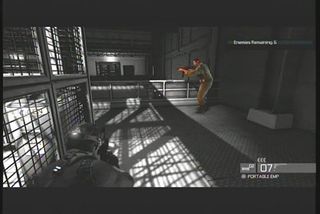
Above: Leaning against a wall makes you invisible.
•This one is tricky but not exactly hard. You need to get the guys on the ground while avoiding being spotted by the guys on the upper level. Then you need to get the guy on the third level without him spotting you. It’s pretty tough but there’s no one real good strategy. It may help if you enter the area from the upper, right doorway though instead of going to the left one. This at least gives you higher ground to fight from.
Seventh Stage
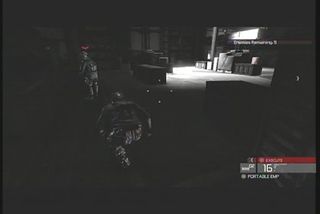
Above: Reinforcements must die!
• Another tricky stage awaits you here. At least four of the enemies will be patrolling the middle of the stage while one waits on the upper left platform and three hang out in the upper right area. The last two are usually patrolling all over the place although one will often find himself in the far right corner. If you can melee kill him, sneak over to the left platform and leap up to kill the enemy there it puts you in great position to use your M&E to kill three enemies, cutting the stage in half. From there go for the enemies on the right so you can pick off the rest of the enemies with no interference.
• An enemy may appear in the lower areas of the stage and you might not even realize it’s there. Sneak around the turret to disarm it from inside of the room before going over to the railing and hopping over it into the underground areas. Hunt them down to end the stage.
