Piece One:
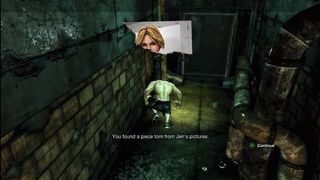
Just after the start of the chapter, you will be introduced to a fellow I like to call Clubby McClubber. He will have a huge club on his arm and will try to make you close acquaintances with it.After you defeat him, head down the next corridor and the photo piece will be right there on the ground.
Piece Two:

For the next piece, you will come to a sequence where you need to put some creatures in their place- literally. After you put the creatures on the spiked chairs, you will head down a corridor that is lit with different colors. In the yellow lit section, look to the left and the next photo piece will be there.
Piece Three:
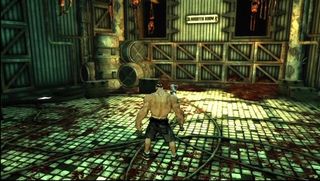
After the side scrolling part through the fires, you will come to a control room and need to pull a l lever that opens two doors. Enter the door on the right marked “Slaughter Room A” and the photo piece will be on the ground towards the back of the room.
Piece Four:
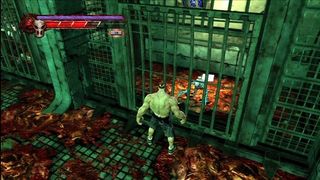
After messing around with the moving floor sections, you will come to a large room that shows a shotgun in the center beside a corpse. Grab it and then start blasting the creatures away that come out of the opened cell s along the walls. Enter the second cell on the right from where you entered to grab the final piece of the this chapters photo.
Chapter 5 %26ndash; The Corpse that Wouldn't Die
Piece One:
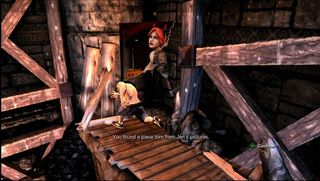
At the start of the chapter, you will fight an onslaught of enemies until the eyeball opens for you. Once it does, give it the whatfor and a staircase will appear. Climb up and immediately at the top, go the left to find the first piece there.
Piece Two:
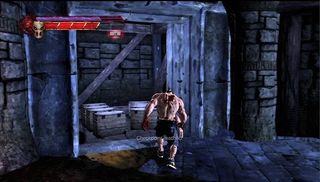
Eventually you will come to a huge eyeball- really it’s hard to miss since you have to punch it numerous times and then pull it out of its enormous socket.Once you perform the disgusting surgery on it, head through the opening it left and make your way up the stairs.At the top of the stairs will be a small room to the left with more than a few crates.Smash them good and find the next photo piece on the floor there.
Piece Three:
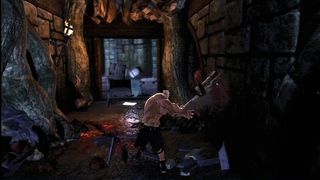
Once you pass the death filled collapsing bridge section, you will come to a room with an Aegis and a few creatures. Once they are down for the count, pop the eyeball and continue through the next corridor where the photo piece will be easily found on the ground right in your path.
Piece Four:
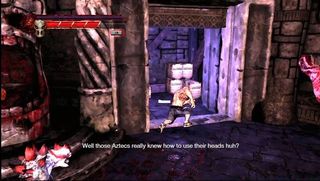
Next you’ll come up against a bunch of creatures in a round room that has 4 spikes within carved out mouths on the walls. Grab the cleaver before you enter and go to town on the creatures to lop off their heads. Pick each one up and take it over to the spikes and press B to give it a new home. Once you place three heads on the spikes, a door will open to a small room full of crates and the last photo piece for the chapter.
Chapter 6 %26ndash; Beast With a Human Heart
Piece One:
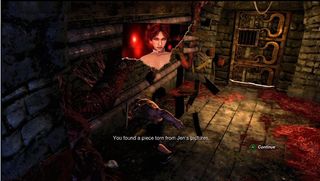
After you make the jumps up at the end of the side scrolling section, you will get a scene with a giant heart. Make a left up the stairs and when you reach the top, punch the second set of crates to find the first photo piece there. Oh red head!
Piece Two:
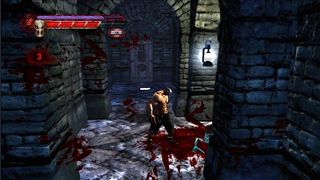
Just past the giant mouth you run through, you will come to a room with numerous locked doors and one large one in the center.Head up the right side corridor and go through the door there to find the photo piece at the end of the hallway.
Piece Three:
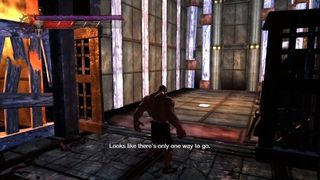
After you place four creatures on spikes and press the button in the center of the room to torch them a door with open up allowing you to continue.Head down the corridor to the door at the end and pry it open to find the next photo piece lying on the ground in the open.
Piece Four:
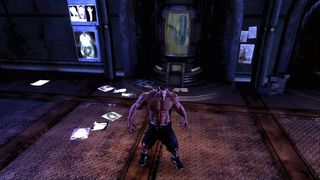
After the elevator ride, you will come to a circular room where you need to destroy the center console and then proceed to fight wave after wave of enemies.The last wave will be of two Clubbers.When you defeat them, a large door will open allowing you to proceed.When you go through, look immediately to the left to find the final photo piece there on the ground.
Chapter 7 %26ndash; Scream Park
Piece One:
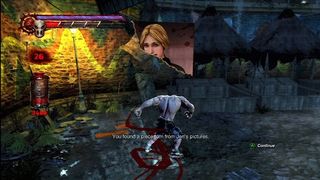
Right from the get go, you will need to break through a metal barred door to enter the park.Just after you do, go to the far left side and smash the ticket booth to find the first piece hiding there.
Piece Two:
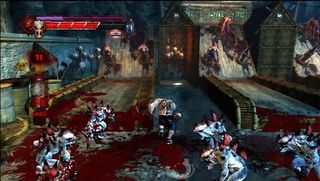
After your first encounter with the clowns, the next area will have some spikes above skeeball lanes. Toss a creature on the left most spike to open a door and to reveal the hiding place of a photo piece.
Piece Three:
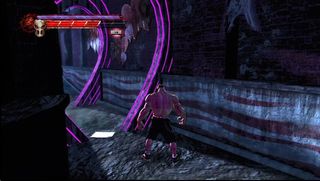
Just after the previous piece, you will come to a section where you need to toss some creatures on a spike and then slam down on the heart to “test your strength” and smoosh the creatures.Once you do that three times, you’ll enter the Tunnel of Love and you’ll find the next photo piece on the ground after a short glimpse of Jen.
Piece Four:
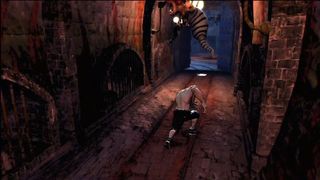
After you enter the Hell House, you will fight a few more clowns and creatures and finally another whip armed fellow. Once you defeat him, you will see Jen appear again. Follow her down the corridor and it will lead you to the final piece of the non-boob showing picture.
