The Great Pyramid
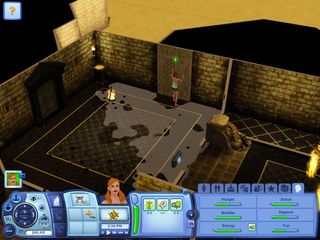
Inspect the entrance to gain passage. Walk straight ahead and through the door. There are six statues on each side of this room. Pull the front center statues on each side forward one space to reveal a secret room and a hole in the floor. Inspect the hole for some treasure and loot the newly revealed room. One door here is blocked off, so go through the other door.
Inspect the wall with hieroglyphs to find another secret door. Go down this hallway to find some Ancient Coins, a star keystone, and a hole in the wall. The hole will disable the trap behind you and reveal another secret door leading back into the other room. It’s blocked off by fire traps, but you can grab the second star keystone on the ground. Go back through the hieroglyph wall and use the star to unlock the other door, and enter.

There’s another hieroglyph wall here. Inspect it and enter the secret room. Check out the hole in the wall to disable the traps in the room you came from, then loot the treasure chest. This will cause a secret door behind the chest to open; go through and collect the treasure, then inspect the suspicious-looking wall for another secret door. Clear the rubble and loot the tomb, then go back to the flooded room with the disabled traps and go through the other door.
Loot the chest in front of you, then go to the right. If you clear the rubble, you’ll be able to pull the statue in the corner onto a panel. You can also inspect one of the walls over here for some treasure. The panel will open up a staircase, but don’t go down yet. Head to the other side of the room and inspect the hole in the corner, which will disable the traps. Inspect the other hole that was previously blocked by traps for more treasure, then go down the stairs.
Go into the next room, which has three holes in the left and right walls. Inspect them for treasure; some will reveal traps, which can then be disarmed by clicking on them. After inspecting them all, the door will unlock, and you can enter. There’s a hieroglyph wall opposite the door in here; inspect it, collect the treasure, and then back out and go through the door.
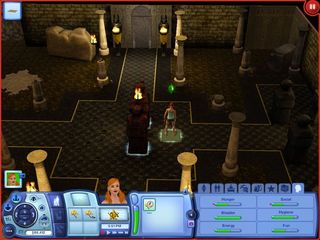
There are fire traps in the middle, but they can be disabled by pushing a statue onto them. Push the statue near the fire traps and keep pushing and pulling until all the traps are out. Put it on the panel in the middle and a second panel will appear. The other statue is behind a wall in the corner to the left of where you entered; pull that onto the second panel. This time, a foot panel appears. Stand on it and go through the unlocked door.

To the left, inspect the wall to find a long room filled with treasure; collect it all, including the star keystone. Use the keystone to open up a shortcut behind you, then go into this room. Be aware that the red floor panels in this room contain fire traps, so go around them or inspect the floor and disarm them. Stand on the foot panel and go through the unlocked door.
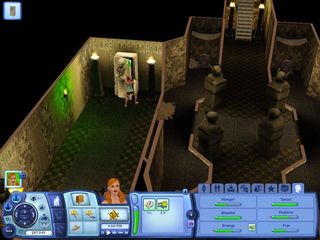
Clear all the rubble in this room to find some treasure and a panel; pull the statue from the back wall onto the panel. This will unlock a door that leads back to the room with two statues and a foot panel in the middle, where another door will be unlocked and a staircase revealed. Go down the new stairs. There are four statues down here, but only one can be moved; pull it to reveal a hole in the wall, and inspect that. You’ll open up secret rooms on either side, both full of treasure, so go ahead and take your loot. Go back to the room with four statues, and at the end opposite from the stairs there are two doors, but only one is unlocked, so enter that one. Search the sarcophagus to find the keystone, then back out and use it to unlock the other door. Enter.

You can disarm the traps on the floor here. Follow the hallways and you’ll find a door and a pile of rubble. Clear the rubble for some Ancient Coins and go through the door. You’ll find another long hallway full of floor traps that can be disarmed. At the end of the first hall, inspect the wall to find a secret room with a tomb full of treasure. Then back out and keep following the hallway to another door, and enter.
Grab the keystone in the middle of this room, and pull the statue onto the panel to unlock the door next to it. Go through this door and up two flights of stairs, and use the Lodestone keystone. There are three doors across this swampy room, so check out the ones to the right and left first for some loot. Then go through the middle door.

This room is full of treasure, so grab it and inspect the wall to find a secret door, which you should enter. Clear the huge pile of rubble and inspect the wall behind it; go through the door. Pull the statue to reveal a hole in the wall, which you can check out for some treasure. Go back to the swamp room and grab the ominously named Death Tomb Depths key. Retrace your steps back down two flights of stairs. Use the Death Tomb key in the room with the electrical traps and go through the door.
Go around the traps and step on the panel to unlock the door ahead. Inspect the hole in the left eye of the skull, then the right, which disables the traps. Check out the hieroglyph walls on the right side of the door for a treasure room, and then go through the door.

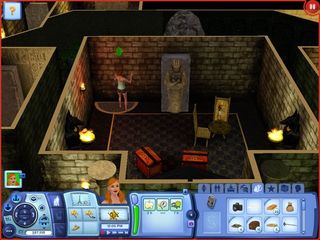
Grab all the treasure here, including some in the secret room behind the pile of rubble, and then go through the next door. Finally, you’re almost done! Step on the foot panel; ignore the mummies emerging from their tombs. Pull the statue to the right of the panel forward two spaces, and sneak in and loot the treasure chest. Quickly exit the room, or stay and let the mummies approach you if you’re feeling lucky and want to fight. Finally, you have the treasure, and can deliver it to Rainia. You’ll be well rewarded for your efforts, and finally done with MorcuCorp… for now.

