Charlie
Hidden

The mission: Based on All Ghillied Up from COD4. Avoid enemy snipers and patrols and reach the extraction point.
Veteran conditions: Sharper enemies and increased damage.
How to do it: Trial and error. Take out the standard patrols at the start of the mission with a knife and a silenced sniper shot. Then head past the freight containers into the first field. There are three snipers here. After this first field there are four snipers in the next, and a final four in the field beyond the church. Arduous, but doable if you manage to take them out quickly.
Breach & Clear
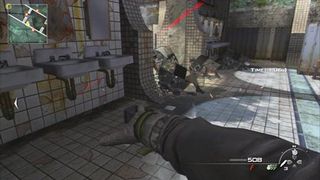
The mission: From a section of the Gulag level from the single-player campaign – reach the extraction point through a disused shower room.
Veteran conditions: Reach the extraction point in three minutes.
How to do it: There are a limited number of enemies on the level, but the three minute cap doesn’t leave much time for picking them off. Being aggressive is the key. Use grenades to slow down the balcony gunmen and when the riot shield guys arrive you and your buddy should toss flash bangs and split left and right so you can shoot them in the back.
Time Trial
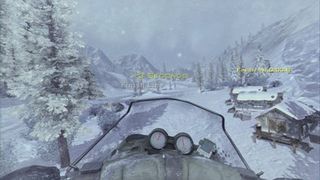
The mission: Race your snowmobile through time gates to the objective.
Veteran conditions: A starting ‘remaining time’ of eight seconds, with three seconds added for every gate.
How to do it: This time-extend chase covers the same course as the earlier mission Race, only this time there are black and red slalom-style gates marked on the course which extend the (not very big to start with) time limit. The key things to note: you don’t need to pelt through the level like you did in Race – catching all the gates and not crashing is more important than raw speed.
Homeland Security
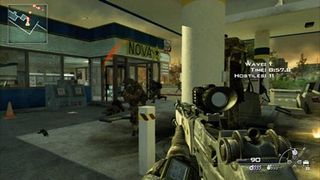
The mission: An enemy attack on a suburban retail park.
Veteran conditions: Survive five waves of enemy attackers.
How to do it: First – ditch thegas station spawn point. It might be defendable on hardened, but here it’s like an exploding coffin. The diner next door is a much better bet. Grab the thermal sight weapon from the mat and make sure you place and activate both the turrets found at Nova Star and the one at Joe’s. Place one turret in the alcove of the diner entrance and one in the alley behind, and set claymores at the door itself. Use your thermal and stay close to your partner.
Snatch & Grab
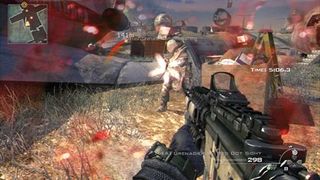
The mission: Retrieve laptop intel and reach the extraction point in a plane-crash junk yard.
Veteran conditions: Sharper enemies and increased damage.
How to do it: Like a punch someone’s been saving in their pocket to give you for a special occasion, Snatch & Grab introduces a new enemy to Modern Warfare 2’s roster: the juggernaut. And he’s a right bastard. Aggressive, mobile and covered in thick armour, there are four of these placed in what is otherwise a straightforward run (and pick up laptop) and gun. Taking them down quickly (and, wherever possible, individually) is essential to prevent you from being overrun by the regular grunts, and the best way to do that is with a flash bang grenade and several rounds to the head. Listen out for the quiet but ominous change in the game’s music when they spot you, because once you’re in their sights they don’t stop charging.
Delta
Wardriving
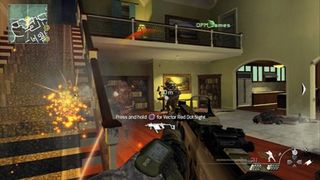
The mission: Retrieve enemy intel from three laptops in the suburban United States.
Veteran conditions: Sharper enemies and increased damage.
How to do it: With support from a Stryker (a truck with a big gun which you direct using a laser pointer) you have to enter three houses and download intel inside. There’s fairly heavy enemy resistance at all times, but it intensifies every time a download is started. Essentially, the level consists of three siege moments, and the key to surviving them is to prepare your defence before you trigger the madness. You do that with the three turrets on the level (carry them back and forth between the houses, making sure they cover the main entrances) and with the ready supply of claymores (the first and last houses each contain two sets). Lastly, remember to wipe out all nearby enemies when your download is interrupted – there’s no rush as it’ll pick up from where it left off.
Wreckage
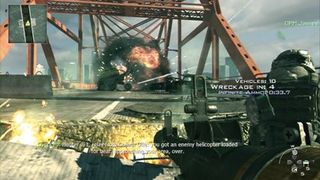
The mission: Destroy every vehicle on the same bridge as featured in Suspension.
Veteran conditions: Sharper enemies and increased damage.
How to do it: Destroy 35 vehicles. One of the easier later missions. There are two ways to play this. The ‘proper’ way has you flying in with RPGs and grenades, blowing up cars and trucks at the same time as engaging enemy troops. Less fun but more calculated and successful is the method of clearing all the enemies first – playing the mission exactly like the earlier Suspension, with lots of cover and accurate burst fire – before going postal on the cars.
Acceptable Losses
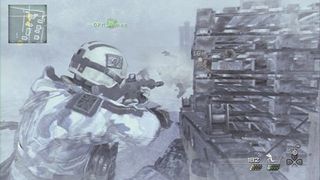
The mission: Plant three C4 explosives on enemy targets.
Veteran conditions: Sharper enemies and increased damage.
How to do it: Chose your free-firing moments carefully on this one. There are three targets on your radar – head right out of the cul-de-sac where you spawn and you’ll find yourself on a runway. Use the heart monitor to spot enemies and only kill them when necessary. Plant C4 on the first jet, then move down the runway and do the other. The third target is a little farther away, and in a cluster of buildings. Use the second break in the fence as your entry point.
Terminal
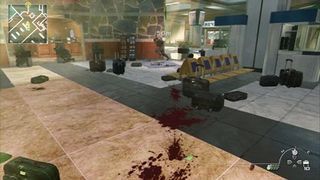
The mission: Fight through enemies to reach the extraction point in the airport building of No Russian from the single-player campaign.
Veteran conditions: Sharper enemies and increased damage.
How to do it: Played straight this is like marching through a swamp of fire, bullets and stinging nettles. So cheat. The waves of enemies are made up of regular grunts and the meatier shield carriers, and as the AI always come looking for you, the trick is to spawn them and run away, back to your own start area. Hold back here or use a riot shield when moving forward.
Estate Takedown
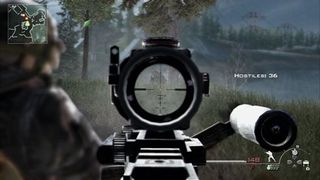
The mission: Hunt hostiles through the leafy Estate grounds.
Veteran conditions: Eliminate 40 hostiles.
How to do it: The Barrett sniper is your friend. It’s the starting weapon in this elimination hunt, and you’ll need it because the level’s full of juggernauts. The rules are broadly similar to O Cristo Redentor – there’s no time limit, so stay defensive, be patient and stick together. The drama will come when your ammo runs dry. There’s a cabin just up the hill from the boat house, which contains an ammo crate – clear the area first then move up when you get a chance.
