Chapter Two: Palaven
After escaping the Martian outpost, Shepard and his team head to the Citadel to speak with the Council, and to get Ashley treated for her injuries.
Objective 1: Meet with the Council/Visit Ashley

Once at the Citadel, Shepard is told the Council will see him, but not right away. After talking with Commander Bailey, you are free to explore just a bit. Immediately to your left, you’ll find a waiting area where Diana Allers is waiting. She’s a military reporter who proposes covering the war from the Normandy. If you agree to let her come aboard, Diana will leave to prepare. At the top of the hall where Shepard met Commander Bailey, you can speak with Avina, an automated information center on the Citadel. After exploring the immediate area, you can head through the security checkpoint to either visit Ashley in the hospital, or go meet with the council.
If you choose to visit Ashely, you head to Huerta Memorial Hospital. Across from the information desk when you enter is a Serta Supplies vending machine. You can choose to purchase some items, or proceed directly to Ashley’s room. Continue forward through the inpatient wing. Ashley will be in a room on the right side of the hall. Visiting with her will earn you +2 Reputation. There are no other items to find in the hospital at this time.
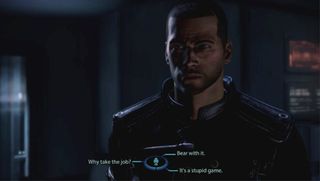
Head back to the elevator, and select the Citadel Embassies to visit with the Council. Go to the right, and up the stairs. Go into the room on the left at the top of the steps to see Commander Bailey again. Speaking with him will earn you another +2 bonus depending on which dialogue choice you make. Exit the room, and head to the next open room down the hall on the right. You’ll meet Councilor Udina’s aide, who will take you to him.
After meeting with the council, and trying to convince them to aide humanity, Udina requests to meet with Shepard privately. The Turian ambassador enters the room, and tells Shepard the best way to get the council on his side is to rescue Primarch Fedorian. He’s the one who called for the war summit, and the ambassador believes if the Normandy could extract him, Shepard could convince the council to join his cause. After leaving Udina’s office, you can head across the hall to the shooting range, or proceed back down to the lobby. There, you are confronted by Khalisah al-Jilani, a reporter. You can choose to talk to her or intimidate her. You will receive a bonus for whichever dialogue path you choose.
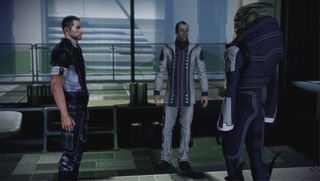
Take the elevator back down to the docking bay, and return to the Normandy. You will have to play through a brief sequence showing how haunted Shepard is by the invasion of Earth. Shepard awakens, and is greeted by Liara, who informs him the Prothean device can be completed with Turian technology, making the rescue of the Turian Primarch that much more vital.
After speaking with Admiral Hackett, you can visit the War Terminal. There you can check on the readiness of the galactic forces for the battle against the Reapers. You can also view the Theaters of War, where you can see just how prepared each specific sector is to handle the threat.
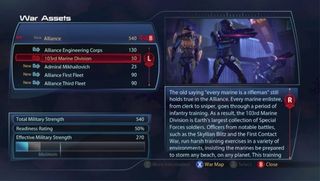
Head through the door on the other side of the room, then through the labs and the security checkpoint. When you finally reach the next room, visit your Private Terminal. There, you will get messages for side missions known as Special Ops. These missions will help you build up the galactic forces displayed on the War Terminal. If you want, you can also speak to Specialist Traynor, who is standing to the right of your Private Terminal.
This room is also where you’ll find the Galaxy Map. Utilize it to locate where you next objectives are, and to see just how far the Reaper menace has spread. By selecting any of the systems on the map, you can then plot a course for the Normandy to take. Set course for the Apien Crest to begin the search for the Turian Primarch.

Objective 2: Rescue to Turian Primarch
Once you arrive in the Trebian system, guide the ship to the planet Menae. Enter orbit in order to land on the planet. When you land, you’ll be able to select the squad you want to bring with you on the mission. You’re limited to Liara and James for the time being. Select both of them, and proceed. You’ll also have a chance to upgrade your weapons before disembarking. If you picked up the modifications earlier, you can now equip them on the appropriate armaments. If you’ve gotten enough experience Shepard and his squad, now is the time to level them up as well.
As your ship readies for landing, you see that the landing zone is under attack. Take care of the Husks as you exit the ship, and eliminate all the enemies before moving forward. After the Husks are taken out, speak with the Turian Solider. He’ll tell you where to find the commanding officer. Head around the corner, through the barracade, and find the commanding officer. When you enter the camp, immediately to your left you’ll find a med kit.
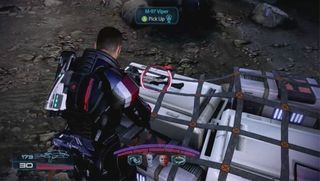
In the middle of the camp, there’s a stack of crates. There you’ll find an M-97 Viper and a datapad. Pick them up, and continue searching for the commanding officer. Once you reach General Corinthus, you find out the Primarch is dead. In order to find out who the Palaven command has chosen as a successor, communications will have to be restored.
Objective 3: Regain control of the comms tower, and re-establish contact with Palaven command.
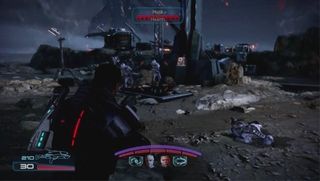
Head straight and to the left to make your way to the tower. Continue up the hill until you reach the tower. You’ll have to dispatch some Husks. Approach the control panel, and activate it. You discover the tower can’t be fixed from this position, so you’ll have to send either Liara or James off to make the repairs. No matter which squad member you choose, you’ll have to fend off more Reaper forces while the repairs are being made.
Once communications have been restored, the General will attempt to contact Palaven command. Shepard and his squad must stay to defend the tower from any more Husks trying to sabotage it. The Husks will keep coming until the General contacts you to return. Make your way back to the Turian base camp to speak with Corinthus.
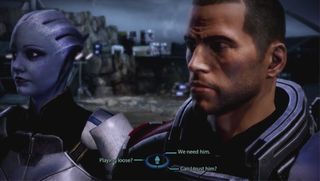
When you return to the camp, there will be an Assault Rifle Piercing mod, as well as an M-27 Scimitar, to the right of the entrance inside. Make sure to pick them up, and then go speak with the General. He informs you the new Primarch is Adrian Victus. A Harvester attacks the camp, and while Shepard heads off to take care of it, he requests the new Primarch rendezvous at the camp.
Objective 4: Defend the airfield and the barricade.
Head to the left to find the exit to the airfield. Once you reach the middle of the airfield, Reaper forces will arrive. Make sure to pick up the Assault Rifle Magazine upgrade, and the ammo behind the barricades. In addition to Husks, you’ll encounter Marauders. Once you fended off all the opposing forces, pick up any ammo on the battlefield, and return to the base. Once there, you’ll learn the Turians need help defending the main barricade.
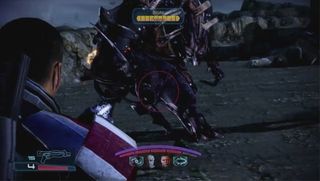
Head up the ladder, and man the turret. Prevent the Husks from breaching the walls of the camp. Husks will continue to spawn until a large Brute drops in from the sky. It rams the barricade, knocking Shepard down below. Take down the Brute and the remaining Husks. General Corinthus will then contact you to inform you he can’t reach the Primarch. Shepard and his squad must retrieve Victus on their own.
Objective 5: Reach the Primarch.
Proceed straight down the path in the direction of Palaven. You will come across the bodies of two dead Husks. There you will find a datapad. Pick it up, and then continue on. The route will wind a round a bit, and as you near Victus’ location, a group of Husks will attack you. Eliminate them, and carry on. You’ll encounter a small group of Taurian soldiers not long after that. There is a med kit, data pad, and a Sniper Rifle Spare Ammo upgrade right next to them.
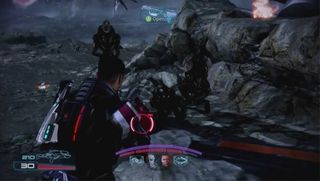
Continue around to your left, and follow the path. A ship crashes altering your route, but simply hop down to continue along. As you follow the winding path, you will find another med kit and some ammo on your right. Just as you approach the camp, Reaper forces can be seen landing inside. Hurry into the camp to stop the Reapers from taking out Victus.
Objective 6: Clear out the camp.
As soon as you enter the camp, you’re greeted by a handful of Cannibals on your left. A Brute and several Marauders appear not long after you engage the Cannibals. You’ve got to take out all of the enemies before you can advance. There is ammo and first aid scattered throughout the camp. Additionally, to the right, near one of the structures, you can find a Reaper Blackstar to add your arsenal.
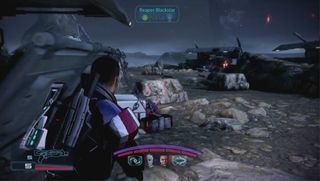
In the middle of the compound, you can find a Sniper Rifle Enhanced Scope upgrade next to a med kit. More Brutes and Marauders will spawn after you stop the first wave. Use the Blackstar to take out the second wave of Brutes quickly and effectively. Once you’ve finally managed to end the Reaper threat inside the camp, you’ll meet up with Victus in a structure near the far right of the compound.
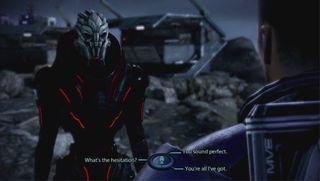
Victus is reluctant to leave his soldiers and his planet’s fight against the invasion. You’ve got to convince him that he’s the right man to represent his people at the War Summit. The newly anointed Primarch agrees to return to the Citadel, however, he reveals that he cannot commit the Turian forces to the fight. At least, not without first getting the help of the Krogan to fend off the Reapers on Palaven.
