Chapter Eleven: Earth
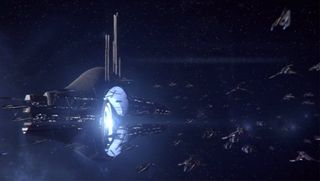
This is it. The final assault on the Reapers to save the galaxy, and it’s happening on Shepard’s home turf. The Reapers have positioned the Citdel in orbit above London, and Shepard and his galactic army must find a way to make it into the heart of Reaper territory.
Objective: Destroy the Hades Canon
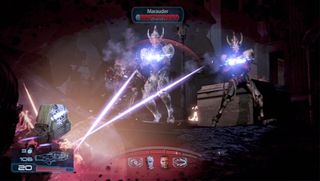
Though a few small shuttles are able to land immediately, the rest of the Alliance forces can’t get close enough with the Reaper anti-air cannons firing. SHepard and his squad must take them out. Cannibals and Marauders greet you on the ground as you make your way to a wrecked shuttle that has the weapon you need to blow the AA guns up. Make your way up the first hill after taking down the Reaper forces, and you’ll find yourself on a city street.
More Cannibals and Marauders show up in opposition, as do a few Brutes. You’ve got no choice but to take them all down before you can proceed. Once that’s done, follow the rubble into the apartments on the right. Keep climbing until you reach another open area. Reaper forces turn out in droves to try and stop you. Making matters worse is the AA gun is firing from no less than 100 yards away, which not only floods the screen with bright light, but also causes your aim to swing wildly off target.
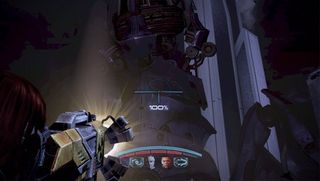
Keep taking down the Marauders and Cannibals until you’re able to make it to the wrecked shuttle on the other side of the roof. Pick up the M-920 Cain near the wreckage, and fire it at the Hades Canon. One shot is all you’ll need. The good news is you’ve managed to open the skies for more troops to land. The bad news is a non-stop assault of Reapers is headed your way. Banshees, Cannibals, and Marauders all show up on the roof to make sure you don’t make it out alive. Fortunately, Cortez is able to land his shuttle after a few minutes of you holding out. All you’ve got to do is make a run for the ship. Not every enemy has to be killed to escape.
Objective: Make it through no-man’s land

After you’re whisked away to safety, you have time to speak with all of your surviving squadmates at the Alliance’s forward operating base. Once you’ve done that, it’s time to plan the assault on the big beam of light being projected by the Citadel down to London. It’s in the heart of Reaper territory, and a giant Destroyer is guarding it. After a few short cutscenes, you’ll be put on the move through heavily invested territory to organize the attack on the Destroyer.
When you first start to cross no-man’s land, Cannibals and Marauders will stand in your way. Take them down, and continue through the devastated city, and down into the next open area by the tanks. More Reapers forces including a Harvester and Banshee will show, but the tanks will give you some support while trying to take down these more challenging foes.
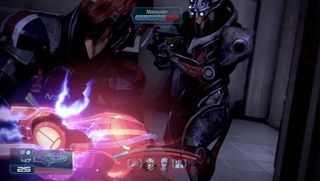
There’s a garage entrance on the left. Head through the door, but be prepared to fend off some Husks as soon as you enter. After the first wave of Husks has been taken down, another wave will spawn, but so will a few Brutes. The confined space makes it a bit more of a challenge, so make sure to keep to cover as best as you can. After the Brutes are down, continue through the back end of the garage, and up the ladder you find.
There’s a Reaper strongpoint just up the path, and you’ve got to take them out so the Alliance forces on thte streets below can proceed. Clearing out the apartment should be easy compared to what you’ve encountered so far. Grab the two Med Kits in the apartment before exiting out the door. A few Husks will try to surprise you when you open it, but their resistance is minimal.
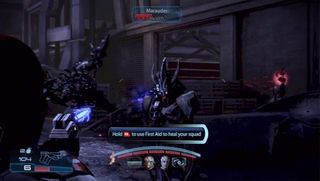
Drop down into the streets below, and get ready for another firefight against some Marauders. As you push to make it into the building at the end of the block on the right, more Reapers arrive to try and stop you. Take them out, and then duck into the building. You barely have a moment to catch your breath before more Reapers show up to try and kill you.
Continue through the building until you make it out to the street on the other side. A squad of Cannibals is waiting for you outside. Make quick work of them, and then head towards the next building, where Marauaders and more Cannibals are holed up inside. Take every last one out, and then proceed through the door on the left.
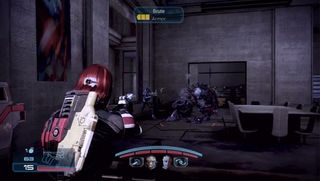
Marauders are waiting to ambush you inside, and once you take them out and proceed further into the building, a Brute enters the fray alongside a few more Cannibals. Destroy every last Reaper, and then head down the alleyway between the buildings. As you do, two more Brutes will come crashing through the wall. Retreat a bit to allow some space to fight the two of them. After they’ve been killed, run down the alley, and head through the door on the right.
Objective: Secure and defend the missile batteries

After a brief cutscene plays, you learn it’s up to you to secure and activate the missile batteries for the assault on the Destroyer. First eliminate any and all Marauders and Cannibals in the street. Then activate the console on the rear missile truck. Once you do so, you’ll have to defend the batteries from further attacks. This is the most challenging firefight of the entire game. The left flank quickly falls, so it’s entirely up to you and your squad to protect the missiles from a heavy barrage of Reapers. Banshees, Marauders, and a few Cannibals mark the first wave.
After you manage to stop the initial attack, head back to the rear missile truck to fire the rockets at the Destroyer. Unfortunately, there’s too much interference, so you’ve got to hold out a bit longer, while also drawing the attention of the Destroyer so it’s within closer range of the missiles. Brutes drop out of the sky with frequency, and then a few Harvesters join the fray. Following that, more Banshees show up. The Destroyer is also firing its devastating cannon at you as it approaches, making it tough to stay alive. You only have to hold out for a few minutes though, as just when the situation seems most dire, you’re given the go ahead to fire the second salvo of missiles.
Objective: Run towards the conduit
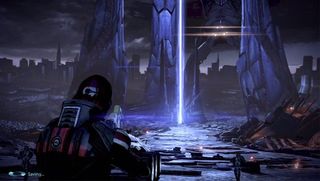
With the Destoyer down, you’ve not got a clear path to the beam of light you’ve been so desperately trying to reach. Just make a run for it, and enjoy what happens next. This is the end of the saga, and we don’t want to spoil what occurs. The only direction we have left is just keep moving. Don’t stop, no matter who or what gets in your way.
