Adventure Level 2: Lor San Tekka’s Return - Kelvin Ravine
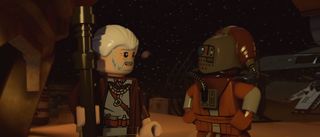
This level isn't split over two or three parts, so we can run through nabbing collectibles fairly quickly.
Minikit #1 - Free Play Mode
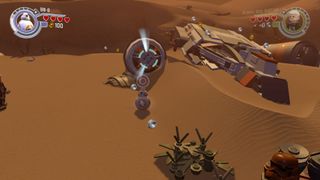
Head over to the left to find a downed ship with a BB-8 port.
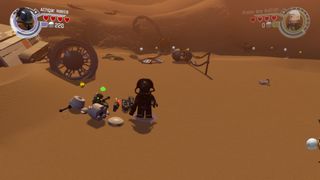
Go ahead and plug him in to get the parts for a minikit.
Minikit #2
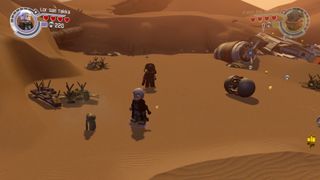
Once again, we have to clobber little furry creatures for minikit parts. The first one is over at the far left of the area.
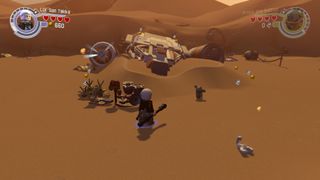
The second is in front of the ship wreckage.
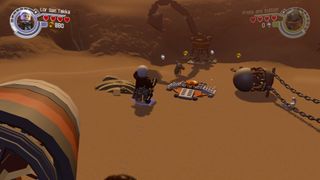
The third is to the right of the ship by the BB-8 port.
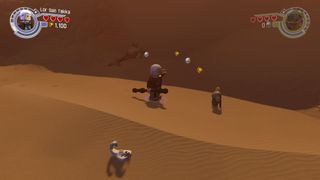
The last one is a little further to the right. Assemble the minikit with the parts you'll be rewarded.
Minikit #3
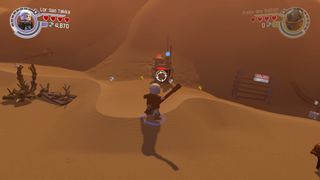
To the right of the ship is a target mounted onto a capsule.
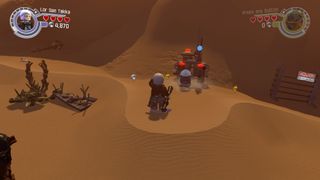
Shoot it to release a droid who will leave a generous amount of studs in his wake.
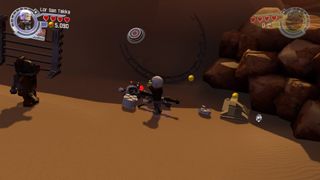
Follow him to the right to find pieces for a minikit.
Minikit #4 - Free Play Mode
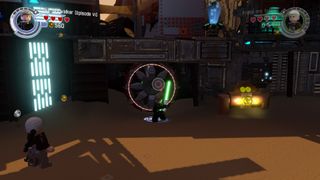
To progress through the level, you need to open up a gate. Nearby you'll spot a vent.
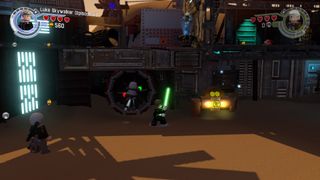
Cut through it with a lightsaber to get the minikit.
Minikit #5 - Free Play Mode
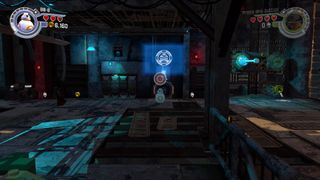
Once you're inside, you'll see a BB-8 terminal to the right.
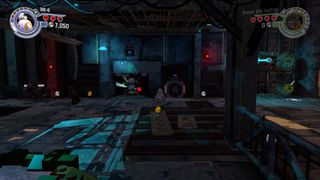
Have him do his thing to reveal the hidden minikit.
Minikit #6 - Free Play Mode
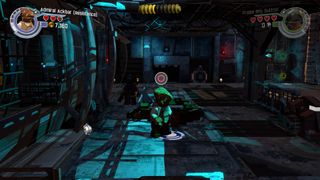
From the BB-8 socket, head to the front left of the screen to find a pool for Ackbar.
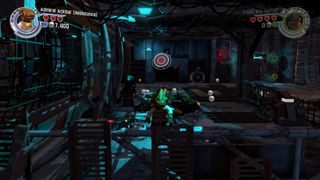
Dive in to get the parts for a minikit.
Minikit #7
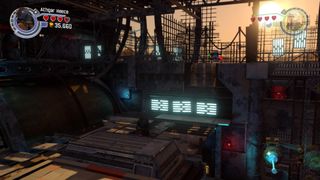
After using the agility bar to reach the upper right platfform, you'll spot the minikit just floating nonchalantly on a ledge above.
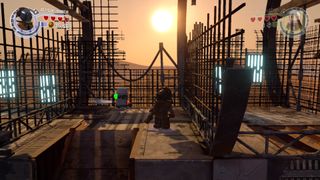
Boost up to nab it.
Minikit #8
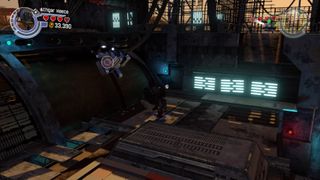
For the next minikit, you need to blow up four silver Lego fixtures. The first is on the platform after the agility bar, near the previous minikit.
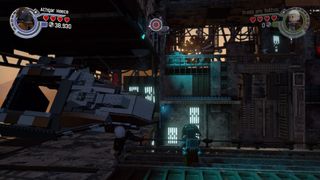
The second is above the bridge to the left.
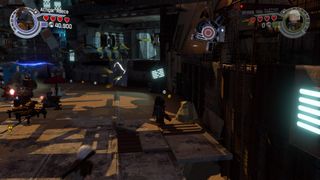
After crossing the bridge, you'll find the third on the wall to the far right.
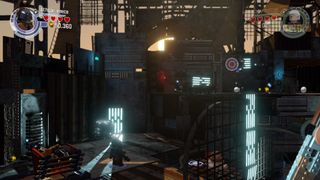
The last one can be blown up after cracking the wall to the left in this area and climbing up. It's on the platform to the right.
Minikit #9
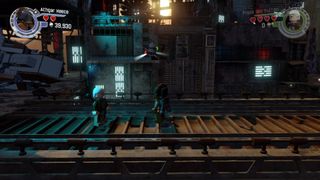
You'll spy this one as you cross the bridge.
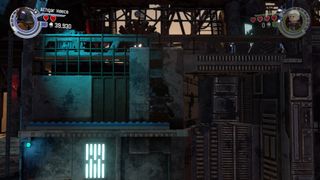
Boost over to get it and try not to fudge the landing.
Minikit #10
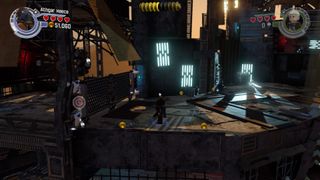
After breaking through the cracked Lego wall and climbing up to the left in the last area, use a couple of bombs to bring down the barrier secured with silver Lego.
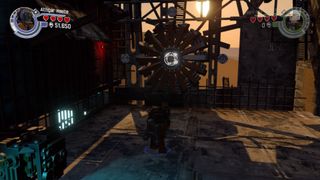
Continue to the left and shoot the target on the wheel.
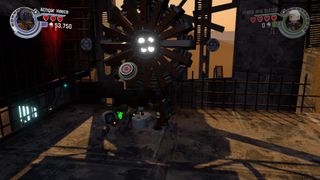
The first time you hit it, you'll face a wave of enemies. The second time will release a bunch of studs, and the third will shower you with parts for a minikit.
Table of Contents:
- Prologue: The Battle of Endor - Endor Shield Generator
- Prologue: The Battle of Endor - Death Star Throne Room
- Prologue: The Battle of Endor - Death Star Attack
- Chapter 1: Assault On Jakku - Village Retreat
- Chapter 1: Assault On Jakku - First Order Assault
- Chapter 2: Escape From The Finalizer - Finalizer Hangar
- Chapter 2: Escape From The Finalizer - Star Destroyer Exterior
- Chapter 2: Escape From The Finalizer - Jakku Graveyard
- Chapter 3: Niima Outpost - Niima Outpost
- Chapter 3: Niima Outpost - Niima Bombardment
- Chapter 3: Niima Outpost - Jakku Graveyard Flight
- Chapter 4: The Eravana - Freighter Battle
- Chapter 4: The Eravana - Freighter Chase
- Chapter 4: The Eravana - Freighter Shutdown
- Chapter 5: Maz’s Castle - Castle Approach
- Chapter 5: Maz’s Castle - Castle Basement
- Chapter 6: Battle of Takodana - Castle Corridors
- Chapter 6: Battle of Takodana - Takodana Skies
- Chapter 7: The Resistance - Resistance Base
- Chapter 7: The Resistance - Resistance Hangar
- Chapter 8: Starkiller Sabotage - Starkiller Crash Site
- Chapter 8: Starkiller Sabotage - Starkiller Wall
- Chapter 8: Starkiller Sabotage - Starkiller Shield Room
- Chapter 9: Destroy Starkiller Base - Assault on Starkiller
- Chapter 9: Destroy Starkiller Base - Rey's Escape
- Chapter 9: Destroy Starkiller Base - Oscillator Interior
- Chapter 10: The Finale - Oscillator Bombing Run
- Chapter 10: The Finale - Starkiller Showdown
- Epilogue: Luke’s Island
- Adventure Level 1: Poe To The Rescue - Trash Compactor
- Adventure Level 1: Poe To The Rescue - Hangar Battle
- Adventure Level 1: Poe To The Rescue - Asteroid Escape
- Adventure Level 2: Lor San Tekka’s Return - Kelvin Ravine
- Adventure Level 3: Rathtar Hunting - Rathtar Caverns
- Adventure Level 3: Rathtar Hunting - Loading Area
- Adventure Level 4: The Crimson Corsair - Landing Site
- Adventure Level 5: Trouble Over Taul - Corvette Interior
- Adventure Level 6: Ottegan Assault - Ottegan Pursuit
- Adventure Level 6: Ottegan Assault - Ottegan Surface

