D'Qar (continued)
Gold Brick #19
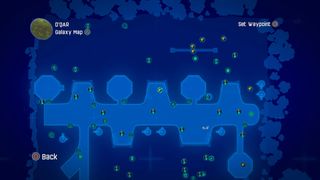
You have to destroy and reassemble the parts of three machines to collect the next gold brick.
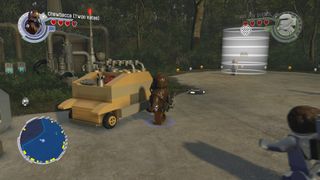
The first one is to the right of the hangar entrance.
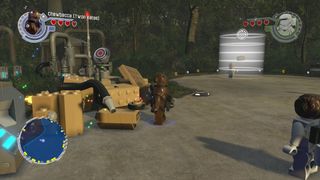
Breakdown the machine and rebuild it.
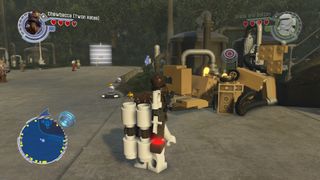
The second one is on the opposite side of the runway.
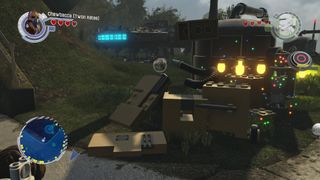
The third one is by the entrance to the hangar next to the Millennium Falcon.
Gold Brick #20
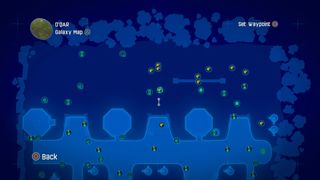
Enter the middle hangar at the top of the map.
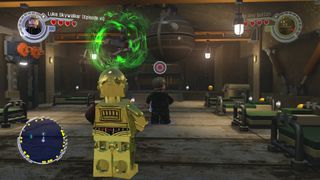
Use the force on the model ship to get the gold brick.
Gold Brick #21
Table of Contents:

Head further into the hangar for this one.
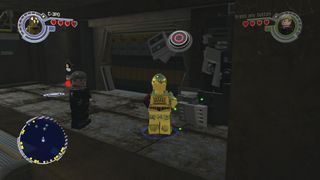
Assemble the Lego bricks to the right of the large door to get yourself a Princess Leia wig.
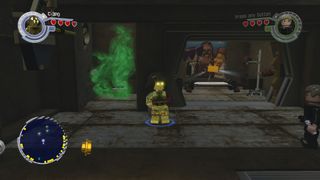
Now interact with the terminal to the left to open the door and collect the gold brick.
Gold Brick #22
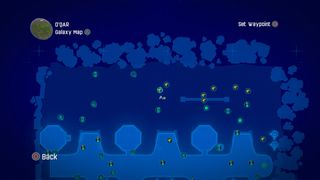
This is the final gold brick to be found inside the hangar.
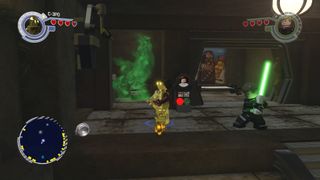
Outside of the toxic area is a yellow handle on the left wall.
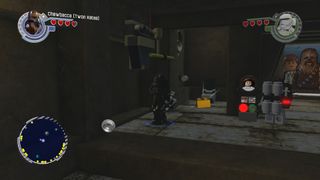
Pull it to clear the gas and drop in the gold brick.
Gold Brick #23

Make your way to the top of the hangar.
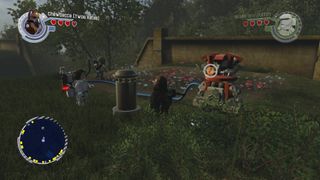
You need to find the missing valve.
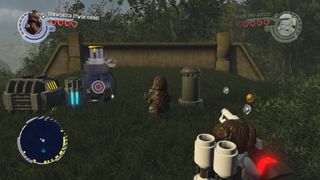
Go across to the area opposite and blow up the silver Lego to get the valve.
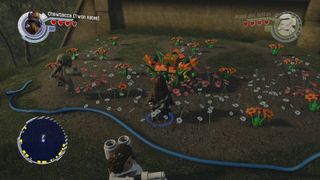
Once you attach it to the machine, the gardener will water the flowers and you'll get your brick.
Gold Brick #24
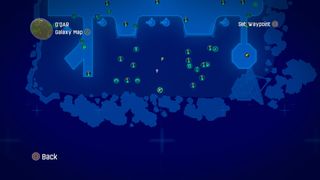
The next gold brick is in the area between the two southern hangars.
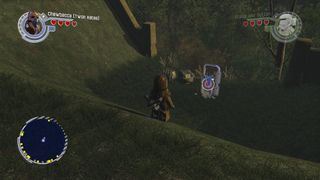
Blow up the silver Lego at the bottom of the slope.
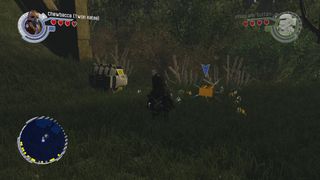
The brick will appear in the debris.
Gold Brick #25
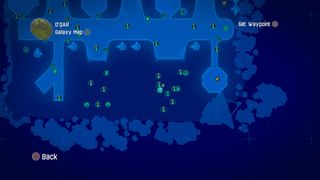
Next up is a bounty hunter mission.
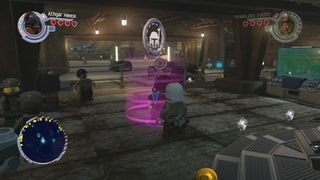
Talk to the guy in the hangar and follow the blue studs to your objective.
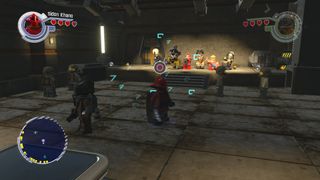
Scan the musician on the far left.
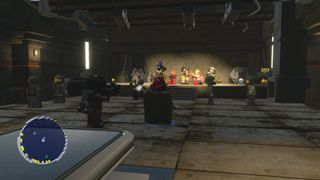
Beat up his cronies to complete the mission.
Gold Brick #26
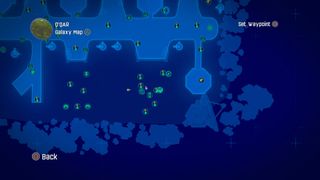
Staying in the same hangar, pick up the resistance mission on the east side.
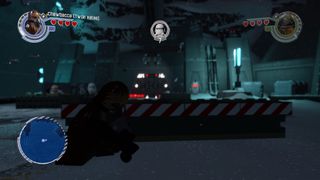
The first phase is a shootout and you need to take down seven stormtroopers.
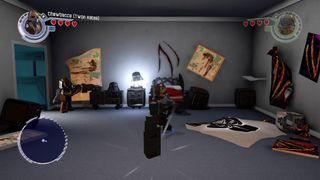
After you've completed the fist half, pop into the room beyond to grab the mission objective and you're done.
Gold Brick #27
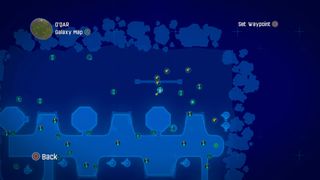
Make your way to the area behind the northeast landing pad.
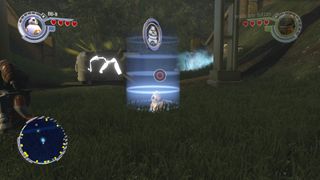
There's a BB-8 challenge here.
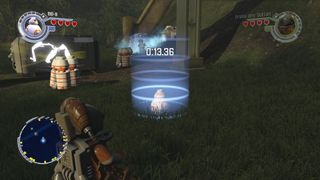
Finish it within the time limit for the gold brick.
Gold Brick #28

This brick is in the same area, so don't wander off.
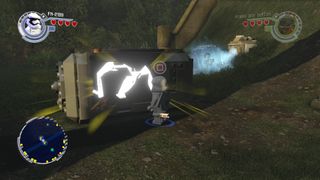
Break open the cracked Lego crate to find it.
Gold Brick #29
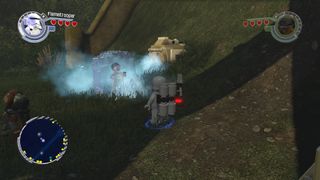
Next to the cracked crate we broke open for the last brick is a guy trapped in an ice block.
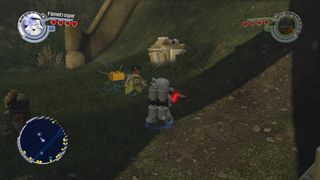
Use the flametrooper to rescue him and you'll be rewarded with a gold brick.
Gold Brick #30
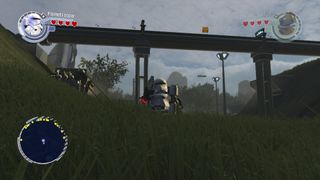
If you look above you, you'll spot the next gold brick.
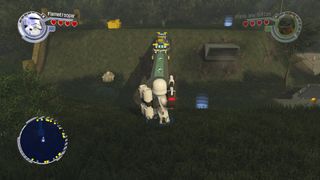
Just make your way to the top of the hangar and cross the beam to get it.
Gold Brick #31

Keep going across the beam to get to the top of the last hangar.
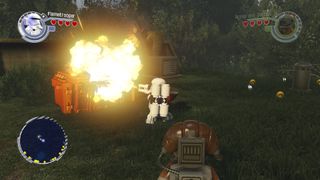
Destroy the gold Lego crate.
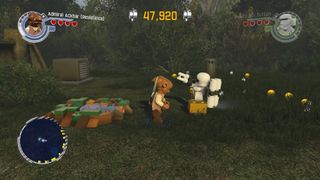
This will reveal a pool. Dive in with Ackbar to get the gold brick.
Gold Brick #32
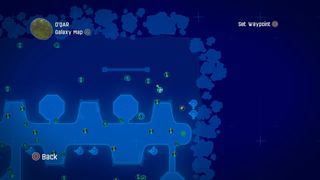
The general mission on top of the hangar is next up.
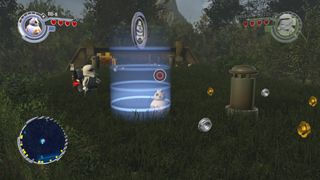
It's a BB-8 challenge so destroy the canisters within the time limit and the brick is yours.
Gold Brick #33
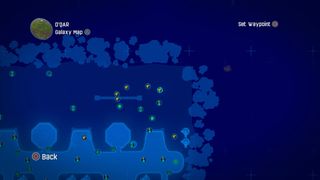
This brick is in the hangar on the map, but we need to get to the top of the hangar opposite to make it appear.
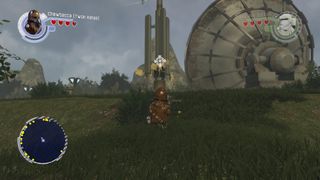
Shoot the creatures near the huge satellite dish.
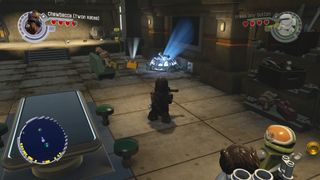
A short cutscene will let you know you've been successful. Make your way back to the hangar to collect the gold brick.
Gold Brick #34
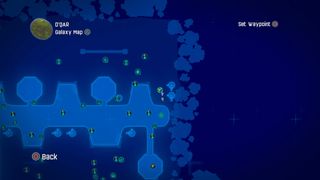
Head around to the right of the hangar entrance.
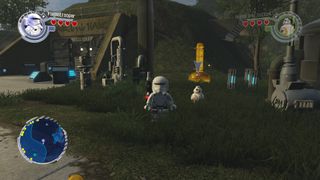
Destroy the gold Lego post for the brick.
Gold Brick #35
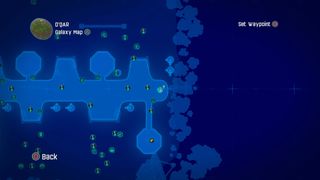
Another easy one.
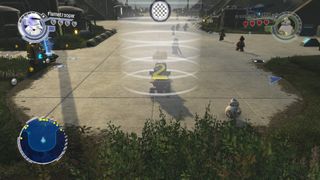
Complete the race at the far east of the runway to get the gold brick.
Gold Brick #36
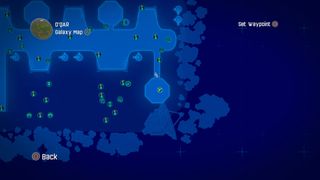
For the last brick in this area, head to the landing pad in the southeast.
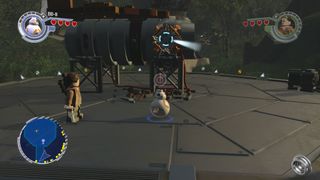
Destroy the objects around the engine and reassemble the parts into a BB-8 socket.
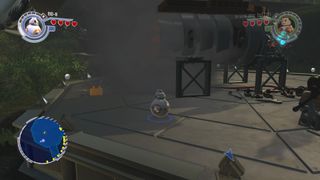
Plug him in and we're all done here.

