Starkiller Base
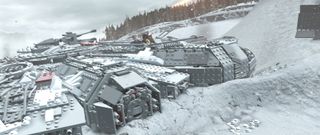
There are 45 gold bricks to collect at the base and it's worth noting that some will only appear after collecting others.
Gold Brick #1
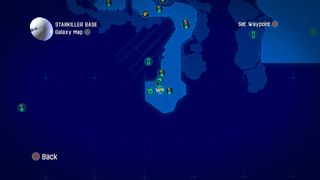
We're starting off in the southern tip where the TIE fighters are parked.
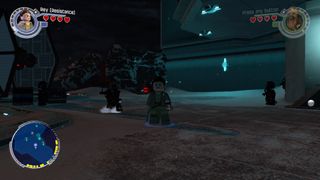
You can use the scan ability on the large wall back here.
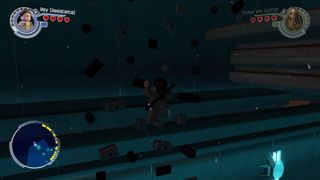
Go ahead and use it to reveal a stud wall.
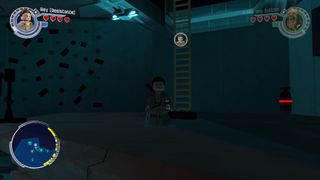
Climb the wall and scoot up the ladder on the platform above.
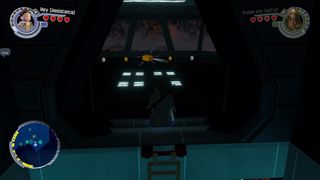
The gold brick is in the room at the top.
Gold Brick #2
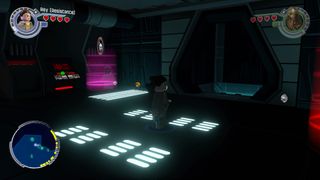
In the same room, to the left of the ladder, you can pick up a bounty hunter mission.
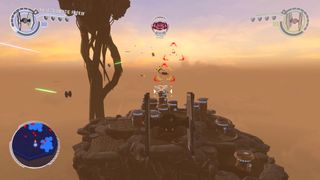
Fly around shooting down ships.
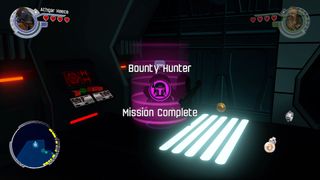
Complete the mission successfully to get a gold brick.
Gold Brick #3
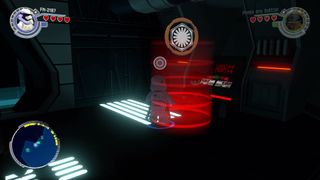
On the other side of the room is a First Order mission.
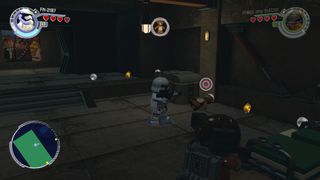
At the end of the shootout, grab the bear from a nearby hangar.
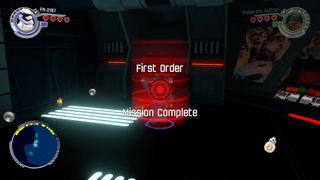
You'll be rewarded with a gold brick.
Gold Brick #4

Next up is a general mission.
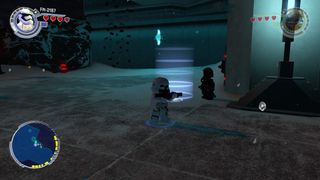
You can pick it up at ground level near the stud wall.
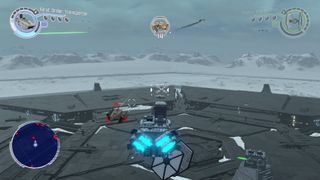
There's more flying and shooting required.
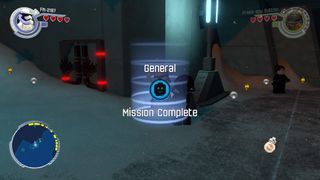
Do both well enough and that's another gold brick for you.
Gold Brick #5
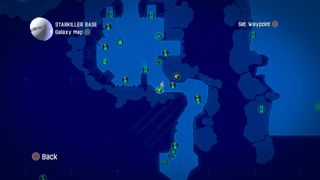
Follow the path north towards the next area.
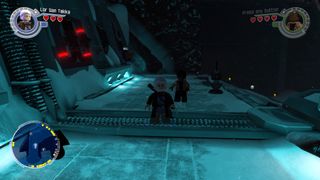
On the way you'll spot double grapple plugs on the wall at the top of a ramp leading down to the open area.
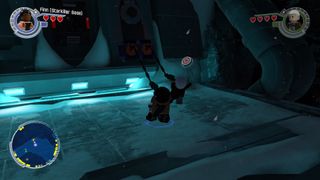
Give them a good yank.
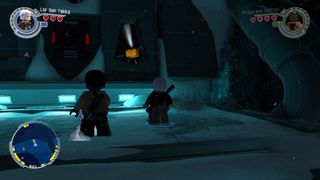
The gold brick is behind them.
Gold Brick #6
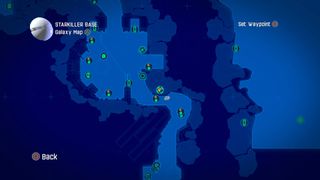
There's another brick to find along this walkway.
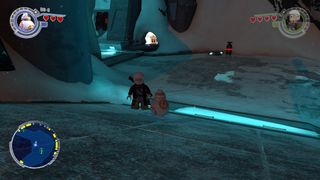
Look for a small access hatch.
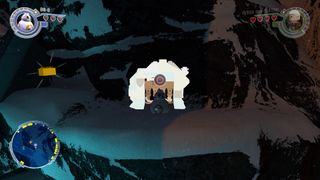
The brick is on the other side.
Gold Brick #7
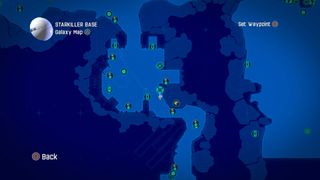
Head down the ramp and into the next area.
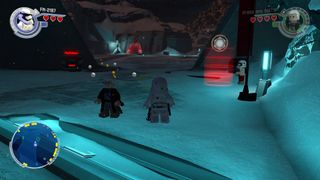
Speak to the stormtrooper near the bottom of the ramp and accept the First Order mission.
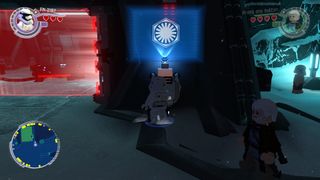
Use the First Order terminal to enter the hangar next to him.
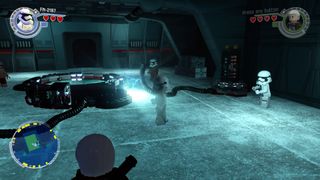
You need to disassemble and reassemble the parts inside on the ports attached to the hot tub.
You'll get a gold brick for your trouble.
Gold Brick #8
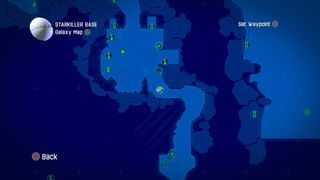
The next brick is also near the entrance to this part of the map.
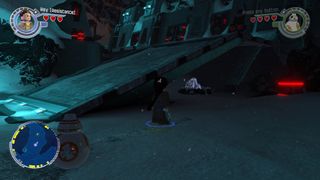
Under the ramp leading in from the south is a frozen pool.
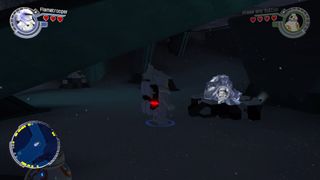
Use the flametrooper to get rid of the ice.
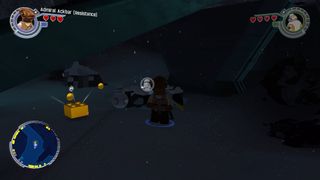
Dive in with Ackbar to get the gold brick.
Gold Brick #9
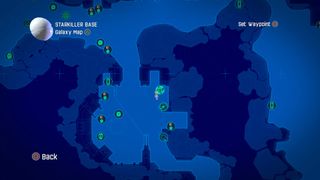
It's time for anther bounty hunter mission.
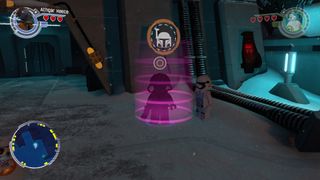
Talk to the stormtrooper in the northeast corner to accept it.
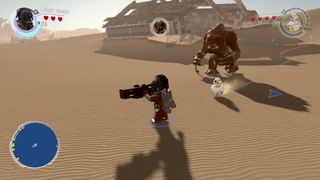
Then kick back and enjoy a spot of monster hunting.
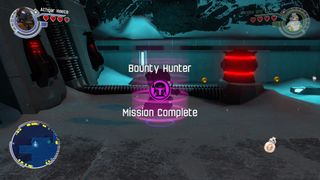
Slay the Rancor and the gold brick is yours.
Gold Brick #10
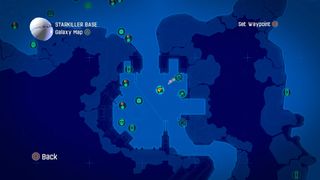
Collecting the next gold brick is a piece of cake.
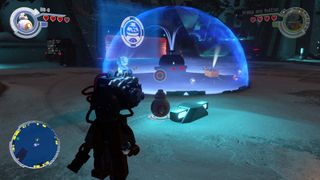
There's a big blue force-field in this area.
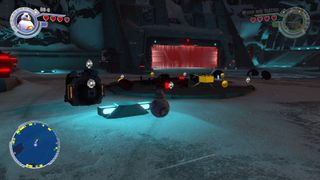
Use the BB-8 terminal to lower the shield and get the gold brick.
Gold Brick #11
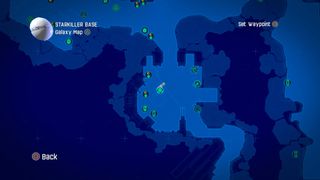
It's been far too long since we were airborne and shooting stuff, so it's about time for a general mission.
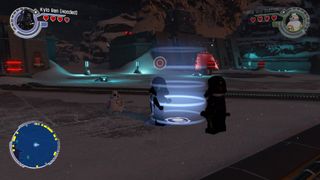
You can pick it up in the middle of this area.
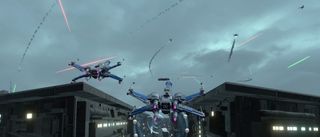
Follow the mission instructions and the gold brick is yours.
Gold Brick #12
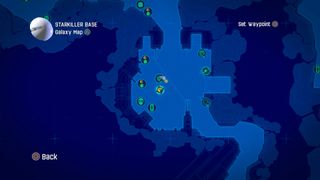
Head to the south of the general mission.
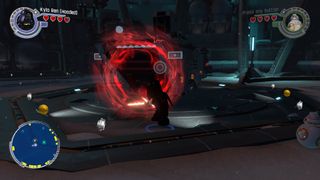
Use the dark force on the ship here.
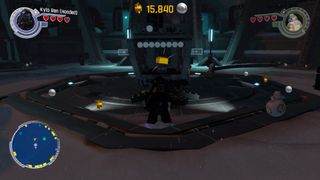
The gold brick is inside.
Gold Brick #13
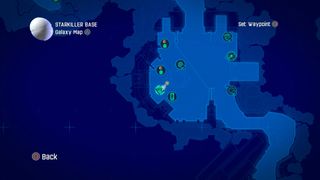
A scavenger mission is next on the agenda, and there's going to be some serious rooting around to complete it.
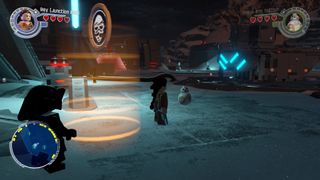
Pick up the mission in the southwest corner. You'll be tasked with finding three pieces of what appears to be total tat.
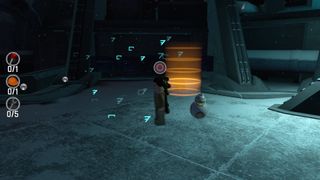
The map will be marked with three areas for you to have a rummage in. Luckily the first one is right next to where we accepted the mission. Use the scan ability on the wall here.
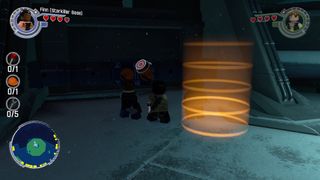
This will reveal the double grapple plugs. Using them will get you the hard hat.
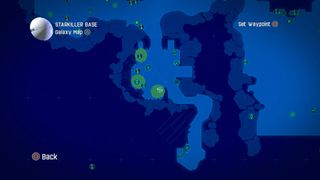
The second item is in the southernmost of the three circles.
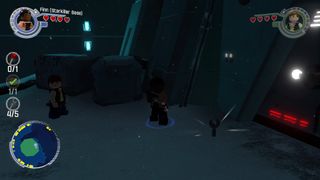
Destroy the objects to find what is either a wrench or someone's arm.
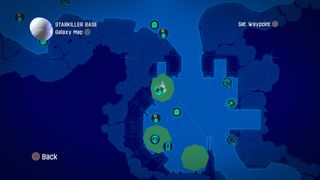
Head to the top green circle for the last one.
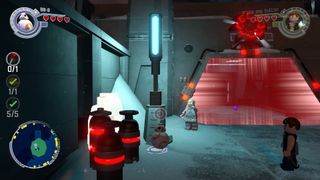
There's a small access hatch next to the laser door.
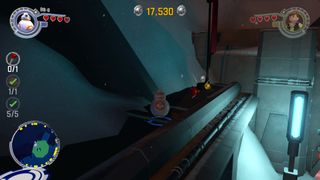
Pop through it to find the plunger.
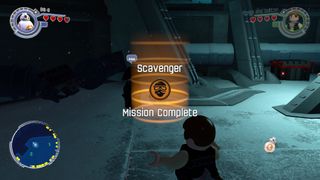
And that's a wrap.
Gold Brick #14
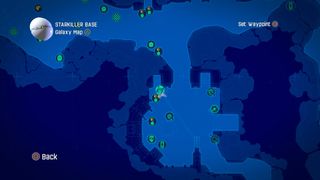
In terms of scavenging, that last gold brick was just a warm up.
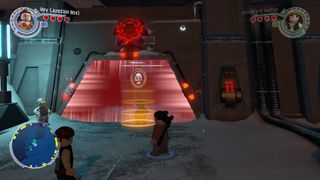
The guy outside of the laser door in the northwest corner wants hats. So many hats.
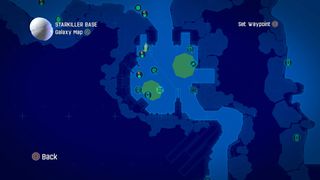
Start off in the search area to the south.
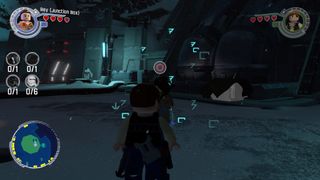
Use the scanner ability and the crate will be revealed to be made of silver lego.
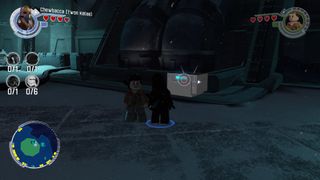
Go ahead and blow it up for the first hat.
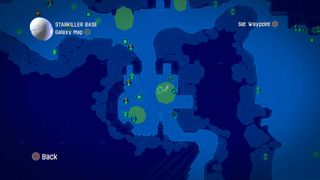
Move over to the eastern circle.
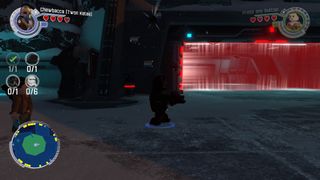
You'll see the next hat perched on a handhold next to the laser door.
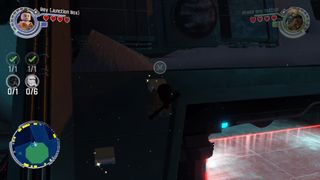
Climb up to reach it.
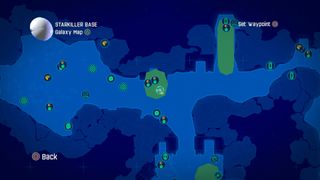
Head north into the next search area.
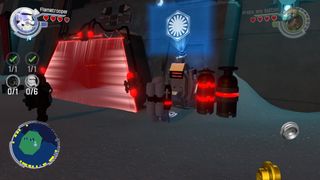
Use the First Order terminal to lower the barrier.
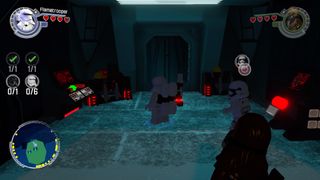
Destroy the stuff in the corner of the room.
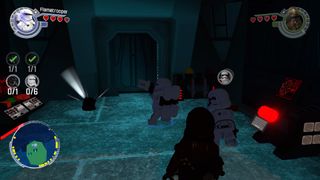
Grab the hat and carry on moving.
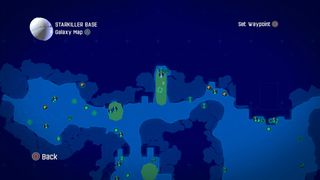
Make your way east to the last search area.
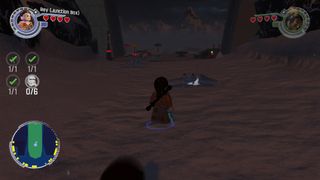
You'll get ambushed as you head down here.
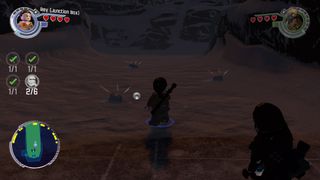
Defeat the creatures to get the last of the hats.
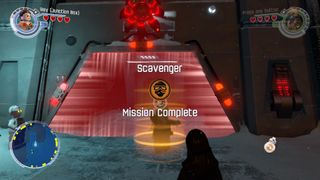
You've earned yourself a gold brick.
Gold Brick #15
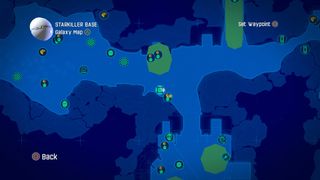
Take the path to the north to the general mission.
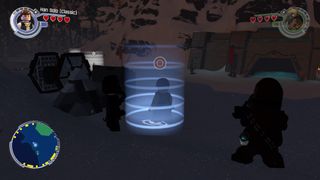
You'l need to power up the TIE fighter.
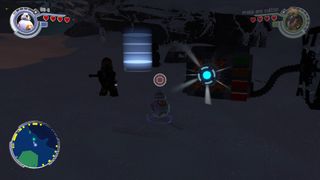
Use the BB-8 socket to charge the ship and win the race. This one is in the same area as three other races so don't get mixed up and run through those by mistake.
Once you're done, the gold brick is yours.
Gold Brick #16
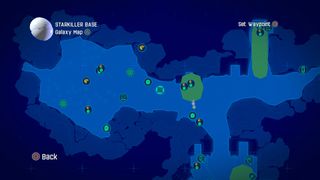
Head over to the west for the first of three races in this corner of the map.
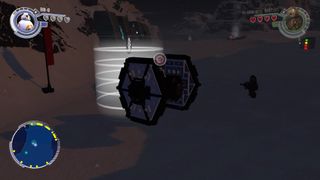
Complete it for a gold brick.
Gold Brick #17
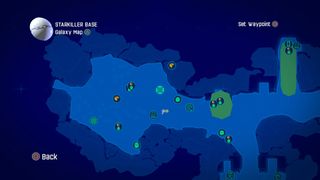
The second race is a little further west.
Gold Brick #18
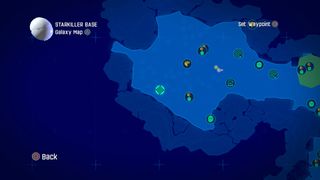
And the last one is to the southwest.
Gold Brick #19
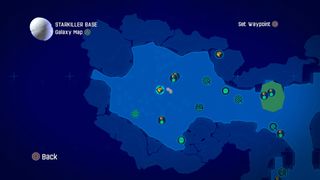
For this gold brick, you have to find and destroy five snowmen.
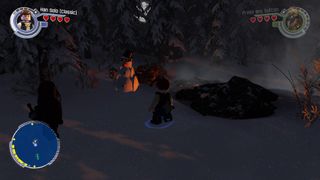
The first is to the west, by the geyser.
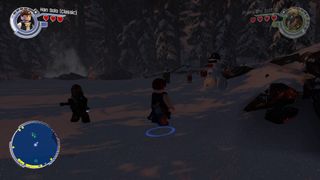
To the right you'll spot the second.
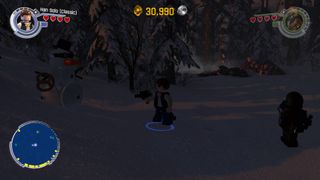
The third is to the left of the geyser.
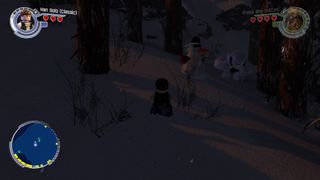
Head up the slope into the forest and you'll find a fourth snowman next to the Wampa.
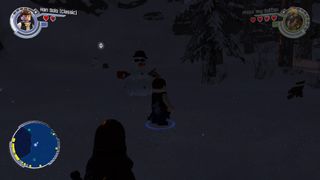
The fifth and final snowman is just in front of the translate mission.
Gold Brick #20
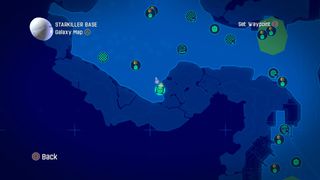
Head to the translate mission icon in the forest.
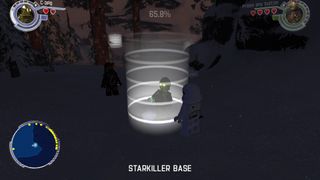
Speak to the stormtrooper to kick things off.
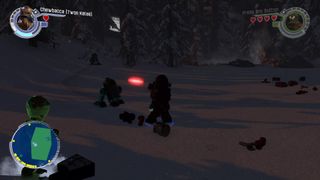
Fight off 12 droids and you'll be awarded a gold brick.
Gold Brick #21
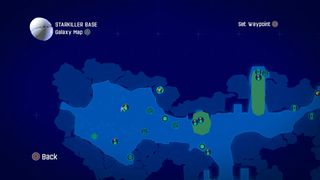
Head north for the next gold brick.
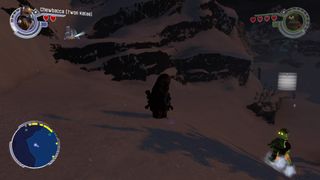
There's a ledge up here with a frozen gold brick resting on it.
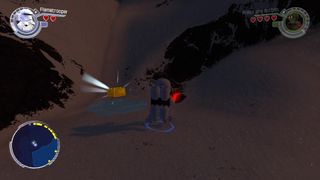
Use the flametrooper to melt the ice and nab the gold brick.
Gold Brick #22
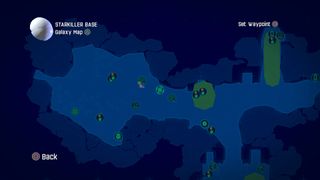
The general mission will give us the last brick in this area.
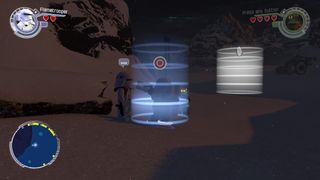
Talk to the stormtrooper to get things going.
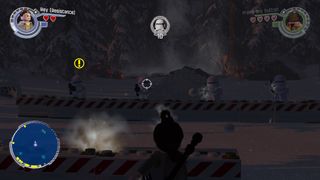
You'll participate in a shootout, but with snowballs. After this festive frolic, you'll have another gold brick to add to the collection
Gold Brick #23
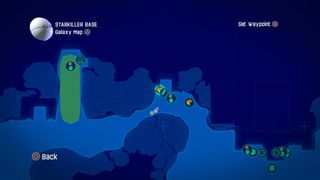
Start heading down the pass to the east.
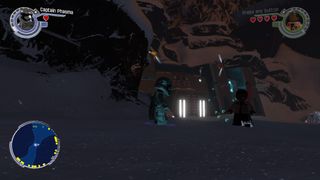
There's a building tucked into the rocks with a grapple plug at the top.
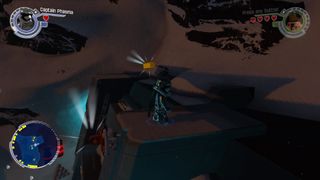
Swing up and the brick is yours.
Starkiller Base continues on the next page
Table of Contents:
- Millennium Falcon
- Takodana
- Starkiller Base
- D'Qar
- Jakku

