Takodana
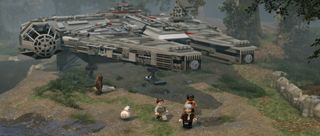
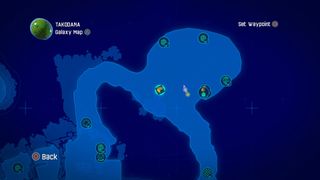
The Takodana map isn't that big, with just 27 gold bricks to collect.
Gold Brick #1
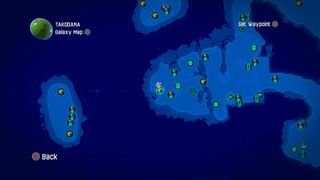
Head to the west side of the area where you spawn in on this map.
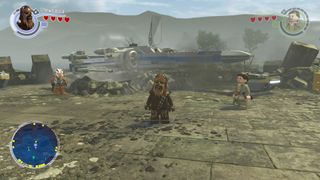
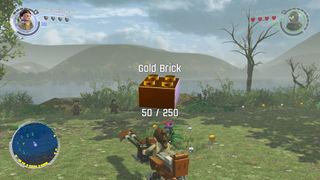
Destroy the crate in front of the ship.
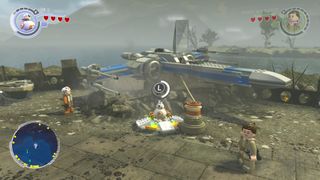
Reassemble the parts into a BB-8 platform, hop on, and watch the events unfold.
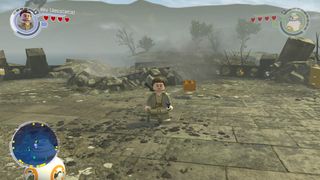
When it's gone, grab the gold brick from the now vacated space.
Gold Brick #2
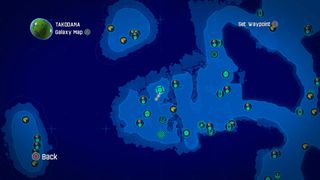
Our next stop is the general mission icon in the northern part of this area.
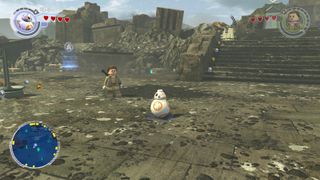
To start the mission, head to the BB-8 icon you can see to the left of the stairs.
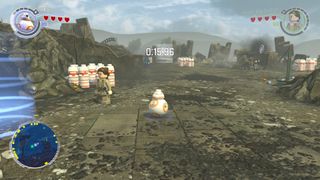
Accept the BB-8 challenge and destroy all of the canisters within the time limit.
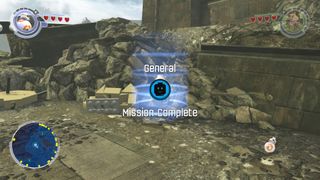
Once you're done, the brick is yours.
Gold Brick #3
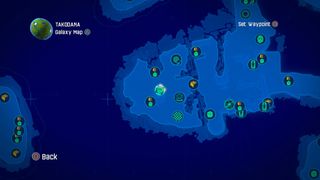
The translate mission next on the list.
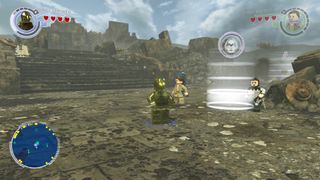
To initiate it, switch to C-3PO and talk to the character at the bottom of the steps.
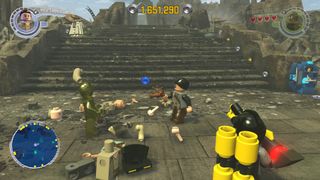
You'll find yourself in a brawl, so be sure to come out on top.
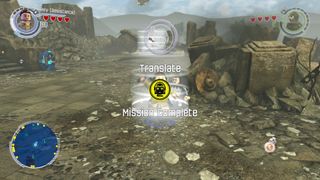
When everyone's dead, the brick is yours.
Gold Brick #4
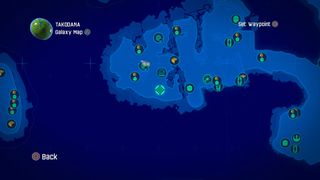
Head to the race icon in the south.
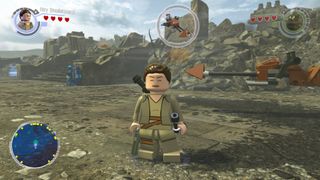
It's to the right of the steps.
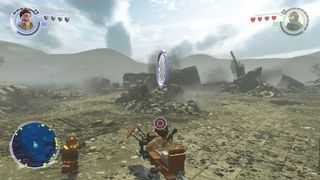
Spawn in a vehicle and get going.
You'll get the gold brick when you make the run within the time limit.
Gold Brick #5
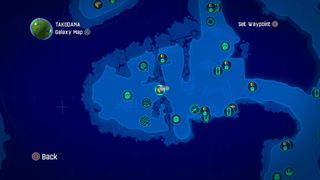
For the next brick we have to build five statues.
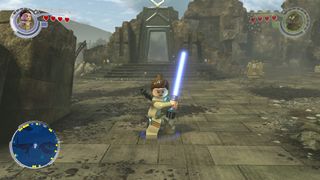
From the top of the steps on this area, head over to the arch straight ahead.
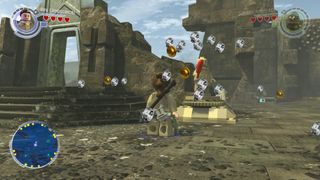
Destroy the nondescript beige box to the right of it and reassemble into the first statue.
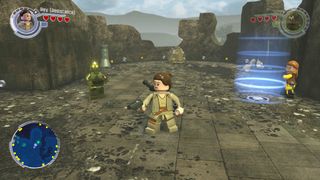
From the top of the stairs, go right.
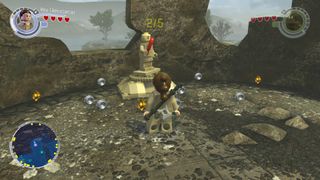
There's another box here that you can break down for statue parts.
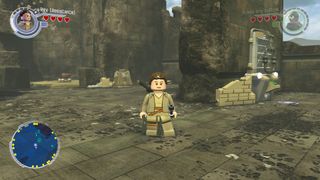
Staying on the right, you'll find another box behind the terminal with the screen.
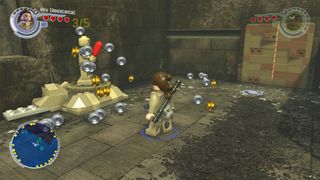
It's next to a lightsaber door. Deconstruct and reconstruct for statue number three.
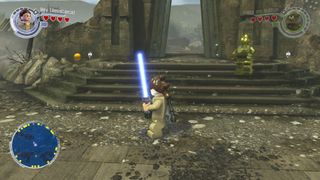
Go back to the arch in the centre.
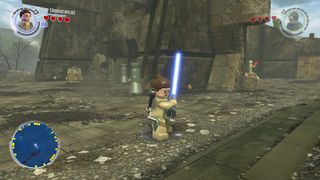
From here, you'll see the statue we just built and another beige box next to a wall in front of you.
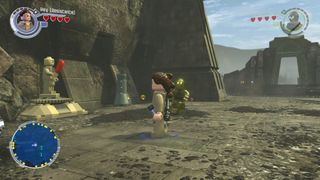
That's statue number four.
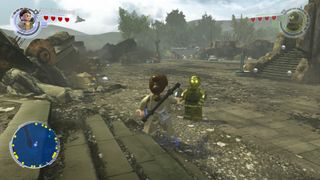
Head back to the arch and over to the left side of the area.
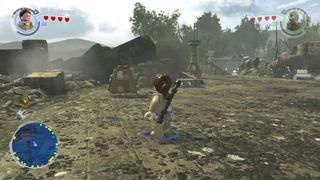
The last of the beige boxes is over here.
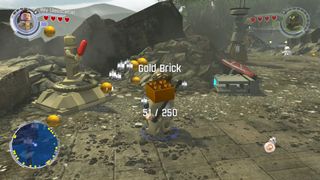
Build the last statue for the next gold brick.
Gold Brick #6
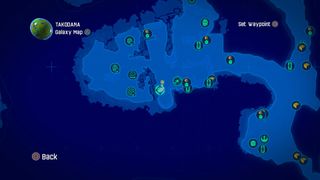
It's time for another general mission to spice things up.
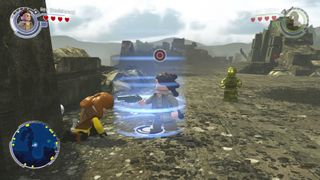
Head right from the top of the stairs and speak to the character here to kick things off.
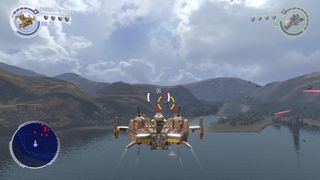
Fly around shooting the required amount of enemy ships.
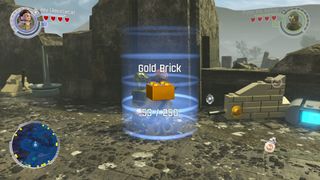
When you're done, you'll have a gold brick for your trouble.
Gold Brick #7
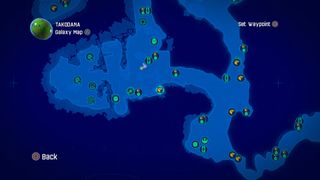
The next brick is in the southeast corner of the area.
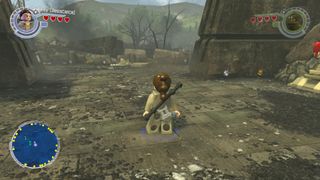
Head to the wall were we build the fourth statue.
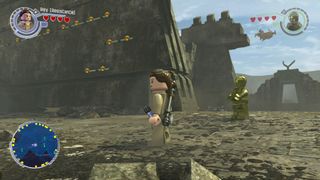
On the other side you'll see some agility bars.
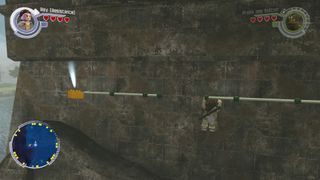
Climb up and across to find the gold brick.
Gold Brick #8
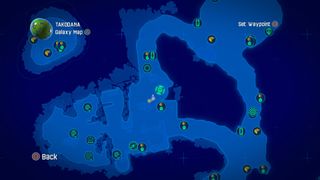
Go over to the translate mission icon by the northern path out of the area.
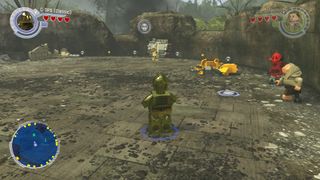
The character we're looking for is to the left of the staircase with the carbonite brick at the top.
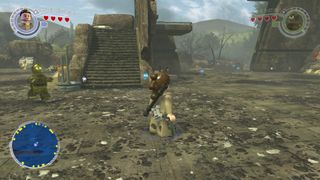
Accept the mission and follow the stud path to your objective.
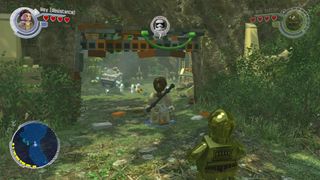
You'll eventually reach some First Order troops. Take out all seven of them.
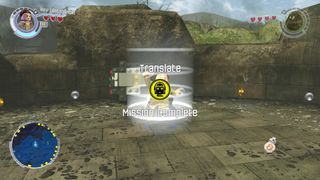
Once you're done, you'll get the gold brick.
Gold Brick #9
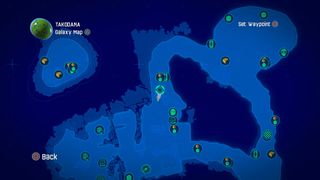
Head north from the translate mission.
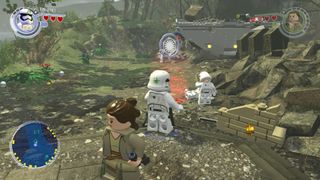
Talk to the First Order Troop with a fellow Stormtrooper to accept the mission.
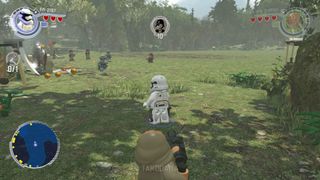
Follow the stud path to the objective. Along the way, you'll inevitably pick up gold brick #10. When you arrive at the designated area, prepare to fight.
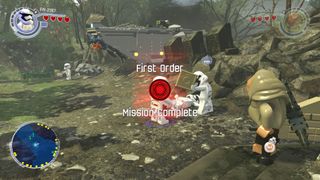
Emerge victorious and the brick is your.
Gold Brick #10
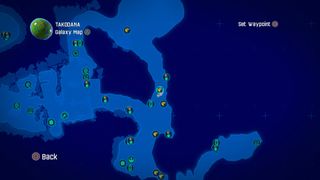
You'll end up collecting this on the way to the mission for gold brick #9.
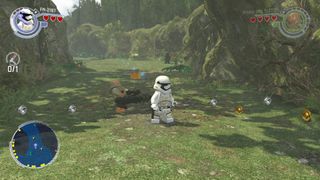
As you follow the stud path to the objective, you'll need to destroy a gold Lego wall blocking the route. A gold brick will be left in its place.
Gold Brick #11
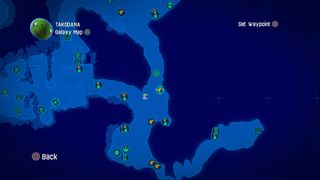
Leave the starting area via the eastern path.
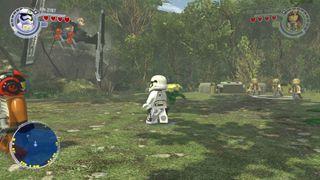
There's a crashed TIE fighter here and some resistance soldiers to the right.
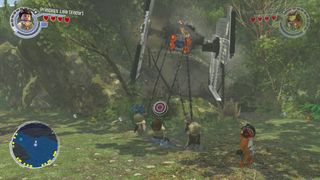
Round up the troops and get them to assist with the grapple plugs on the TIE fighter.
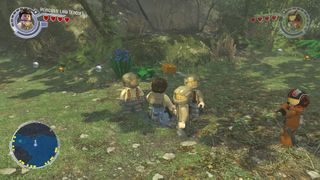
The gold brick will fall out ready for you to scoop up.
Gold Brick #12
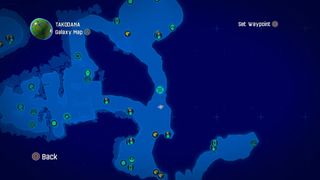
Head north to the race icon.
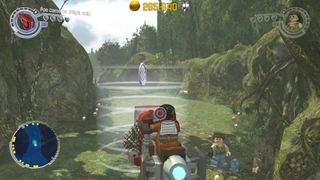
Summon a vehicle and you're off.
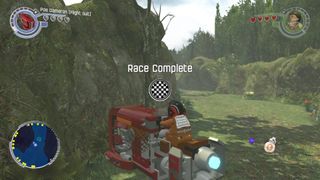
You'll get the gold brick at the end.
Gold Brick #13
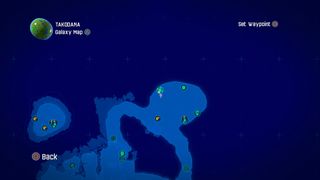
Continue north to the open area at the top of the map.
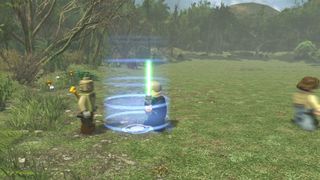
Speak to Unkar Goon to pick up a general mission.
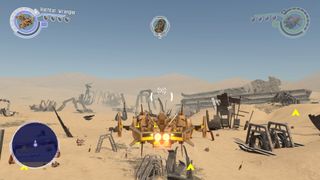
Fly around and shoot stuff.
You'll get the gold brick once you've shot enough things.
Gold Brick #14
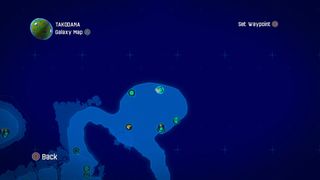
Another general mission is in order.
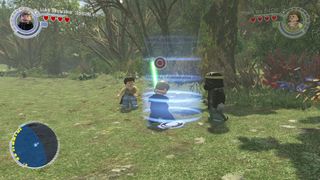
Talk to Mi'no Teest to the right of Unkar Goon.
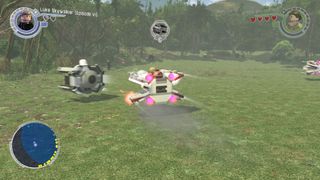
There are three waves of vehicle destroying to get through.
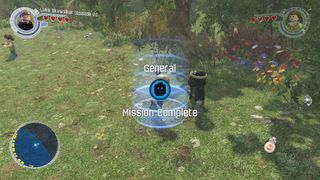
You'll be rewarded with the brick at the end.
Gold Brick #15
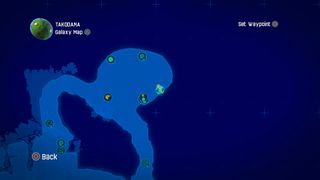
The last mission in this clearing is a scavenger mission.
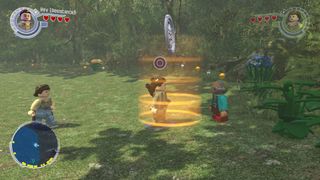
Talk to Maz to get started.
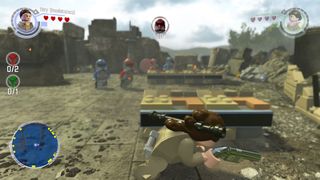
This time around you'll be in the midst of a shootout.
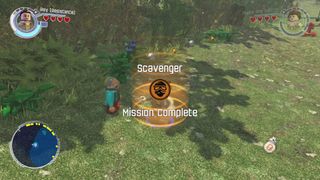
The gold brick is your prize.
Gold Brick #16
Some fiddling around with things is required for the next one. The order you do it in doesn't matter.
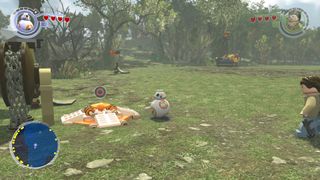
First of all, use the BB-8 platform.
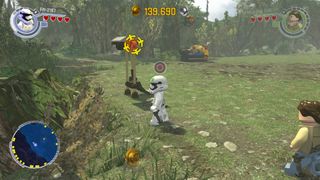
Find the grapple plug and give it a yank.
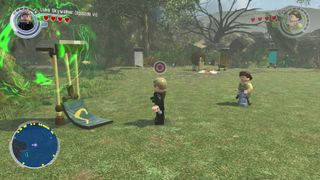
Use the force to raise the banner.
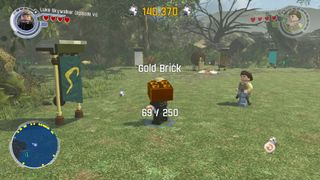
Check off all three and you get the brick.
Gold Brick #17
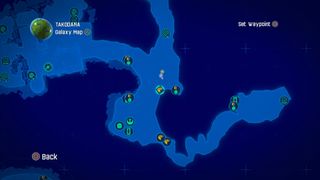
Make your way back down south to where the two paths meet.
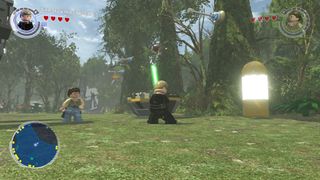
Break the object beneath the agility poles.
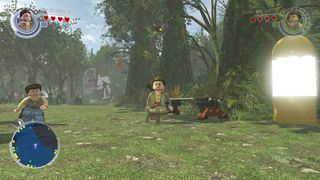
Reassemble it into a trampoline and use it to reach the poles.
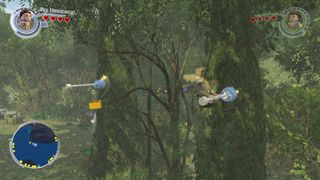
Now swing over to get the gold brick.
Gold Brick #18
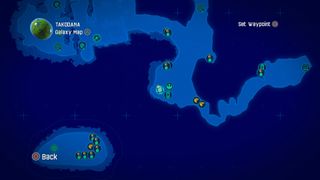
Continue down to where the Millennium Falcon is parked in the south.
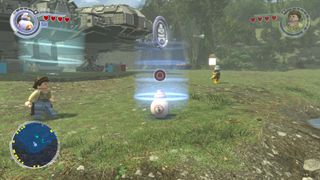
There's a BB-8 challenge here.
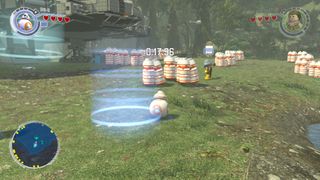
Once again, destroy the canisters within the time limit.
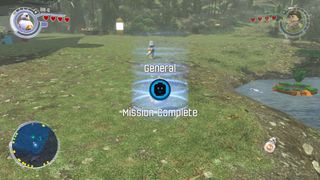
And that's another gold brick in the bag.
Gold Brick #19
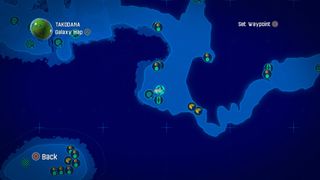
You can pick up a resistance mission here as well.
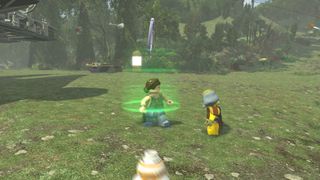
Speak to Pru Sweevant by the Millennium Falcon.
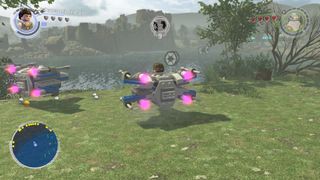
Take your ship out onto the water and start shooting things.
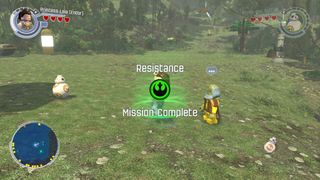
When you're done, you'll get a gold brick.
Gold Brick #20
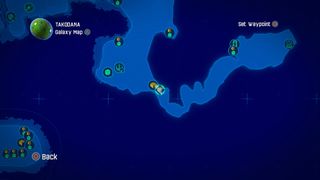
For the next brick, we have to ferret out dormant plants and make them bloom.
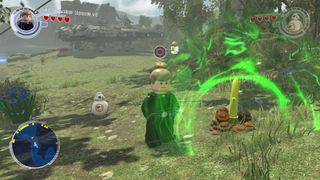
The first one is at the start of the path leading away from the ship.
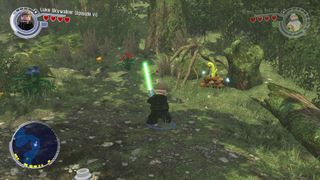
Keep going and you'll see the second one on the right.
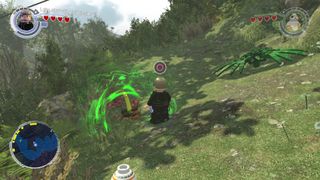
The third one is on the left underneath the zip-line.
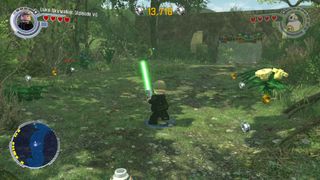
At the end of the path is a gate.
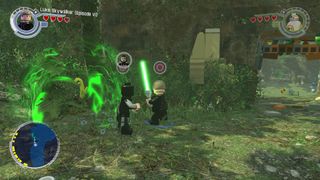
The fourth plant is to the left of the gate.
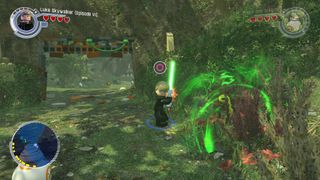
The fifth one is to the right.
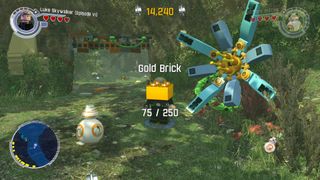
You'll get the gold brick when the last one flowers.
Gold Brick #21
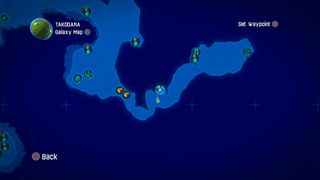
To reach this gold brick, head back down the path we made the flowers bloom on until you reach the point on the map.
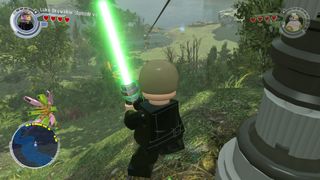
Hop onto the zip-line.
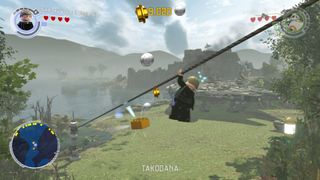
You'll collect the brick as you slide down to the ground.
Gold Brick #22
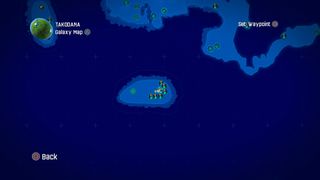
Use a vehicle to reach the southern island.
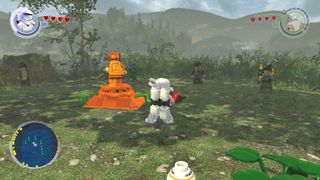
Destroy the gold Lego statue.
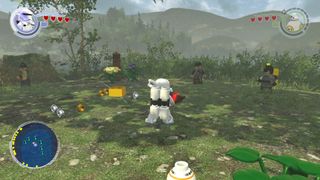
Grab the brick it leaves behind.
Gold Brick #23
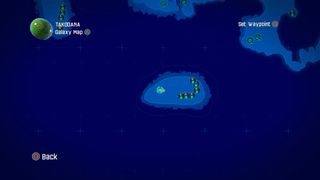
There's a race point on this island.
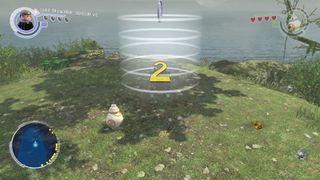
Spawn in a vehicle and take it for a spin to get the gold brick.
Gold Brick #24
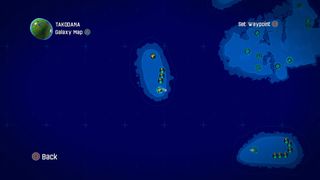
Move on to the island in the west.
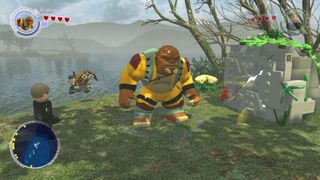
There's a cracked Lego crate here.
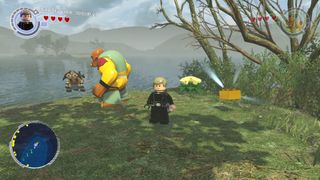
Destroy it for the gold brick.
Gold Brick #25
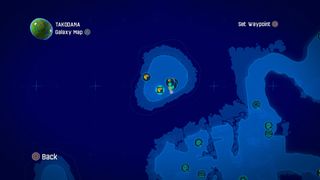
There's a second gold brick on this island.
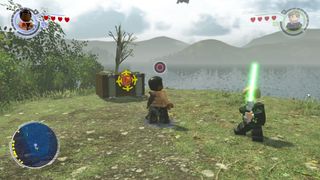
Use a character with a grapple to open the chest by the shore.
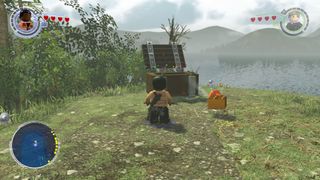
The gold brick is inside.
Gold Brick #26
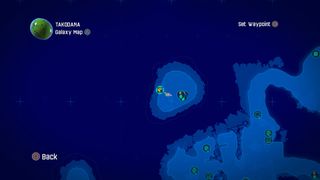
The last two bricks are on the northern island.
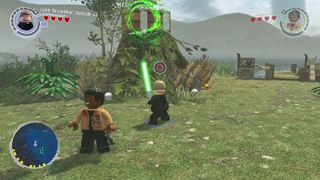
Use the force on the chest balanced on the rocky outcrop.
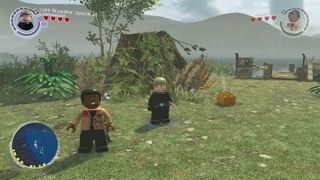
That's the penultimate gold brick on this map for you.
Gold Brick #27
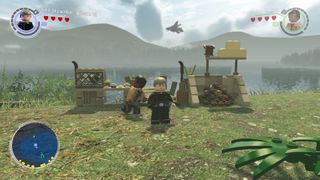
For the last one, destroy everything by the jetty.
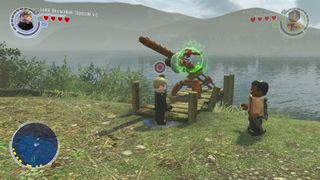
Reassemble the parts into a fishing rod and use the force to make it work.
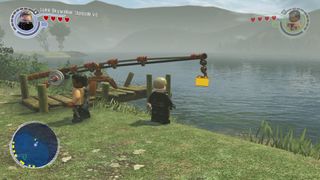
It'll reel in a gold brick.

