The Legend of Zelda: A Link Between Worlds dungeon guide
Ice Ruins
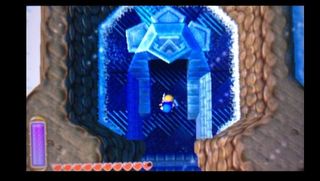
As soon as you enter, melt that annoying ice cube with the Fire Rod. Move forward and pull the statue's tongue to activate lift blocks throughout the entire dungeon. Before taking a proper ride, use the blocks to slip under the stairs at the southern end of the room. There's a well hidden chest here holding a Gold Rupee. Now you can ride the lift blocks.
Disembark at floor B3. The two chests here contain a Green Rupee and a Monster Horn. Hop back on and ride down to floor B5. The only thing for you here is a large chest; open it for the Big Key. Yes, already.
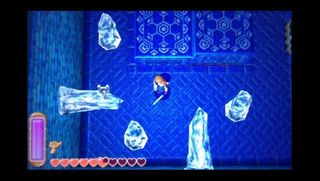
On your way back up, hop off at floor B2. Use the Fire Rod to melt the icicle on the wall, dropping the Small Key to you. Hop back onto the blocks.
Ride to floor B1. Hop off and head north to find a locked door. Head through and pull the left statue's tongue. This opens the door and awakens an ice monster. Take it out and head through the door.
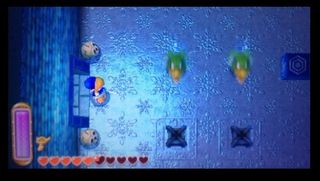
In this slippery room are several gliding enemies. Take them out, then light the four torches to spawn a Small Key. You can't reach it yet, so exit through the south door.
Outside the tower, open the chest to your right for the Compass. Follow the ledge south and step onto the narrow blue walkway. Head north at the fork, and when you reach the wall, merge. Move left to get to the Small Key you spawned earlier. Backtrack along the blue walkway and head south at the fork. Follow this to reach a locked door; use your Small Key to head through.
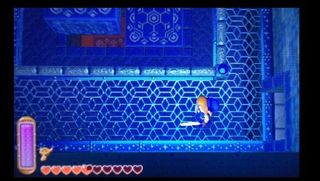
Now you're on the upper ledge of the lift room on floor B2. First, head north and merge across the gap. The chest here holds a Blue Rupee. Now merge across the gap to the opposite ledge. Pull the statue's tongue to create a pit in the middle of the room. We're headed there now, so drop down and hop into the pit.
Now you're on floor B3. Head through the door to your right; watch out for the Bubble in here. If you merge with the wall in the top right, you can follow it to some fairies. Use the Fire Rod to melt the southernmost icicle and reveal a switch. Head through the door it opens and drop into the pit in the room.
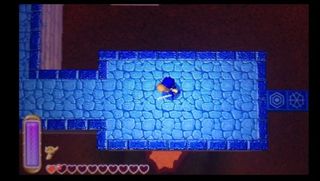
This will drop your to floor B4. Step onto the rotating blue platform and watch out for the Bomb-spitting enemy. You need to use one if its Bombs to hit the four orbs just north of the blue platform. Doing so spawns a chest containing a Silver Rupee. After grabbing it, exit south from the blue platform.
Ride the moving ice platform in here, watching out for Keese. Use the Fire Rod to light torch in the center and spawn another lift block to the north. Before heading to it, ride the ice platforms to the southeast platform. Follow the narrow blue ledge here to a chest containing Monster Guts. Now you can hop aboard the new lift block.
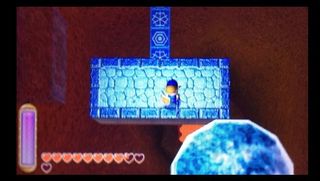
This will take you to floor B3. Follow the blue ledges, but stop when you reach the first moving blue block. If you drop west from its southernmost point, you can reach a chest containing a Purple Rupee on the lower floor. Do so, then make your way around the entire series of ledges and blocks.
When you reach the closed door, move north. Inside this room is a series of ice blocks. Use the Fire Rod to melt them and reveal an orb. Now backtrack to the lift that brought you up from the previous floor. Move through the doorway here, then merge across the gap to reach the orb you revealed. Strike it to summon another block; ride it up another floor.
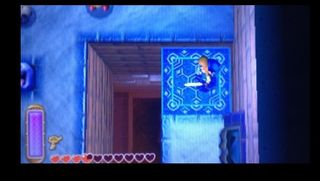
Back on floor B2, you'll be facing a one-eyed statue. Take it out, then follow the ledge. The four skulls are hiding a switch; bust them up, then step on it to open a door nearby. Head for the door, taking out two more one-eyed baddies along the way.
You'll find yourself near a statue. Pull its tongue to open a hole in the floor to your right. Drop through to reach a big chest containing a Stamina Scroll. Drop off the ledge to find yourself in a familiar place; ride back up to floor B2.
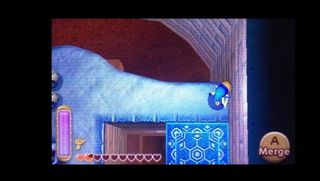
Look north and merge into the wall. Follow the long, winding wall to reach a doorway. Inside, on a protected ledge, is a chest containing a Silver Rupee. Head back and return to the main ledge. Enter the door to your right.
Merge across the gap and drop to the lower ledge. Head through the door; this room should also look familiar. Head through the northern door. The pit is now covered up. Drop from the grate and pull the statue's tongue. This re-opens the pit, but something has changed. Drop in.
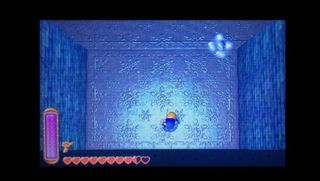
You're now in a different part of floor B3. Take out the Bubble, then prepare for a fight. A giant version of this ice-gliding enemies will appear, flagged by some of the regular gliding guys. Take them all out to create a warp portal and open the doors on either side of the room. Head through the left one.
This section is tricky. There are several pieces of ice that make up a path, and they will shatter if you stand on them too long. There are also enemies along the path. We recommend firing off the Fire Rod to deal with them, then hanging out on the ledge until the ice path respawns. Once you get across, pull the statue's tongue to move another piece of the tower around.
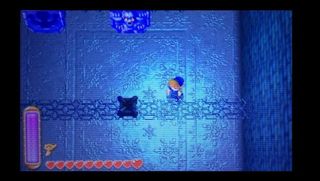
Return to the warp room and head through the right door; this is where the piece moved. Head for the center of the room - be aware that some of the ice monsters along the walls will attack. Use the Fire Rod to light the torch in the middle of the room. Head through the door this opens.
Step on the switch out here to open a door that's not accessible from your current location. Head back to the warp room and use the portal to return to the opening room. Ride the lifts to floor B3.
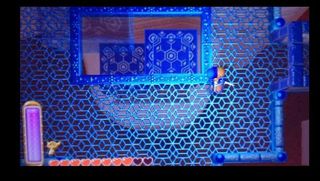
The door to your right is what opened. Head through and drop through the small hole to floor B4. Open the chest near your landing to find a Small Key. Follow the narrow blue ledge left to find a switch; step on this to create a shortcut.
Follow the path north to return to the lift blocks. Ride to B2, then move north and drop into the pit to B4. Hop off of the ledge and ride the moving block to B3. Head through the doorway here, merge across the gap, and use your Small Key on the locked door in the eastern room.
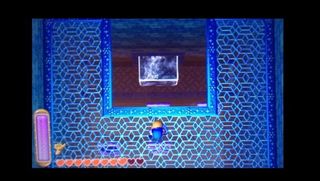
In here is - you guessed it - another hole to drop through. Hop down and use the Fire Rod to melt the ice block you land near. This allows wind to stream into the room, carrying you to a platform with a statue. Pull its tongue to drop out the floor from the room you just exited.
Drop off the ledge and head north into said room; the ice monster here will attack. Drop in to return to B4. Follow the path past the Bomb-spitting enemies; make sure you light the torch you pass. Cross the narrow blue beam and head north at the fork - the part you just created by lighting the torch. Pull the statue's tongue here to shift a part of the tower yet again. Step onto it, then head north. The switch here creates one final shortcut. When you're ready, head west from the tower part that shifted to enter the boss chamber.
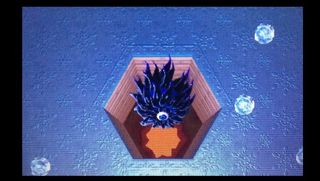
The toughest part about this boss is the arena; moving along the slippery ice is a pain. As for the fight, dodge the boss's beam attacks until he stops, then use the Fire Rod to melt the ice he is covered in. After a few fire sprays, he'll be completely exposed. Use this time to deal sword damage. He will speed up and add more ice armor with each round, the but strategy remains the same. Mind the slick terrain, and you'll win this fight in no time.
Sign up to the GamesRadar+ Newsletter
Weekly digests, tales from the communities you love, and more
Tony lives in Maryland, where he writes about those good old-fashioned video games for GamesRadar+. His words have also appeared on GameSpot and G4, but he currently works for Framework Video, and runs Dungeons and Dragons streams.
