Carmilla’s Lair
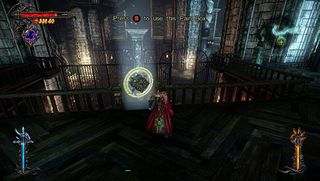
Box 1: Chaos Gem
Just outside the map room in Carmilla’s Lair will be this pain box. Either access through the map room or by using mist form to go through the bars and go up the stairs.
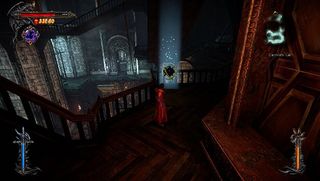
Box 2: Void Gem
In the area same area where Carmilla was hunting you with her lantern, hop up to the stairs above using the demonic wings and on the first platform above the room will be the pain box.
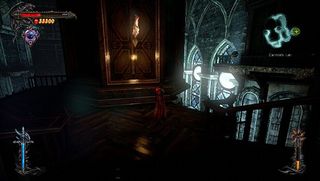
Box 3: Chaos Gem
Above the map room, on the third storey, this pain box will be sitting on the balcony there. Use the demonic wings to flutter over to it and grab it.
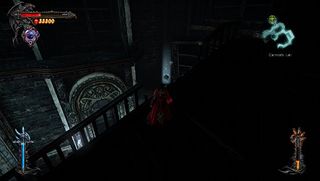
Box 4: Life Gem
Above the map room to the right, on the second storey will be another pain box. To get this one, drop down from the third storey and land on it.
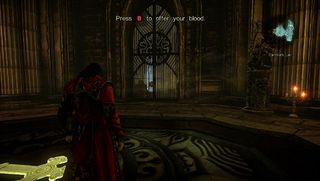
Box 5: Life Gem
At the entrance to the library, where the yellow cross is on the floor, look to the right and there will be a gate there. Use your mist form once acquired and go through to get the box.
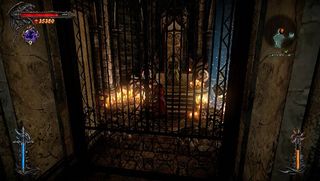
Box 6: Void Gem
Go through Carmilla’s library to the far side and once you pass through the circular room full of skulls, there will be a gate. Use your mist form once you have it and pass through the bars to grab the box.
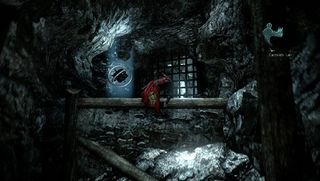
Box 7: Life Gem
Once you get the previous pain box, use the device in the same room to open the door to the left. Go through it once it opens and then hop up the rocks to come to the pain box there that is in front of metal bars.
Jump to Section:
- Dracula's Castle
- Bernhard’s Wing
- City of the Damned
- Carmilla’s Lair
- Overlook Tower
- Castlevania City
- Sciences District
- Downtown
- Victory Plaza
- Arts District
