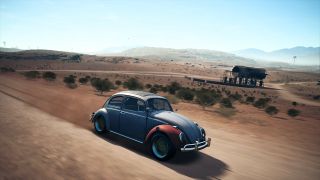
The Need for Speed Payback derelicts are basically the collectibles of the racing world, and tracking them down is not only enjoyable but also adds five wrecks to your garage, which can then be fixed up into much better rides than the standard vehicles you'll encounter in the game. Naturally there's plenty of driving to be done in Need For Speed Payback, but you don't want to be wasting lots of time searching up and down the highways to find these secret cars.
Helpfully, each of these derelicts is unlocked by completing certain missions, after which you’re awarded with postcards showing vague locations as to where the vehicles and their parts are located. If you don’t have the time to comb the whole map for each and every clue, then we’ve got you covered with every Need for Speed Payback derelict location and every part, all discovered for you.
- Don't forget to check out our more general Need for Speed Payback tips
Some basics to note: all cars require you find the chassis first, then any of the four parts in the order of your choosing. Your scanner will highlight when you’re near parts, beeping faster as you get closer and slower as you get further away – you’ll know when you’re in the rough area.
Almost all of the parts are located in off-road areas, so you might want to use an off-road vehicle on your hunt. It’s not a prerequisite – any type of car can be used, it just makes it a bit easier to use the vehicle type for the terrain. Oh, and almost all the parts require a jump to be hit before you can get to them – there’s no cheesing your way through rocky outcrops as a shortcut.
And, above all, it’s fair to point out: it’s hard to miss the derelicts when you’re looking. Hopefully we can make it a bit easier for you with our Need for Speed Derelicts guide.
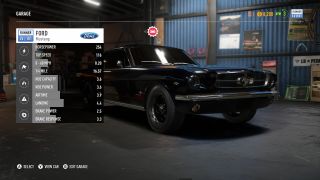
1. Ford Mustang 1965
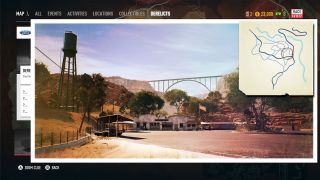
Your first derelict is revealed after completing Tyler’s first five story missions – you’ll find the derelict at a disused garage, look for the water tower:
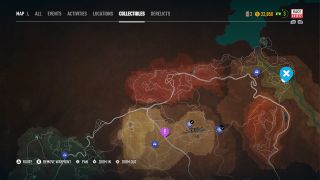
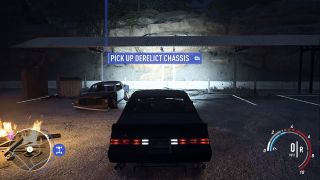
Once the chassis is in your possession, the four parts are ready for the taking.
Starting with the Engine, you’ll want to head far west:
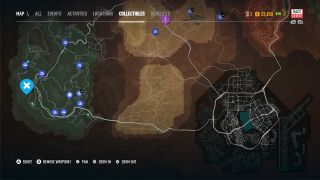
Look for a jump just off the road – a fire next to the part is the big hint here.
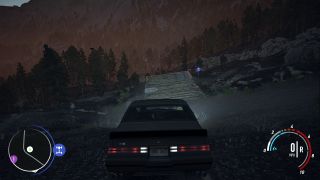
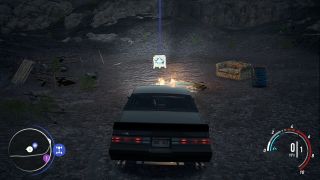
Next up, the body parts, for which you’ll be heading to a central northern region:
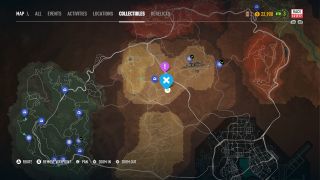
Look for the abandoned mine, or mill, or whatever it is – drive through the middle and over the ramp, and you’ll land at the next part.
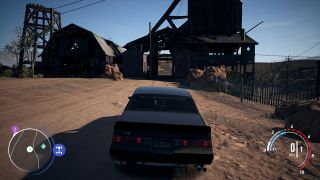
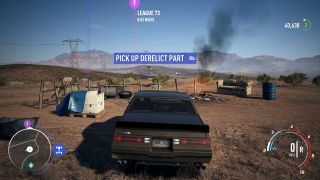
Third up is your Mustang accessories, which can be found out east:
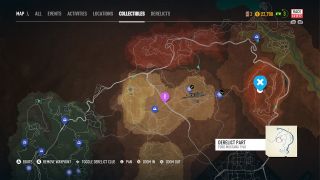
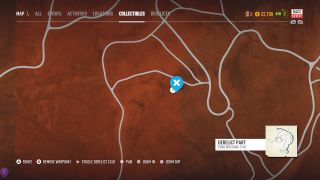
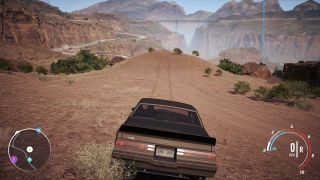
Look for this jump, after you climb a nearby hill just off the main road and you’ll hit the part you’re after.
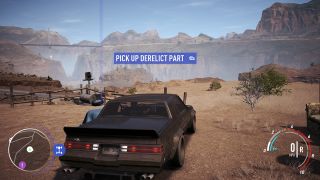
Lastly for this derelict, you’ll be heading to the northwest:
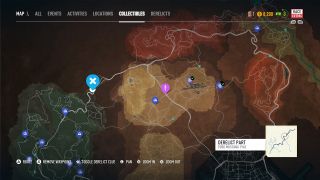
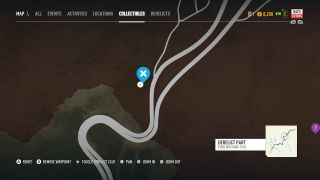
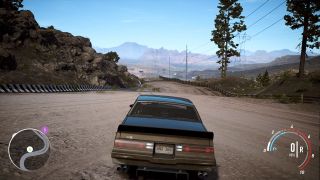
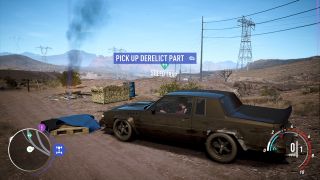
This one’s easy – a jump just off the following nearby corner and you’ll land right at the part.
Turn to the next page to find out where the Need for Speed Payback Nissan 240Z derelict parts are...
