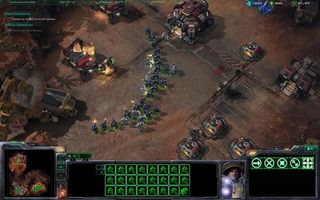
Again, this is a pretty stress-free affair: it's trying to reinforce what you learned in the tutorials about base-building and unit movement. If you're going for the achievements here, it can be a slightly more difficult affair, as you've got a time limit with which to complete the mission. But don't worry, the following will give you the build order you need to do it up like a champ.
1.Start off by selecting all your SCVs and assigning them to mine minerals.

Protip: Any mission, multiplayer or otherwise, in which you start with any number of builder units, immediately assign them to start mining. Just an easy way to maximize your efficient use of time.
2.First thing you wanna do with your troops is send them to the north to pick up the caches of 100 minerals and Vespene gas up there.
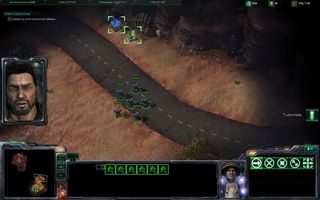
a.Then bring them back to your base, because you're about to be attacked by a small force. You should take them out easily.
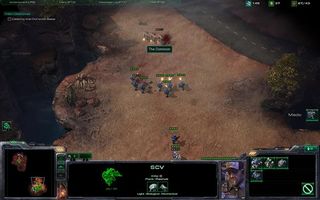
3.Meanwhile, as your soldiers are grabbing caches and fighting, you need to do a few things on the homefront:
a.Once you get the Vespene gas cache, immediately append a Tech Lab to your barracks so you can build medics.
b.Second, make sure you cue up at least 4 SCVs at your home base.
c.Finally, take two of your SCVs off of mining duty, and assign one to build two supply depots (one after the other), and the other to build a Vespene gas refinery on the geyser.
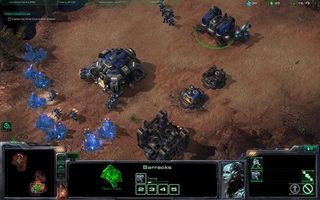
4.Now go over to your barracks and cue up a couple of medics, and as many marines as your resources will allow.
Protip: Medics are what are known in military-speak as a "force multiplier" – they aren't particularly strong on their own, but by adding them to a group of regular soldiers, they make the group several times stronger because of their support abilities. Like regular multipliers in math, you don't need tons of force multipliers to get a lot of strength. They also, however, have diminishing returns because of the supply cap that Starcraft 2 has, so a good rule of thumb is: one medic for every six marines.
a.Once you've got a couple of medics and at least nine marines, group everybody together and head north toward a little dirt road that splits off the asphalt. Up here are some Dominion marines and some caches of minerals. Grab em.
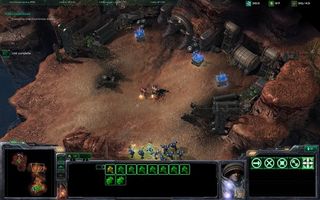
b. Ensure that you are now building marines at all times in your barracks. Also, build two more SCVs now and have them mine minerals.
Protip: Don't forget to use the rally point ability of your buildings to make your life easier. Select your headquarters and right click on the minerals to automatically assign SCVs to mining. And select the barracks and right click on a forward position to ferry troops up your lines automatically.
5.Now, build another medic, and take her and whatever marines you've got to the left along the bottom of the map. You may get a cry for help around now, but if you've been moving fast enough, you'll pre-empt it.
a.You'll meet some resistance here, but this is one of the few instances in which you do not want to use attack move. Rather, proceed quickly to the green insignia on the ramp.
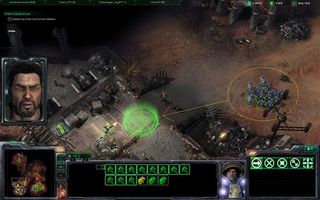
b. Once you hit that insignia the neutral troops will become yours. Immediately select everybody and start that focus fire action again!

6.You'll also notice that you got yourself a brand-spankin' new barracks with a new tech lab attached. Resist the urge to build new medics unless you currently have fewer than four in your group. Instead, spam marines.
a.(Achievement) Also, don't forget to pick up all the Vespene gas and minerals caches around the area, you don't need to do this for the main mission anymore, but you do for the achievement.
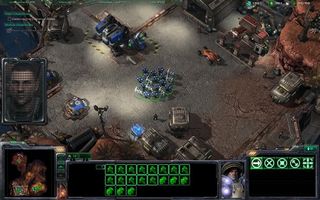
7.From here, you need to be spamming the crap out of marines from both your barracks. Don't forget to set the rallying point from the barracks at your main base to near your current location so you can build up a big force quickly. Once you've got between 30-40 marines and around 5-6 medics, you're ready.
a.Head north up the road with your posse, you should remember to continue to build reinforcements at your barracks at all times and send them up constantly.
b.At first, you'll encounter some Dominion light vehicles. Just focus fire on these, and you'll go through them quickly. Proceed northwards.
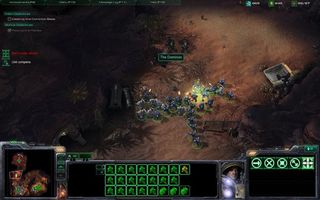
8.Next you'll run into a Dominion barracks and some marines. You should be able to deal with these pretty easily, just make sure you're constantly sending up reinforcements to replace any losses.
Protip: Always, always, go for soft targets over hard targets when you have a choice – soft targets go down easier and faster, reducing the enemy's ability to damage you while minimizing your casualties. In this particular case, prioritize the straggler marines over the bunker until you've got nothing else to shoot at.
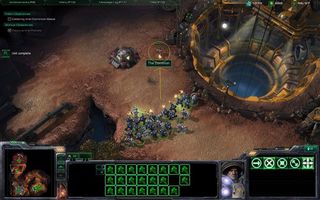
9.From here it's more to the north, and pretty straightforward: kill everything.
a.As always, make sure you prioritize stuff that can hurt you over stuff that can't (combat units over SCVs and buildings) and then prioritize buildings that make stuff that hurts you over those that don't (barracks over headquarters).
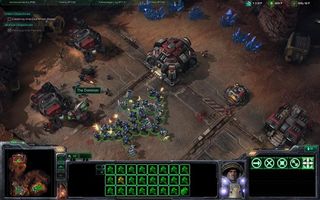
b.Just go through and destroy the Dominion base in detail.
10.Once you've blown the crap out of the main structures, mop up the supply depots and SCVs and such. If you've timed everything right, you should get all the achievements here!
