CHAR MISSION 2: FIRE IN THE SKY
Main Objective: Destroy Gorgon Battlecruisers [0/7], Awaken Scourge Nests [0/7]
Bonus Objective: Find Zerg Biomass [0/3]
ACHIEVEMENTS
Fire in the Sky: Complete the "Fire in the Sky" mission in the Heart of the Swarm campaign.
Red Alert: Don't let 5 units die to the Gorgon Battlecruiser in the "Fire in the Sky" mission.
Conquer & Command: Destroy 3 Orbital Command structures in the "Fire in the Sky" mission on Normal difficulty.
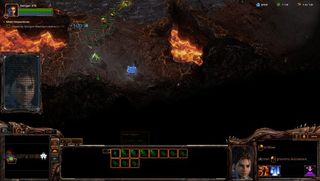
There is a small cache of minerals and gas right below your base. This will help give you an early boost to your production. Start a macro hatchery right away and work on spreading your creep. Spreading creep is the key to success for this mission.
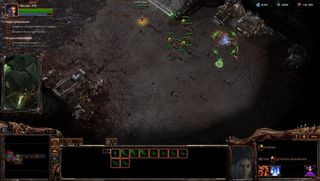
Clear out the small group of terran units directly to the east. You will find the first zerg biomass and some resources directly to the right. The next Gorgon Battlecruiser will launch shortly after. Building a few queens will significantly help your creep spread, especially since the distance between the scourge nests increase from here on out. The more creep tumors that are within close proximity of eachother, the faster the creep will spread.
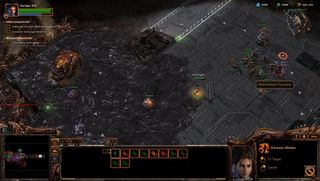
The third Gorgon Battlecruiser will spawn right after you deal with the second. There will be a bunker and a few marauders blocking your way to the third scourge nest. There will also be some resources to pick up at the edge of the platform. It will be a good idea to build another macro hatchery with the additional resources.
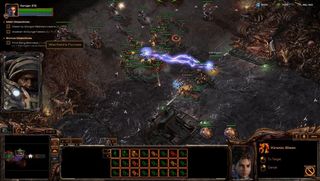
Once you engage the terran forces guarding the third scourge nest, reinforcements will arrive in the form of drop pods. Rally your reinforcements to your location to reduce downtime, but be mindful of your rally and the location of the incoming Gorgon Battlecruisers, so you don't lose units and fail the Red Alert achievement.
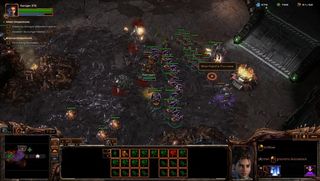
It would be wise to also start Roach production from here on out. You will start to encounter higher tier terran units going forward.
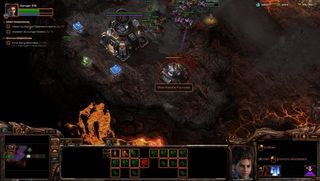
There is an alternate path that leads you back west. Here you will find some extra zerglings and banelings, some resources, and one of the Orbital Command structures for the Conquer & Command achievement.
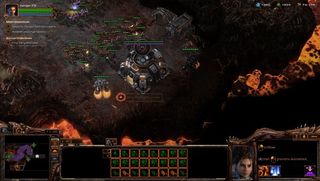
After destroying the fourth Gorgon Battlecruiser, you should have enough time to head back to the alternate path that leads you back southwest. In the southeastern most corner of the rea will be the second Orbital Command structure for the Conquer & Command achievement.
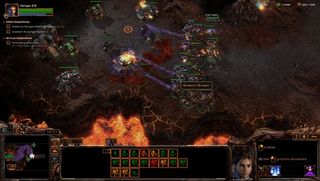
Destroying the remaining forces towards the southwest will only yield a few resources. Clearing this area will prevent further counterattacks, but will take extra time and require more units. Head back towards the fifth scourge nest as soon as you're done here.
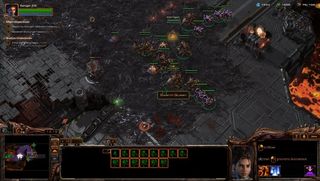
The path will fork between the fifth and sixth scourge nest so be sure to bring queens with you to help speed up the creep spread to the next two scourge nests. As long as you keep up with your unit production, you should have no problem moving directly towards the next scourge nest with little to no downtime at all.
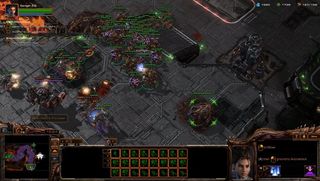
After claiming the fifth scourge nest, another will appear directly south of your location. It will make more sense to go towards that one first and save the northeastern most scourge nest for last. Remember to rally your units to your locations and constantly spread creep.
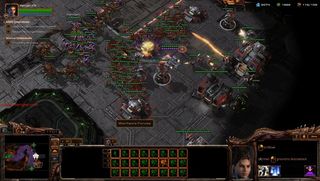
The second zerg biomass and final Orbital Command structure for the Conquer & Command achievement can be found to the east of the southern scourge nest. Use the time it will take for the creep to reach the scourge nest to clear this area.
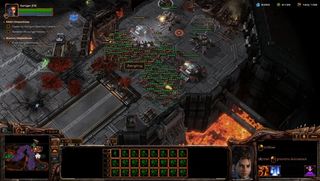
The last zerg biomass can be found directly to the east of the last scourge nest. Once you clear these areas, it's just a matter of spreading creep to the final scourge nest.
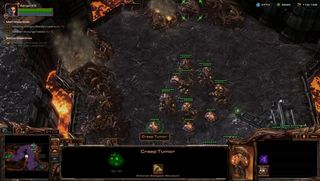
Bring your queens with you to resume and help speed up the creep spread.

