Rise of the Tomb Raider Soviet Installation guide: How to complete everything in the open area
Clear every challenge and find all the collectibles in the Rise of the Tomb Raider Soviet Installation
Soviet Installation Collectibles (3/3)
Mural #8 - The Warmth of Labor
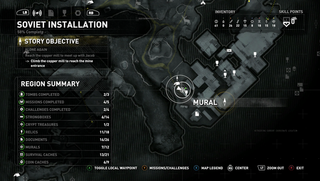

You'll see this plaque on a wall next to the Copper Mill Yard camp.
Relic #8 - The Game
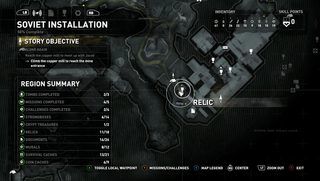
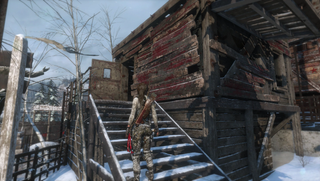
After opening the area with Rope Arrows, go into the building that's directly southeast of Copper Mill Yard camp to locate the relic.
Document #15 - Glorious Discovery

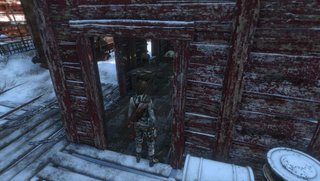
Look inside the building to the southern corner in that same yard, where the document is on a desk.
Document #16 - Second Kill
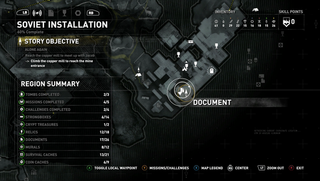
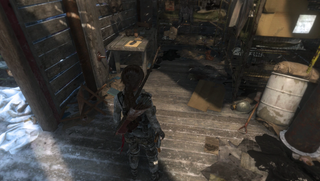
During your mill climb you'll come to a room with lots of cages, then check the desk in that area.
Relic #9 - Dog Tags
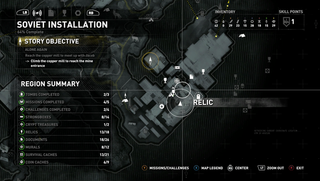

Once you learn how to make Molotov cocktails, identify the flammable barrier in the corner of the room then torch it to access the next room containing the relic.
Relic #10 - Hero of the Soviet Union Medal

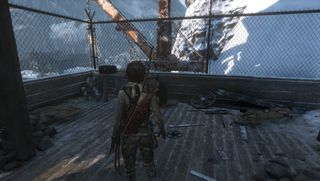
There's another flammable barrier which leads to a room with some ramps, and following them around will reveal a relic sat on a fenced-in deck.
Mural #9 - For the Motherland
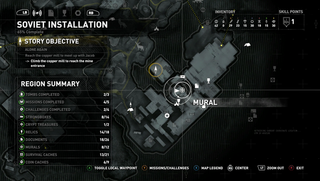
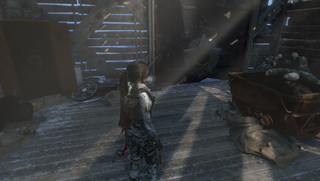
On the wall next to the previous relic, you'll find this plaque.
Relic #11 - Order of the Red Banner Medal
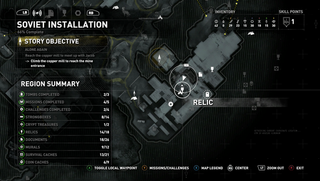
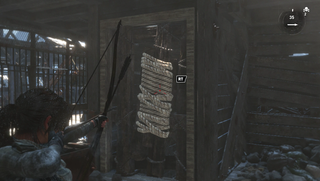
From the previous mural, use rope arrows to yank open the blocked door behind you. This reveals a ramp to slide down then leap onto the oncoming balcony. Next, fire another rope arrow to climb over into a small room, then check the desk for this elusive relic.
Document #17 - An Ally in the Darkness
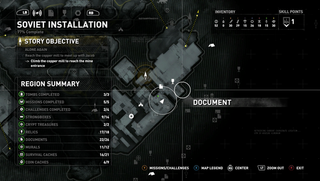

During the upper section of the mill, you'll jump over the gap shown above, then go up the next stairs and look on a table.
Document #18 - New Intel
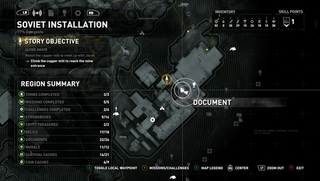
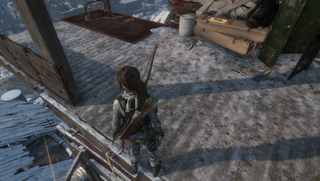
Keep going upwards, and after scaling a ladder you'll find the document on top of some wood.
Relic #12 - Pillbox
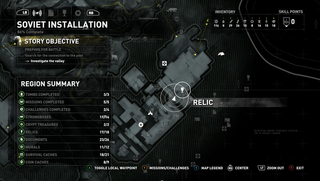
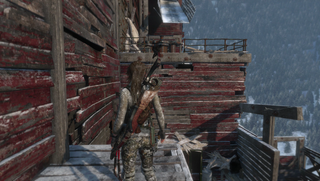
Go back down that ladder again, then look for another ledge you can jump and climb onto, where you'll find the next relic.
Document #19 - Separated
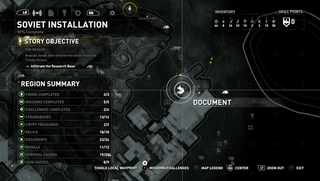
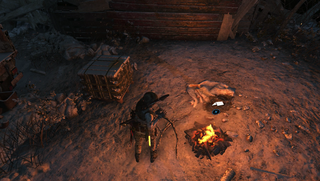
This collectible isn't available until you come back from Geothermal Valley once Jonah has been taken prisoner. At your new Cooper Mill Bridge camp, the document is on a crate to the side.
Mural #10 - Dedication
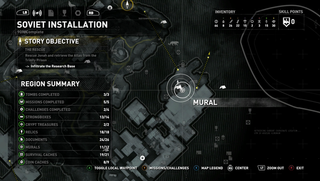
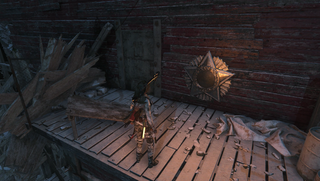
After you've collected Climbing Arrows from the strongbox close by, you can then climb the wall and reach this mural at the top.
Document #20 - Contact
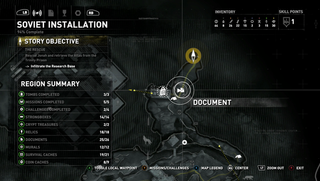
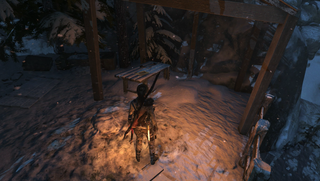
There's another climbing arrow wall you'll find on your way to Jonah, so scale it then look in the small pavilion.
Mural #11 - Lessons of Loyalty, Relic #13 - A Coin of the Realm, Relic #14 - Golden Icon, Document #21 - A Warning, Document #22 - Correspondence
These can be found in the Soviet Installation Ancient Cistern challenge tomb.
Relic #15 - Maniples, Relic #16 - Censer, Document #23 - The Scout, Document #24 - Mountain Song
These can be found in the Soviet Installation Voice of God challenge tomb.
Relic #17 - Hip Flask, Document #25 - Resistance, Relic #18 - Bomb Fuse, Document #26 - Discovery, Mural #12 - All Empires Fall
These can be found in the Soviet Installation The Red Mine challenge tomb.
Jump to Section:
- Soviet Installation Collectibles (1/3)
- Soviet Installation Collectibles (2/3)
- Soviet Installation Collectibles (3/3)
- Soviet Installation Challenge Tombs
- Soviet Installation Challenges
Current page: Soviet Installation - Collectibles (3/3)
Prev Page Soviet Installation - Collectibles (2/3) Next Page Soviet Installation - Challenge TombsSign up to the GamesRadar+ Newsletter
Weekly digests, tales from the communities you love, and more

Iain originally joined Future in 2012 to write guides for CVG, PSM3, and Xbox World, before moving on to join GamesRadar in 2013 as Guides Editor. His words have also appeared in OPM, OXM, PC Gamer, GamesMaster, and SFX. He is better known to many as ‘Mr Trophy’, due to his slightly unhealthy obsession with amassing intangible PlayStation silverware, and he now has over 500 Platinum pots weighing down the shelves of his virtual award cabinet. He does not care for Xbox Achievements.

The cutest Lord of the Rings game yet gets its first trailer, and I immediately want to live in this Hobbit take on a Stardew Valley-like life sim

Seizing upon Fallout's popularity, New Vegas veterans are luring unsuspecting newcomers to the RPG's most infamous location

Future Lord of the Rings games are set to get their own dedicated publisher following parent company Embracer's mass-studio closure amid $2 billion investment collapse